Here is how to backup G Suite emails with professional results using the best tool
ever
The first thing you need to do is download, install and launch Mail backup X by InventPure. You can do so either by buying this best and affordable tool or by downloading a fifteen day free demo. It is the most secure and simplest to use tool that you can ever hope to find. You will see it quite clearly that it has a well organised and clutter free setup process.
After launching the tool, you see the first window in front of you.

Here is the beginning of G Suite mail backup with the first step where you select 'Setup a new backup profile'
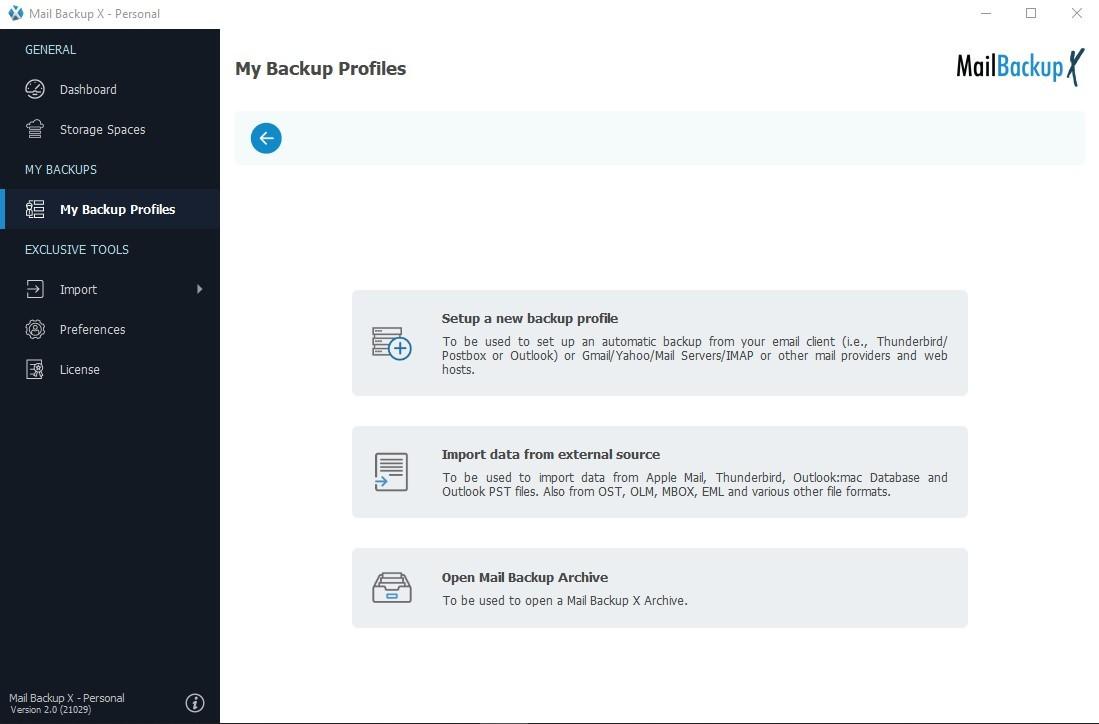
Here you will see that many options appear which is because this tool is designed to backup and restore all popular and important mail services.
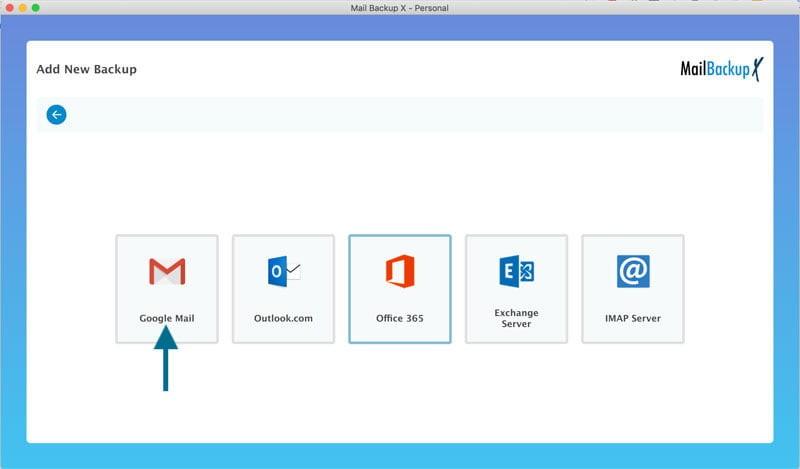
To start your desired process, you will click on Email server.
And just like that without batting an eyelid, you have come to the next window where more options for mail services are displayed in front of you. You being desirous of G Suite backup will click on Google mail.
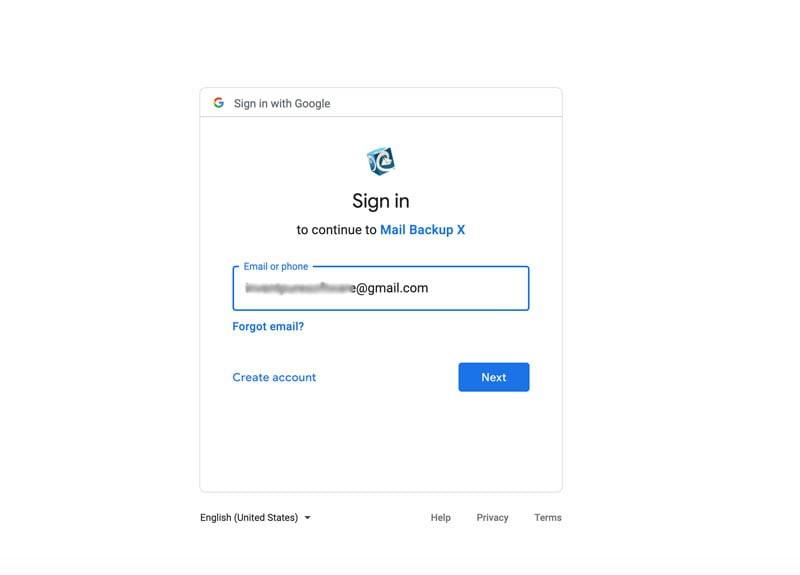
This tool can manage your mail data and display it only when you enable it to access your mailbox. For this, you will have to login to your Gmail account in a secure window with Google authentication. With complete safety and privacy assured for your credentials, this tool is the best choice.

You can see how this window looks on your screen.

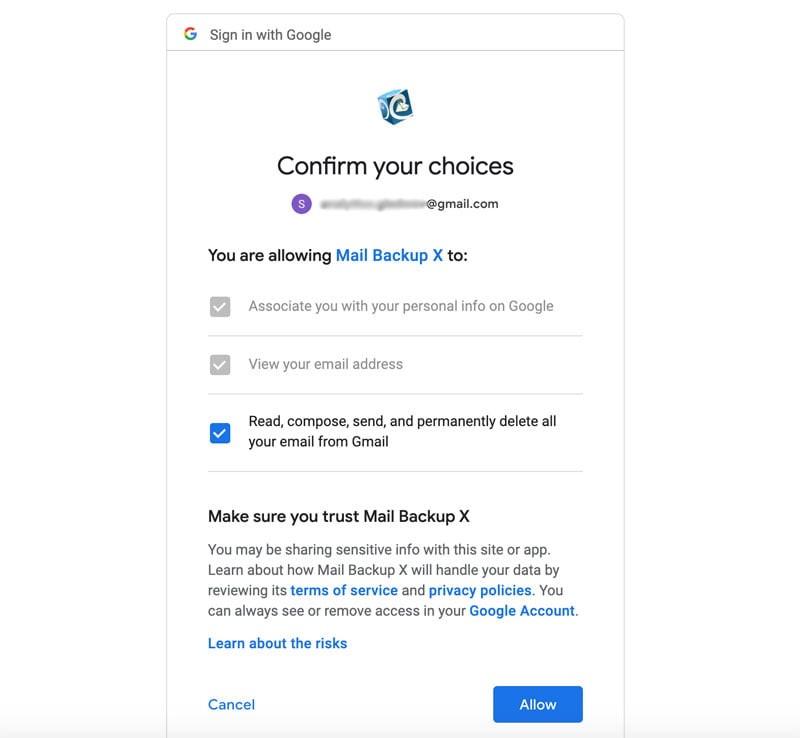
In the next window, you need to confirm the choices for the mail components that you want to be accessed for your backup file. It is best to select all options after which you will press Allow.
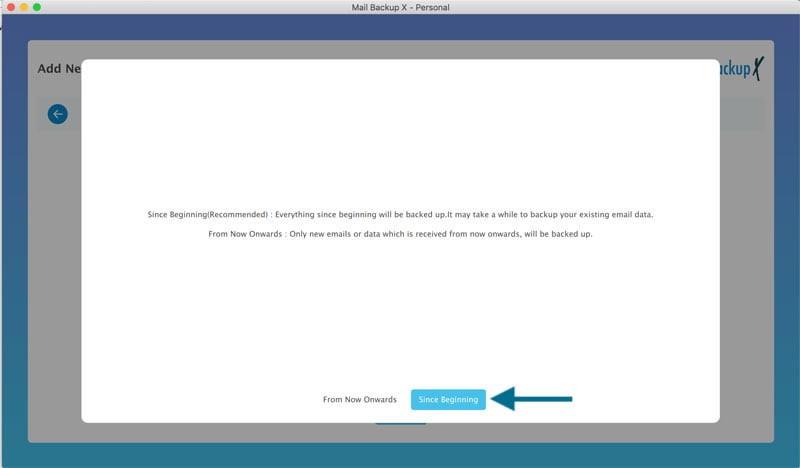
As the next window appears, you see a few settings where the recommended setting for backup is from the beginning. Another setting allows users to set a specific time period.
The window that opens now has filter item feature so that you do not feel forced to back up every mail folder. It works in a simple way as when the folders and items are displayed; you either select them for inclusion or deselect them for exclusion. You can select all folders. You can ignore empty folders. When you choose mail recovery option, then also you can exercise the option of selective recovery in the same way. After this press Continue and you will be taken to the customisation window.

The customisation window is a favourite with all users as they are able to personalise each backup profile with desired settings. Here, you are free to set storage location for the backups including Cloud storage and local storage. You are also free to map a USB drive to use for USB snapshots for a convenient portable backup modality. Other options that can be changed are backup frequency, dual encryption, backup pattern, etc. After doing this, click Save.
Now the backup G suite mail begins. You get a log report. You also have the option to view live progress.

Now try this tool https://www.mailbackupx.com/g-suite-backup/

