1 minute read
Step By Step Guide on Backing up Outlook Mac
Step 1: Please download and install the Mail Backup X Application on your Mac. Please follow the link for Install Instructions
Step 2: Once the installation is completed. Launch Mail Backup X from the Applications / Quick Launch Menu.
Advertisement
Step 3: You may start the fully functional trial run for 15 days or activate it if you have already purchased a license.
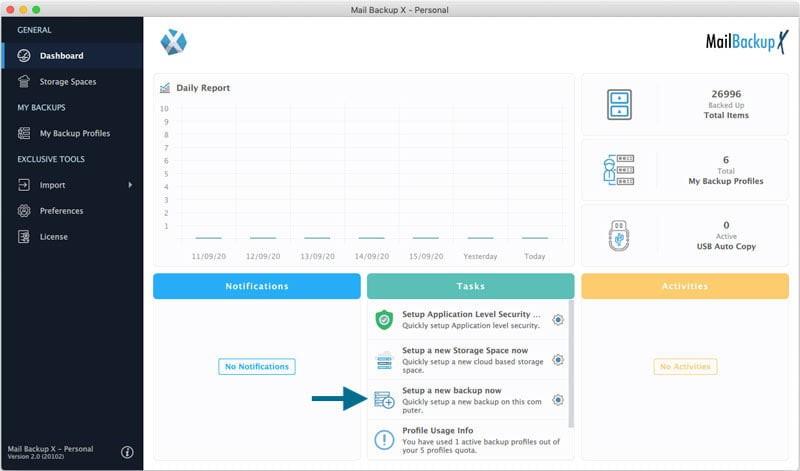
Step 4: Please select the option to set up a New Backup Profile from the Dashboard by choosing option “Setup a new Backup”
Or You May Click My Backup Profiles on the Left side Bar in Dashboard > and Click “Set up a new Backup Profile”
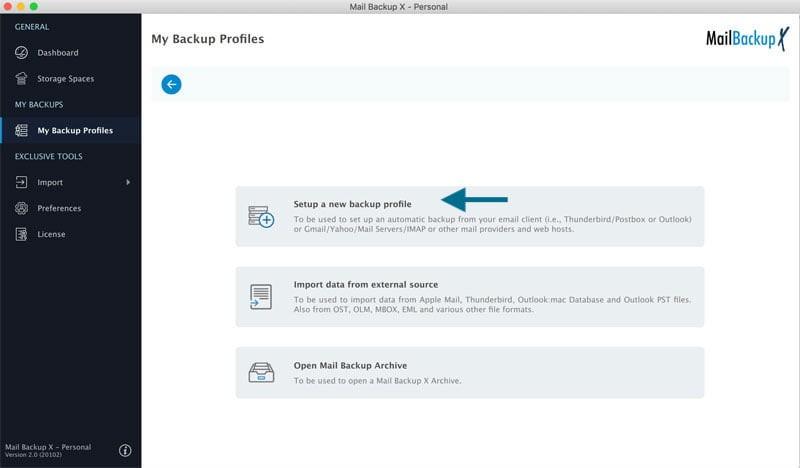
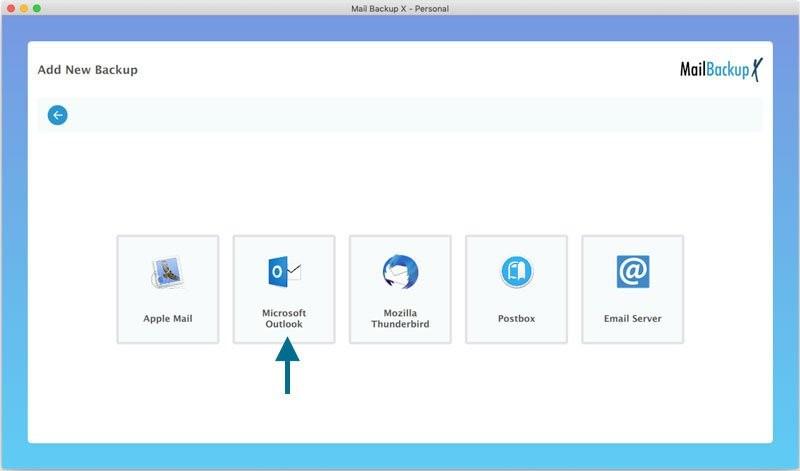
Step 5: You Will be presented options of popular Mail Clients Supported by Mail Backup X > Choose Microsoft Outlook and proceed to next step
●
To remember: Users who have not allowed full disk access to the tool while installing it might face an errorinthisstep.
The App is intelligent to locate all installations on your system related to Microsoft Outlook be it 2011, 2015, 2019 or Office 365.
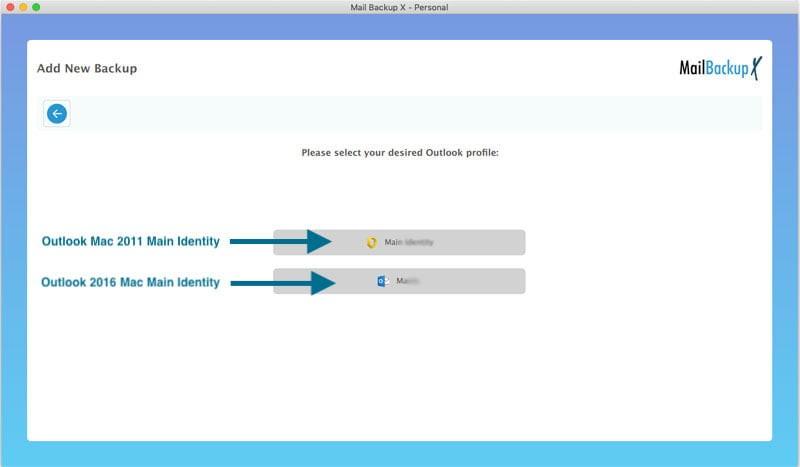
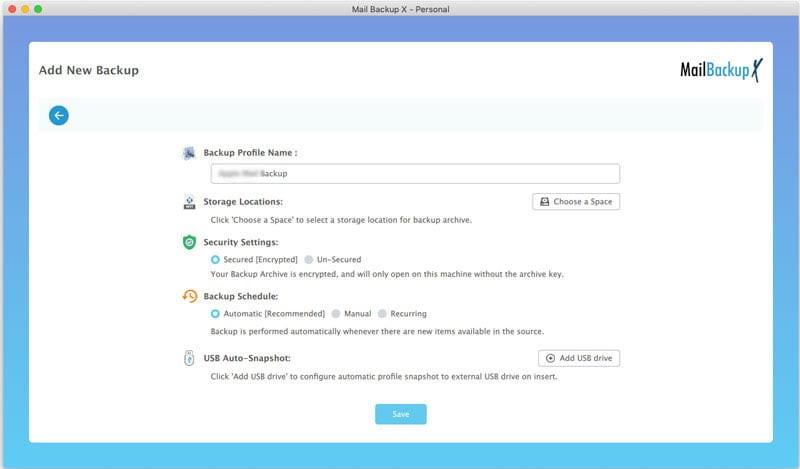
Step 6: Mail Backup X will Read and display the Folder structure specified by you in Outlook Mac Mail Accounts.
Please select/ deselect the folders you would like to be automatically backuped from Outlook Mac 2011 / 2015/ 2019 / office 365.

Step 7: Now you are presented with Advanced options like setting:
