2 minute read
Painting Process: Kaiya and the Tasty Sandwich
MY PAINTING
by Alex C. (Grade 11)
PROCESS
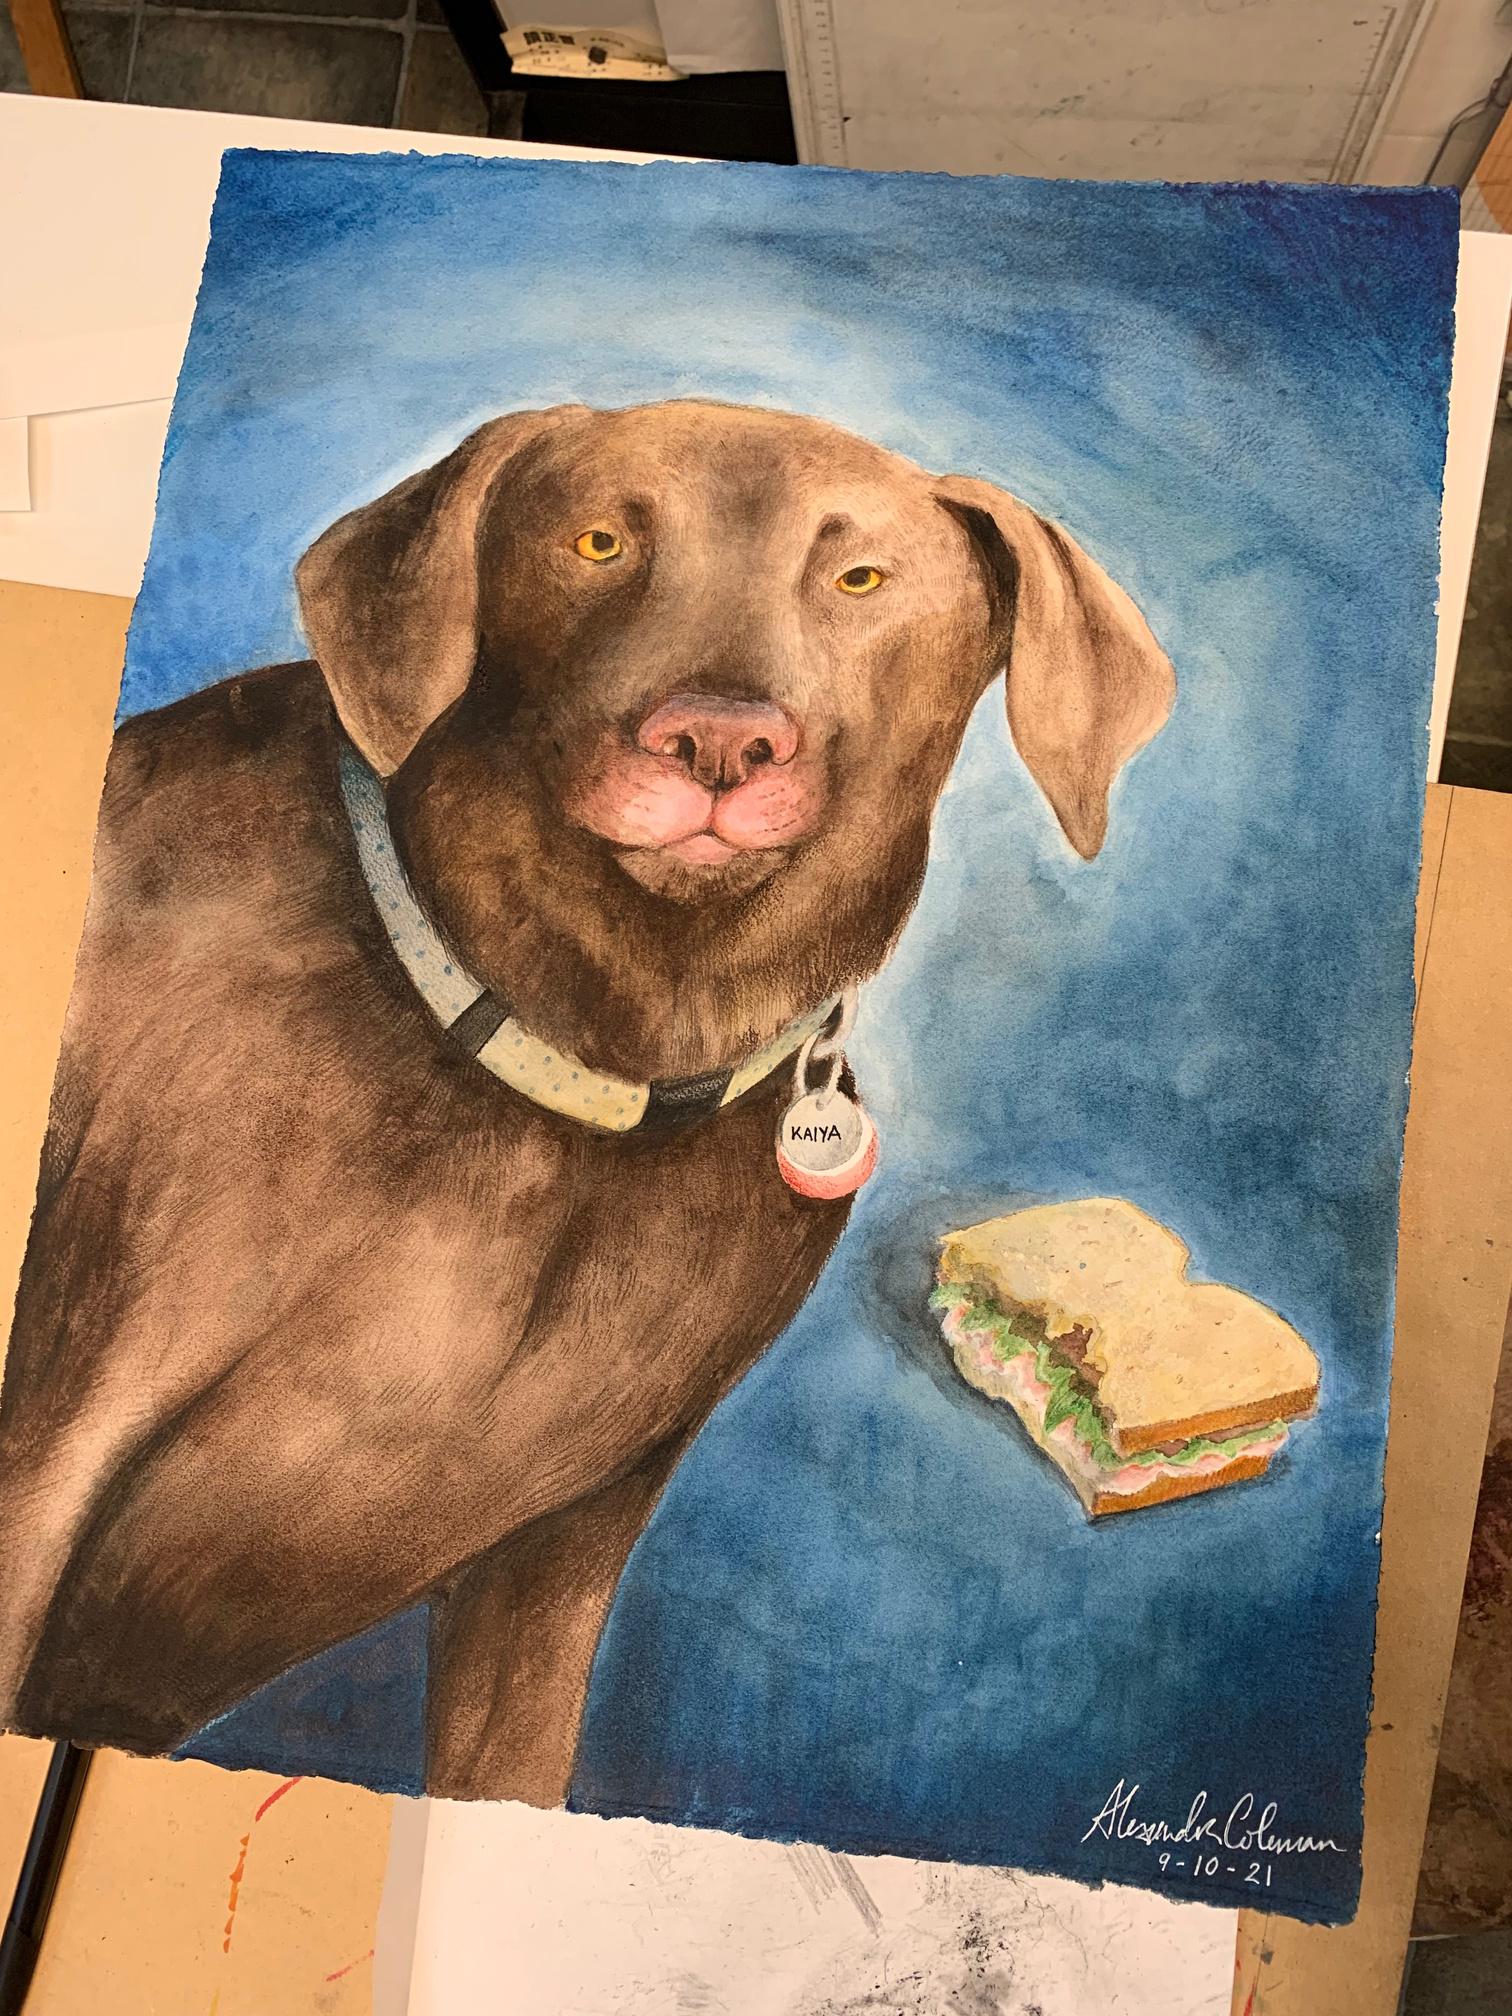
Over the summer, I made a painting called Kaiya and the Tasty Sandwich. This piece is in memory of my very tasty sandwich that was stolen and eaten by my dog, Kaiya. I would like to share my painting process with you all.
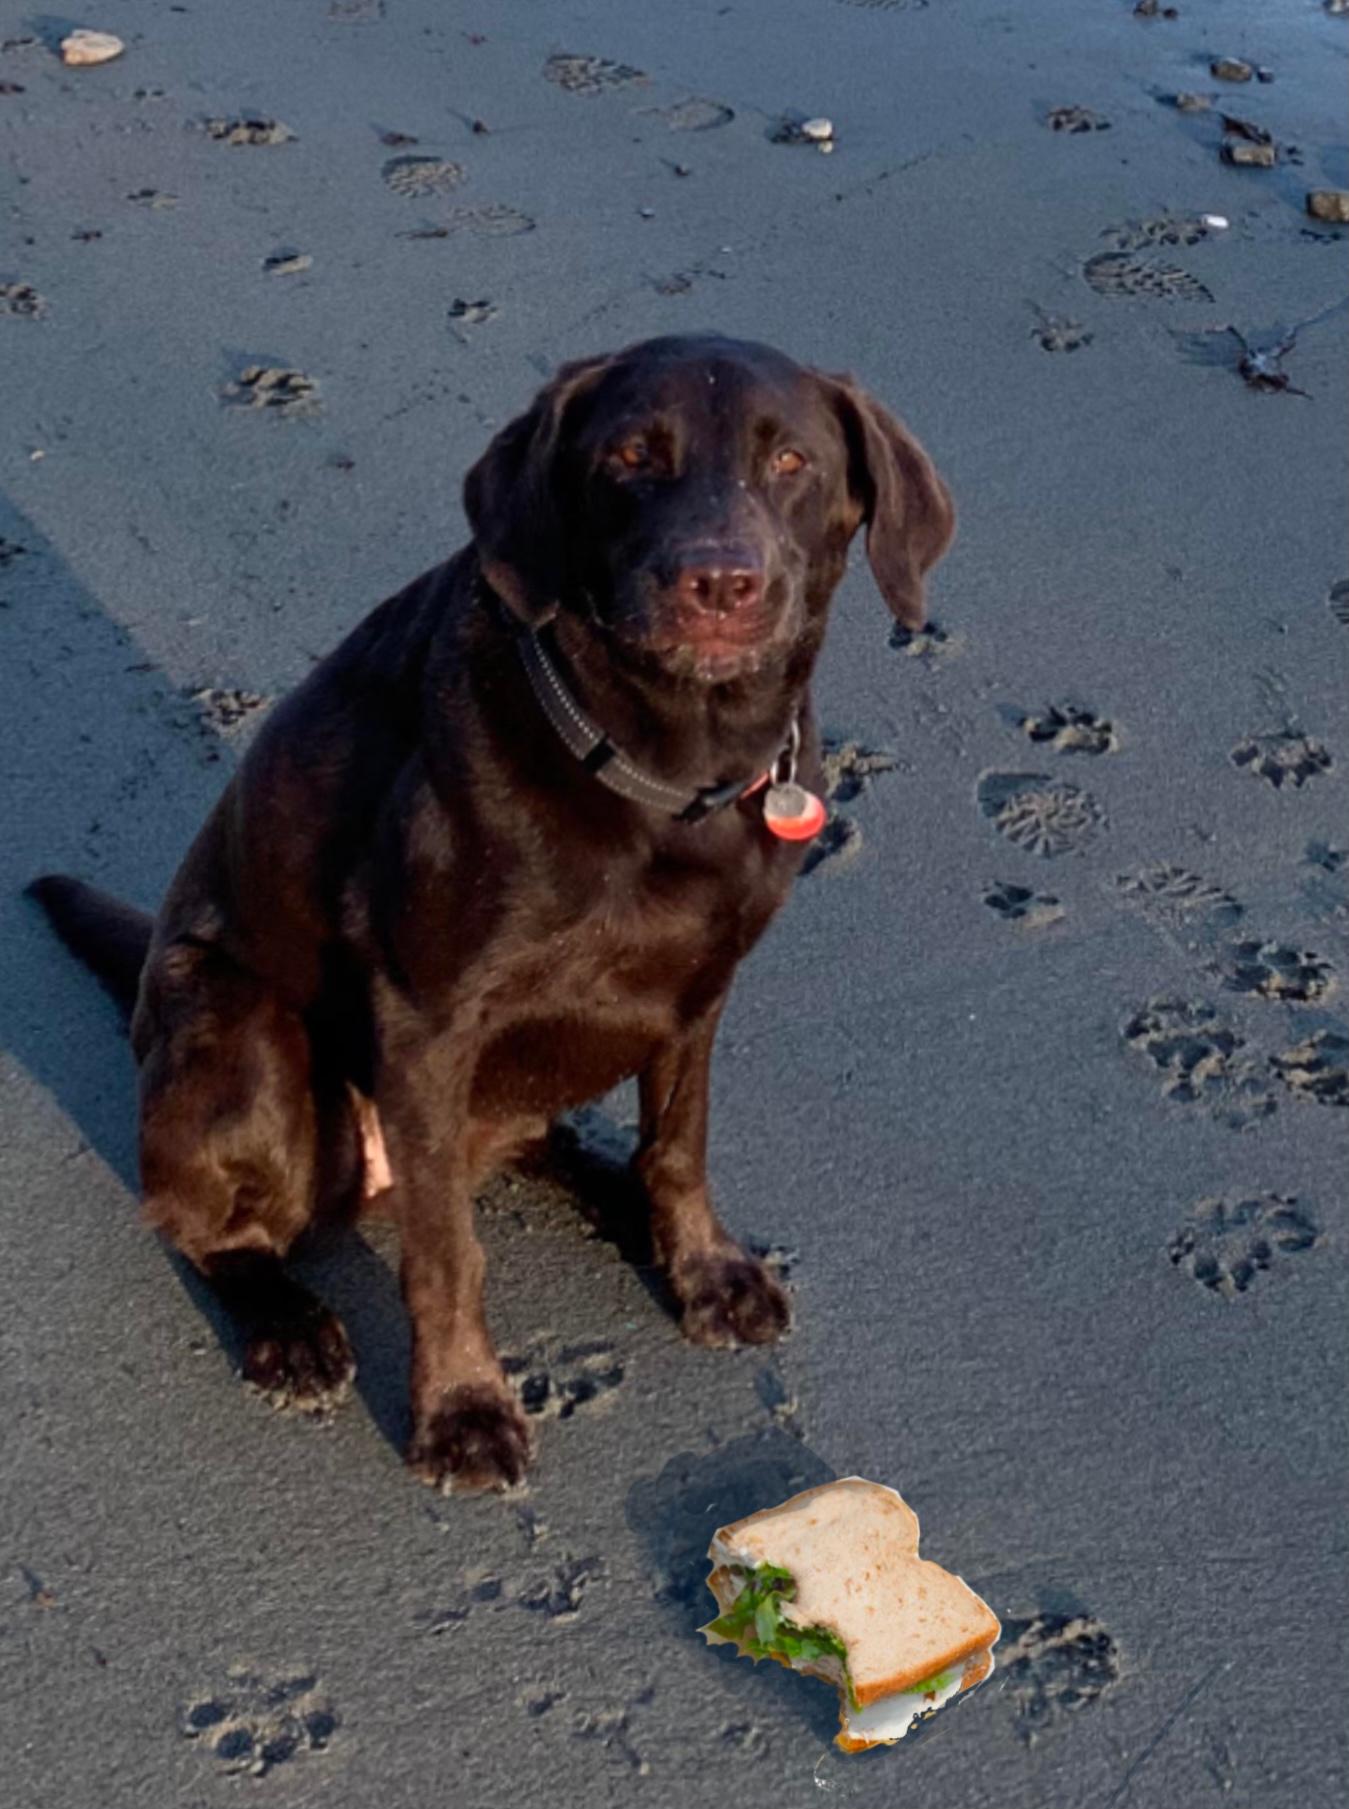
STEP 1: REFERENCE 1
This was the image I used as a reference for my painting. It was not taken at the scene of the crime. This photograph was taken by my mom and I thought it was perfect due to Kaiya's guilty expression and pink lips. I added a sandwich using Photoshop. Notice how I have given it a shadow that has the same light source as Kaiya.
2
STEP 2: DIRECT TRANSFER
Now it was time to start the painting. I made a sketch by tracing the outline of the reference image. This is how I did the direct transfer: First, I hung a piece of watercolour paper on the wall of a dark room. Second, I used a projector to project the image onto the paper. Third, I traced the outline of the image with a pencil. Finally, I was left with a perfect sketch!!! At this stage, I decided to change the composition of the piece. I made Kaiya more zoomed in and put the sandwich in the background behind her. I thought this added to the storytelling of the piece. It is as though the viewer of the painting has caught her in the act.
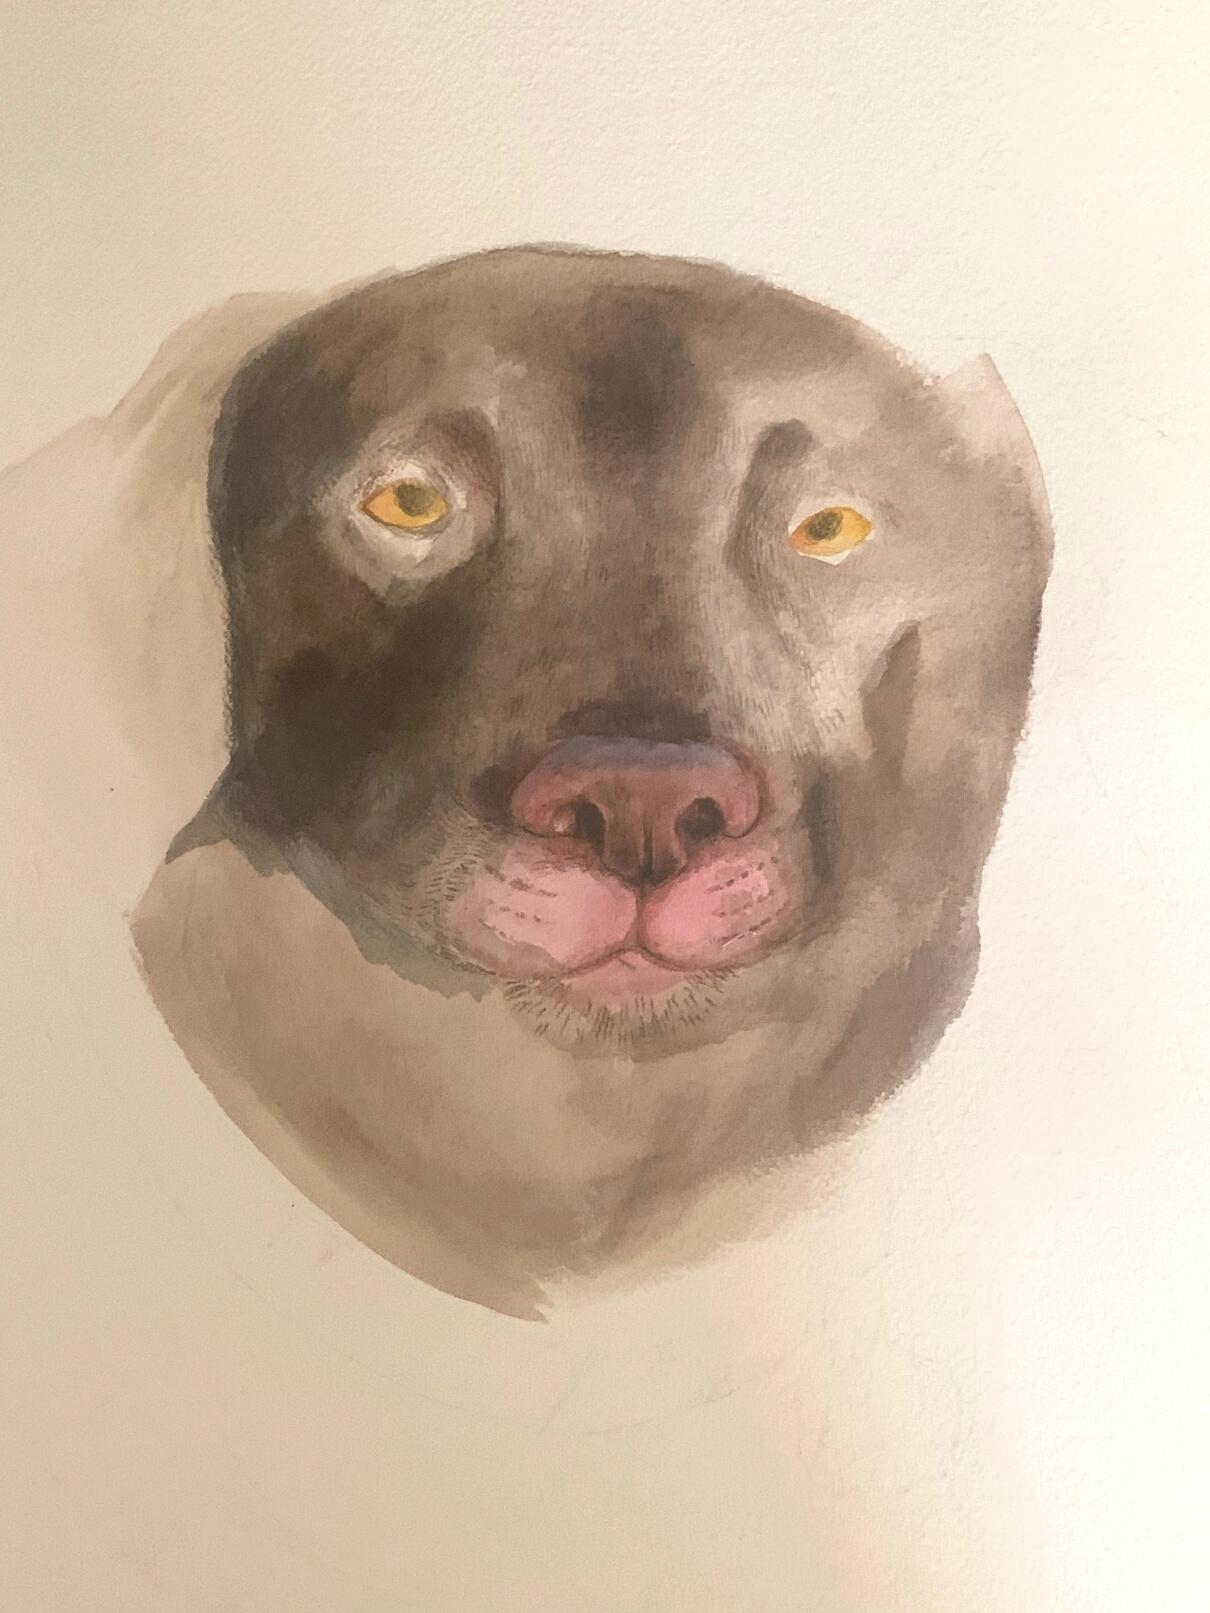
STEP 3: PAINTING KAIYA 3
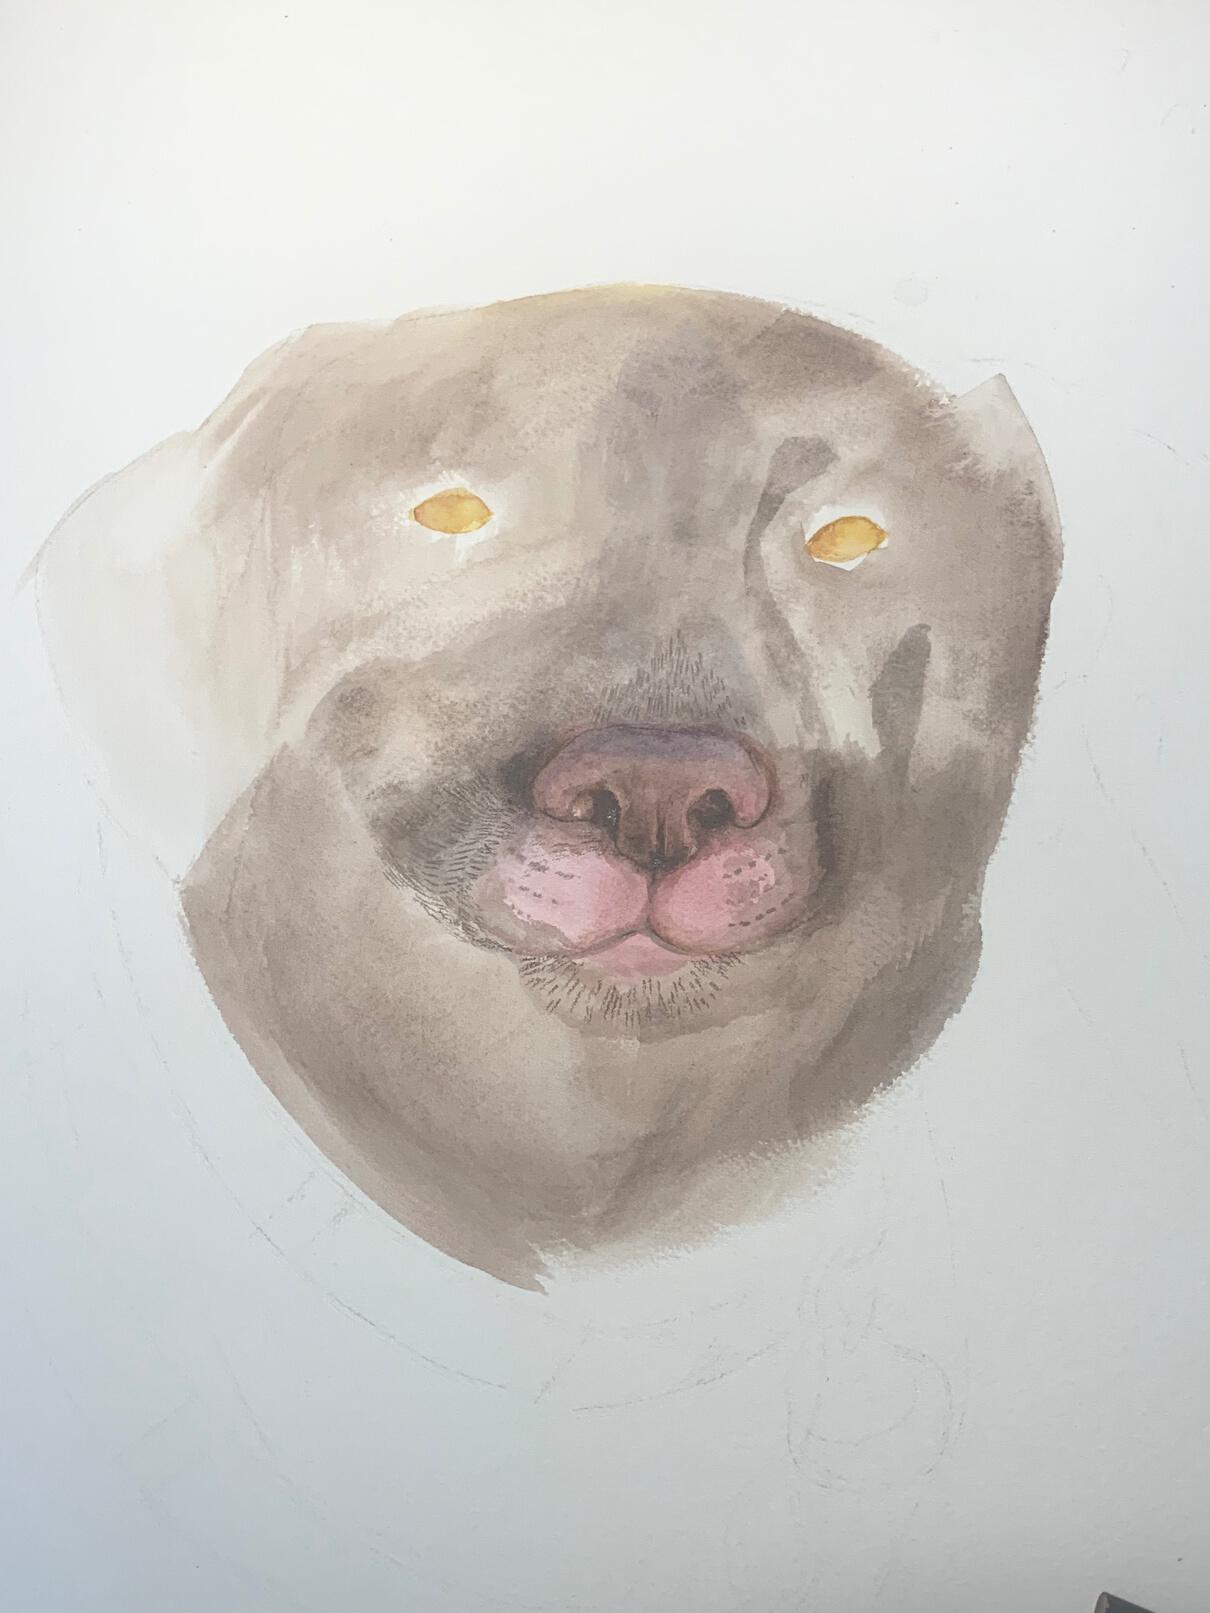
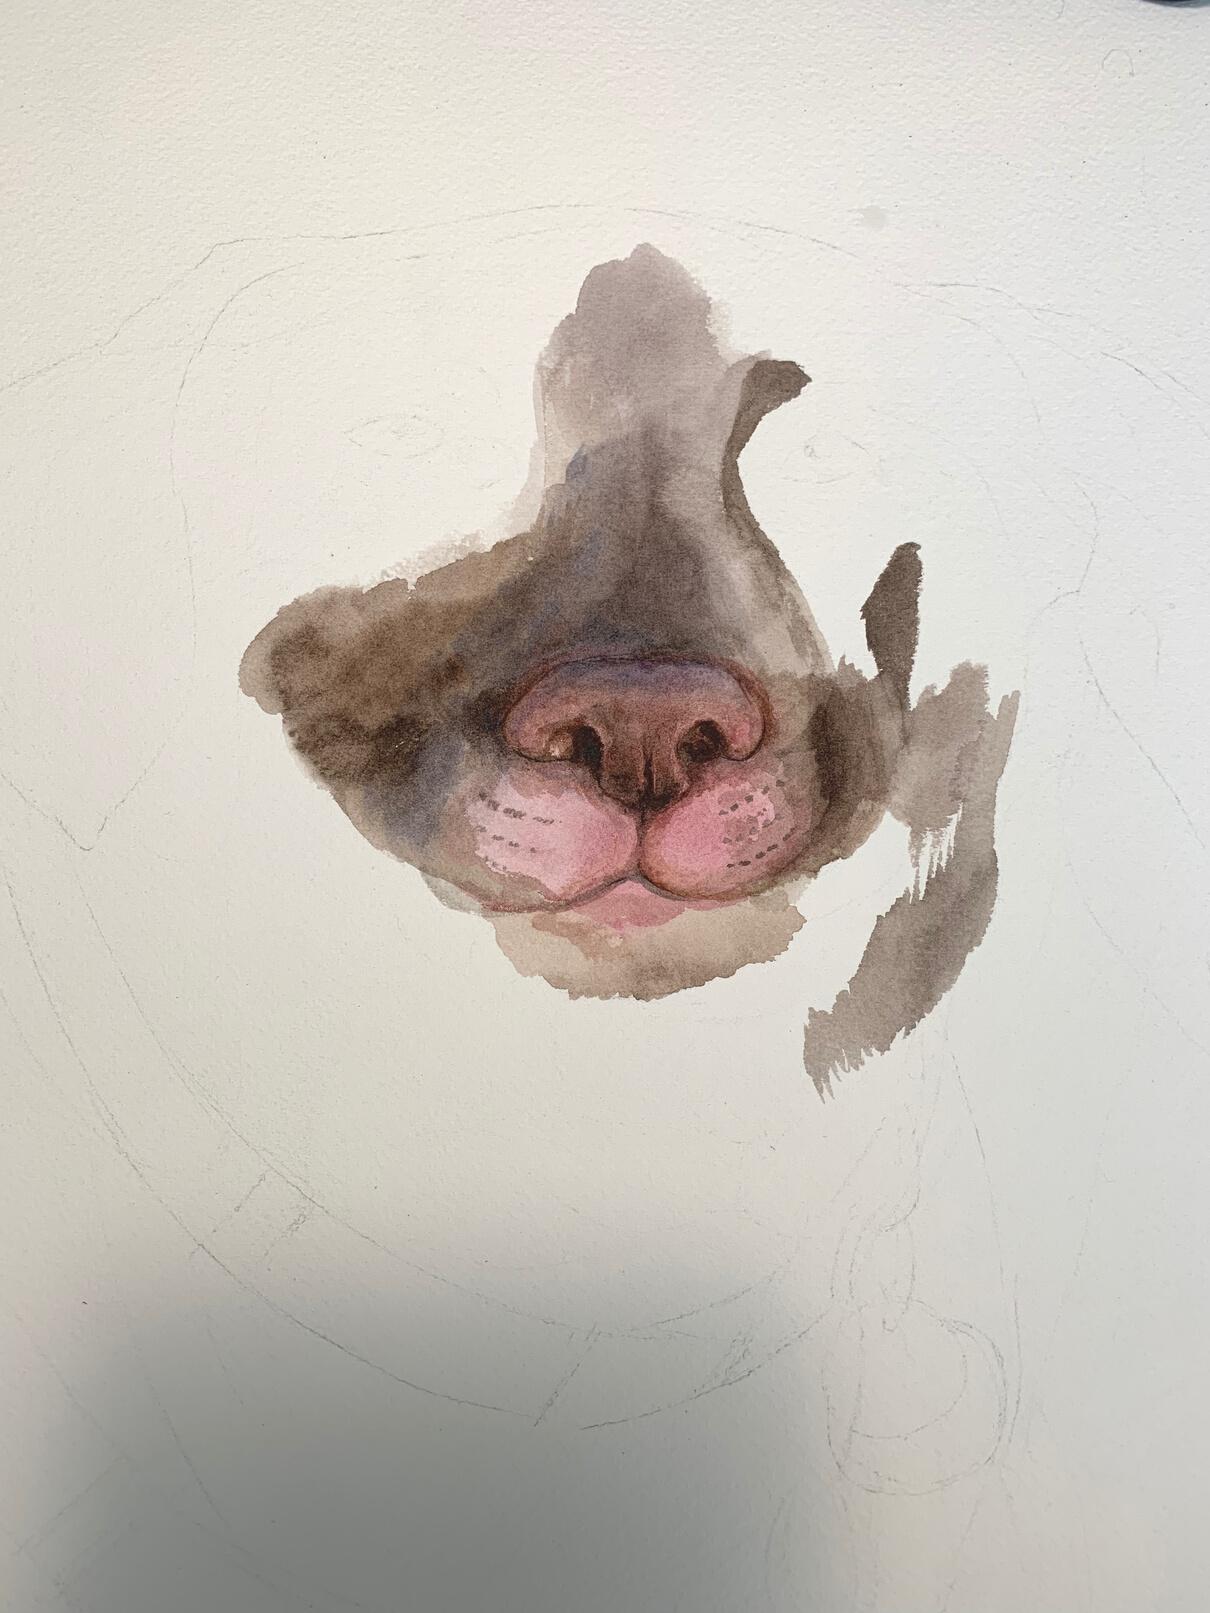
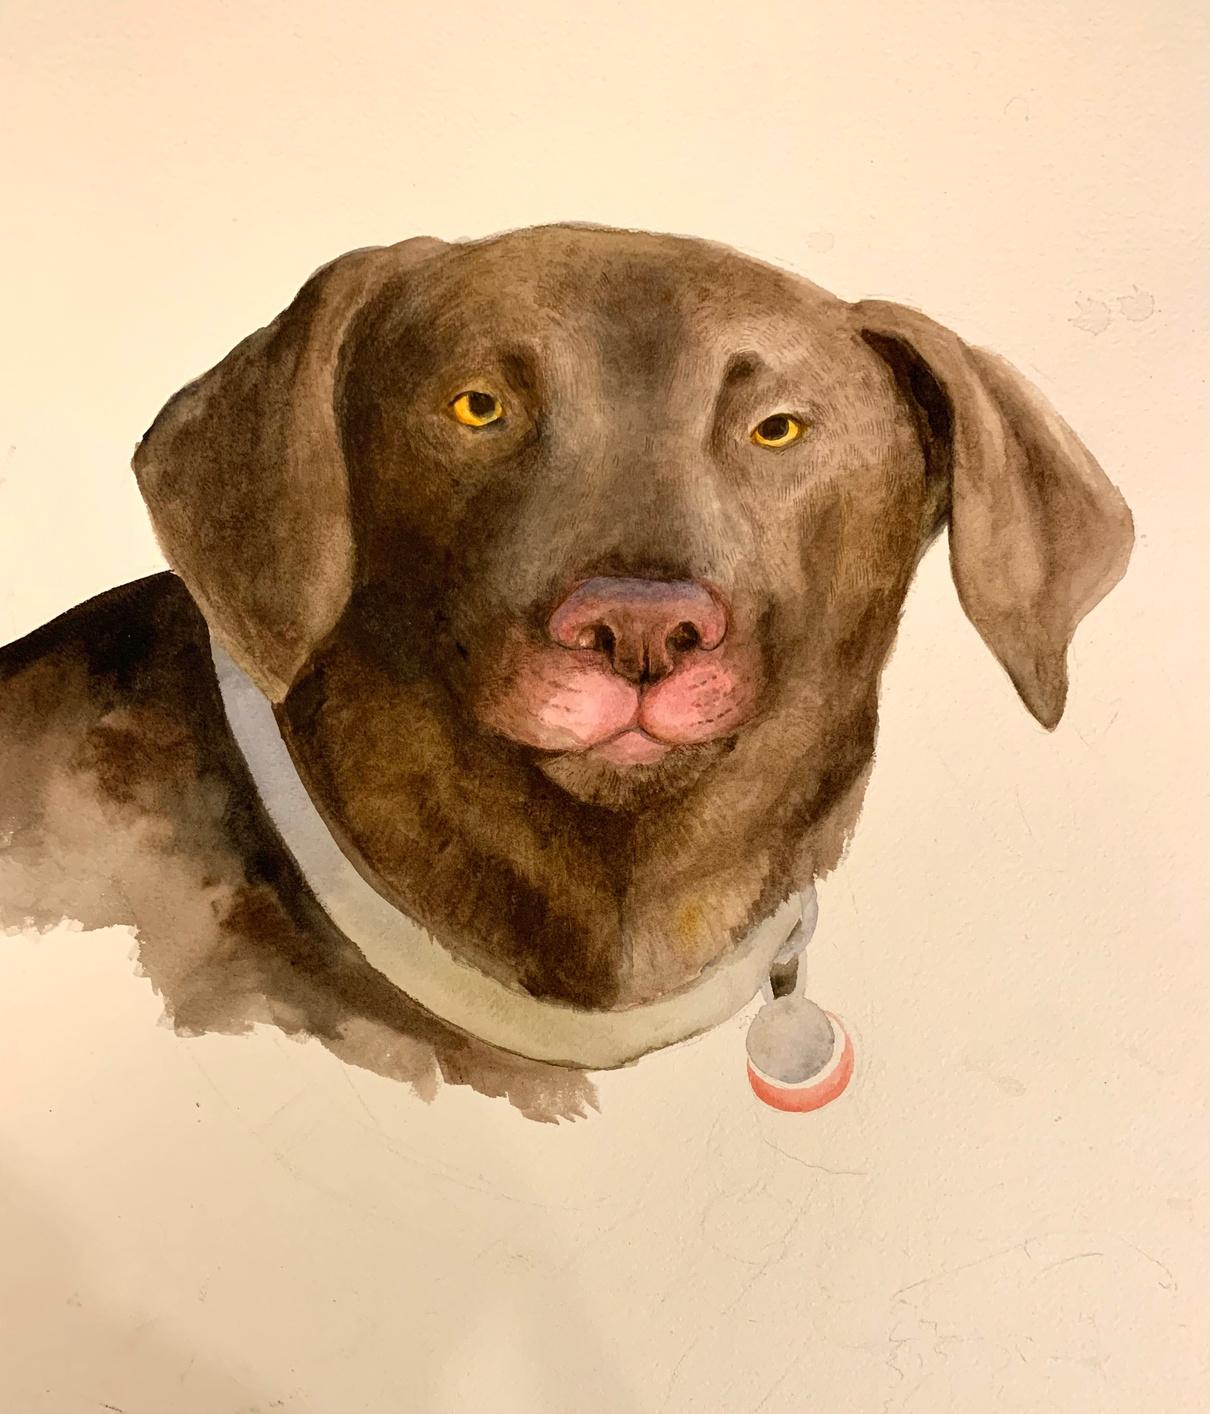
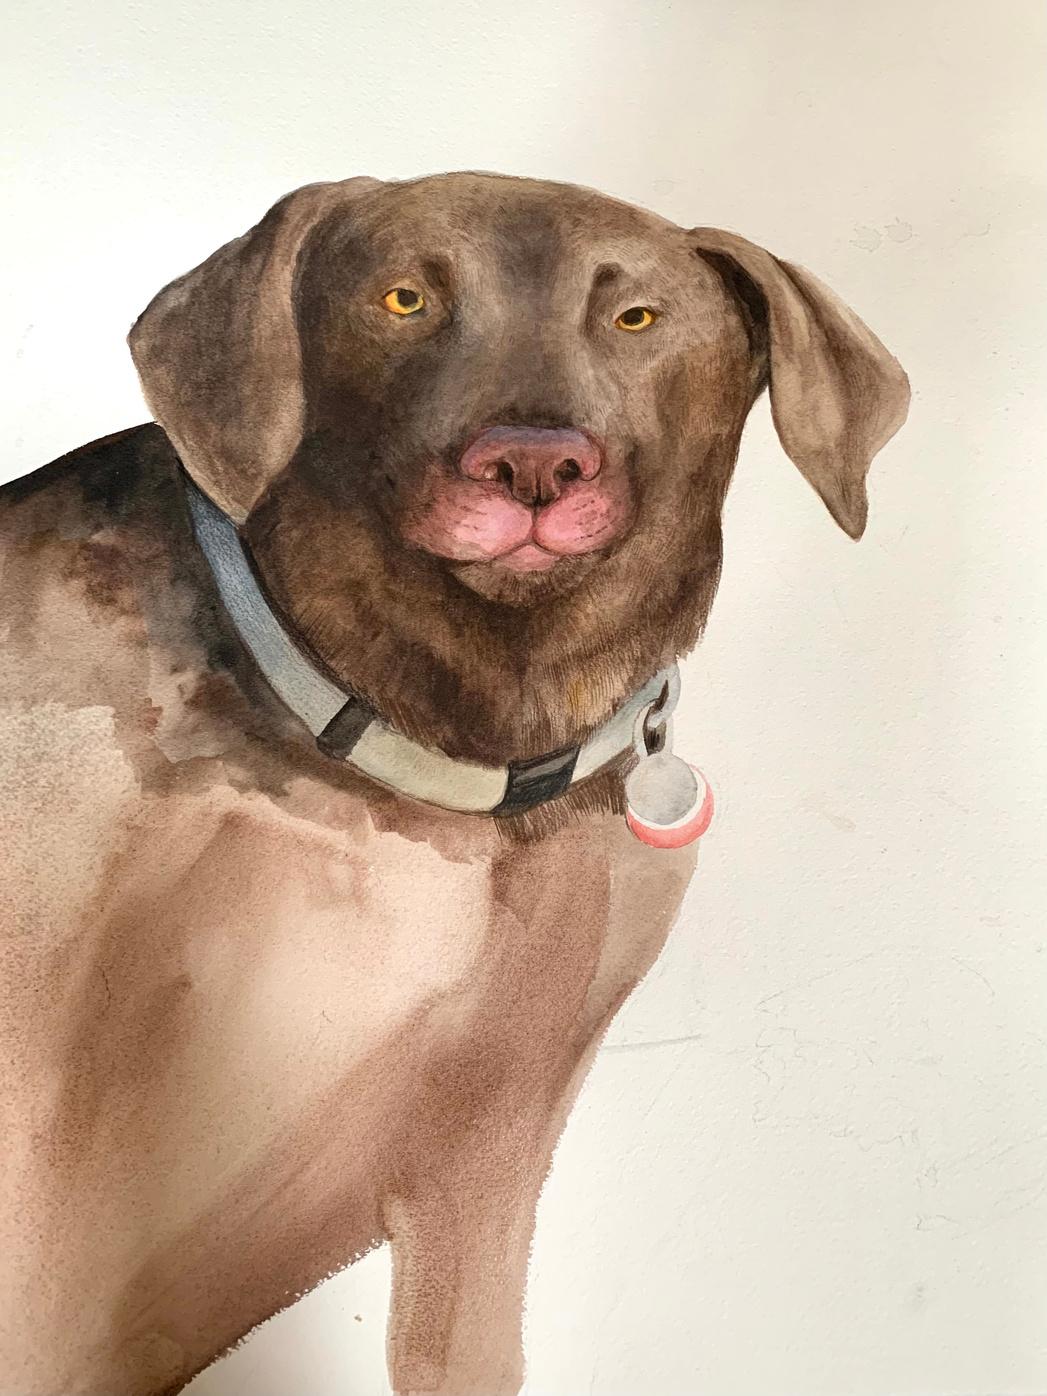
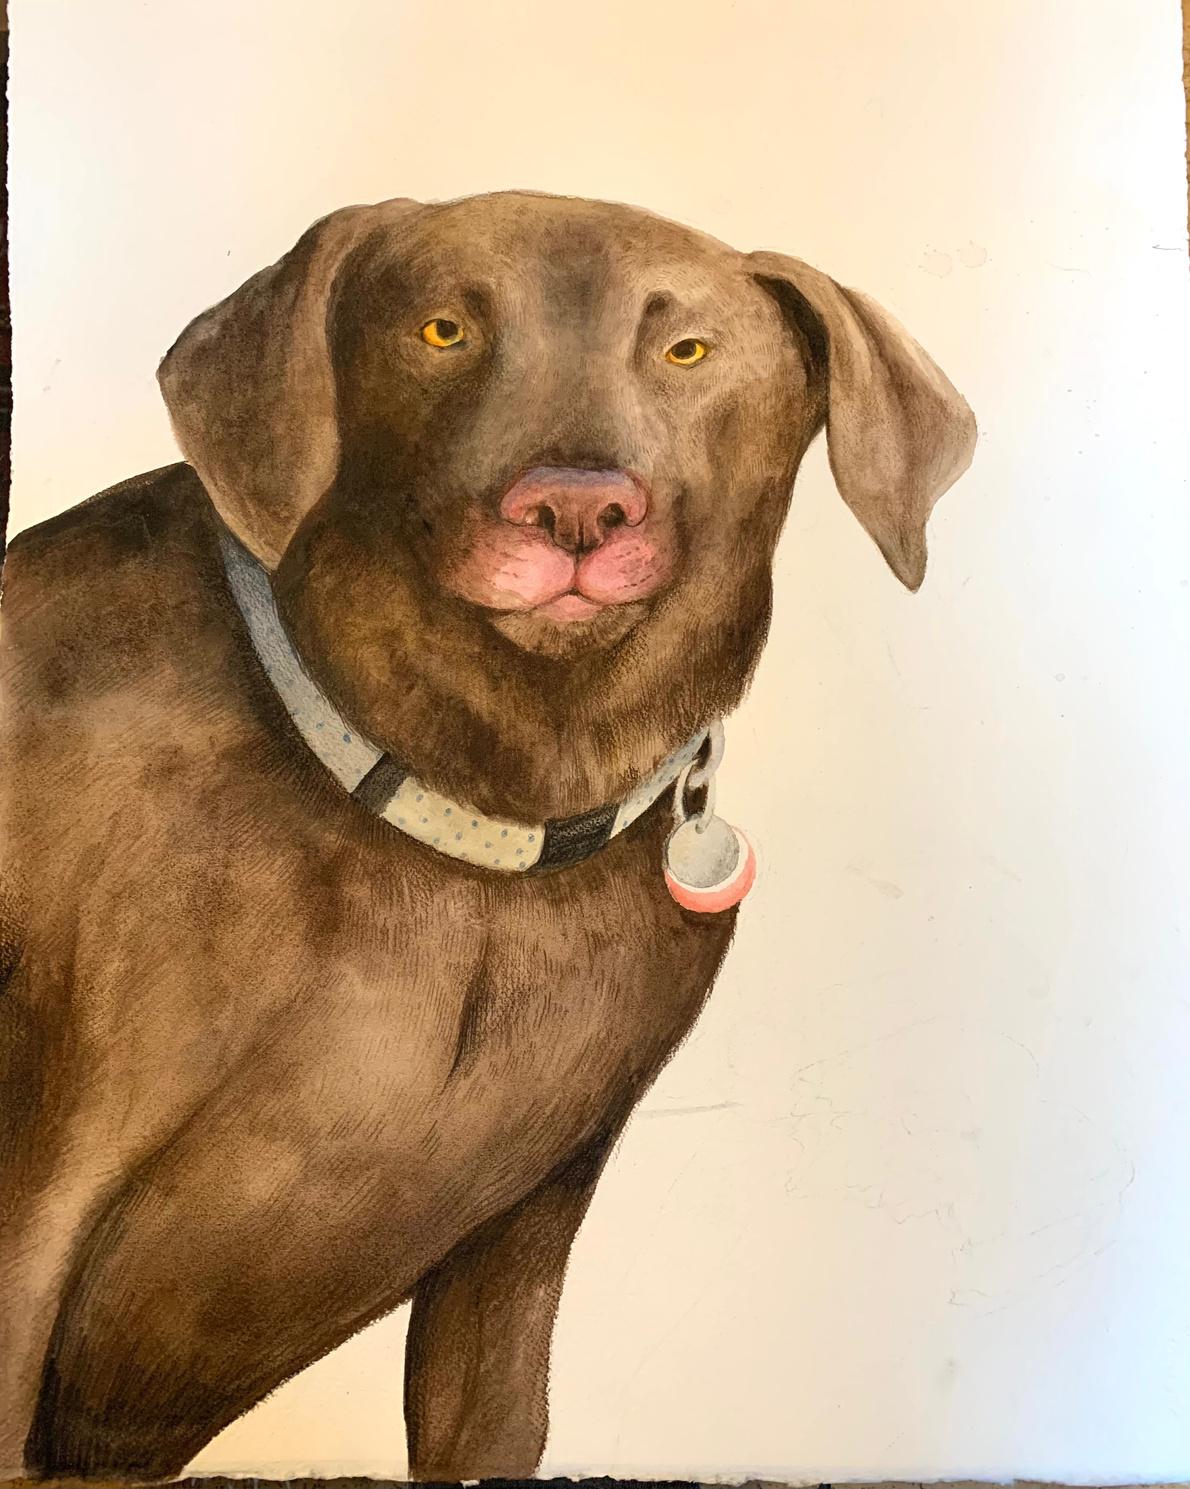
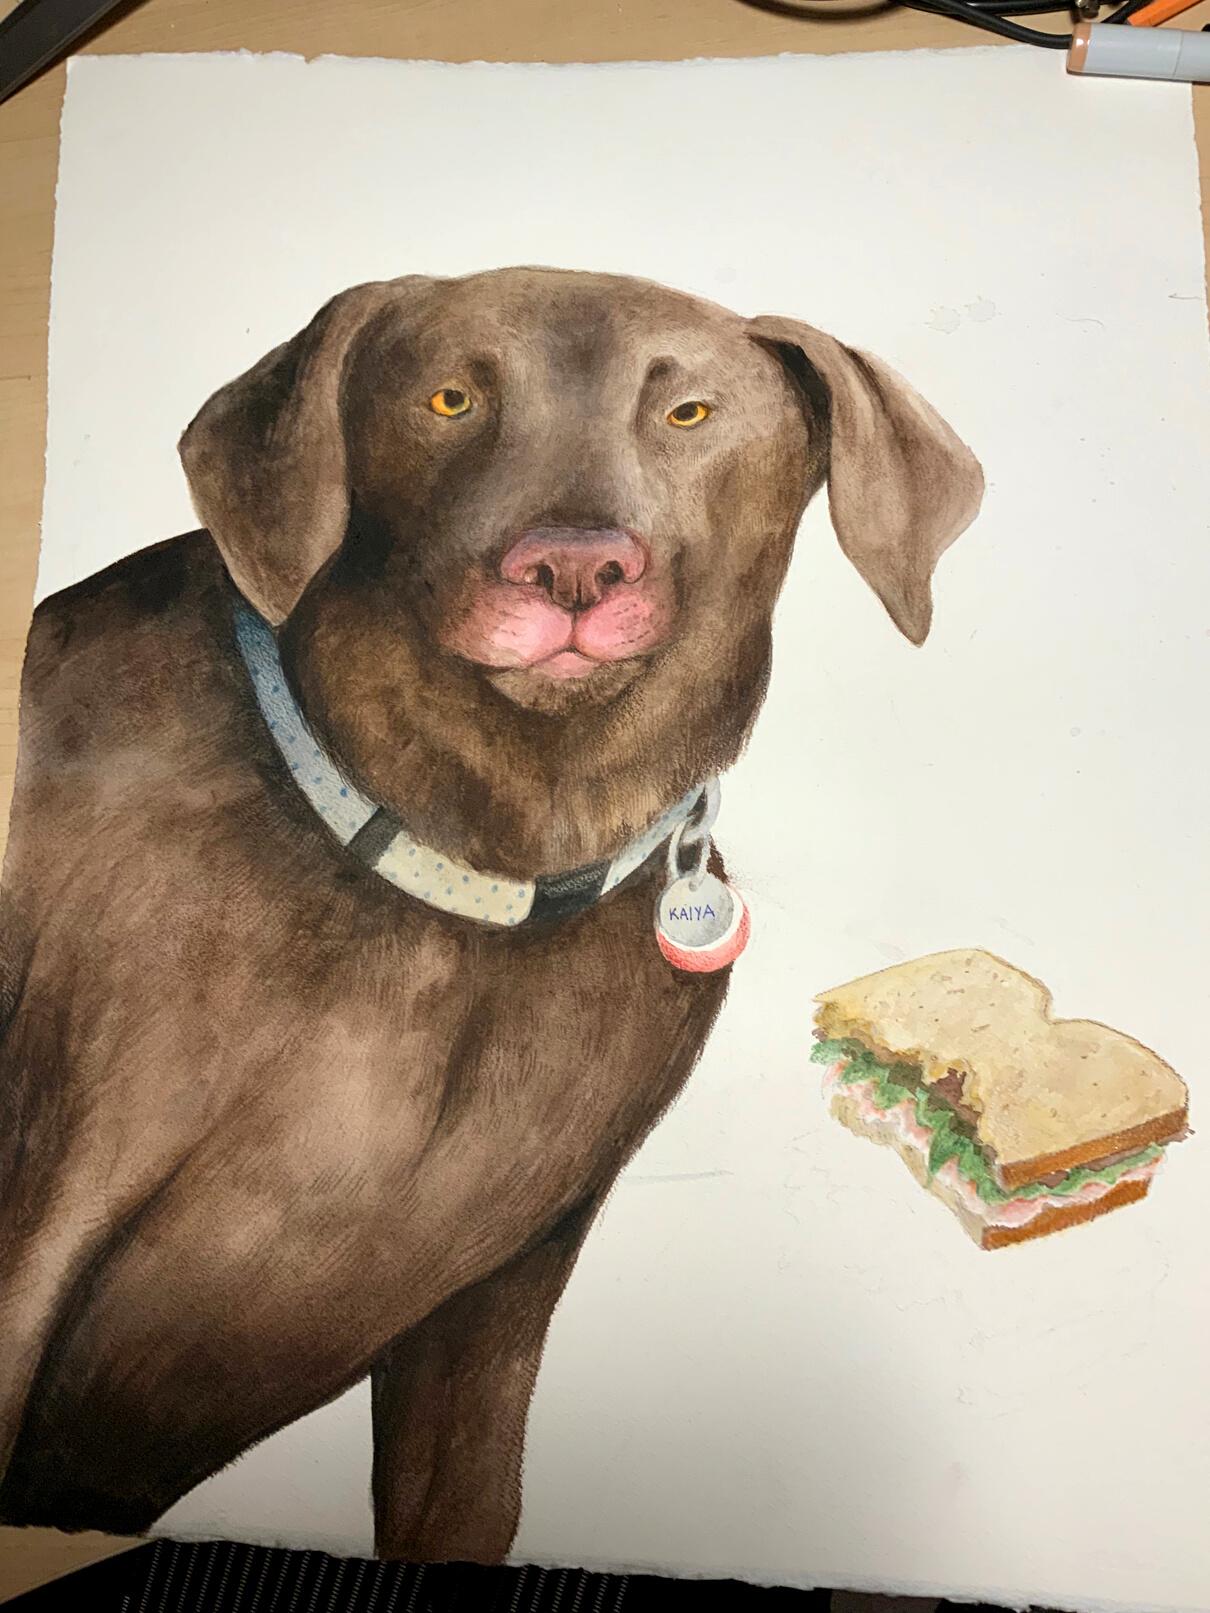
I painted Kaiya using watercolour paints and added details using oil based Prismacolor pencils. I copied the colours and shading from the reference image.
STEP 4: THE SANDWICH
It was time to paint the sandwich. I used watercolours and then added some small "bread dots" using a Copic marker.
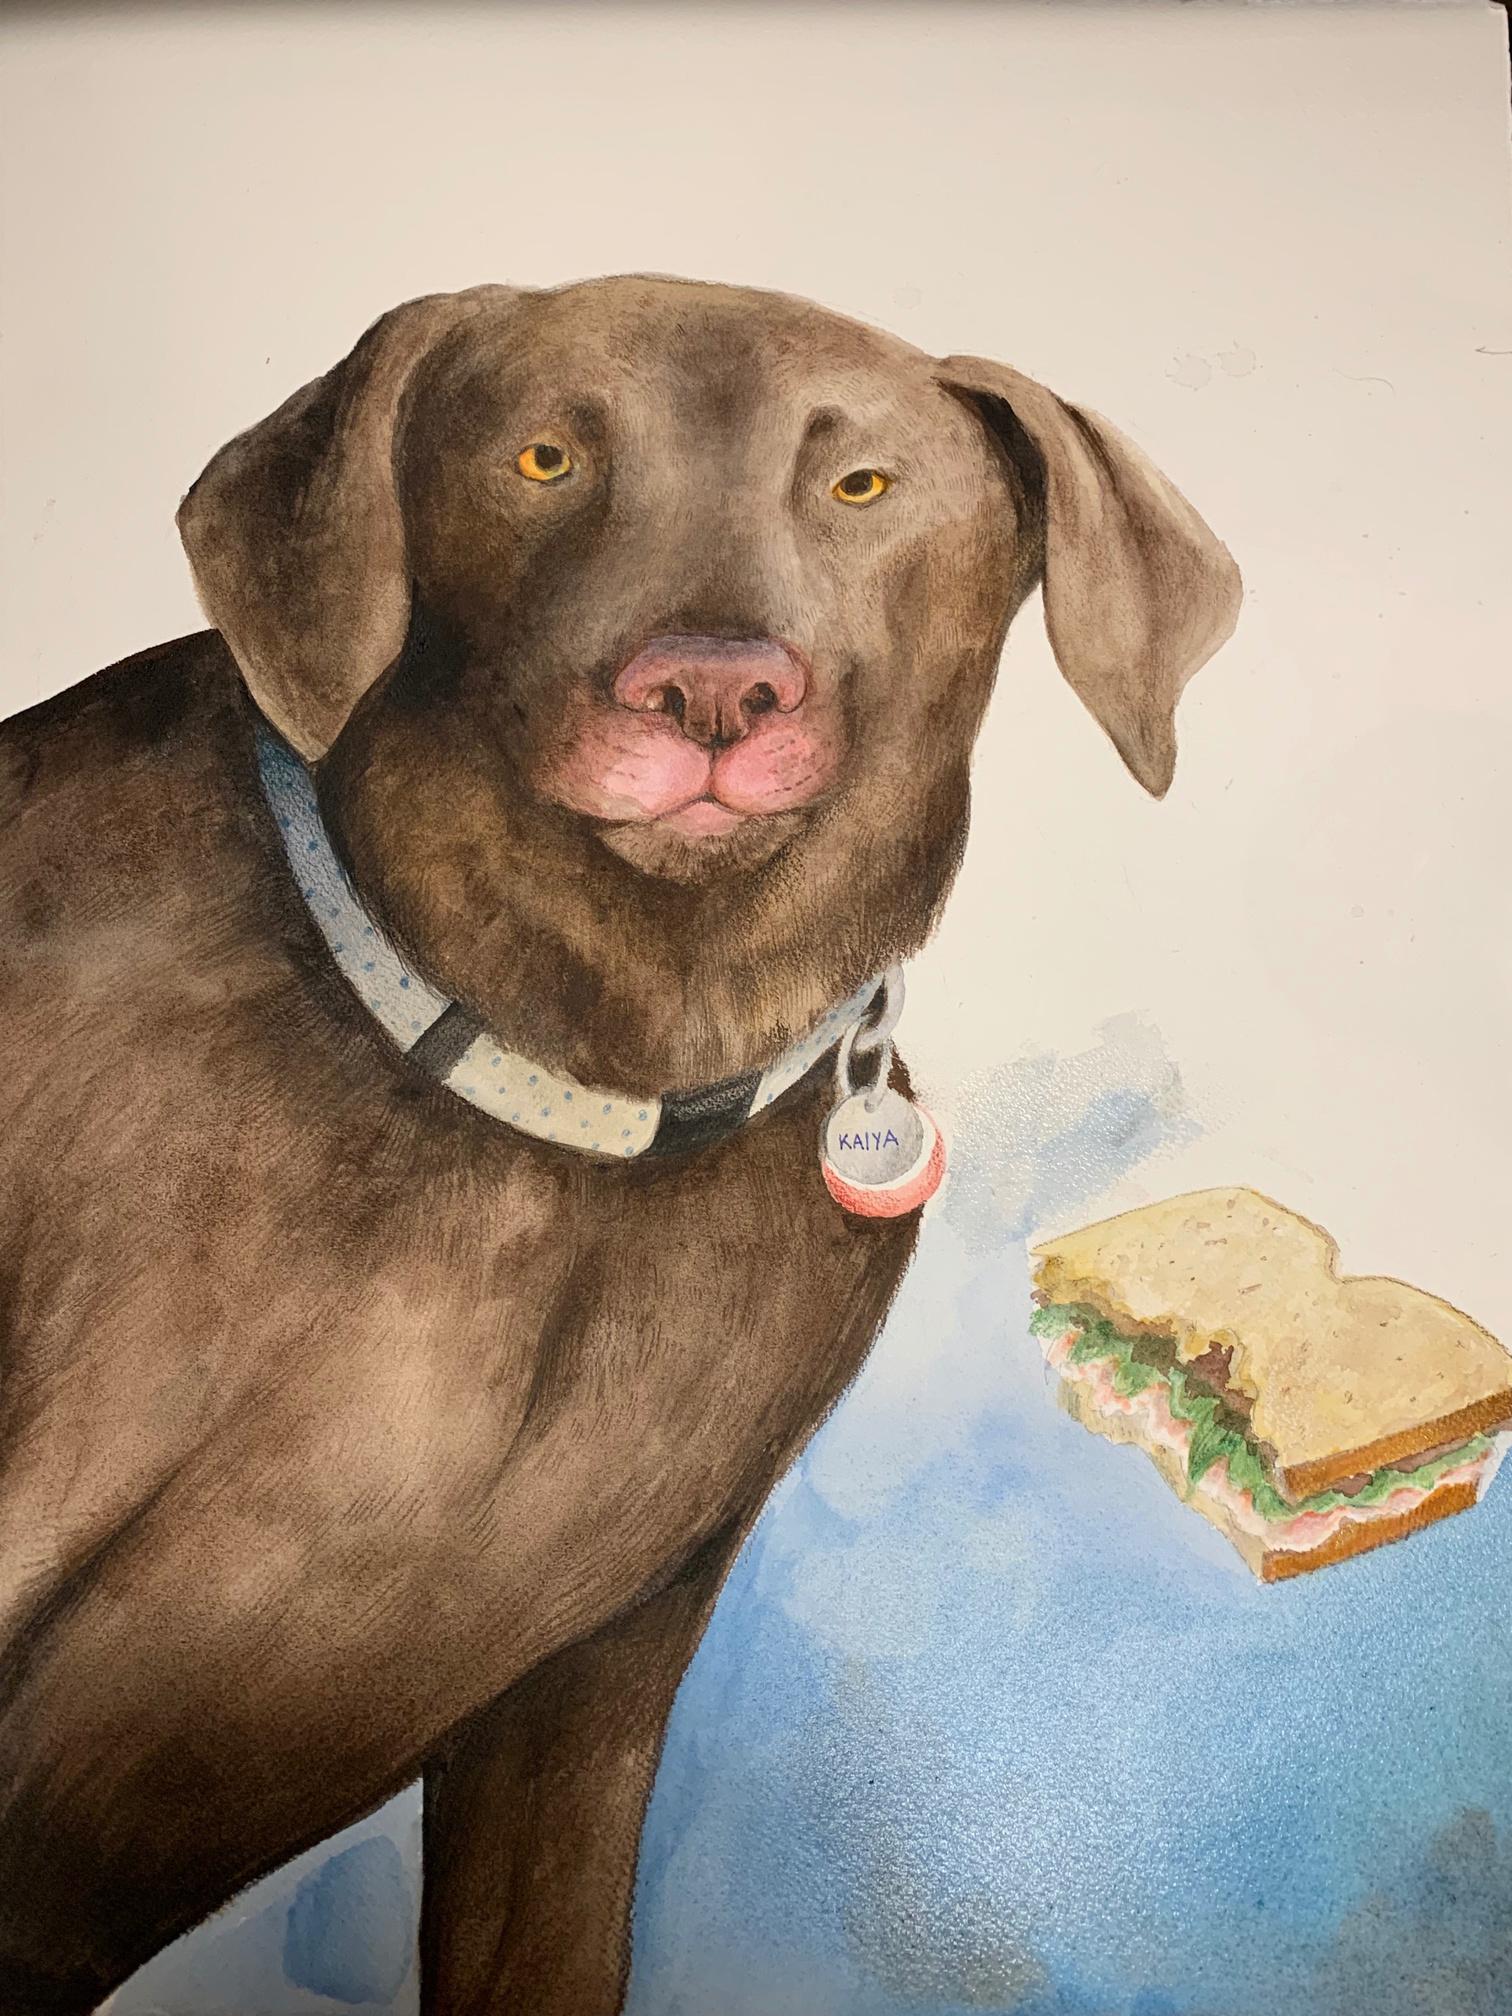
STEP 5: BACKGROUND & FINISHING TOUCHES 5
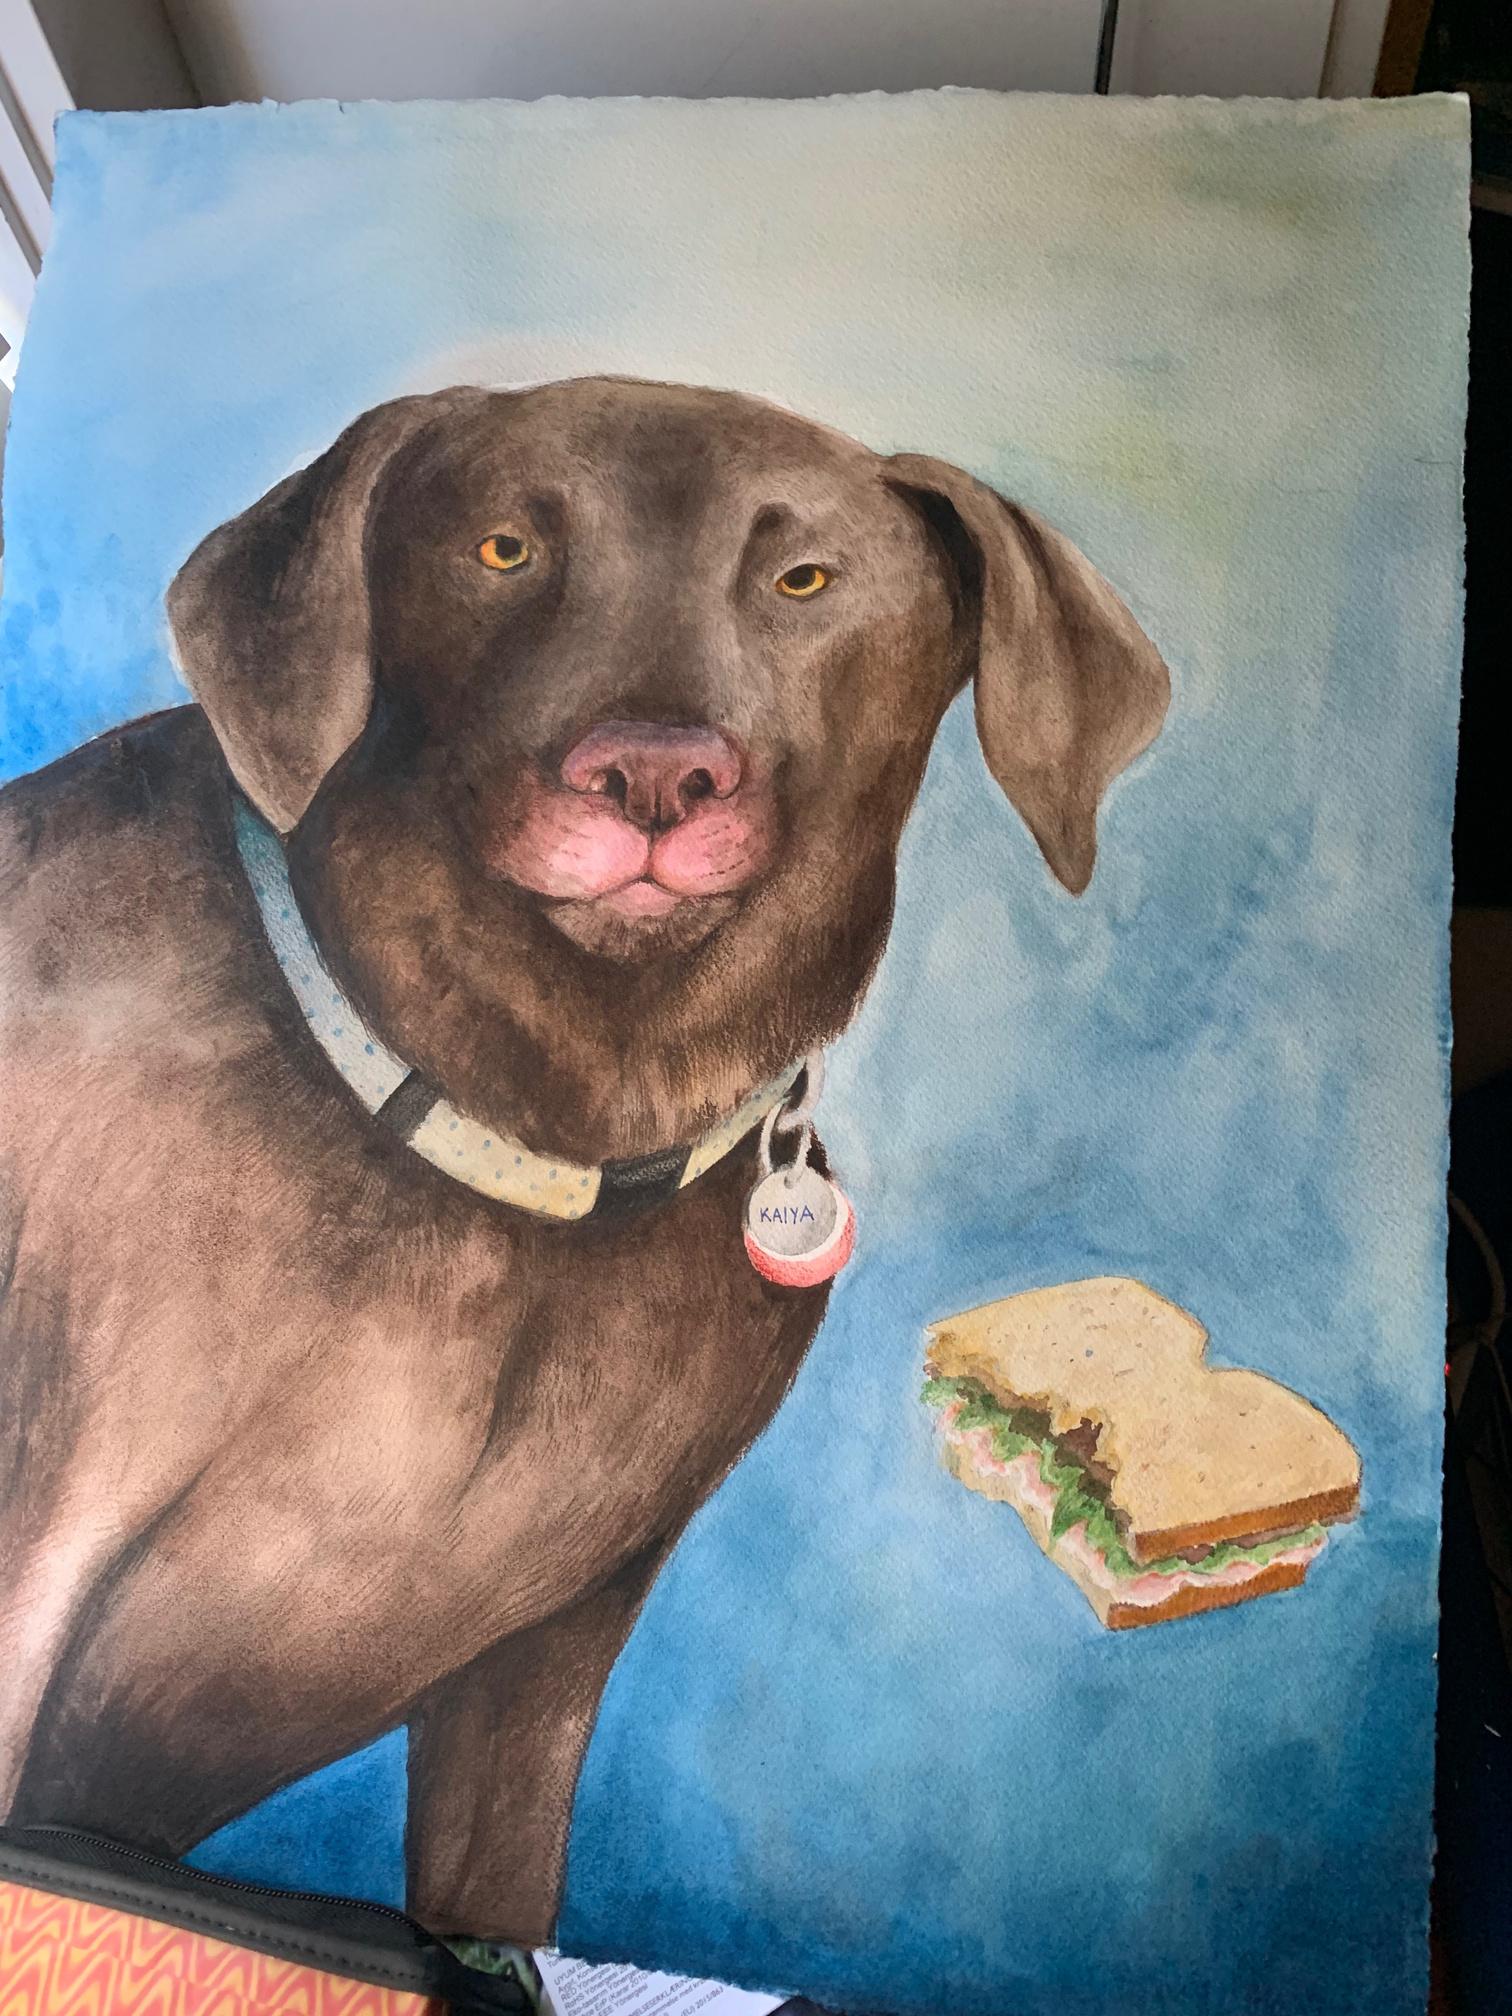
The last thing I did was painting the sandwich's shadow and writing my signature on the bottom of the page.
Now the painting was finished!
I started making it on August 28th, 2021 and finished on September 10th, 2021.
I would estimate it took 8 hours to make.
