
3 minute read
Replacing the Components


Replace all the 2D imported block/components with 3D pre-made or custom components. This process is simple. Double-click any given component (Fig. 19-7). Once in the component instance, directly insert the desired 3D component into the component instance (Fig. 19-8).
Fig. 19-7: The diagram shows the component instance of the Tree 1. The edges in the component are selected; all instances of the edited component will be edited through this single component.
Advertisement
Fig. 19-8: The 3D Tree component is inserted directly into the edited block/component.

Adjust the imported 3D component to sit correctly (on center) within the block. Once adjusted, delete all the 2D edges and keep only the 3D component (Fig. 19-9).

Fig. 19-9: The 2D edges are deleted and only the 3D trees remain, instantly populating the site plan with trees.
Continue to replace the 2D component blocks with 3D SketchUp components, as demonstrated in Fig. 19-10 through Fig. 19-24. Bollards (Fig. 19-10, Fig. 19-11), pedestrian lights (Fig. 19-12, Fig. 19-13), benches (Fig. 19-14 through Fig. 19-16), fountain heads (Fig. 19-17, Fig. 19-18), tables and chairs (Fig. 19-19, Fig. 19-20) and additional trees (Fig. 19-21 through 19-24) are swapped.
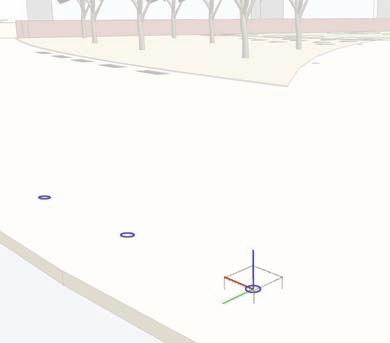
Fig. 19-10: Editing the 2D Bollard block/ component. Fig. 19-11: The 3D bollard being inserted into the 2D component instance of the imported AutoCAD block/component.


Fig. 19-12: A component instance of the 2D Pedestrian Light block/component.
Fig. 19-13: The 3D Pedestrian Light component is inserted directly into the imported Pedestrian Light block.
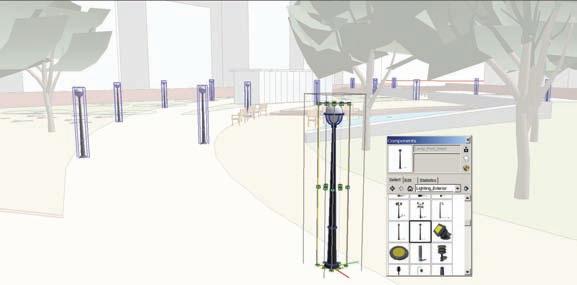
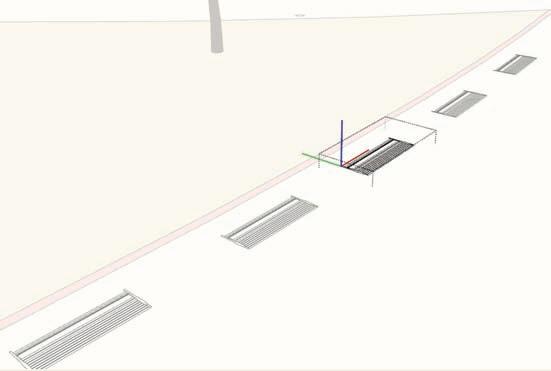

Fig. 19-15: The inserted 3D Bench component. The 3D component needs to be rotated and adjusted to face the correct direction. To universally adjust all of the benches, do this while you are working in the component instance.

Fig. 19-16: The adjusted 3D Bench component.

Fig. 19-17: The Water Fountain Spouts component instance.
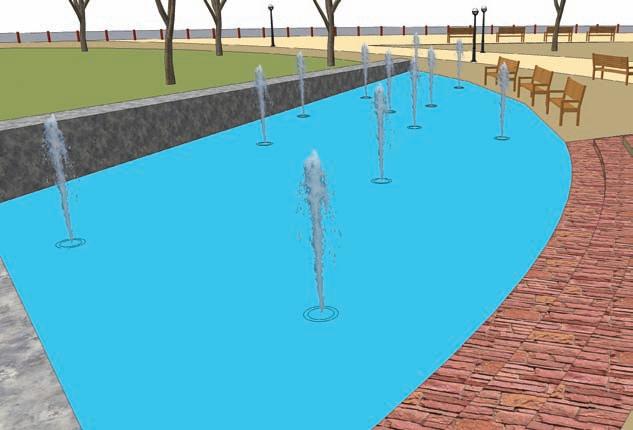
Fig. 19-18: The fountain jets replaced with the representative 3D component.
You might want to toggle off the high face-count component layers, such as trees and shrubs, after they are replaced. This will make working with the model easier. Some of the inserted components will need to be moved, rotated, or scaled to better fit their context. Remember to adjust the components within the component instance; doing so will affect all similar components of the same type.

Fig. 19-19: Working in the 2D Table and Chairs component instance.
Fig. 19-20: The 3D Table and Chair component inserted directly into the 2D component equivalent.


Fig. 19-21: Replacing the second tree component.


Fig. 19-22: A 3D Palm Tree component inserted directly into the Tree 2 component instance.
Fig. 19-23: The palm trees populate the base.
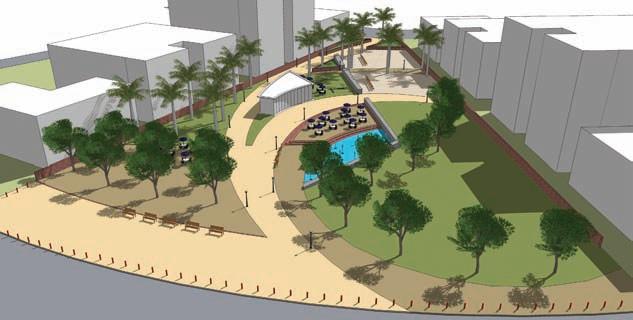
Fig. 19-24: All of the 3D AutoCAD components are inserted into the 2D block/components in the model.


