
NEP 2020 based | ICSE compliant | Technology powered SalesSample

Scratch 3.0 II CODE_ORG CODING BOOKLET_LO_ED_FM_P1.indd 1 9/25/2023 6:27:12 PM
Computer Science Computer Science
Contents 1 Introduction to Scratch 3.0 1 Block-based Coding Scratch 3.0 Creating a Project Components of Scratch 2 Sprites and Costumes 9 Deleting a Sprite Ways to Add a Sprite Ways to Add a Backdrop Ways to Add a Costume to a Sprite 3 Events and Loops 24 Events Block Loops 4 Conditionals and Sensing 42 Conditional Blocks Sensing Blocks Making a Sprite Disappear on Touching Another Sprite Changing the Costume of a Sprite 5 Say and Play 54 Looks Blocks Sound Blocks CODE_ORG CODING BOOKLET_LO_ED_FM_P1.indd 3 9/25/2023 6:07:56 PM
Introduction to Scratch 3.0 1


Have you ever made a paper boat?


You would have, right?
How did you make it?
By following a sequence of instructions.

Just like how we use instructions to do something step-by-step, we need to tell computers how to do something step-by-step too.
But computers do not understand our language. So, we need to use a special language that they can understand.
This language is called coding language.


Coding is a way of giving instructions to tell a computer what to do.
We will be using block-based coding to make computers do things for us.


1
CO24CB0401_P2.indd 1 9/25/2023 4:20:54 PM
Block-based Coding
Block-based coding is a computer language where we use colourful coding blocks to make computers do a task.
You must have played computer games, right?
But do you know you can use block-based coding to create games too?
We will use a block-based coding platform named Scratch 3.0 to create a game.

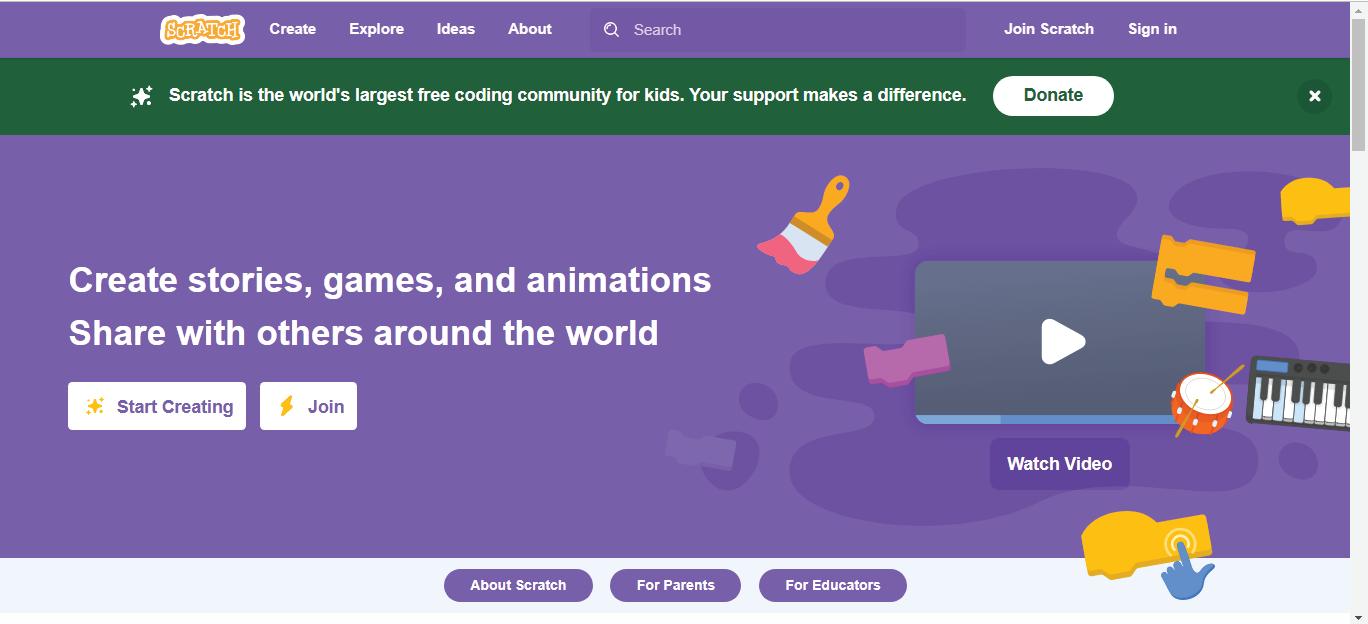
Scratch 3.0
Scratch 3.0 is a free and simple platform where we use colourful blocks to create our own games, stories, and art.
Did You Know?
Scratch got its name from how DJs mix music by scratching the music discs over one another.
Creating a Project
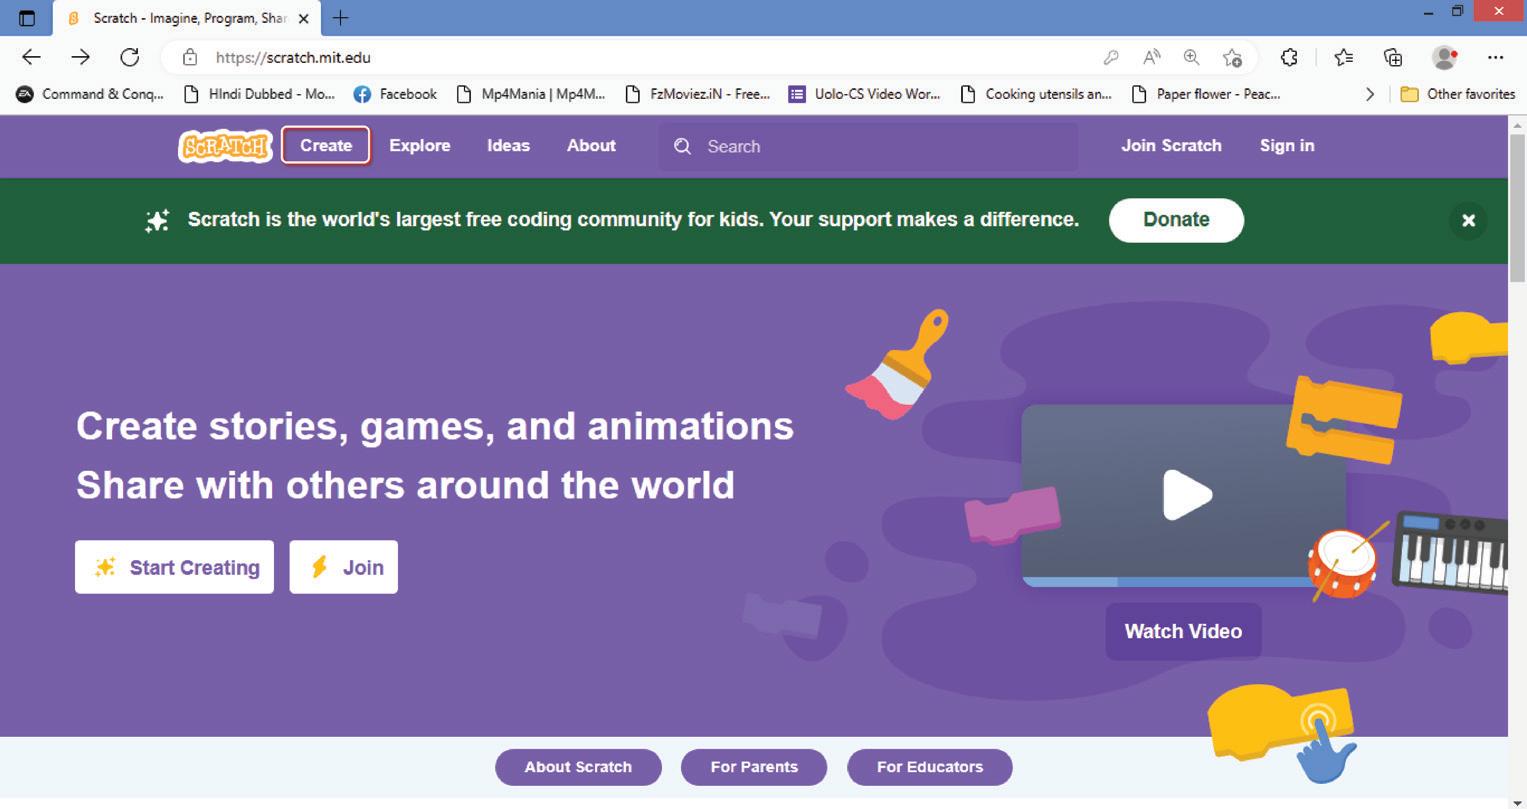
Now, let us learn to create a blank project and name it “Fruit Catcher”. Follow the given steps to create a project.
1 Click Create. The Scratch editor opens.
2 CO24CB0401_P2.indd 2 9/25/2023 4:20:55 PM
2 Change the name of the project from “Untitled” to “Fruit Catcher”.
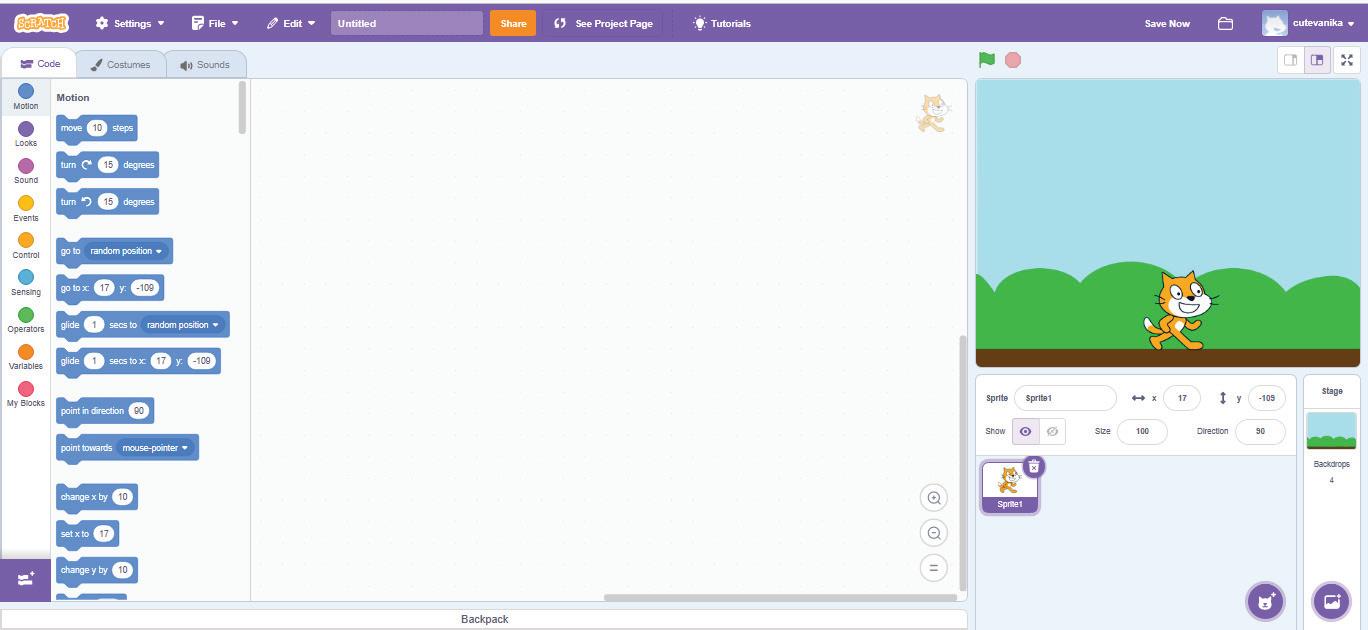
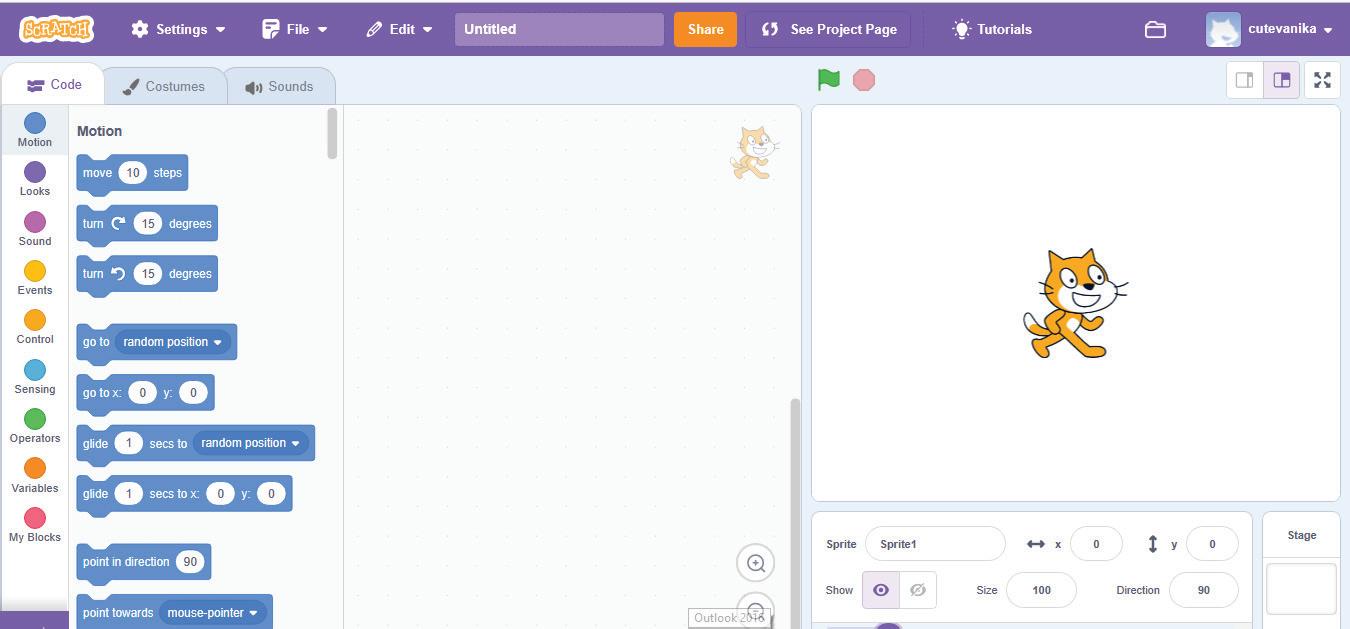
Components of Scratch
The Scratch editor holds all the components needed to create and run a Scratch project. The components of the Scratch editor are as shown in the following picture:
1 3 4 5 12 6 13 10 9 8 2 7 11 Chapter 1 • Introduction to Scratch 3.0 3 CO24CB0401_P2.indd 3 9/25/2023 4:20:56 PM
1 Menu bar: The purple bar at the top of the Scratch editor is called the Menu bar. The main parts of the Menu bar are:
a. File and Edit menus: These let us create, save, and open a project.
b. Project Name: This shows the name of your project. The default name of a Scratch project is ‘Untitled’.
c. Folder: Clicking here takes you to the ‘My Stuff ’ page where you can see your saved projects.
2 Sprite: A sprite can be a character or an object in a Scratch project.
3 Tabs: There are three tabs in the Scratch editor:
a. Code: This tab has different code blocks and the Code area, where we can drag and join the blocks to make the sprite move and do things.
b. Costumes: This tab opens the Paint Editor window where we can change how a sprite looks.
c. Sounds: This tab opens the Sound editor to add and make changes to the sound effects of our sprite and to the backdrop.
4 Blocks Panel: The Block Panel has nine colour-coded block categories to help us write scripts. These are Motion, Looks, Sound, Events, Control, Sensing, Operators, Variables, and My Blocks.
5 Blocks Palette: The Blocks Palette is the area where we can see all the blocks for each block category.
6 Coding Area: The place where we can drag and join blocks from the block palette to create a script is called Coding Area.
A Script is a set of blocks that are placed on top of each other to make a sprite do something.
7 Stage: The stage is where we can see backdrops and sprites in action.
8 Sprites Pane: The Sprites Pane is below the stage. It shows all the details of sprites, like their name, location, and size. You can use it to add, upload, edit, or delete sprites.
9 Backdrop: It is the background of the stage. You can add backdrops from the Scratch library or from your computer.
10 Backdrop Pane: It is below the stage and next to the Sprites Pane. You can use it to add, upload, edit, or delete backdrops.
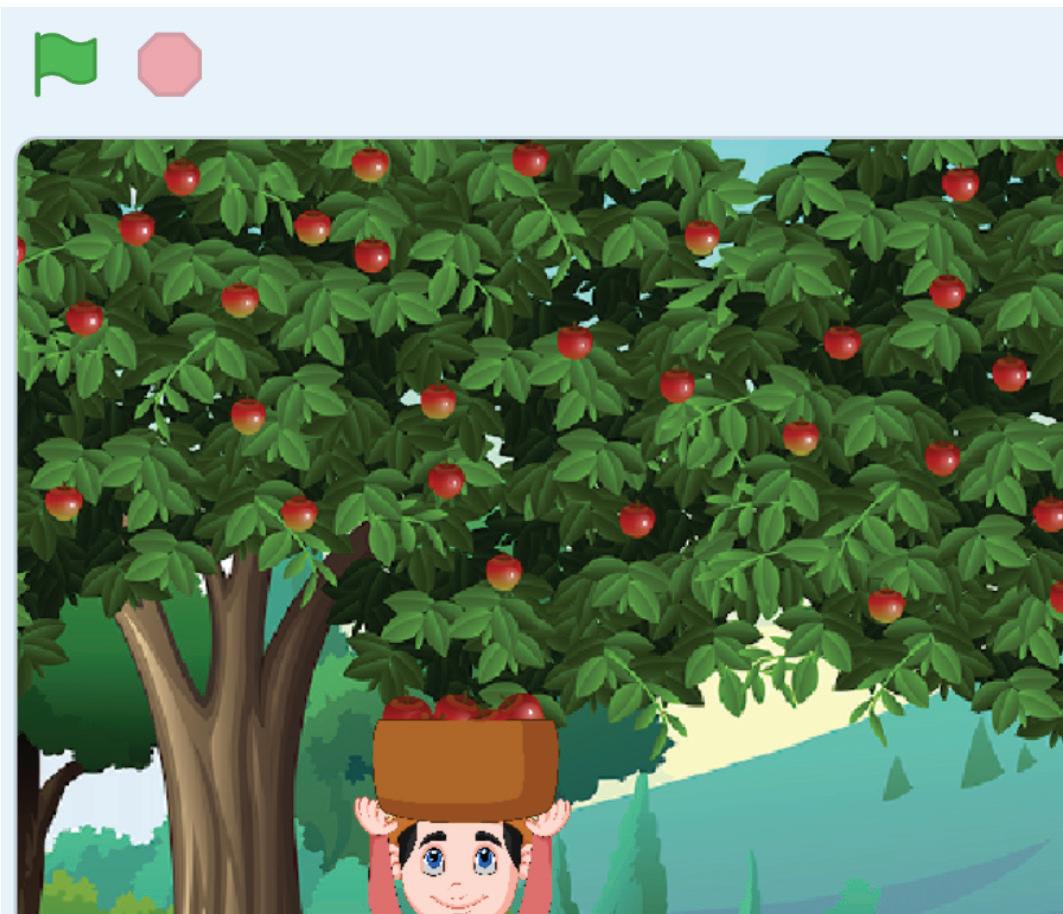
11 Go button and Stop button: The green flag is the Go button. You can click it to run the script. The red button is the Stop button. You can click it to stop the running script.
12 Add Extensions button: This button provides additional blocks that can be integrated into the Scratch editor’s block palette, expanding its functionality. These blocks help Scratch programs to interact with external hardware and online resources.
13 Sprites List: This list contains the thumbnails of all the sprites used in the project.
4 CO24CB0401_P2.indd 4 9/25/2023 4:20:56 PM
Do It Yourself 1A
Identify and label the components.
c.
a I am a character in your project.
b I show you options to change the name, size, and location of a character.
c I hold colour-coded categories of blocks.
d I am the area where you drag and join the blocks.
e I hold all the blocks of a block category.
Chapter Checkup
A Fill in the Blanks.
1 is a way of giving instructions to tell a computer what to do.
2 The is the area where we can see all the blocks of a block category.


3 The is where we can see backdrops and sprites in action.


4 The shows all the details of sprites, like their name, location, and size.
5 The button is used to stop the running script.
e.
d.
a.
b.
Hints Stop Stage Blocks Palette Sprites Pane Coding
Chapter 1 • Introduction to Scratch 3.0 5 CO24CB0401_P2.indd 5 9/25/2023 4:20:56 PM
B Tick () the Correct Option.
1 Which of the following tabs does the Scratch editor contain?
a Code
c Sounds
2 The Sounds tab is used to
a open the Sound editor
c close the Sound editor
b Costumes
d All of these
b listen to songs
d open the Costumes editor
3 Where do you drag and drop the blocks to create a script?
a Coding Area
b Stage
c Blocks Palette d Sprite Pane
4 The is used to __________________________.


a stop the running script
c change the costume
b run the script
d move the sprite
5 Which of the following is the name of a block category?

a Motion
c Control
C Who Am I?
Component
b Sensing
d All of these
Purpose
Sprites Pane Holds nine categories of blocks
Backdrop Pane Shows backdrops and sprites in action
Blocks Panel Shows the details of sprites
Blocks Palette Adds backgrounds
Stage Holds all blocks of each block category
D Write T for True and F for False.
1 The default project name in Scratch is Project1.
2 You can add and make changes to the sound effects of the sprite and backdrop in the Sound Editor.
6 CO24CB0401_P2.indd 6 9/25/2023 4:20:56 PM
3 The green flag button is used to stop the running project.
4 Events are one of the categories of blocks.
5 The colour of the Go button is green.


E Answer the Following.
1 What is block-based Coding? How is it useful?
2 What is Scratch 3.0? Why is it used?
3 What is the role of the Code tab?

4 What does the Add Extension button help us with?
5 Describe the Go and Stop buttons.
F Apply Your Learning.
Ria wants to learn coding, but she has not tried it before.
1 What coding language can she start learning? Why?
2 What should she add to her project to do the action?
Chapter 1 • Introduction to
3.0 7 CO24CB0401_P2.indd 7 9/25/2023 4:20:57 PM
Scratch
3 What can she use to add more blocks?
4 How can she make her sprite look different?
5 What can she use to change the background of her project?

8 CO24CB0401_P2.indd 8 9/25/2023 4:20:57 PM
Sprites and Costumes 2
Imagine you are playing different characters in a play. You need to change your costume to look like the character you are playing. It can be a person, an animal, or any object.
In Scratch, a sprite is also a character or an object on the stage. Just like how you change your costume to play different characters, a sprite can also change its costume.
A costume is the appearance of a sprite.
You can change the sprite’s costume to make it look like it is moving, changing, or doing many things in your project.
You can add sprites from the Sprites Library of Scratch or from your device.
You can also draw or edit your own sprite as per your need.
Did You Know?
Red sprites are big red flashes of light that happen high in the sky during thunderstorms. They are so big that they can be seen from space.
9
CO24CB0402_P2.indd 9 9/25/2023 5:00:21 PM
A Sprites Library is a collection of ready-to-use sprite images.
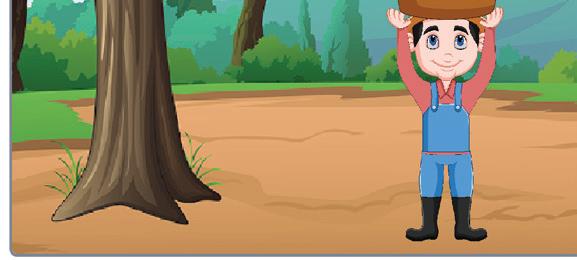
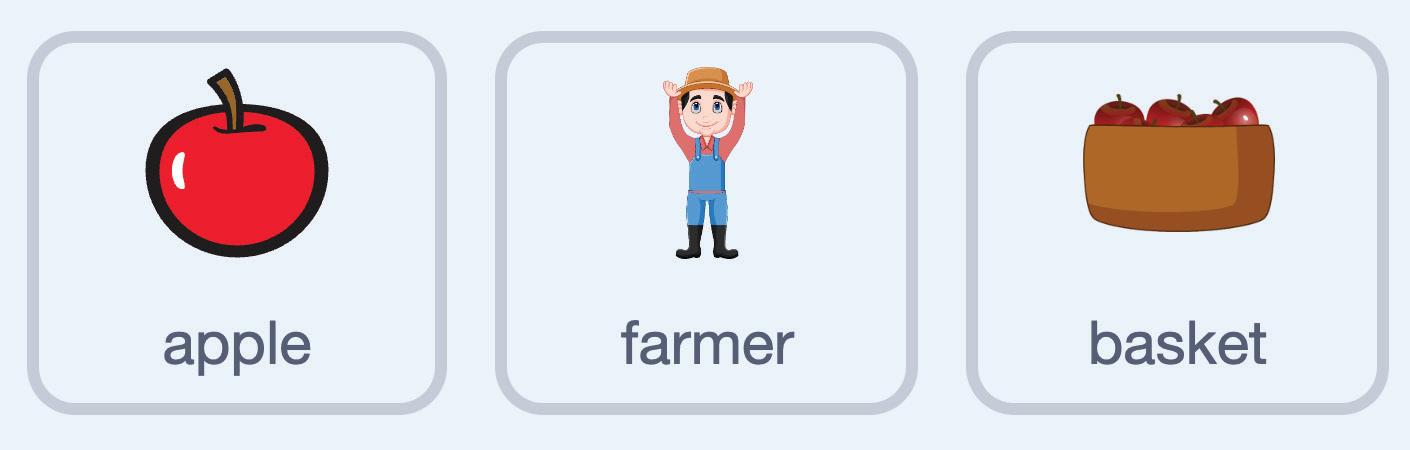
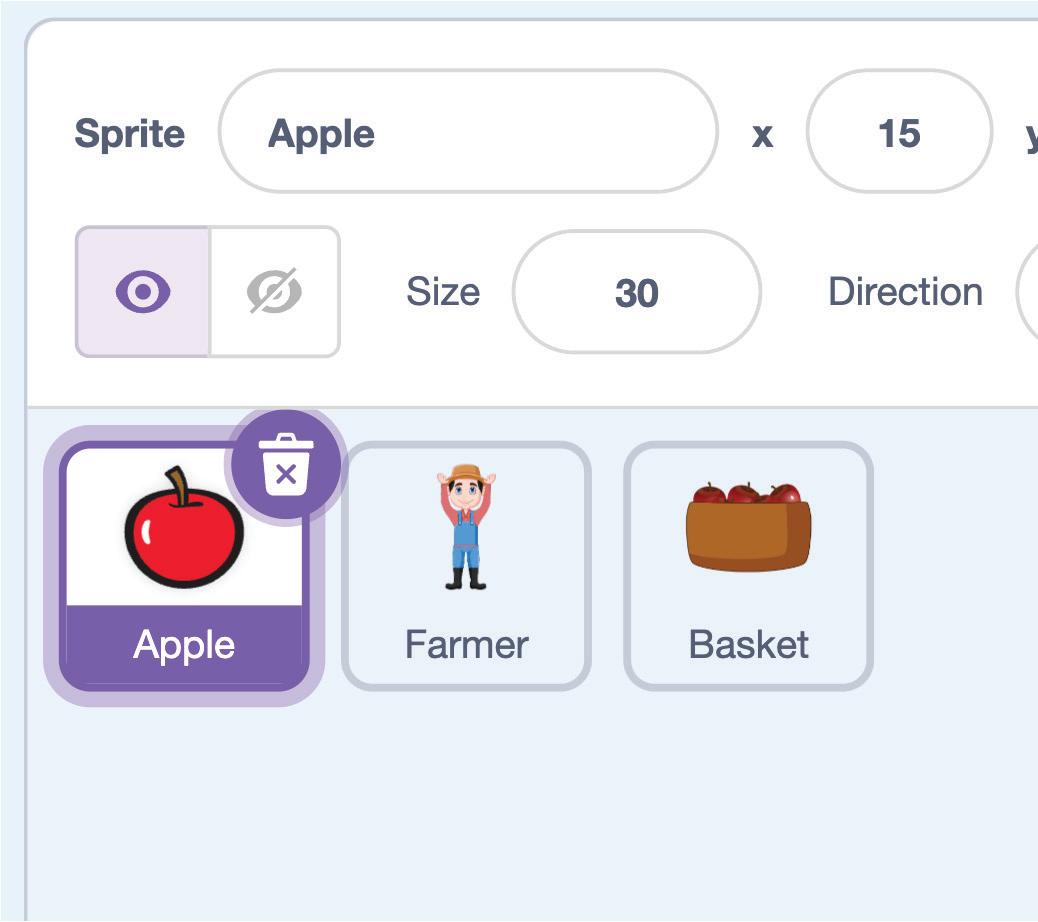
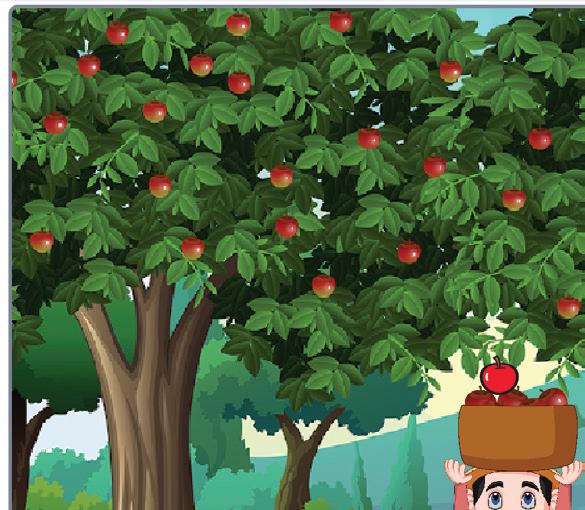
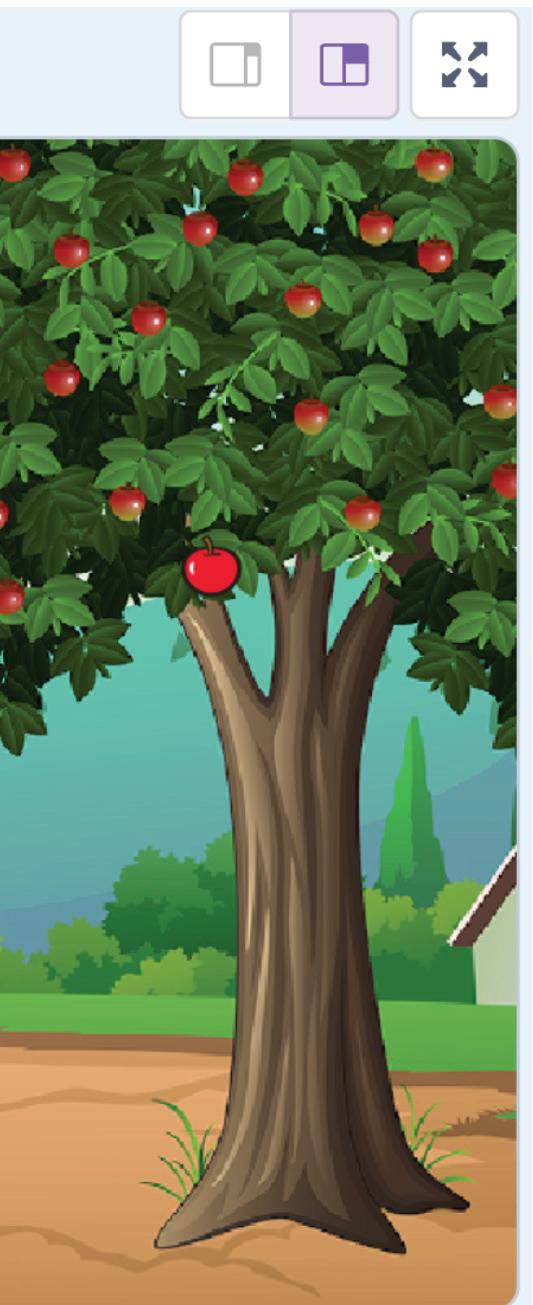
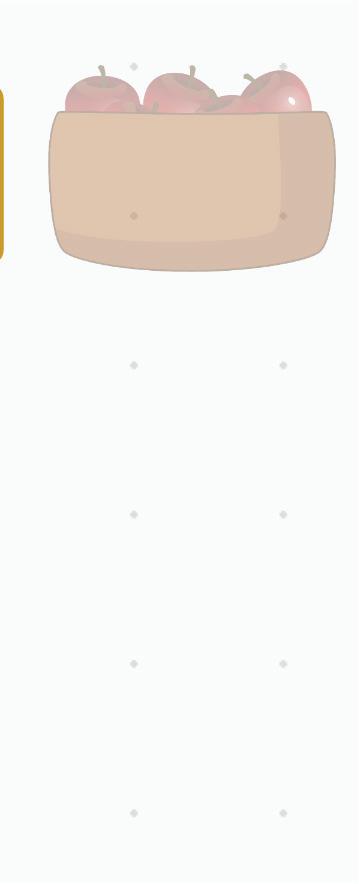
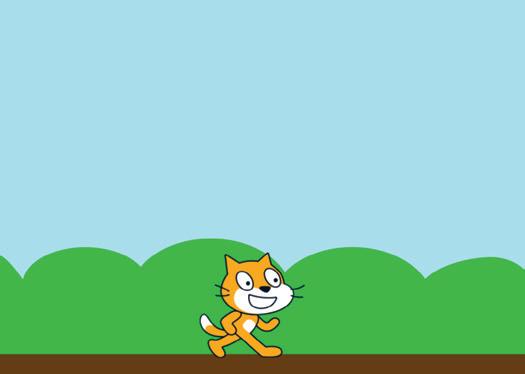
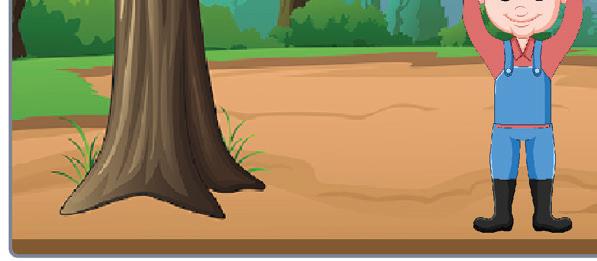
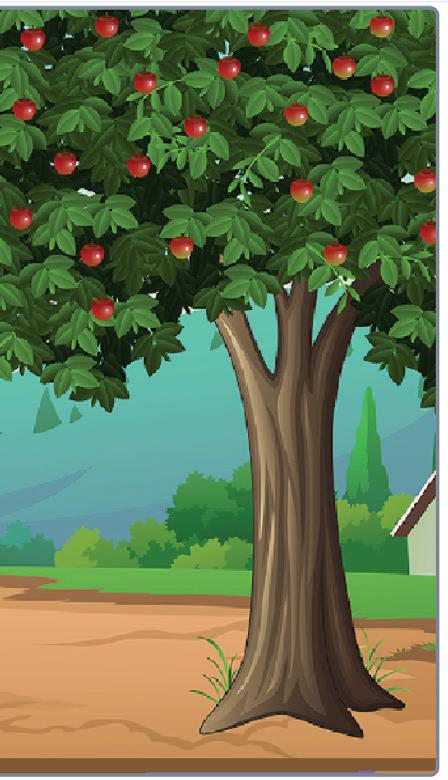
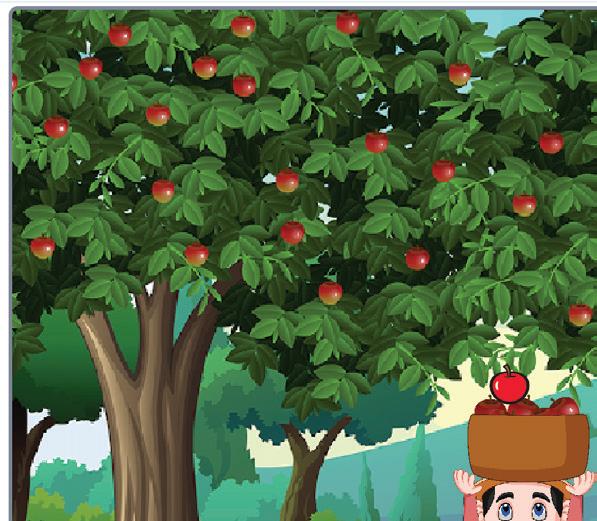
The idea of the Fruit Catcher project is that the farmer will move on the stage with a basket and will catch the falling apples. So, in this project, we need three main sprites:

To start the project, we need to add our sprites. As you know, the Cat sprite is the default sprite in Scratch. Before adding the sprites for our project, we need to remove the Cat sprite.
Deleting a Sprite
To delete the Cat sprite:
1 Select the thumbnail of the Cat sprite from the Sprite List.
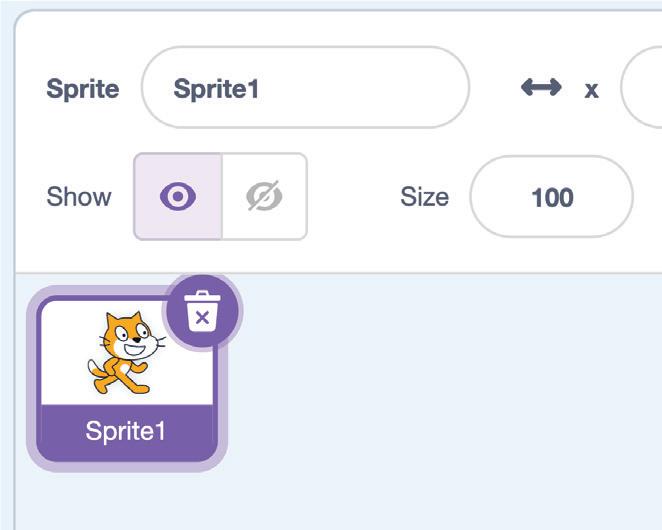
2 The button will appear.
3 Click the button to delete the sprite.


10 CO24CB0402_P2.indd 10 9/25/2023 5:00:22 PM
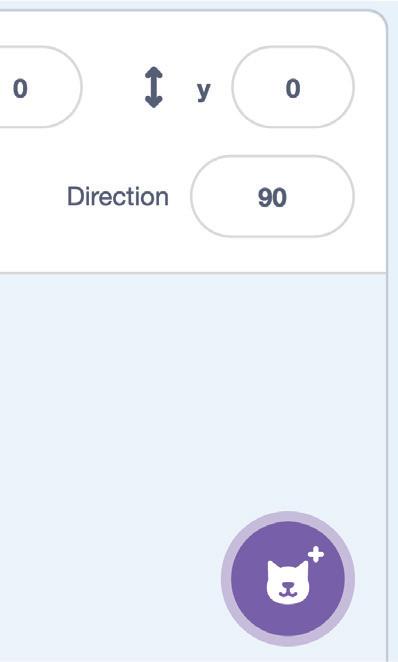
Ways to Add a Sprite
In Scratch, we can add a sprite in four ways.
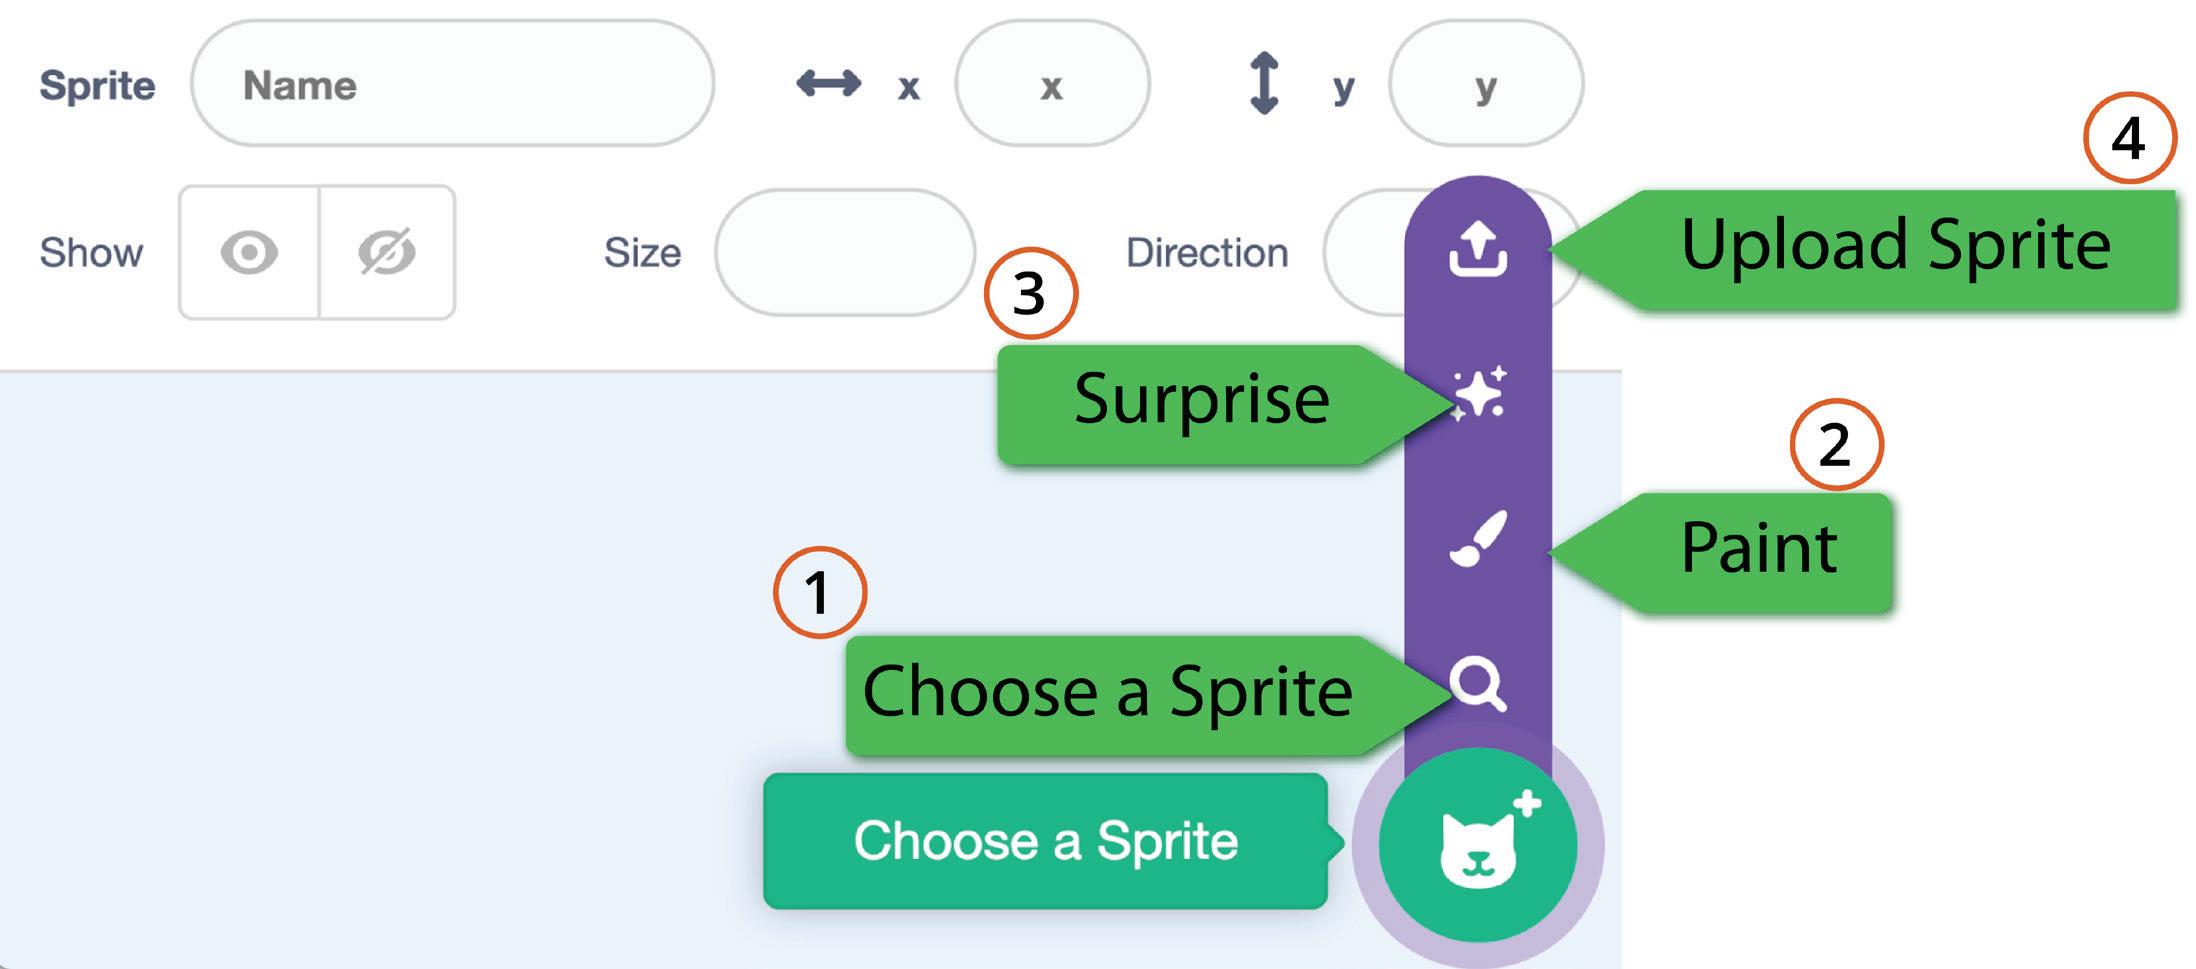
1 Choose a Sprite - To choose a sprite from the Scratch Sprite Library.
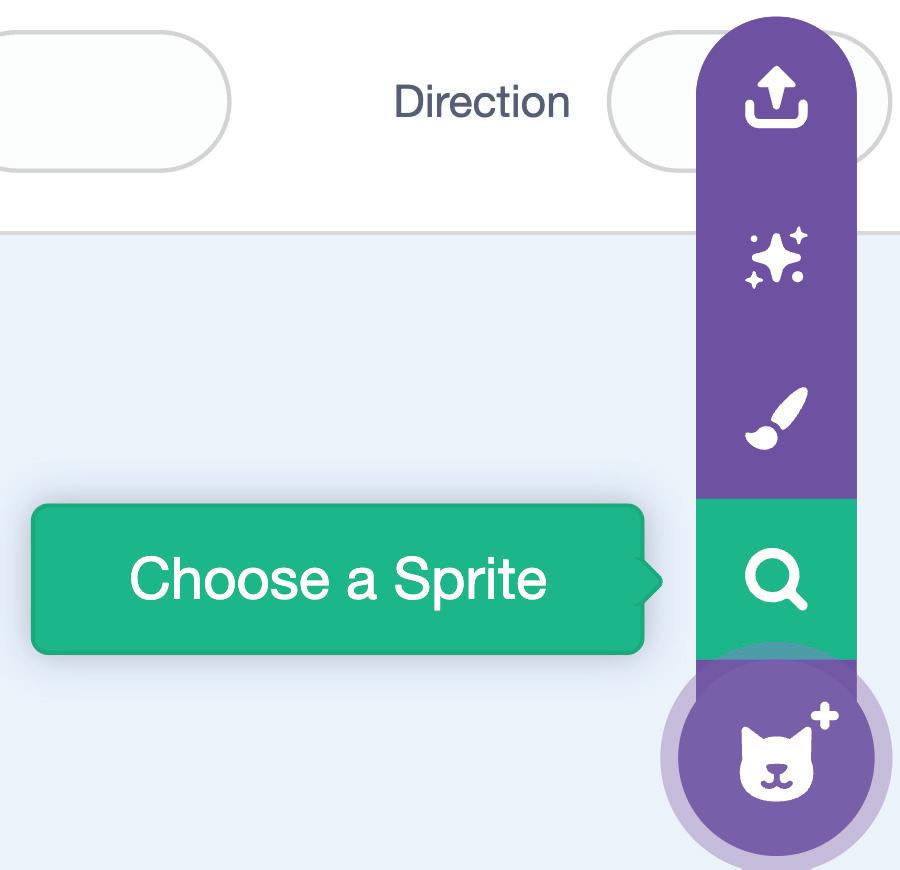
2 Paint - To create a sprite using Paint Editor.
3 Surprise - To add a random sprite.
4 Upload Sprite - To upload a sprite from our computers.
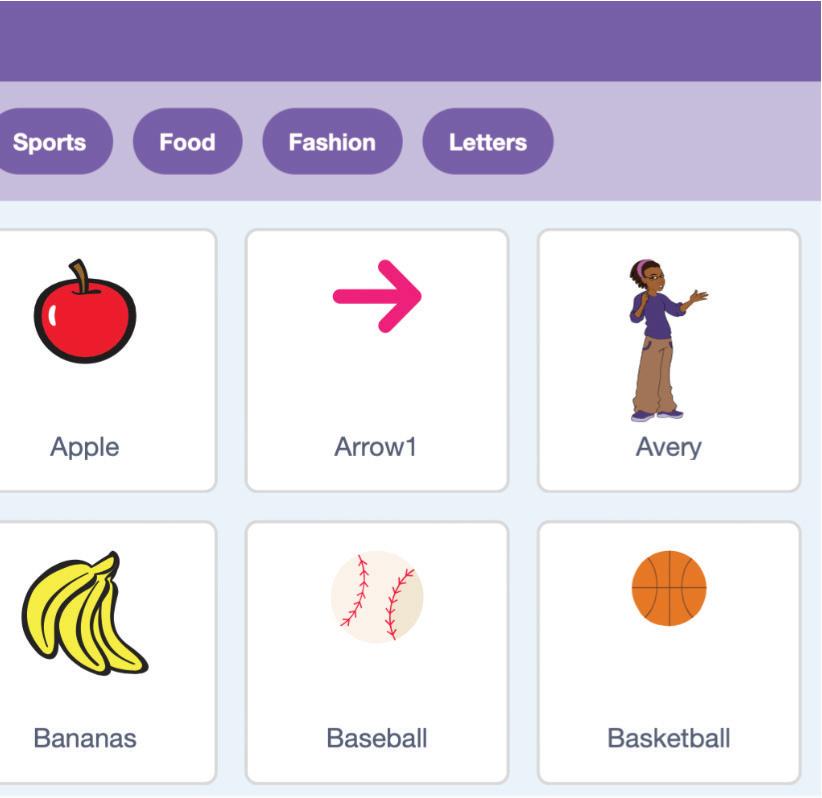
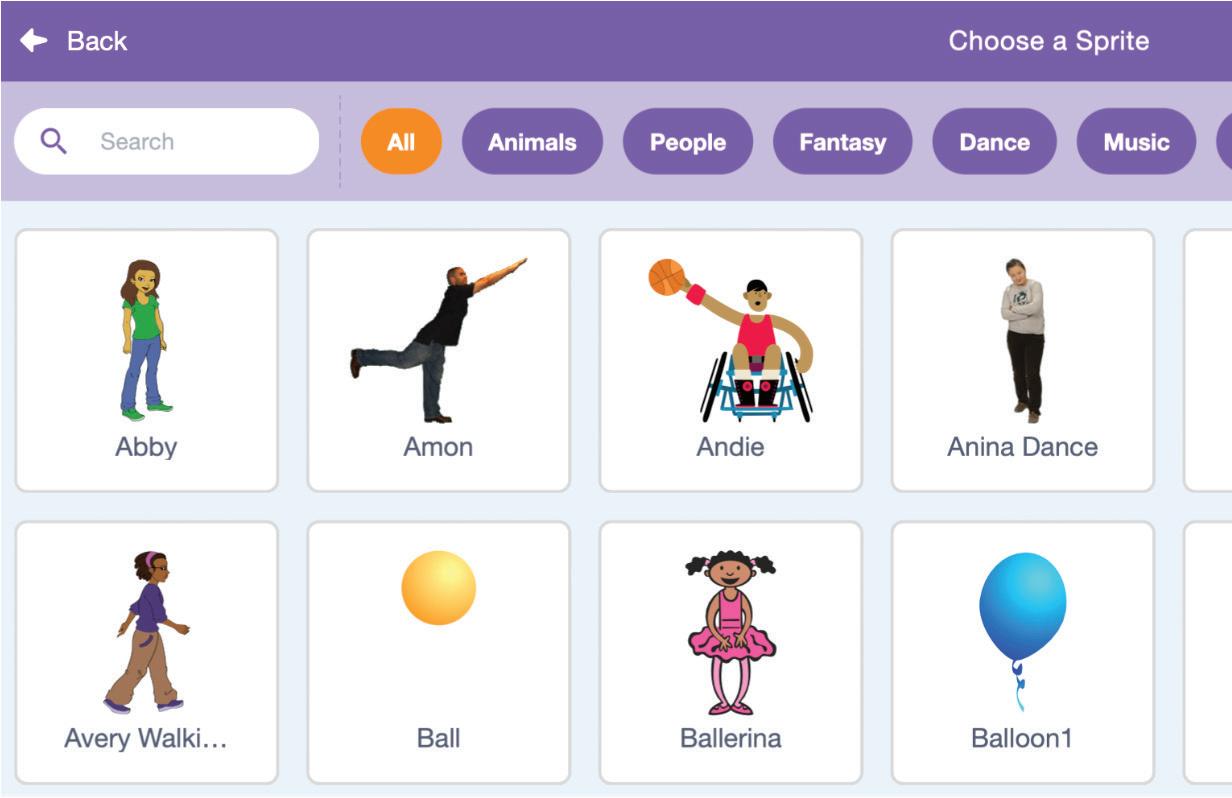
Choosing a Sprite
Now, let us add our first sprite, the Apple, from the Sprite Library into our project.
Steps to add a sprite from the Sprite Library:
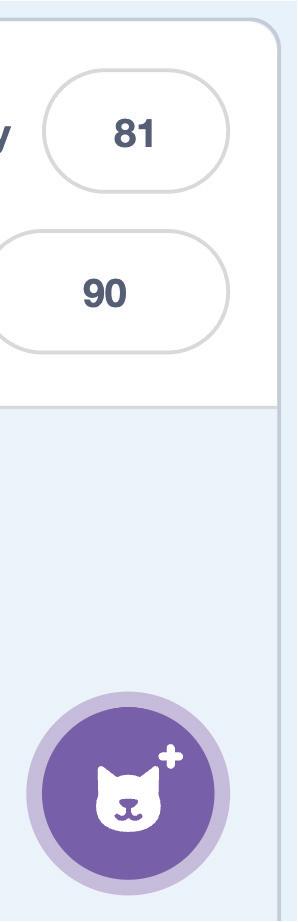
1 Click the Choose a Sprite option in the Sprite Pane.
2 The Sprite Library will open.
3 Click the Apple sprite.
Chapter 2 • Sprites and Costumes 11 CO24CB0402_P2.indd 11 9/25/2023 5:00:23 PM
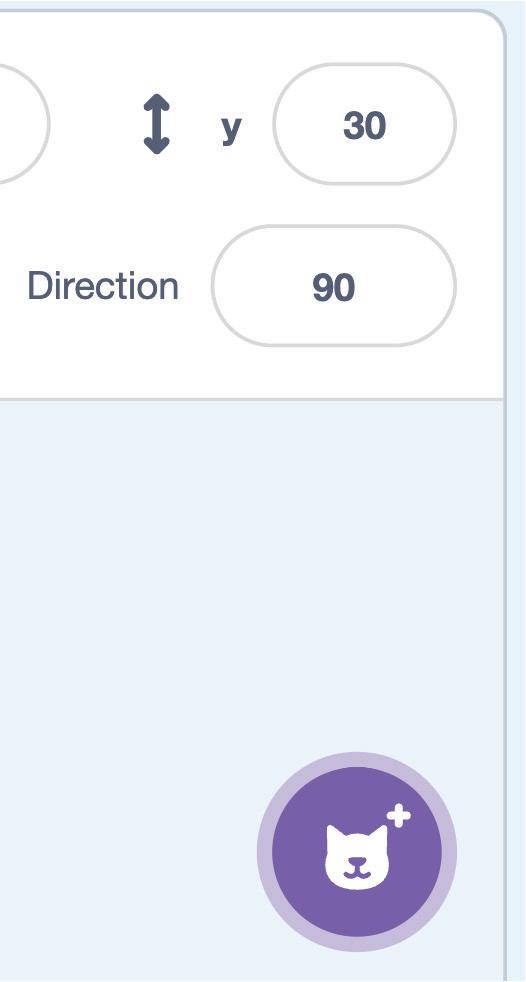
4 The sprite appears on the stage and its thumbnail is added in the Sprites List.
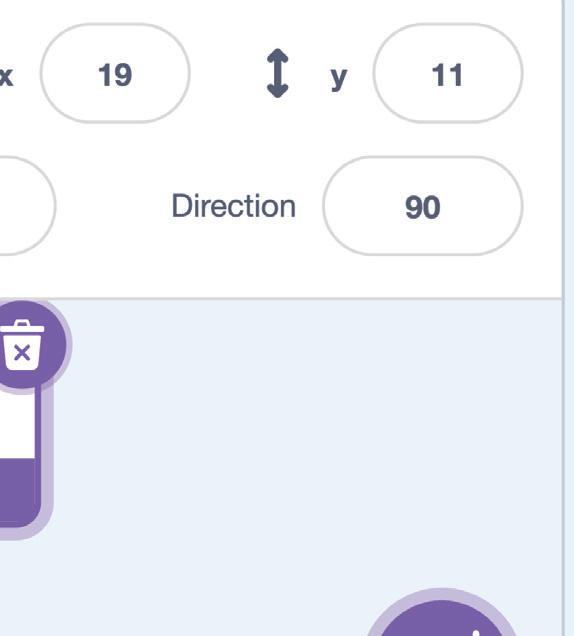
5 Change the Size of the Apple sprite to 30 from the Sprite Pane.

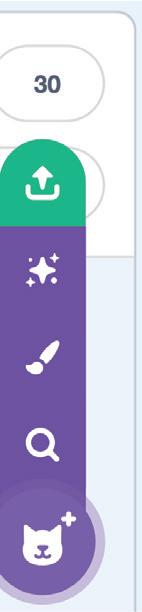
Uploading a Sprite
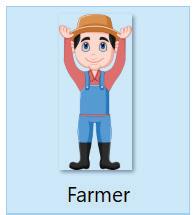
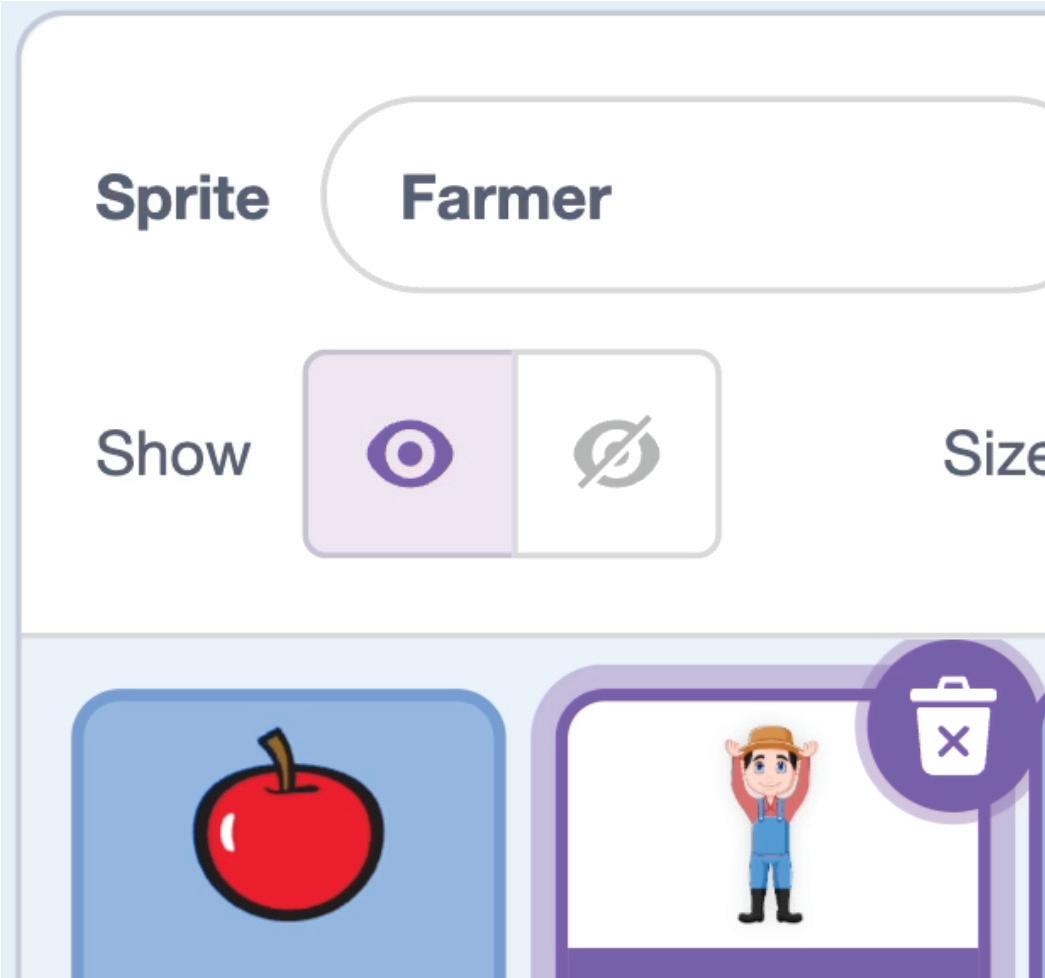
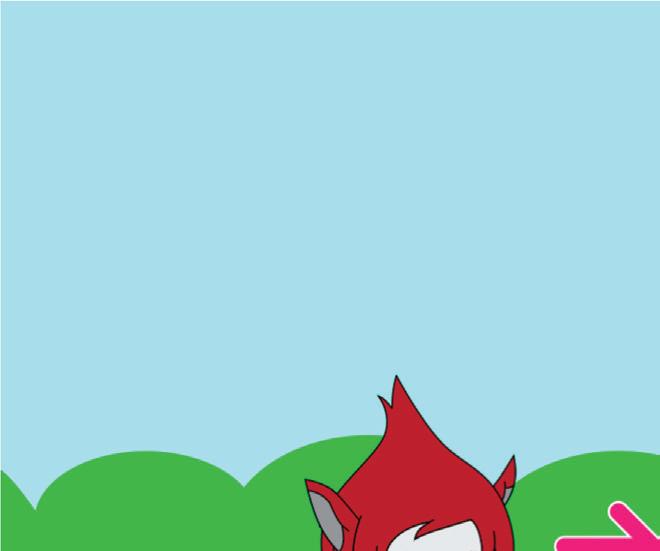
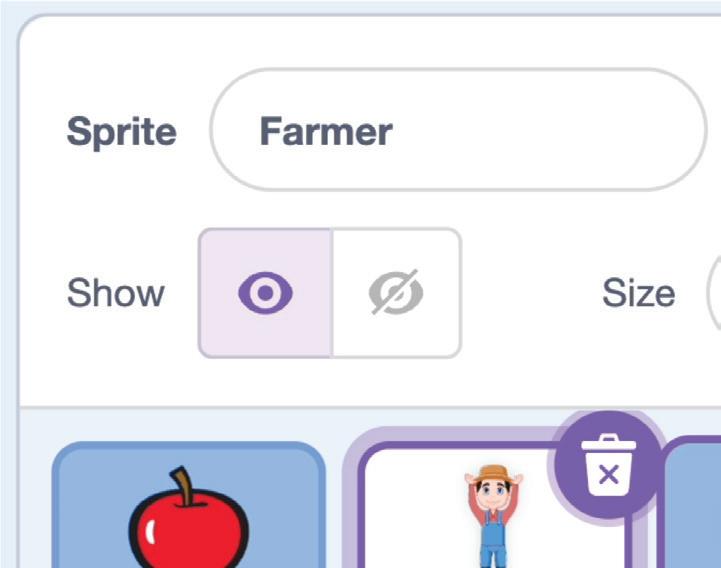
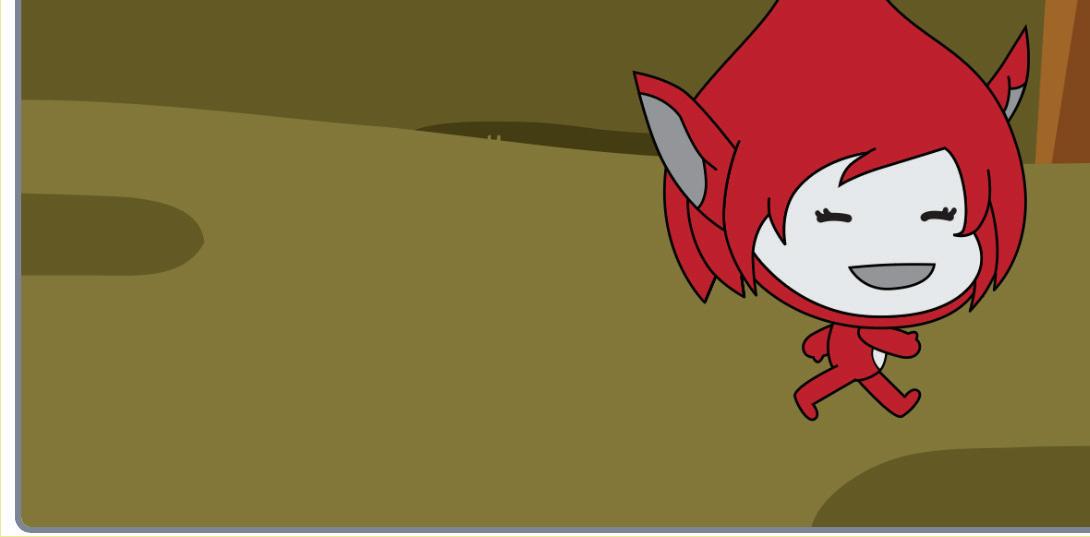
Now, let us upload our second sprite, the Farmer, into our project.
Steps to upload a sprite to our project:

1 Click the Upload Sprite option. A window appears.

2 Look for the Farmer picture in the Downloads folder and select it.
12 CO24CB0402_P2.indd 12 9/25/2023 5:00:24 PM
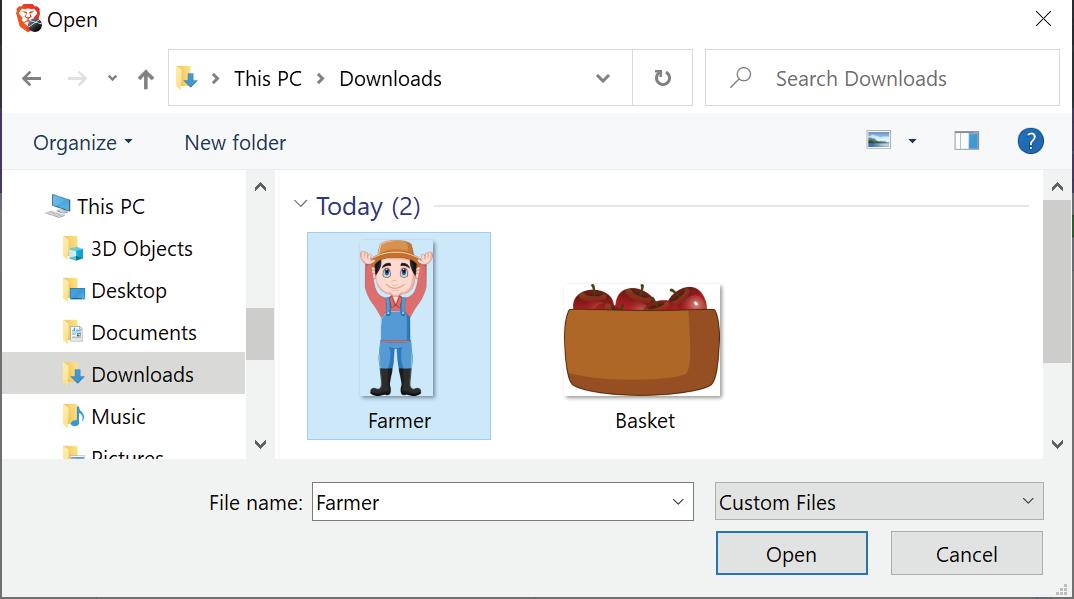


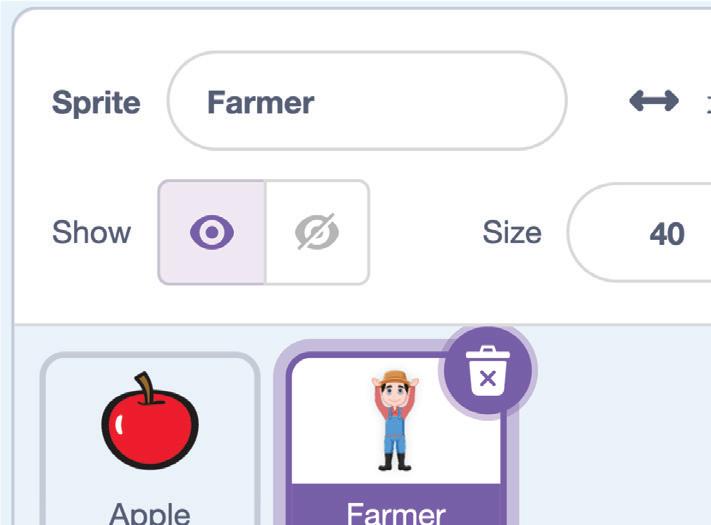


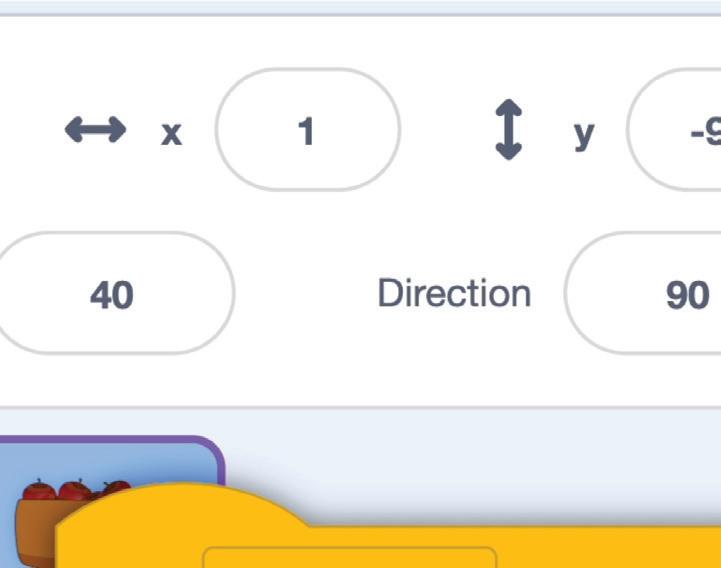
 3 Click the Open button.
4 Set the Size of the Farmer sprite to 40.
3 Click the Open button.
4 Set the Size of the Farmer sprite to 40.
2
13 CO24CB0402_P2.indd 13 9/25/2023 5:00:25 PM
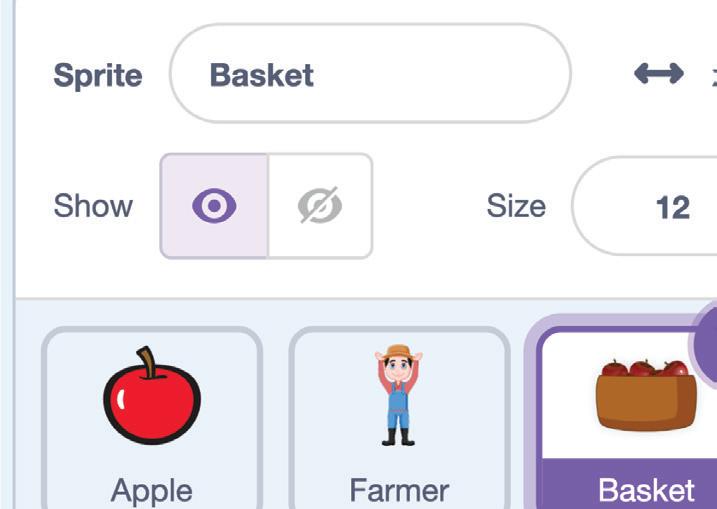
5 Repeat steps 1 to 5 to upload and resize the Basket sprite.
Chapter
• Sprites and Costumes
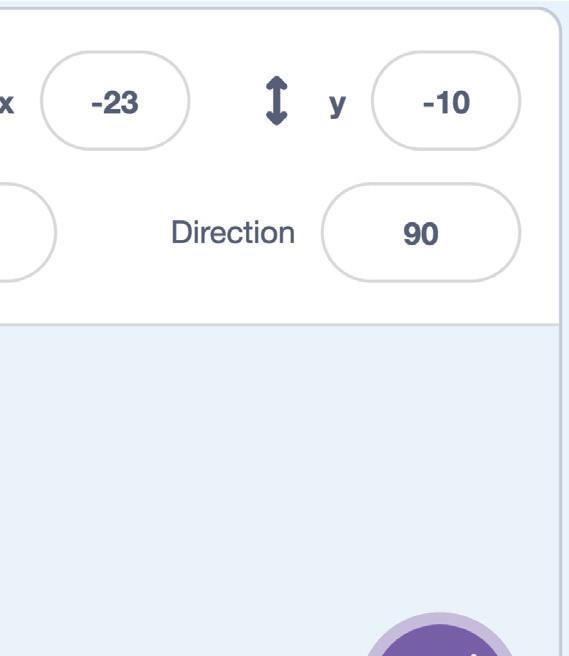
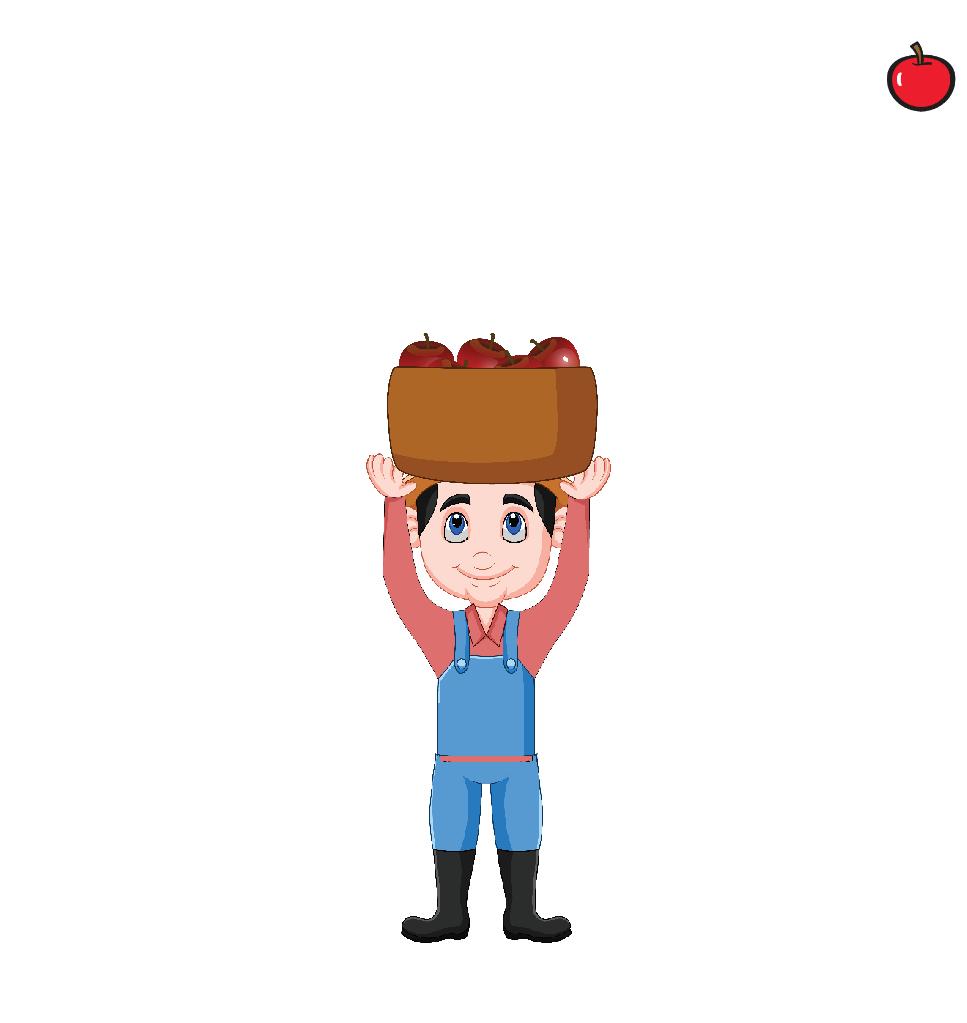
6 Drag the sprites on the stage to position them, as shown here.
Think and Tell
Can
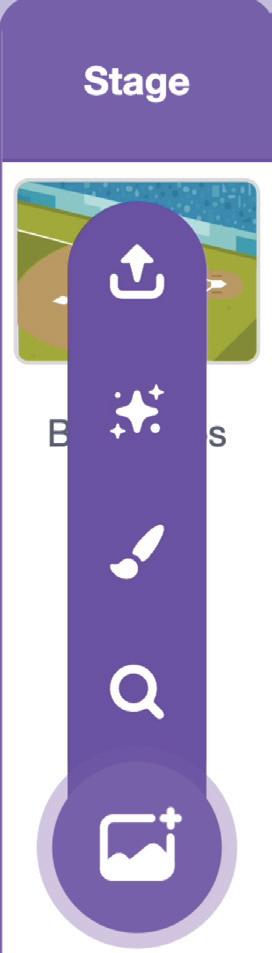
Ways to Add a Backdrop
It is time to add a background to our project. The way we add sprites in Scratch, we can also add backgrounds from the Backdrop Pane.
Uploading a Backdrop
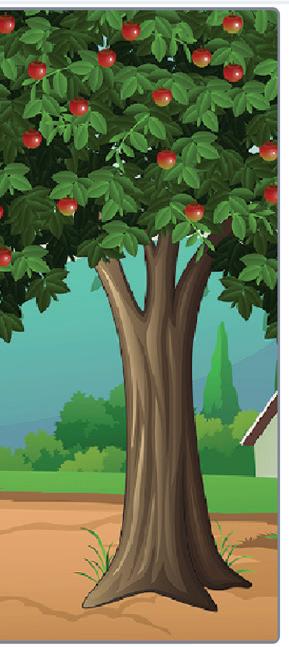
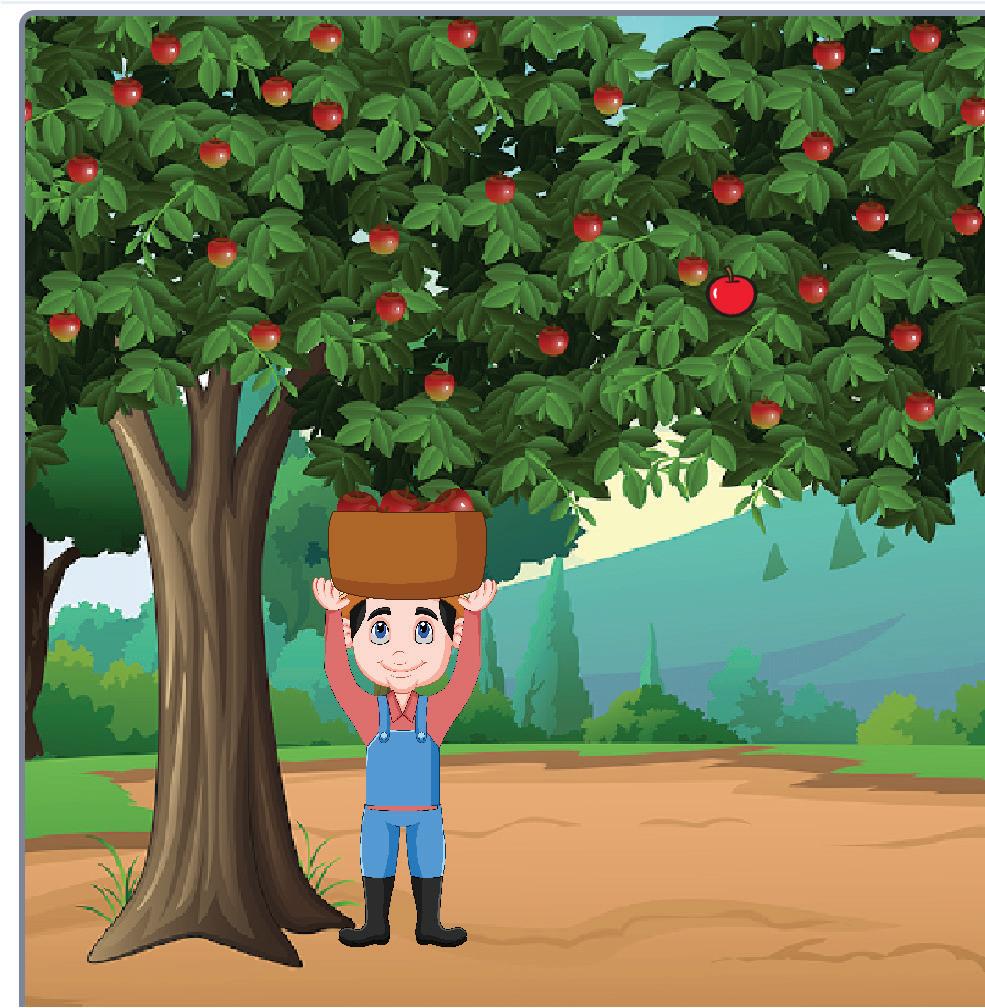
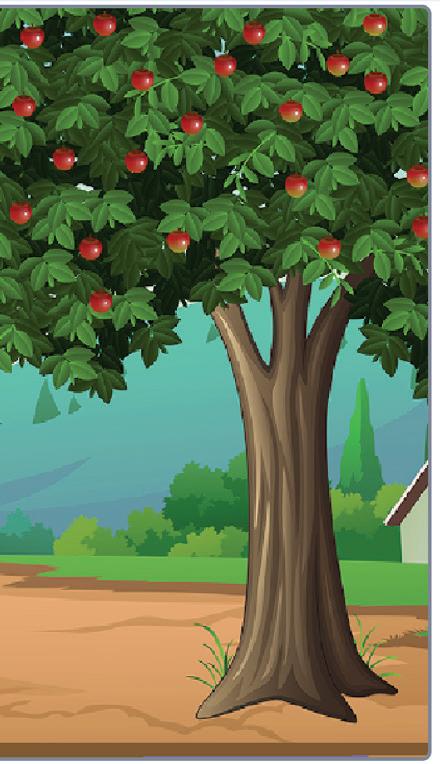
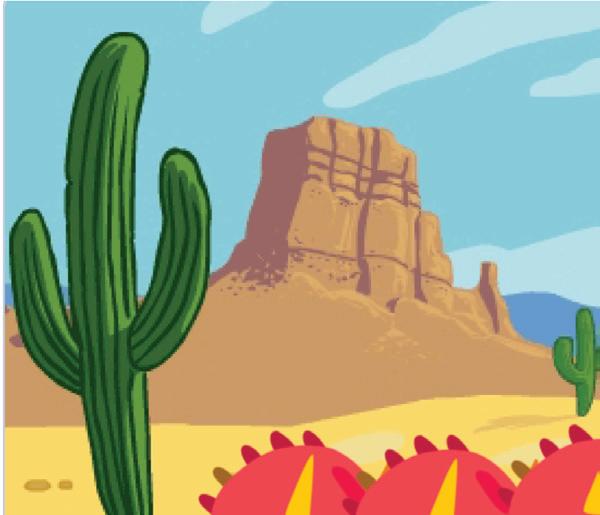
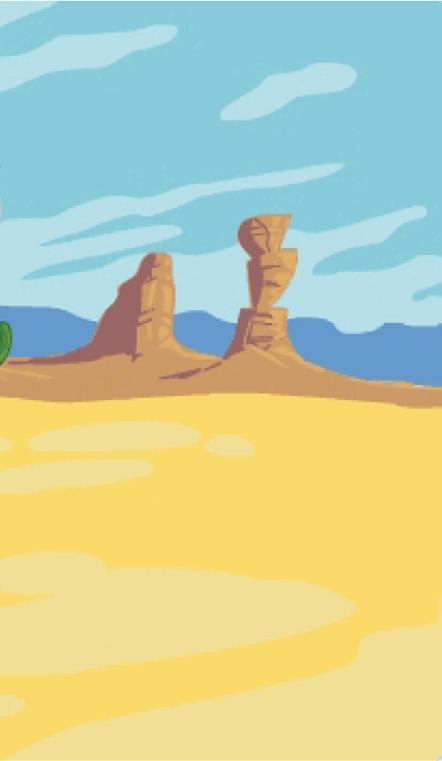
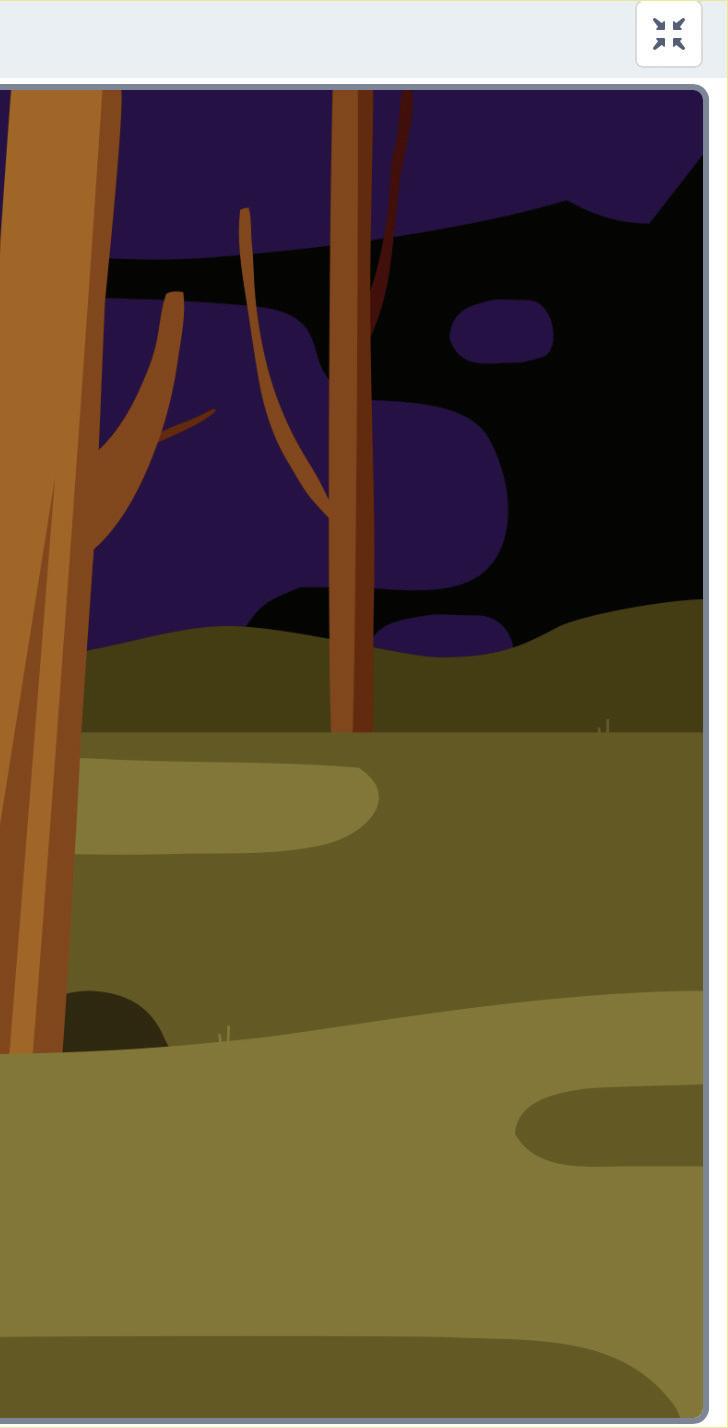
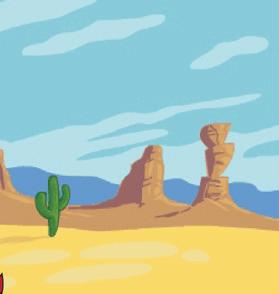
Now, let us upload an Apple Farm backdrop to the Stage.
Steps to add a backdrop to the project:
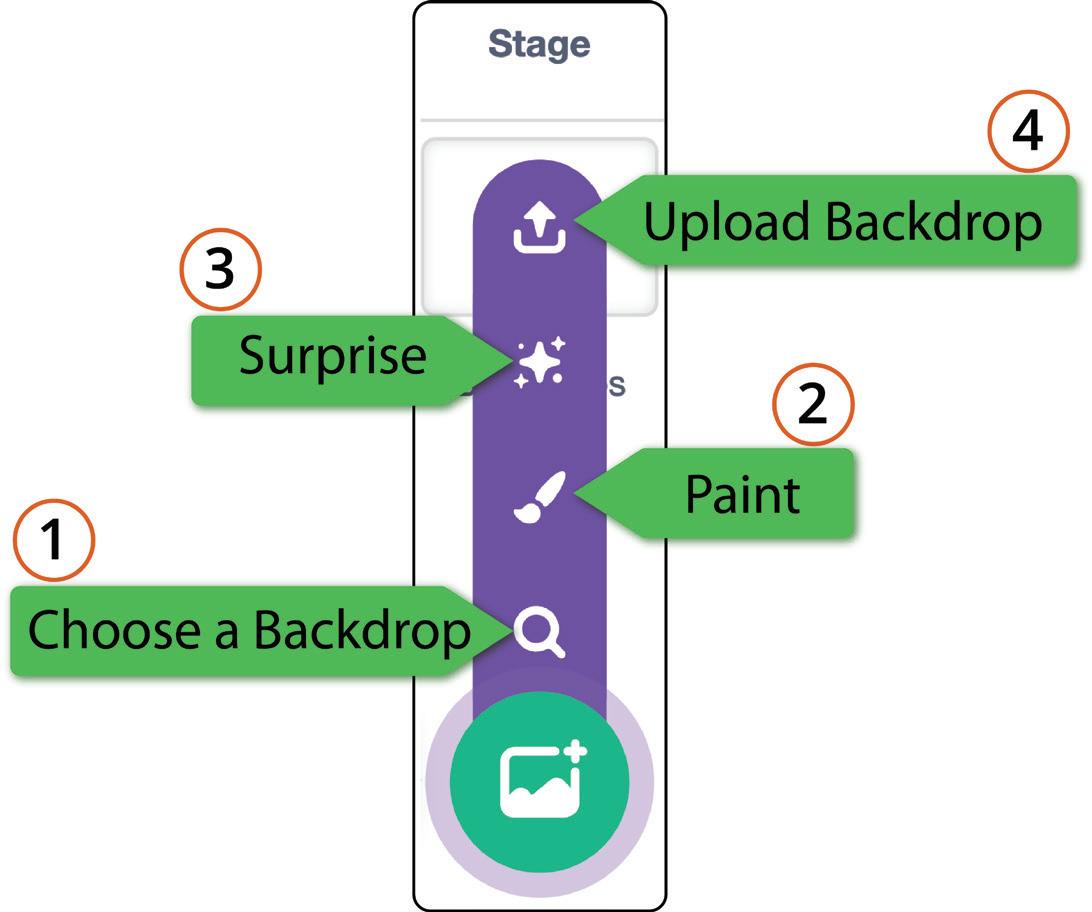
1 Click the Upload Backdrop option. A window appears.

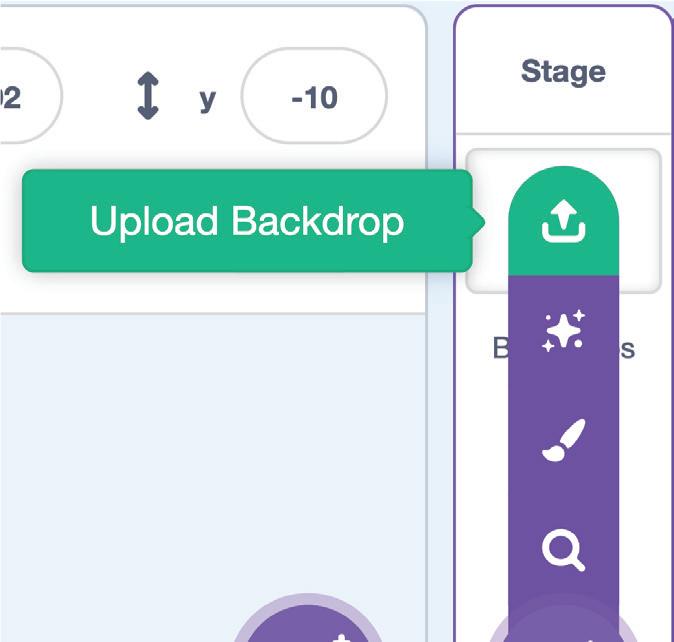

2 Look for the Apple Farm picture in the Downloads folder and select it.
 you upload your own picture as a sprite in your scratch project?
14 CO24CB0402_P2.indd 14 9/25/2023 5:00:26 PM
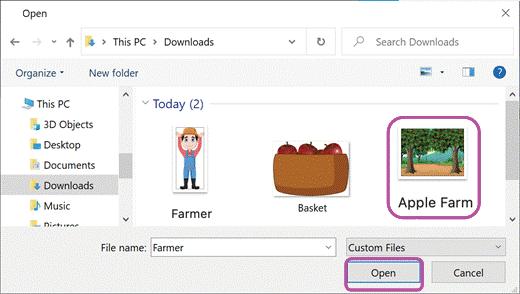
 3 Click the Open button.
15 CO24CB0402_P2.indd 15 9/25/2023 5:00:26 PM
Chapter
2 • Sprites and Costumes
Do It Yourself 2A
1 Match the following.
2 Which of the following is the default sprite in a Scratch project?
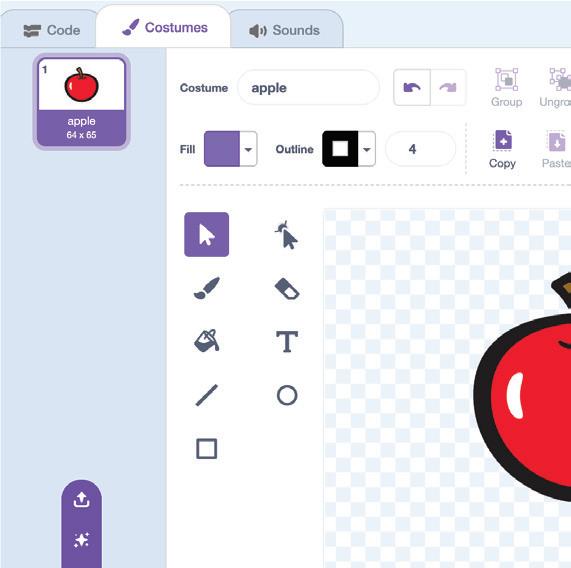


Ways to Add a Costume to a Sprite
Just like the way we can add sprites and backgrounds, we can also add costumes to a sprite.
Steps to add a costume to a sprite:
1 Select a sprite.
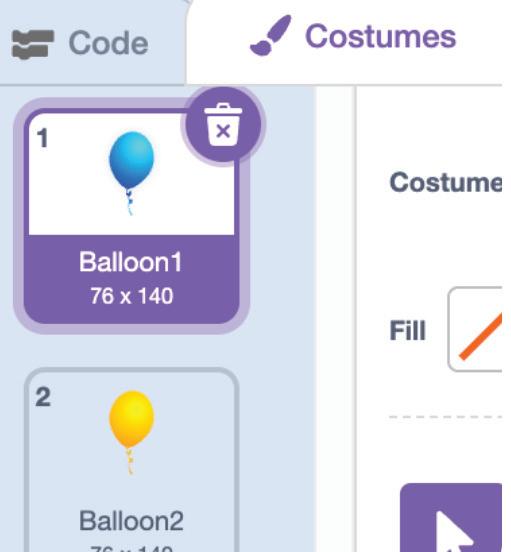
2 Click the Costumes tab.
3 On the left, you will see the Costumes Pane.


4 At the bottom of the Costumes Pane, we have the option to add costumes to a sprite.
Costumes Pane

Backdrop Theme Forest Theatre Farm Party
a b c d
16 CO24CB0402_P2.indd 16 9/25/2023 5:02:34 PM
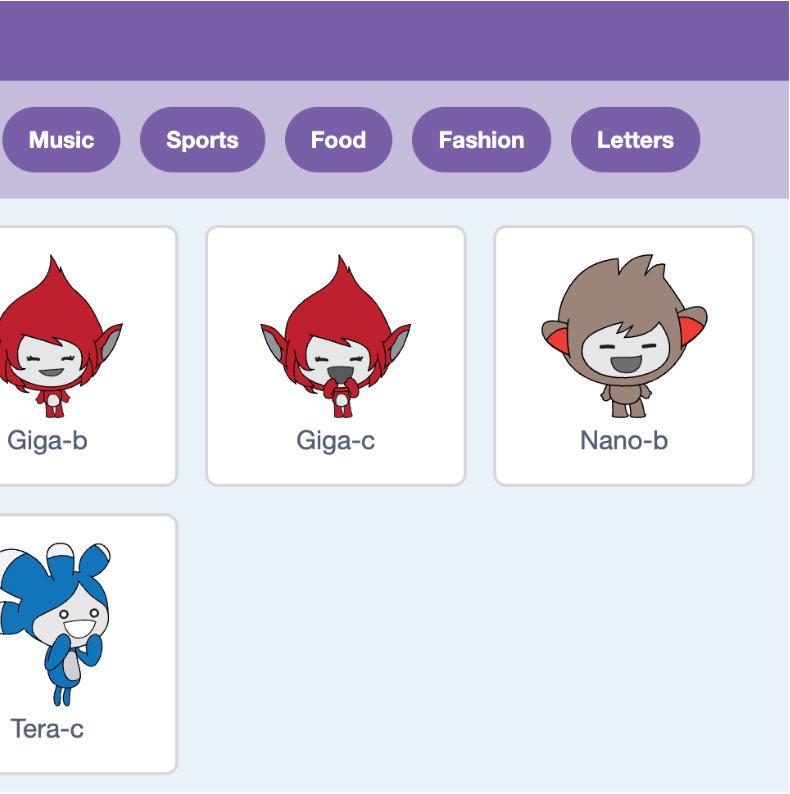
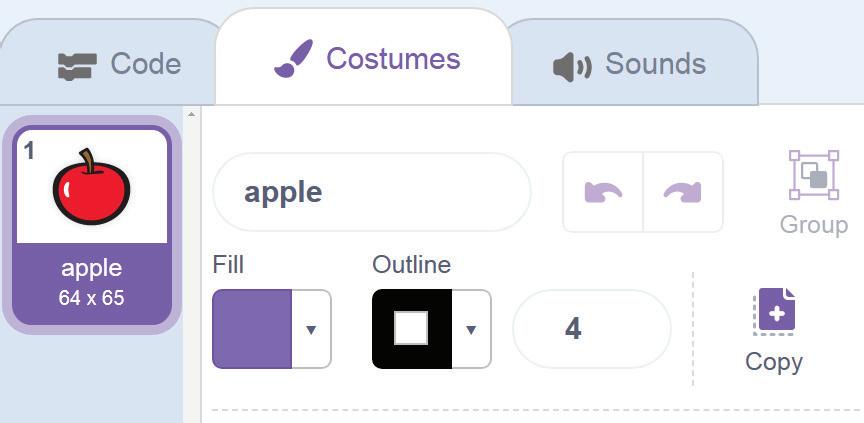
Choosing a Costume for a Sprite
Now, let us add an Apple as another costume to the Apple sprite.
Steps to choose a costume for a sprite from the sprite library:
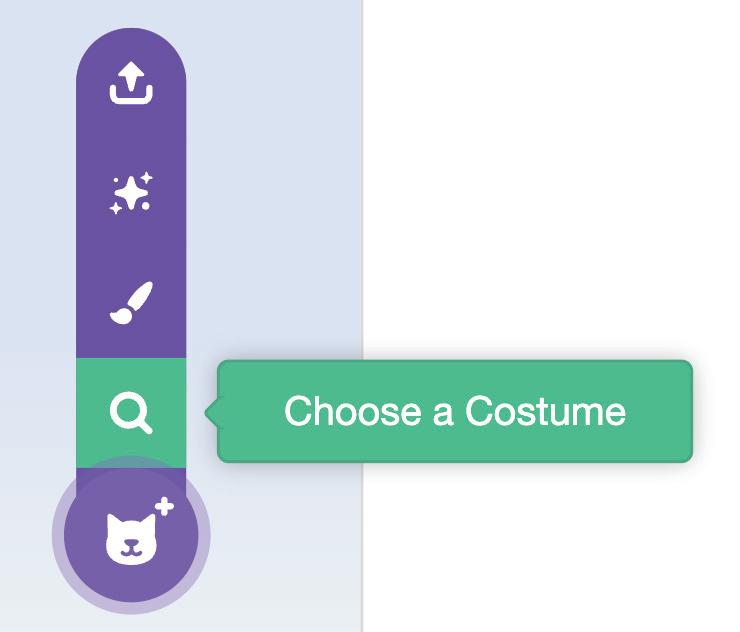
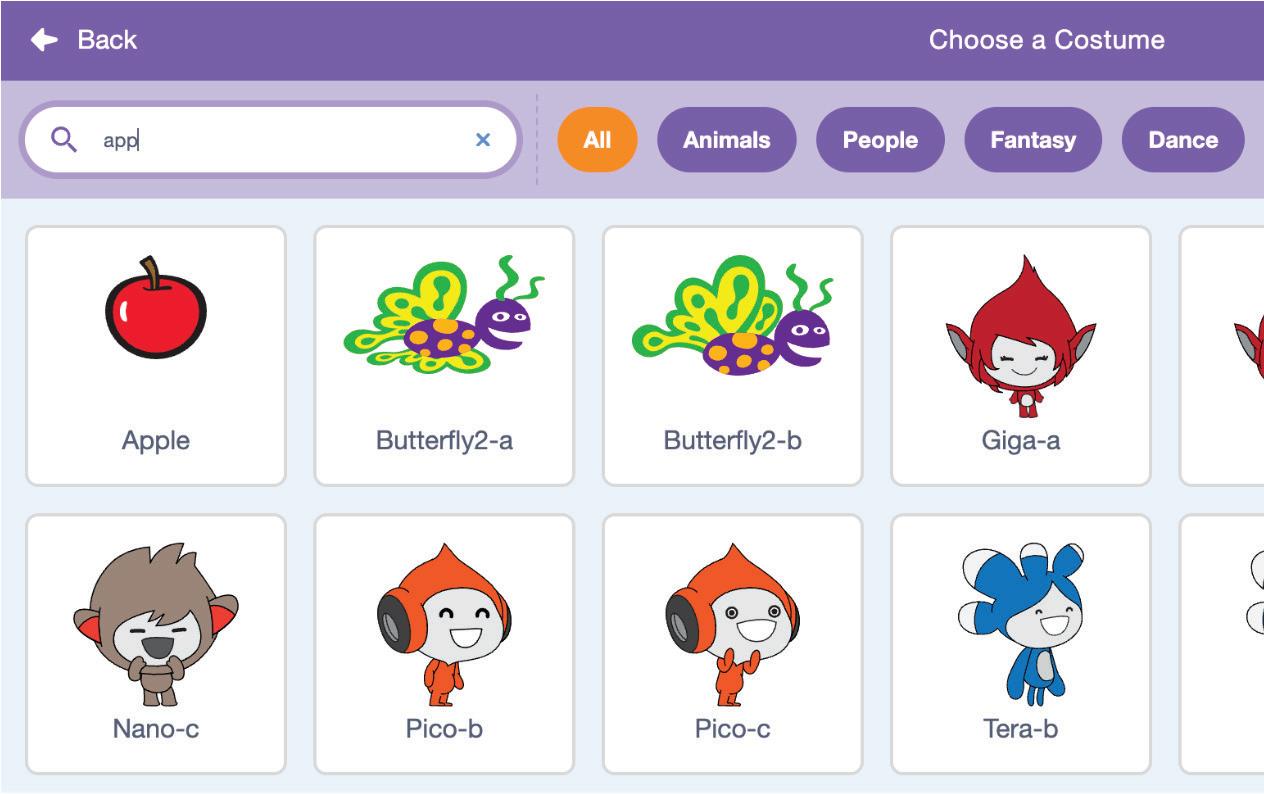
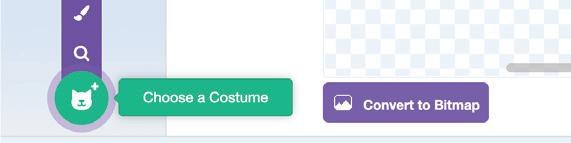
1 Click the Choose a Costume option in the Sprite Pane. The Sprite Library opens.
2 Type “apple” in the search box.

3 Click the Apple sprite.
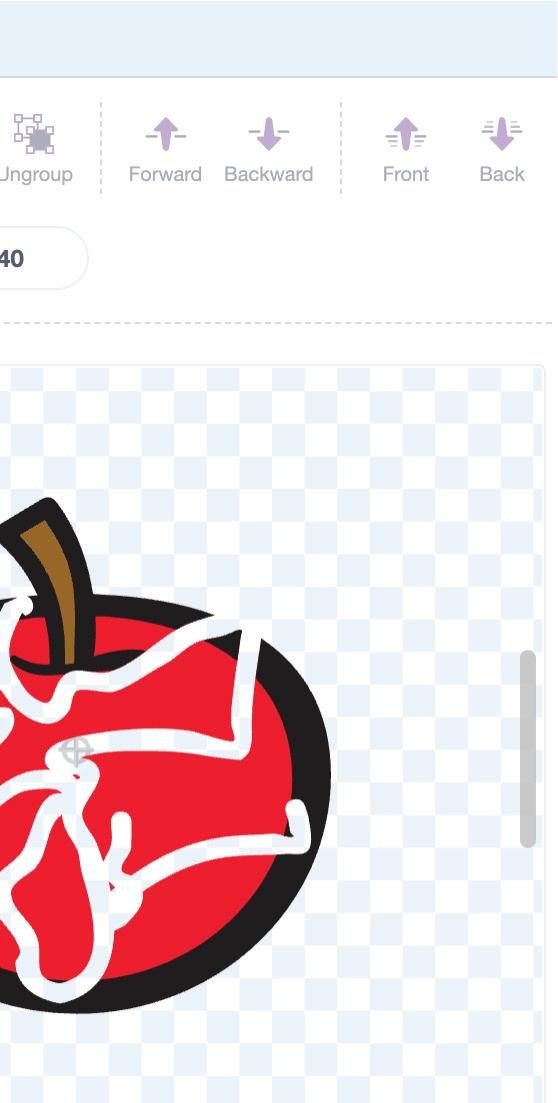
4 The sprite is added to the Costumes List in the Costumes Pane.
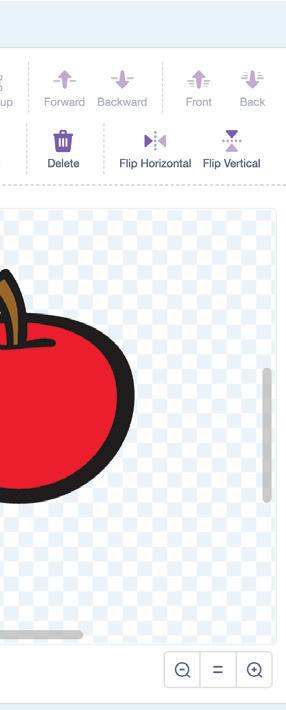
5 In the Paint Editor, select the Eraser tool and set its size to 40.
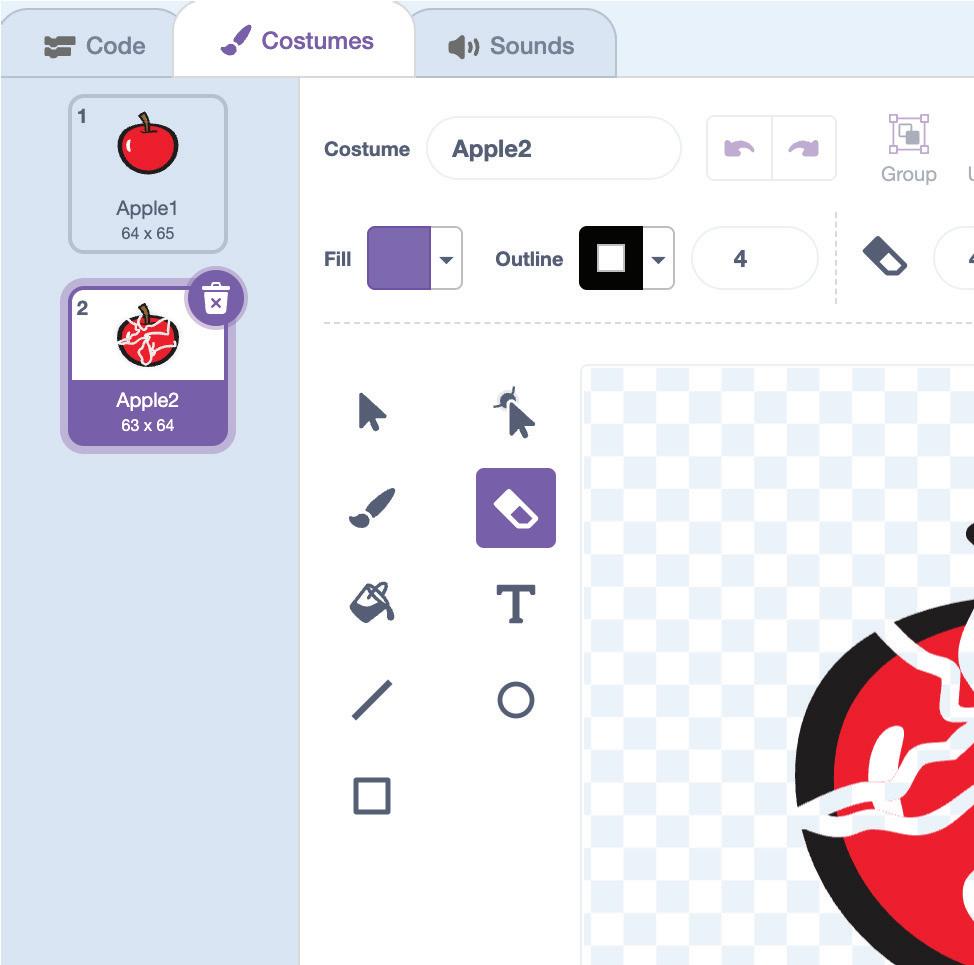
6 Use the Eraser tool to make the apple look like the one shown.
Chapter 2 • Sprites and Costumes 17 CO24CB0402_P2.indd 17 9/25/2023 5:02:38 PM
Instead of adding another costume of an Apple sprite from the Costumes Library, we can create a duplicate costume of it. We can as many duplicate costumes for a sprite as we can. Let us learn to duplicate a costume.
Duplicating Costume of a Sprite
We can have two costumes for our Apple sprite by duplicating its costume. Steps to duplicate the costume of the Apple sprite:
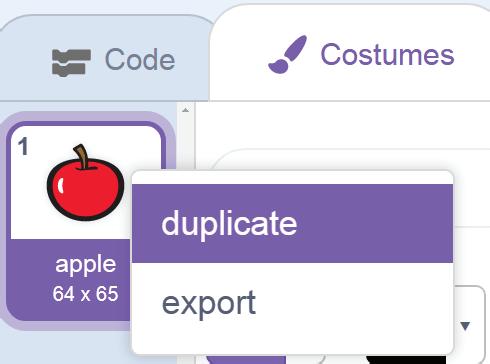
1 Select the Apple sprite in the Sprites List.
 2 Click the Costumes tab.
3 Right-click the apple sprite in the Costume’s panel.
2 Click the Costumes tab.
3 Right-click the apple sprite in the Costume’s panel.
18 CO24CB0402_P2.indd 18 9/25/2023 5:02:39 PM
4 Click the duplicate option.
5 A duplicate copy of the apple costume is created.


Do It Yourself 2B
1 Write T for True and F for False.
a We can change the costume of a sprite from Sprites Library only.


b A sprite can change only one costume.
c We can change the costume of all the sprites of a project.
2 Which of the following is the duplicate sprite of sprite?


Chapter Checkup
A Fill in the Blanks.
1 is a character or an object who acts on the stage.
2 A is a collection of ready-to-use sprite images.


3 is the appearance of a sprite.


4 The option is used to add a backdrop from our own computer.
5 The option is used to add costumes to a sprite.


a b c d
Hints Costume Choose a Costume Sprite Upload Backdrop Sprite Library
Chapter 2 • Sprites and Costumes 19 CO24CB0402_P2.indd 19 9/25/2023 5:02:46 PM
B Tick () the Correct Option.
1 Which of the following options can let you add your own picture as a sprite?
a Paint
c Upload Sprite
b Choose a Sprite
d Choose a Backdrop
2 Which tab is used to change the look of sprites?
a Code b Sounds
c Costumes d Looks
3 Which of the following options is used to make copies of the same sprite in your project?
a Draw b Copy
c Duplicate d Paint
4 Which of the following options is used to change the background of the stage?
a b c d
5 The is used to ________________.


a Add picture b Delete sprite c Add sprite d Add backdrop


C Who Am I?
1 I can show different scenes, such as a forest, a city, a farm, or a school.
2 I can remove a sprite from a Scratch project.

3 I can help you create copies of a costume.


4 I can give a sprite a different look.
5 I can add a sprite or a backdrop from your computer.
20 CO24CB0402_P2.indd 20 9/25/2023 5:02:47 PM
Find and draw a line around me in the given word search puzzle.

D Write T for True and F for False.
1 Sprites are characters or objects that can move, talk, and interact.
2 Deleting a sprite means hiding it from the stage, but it can still be used later in the project.
3 We can add only two costumes for a sprite in Scratch.
4 Backdrops are the backgrounds used to set the stage for a project.
5 Duplicating a costume is a way to create a copy of a sprite’s appearance.
E Answer the Following.
1 Which component in a Scratch project can act? How can we add it to our project?
2 What is the role of Backdrops Pane in Scratch?
3 When do we need to delete a sprite, and how can we do that?
B C W Q B W S F Y D C O T S A F G H J U A S B A C K D R O P R T H X K T F Y D L S U P L O A D H K I M M P G S G H K L C N E O H Z R E G E A I R I K C G T H E T K F G L D E L E T E L D U P V N T I E R
Chapter 2 • Sprites and Costumes 21 CO24CB0402_P2.indd 21 9/25/2023 5:02:47 PM
4 What are costumes? How can we add them?
5 How do we duplicate a sprite?

F Apply Your Learning.
1 Ria wants to create and design her project as shown.
a What option can she use to delete the default sprite in her project?
b Which component of Scratch Editor can help her add a new backdrop to the stage?
22 CO24CB0402_P2.indd 22 9/25/2023 5:02:47 PM
2 Write steps to make copies of a sprite in your Scratch project.
3 Label the elements in the given picture.
 1.
2.
3. Chapter 2
1.
2.
3. Chapter 2
23 CO24CB0402_P2.indd 23 9/25/2023 5:02:48 PM
• Sprites and Costumes
Events and Loops 3

1
In the morning, when the alarm rings, we wake up. Ringing of an alarm is an event, and waking up is an action.
An event tells us when an action will happen. An action happens when an event occurs.
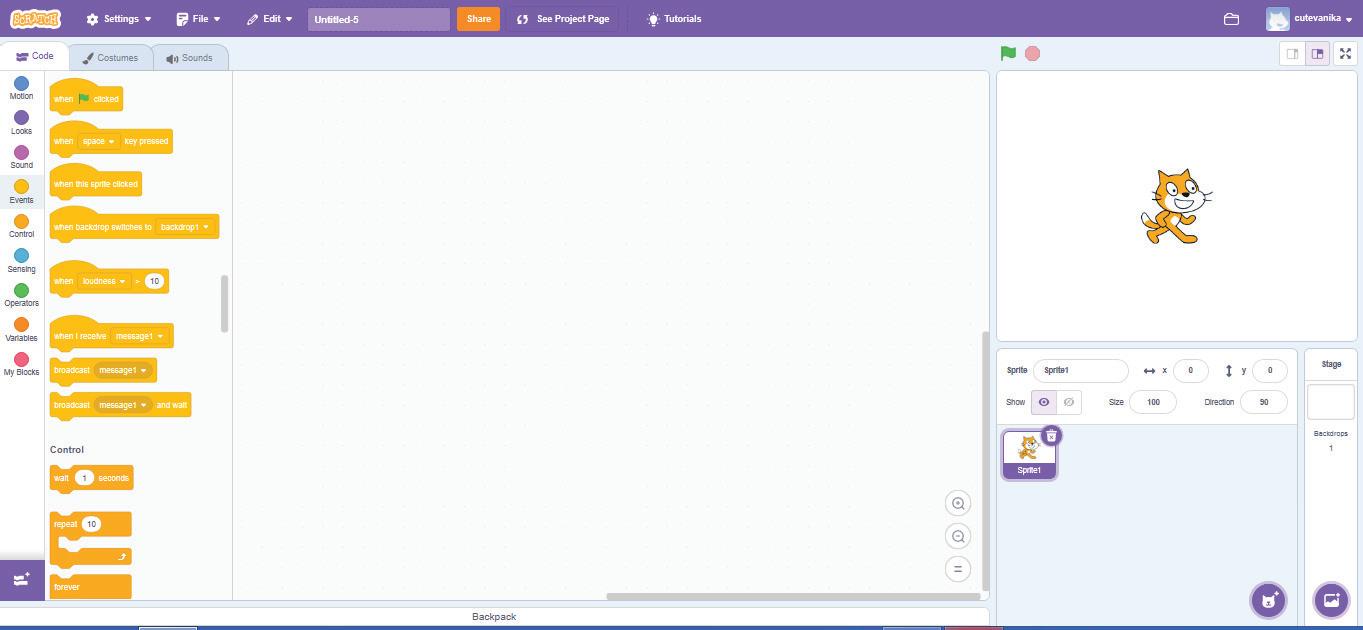
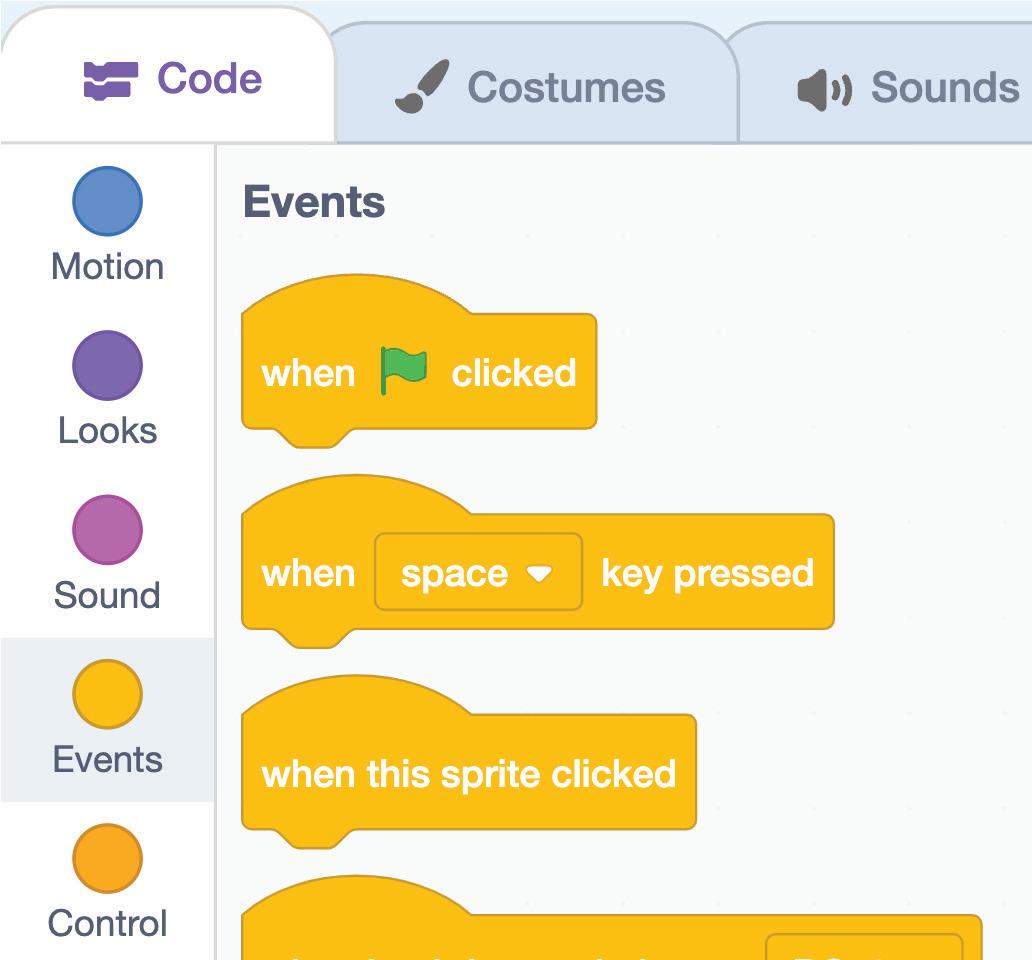
Events Block
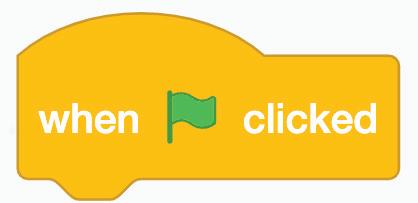
In Scratch, we have various Events blocks. They are yellow in colour. They tell the computer when to run a script. Some of the Events blocks are:
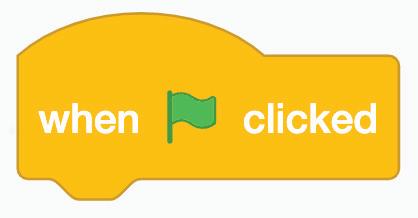
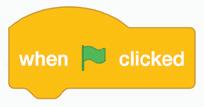
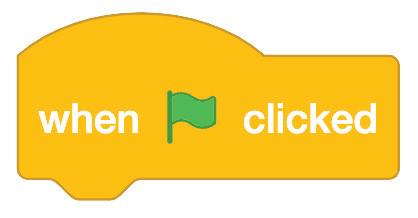
Runs the attached script when the green flag is clicked.
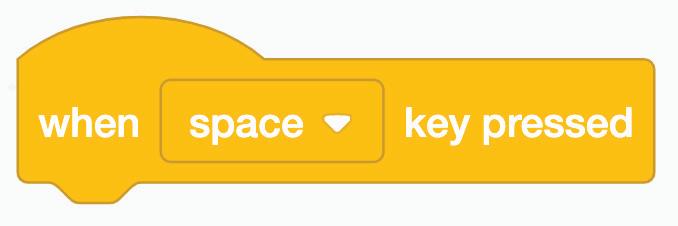
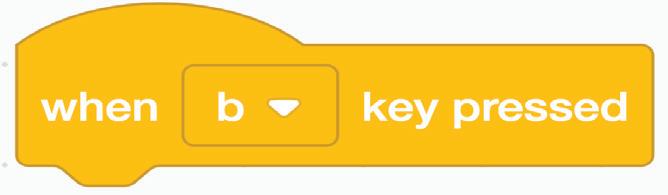
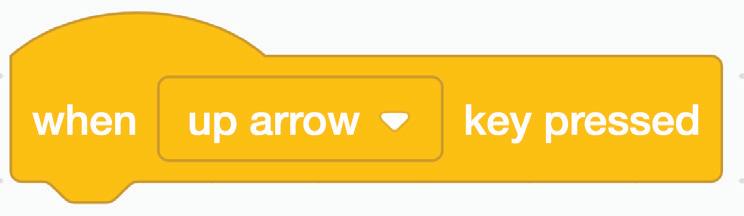
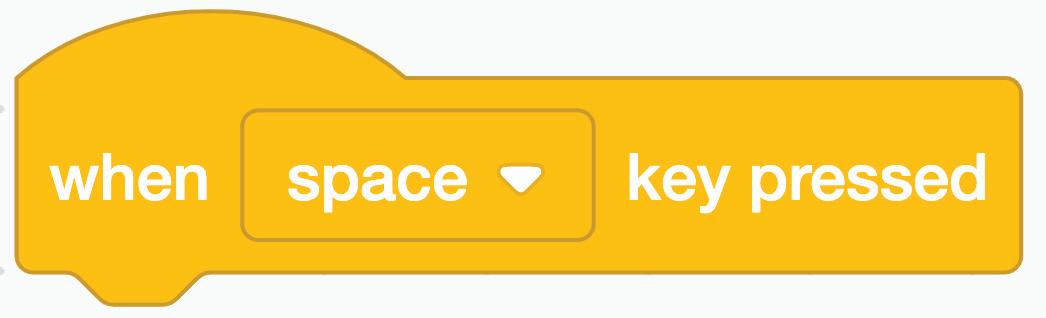
Runs the attached script when the specified key is pressed.
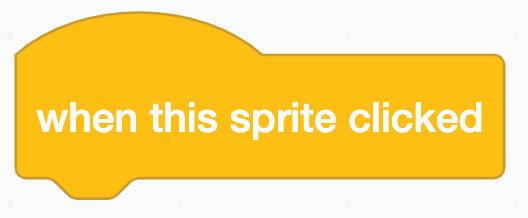
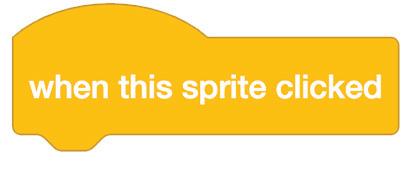
Runs the attached script when the particular sprite is clicked.
24
CO24CB0403_P1.indd 24 9/25/2023 6:03:50 PM
Think and Tell Did You Know?
The Event blocks are also known as Hat Blocks.
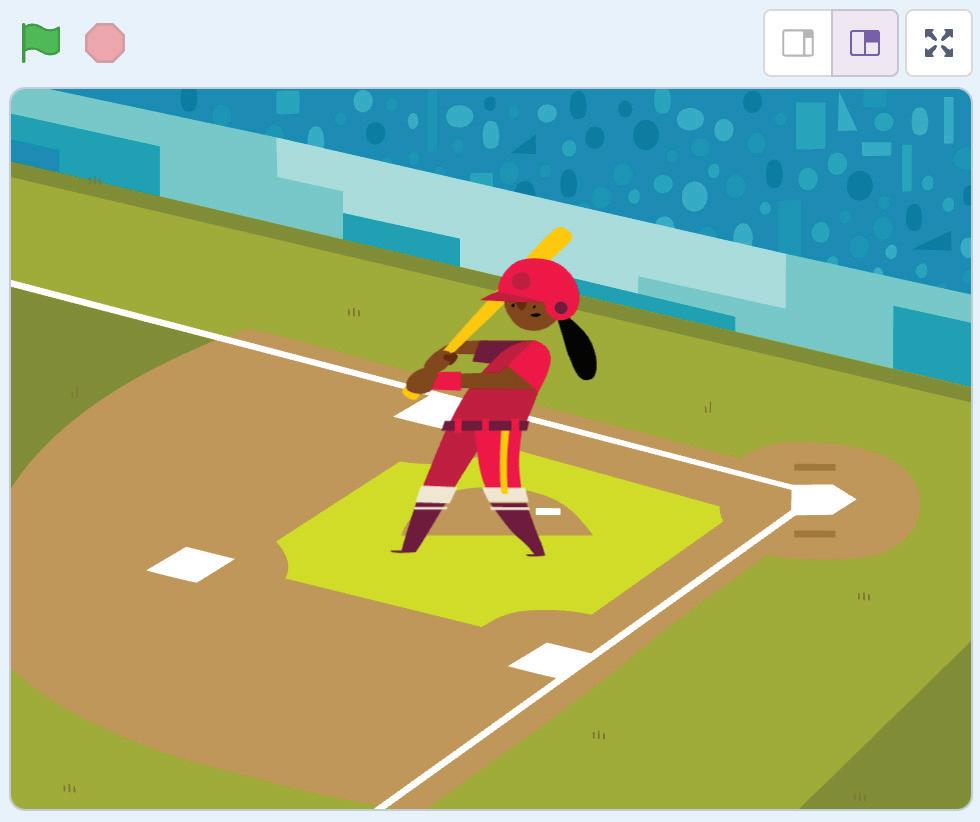
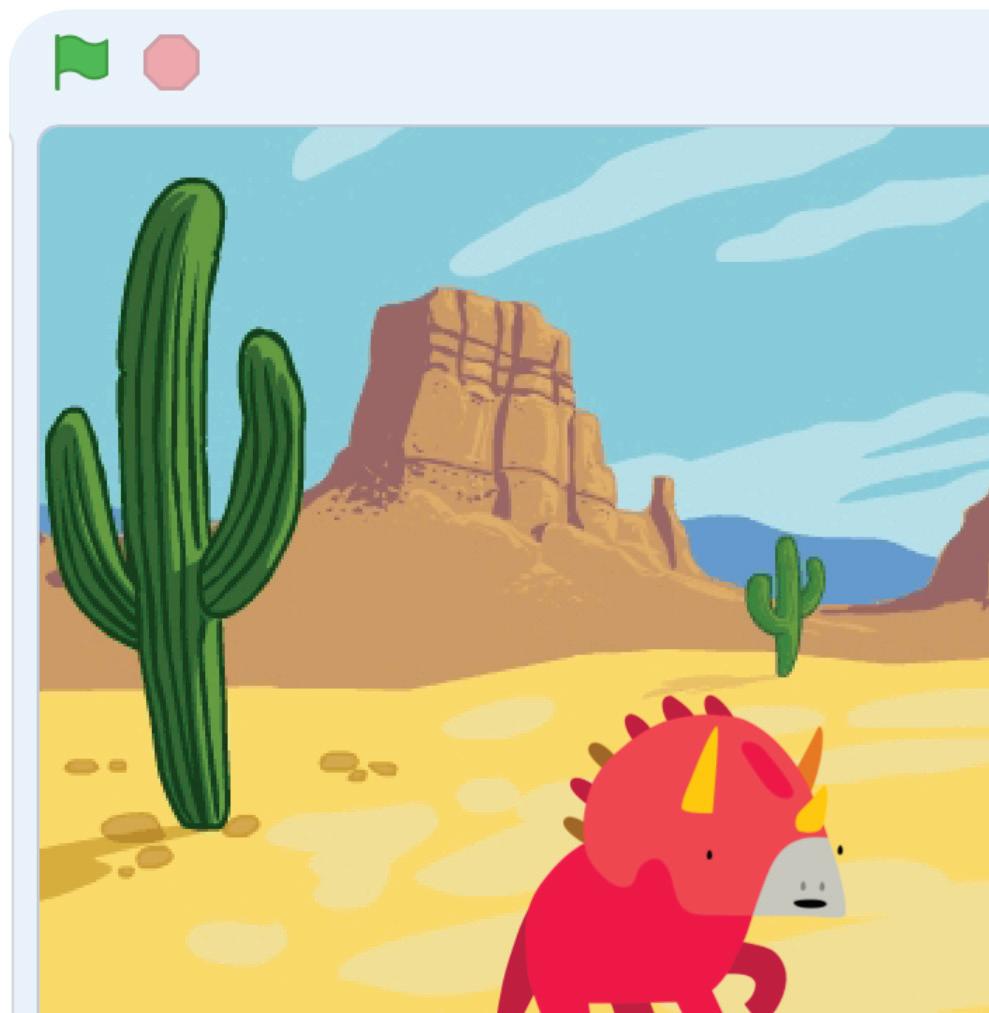
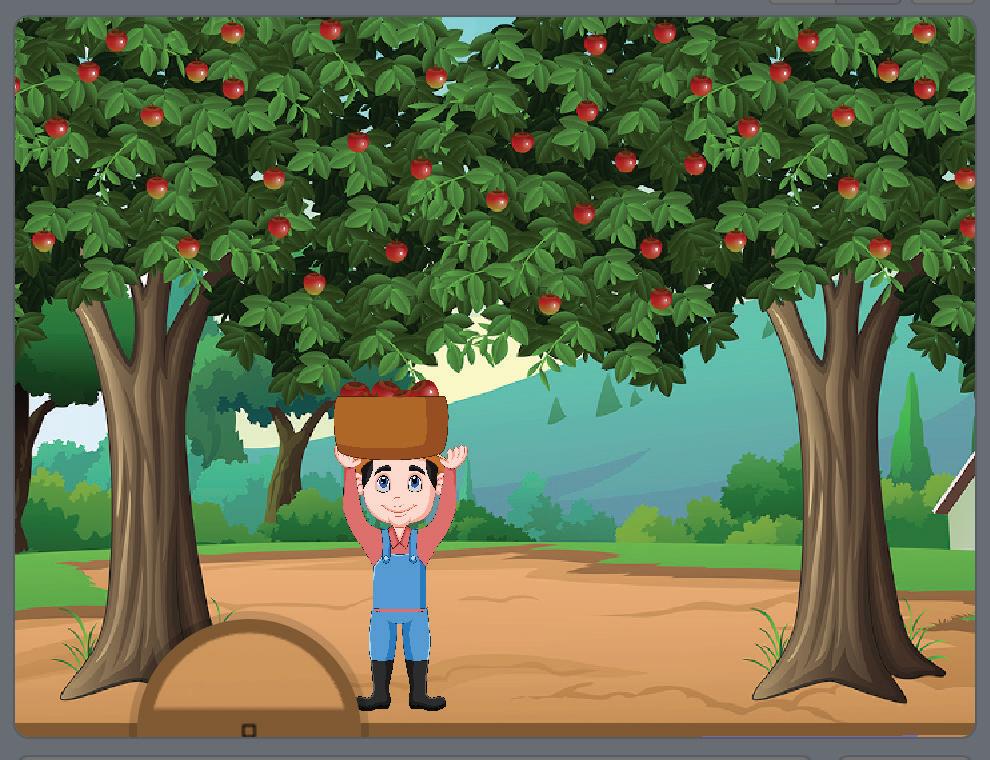
In the previous chapter, we designed our scratch project “Fruit Catcher” by adding sprites and a backdrop.

Now, let us code the sprites to do some actions. Before we start, do you remember the idea of the Fruit Catcher project?
The idea is to make the farmer collect the falling apples. Right?
Now, we need to break the idea into smaller tasks.
Let’s divide the whole project into five subtasks:
Is kicking a football an event or an action?
1 The Apple sprite should appear randomly and start falling.
2 The farmer should be able to move left and right using a keypress.
3 The basket should move with the farmer too.
4 If the falling apple touches the basket, the apple should disappear.
5 If the falling apple touches the ground, the apple should break.
Let us start coding the Apple sprite.
Making an Apple Sprite Appear Randomly
Steps to make an Apple sprite fall:
1 Select the Apple sprite in the Sprites List.
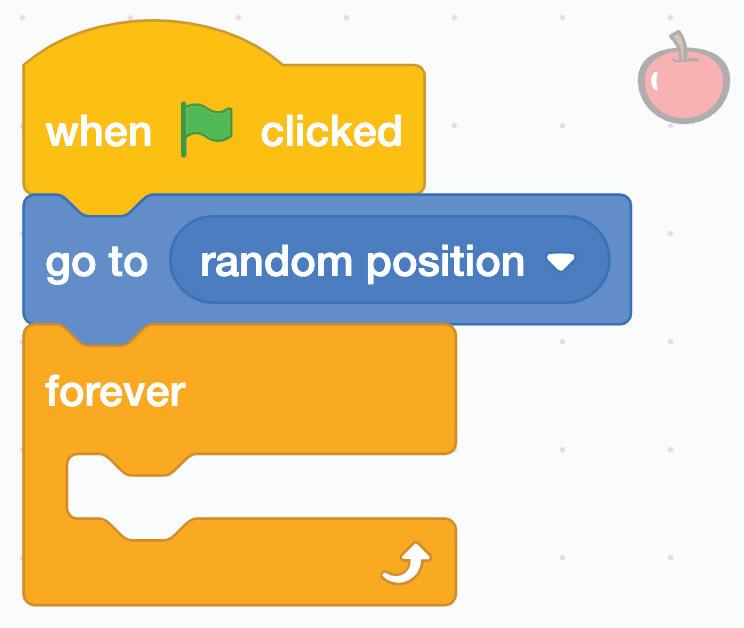
2 Go to the Events block category.
3 Drag the code block from the Events block to the Coding Area.
4 Go to the Motion block category.
The Motion blocks are the blocks used to add motion to a sprite. They are blue in colour.

Chapter 3 • Events and Loops 25 CO24CB0403_P1.indd 25 9/25/2023 6:03:51 PM
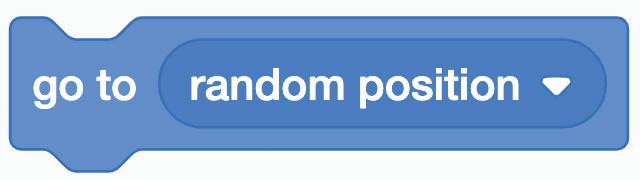
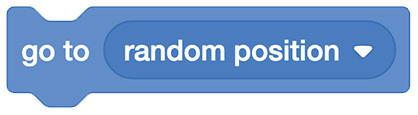
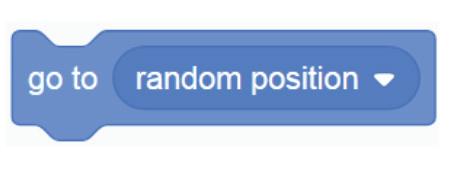
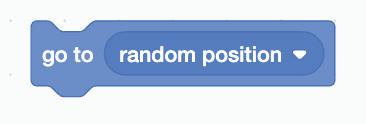
5 Drag and attach the go to random position motion block to the when green flag clicked event block.


The go to random position block makes a sprite go to a random position that can be anywhere on the stage.
6 Click the Go button multiple times to test if the sprite appears at a random position each time.
There are various Motion blocks. Some of them are:
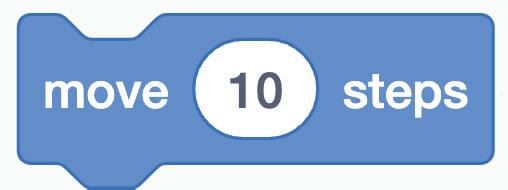
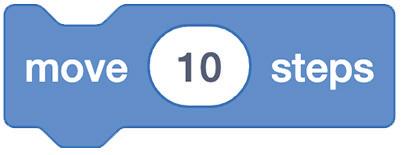
Moves a sprite ahead by a specified number of steps.
26 CO24CB0403_P1.indd 26 9/25/2023 6:03:51 PM
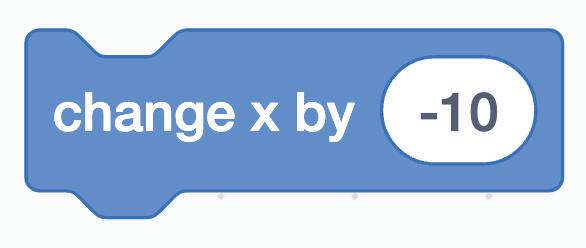
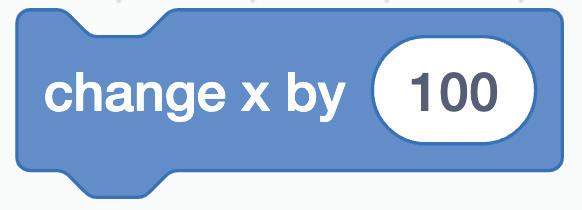
Change the x position of a sprite by a specified value. Moves the sprite forward or backwards with positive or negative values, respectively.

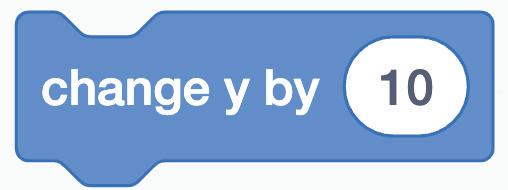
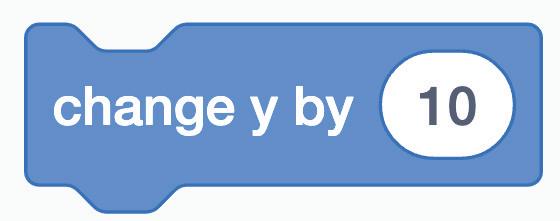
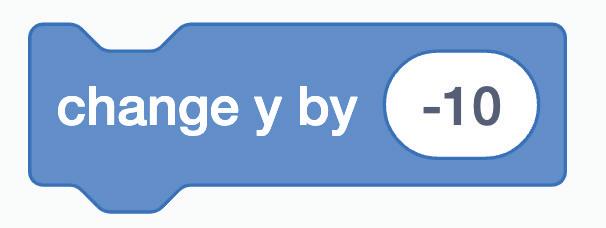
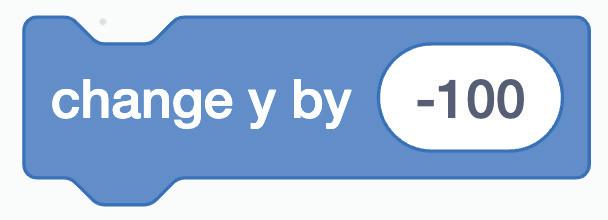
Change the y position of a sprite by a specified value. Moves the sprite upwards or downwards with positive or negative values, respectively.
Moves the sprite to any random position.
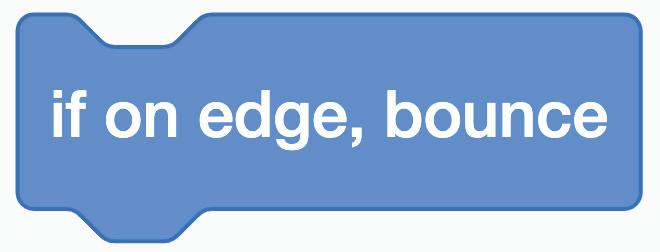
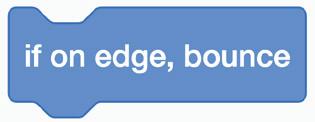
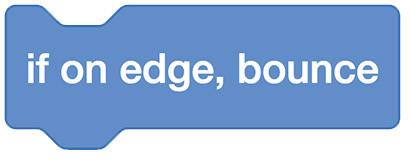
If touching the edge of the screen, the sprite bounces back.
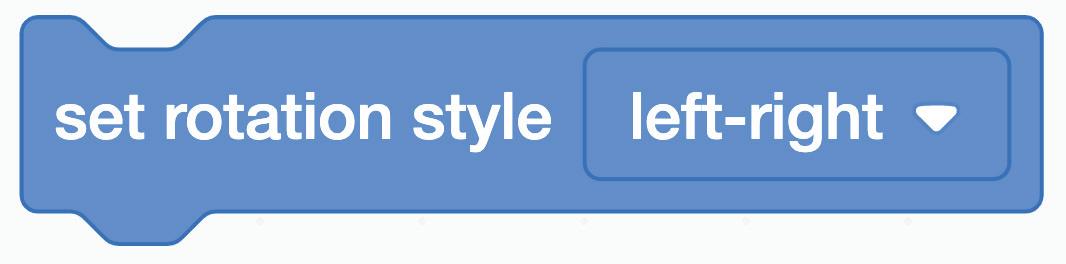
Sets the rotation style of a sprite.
A sprite’s X Position is its location on the X (horizontal) axis of the stage.
The Y Position is where the sprite is on the Y (vertical) axis of the stage.
X-Axis Y-Axis
Chapter 3 • Events and Loops 27 CO24CB0403_P1.indd 27 9/25/2023 6:03:52 PM
Do It Yourself 3A
1 Match the following.
Runs the attached script when the particular sprite is clicked.
If touching the edge of the screen, the sprite bounces back.
Moves a sprite ahead by a specified number of steps.

Runs the attached script when the green flag is clicked.
Moves the sprite to any random position.
2 Which block is used to make the ball bounce back when it touches the edge?
A B
a b c d 28 CO24CB0403_P1.indd 28 9/25/2023 6:03:53 PM
Loops
Imagine your community is having a tree planting event, and you are going to join in with your parents. What will you be doing there? You will be planting saplings, one after another.
This is called a loop or a repeating action. A loop means doing something over and over again.
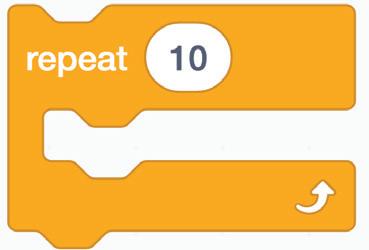
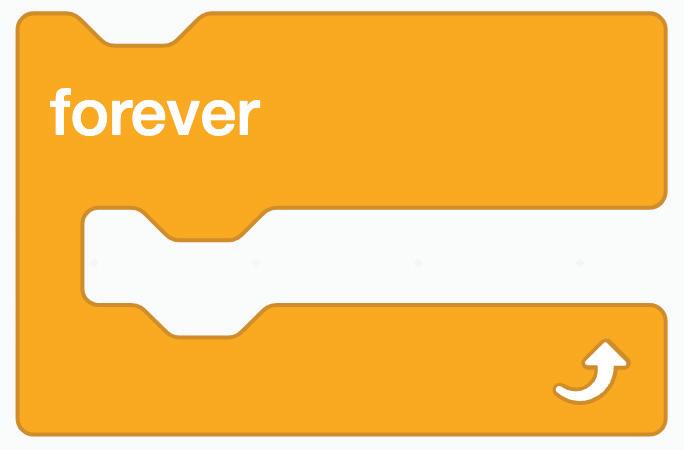
In Scratch, we have repeat and forever control code blocks that are used to repeat actions. In coding, we use loops to save time to build our scripts quickly.

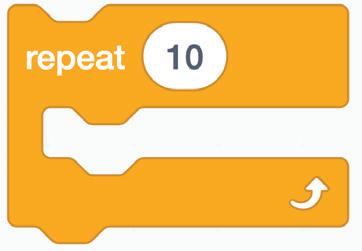
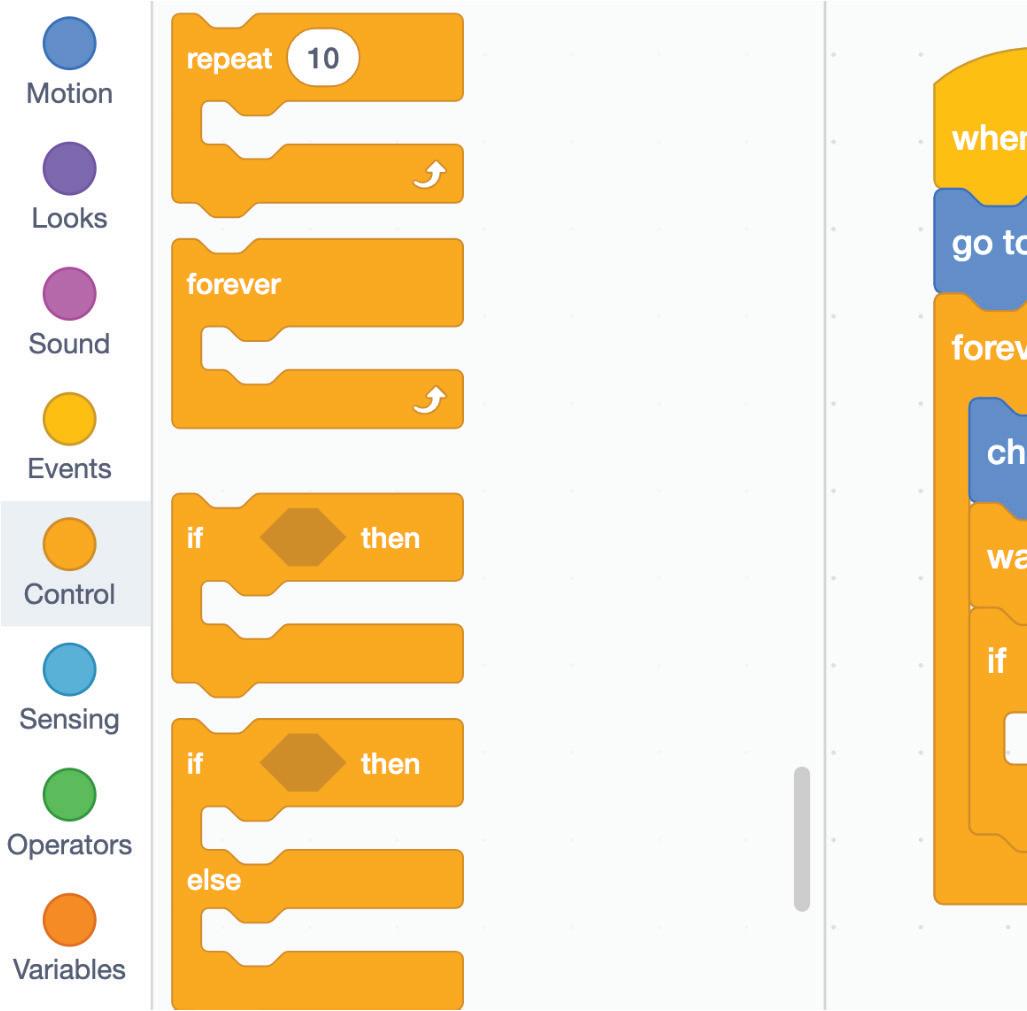
Control Blocks
The Control blocks are used to control the flow of scripts based on criteria.
They are orange in colour. Some of the Control blocks are:
Making a Sprite Fall
A loop that repeats for a specific number of seconds.
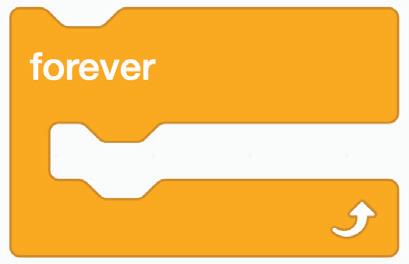
Runs the given set of blocks for forever until the Stop button is pressed.
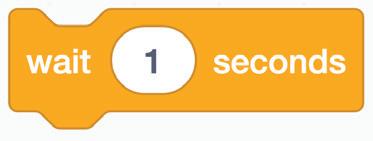
Pauses the script for specified seconds.
Steps to make the Apple sprite fall:
1 Select the Apple sprite in the Sprites List.
2 Go to the Control block category.
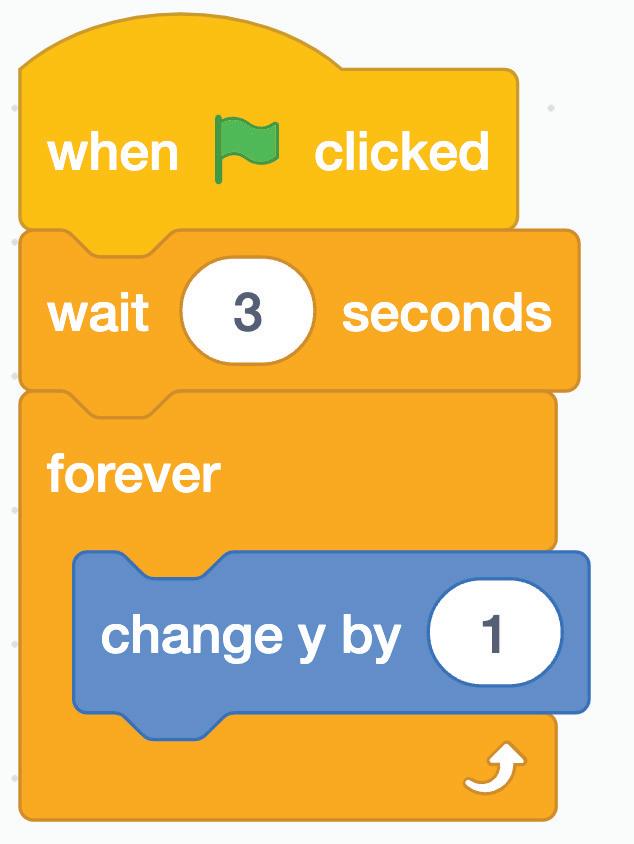
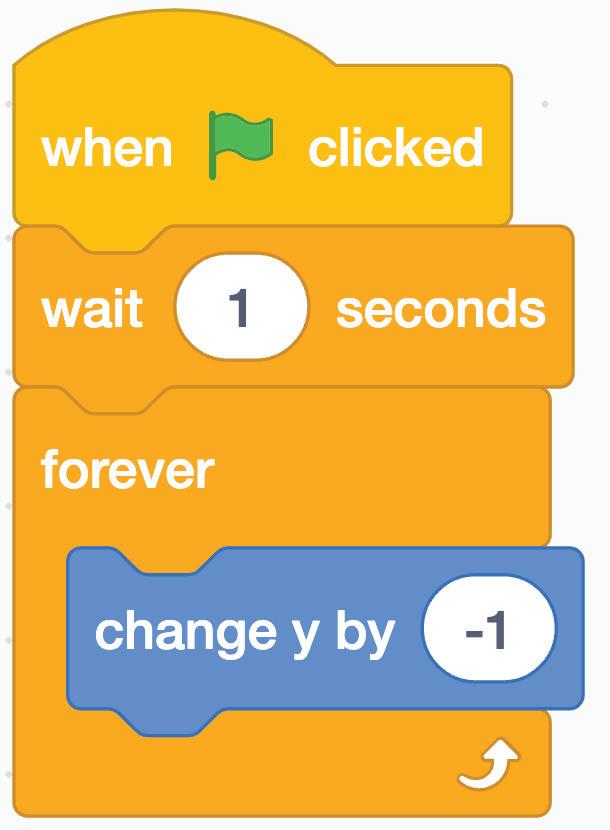
3 Drag and join the forever block to the go to random position block.
Chapter 3 • Events and Loops 29 CO24CB0403_P1.indd 29 9/25/2023 6:03:53 PM
4 Go to the Motion block category.
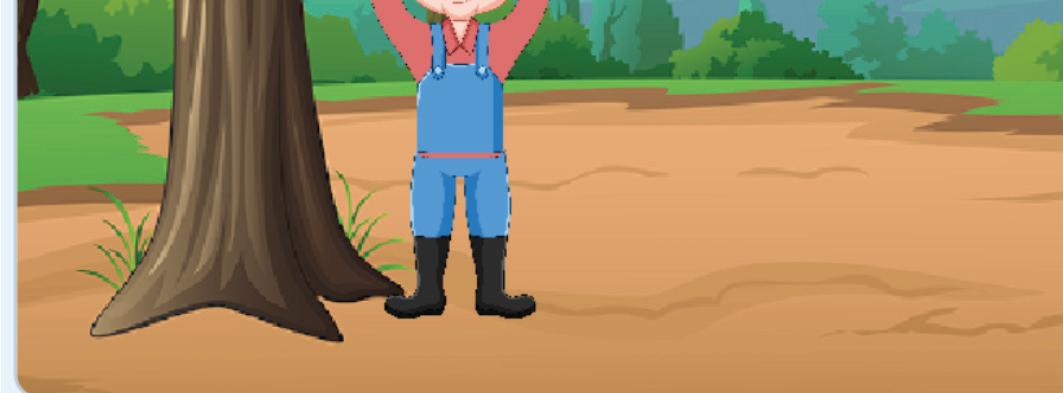
5 Drag and join the change y by block inside the forever block.
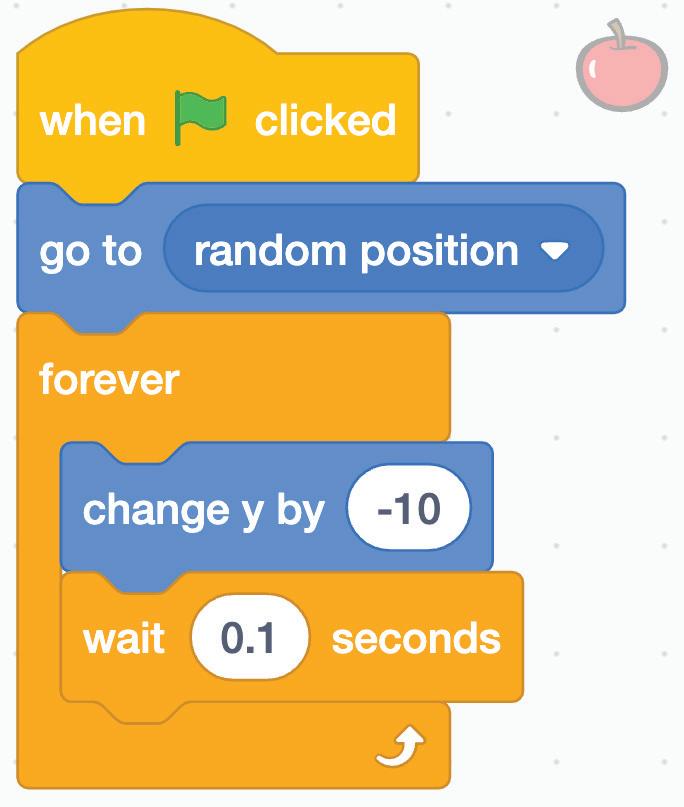
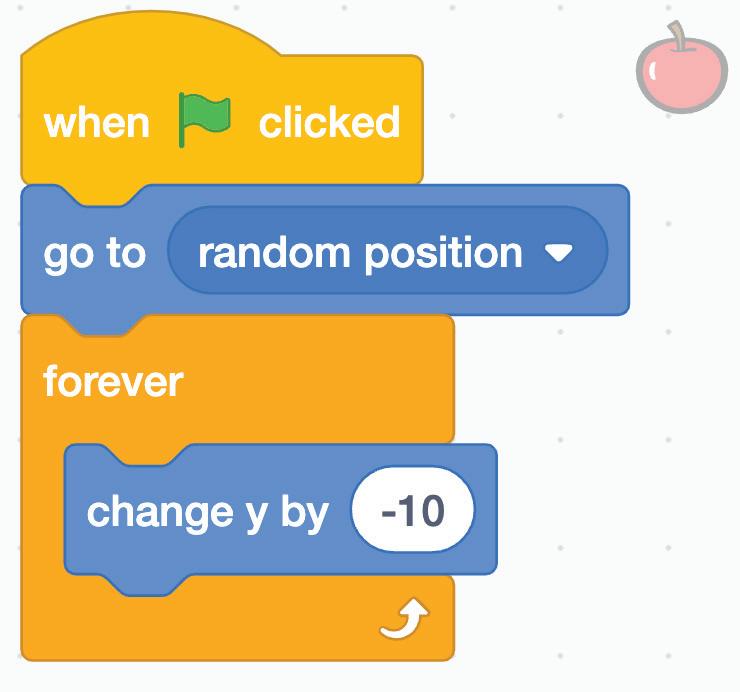
6 Change the value of y by -10.
7 Go to the Control block category.
8 Drag and join the wait block under change y by -10 inside the forever block.
9 Change the seconds to 0.1.
10 Click the Go button to test if the sprite appears at a random position and falls forever.
Moving a Sprite
Steps to move the Farmer sprite:
1 Select the Farmer sprite in the Sprites List.
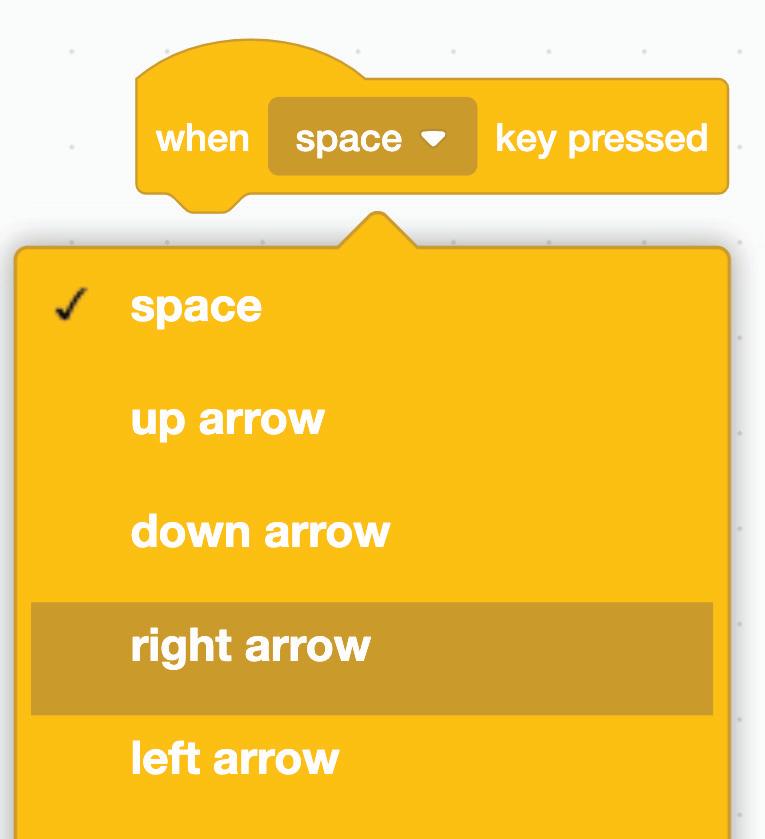
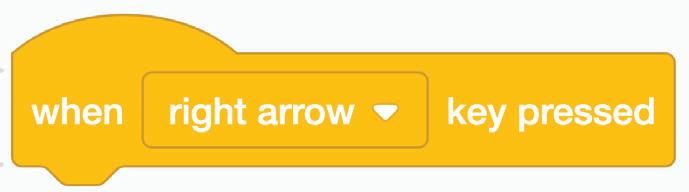
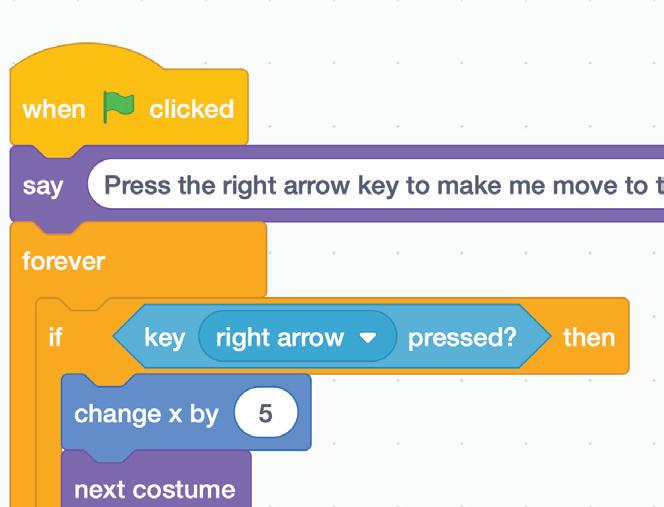
2 Drag and drop the when key pressed block from the Events category.

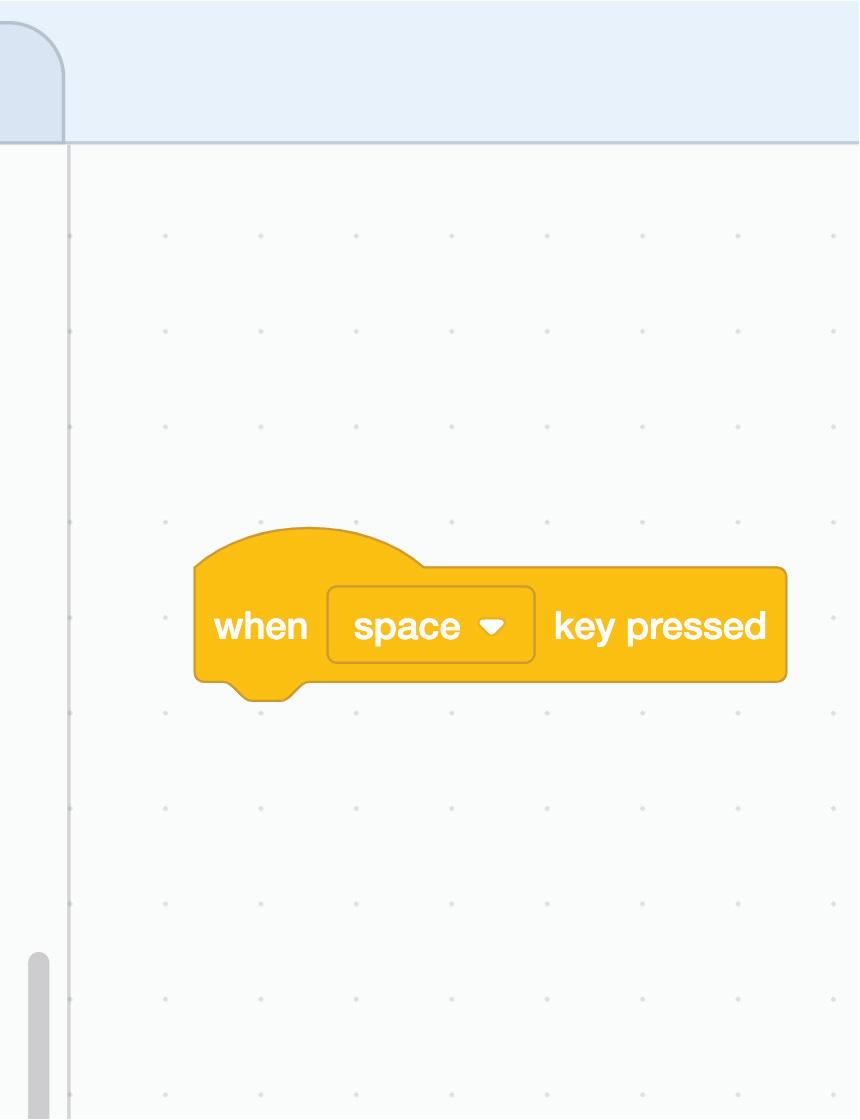
30 CO24CB0403_P1.indd 30 9/25/2023 6:03:54 PM
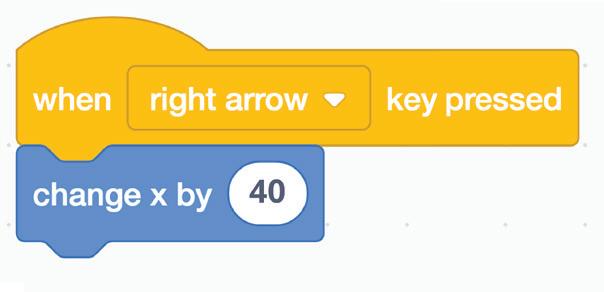
3 Click the drop-down button.
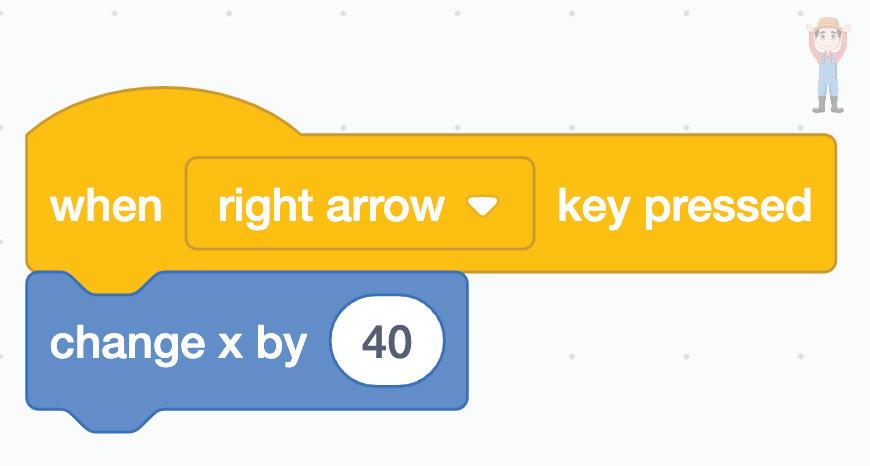
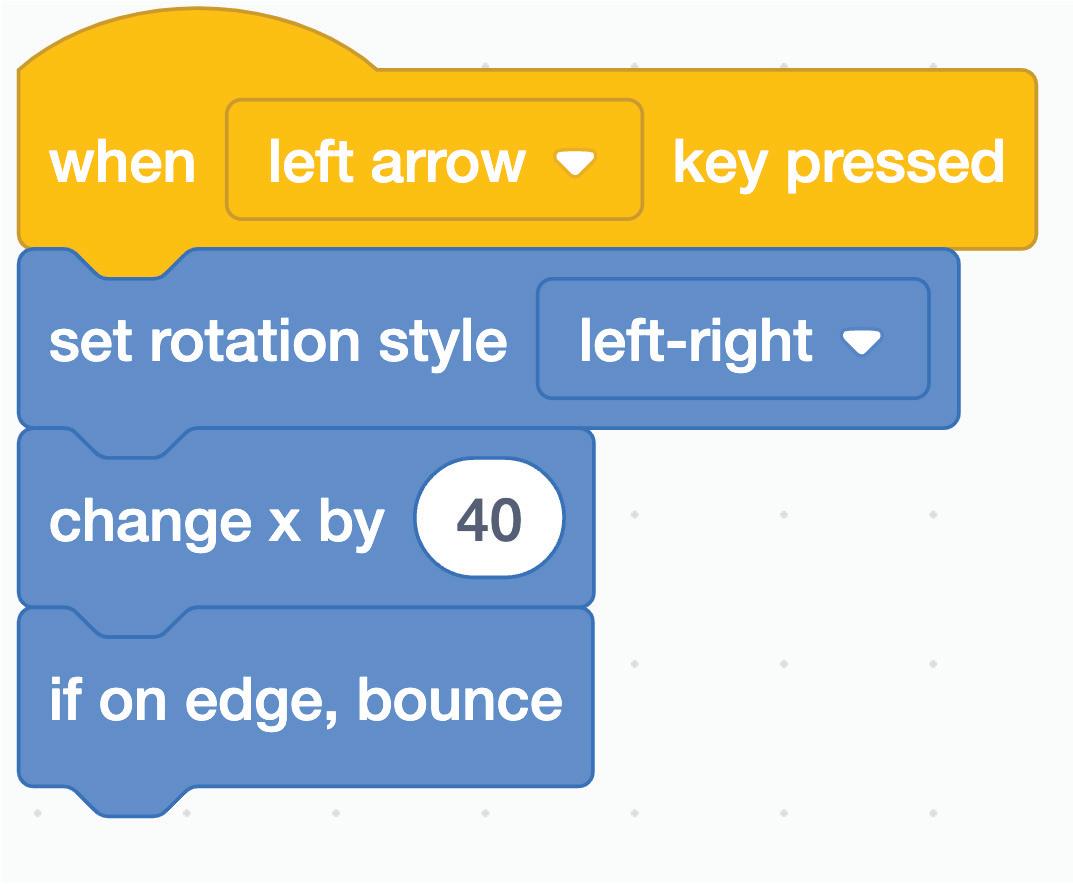
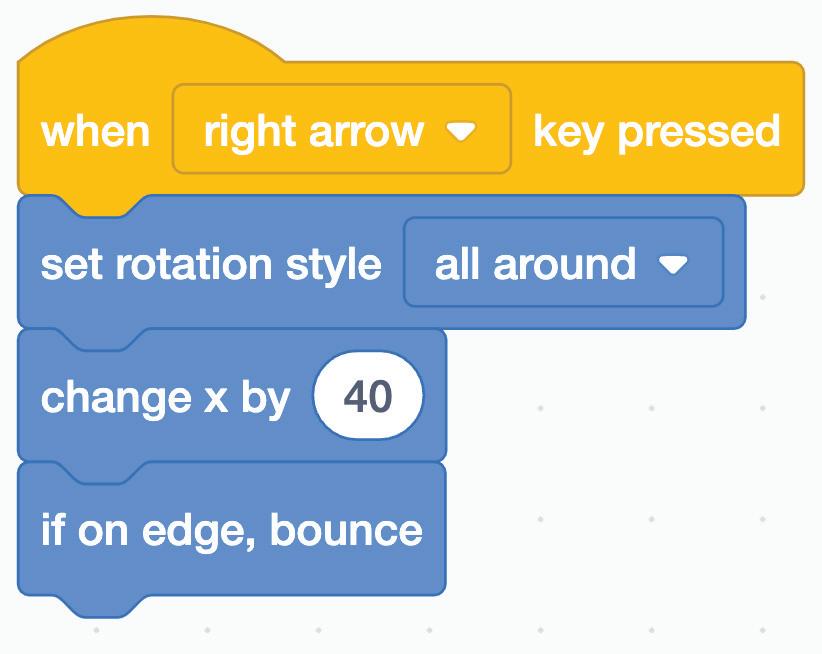
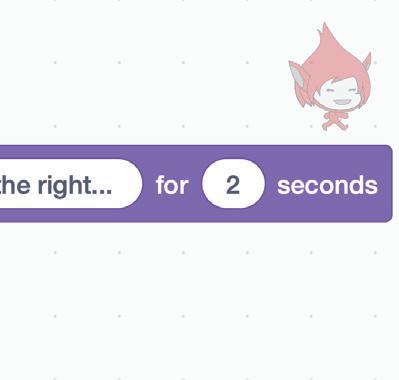
4 Choose the right arrow key in the when key pressed block.
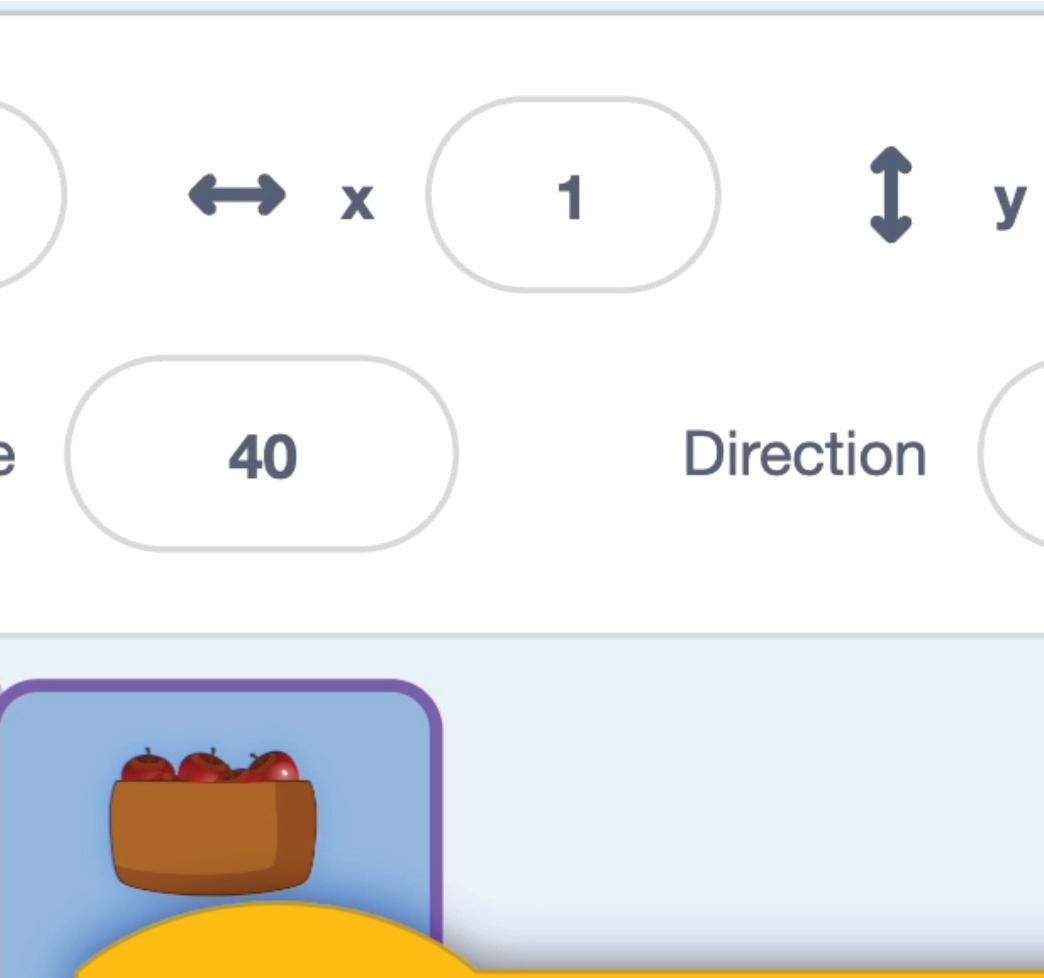
5 Drag and join the change x by block under the when right arrow key pressed block.
6 Change the value of x by 40.
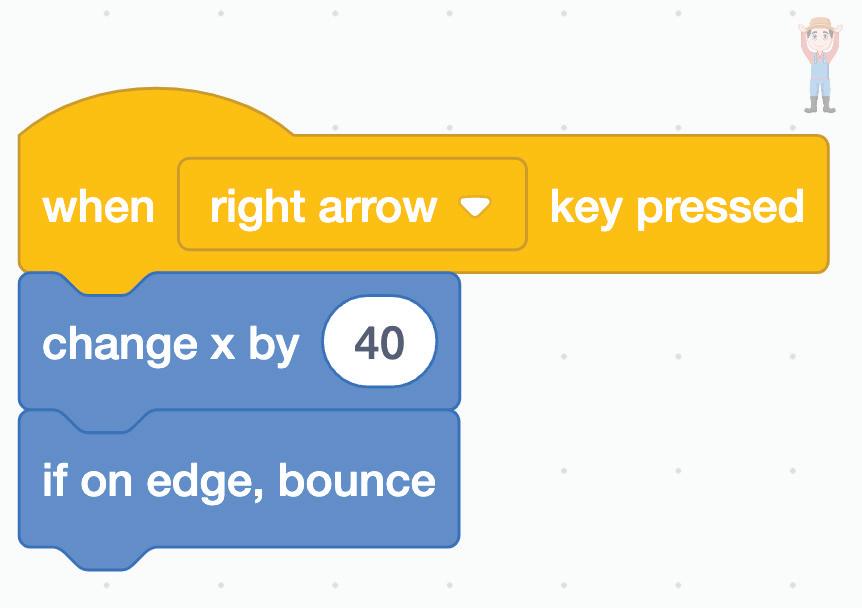
7 Drag and join the if on edge, bounce block to the change x by block.
Duplicating the Script
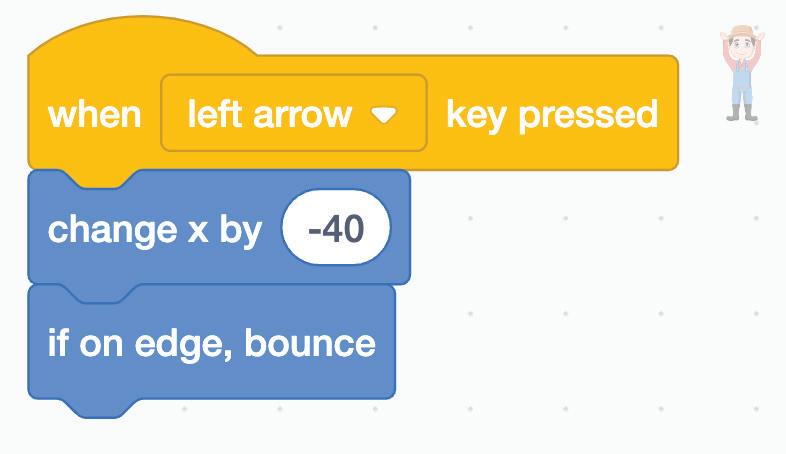
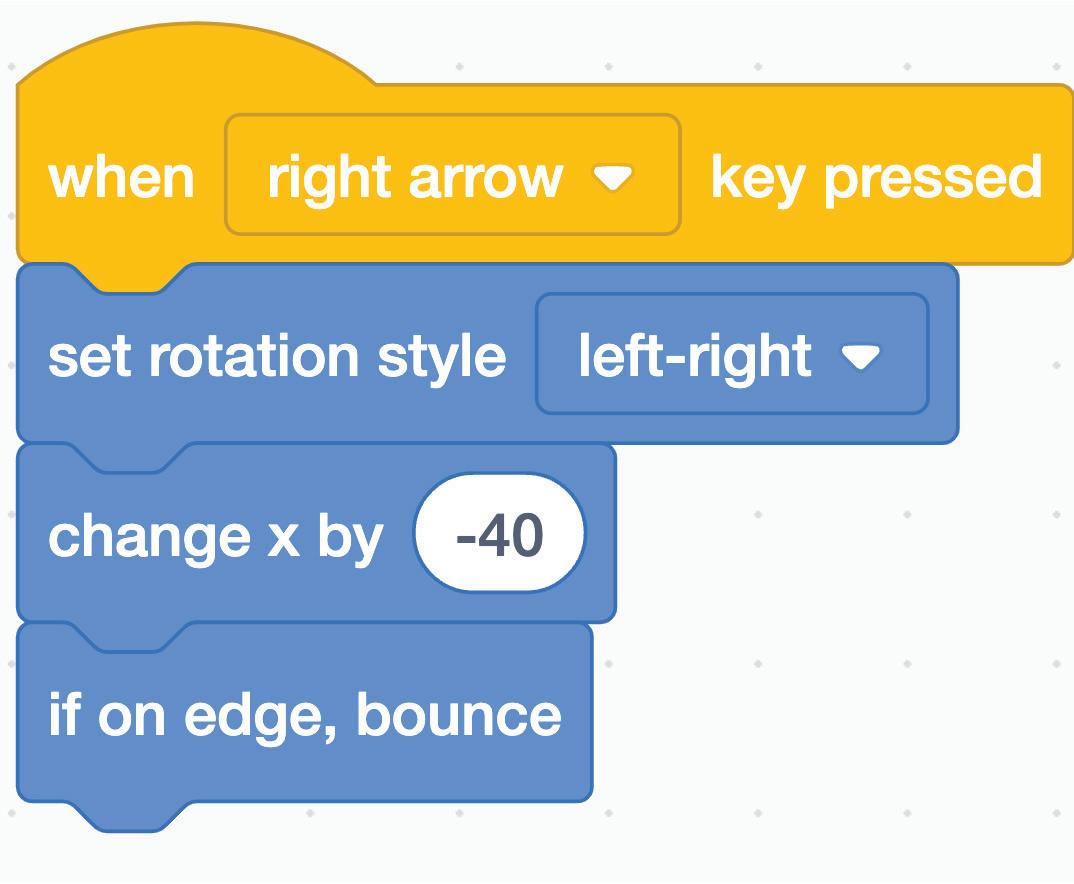
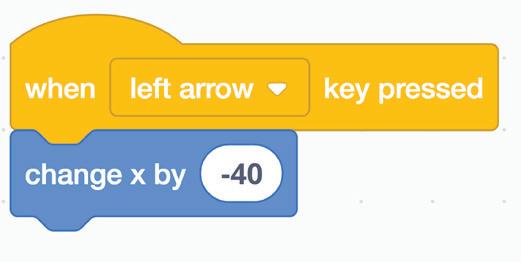
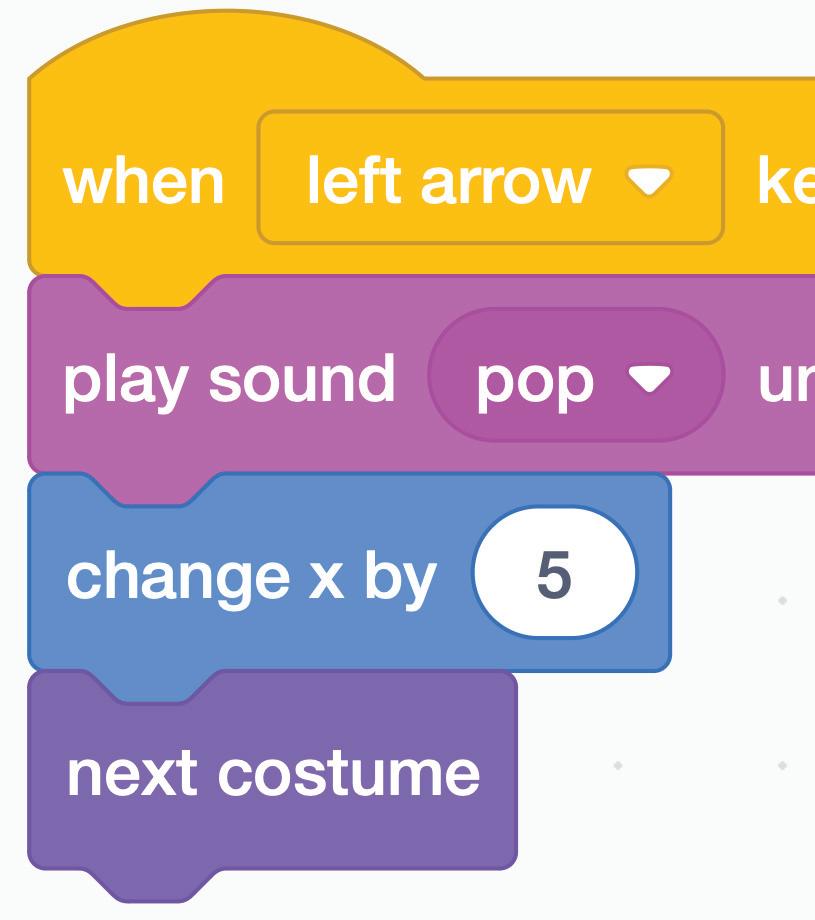
1 Right-click the when right arrow key pressed block.
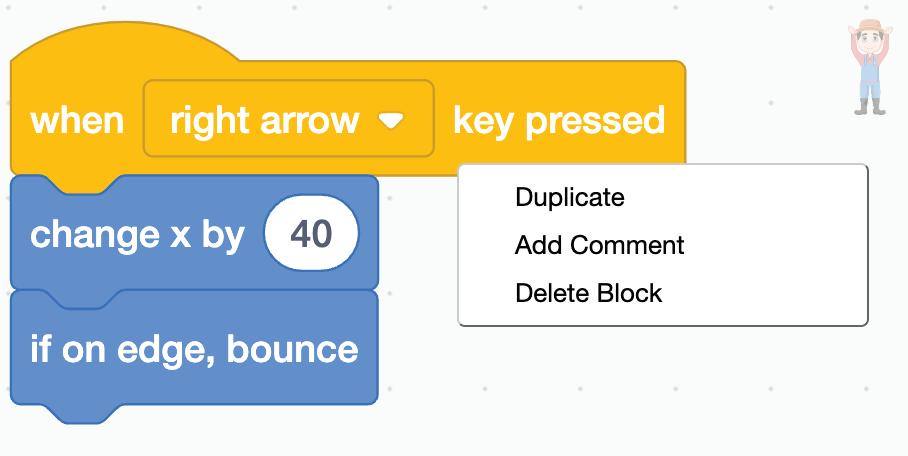
2 Select the Duplicate option to copy the code for the left arrow key.
Chapter 3 • Events and Loops 31 CO24CB0403_P1.indd 31 9/25/2023 6:03:54 PM
3 Change the right arrow key to the left arrow and the value of x by -40.
4 Click the Go button to test if you can make the Farmer sprite move left and right on pressing the left and right arrow keys.
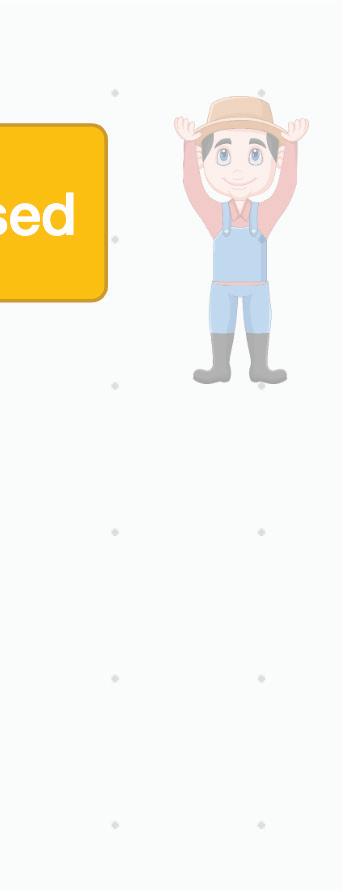
You can also observe that the Farmer sprite rotates when it touches an edge because the default rotation setting for a sprite is all around. So, if we move a sprite on a key press, it will rotate when it touches an edge.
Fixing the Rotation Style
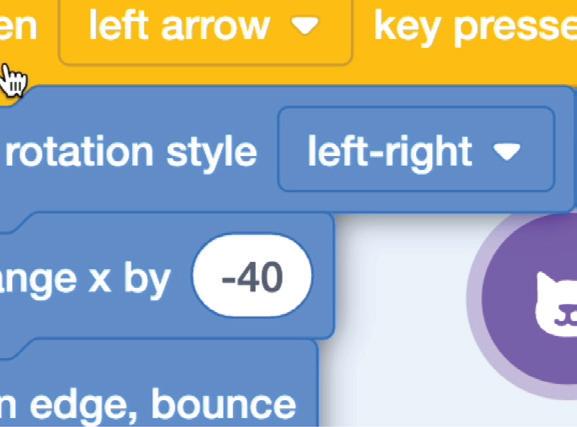
To fix this, we can use the set rotation style block to fix the rotation style for the Farmer sprite.
1 Drag the set rotation style block from the Motion blocks and join it under the when left arrow and when right arrow key pressed event blocks in the Coding Area.
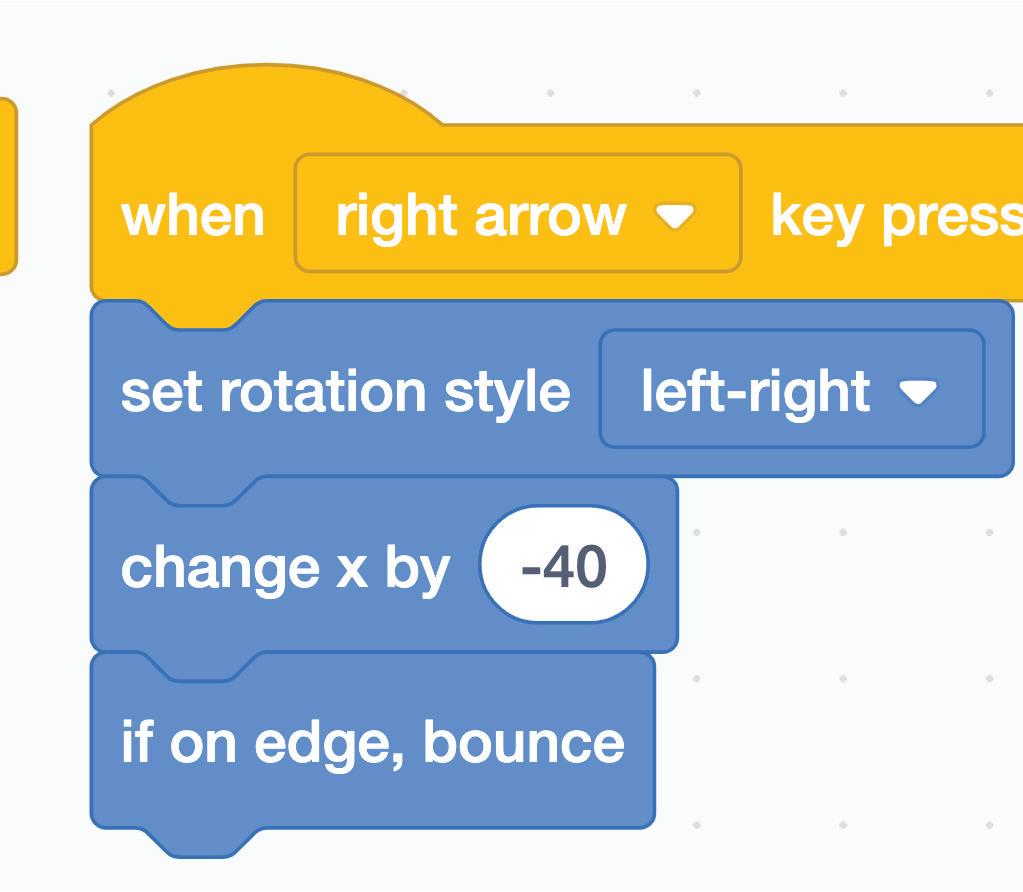
2 Change the rotation style to left-right, as shown in the picture below.
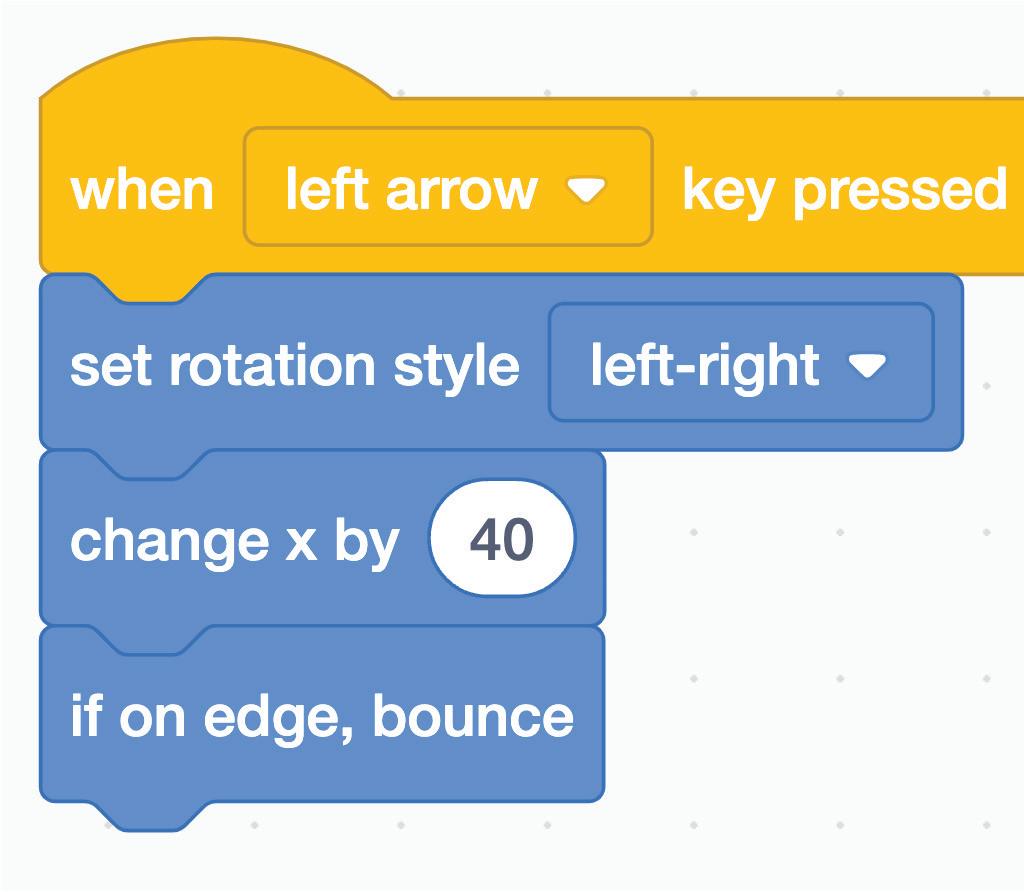
3 Now, click the Go button to test if the issue is fixed.
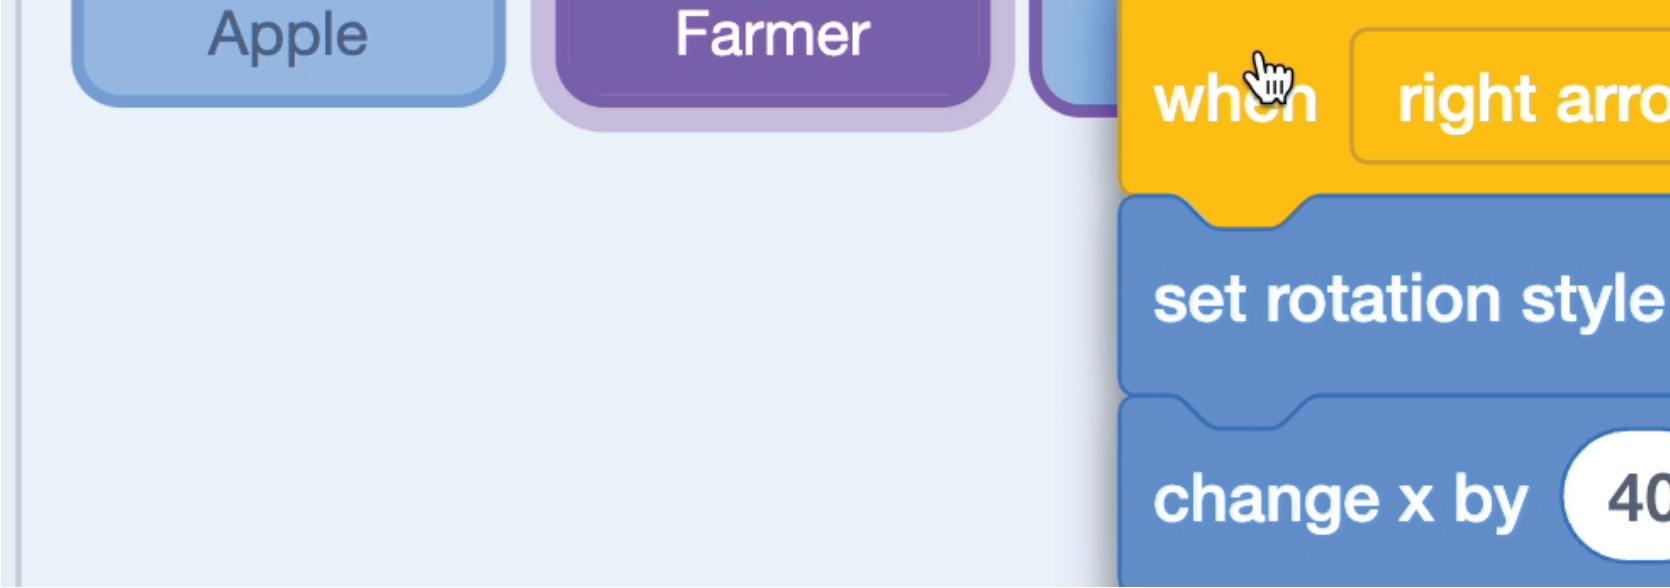
Duplicating the Script of a Sprite to Another
We can duplicate the script of one sprite to another using two different methods. Let us learn about both of them.
-
32 CO24CB0403_P1.indd 32 9/25/2023 6:03:54 PM
Method 1:
1 Click the when left arrow key pressed block once.
2 Press Ctrl+C shortcut key to copy the script.
3 Click the Basket sprite in the Sprites List.
4 Go to the Coding Area and press Ctrl+V shortcut key to paste the script.
5 Repeat the steps 1 to 4 to duplicate the when right arrow key pressed block for the Basket sprite.
Method 2:
1 Drag the script to the basket sprite in the Sprites List.
-
Chapter 3 • Events and Loops 33 CO24CB0403_P1.indd 33 9/25/2023 6:03:55 PM
2 Repeat it for the when (left arrow) key pressed script.

1 Select the correct code to make the sprite move in the right direction.

Do
Yourself
It
3B
a b c d 34 CO24CB0403_P1.indd 34 9/25/2023 6:03:57 PM
2 On which axis will the sprite move if the code is like this?


1 The block moves the sprite to any random position.
2 The set rotation style block is used to specify the style of a sprite.

3 To create repeating actions, you can use the block in a script.
4 The Motion blocks in Scratch are in colour and are used to add motion to a sprite.
5 An tells you when the action will happen.
a Y-axis b X-axis c Z-axis d All of these
Hints Event rotation go to random position repeat blue
Chapter Checkup A Fill in the Blanks.
Chapter 3 • Events and Loops 35 CO24CB0403_P1.indd 35 9/25/2023 6:03:57 PM
B Tick () the Correct Option.
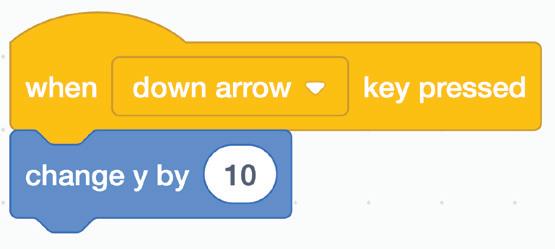
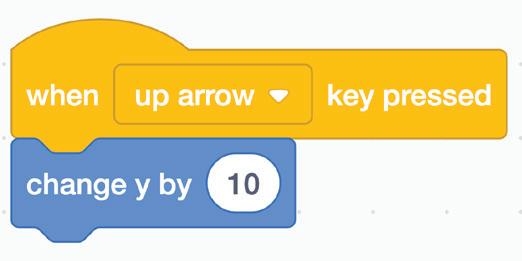
1 Which of the following blocks is used to run the script when the up arrow key is pressed?


a b
c d
2 What is the correct script to make a sprite fall? a b c d
3 Which of the following blocks move a sprite upwards? a
36 CO24CB0403_P1.indd 36 9/25/2023 6:03:58 PM
b c d
4 Which of the following blocks is used to run the script until the Stop button is pressed?

c d All of these
5 Which of the following options are present in the set rotation style block?
a Left-right b All round c Don’t rotate d All of these

C Who Am I? Who Am I ?
Moves the sprite to forward or backwards with a positive or negative value, respectively.
Moves the sprite to upwards or downwards with a positive or negative value, respectively.
Pauses the script for specified seconds.
D Write T for True and F for False.
1 Kicking a football is an event.
2 By default, a sprite will not rotate when it touches the edge of the stage in Scratch.

3 Repeating action in coding means doing something only once.
4 The when green flag clicked block in Scratch runs a script when the green flag is clicked.
5 In the Fruit Catcher project, one of the tasks is to make the farmer collect falling apples.
a b
What Do I Do?
Chapter 3 • Events and Loops 37 CO24CB0403_P1.indd 37 9/25/2023 6:03:58 PM
E Answer the Following.
1 How is the repeat block helpful?
2 If you use these blocks, how will they change the position of the sprite?

3 What are Events blocks? Why do we need them?
4 What will happen to the sprite if we run this code?

5 What are Control blocks? Differentiate between the repeat and forever blocks.

a b
38 CO24CB0403_P1.indd 38 9/25/2023 6:03:59 PM
F Apply Your Learning.
1 Look at the blocks given below and number them from 1 to 4 in order to make the sprite fall when the Go button is pressed.

Chapter 3 • Events and Loops 39 CO24CB0403_P1.indd 39 9/25/2023 6:03:59 PM
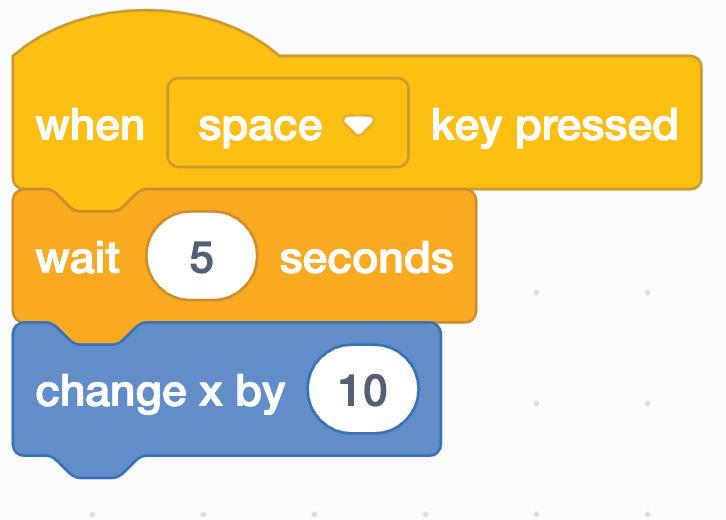
2 Sambhav wants the sprite in his game to jump when the spacebar is pressed. Help him to write the code.
JUMP
3 What will be the output of the following script?
4 Find and correct the errors in the following script to move the character in the right direction.

40 CO24CB0403_P1.indd 40 9/25/2023 6:03:59 PM
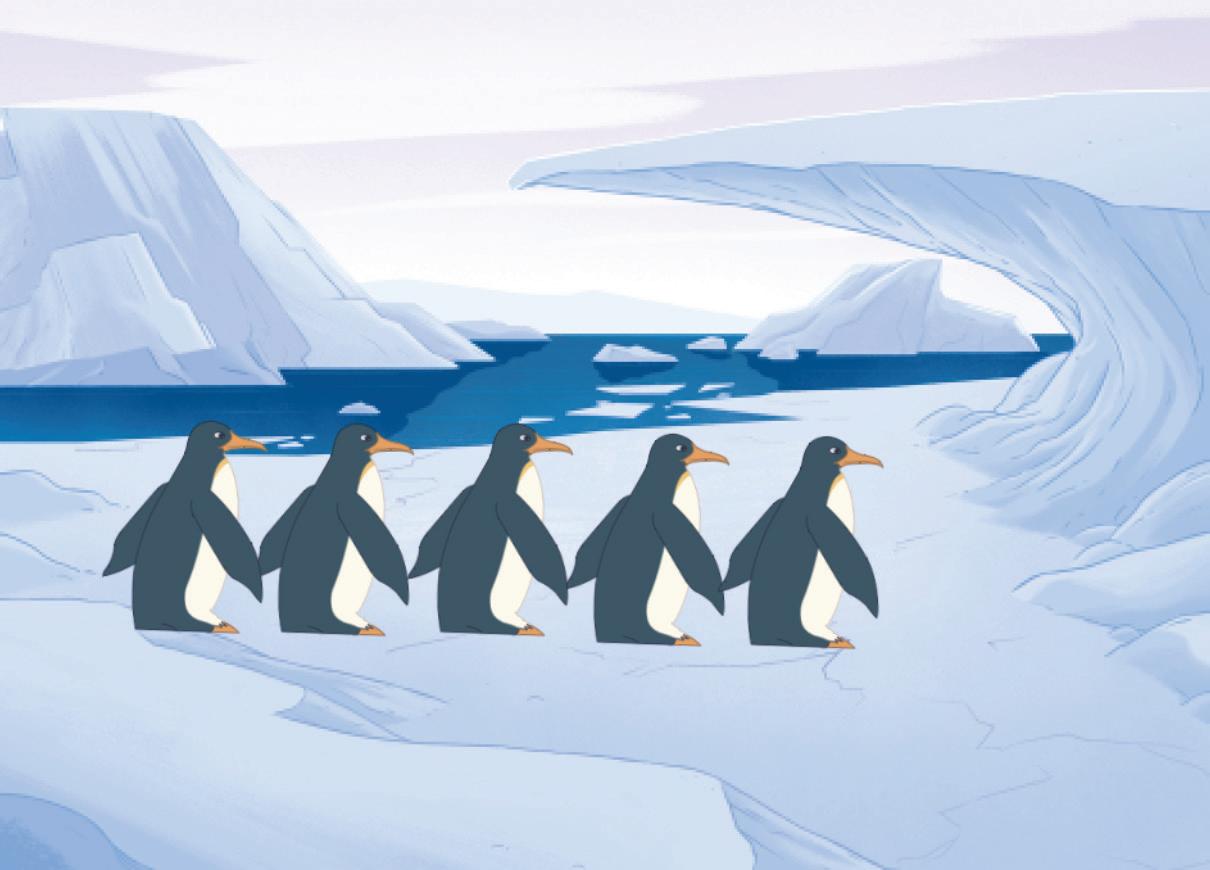
5 Along which axis is the Penguin sprite moving? Can you explain the reason?
Chapter 3 • Events and Loops 41 CO24CB0403_P1.indd 41 9/25/2023 6:04:00 PM
Conditionals and Sensing 4
Many schools have a House system. When you get admission, they assign you to a house, right?
So, how do you decide what to wear on a school day?
Well, if it is a house day, you put on your house uniform.
But if it is a regular day, you wear your regular school uniform.
Conditional Blocks
Computers cannot make decisions like we do. But we can code them to make decisions using conditional blocks.
Conditional blocks are blocks that help a computer make decisions depending on the condition it checks.
Did You Know?
The traffic lights you see on the road use conditions to decide when to change colours and keep the traffic moving safely.
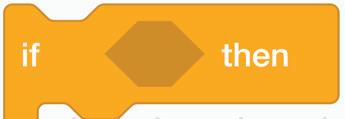
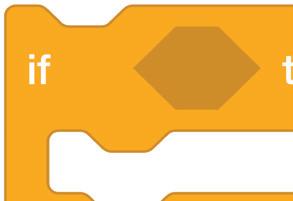
In Scratch, we have two conditional blocks in the Control category:


Checks the condition and if the condition is true, the blocks inside it will be activated.
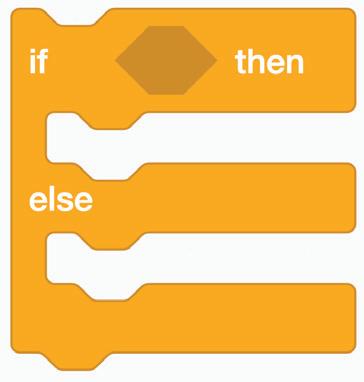
Checks the condition and then lets the blocks inside the if block perform the operation. Otherwise, the blocks inside the else block will perform the operation.
42
1
CO24CB0404_P1.indd 42 9/25/2023 6:04:38 PM
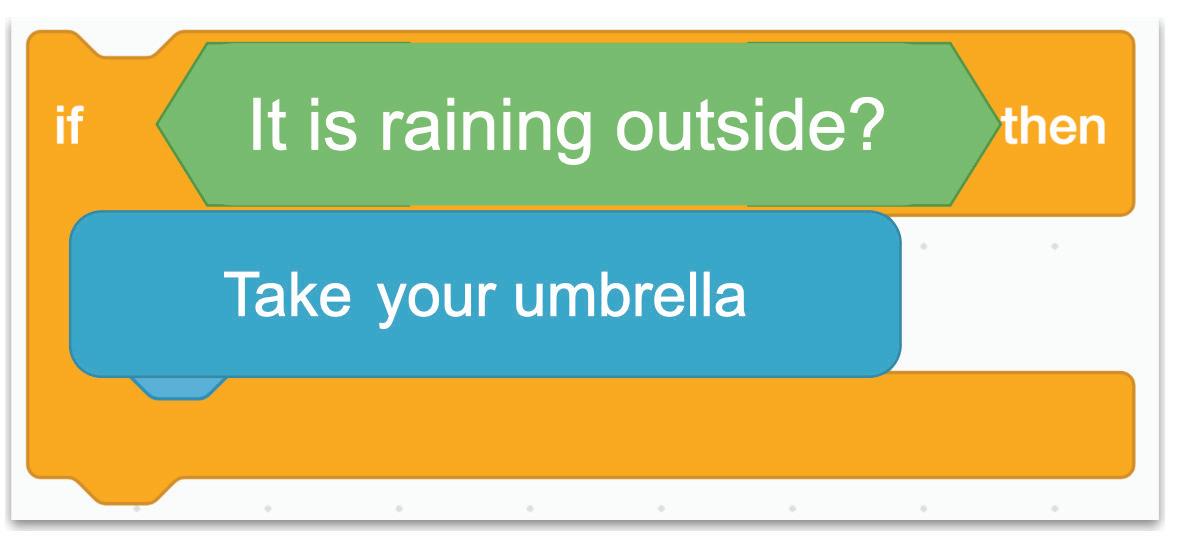
The if... then block performs a specified task only if a certain condition is met.
You can observe in the adjacent figure how we can use the if... then block to check if it is Friday and if so, then you need to wear your house uniform.


Sensing Blocks
We can make characters sense each other when they touch. This is like how we sense objects by touching them.
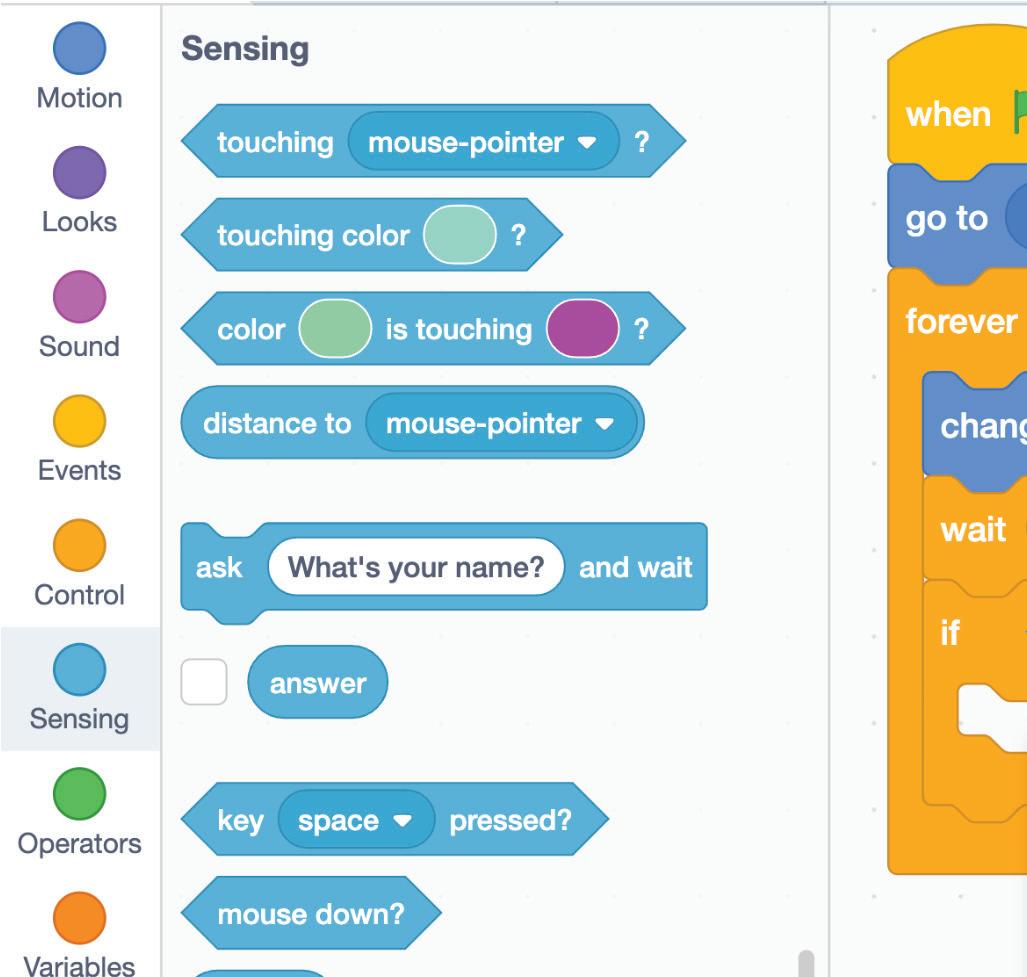
In Scratch, we have Sensing blocks to do this. Sensing blocks are used to detect when two characters touch each other.
Sensing blocks are the blocks that detect other sprites, colours on stage, keypress, mouse click, and user input.
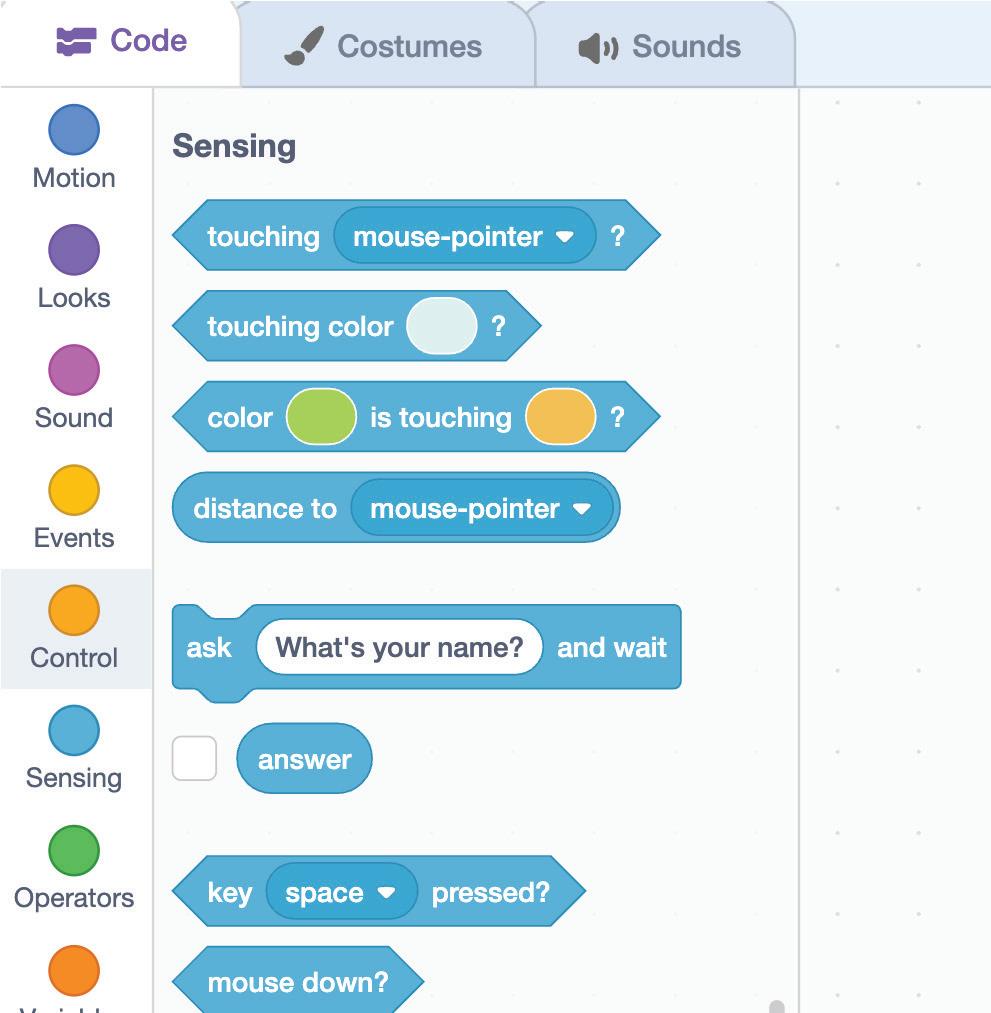
There are 18 Sensing blocks. They are light blue in colour. Some of the sensing blocks are:

Activates the blocks below it when a sprite touches the specified object.
Activates the blocks below it when a sprite touches the specified colour.
Activates the blocks below it when the specified key is pressed.

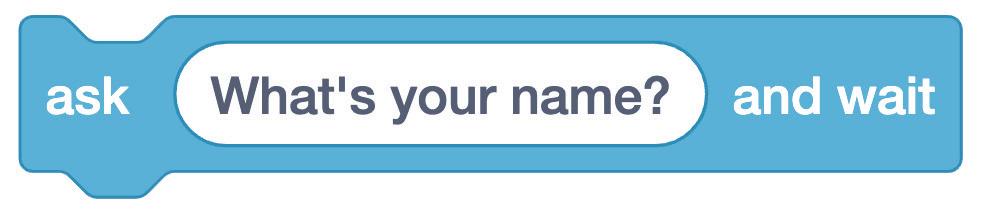
Shows the input box at the bottom of the screen to receive an answer from the user.
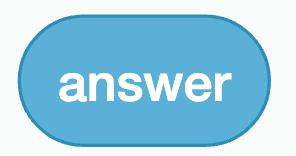

Stores the answer that was entered in the input box.
In the previous chapter, we made the Apple sprite appear randomly and fall.
Now, we need to code the Apple sprite so that it:
1 Disappears if it touches the basket to show that it is collected, and
2 Breaks if it touches the ground.
Making a Sprite Disappear on Touching Another Sprite
To make a sprite disappears and then comes back from a random place, we can just move the sprite to a random position. Steps to make the apple sprite move to a random location if it touches the basket are:
Chapter 4 • Conditionals and Sensing 43 CO24CB0404_P1.indd 43 9/25/2023 6:04:38 PM
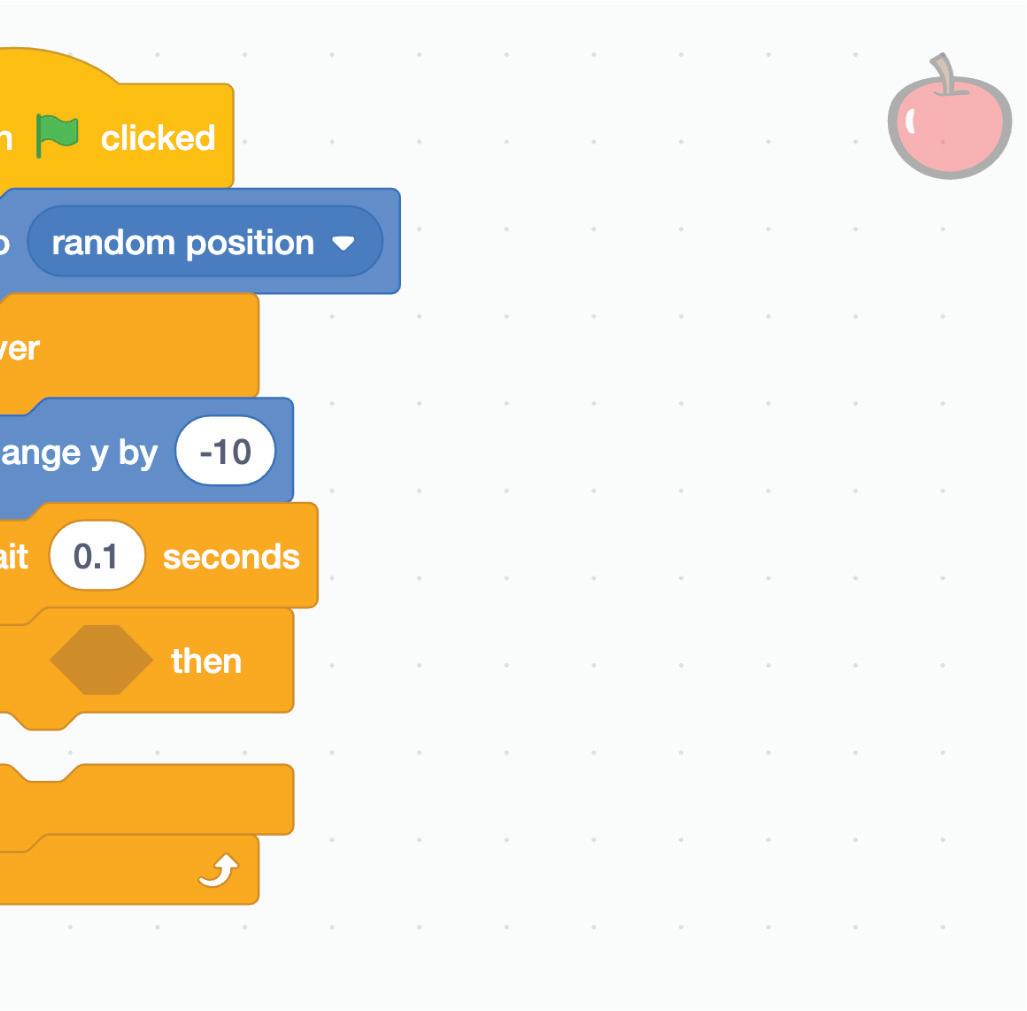
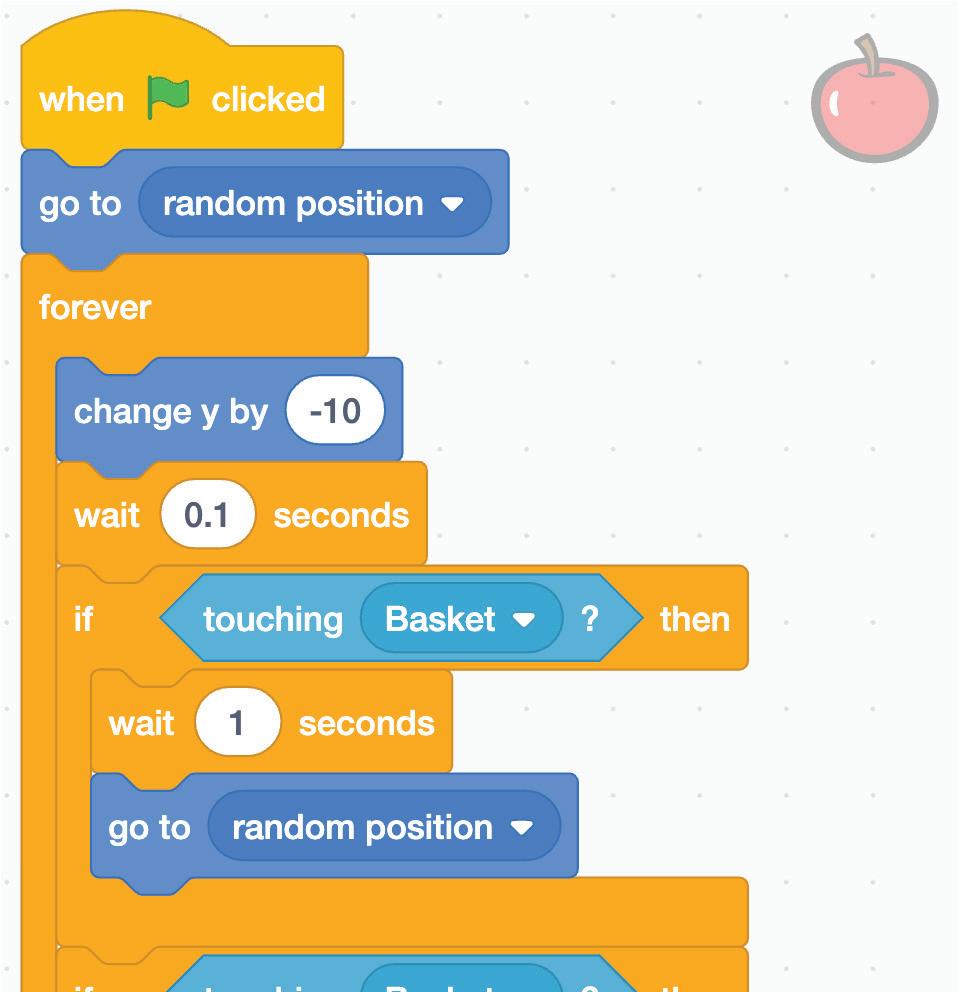
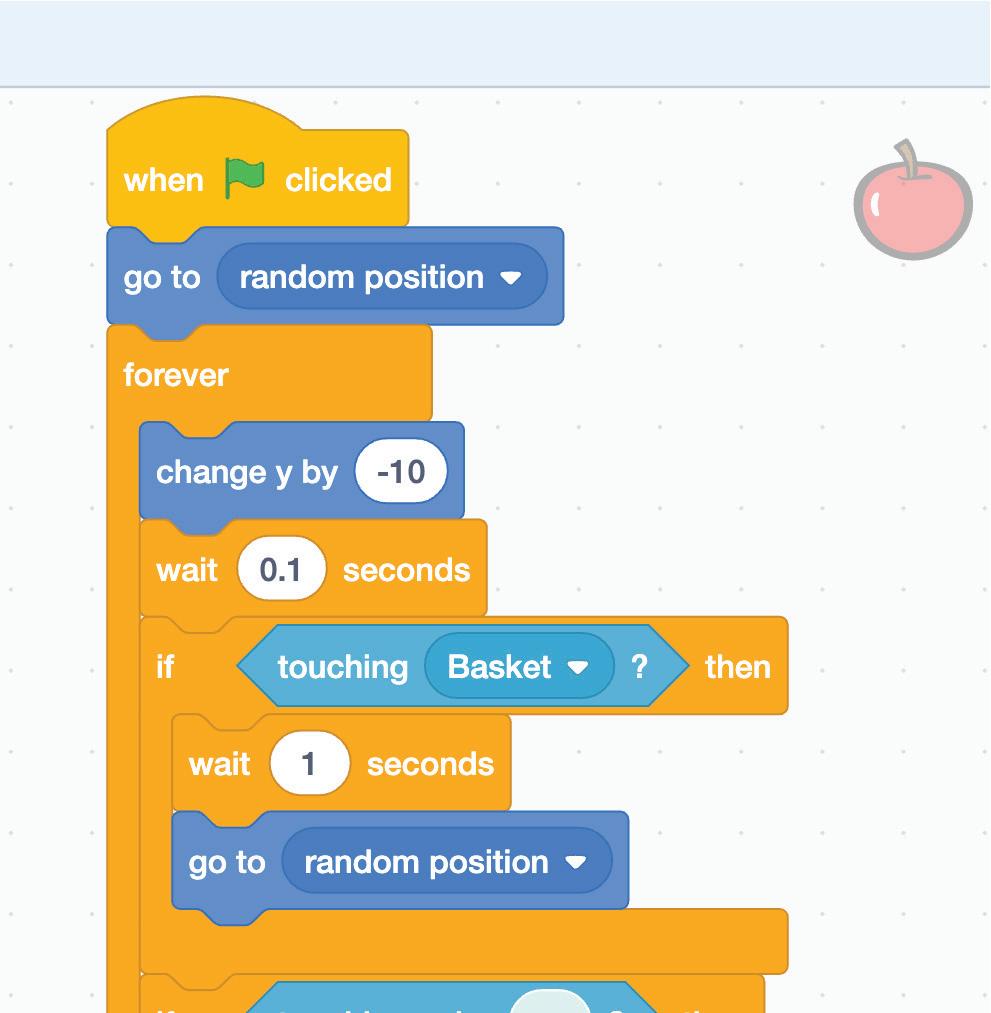
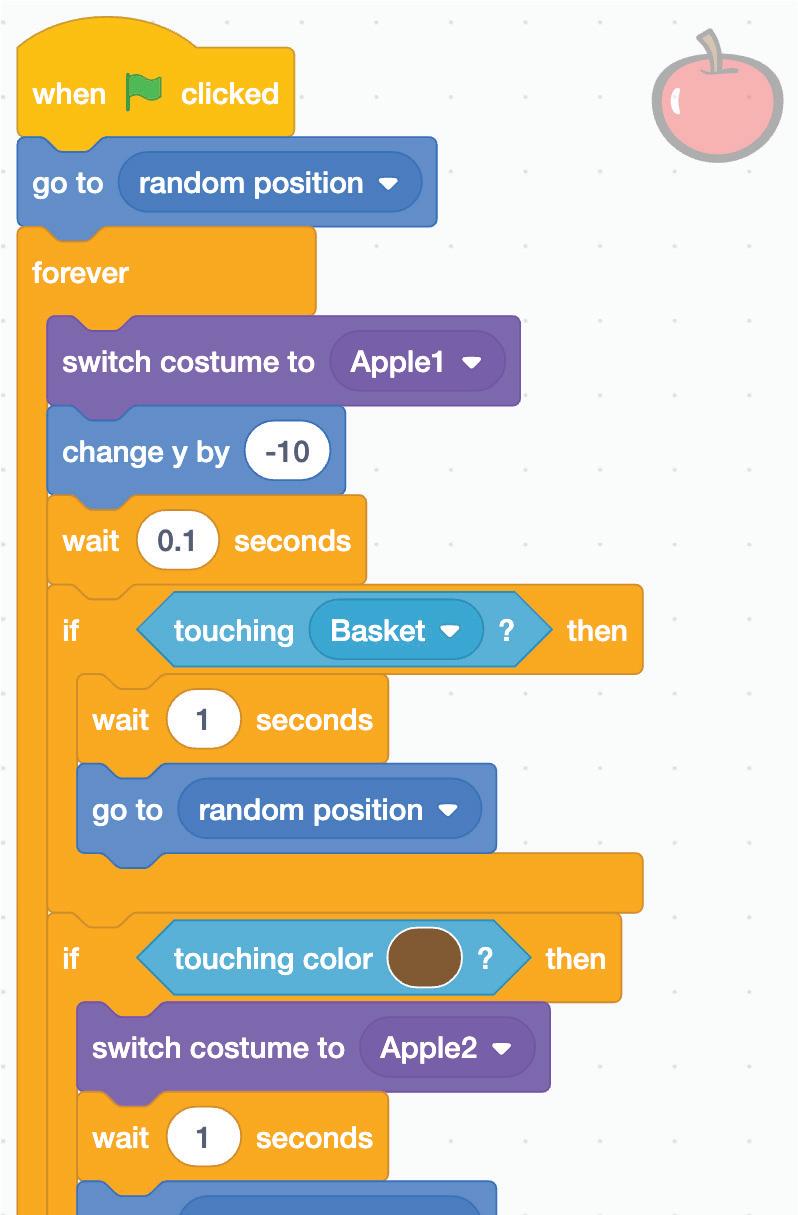
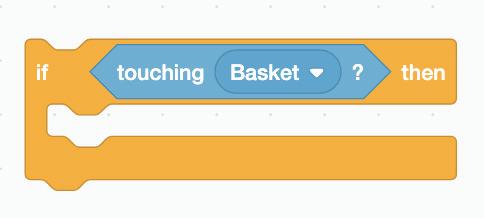
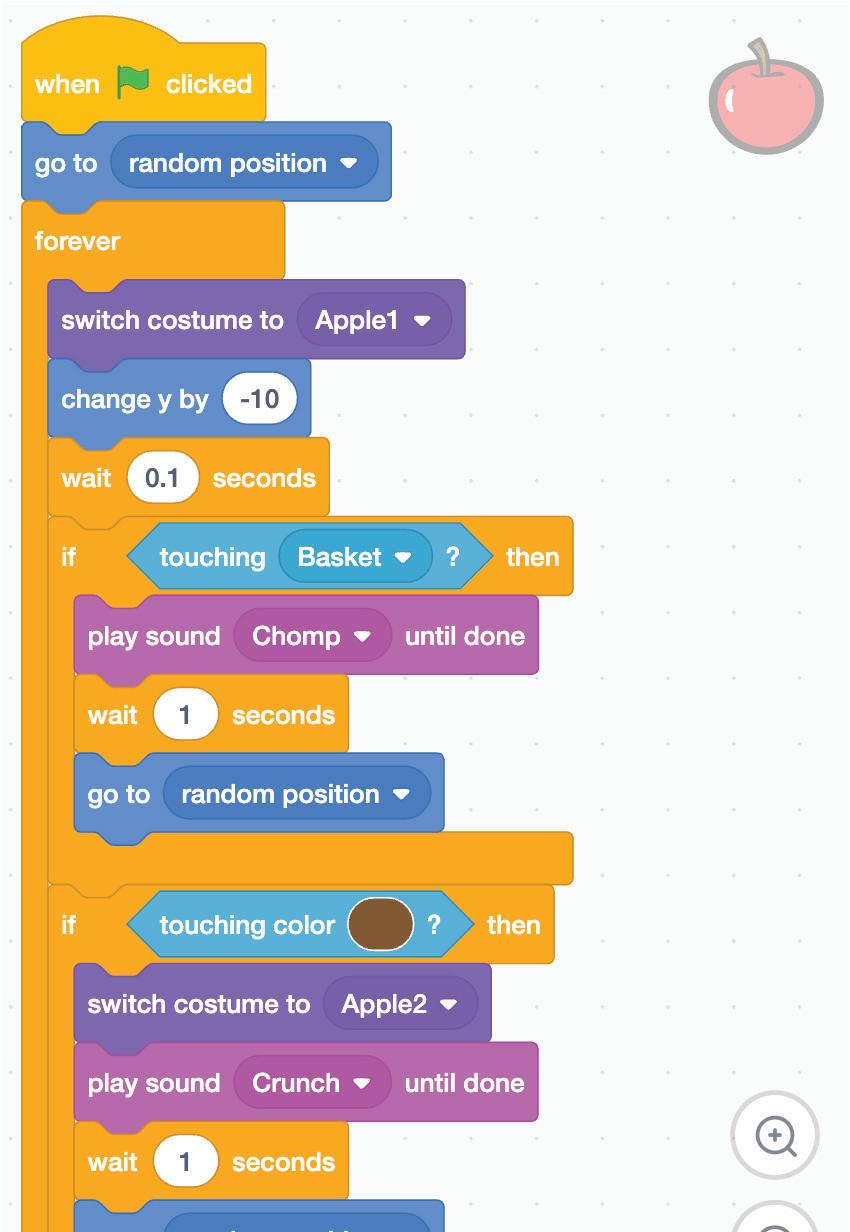
1 Drag and join the if… then block from the Control category under the wait 0.1 seconds block inside the forever block.
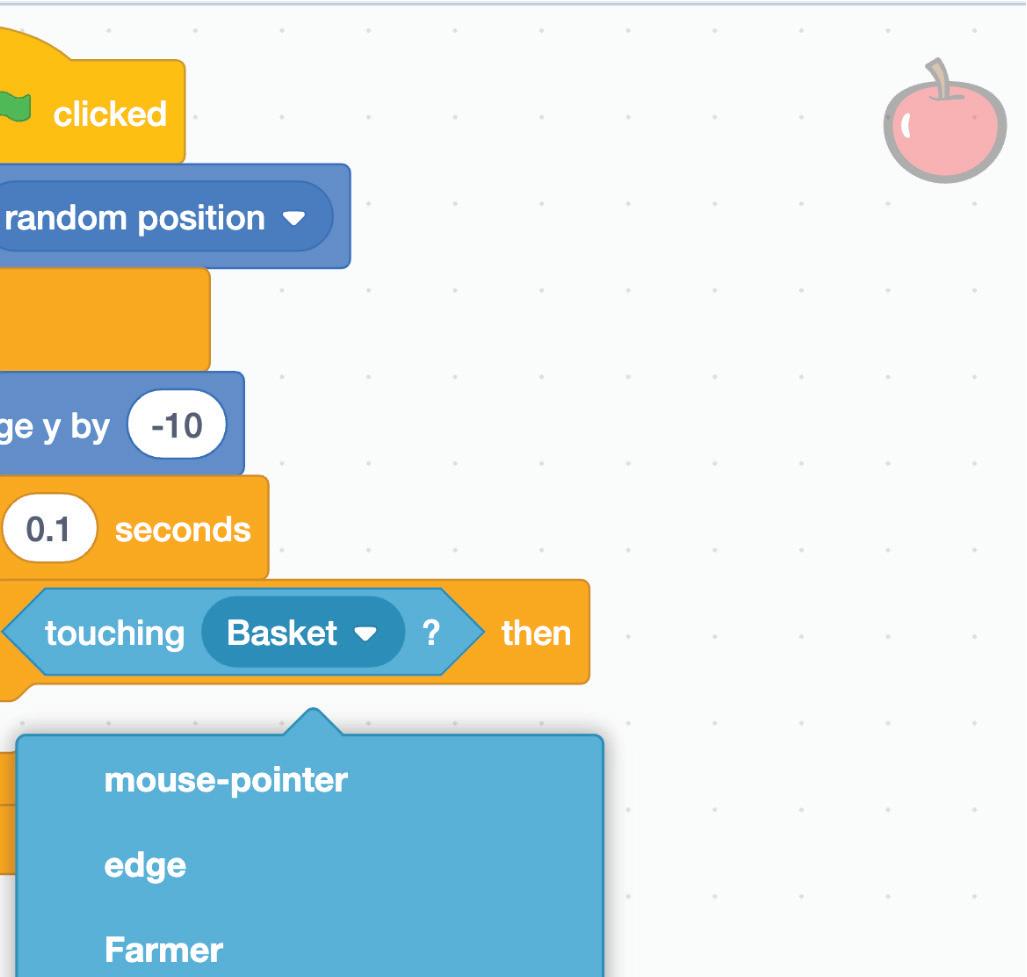
2 Drag the touching mouse-pointer block from the Sensing category to the blank section of the if… then block.
3 Click the drop-down button in the touching block and change mouse-pointer to Basket.
44 CO24CB0404_P1.indd 44 9/25/2023 6:04:38 PM
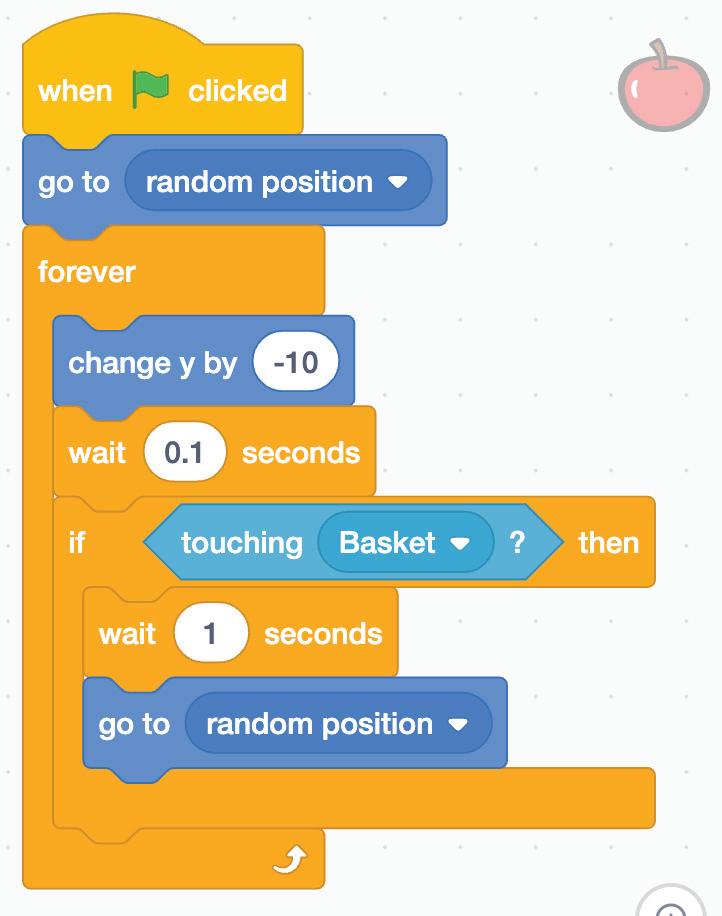
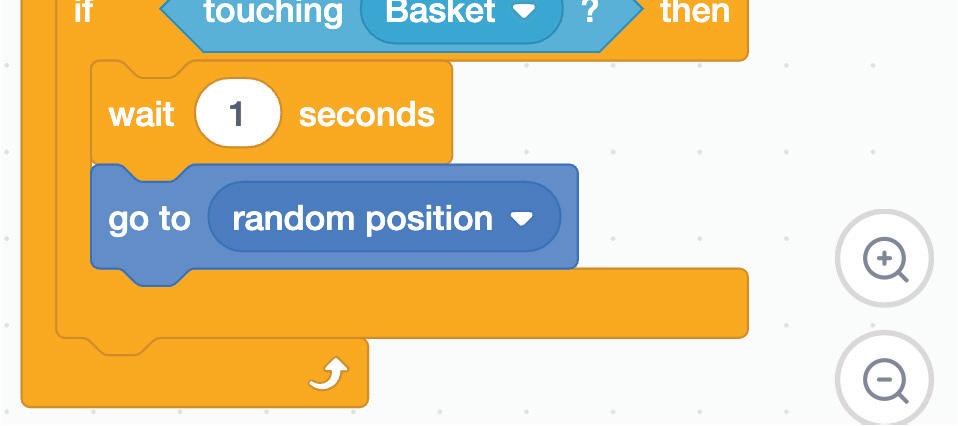
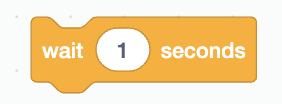
4 Drag the wait 1 seconds block from the Control category and join it inside the if… then block.
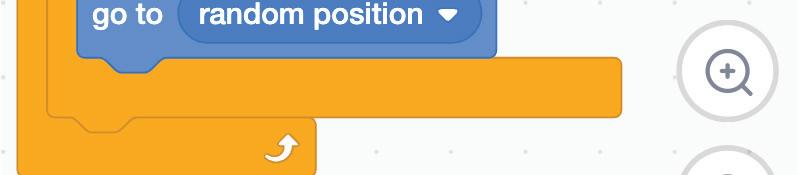
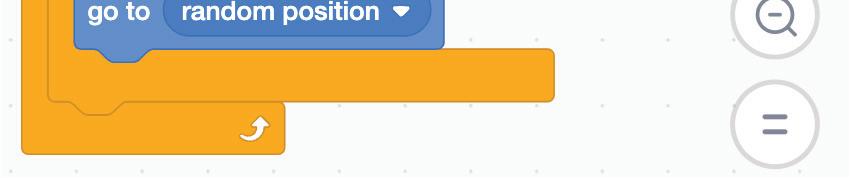
5 Drag the go to random position block from the Motion category and join it under the wait 1 second block.
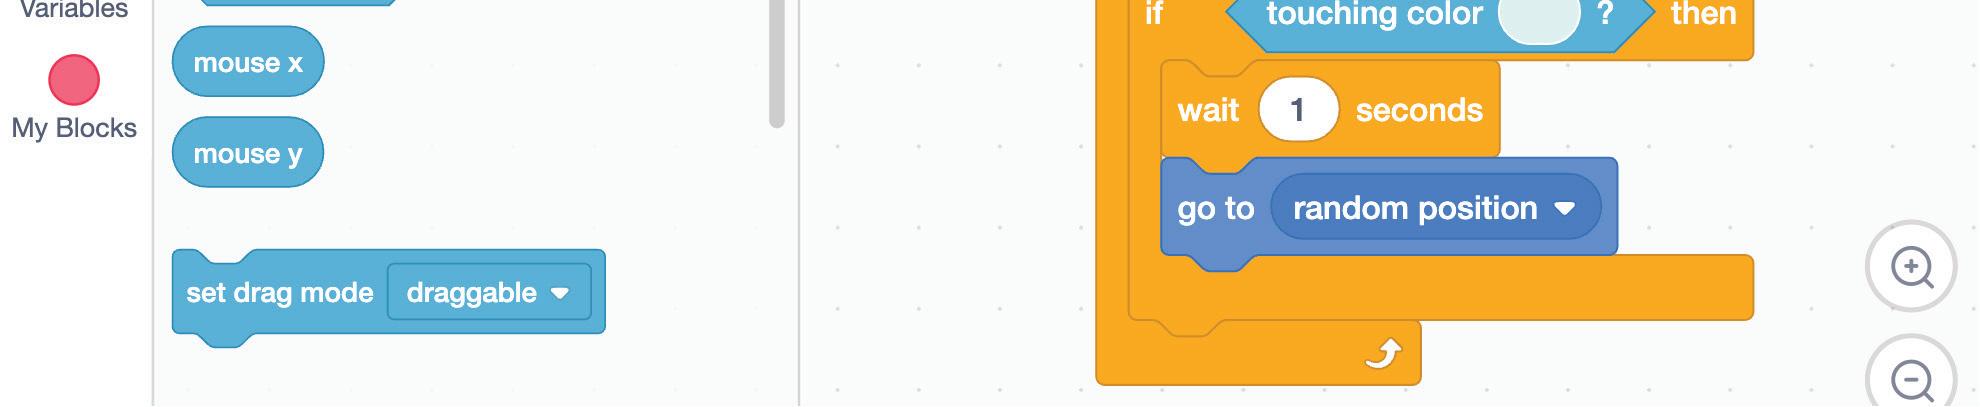
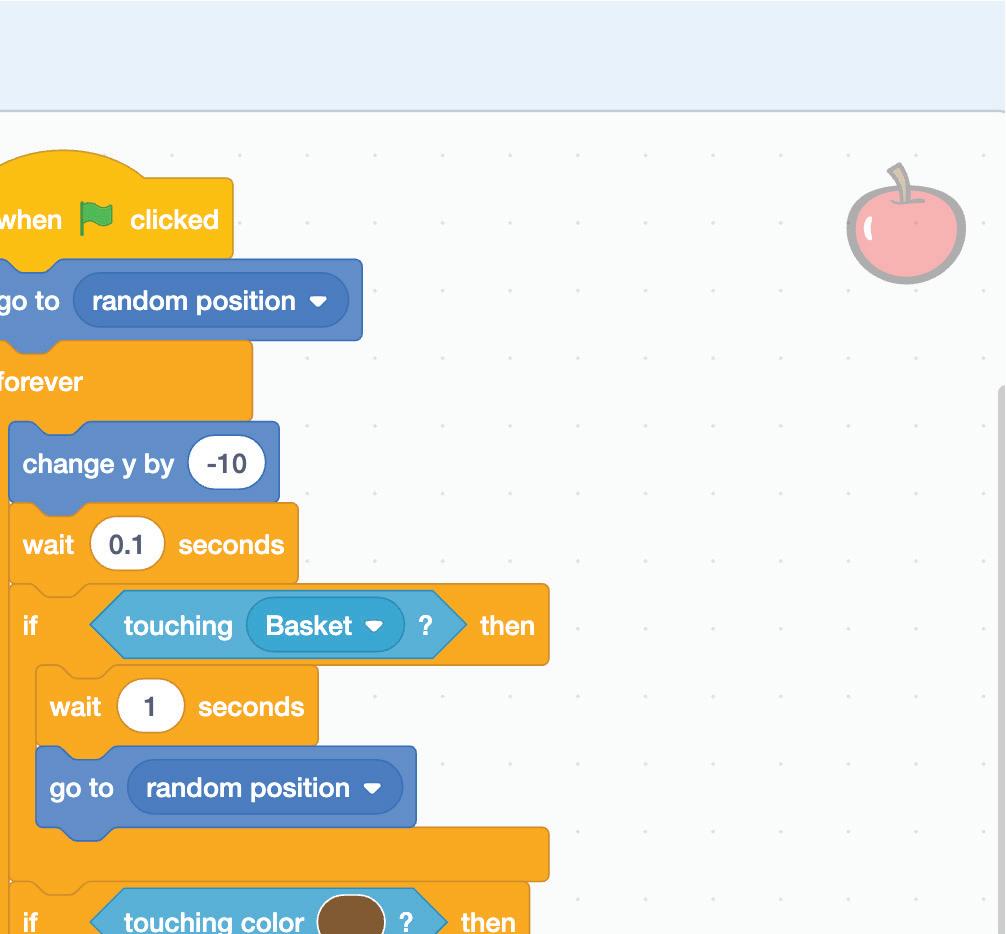
Making a Sprite Disappear on Touching a Colour
Steps to make the apple sprite move to a random location if it touches the bottom:
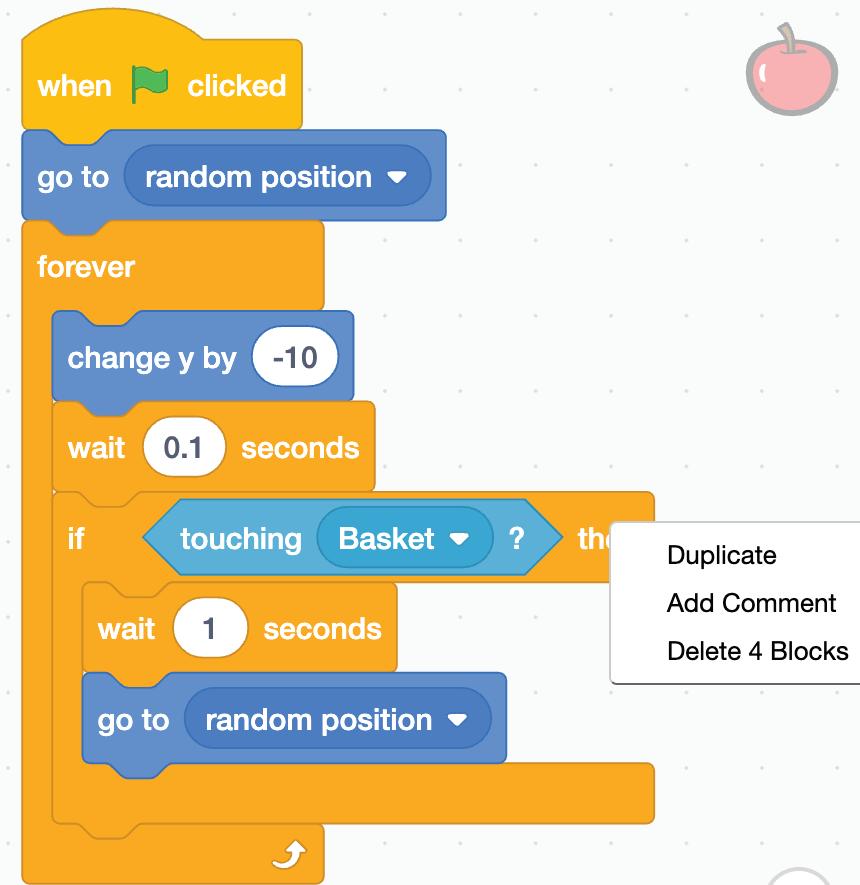
1 Right-click the if touching Basket? block to duplicate it with its script.
2 Join the duplicated script below the if touching Basket? block.
3 Select the touching Basket? value block inside the condition section of the if… then block.
4 Press the Delete key on your keyboard to remove it.
Chapter 4 • Conditionals and Sensing 45 CO24CB0404_P1.indd 45 9/25/2023 6:04:38 PM
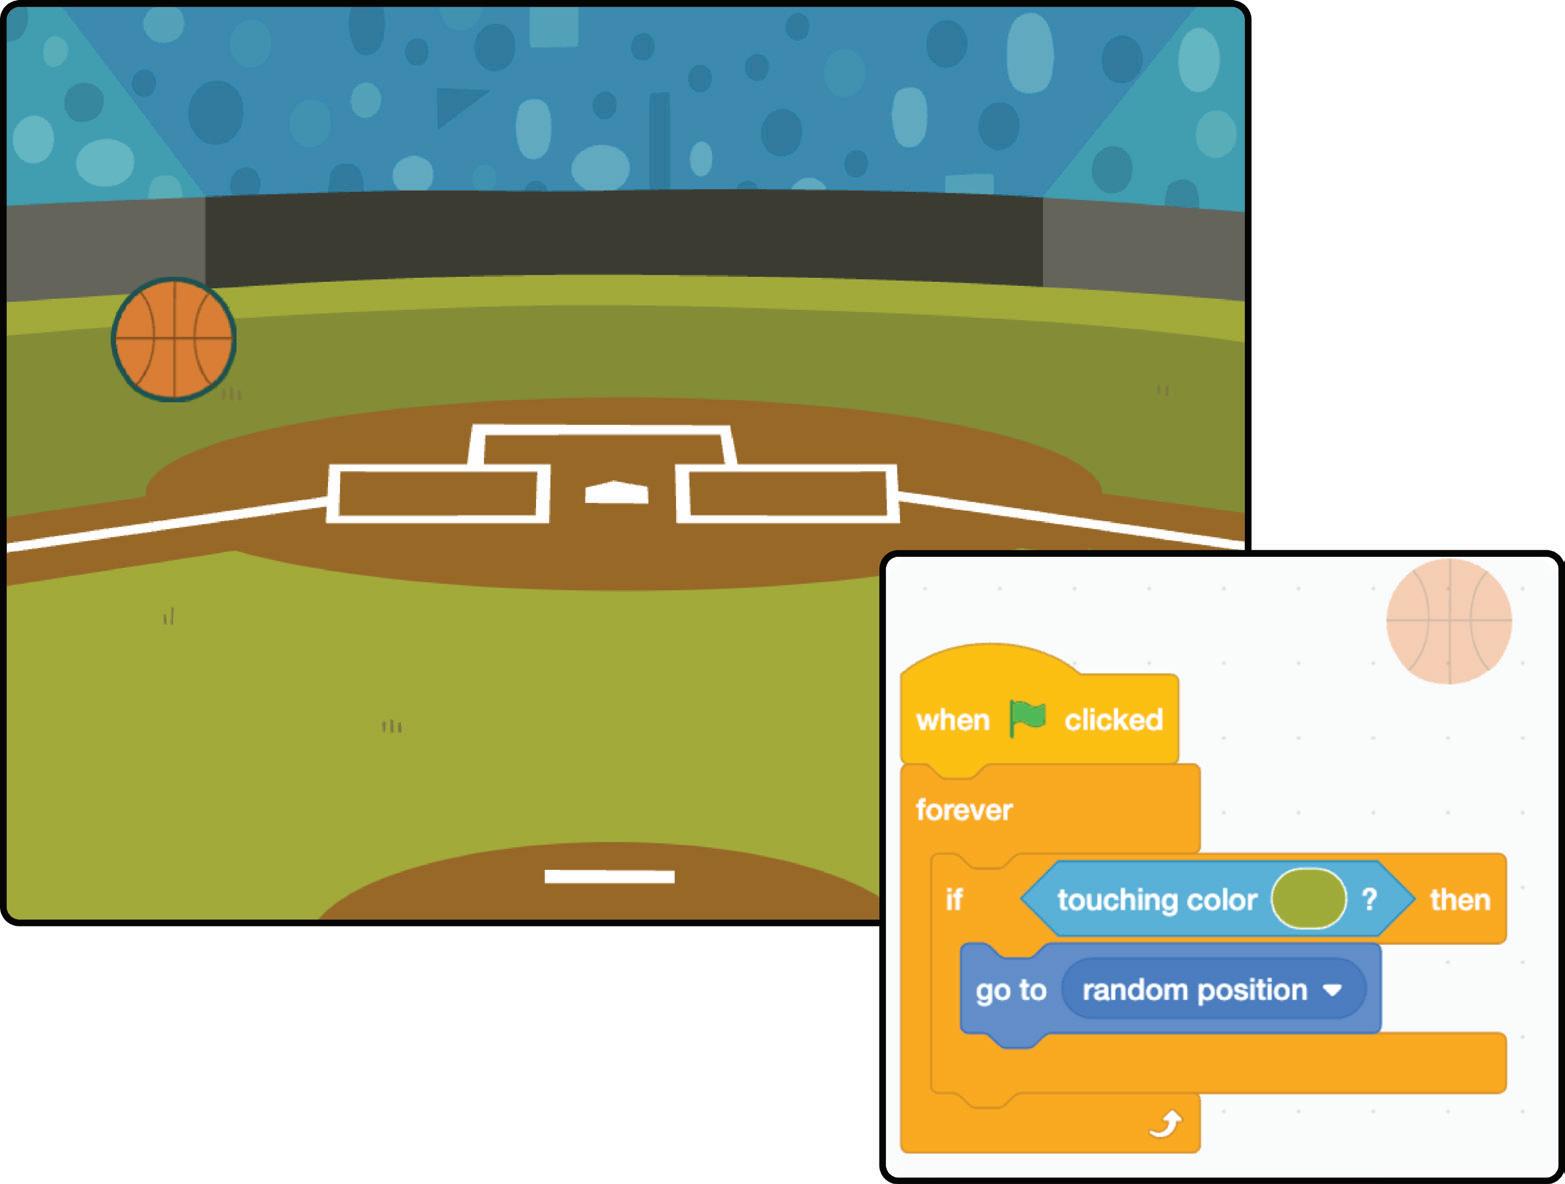
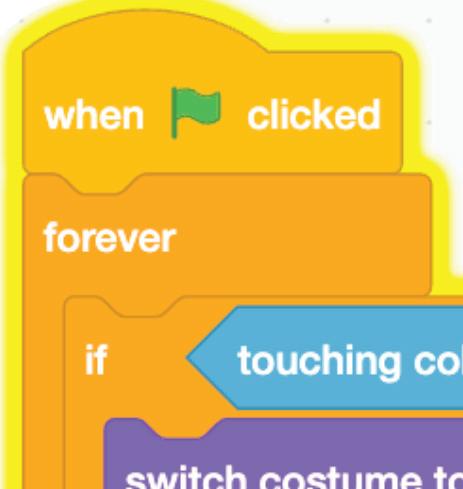
5 Drag the touching color? block from the Sensing category and drop it inside the condition section of the if… then block.
6 Click on Color in the touching color? block. A pop-up will appear.

7 Select the color picker tool to choose the colour from the stage.
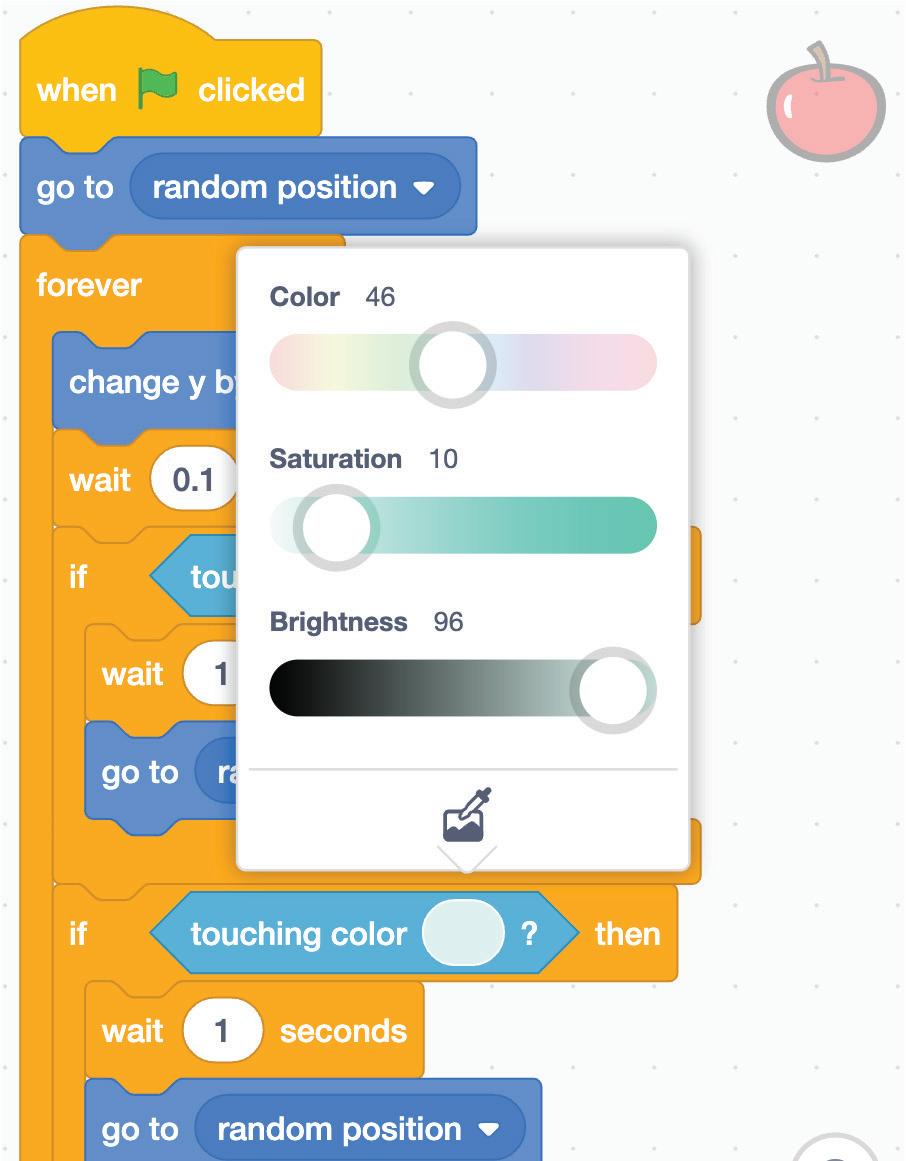
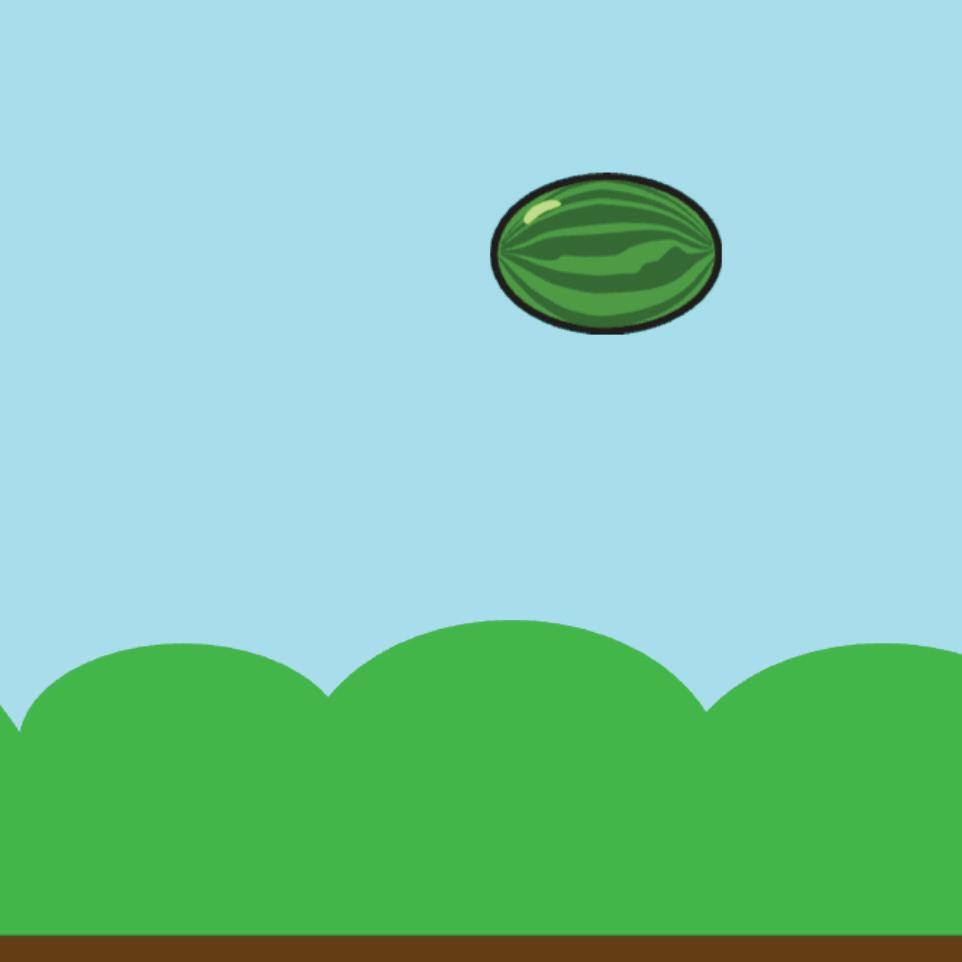
8 Move the mouse to the bottom of the stage to choose the bottom brown line colour, as shown in the picture below.
9 Click the Go button to run the project to check if on touching the basket or bottom, the apple sprite disappears and appears again at a random position.
46 CO24CB0404_P1.indd 46 9/25/2023 6:04:39 PM
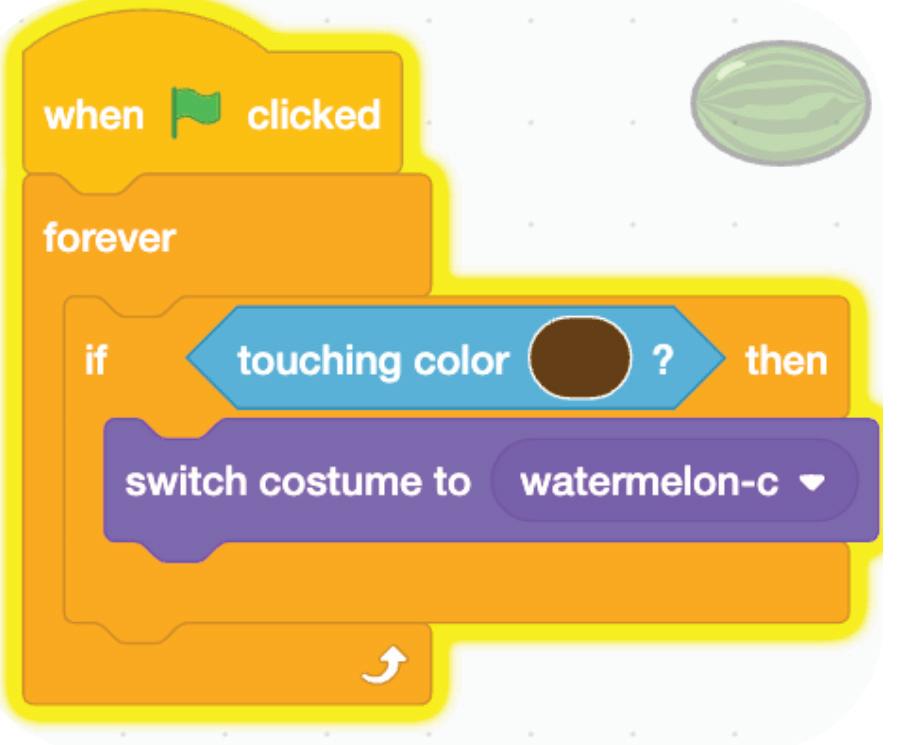
But what should happen if the apple sprite touches the bottom? It should break, right?
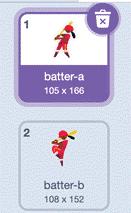
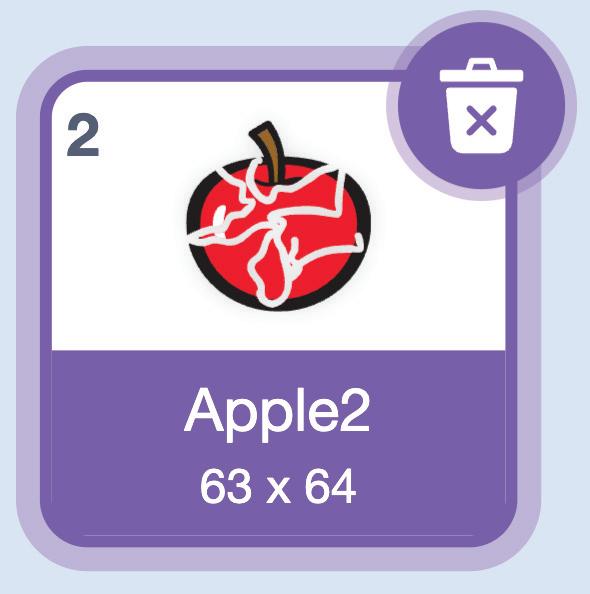
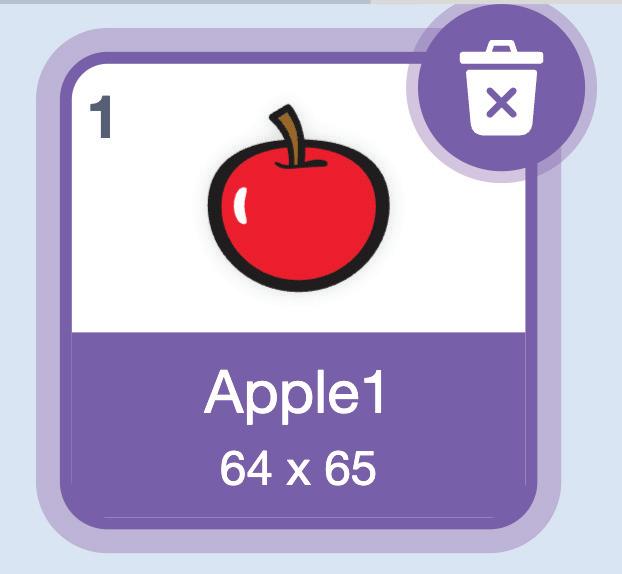
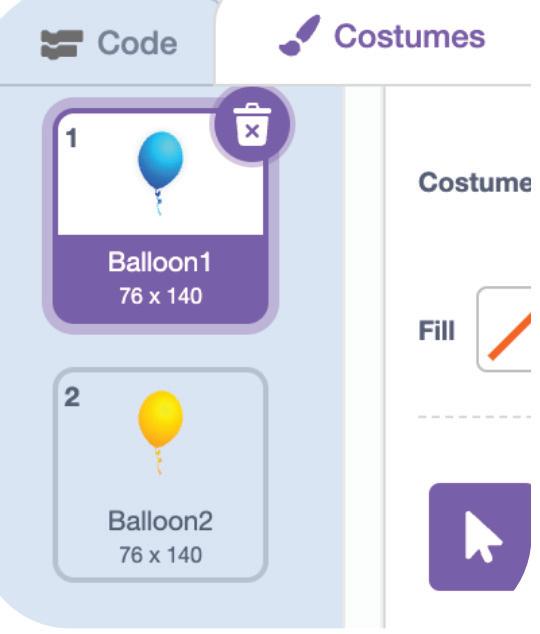
We have two costumes for the apple sprite that we created when we designed the project.
We can change the costume of the Apple sprite to Apple2 if it touches the ground and then back to Apple1 when it appears at a random position.
Changing the Costume of a Sprite
1 Drag the switch costume to block to join the if touching color? block just above the wait 1 seconds block.
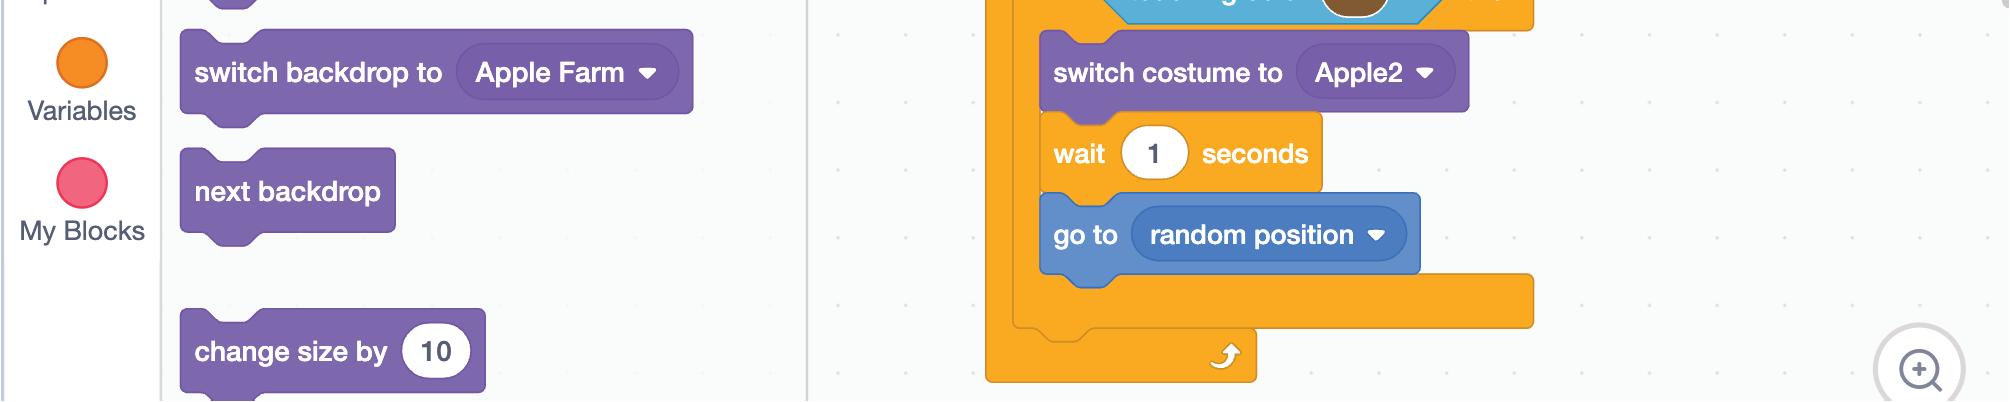
2 Change the costume to Apple2.
Chapter 4 • Conditionals and Sensing 47 CO24CB0404_P1.indd 47 9/25/2023 6:04:39 PM
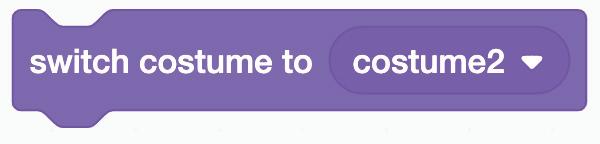
3 Right-click to duplicate the switch costume to block and place the duplicated block as the first block in the forever block.
4 Change the costume to Apple1
5 Click the Go button to check if the project is working.
properly. Do It Yourself 4A
1 Choose the correct way to help the boy reach the sunny day.
48 CO24CB0404_P1.indd 48 9/25/2023 6:04:40 PM
Chapter Checkup
A Fill in the Blanks.
Hints
1 Conditional blocks help a computer make decisions depending on the it checks.
2 In Scratch, we have two conditional blocks in the Control category: and


3 Sensing blocks are used to detect things on the stage, like the mouse pointer, the keyboard, or other
4 Sensing blocks are light in colour.
B Tick () the Correct Option.
1 In Scratch, what type of blocks help sprites sense each other?
a Motion blocks b Sensing blocks c Sound blocks d Looks blocks
2 What should happen to the Apple sprite if it touches the Basket?
a It should break b It should grow
c It should disappear d It should change colour


3 How do you make a sprite disappear on touching another sprite?
4 What happens if the Apple sprite touches the bottom of the stage?
a It disappears
c It falls faster
b It turns into a different sprite
d It changes costume
5 What is the purpose of changing the costume of a sprite in Scratch?
a To make it invisible
c To change its appearance
b To make it move faster
d To add more sound
if..then, if...then...else blue condition sprites
a b c d
Chapter 4 • Conditionals and Sensing 49 CO24CB0404_P1.indd 49 9/25/2023 6:04:40 PM
Who am I ?
What Do I do?
Activates the blocks below it when a sprite touches the specified colour.

Checks the condition and if the condition is true, the blocks inside it will be activated.
Shows the input box at the bottom of the screen to receive an answer from the user.
Activates the blocks below it when a sprite touches the specified object.
D Write T for True and F for False.
1 You can use Sensing blocks in Scratch to make a character react when you click it or press a key.
2 The touching mouse-pointer block in Scratch helps detect when a sprite touches a specific object.

3 You can use the “wait” block in Scratch to pause the execution of code for a specified amount of time.
4 Sensing blocks in Scratch are not used to make Scratch projects more interactive by responding to the user input.

5 The “if... then” block in Scratch performs a specified task only if a certain condition is met.
E Answer the Following.
1 What are sensing blocks? Why are they important?
2 What are conditional blocks?
C Who Am I?
50 CO24CB0404_P1.indd 50 9/25/2023 6:04:41 PM
How can you make a character in Scratch react when you click it?
4 What is the answer block used for?
5 What is the purpose of if...then block?

F Apply Your Learning.
1 Look at the blocks given below. Number them from 1 to 3 in order to make the Apple sprite disappear if it touches the Basket.
2 Observe the script and write down what this script will do.
3
Is it Chapter 4 • Conditionals and Sensing 51 CO24CB0404_P1.indd 51 9/25/2023 6:04:42 PM
3 What will be the output of the following script?


4 If you have two different costumes, what will be the output of the following script?
52 CO24CB0404_P1.indd 52 9/25/2023 6:04:43 PM
What will be the output of the following script?


Chapter 4 • Conditionals and Sensing 53 CO24CB0404_P1.indd 53 9/25/2023 6:04:44 PM
5
Say and Play 5
1
In Scratch, we can use the Say block to make our sprites talk and the Play block to make them create sounds. This is similar to how we talk or make different sounds.

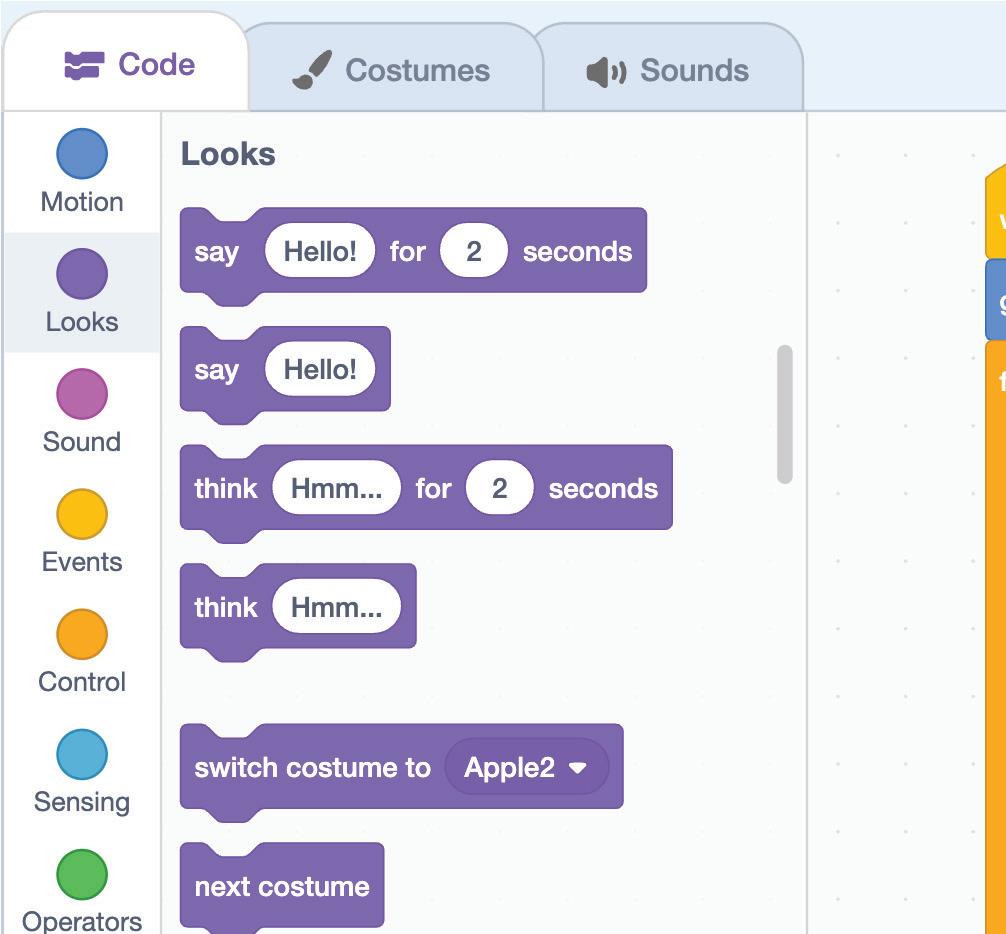
Looks Blocks
The Looks blocks are the blocks that control how a sprite looks. There are 23 Looks blocks. Some of them are:
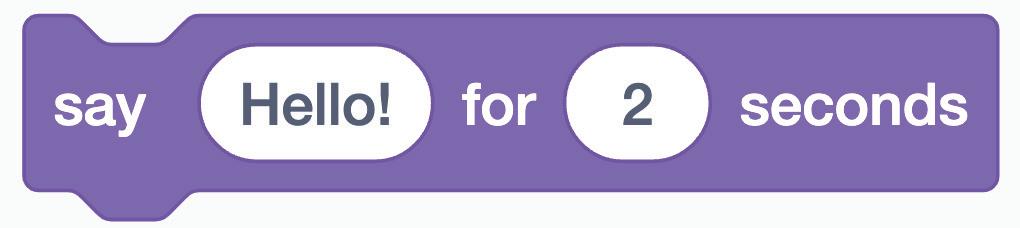
A speech bubble appears over the sprite and stays for the specified number of seconds.


A thought bubble appears over the sprite and stays for the specified number of seconds.
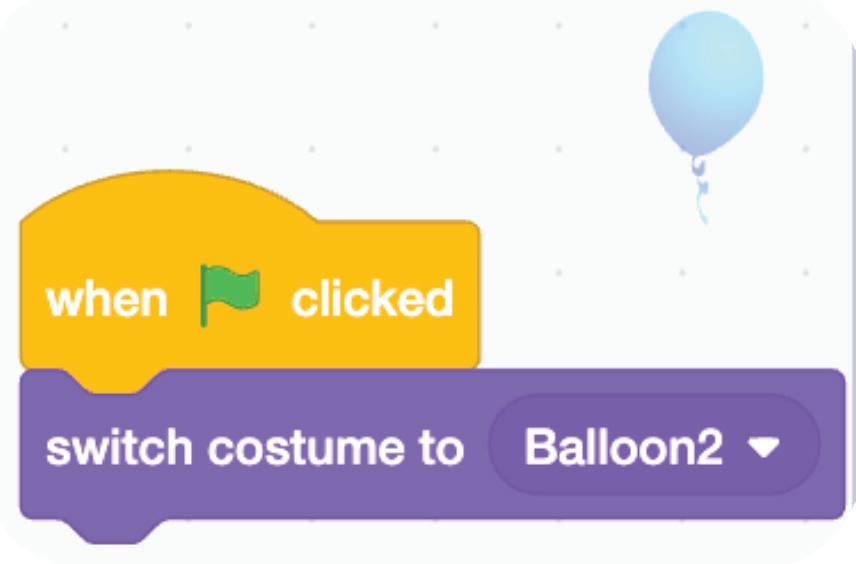
Changes the sprite’s costume to the specified one.
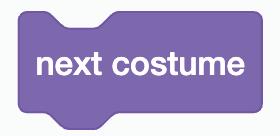
Changes the sprite’s costume to the next one in the costume list.
Changes the stage’s backdrop to the specified one.
Changes the stage’s backdrop to the next one in the costume list.
54
CO24CB0405_P2.indd 54 9/25/2023 4:20:00 PM
Changes the sprite’s size by the amount.
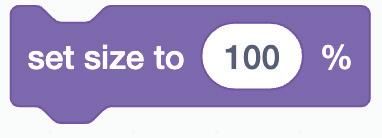
Set the sprite’s size according to the specified percentage.

Shows the sprite.
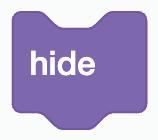
Hides the sprite.
Let us code our Fruit Catcher project to make the Farmer sprite talk to us.
Making a Sprite Say Something
We will use the Say block to make your sprite talk in Scratch. The Say block is found in the Looks category of Scratch blocks.
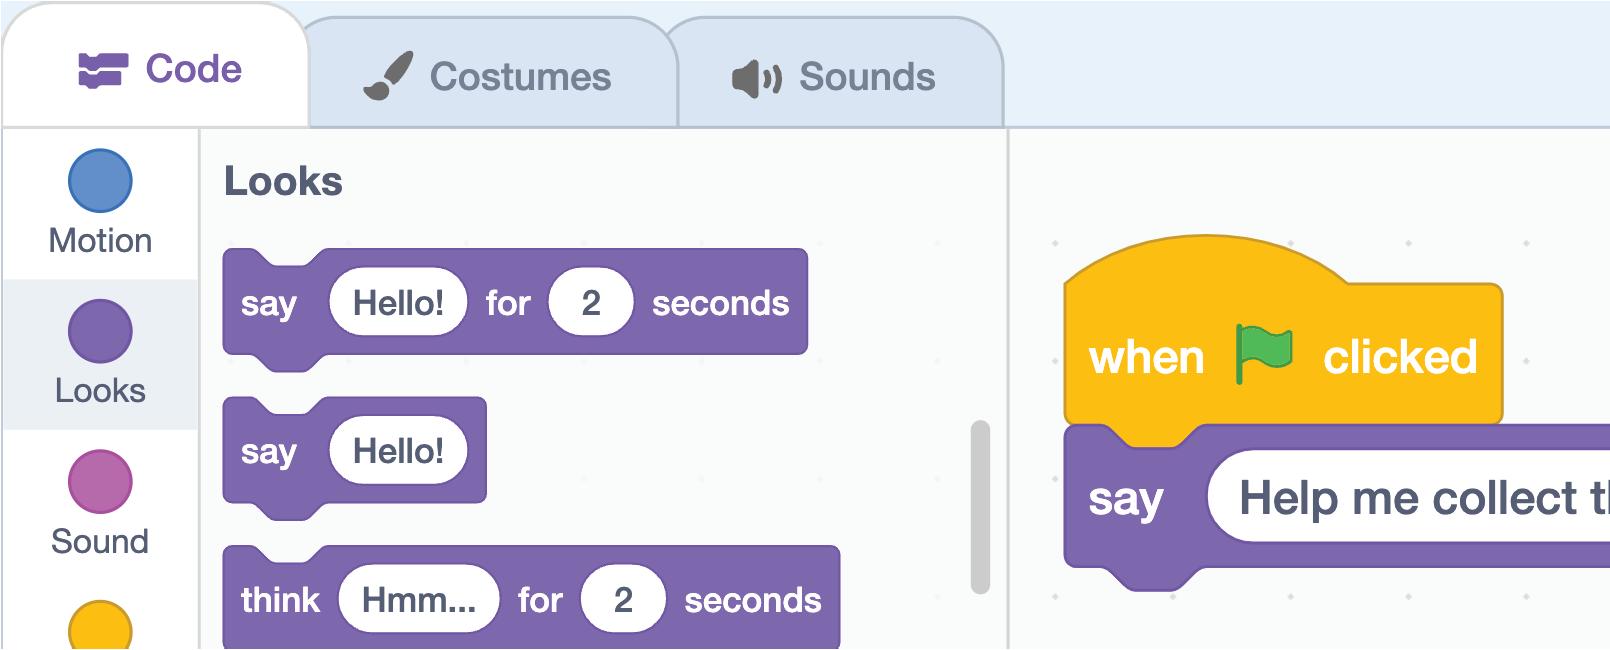

Steps to make a sprite say:
1 Select the Farmer sprite.
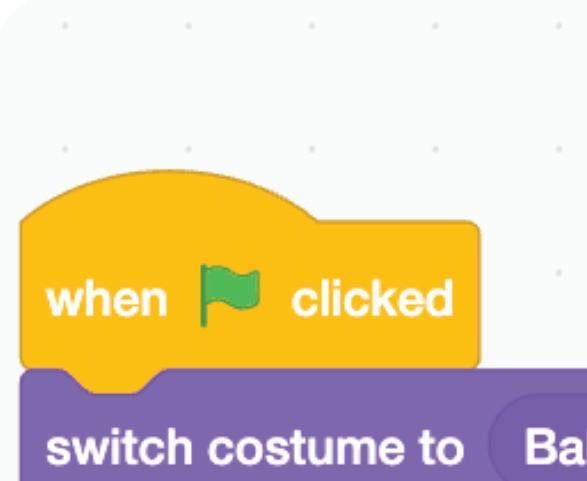
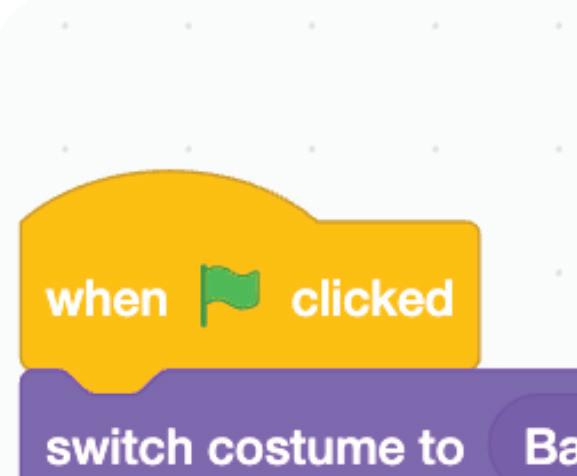
2 Drag and drop the when green flag clicked block from the Events category in the Coding Area.
3 Drag the say block from the Looks category and join it to the when green flag clicked block.
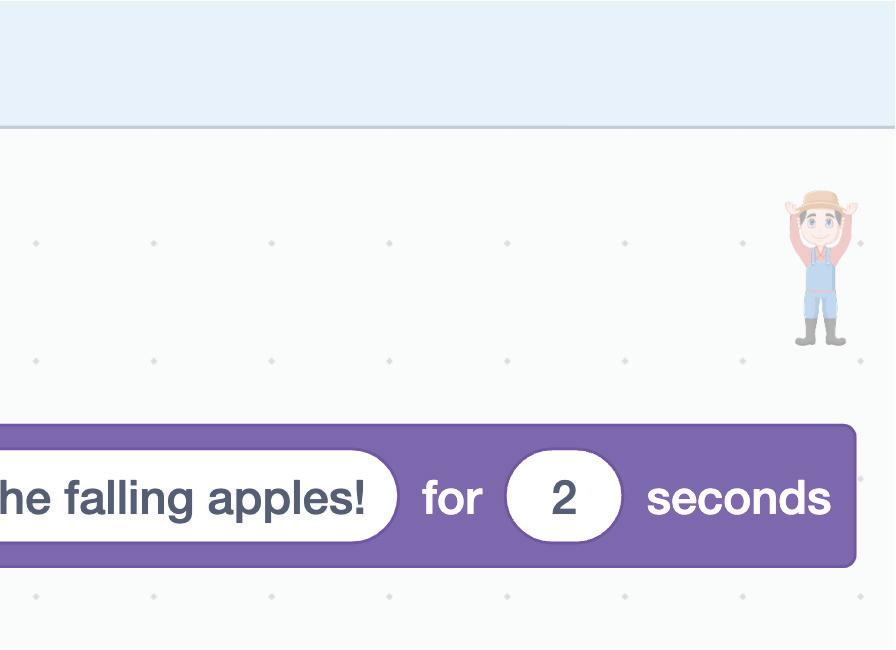
4 Change “Hello!” with “Help me collect the falling apples!” or any message of your choice.
5 Click the Go button to check if the Farmer says the specified message.
Discuss
How important is it to time the display of a message using the say block?
Chapter 5 • Say and Play 55 CO24CB0405_P2.indd 55 9/25/2023 4:20:00 PM
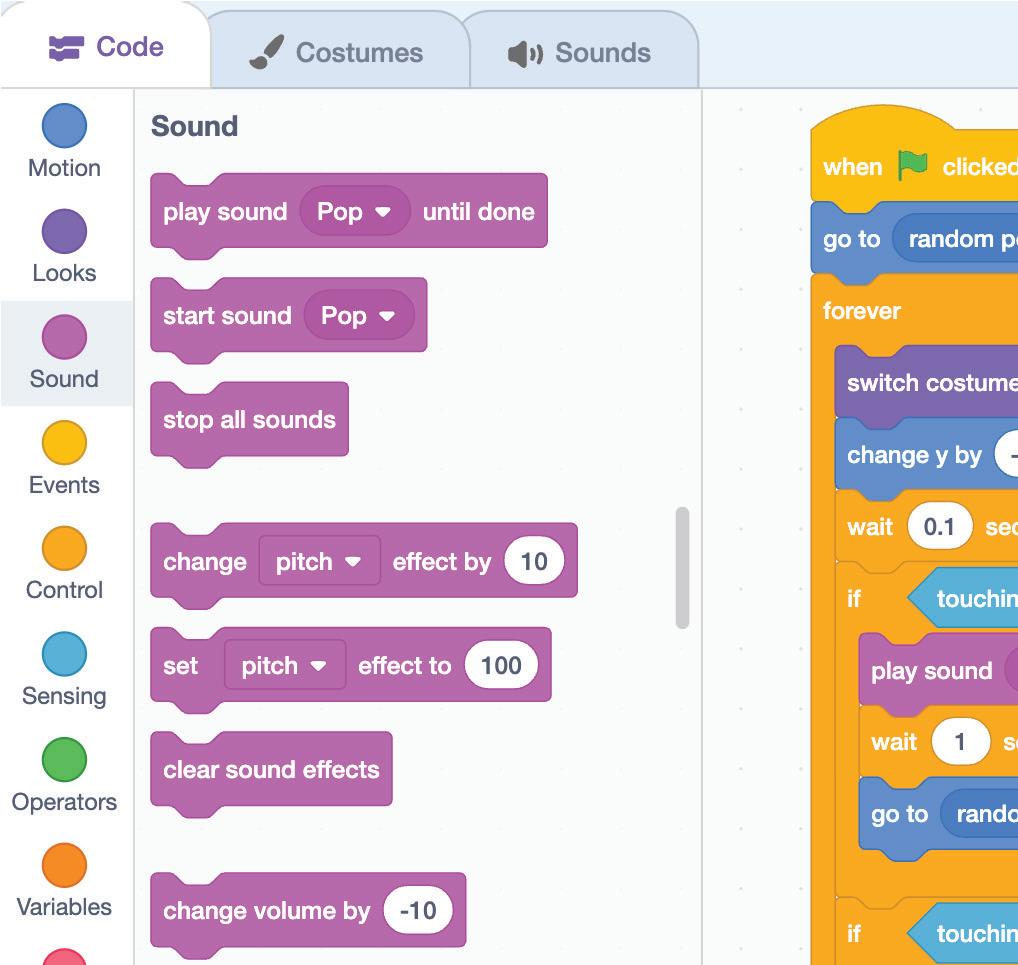
Sound Blocks
Sound blocks are the blocks that control sound. There are nine Sound blocks.
Some of them are:
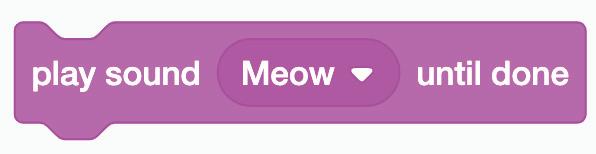
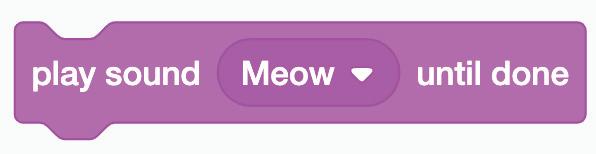
Plays a sound and pauses the script until it finishes.
Did You Know?
The first animated film, ‘Steamboat Willie’, had only background music but no spoken dialogue.
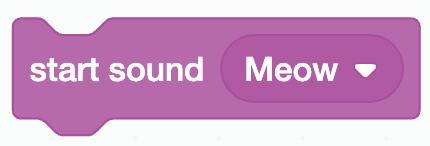
Plays a sound without pausing the script.
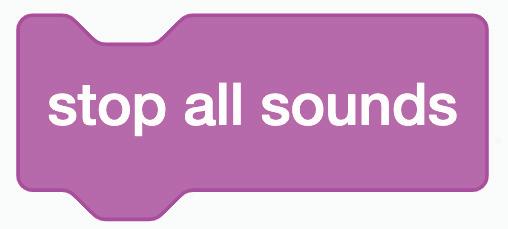
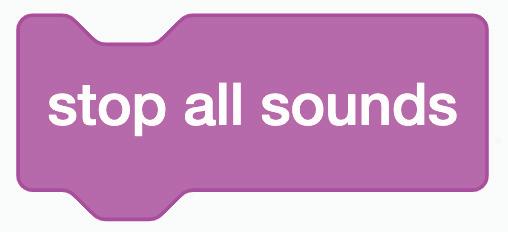
Stops all playing sounds.
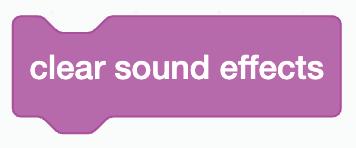
Clears any currently active sound effects.
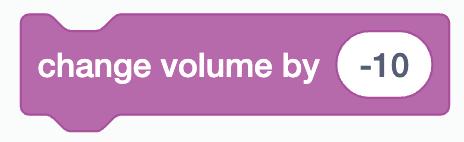
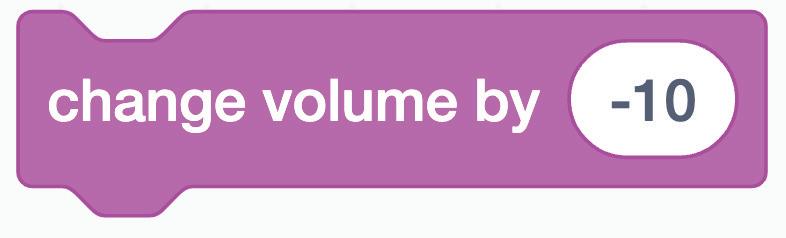
Changes the volume by the specified amount.

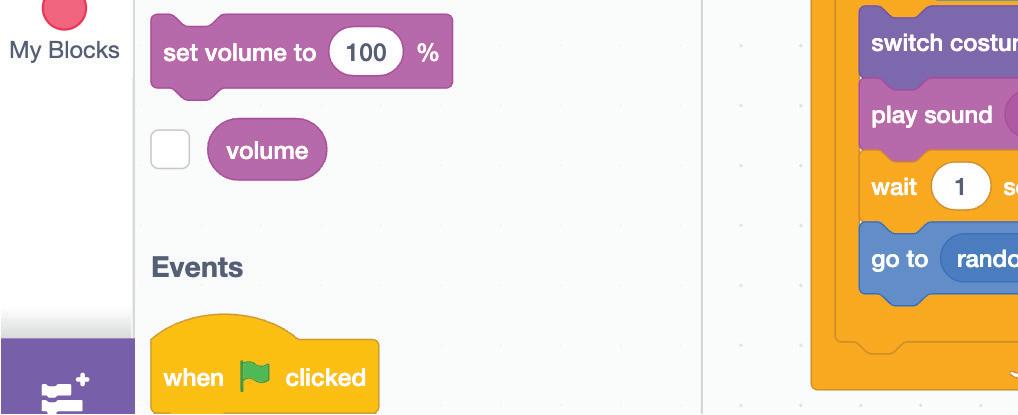
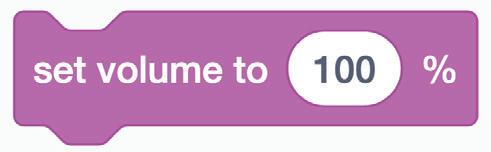
Sets the volume to the specified amount.
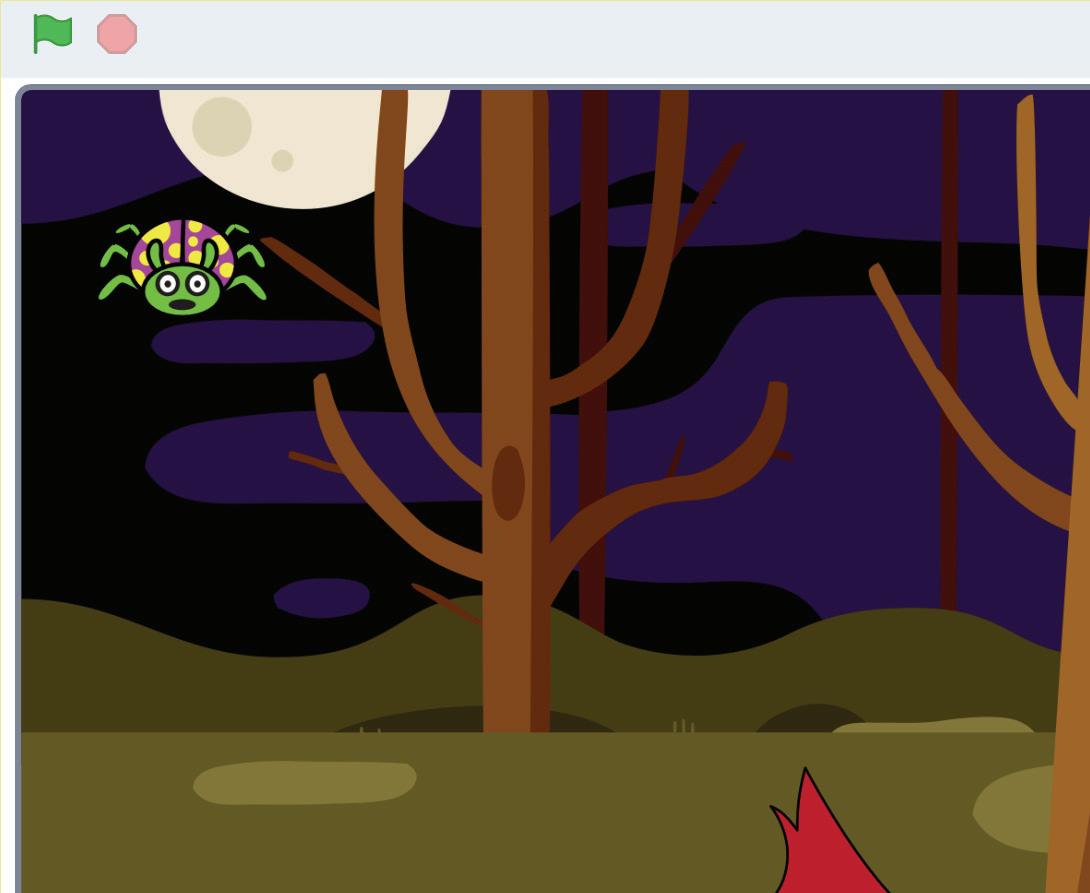
Now, let us make the Apple sprite make a sound when it is collected or falls down.
Making a Sprite Make Sound
We will use the Play block to add music or sound effects to your Scratch project.
Steps to make a sprite play a sound:
1 Select the Apple sprite.
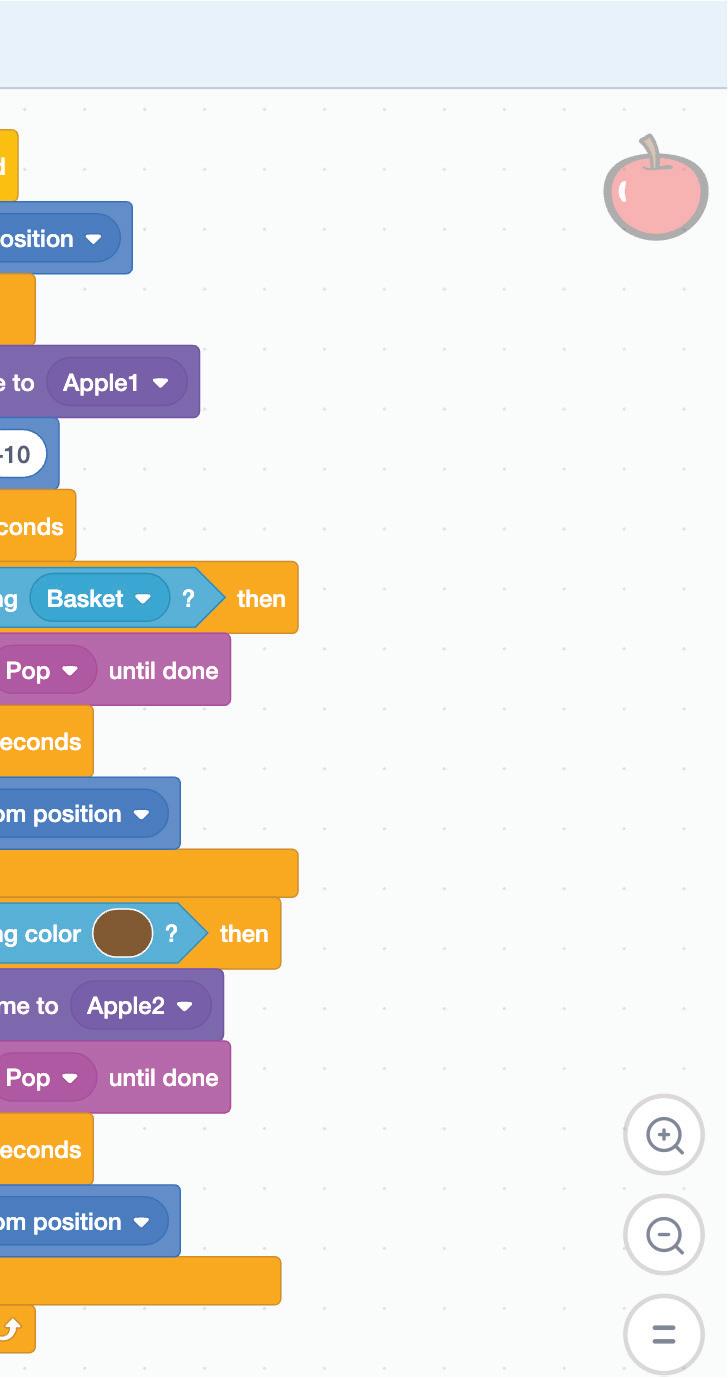
2 Drag the play sound block from the Sound category and join inside the if touching basket above the wait 1 seconds block.
3 Right-click to duplicate the play sound block.
4 Join the duplicated block inside the if touching color? block between the switch costume and wait blocks.
56 CO24CB0405_P2.indd 56 9/25/2023 4:20:00 PM
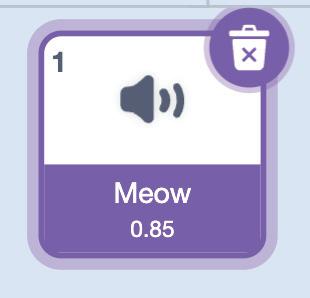
5 Click the Sounds tab.
6 Click the Choose a Sound option. The Sound Library opens.

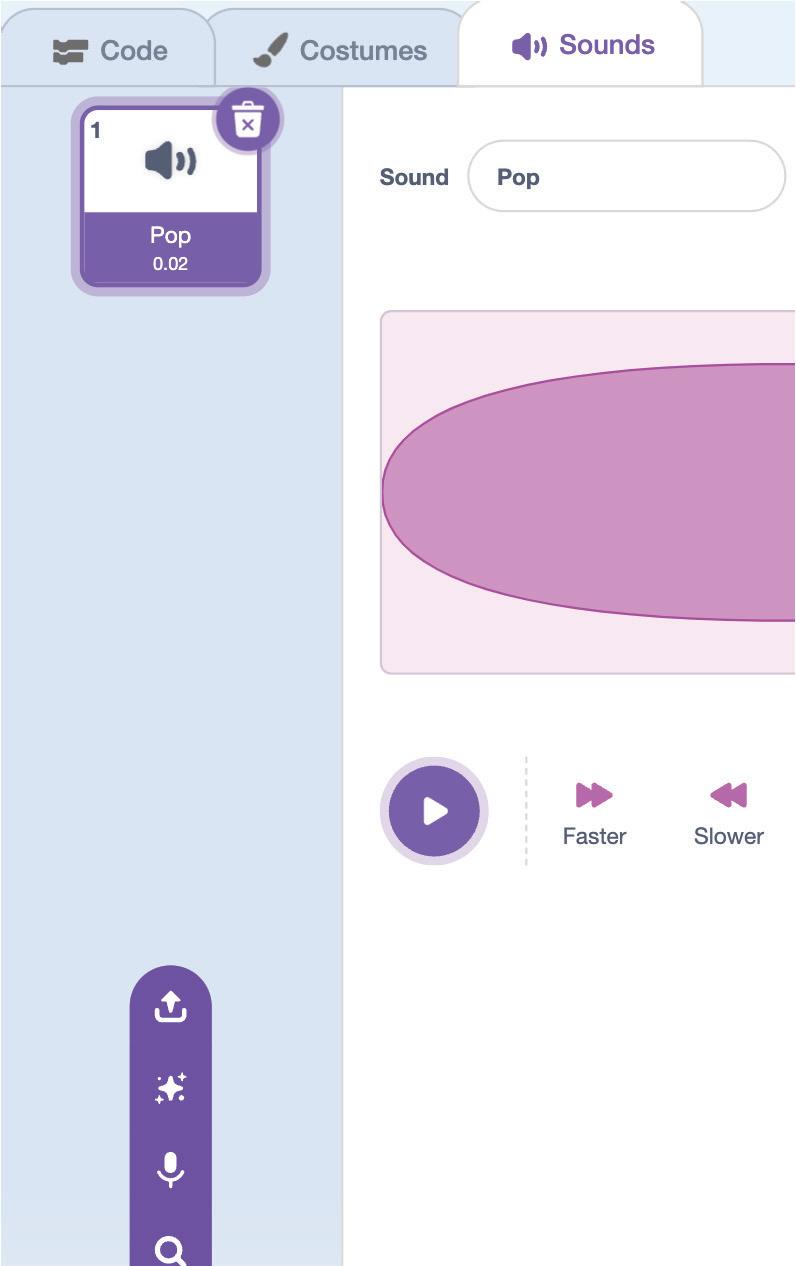
Chapter 5 • Say and Play 57 CO24CB0405_P2.indd 57 9/25/2023 4:20:01 PM
7 Type “chomp” in the search box. Click the Chomp sound to add it.
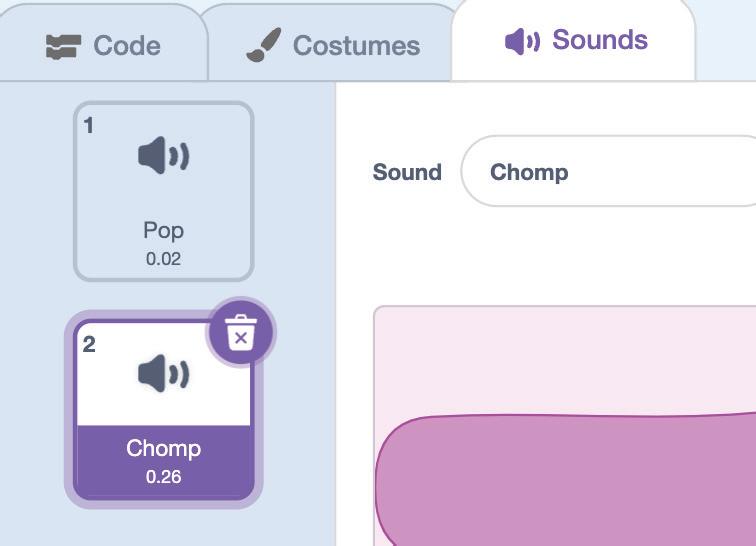
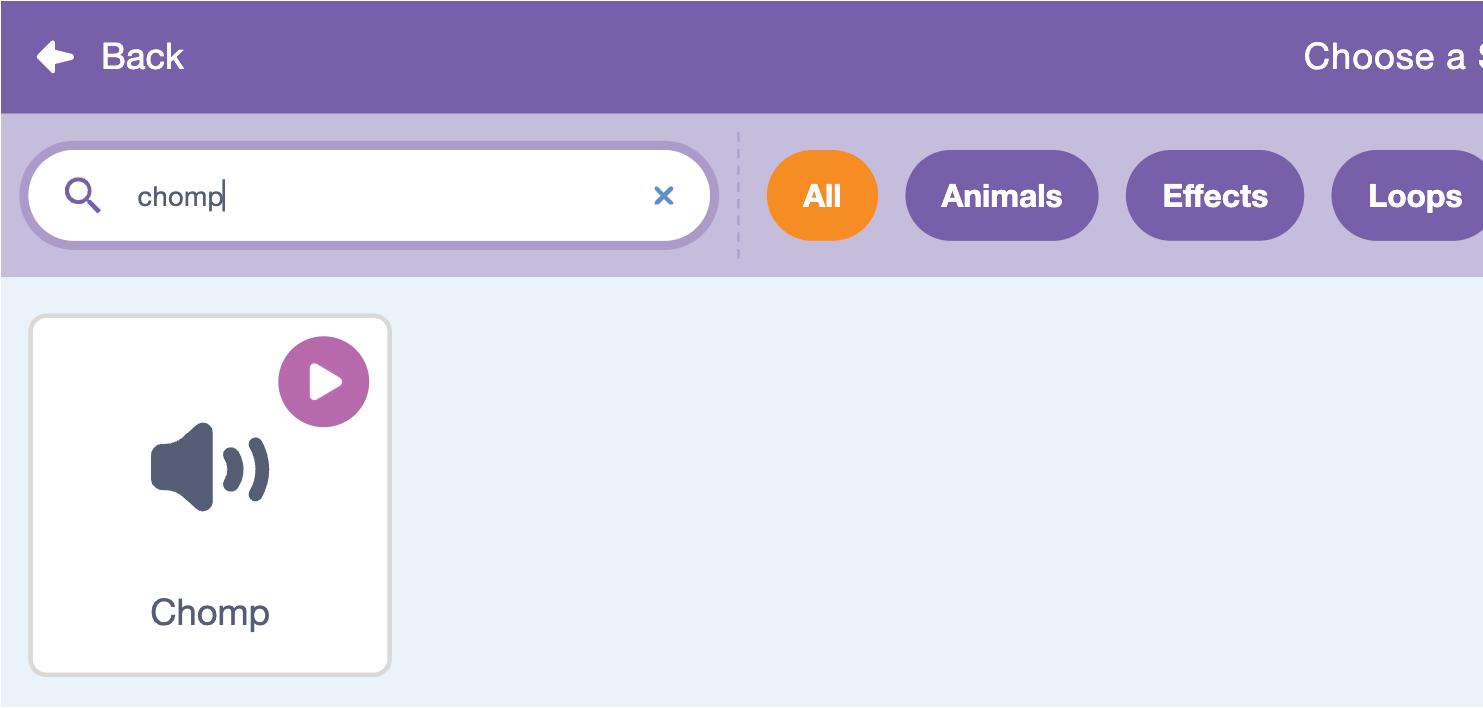
8 The sound is added.
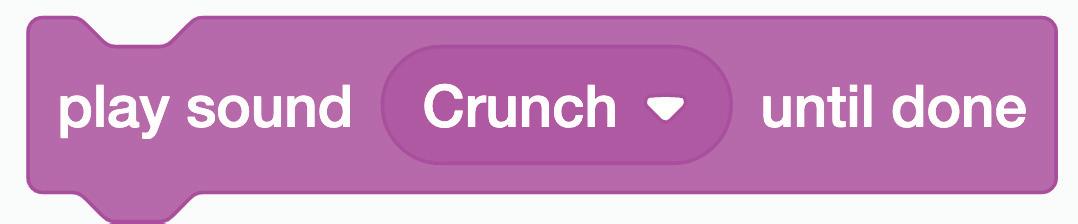
9 Repeat steps 6 to 9 to add the Crunch sound.
10 Click the Code tab.
11 Select the Apple sprite.
12 Change the sound to Chomp in the play sound block in the if touching Basket? block.
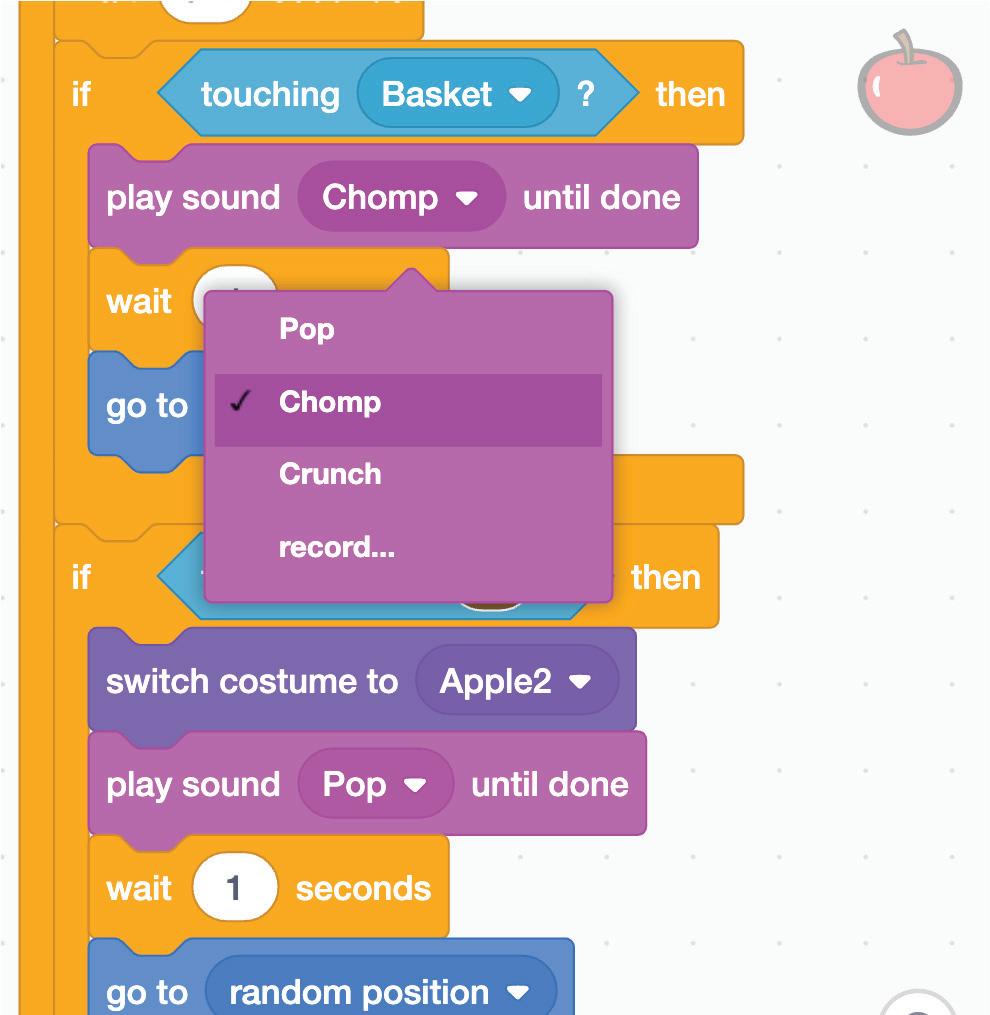
58 CO24CB0405_P2.indd 58 9/25/2023 4:20:01 PM
13 Change the sound to Crunch in the play sound block in the if touching color? block.
Discuss
How did the sound make your project feel different?
14 Click the Go button to test your project.
Coding Challenge
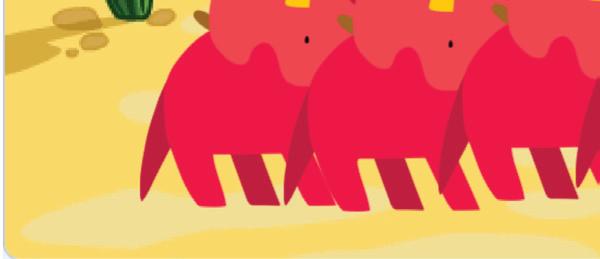
Help Giga dodge the falling ladybugs.
Chapter 5 • Say and Play 59 CO24CB0405_P2.indd 59 9/25/2023 4:20:01 PM
Do It Yourself 5A
Match the Following.
A sound in the Sound Pane.
Make a sprite say something for the specified amount of time.
Play a sound until it completes.
Add a new sound.
Chapter Checkup
A Fill in the Blanks.
1 Use the Say block to make your sprite in Scratch.
2 The Play block is used to add or to your Scratch project.
3 The Say block is found in the category of Scratch blocks.
4 The Play Sound block is located in the category of blocks.


B Tick () the Correct Option.
1 Which block is used to add music or sound effects to your Scratch project?
Hints Looks Sound music talk sound effects
a b c d 60 CO24CB0405_P2.indd 60 9/25/2023 4:20:02 PM
2 The Say block is used to:
a Change the sprite’s colour.
c Move the sprite around the stage.
b Make the sprite talk.
d Change the background.
3 Which category of Scratch blocks does the Play Sound block belong to?
a Motion
b Looks
4 The Play Sound block is used to:

a Control the sprite’s size.

c Add music or sound effects.
C Who Am I?
c Sound
d Events
b Make the sprite disappear.
d Change the sprite’s costume.
1 I am a block in Scratch that allows you to make your sprite talk.
2 I help you add sound for your sprite in Scratch.
D Write T for True and F for False.
1 The Play Sound block is used to change the colour of your sprite.
2 The Say block is used to make a sprite move around the stage.
3 The Play Sound block is used to add music and sound effects to your Scratch projects.
4 You can find the Say block in the Looks category.
E Answer the Following.
1 What does the Play Sound block do? How can it make your projects more exciting?
2 Write a Scratch project idea where you can use the Say and Play Sound blocks.
Chapter 5 • Say and Play 61 CO24CB0405_P2.indd 61 9/25/2023 4:20:02 PM
1 What will the given script do?
2 Think of a digital story that you would like to create in Scratch. How would you use both the Say and Play Sound blocks?


F Apply Your
Learning.
a b
62 CO24CB0405_P2.indd 62 9/25/2023 4:20:04 PM
About the Book
This coding book is supplementary to the main “Mel n Conji” content book. This book represents a 21st-century approach to learning coding concepts and developing computational thinking and problem-solving skills. To prepare students for the digital age, the curriculum is interwoven with well-thought-out concept graduation with real-life examples and practice problems.
Special Features
• Illustrative approach: Concepts in coding and computer science are delivered through pictorial representations and learner-friendly approaches.
• Learning through real-life examples: Age-appropriate examples that enable learners to relate to the concept and learn about the unknown from the known.
• Extensive practice: Multiple practice scenarios to reinforce learnings.
• Coding Challenges: Includes projects through which learners can demonstrate their learning outcomes in coding and computer science.
About Uolo
Uolo partners with K-12 schools to bring technology-based learning programs. We believe pedagogy and technology must come together to deliver scalable learning experiences that generate measurable outcomes. Uolo is trusted by over 10,000 schools across India, South East Asia, and the Middle East. xxx
hello@uolo.com
Singapore | Gurugram | Bengaluru | © 2024 Uolo EdTech Pvt. Ltd. All rights reserved.
