4 minute read
Clarke Twin Block Construction Technique. By David Baldry, Atomic Dental Lab
CLARKE TWIN BLOCK
CONSTRUCTION TECHNIQUE
Advertisement
By David Baldry I Atomic Dental Lab
The following detailed procedure is the technique that I use to manufacture Clarke Twin Block appliances in the most efficient way possible, whilst maintaining consistency and quality. Some steps that are obvious or not adding value have been skipped.
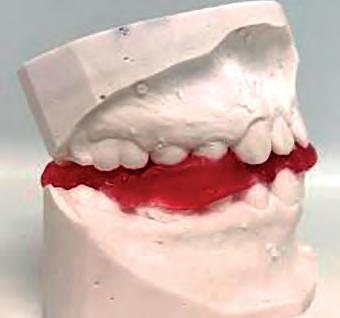
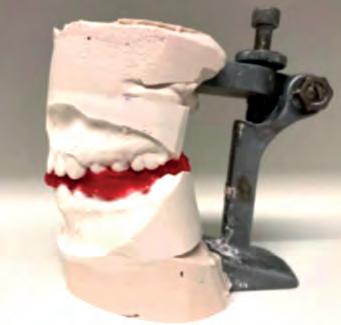
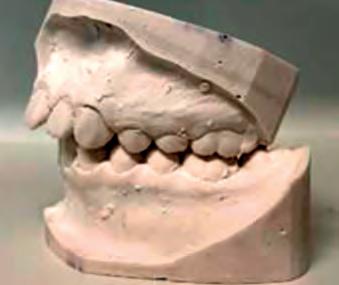
l To manufacture a Twin Block appliance, a prescription, upper & lower impressions and protrusive bite are required. The procedure starts after the Lab infection control measures have been followed and after the models have been cast, passed QC and articulated.
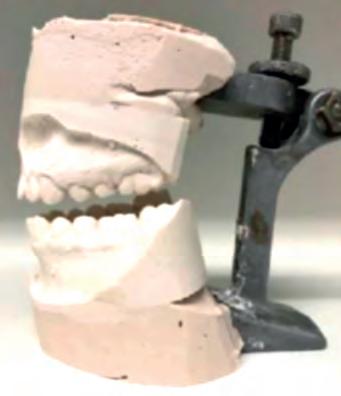
l Remove the wax bite and if the bite is excessively open or closed, then adjust the articulator so the space between the posterior teeth is approximately 4-5mm. l Follow the prescription for construction of the retention components. In this case its Adams cribs on the upper and lower 6’s & 4’s with ball ended clasps on the lower anteriors. Wax the components into place and wax out the interdental wires so that the cribs can be adjusted by the clinician if required.
l Using a sheet of pink wax, create angled shuttering and attach to the lower model. The posterior angle of the wax should be approximately 60 degrees (although the prescription for this case says 45 degrees!). Line the posterior section of the wax with the mesial interdental wire of the crib on the 6’s (this will make trimming easier at a later stage). Extend the wax so this it is extends just higher than the tips of the teeth on the opposing model.
l Block out the undercut areas of the wax support and repeat for the other side.

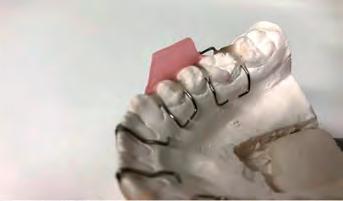

l Using cold cure acrylic and the salt & pepper technique, create the lower baseplate and twin block pillars. The wax supports that were created help to guide the build up of acrylic. Use the 60 degree angles to create square faced blocks that are approximately 1cm x 1cm and parallel. Cure using the normal method.
l Boil off the wax, and trim the lower appliance taking particular care around the blocks so the the 60 degree angle is maintained. Trim the height of the blocks until the is no contact from the opposing model. Smear a small amount of Vaseline on the surface of the blocks – this will help to avoid the blocks bonding or sticking in the following stages.
l Using pink wax, create more shuttering/ acrylic supports on the upper model. The shuttering should be slightly oversized to make manufacturing easier later. The lower blocks will be used to cut into the un- cured acrylic on the upper model when dripping on. l Create the upper baseplate and add the screw as required. Build the upper blocks with acrylic and when they are at full height, close the articulator and the lower blocks will cut into the un-cured upper blocks and transfer the 60 degree angle into the upper blocks. Unsure that the upper blocks are nice and square and then add a small layer of acrylic to the face of the blocks to allow for trimming back later. Cure the upper blocks.
l Boil off the wax and using articulating paper as a guide, trim the upper baseplate and blocks until the articulator closes to its pre-set position. Slowly and carefully trim the blocks of the upper and lower so that there is good contact on both sides.
l After basic trimming, it is easy to see that the 60 degree angle has been transferred to the upper appliance.
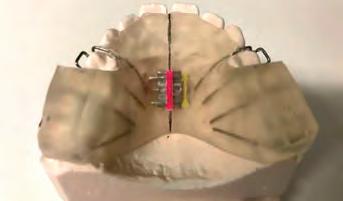
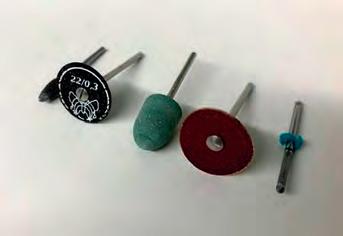
l Mark the midline and cut a straight line through the upper appliance. l Using a variety of burs, finishing trimming the appliances until they are smooth. Polish on a lathe as per normal procedure. Remove the plastic tab from the screw, and steam clean to remove pumice / residue.

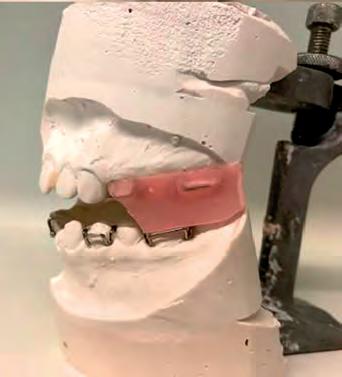
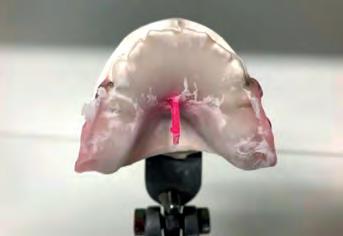

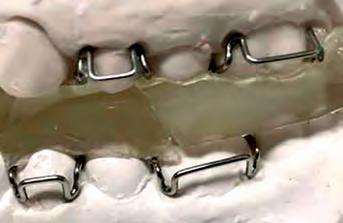
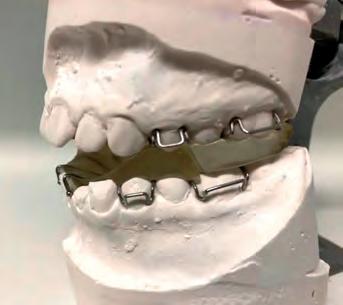
THE FINISHED APPLIANCE


David Baldry, Atomic Dental Lab E: David@Atomic-Dental.com T: 07810 673831


