Widening Participation


Widening Participation


Documenting your work is one of the most important parts of creating a Digital Portfolio. You have spent a long time making your work and it deserves to be documented properly.
Make sure to photograph or scan every single piece of work that you have made. This includes every page of your sketchbooks, work you’ve done at school and work you’ve done outside of school, such as work created at any portfolio courses or workshops you have attended.
It is good practice to photograph your work throughout the process of making it and at the end when you feel it is finished. It can be helpful for admissions selectors to see how you made a particular piece of work, especially if you were exploring a way of making work that is relevant to the course for example screen printing, building a free-standing sculpture or weaving.
You can use your smartphone or a DSLR camera to photograph your work. If you are using a DSLR camera to photograph your work, we would recommend setting your camera to Auto mode, and to have the flash turned off.

In winter try to take photos during the brightest daylight hours. Photograph in natural light, but avoid standing in direct sunlight as you don’t want any shadows being cast.
For 2D work, place your work on a flat surface on top of a large piece of white paper.


Photographing your work at the correct angle is very important.
Taking a photo from a bad angle can result in the distortion of the shape of your work.
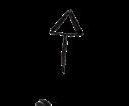
You want to photograph from a central and parallel position to the piece of work.
Keep your phone or DSLR steady to avoiding making the image blurry.
Hold your phone straight and completely parallel to the image.


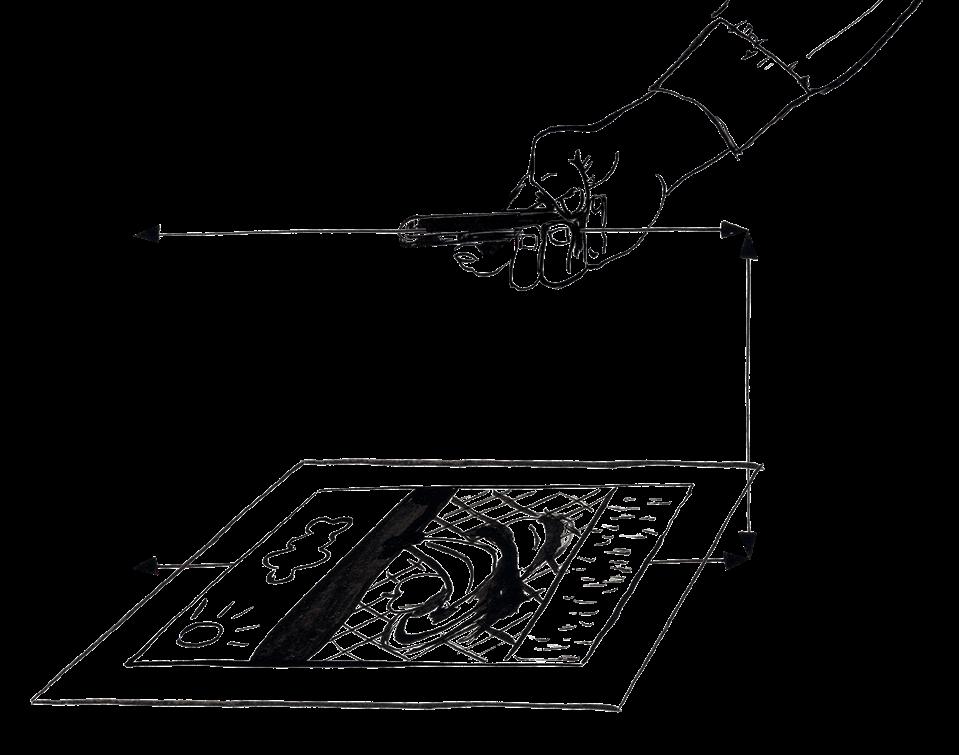
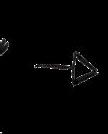
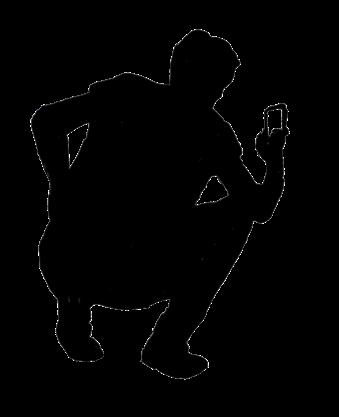
This is a diagram showing how work should be shot.
Photographed on a large piece of plain white paper with no background visible to distract from the work.
Taken from a central straight angle with no distortion to the shape of the work.


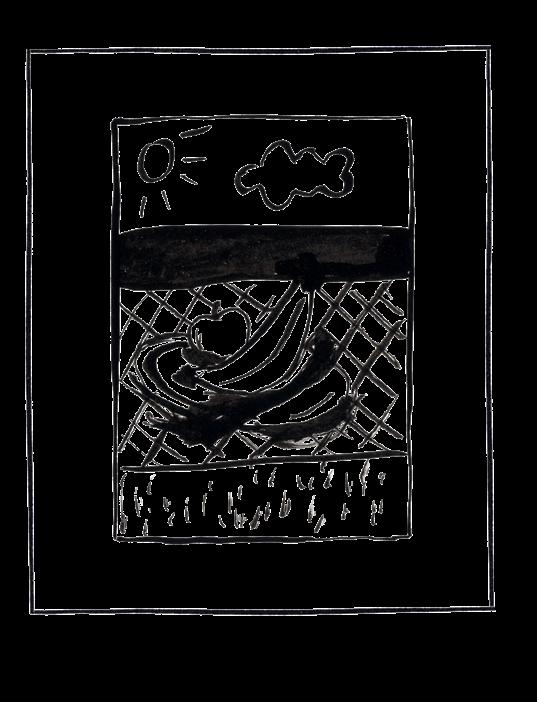
Work has been placed on a flat surface and there are no creases or curls on the paper.
Photo taken in natural daylight so there is no yellow tint to the work, or white spots from a flash.
Shape of work not distorted


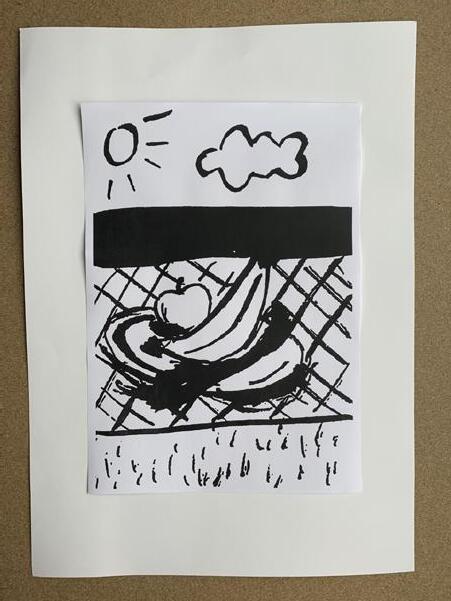
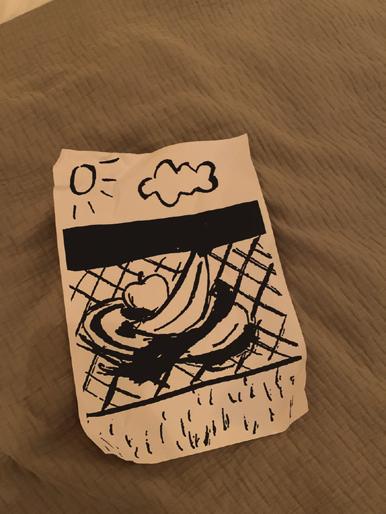
Here is a photograph that has been taken following these guidelines.
This photo will be easy to crop down to put into your digital portfolio because it was taken properly.
Image cropped down and ready to go into the digital portfolio.


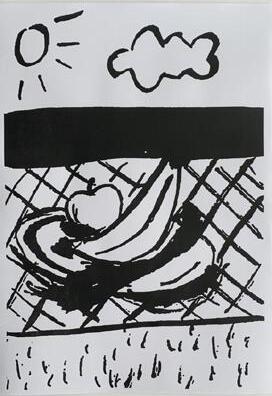


This shows the work clearly without any distortions in the colour or shape.

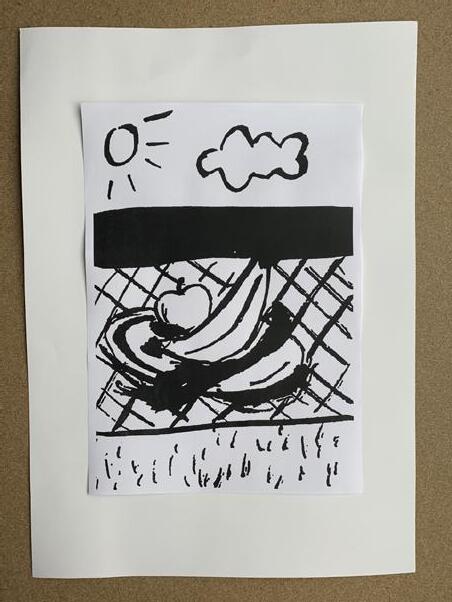
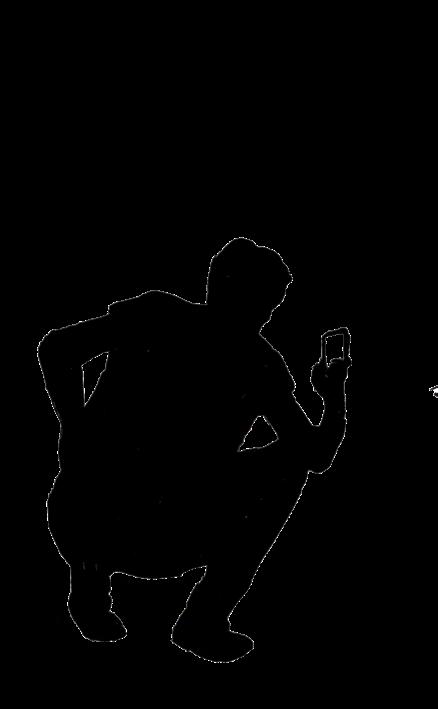
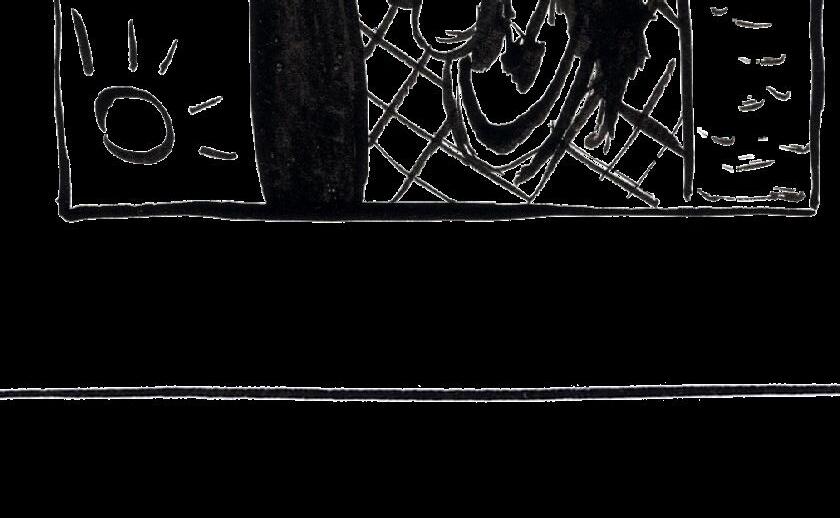
These are some examples of what to try to avoid when photographing work.
Uneven background
Not shot on top of white paper Work is not sitting flat or straight
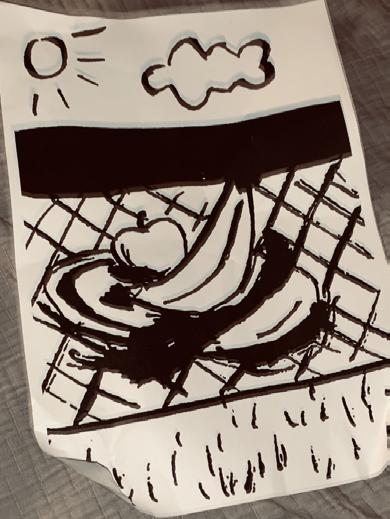
Not shot in natural light, work is discoloured with a yellow tint.
Photo not taken at a straight angle from a parallel position. The shape of work has been distorted.

Crumpled and curled up edges.
Blurred and distorted image caused by flash.


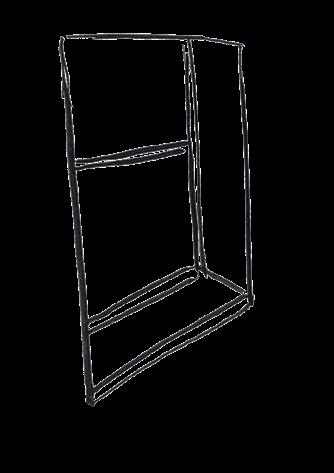
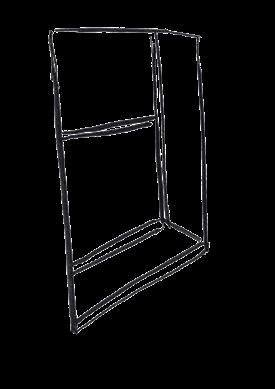
For 3D work create a clean background with a large sheet of white paper, curved and attached to something upright like a chair.


Position the chair as near to a natural light source as possible.
Your smartphone should be as close to the work without cropping any of it out.
white background.


Remember that these are the images that will represent your work in your digital portfolio, so look over the photos as you go to make sure that you are happy with how they look.