10 minute read
MALTESE MARVEL

A MOG FOR ALL SEASONS
Advertisement

Can the lines of a classic Morgan 4/4 be improved? Probably not, but with imagination and skill Reno Psaila of Malta has proved that they can be enhanced with stunning results.

WORDS & PHOTOGR APHY Reno Psaila
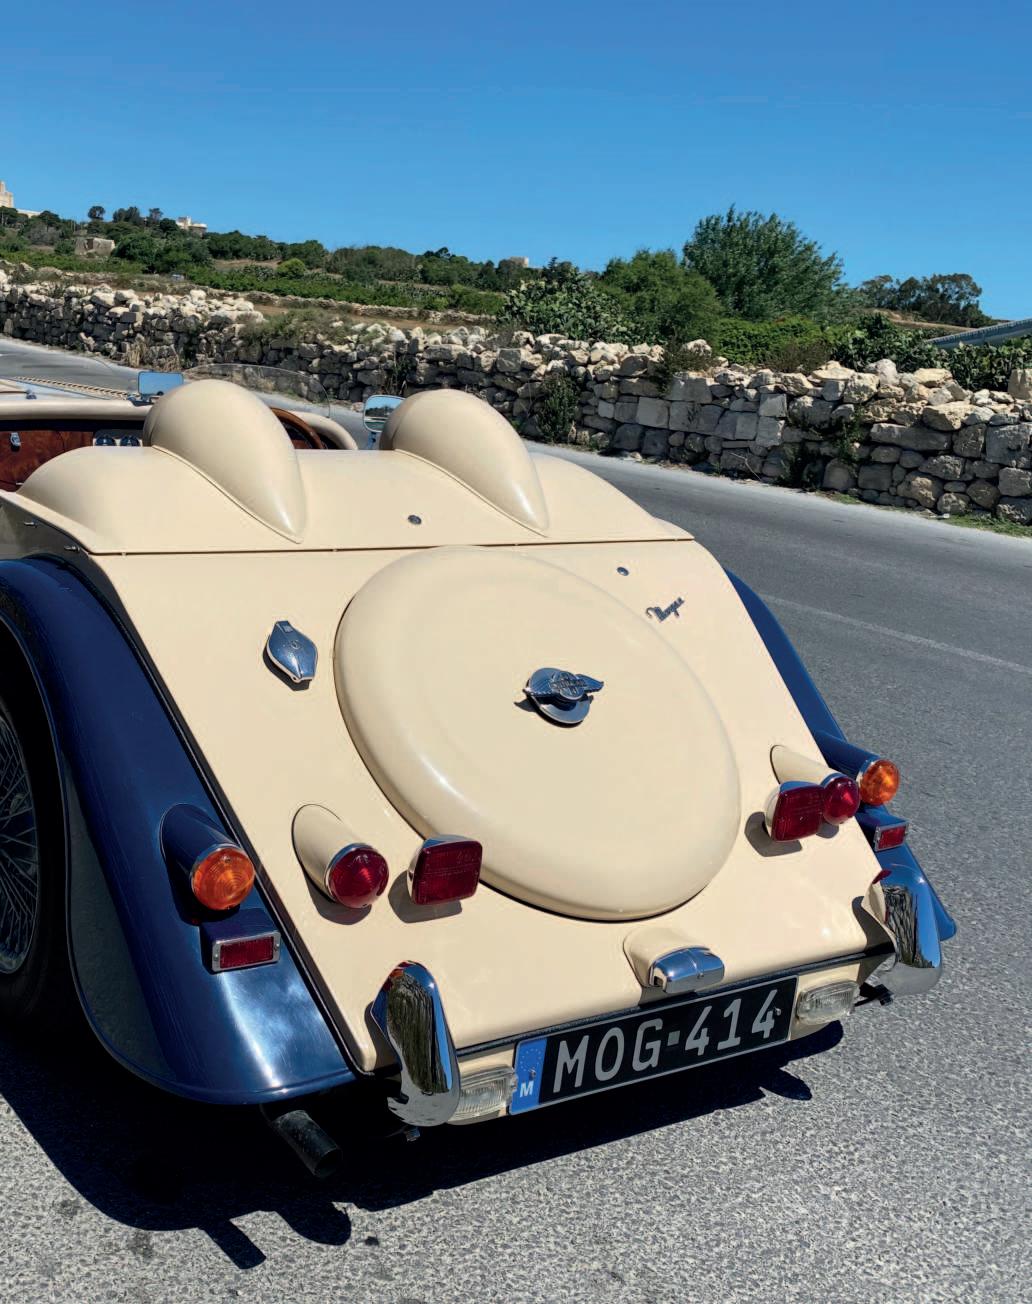
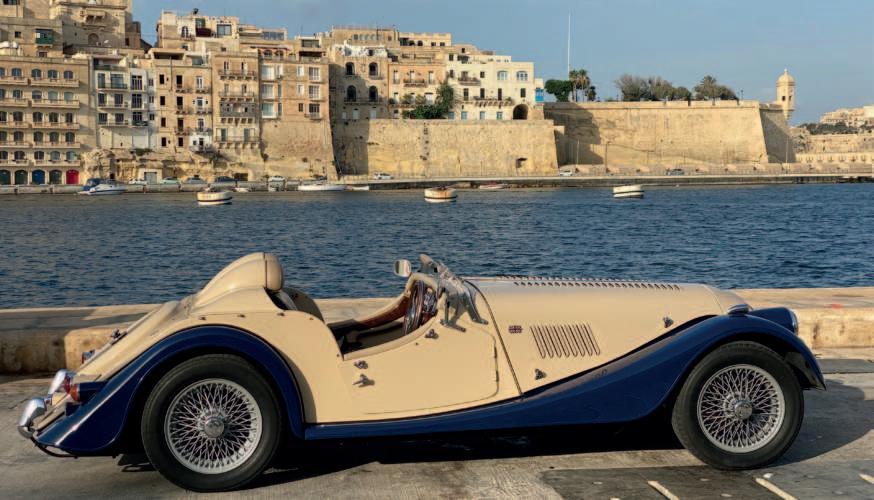
ne of the early ideas I had regarding O “customising” my Morgan was se ing it up into a “speedster”. Morgan Motor Company did actually produce a limited number, 40 I believe, of Speedsters. e Speedster was a lightly restyled version of the standard Plus 8, launched to celebrate 100 years of production at Morgan’s factory in Malvern. I wanted to do my version without altering any standard panels or drilling new holes, so it could always be converted back to original confi guration.
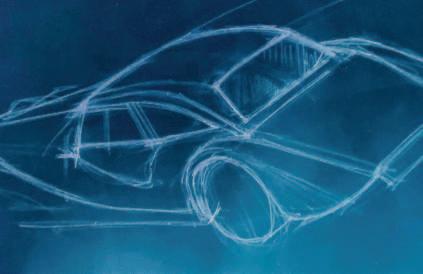
In November 2016, I fi rst did a thumbnail sketch of my idea. I wanted my design to be more retro than the factory models by incorporating faired headrests. I kept this on the back burner but in December 2018 I decided to go ahead and started on building a plug.
Initially I put together a full size cardboard mock up and took some images, which I then enhanced/ coloured in PhotoShop. Once happy with the overall eff ect I went ahead and constructed a plywood frame for the base cover, just behind the driver and

passenger’s seats. e faired headrests were to be separate so that with a single mould I could produce 2 examples. It also gives the possibility that I can install just one headrest behind the driver’s seat and close off the passenger area with the tonneau or rigid cover (maybe another future project). A er fi nishing the plugs I produced the fi breglass moulds. e moulds were prepared and the skins laminated. Once cured, a 10mm marine ply base was prepared, glued and laminated to the skin of the cover, thus
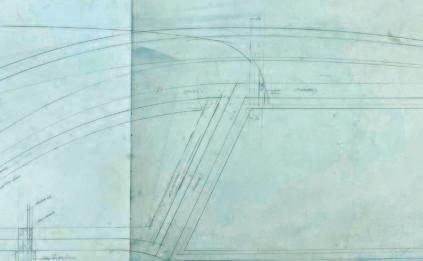
Hardtop workshop drawing Hardtop plug structure reinforcing it. Aluminium hinges were produced from angle stock. e cover was fi ed such as to use the hinge points of the original so -top frames, and tilts forward for access to the storage area below it. A lock was also incorporated at the rear to hold it in the closed position. A stainless steel stay was also fi ed. e headrest fairings were bolted on from inside the cover. 2” foam was cut to shape and leather covers ordered complete with the laser ‘branded’ Morgan logos. ese headrests have a ply back plate and once upholstered were a ached with screws and anchor nuts to the actual fi breglass fairing.
I spray-painted the cover plus fairings in ivory/cream as per bodywork and to fi nish it off a dark blue felt was used on the inside and ‘hinged’ bulkhead, which closes off the area between the cover and rear of the seats. Just below the headrests a walnut insert was added to compliment the dashboard. I cut the windshield/defl ector from 4mm clear acrylic sheet with a jigsaw, using a pvc template I had prepared to fi ne-tune the design. e edges of the acrylic were fi nely sanded and polished. Brushed stainless steel fi ings were produced to bolt onto the standard windshield mounts. To obtain a curved plan form, I used the 3 wiper drive sha and nut assemblies. Obviously the
Hardtop plug shaping
Hardtop mould Hardtop plug fi nish
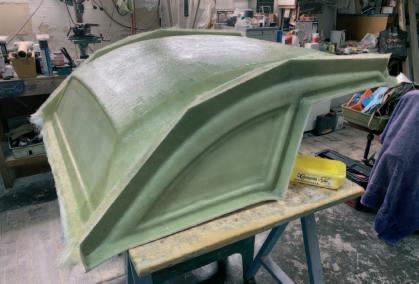
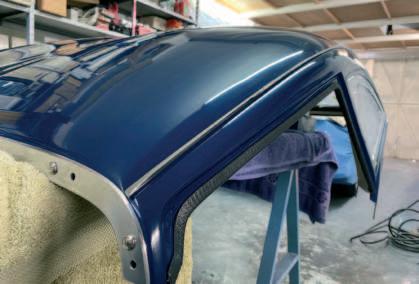
Hardtop detail
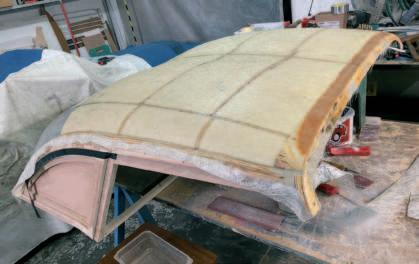
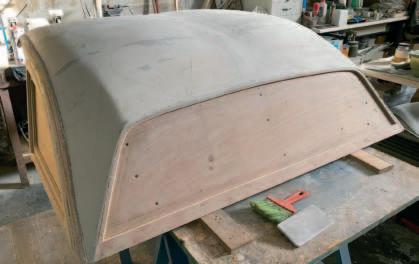
Hardtop plug fi breglass Hardtop plug hardmetal wipers were removed. A er all this was only going to be used in summer! A rubber trim was added on the bo om edge of the acrylic so the paintwork will not be scratched apart from acting as a seal. is conversion also required that I take off the front and rear bumpers. e front number-plate was installed on the le hand side on a special bracket fabricated from a short piece of 50-x 15mm mild steel hollow section. I produced a tow loop and bolted it on the front righthand bumper a ach rod. A er researching for classic over-riders I purchased a pair in chrome fi nish, normally installed on Healeys and Midgets. ese were fi ed instead of the rear bumper. A fairing to mount the rear number plate light was also produced. To complete the speedster look, the rear luggage rack was removed. en I modifi ed an MG wire-wheel, which I bought second-hand, by cu ing the rim carefully in two, removed approximately 25mm ring from the rim and had it professionally TIG welded back together to make it narrower. On it, I fi ed a space saver tyre, so that now it sits much lower than the standard spare wheel. To complete a ‘clean’ back end, I also produced a spare wheel cover in fi breglass. A Morgan ‘winged’ logo was purchased, which I a ached on the new spare wheel and
cover retaining screw I fabricated. Having worked on this for a few months, albeit in my spare time, it was ready to take out for a test-drive around mid-April 2019. Bringing it up to speed, I was amazed how the shallower wind deflector and the faired headrests had reduced the turbulence normally associated with convertibles, where the air pushes one’s hair, or the few remaining strands left, forward!
But of course a roofless Speedster, like the commemorative Plus 8, is only good for the summer or the most hardcore of Morgan drivers, even here in Malta!
W hen I imported my Morgan, it came with a Mohair soft top. I have used it in winter and although it is quite comfortable, it does not really seal well with the removable side-screens. If one misjudges the weather forecast and is caught out in the rain, one will surely get wet while dashing to get back home.
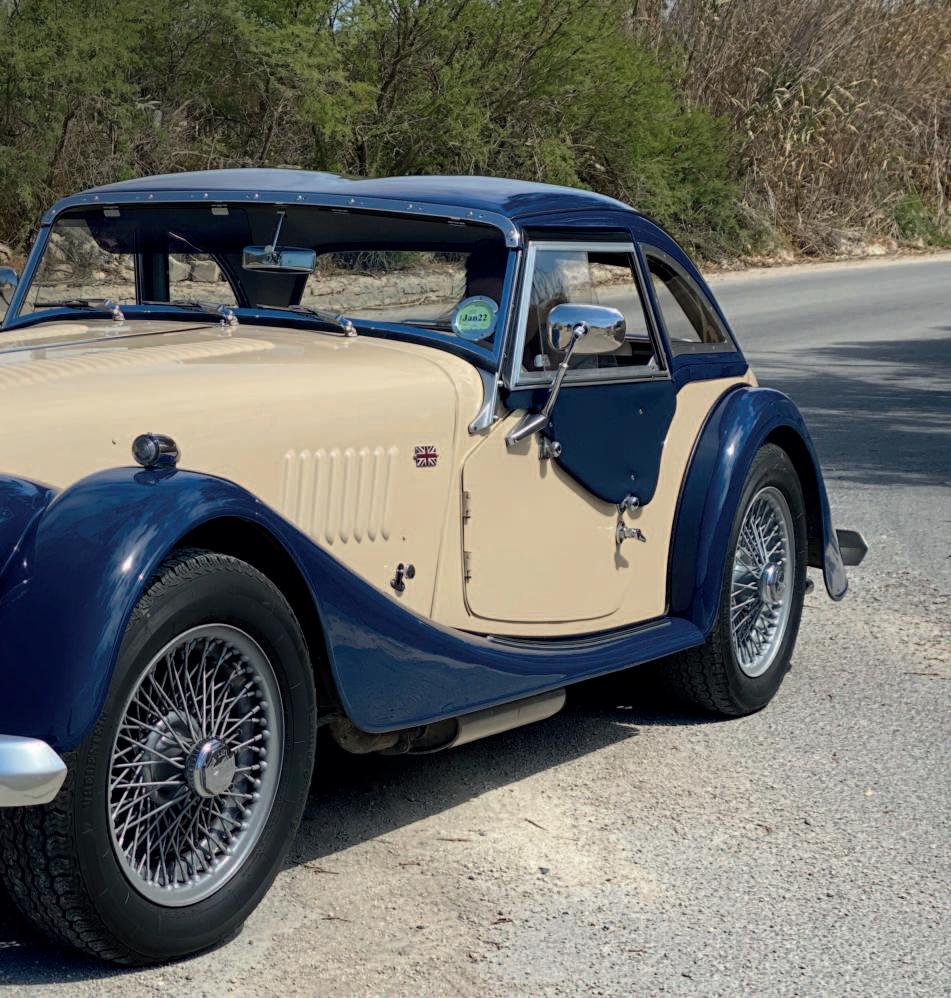
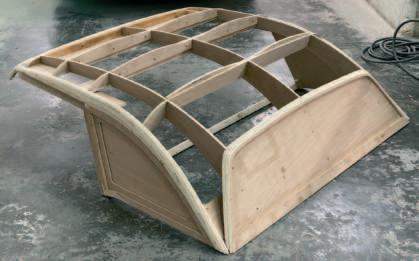
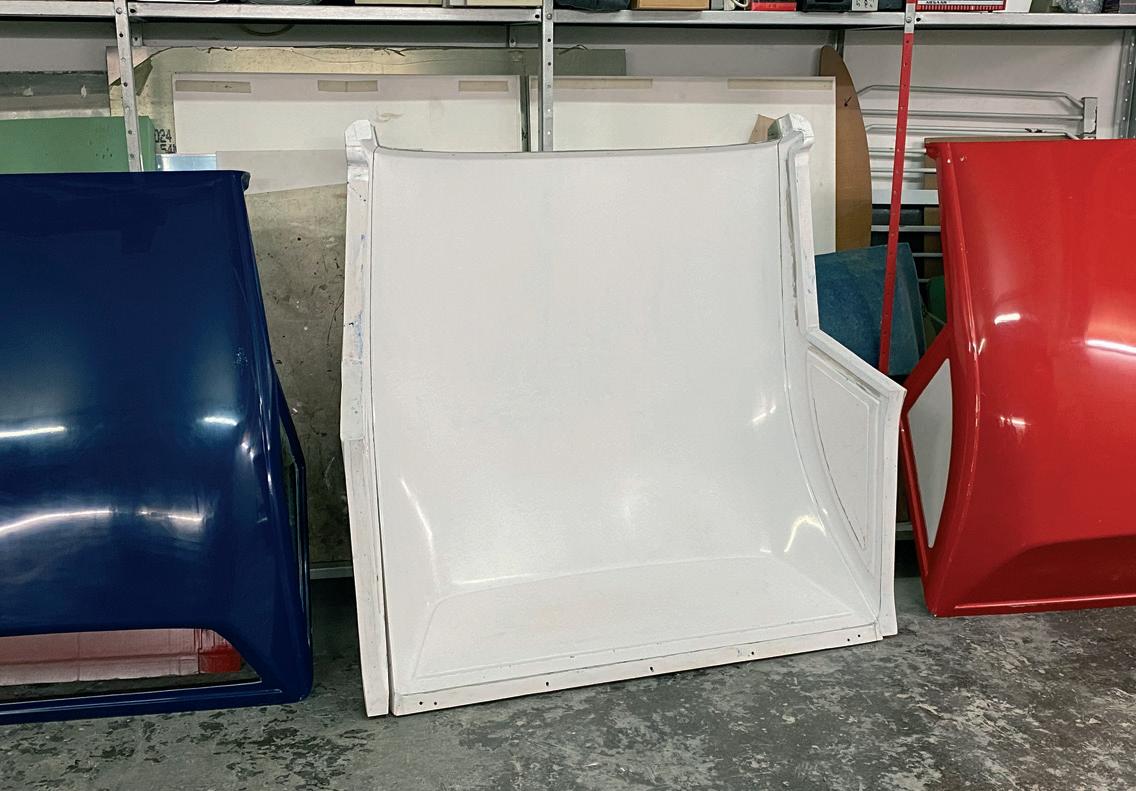
I researched what hard tops were available but did not like what I found. They all lacked good all round visibility plus their cost ranged from £990 stg to over £2000 stg for a factory or an aftermarket fibreglass one. This, apart from the fact that all Morgans are hand-built and MMC changed the dimensions of the cockpit area along the years, so if I had to source out a second-hand one, chances were I would still need to modify it to make it fit perfectly. So encouraged by the success of the Speedster design my thoughts turned to designing and producing the ultimate hardtop myself. A couple of thumbnail sketches were enough for me to start on this project. After plotting the full size side profile based on actual measurements taken off my car, I moved on to the next step: that of building a full size mock-up. This is used as a plug to pull the fibreglass
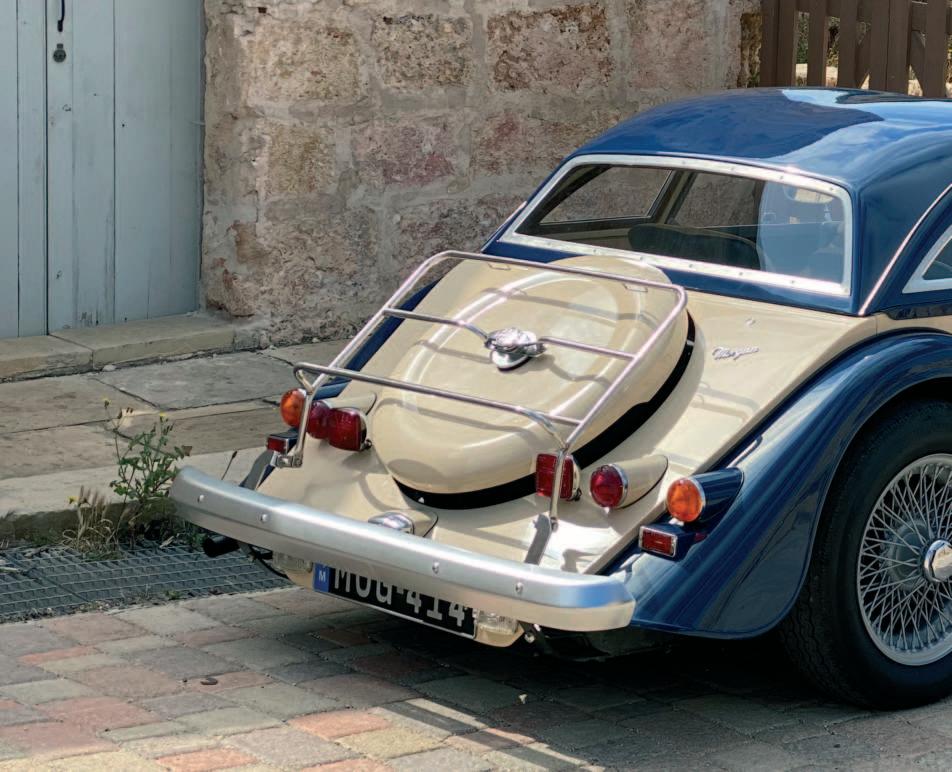
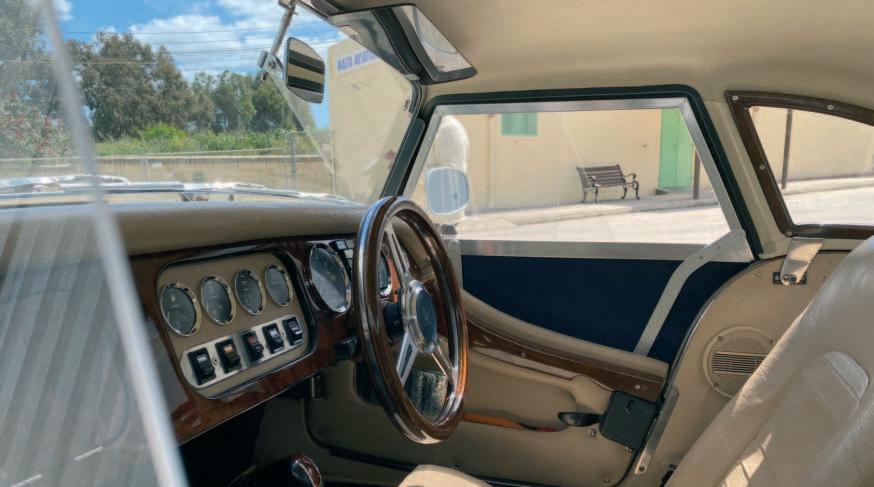
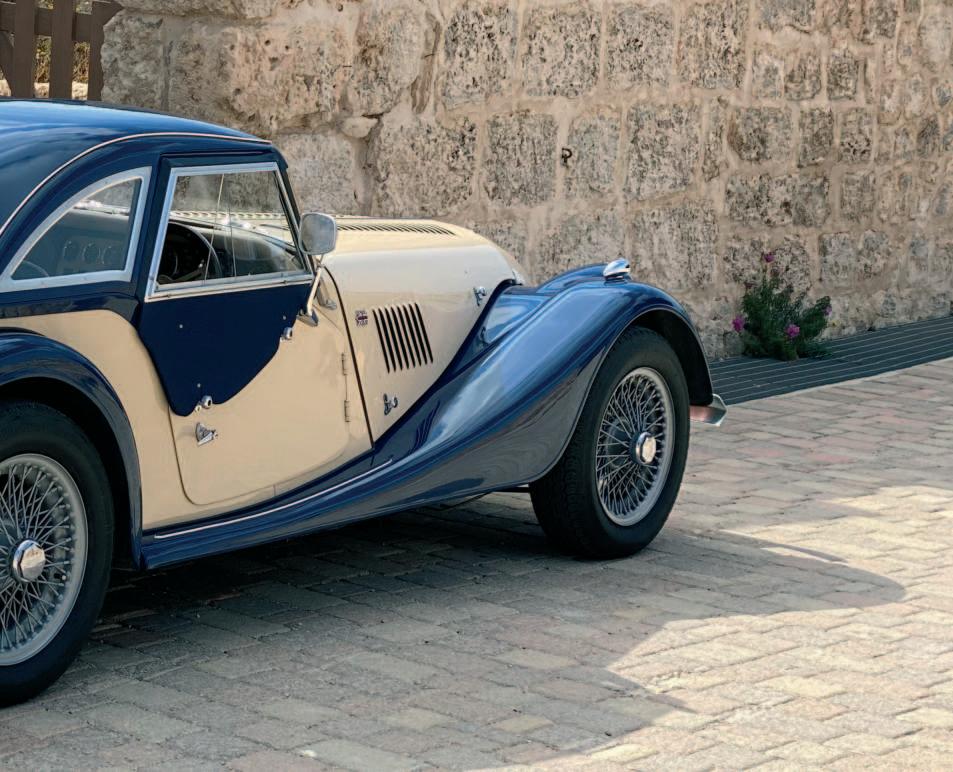
mould off it. This process is quite laborious since, in my case, it is all hand-crafted. Templates are plotted and duplicated to form right and left sections. This will ensure a symmetrical shape. I prefer wood or ply since it is easier and faster to work with or to amend. At this stage I even decided to incorporate the ‘Zagato’ double bubble to get some more headroom.
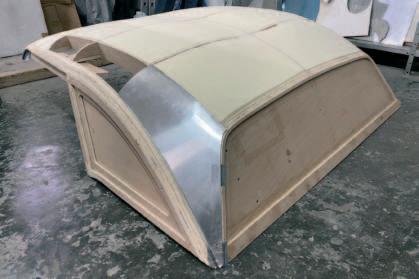
Once the ply skeleton frame was ready and trial fitted to check for accuracy, the voids in between were filled with 50mm expanded polyurethane foam slabs. These were easily sanded down to the contours of the basic frame. The rear complex corners were formed from soft aluminium sheet.
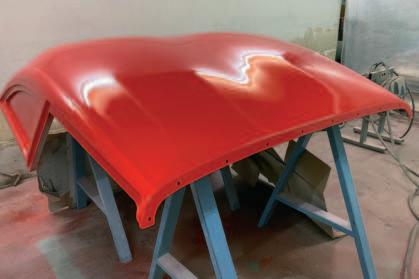
Then, a layer of fibreglass chopped matt was laminated on top, to bond and strengthen the plug. Hard-metal putty was applied on top of the fibreglass and sanded down to achieve a smooth surface. This had to be repeated several times until all imperfections were smoothed out. Next a coat of high-build filler was sprayed on, followed by a coat of primer and a couple of coats of 2K finish paint.
I let this settle for a couple of weeks, after which the surface was rubbed with fine grit wet & dry sandpaper and finally polished. The plug was now ready for moulding.
Before starting to laminate the mould I decided on the split lines to make sure that the final product can be extracted from the female mould. Perpendicular flanges on the split lines were created. Once laminated, coach bolts with fly-nuts for easy removal and assembly were positioned at intervals along these flanges. Obviously before the actual gelcoat and fibreglass laminations were brushed/rolled on, a good release wax was applied to the plug.
Once the mould was cured, it was opened up and the plug was removed from it. The mould was bolted back together, cleaned and waxed. First, gelcoat was brushed on, followed by tissue, various laminations of roving fibreglass and chopped strand mats. The side and rear window areas were given extra layers for reinforcements. 10mm marine grade ply strips were also bonded and laminated along the rear bottom flange and vertical pillars.
Stainless steel brackets were formed using 3mm thick plate and bolted to hardtop. These hook and bolt on the standard pivot points, positioned on either side holding
the factory soft top frame. An aluminium strip is screwed on the front horizontal flange of the hardtop and drilled to match the standard 10 windshield ‘lift-a-dot’ locating studs that normally hold the soft-top. This way I did not need to drill anywhere to fit the hardtop on the Morgan. A small bracket with a 3/16” bolt at the mid-rear internal edge locks the installation from moving forward.
Aircraft grade aluminium frames were cut and filed into shape for fixing the side and rear acrylic windows. Internally, wooden trim frames to match these were also produced and lacquered. Threaded ferrules were inserted through the fibreglass flanges and the wooden frames. Stainless steel countersunk allen-head screws were installed, externally and internally to secure the assembly. A rubber gasket was sandwiched between the clear acrylic and the fibreglass flanges to seal the assembly.
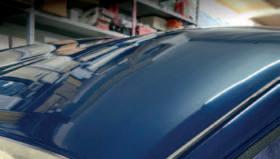
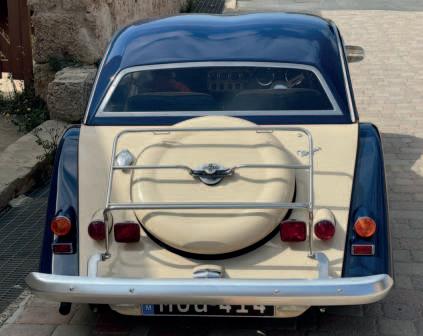
Although dark blue gelcoat was used to produce the hardtop, I opted to spray it in 2K colour to achieve an exact match with the Morgan fenders (wings).
The water gutters (paracqua) were made from polished stainless steel sheet, folded to form a 90 deg. angle and hand formed to fit the curved joggle in the moulded fibreglass skin. These were also screwed on.
Headliner material was bought and glued over a 10mm layer of foam to avoid any ‘drumming’ effect. “U’ shape door seal finished the edges around the sidescreen openings.
With this hardtop installed, it is much more quieter when compared to the factory soft-top. The complete removable hardtop weighed in at just 15kgs.
The above process can be used to fabricate a part that may not be available any longer or for customising.
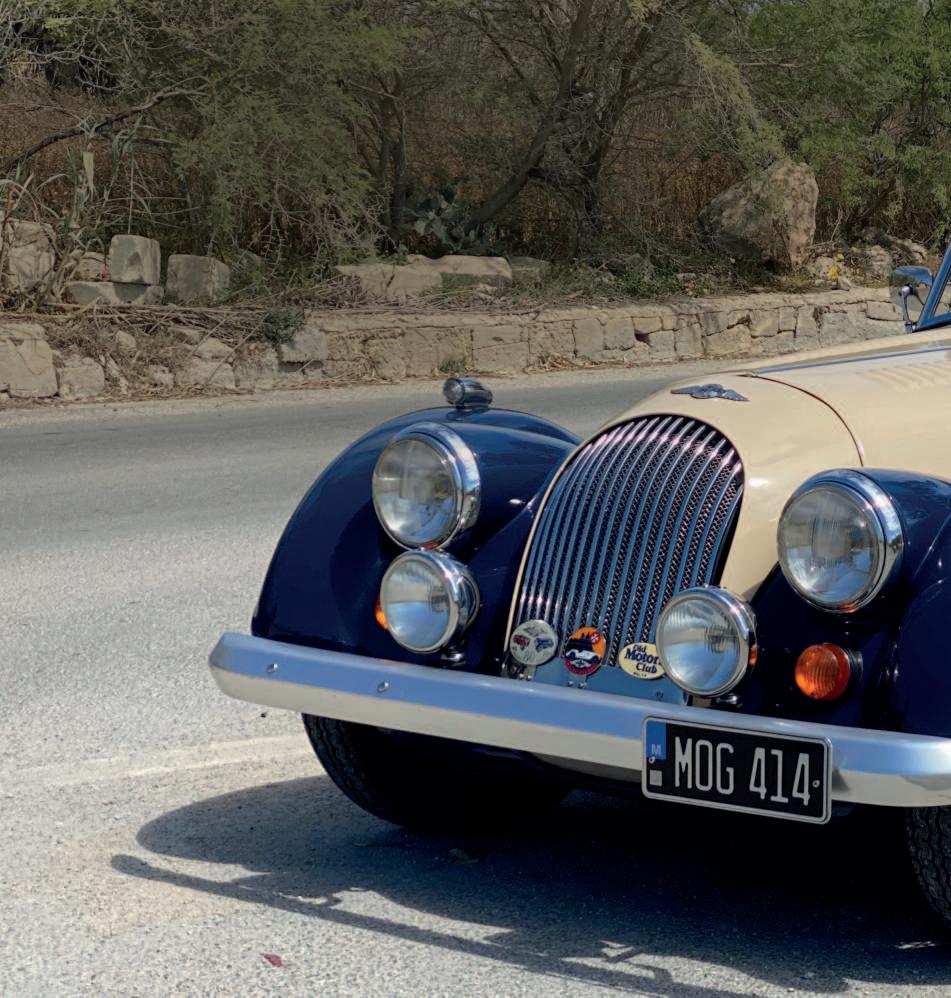
Having only one vintage ride, I now enjoy changing the ‘looks’ of my Morgan according to the season: Standard convertible with soft top down for spring and standard with soft top up for autumn, as with all MOGs. But now I have the custom hardtop for winter and for summer the Speedster mode.
MOG414 is like a ‘lady’ with 4 different ‘dresses’, a true MOG for all seasons.
NOTE: All images reproduced are: COPYRIGHT © 2021 RENO PSAILA
FOR ALL THINGS MORGAN IN SCOTLAND
