Project 1 CASTING 3D PRINTS
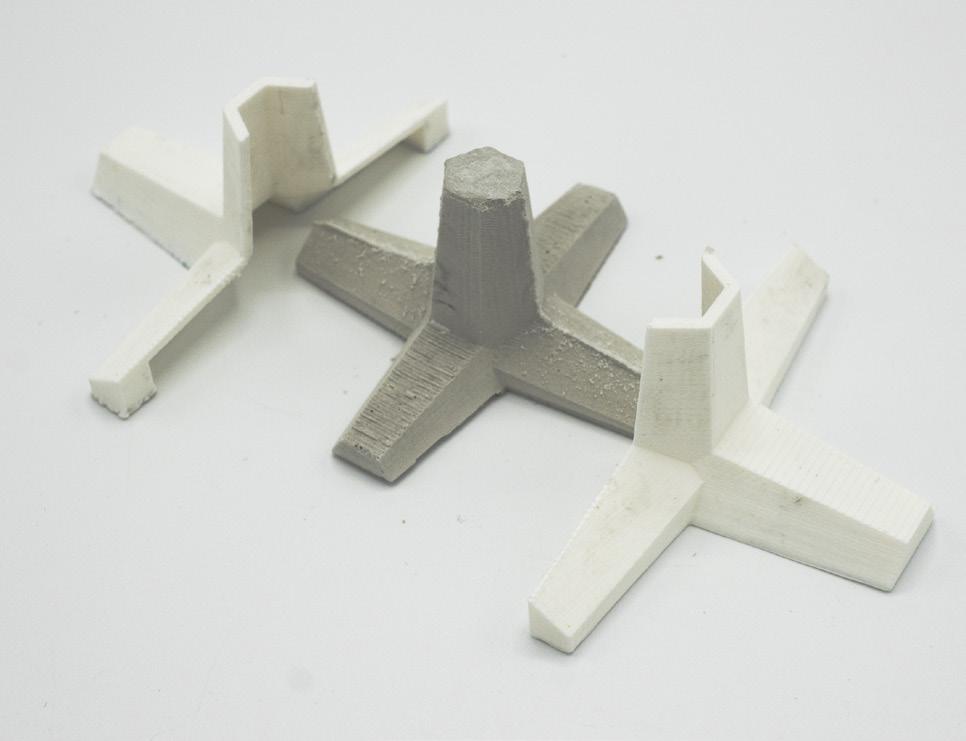
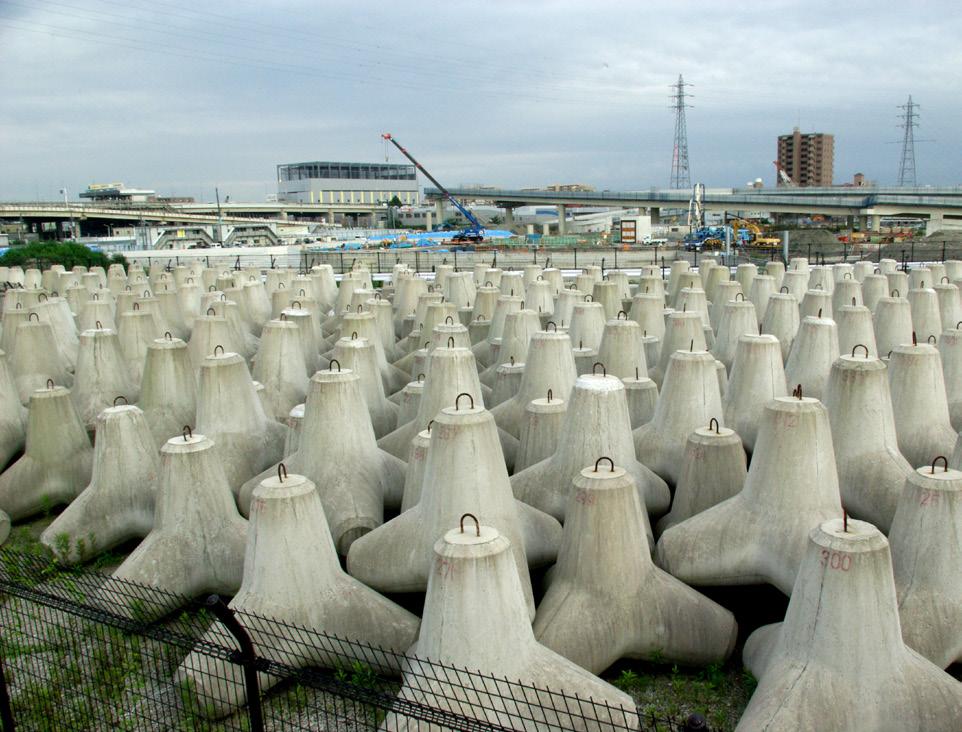
The objective of project 1 was to use 3D print and cast/print technology to create stacking modules that can form a facade. Our initial form explorations were around Tsunami protection blocks, also known as tetrapods. The mold was designed to make casting and disassembly simple. This entailed us cutting our module in half to allow for more flexibility with how we arranged our facade.


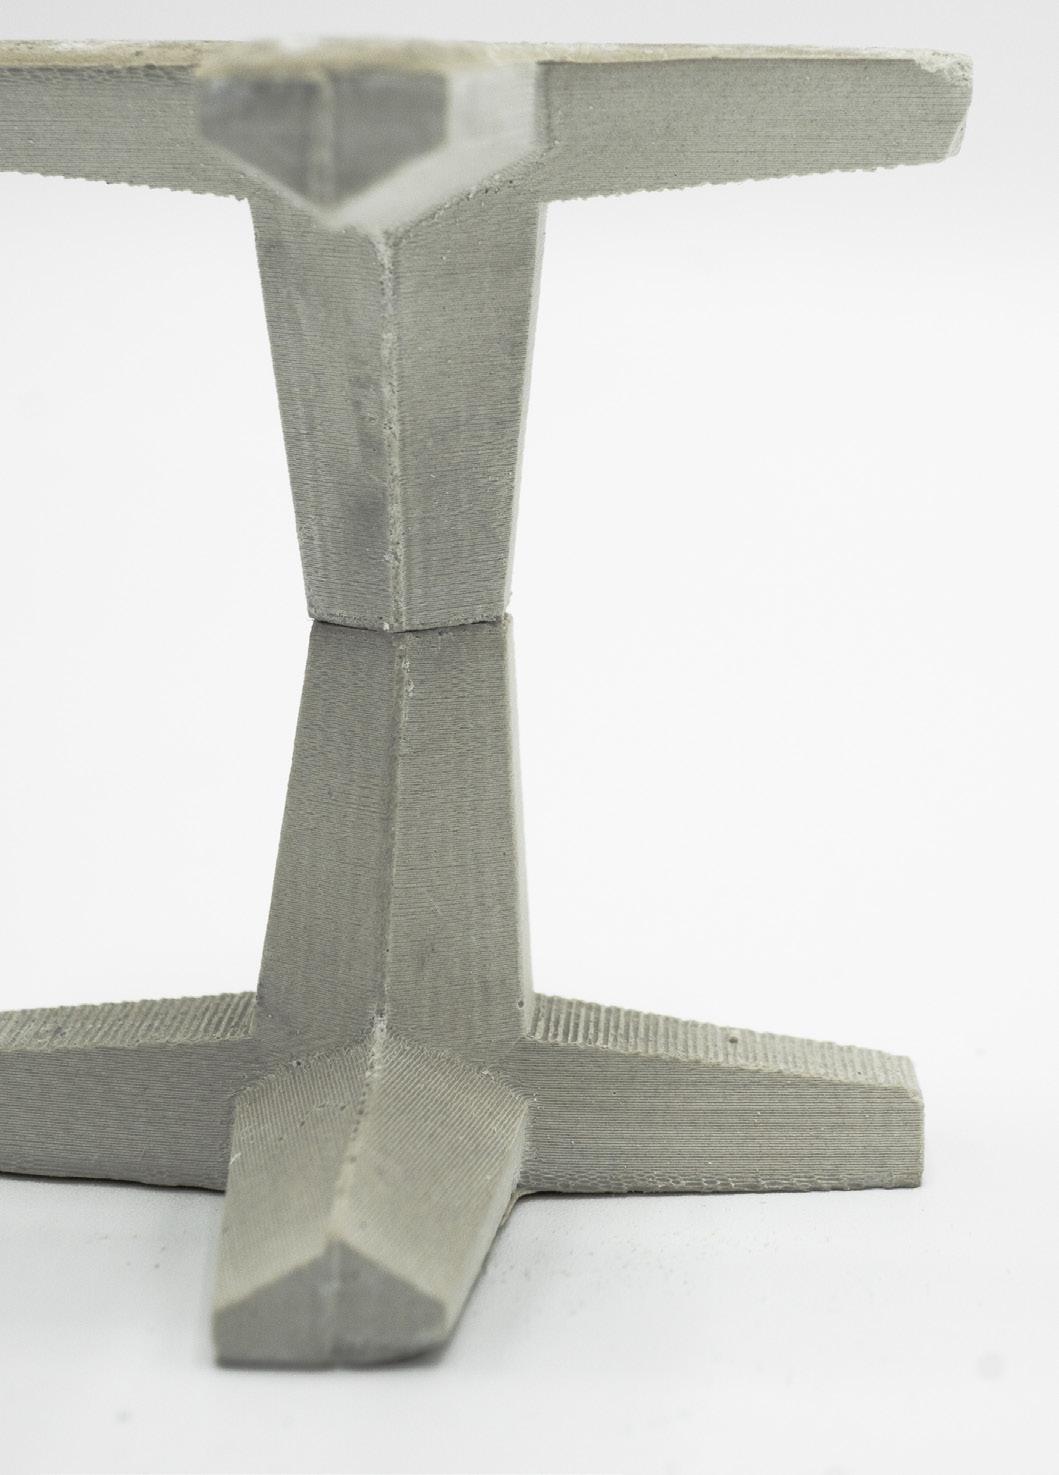


Project 1 ITERATION 2
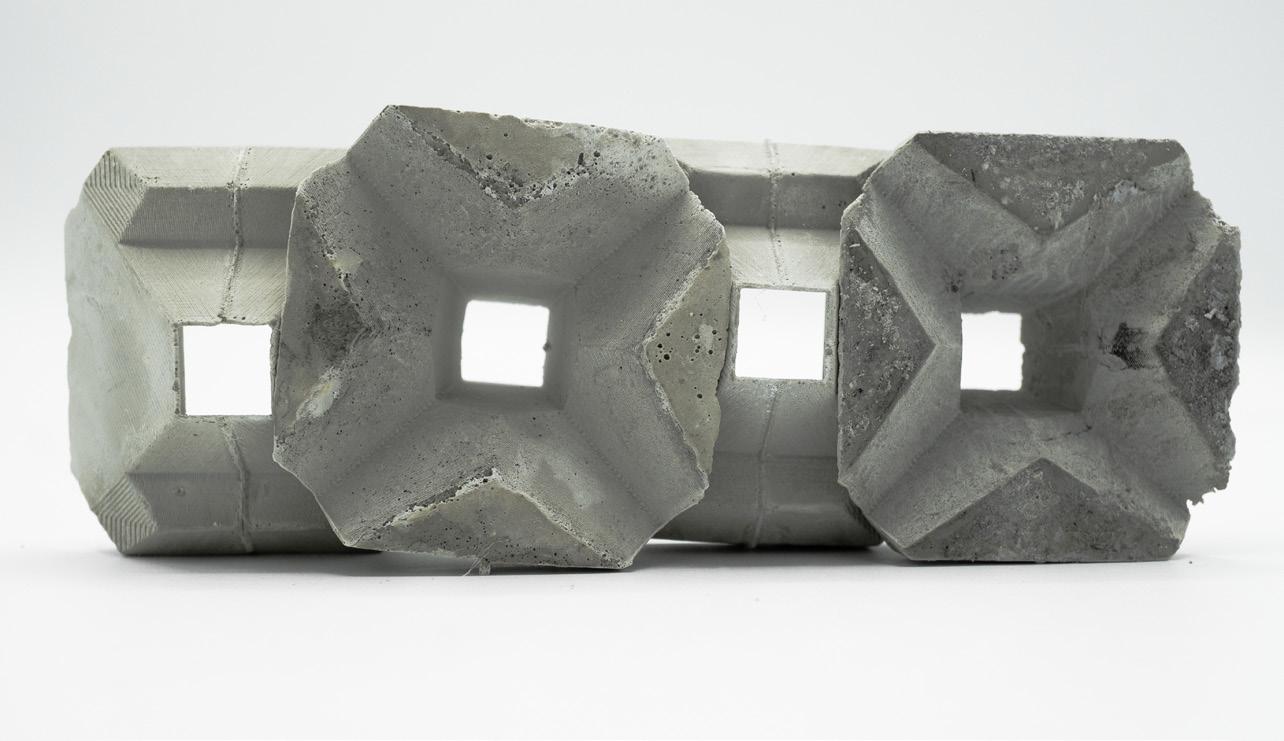
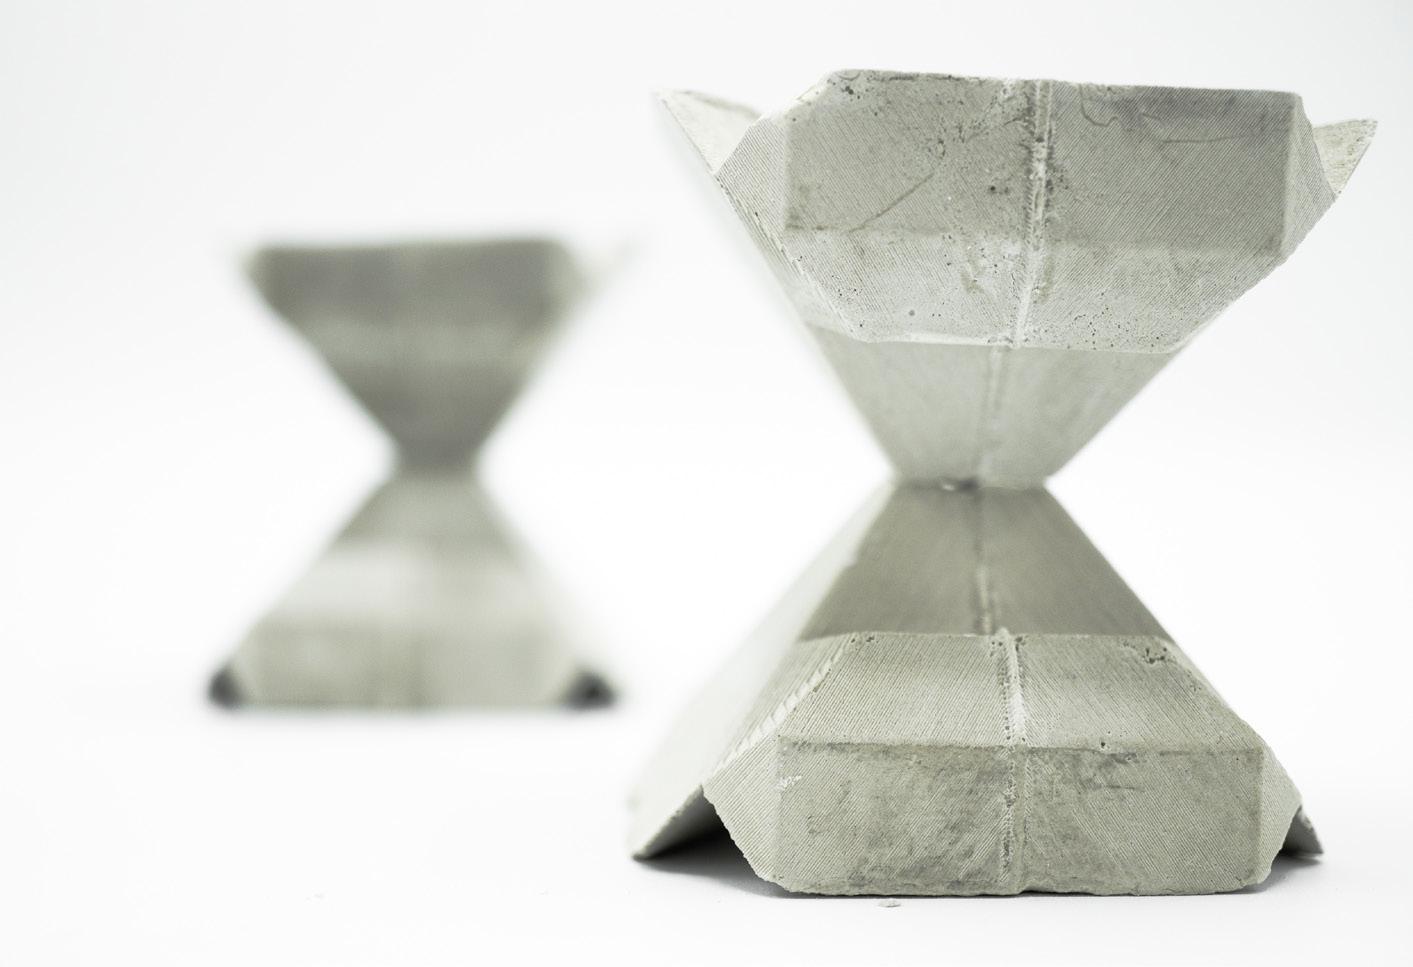
The second iteration is basically an inverse of the space created by our initial attempt. This gave us a more polygonal structure to work with. The voids within our module were also very useful to experiment with light and angles. The mold was a 3 piece part and used significantly less glue and tap to seal all of the seams. There was no leakage in any of the mold casts and the removal of the cast from the mold was relatively simple
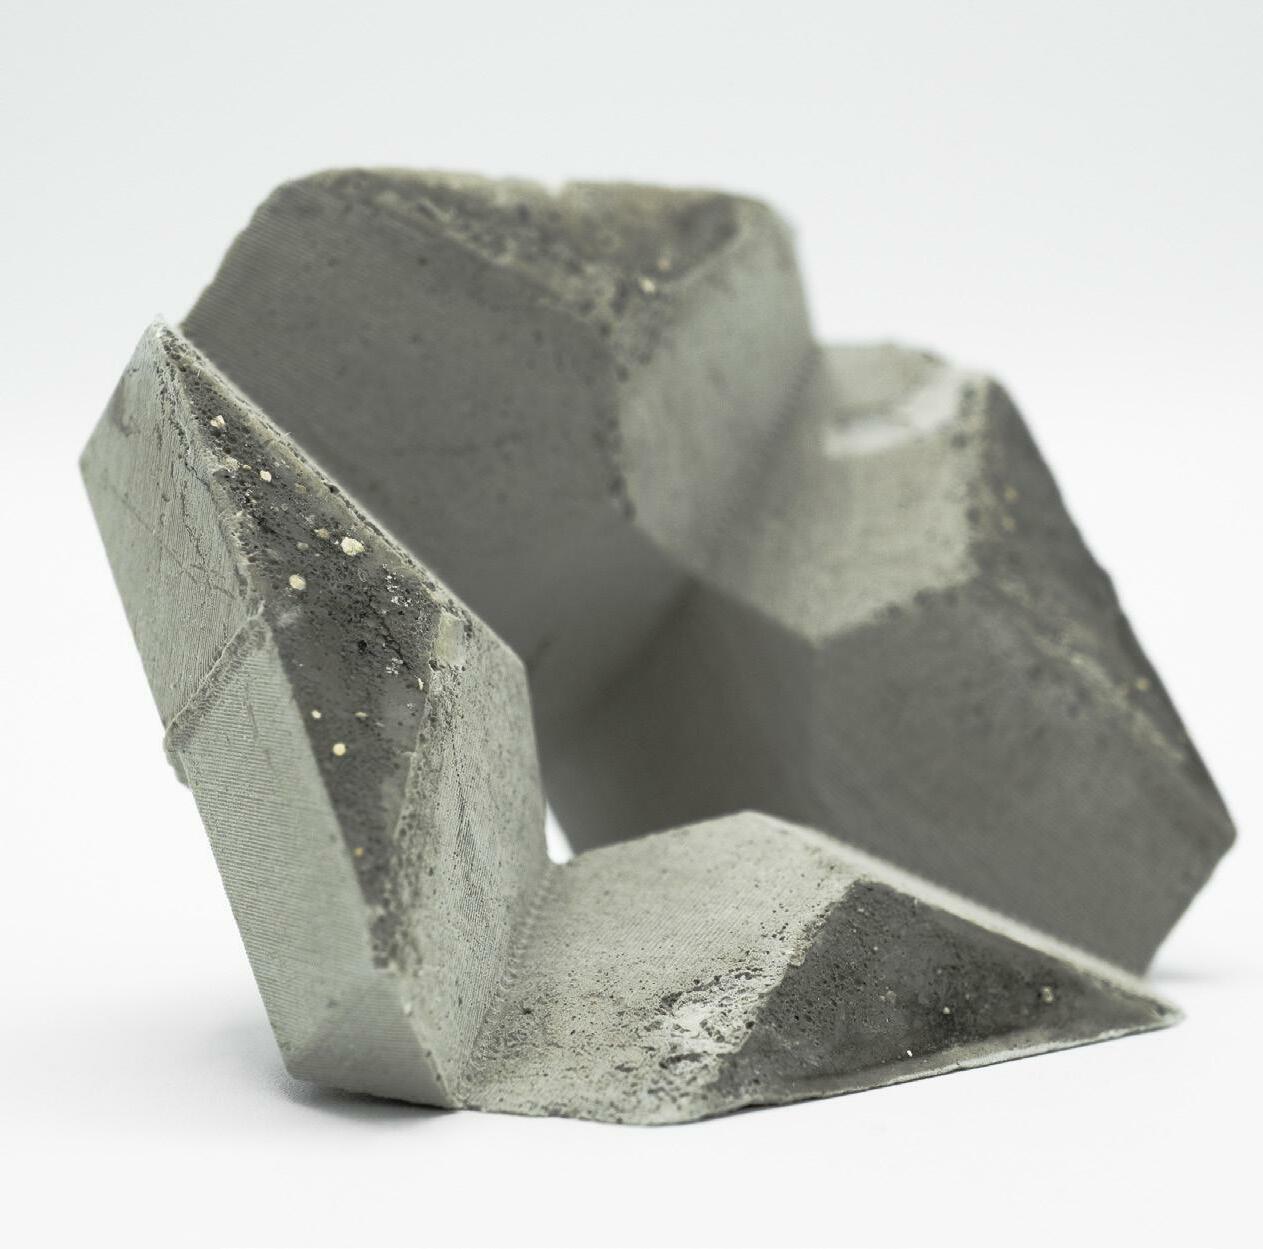

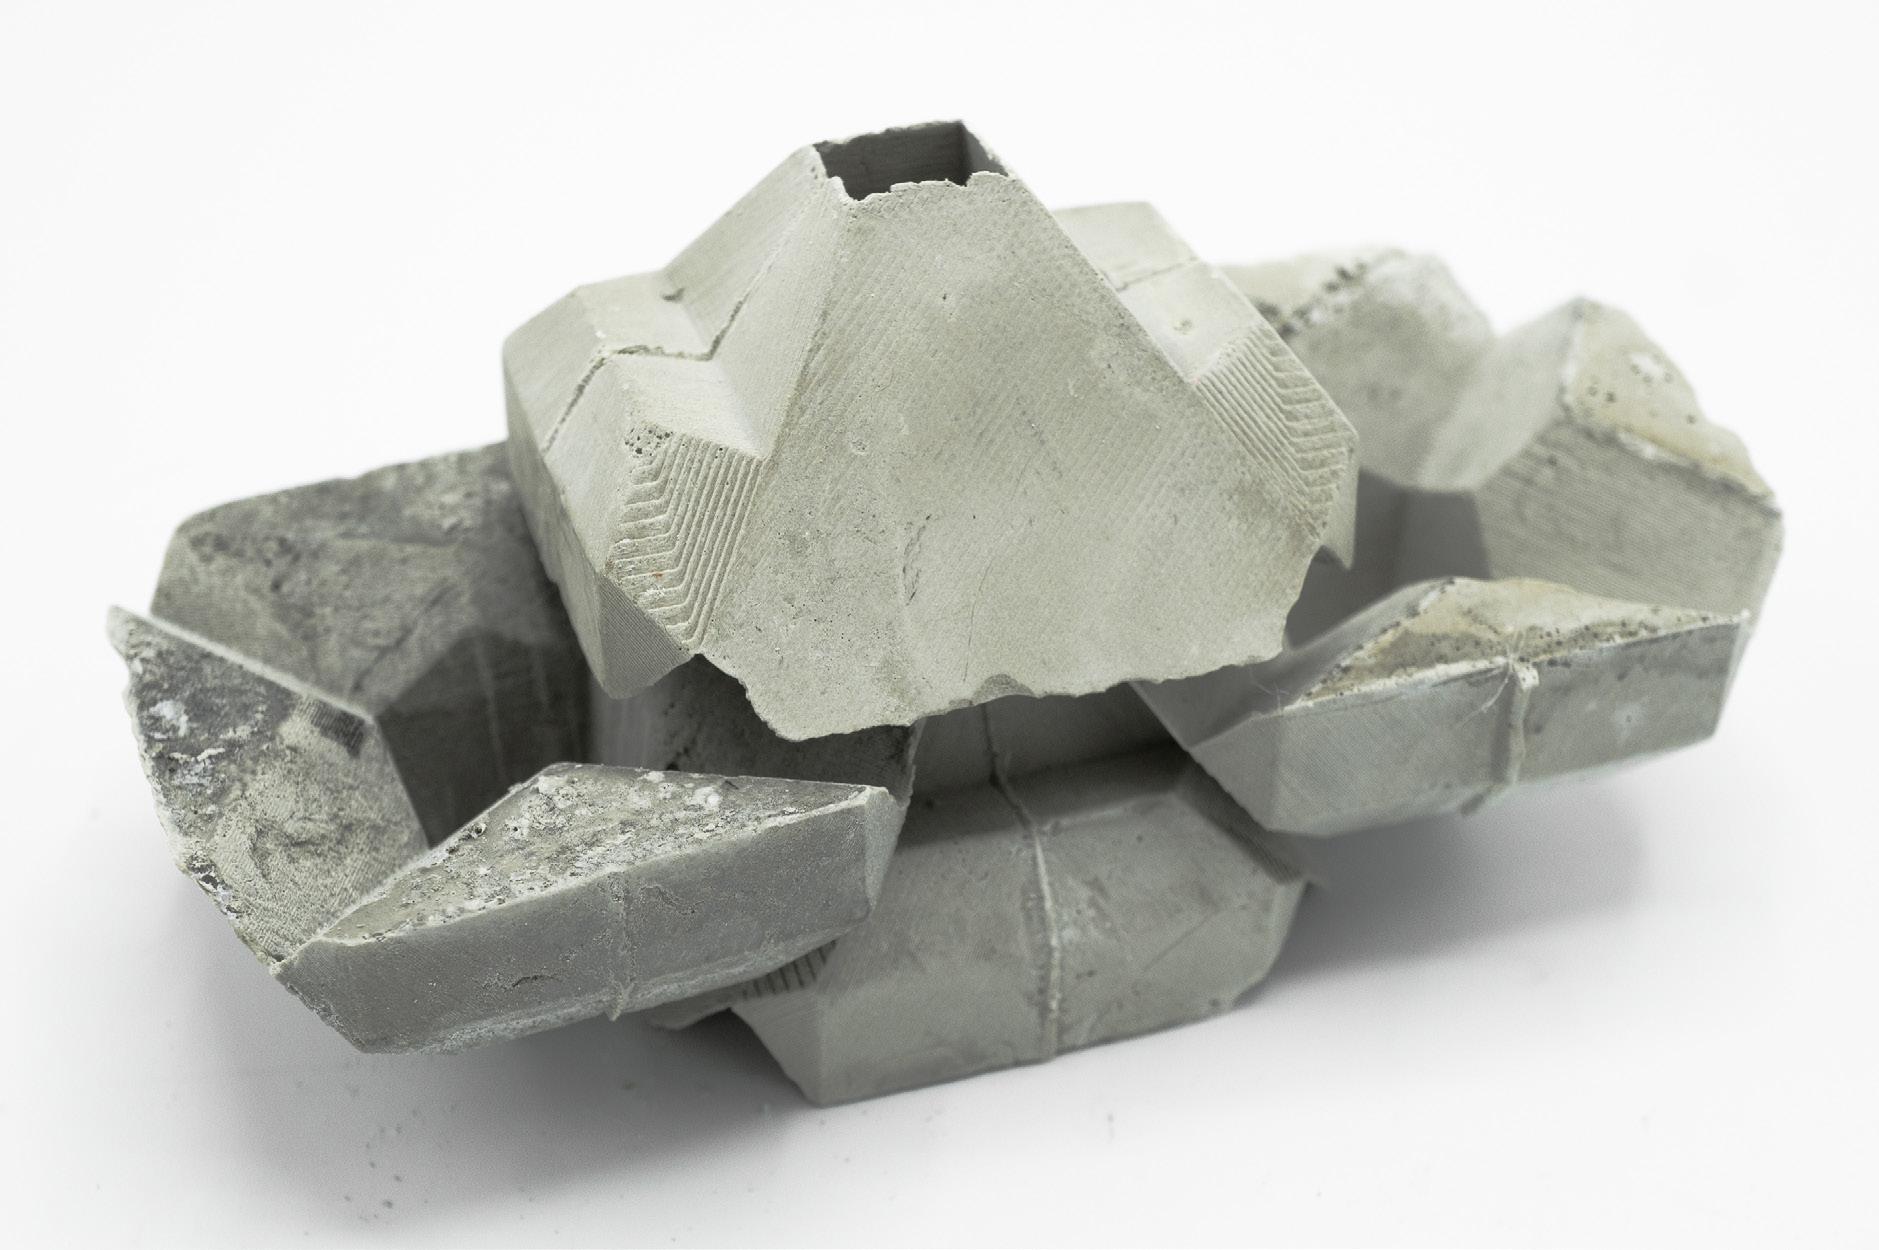
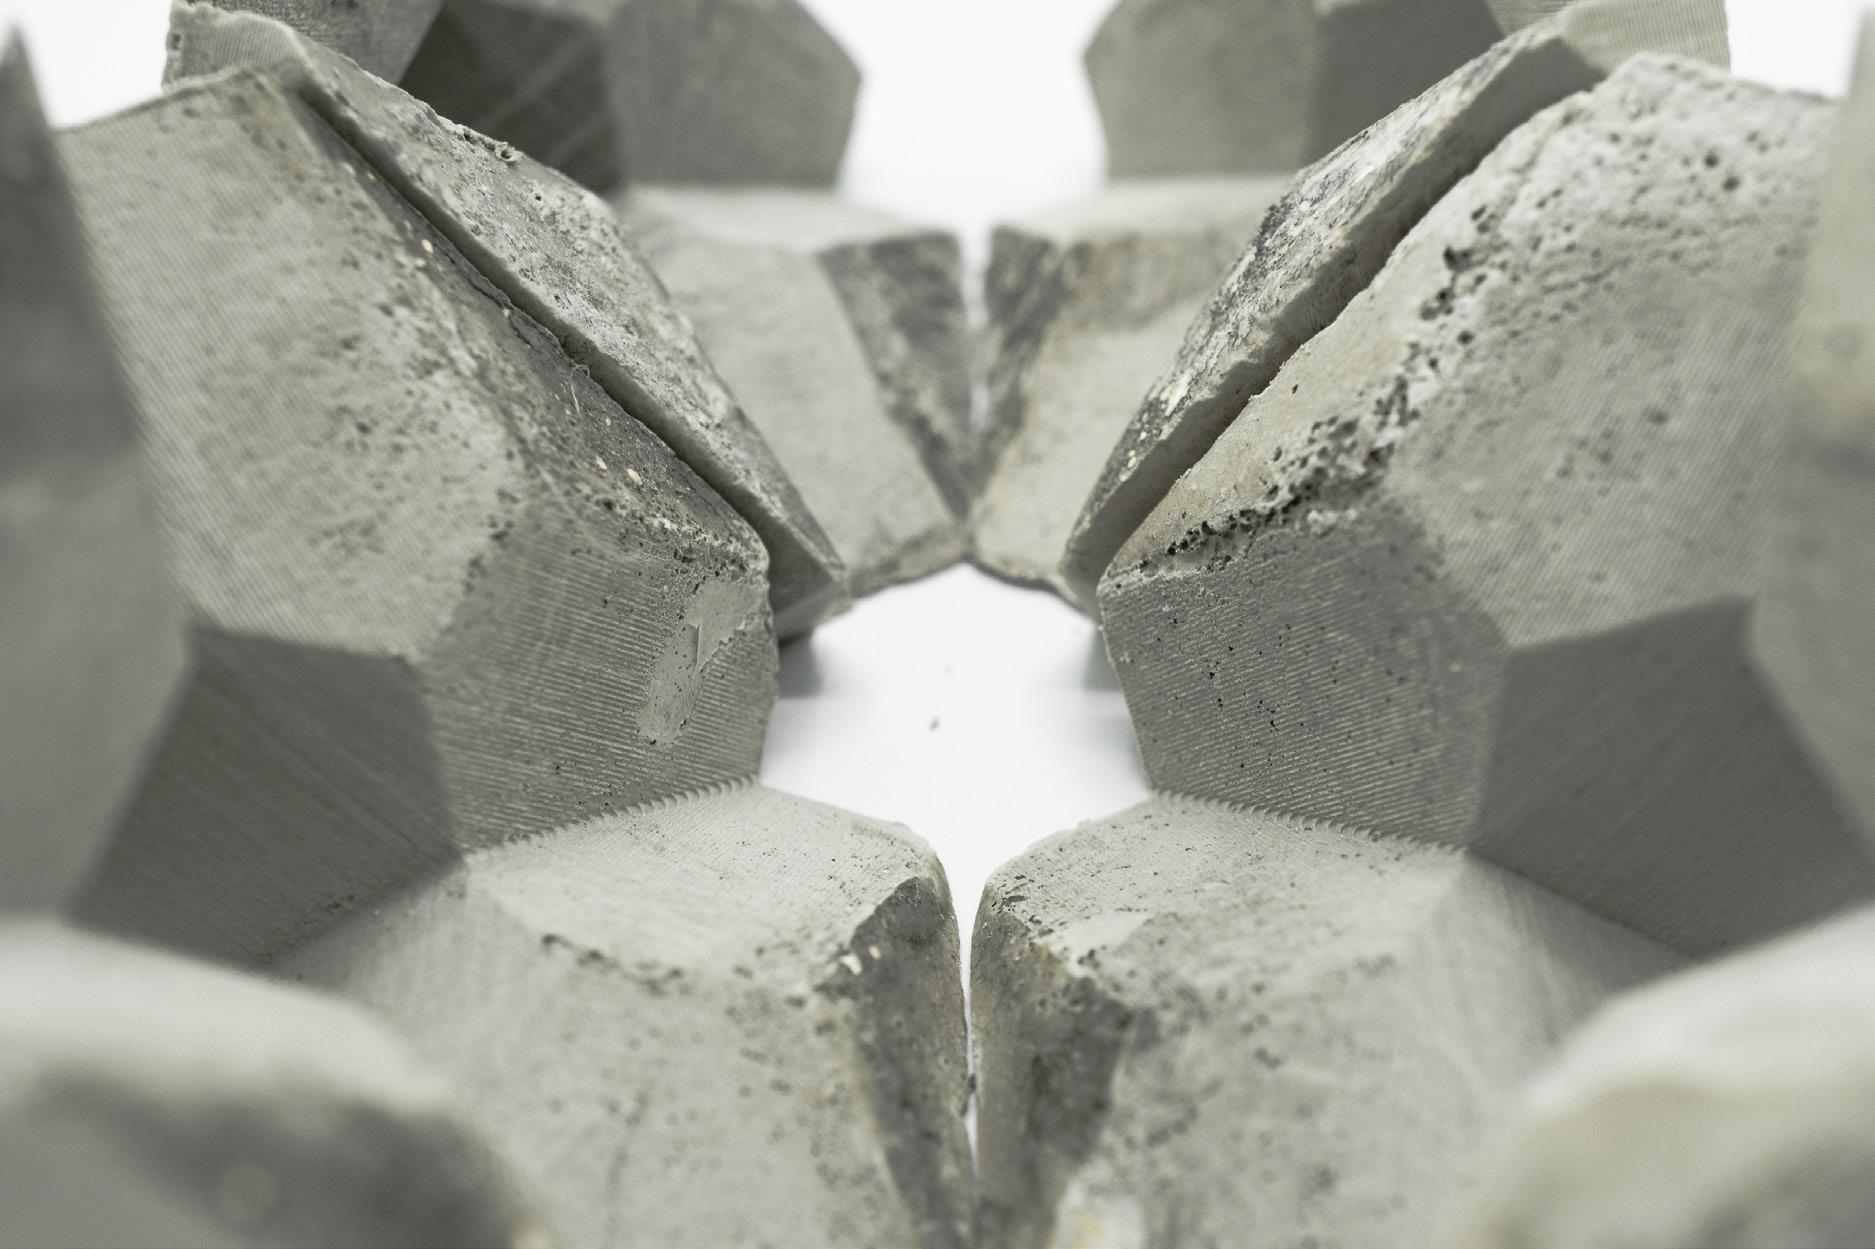
2.5” 1.44”
2.5”

Project 1 ITERATION 3
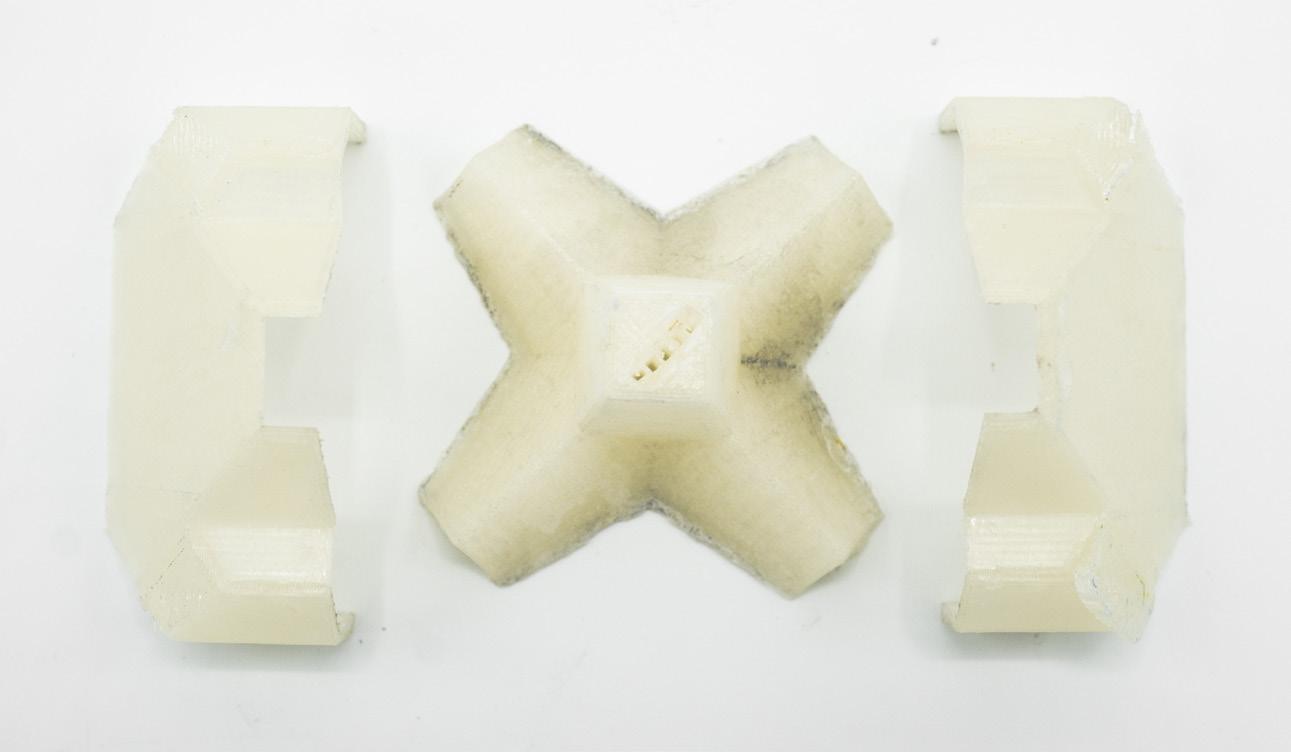
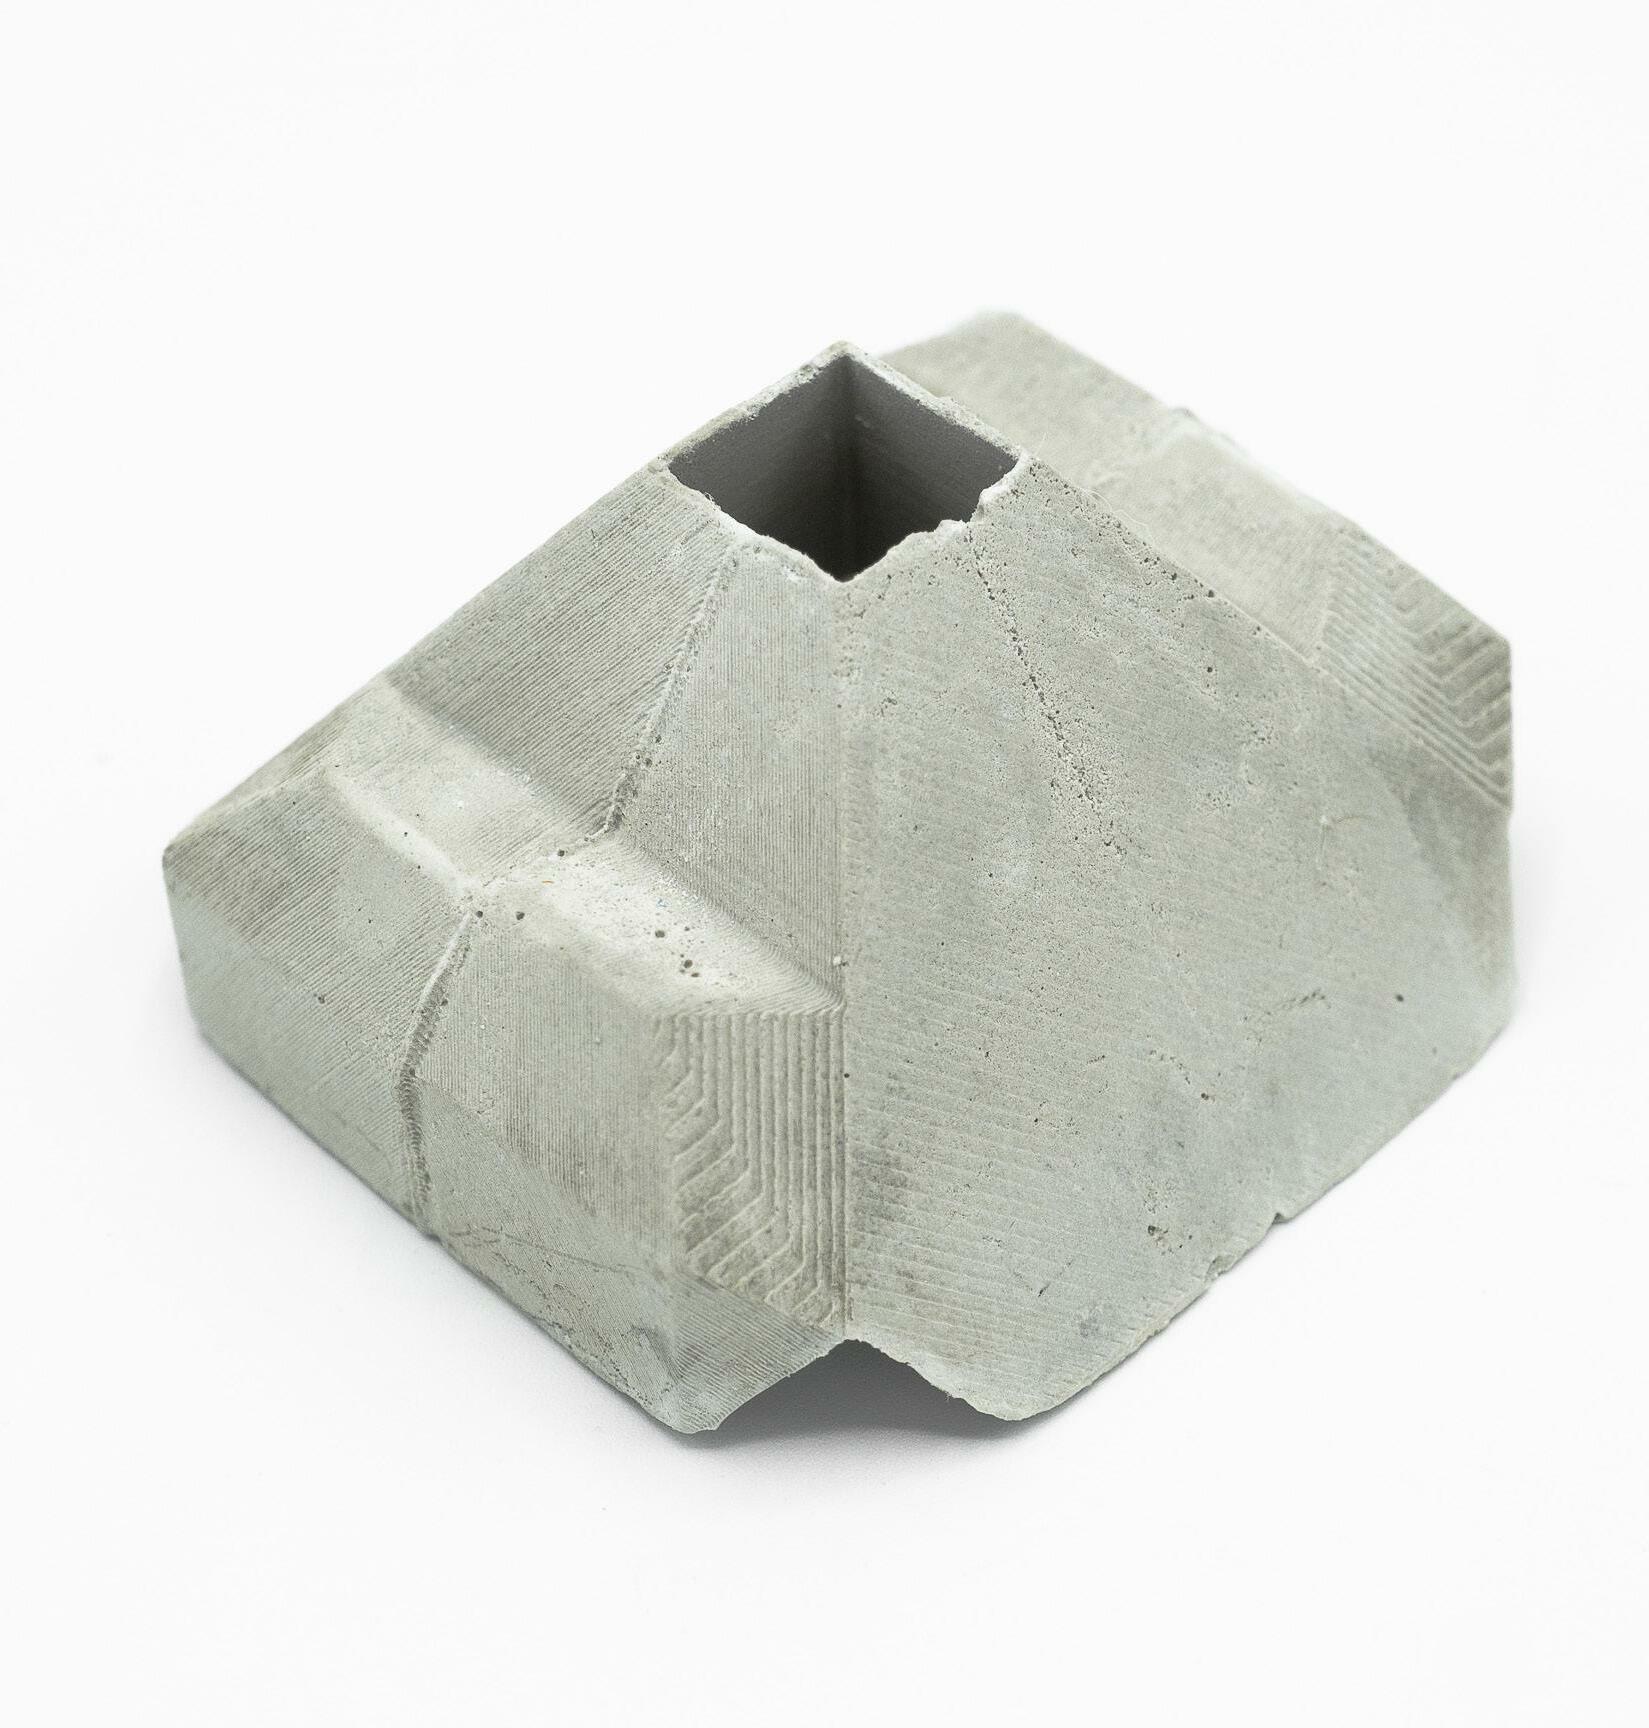
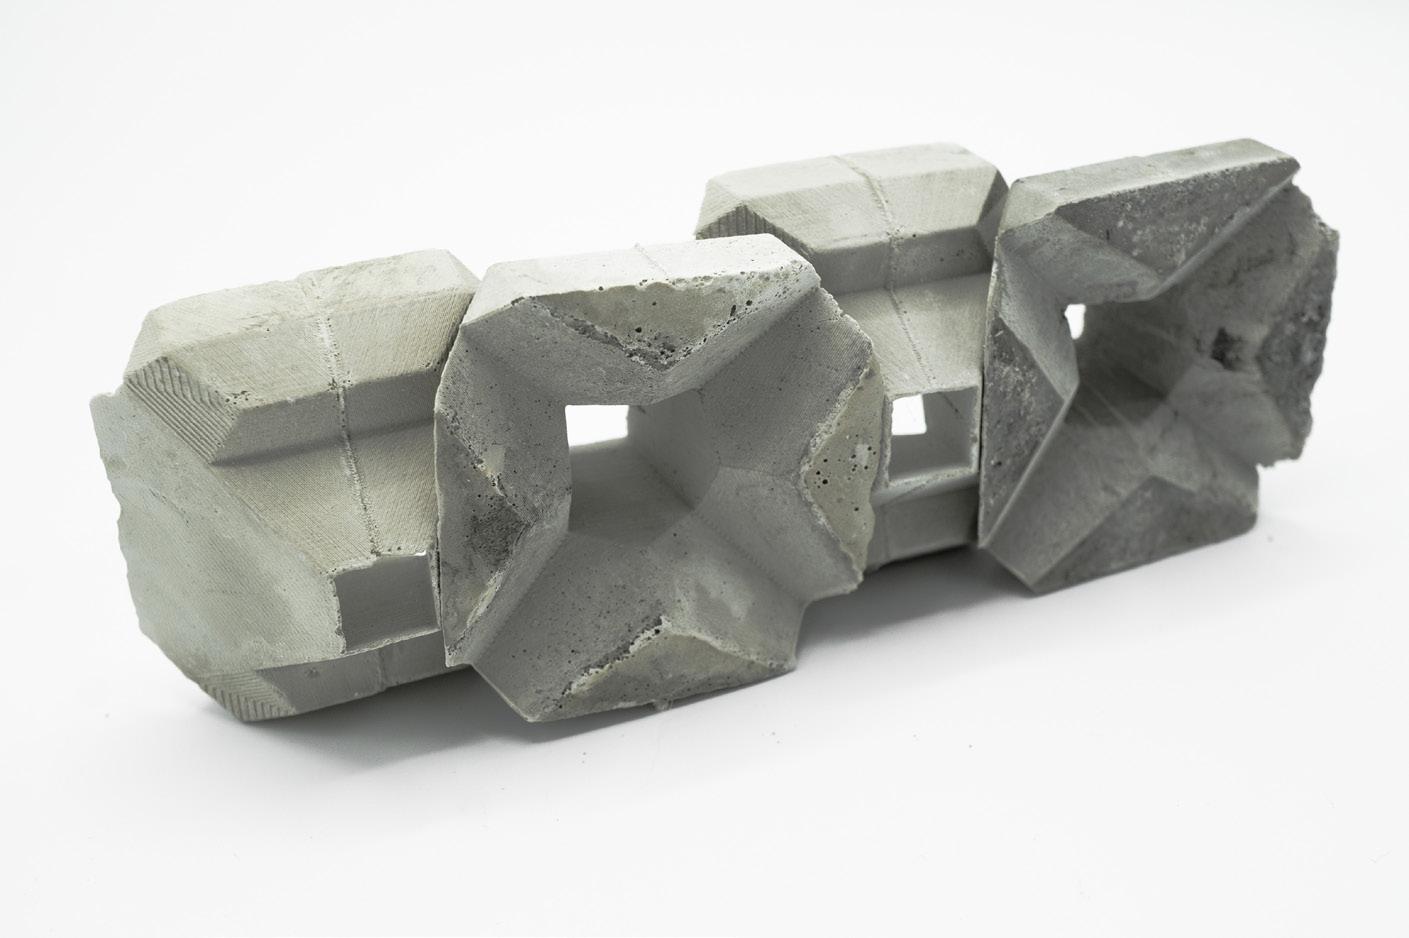
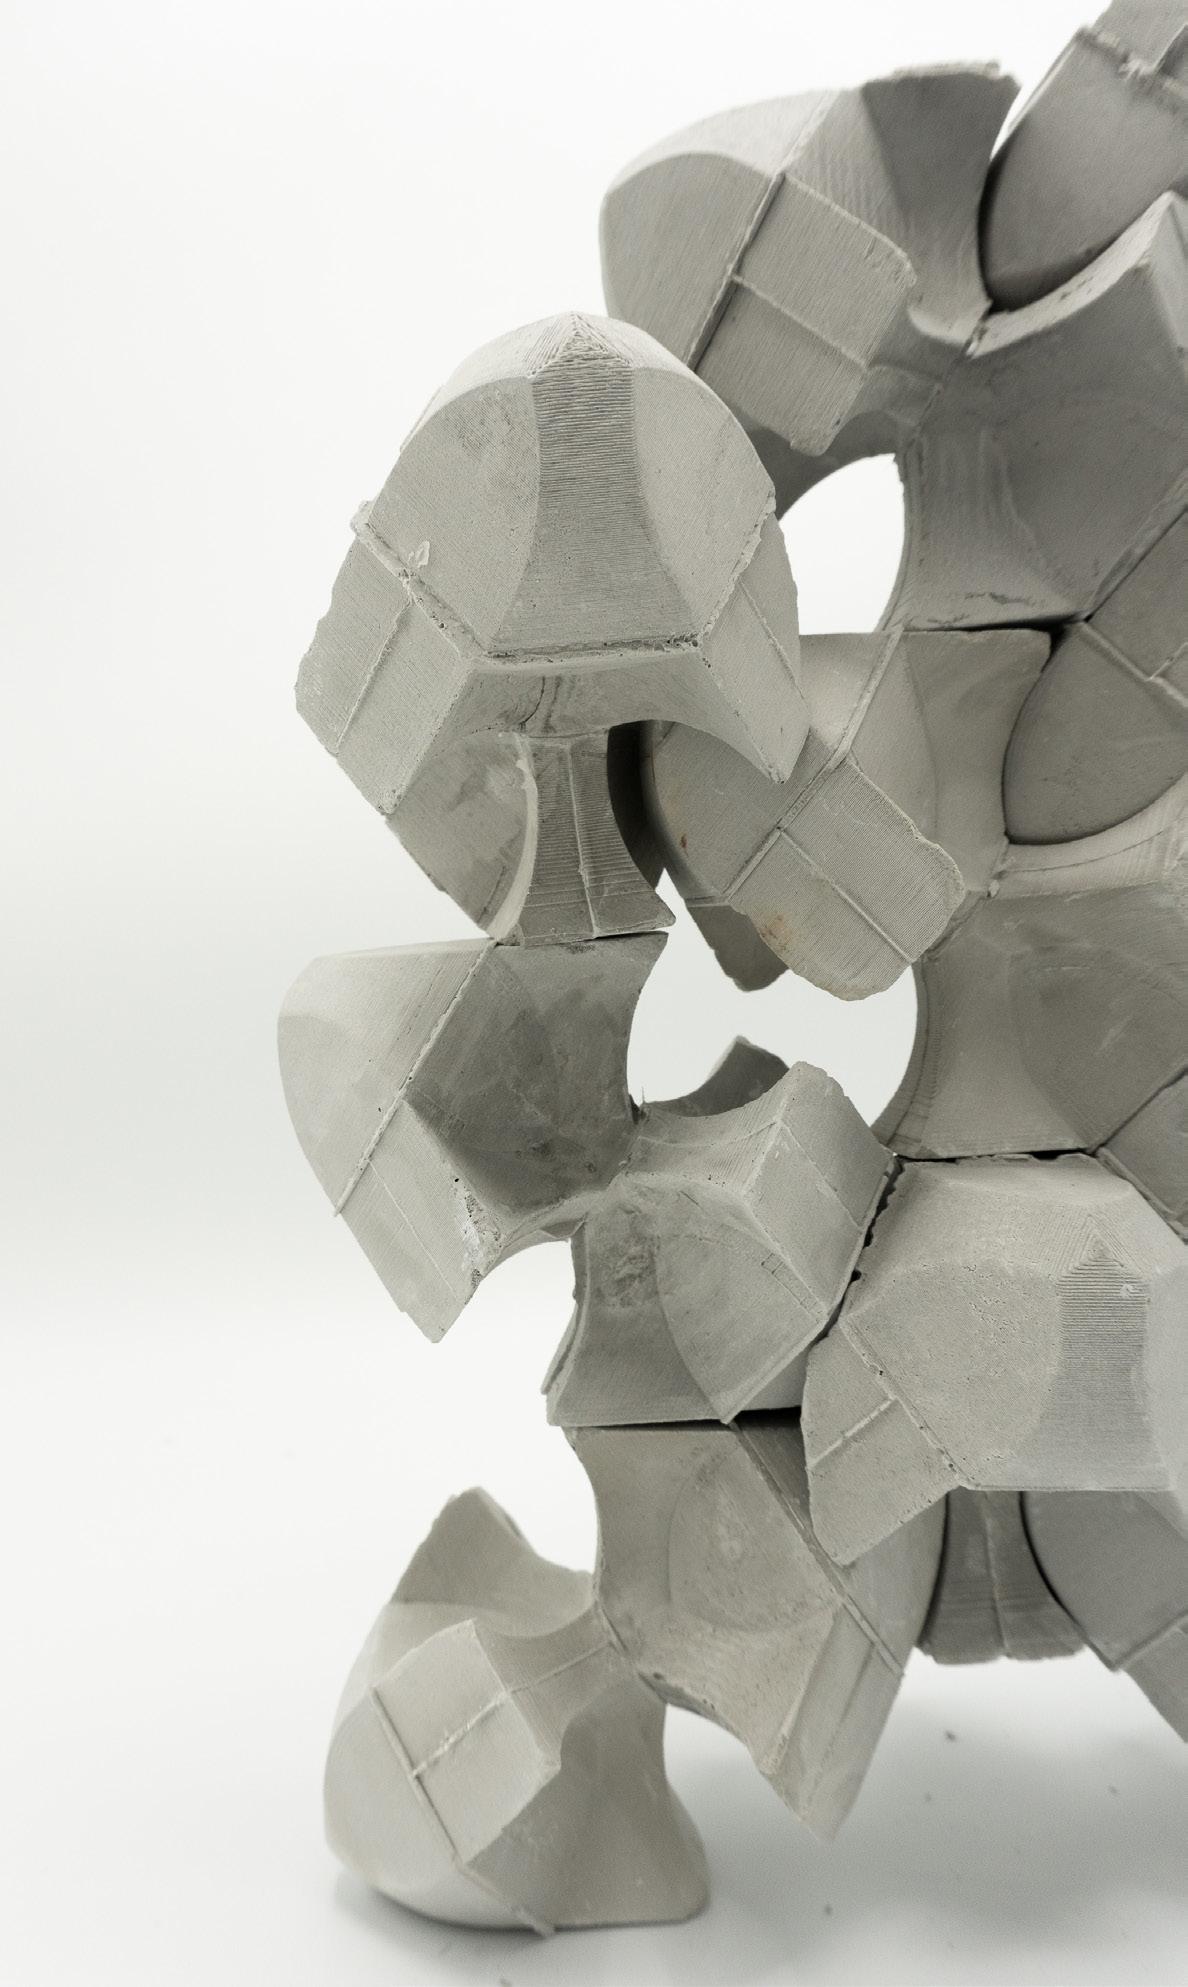
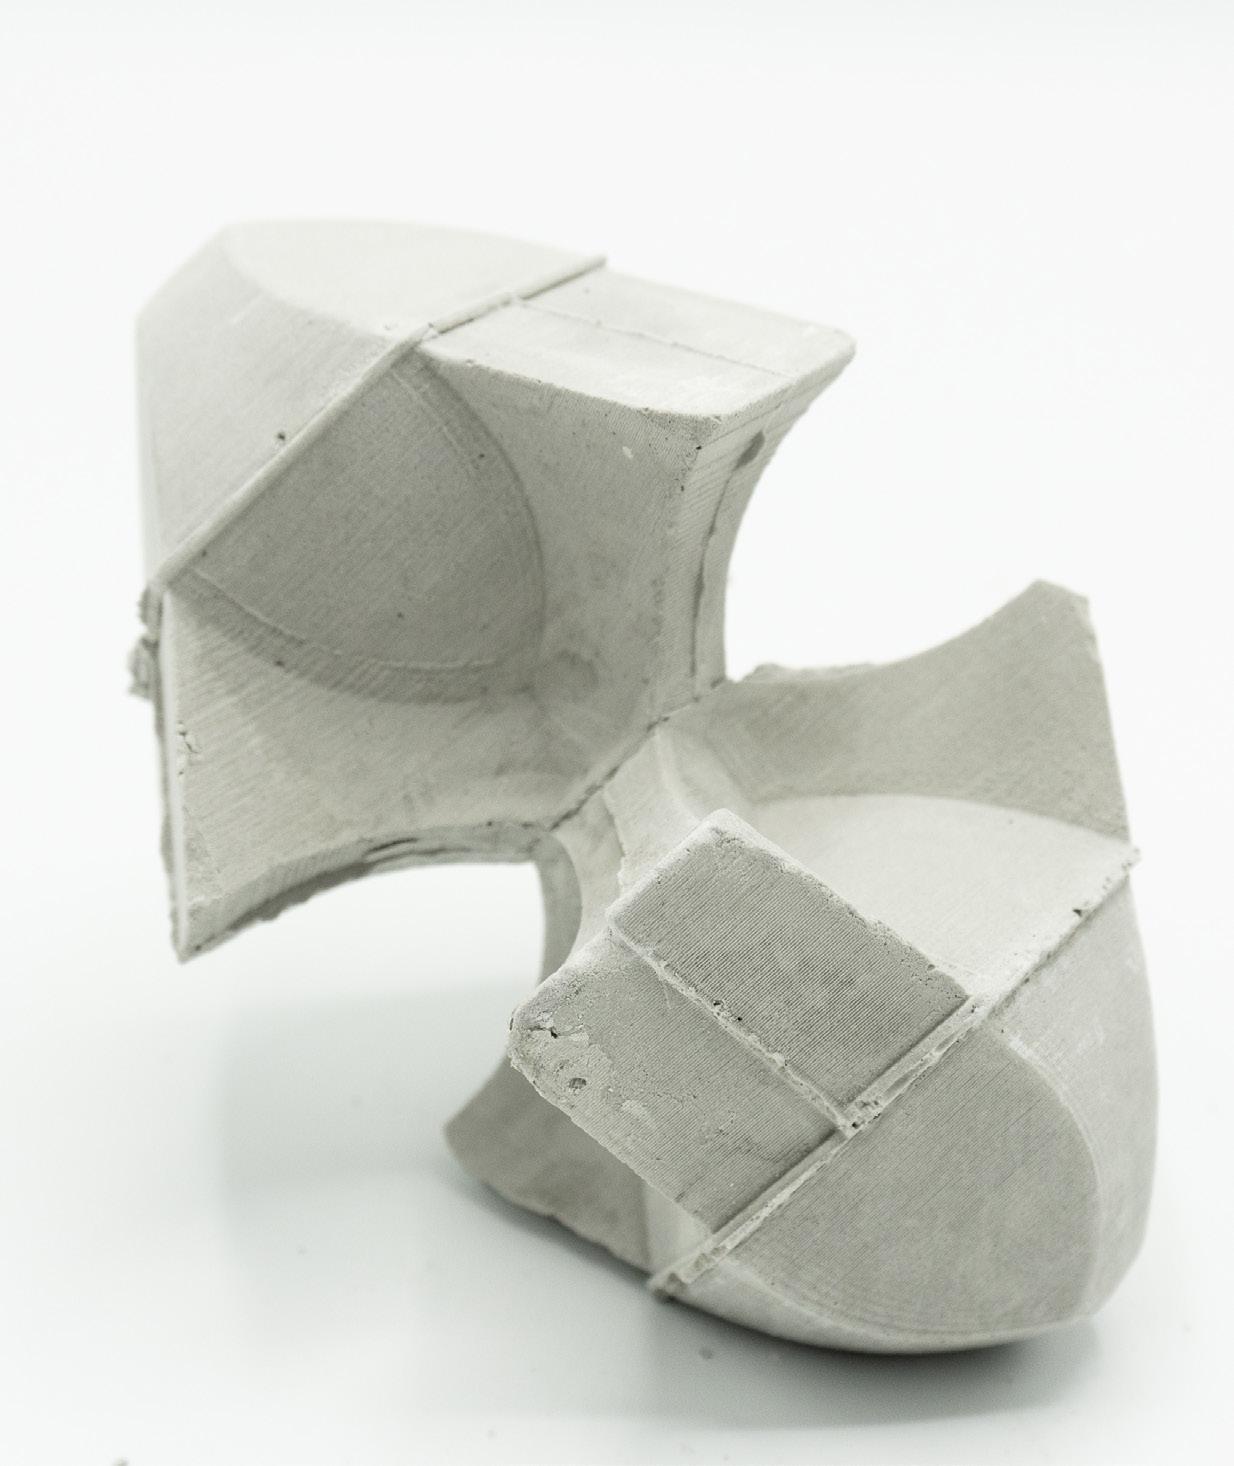
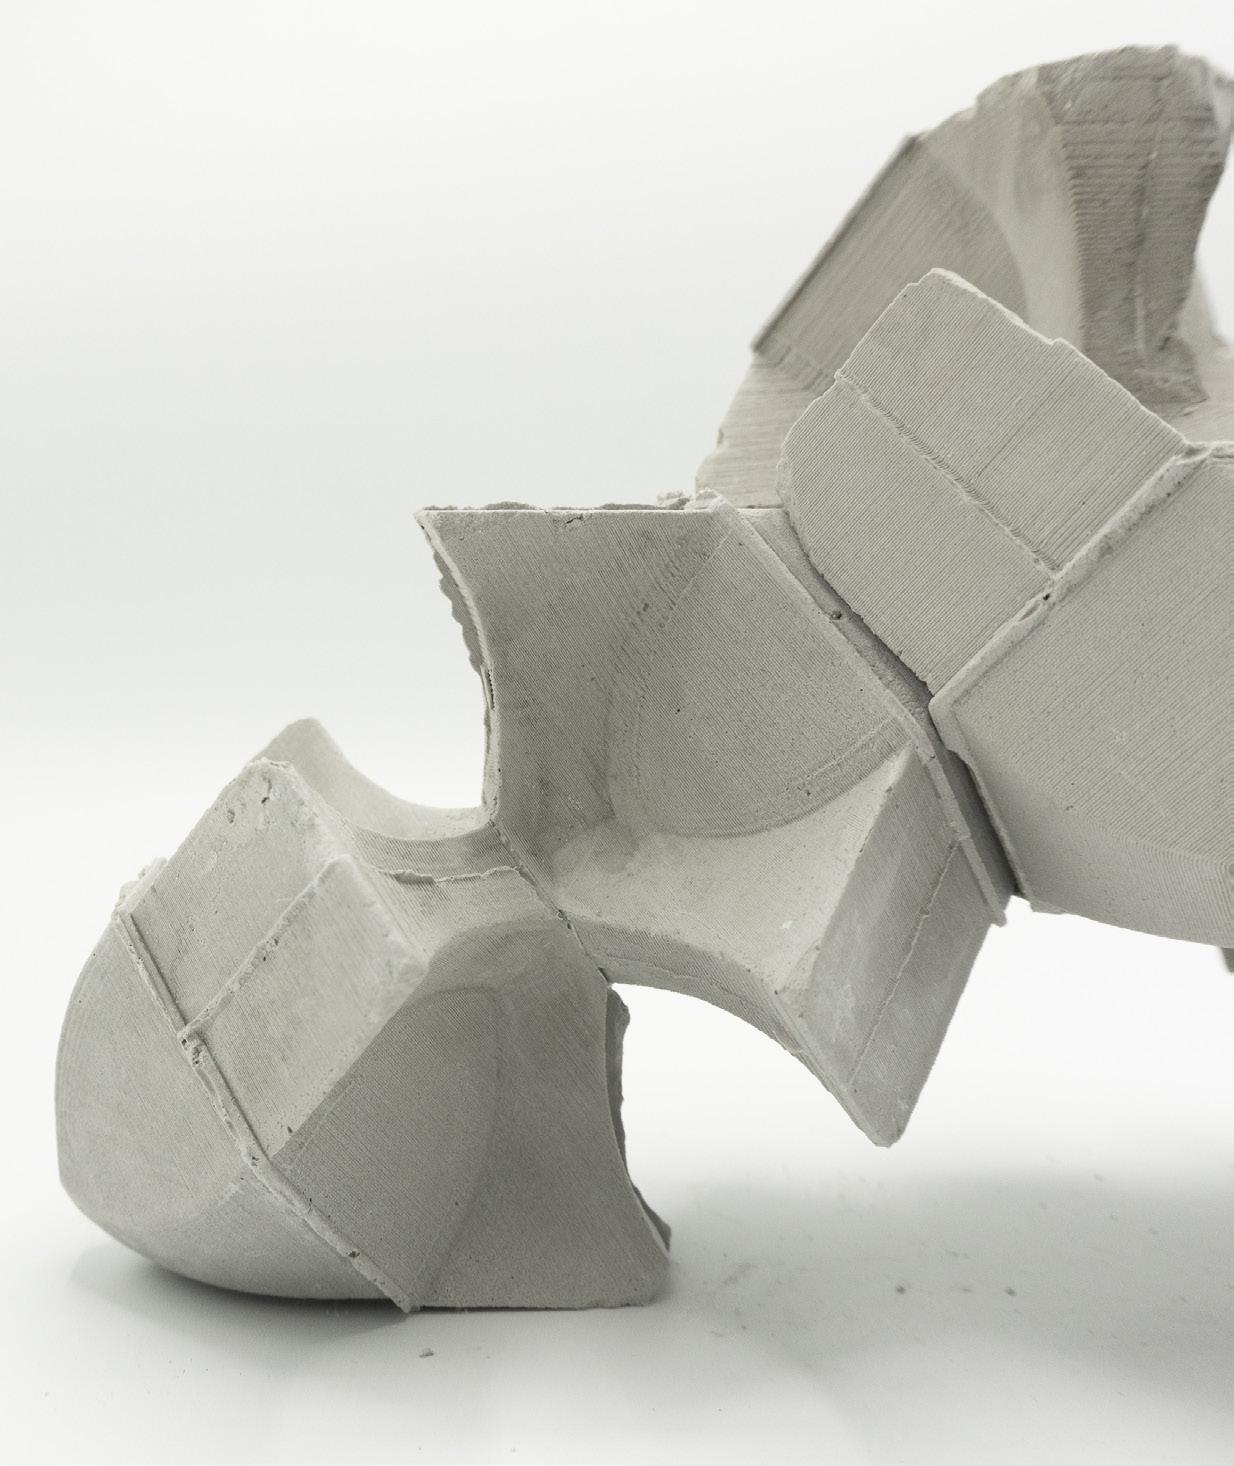
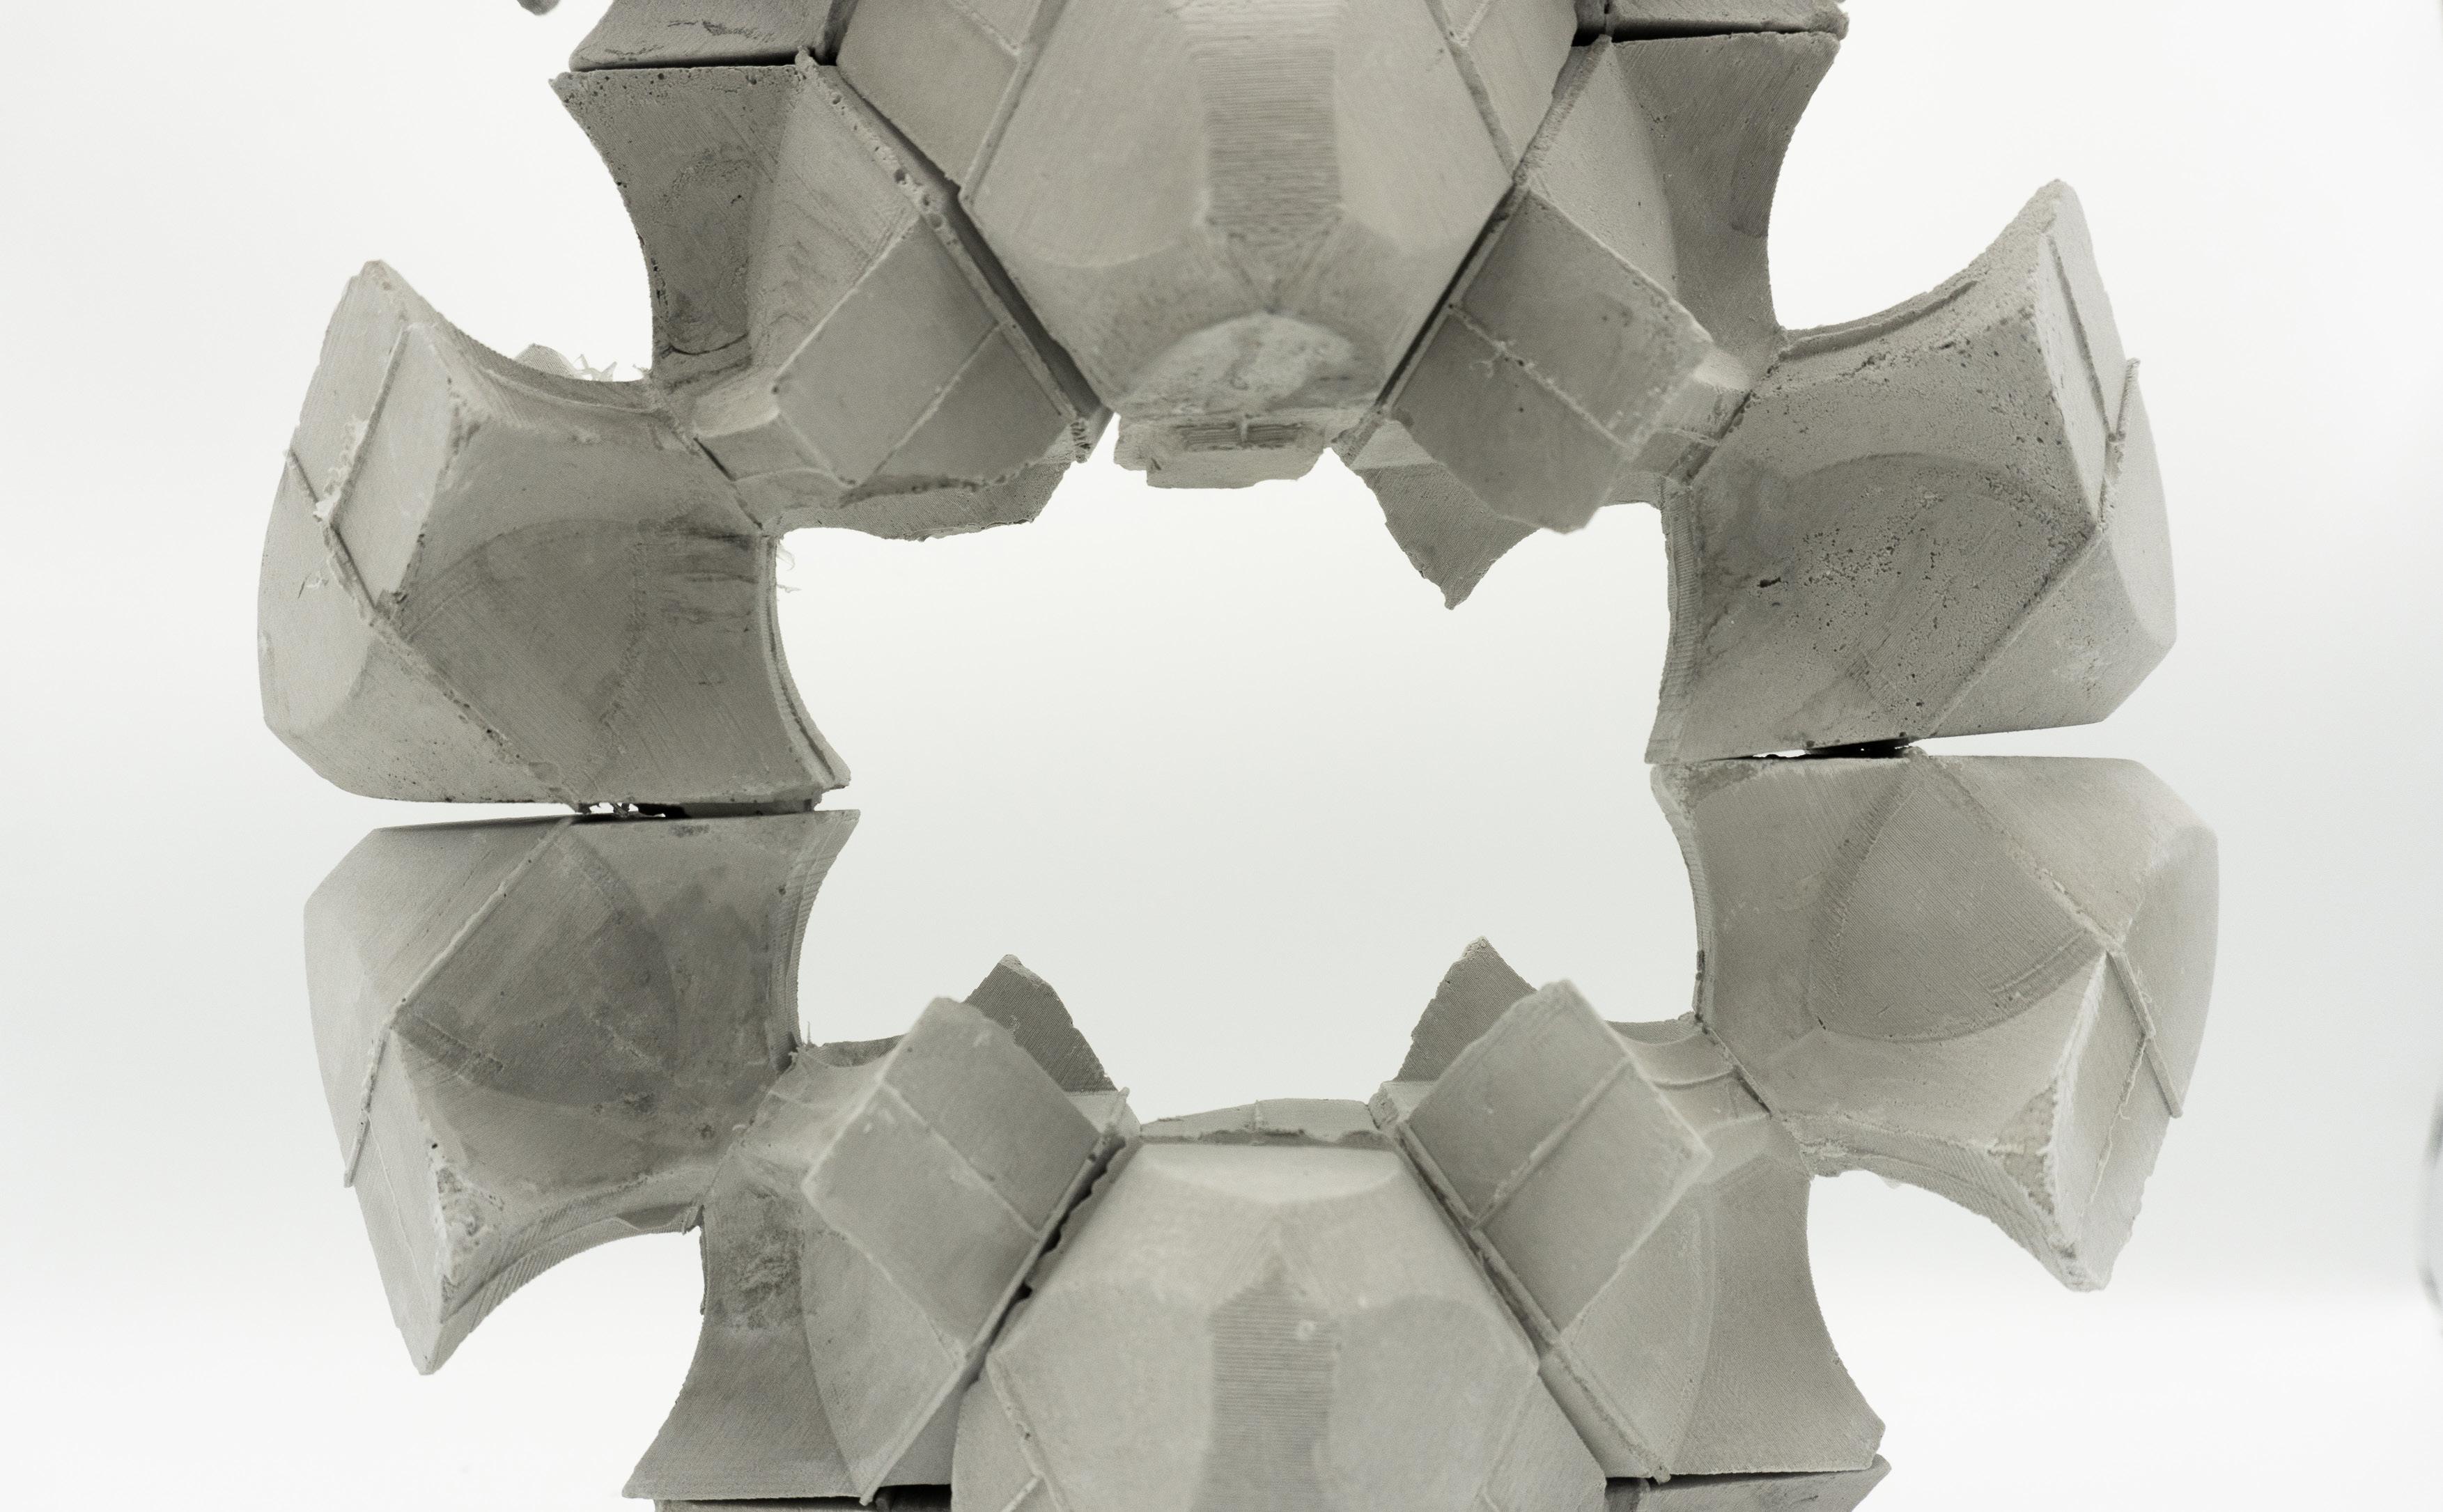
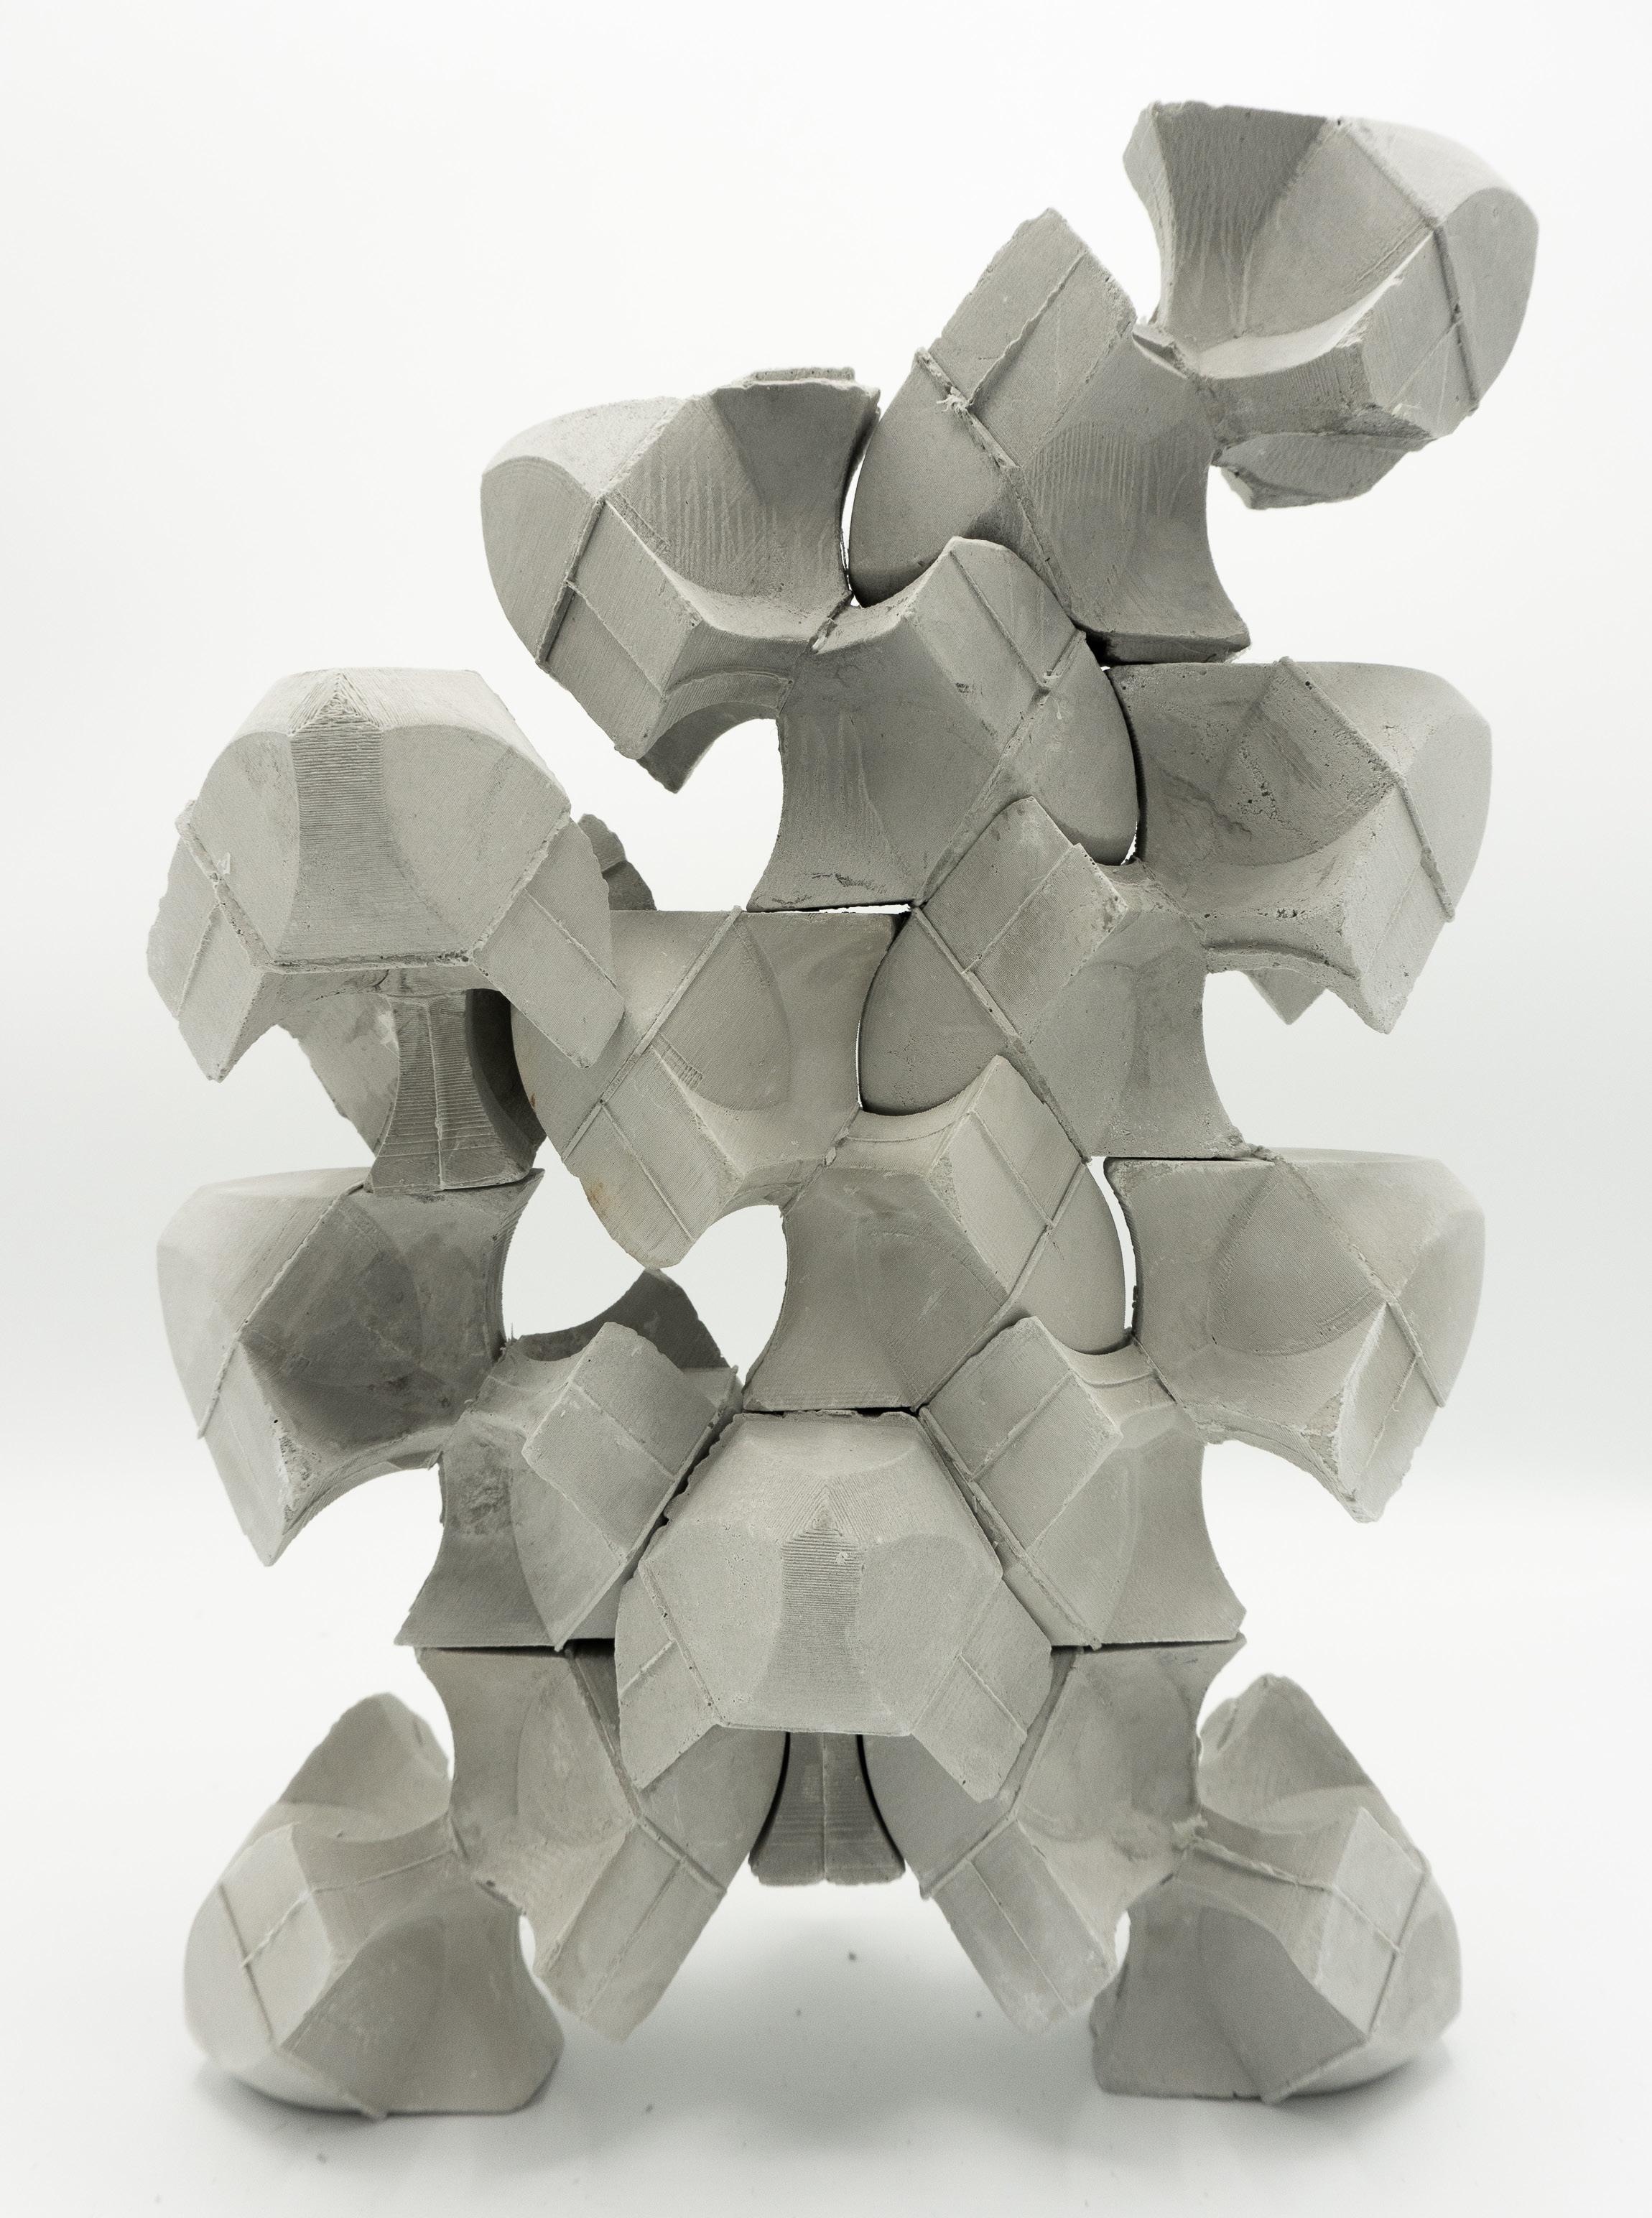
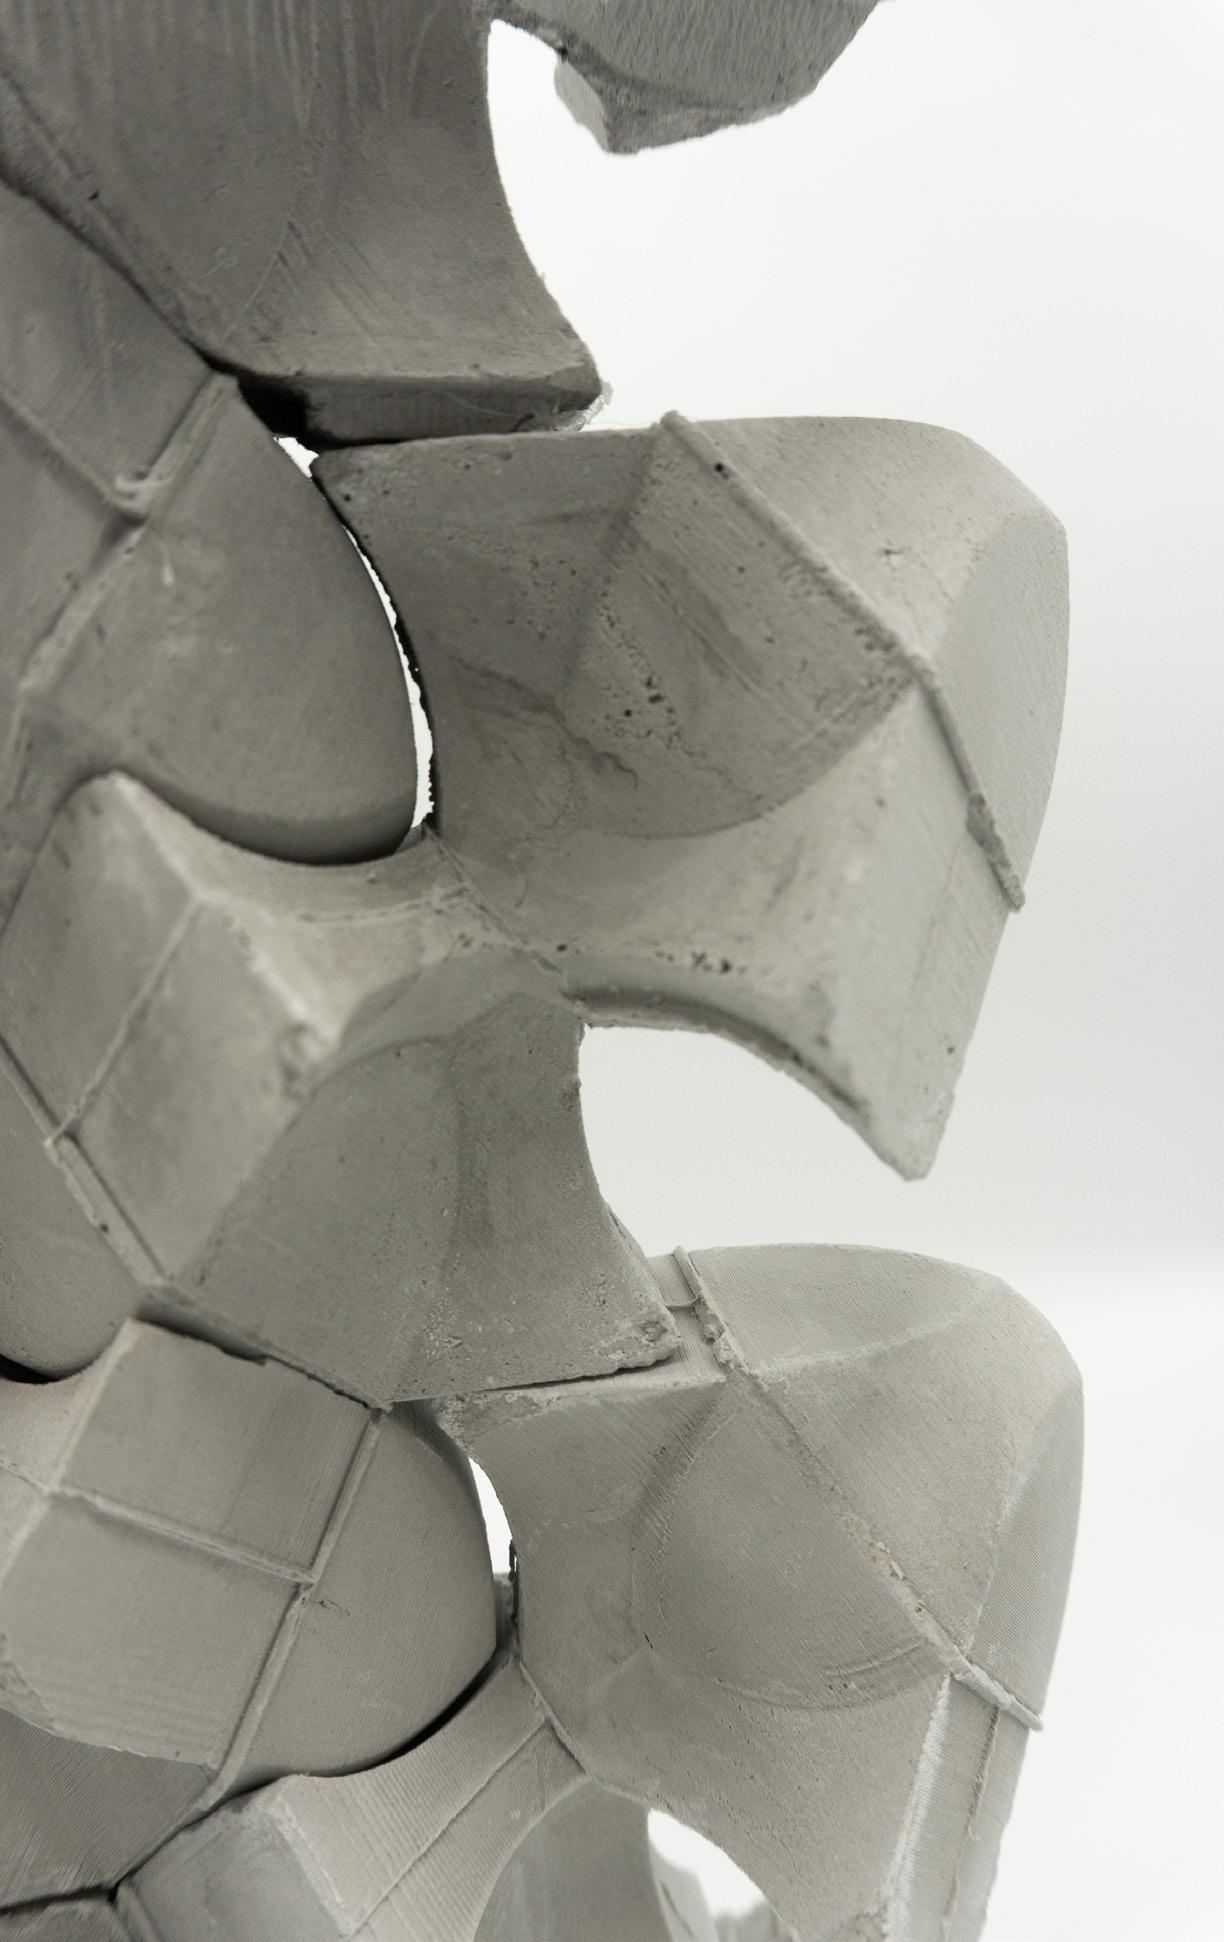
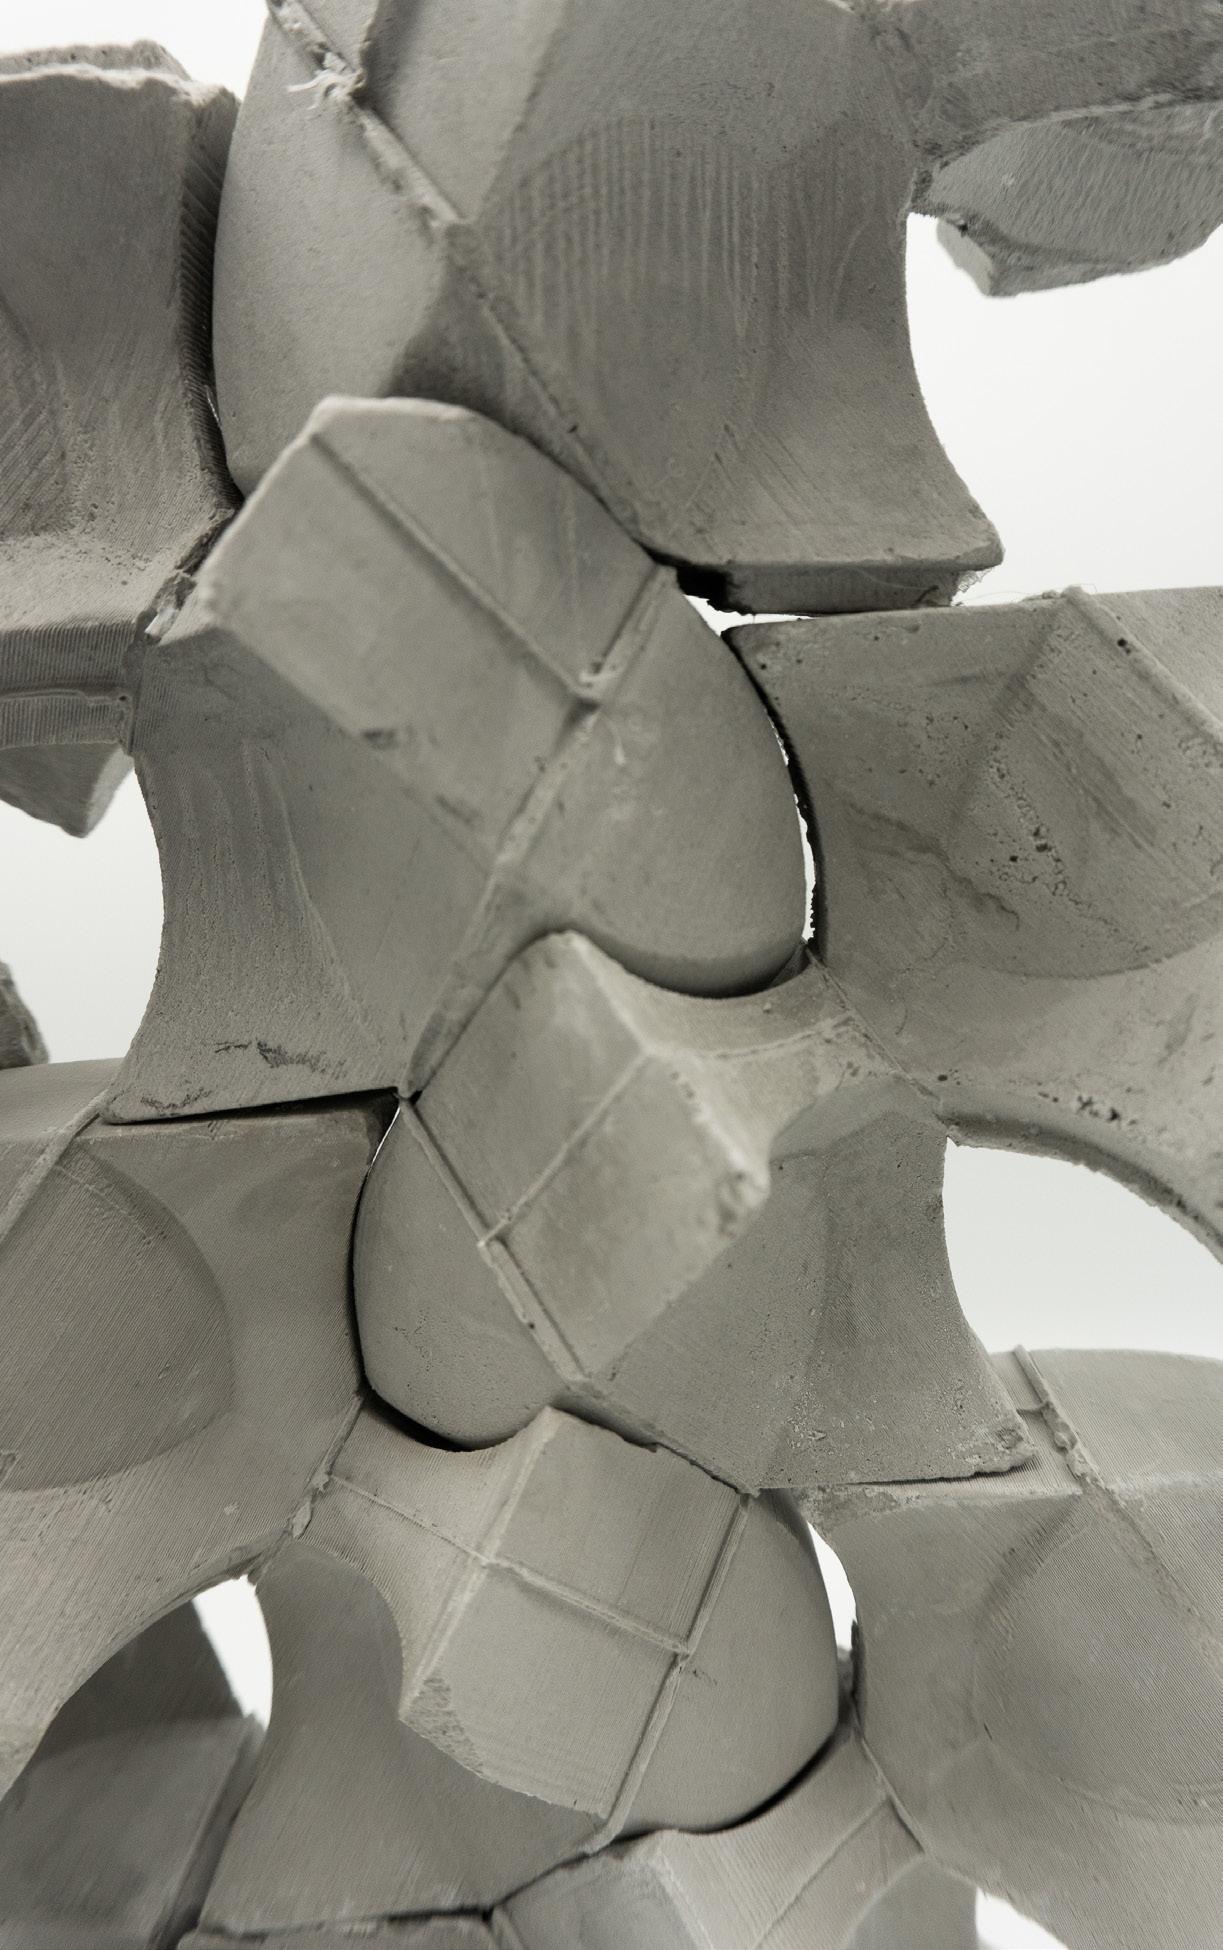
Our final step saw us revisiting our previous attempts to create a feasible interlocking module that could be stacked in multiple directions. This iteration’s model was bumped up in size to give the modules more strength and rigidity. The mold had two symmetrical halves. Each half consisted of three walls and a cap. Once both halves were sealed they were both attached using a combination of hot glue and tape.

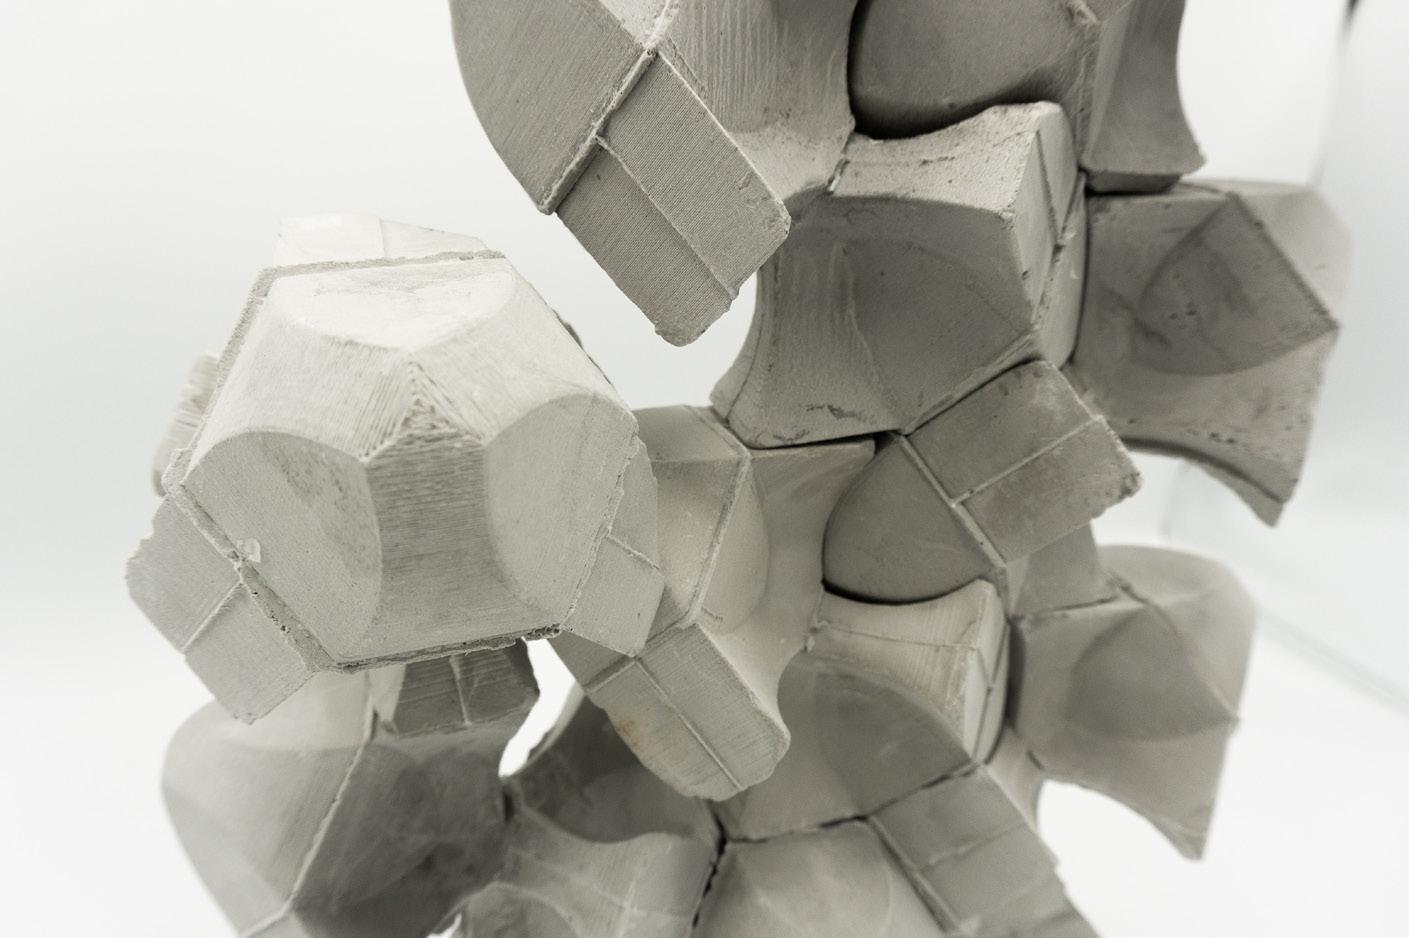
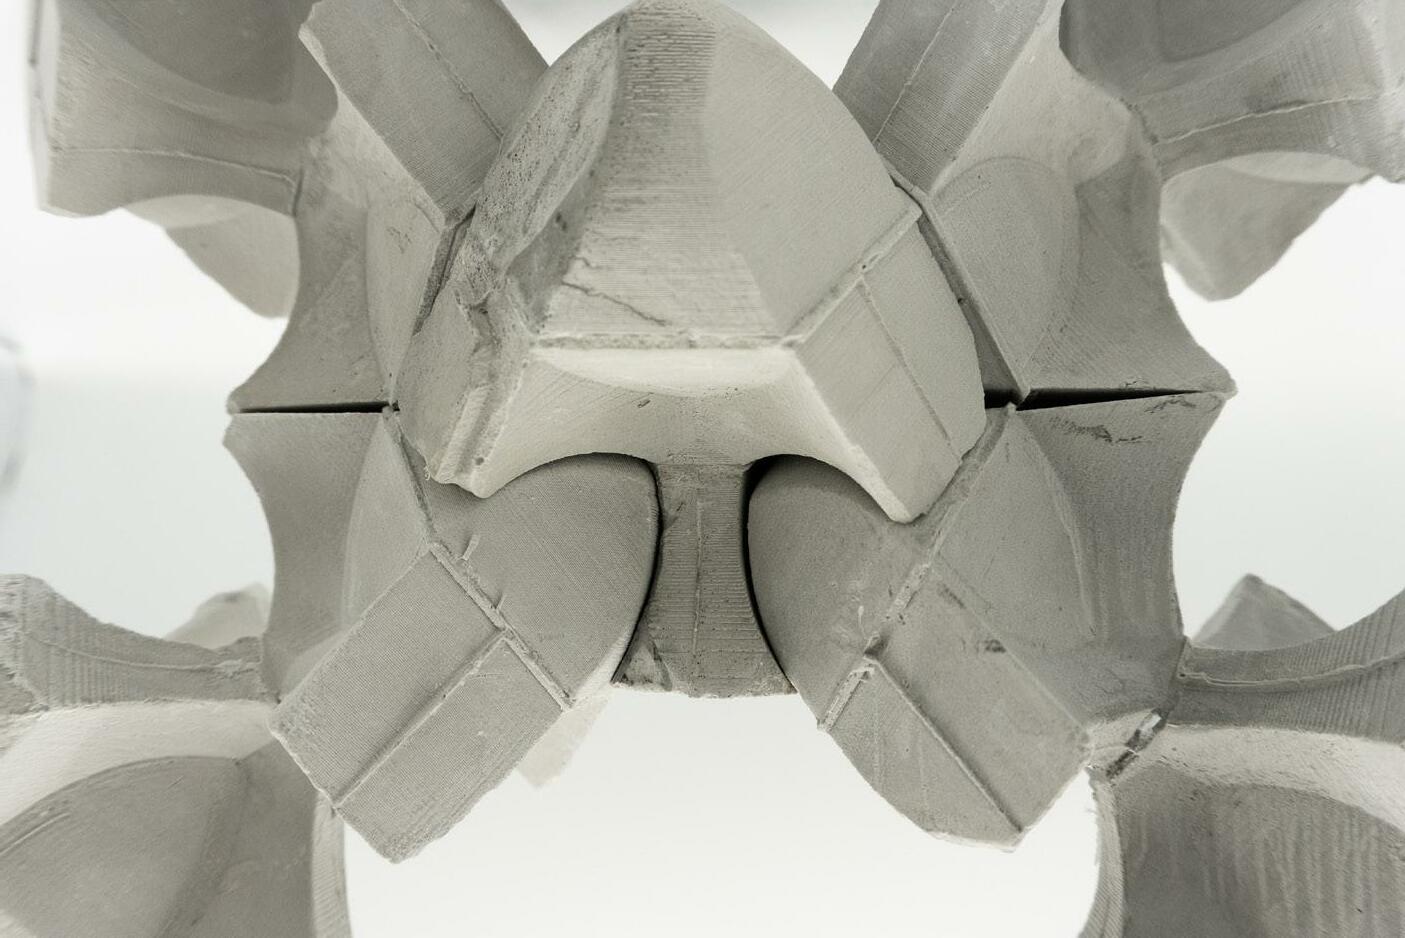
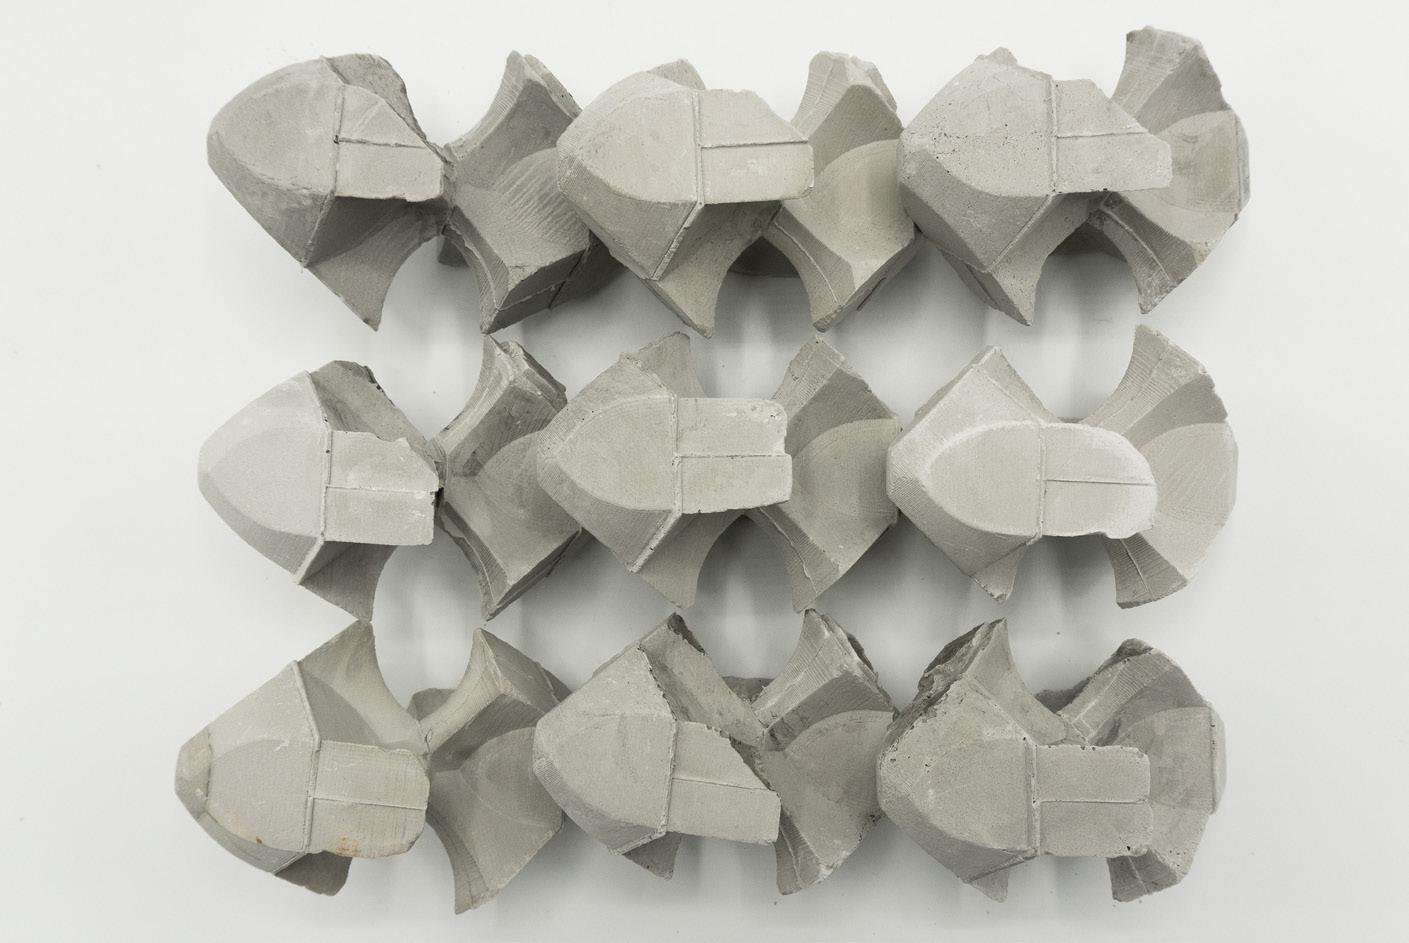
Project 2 CNC + MOLD CASTS
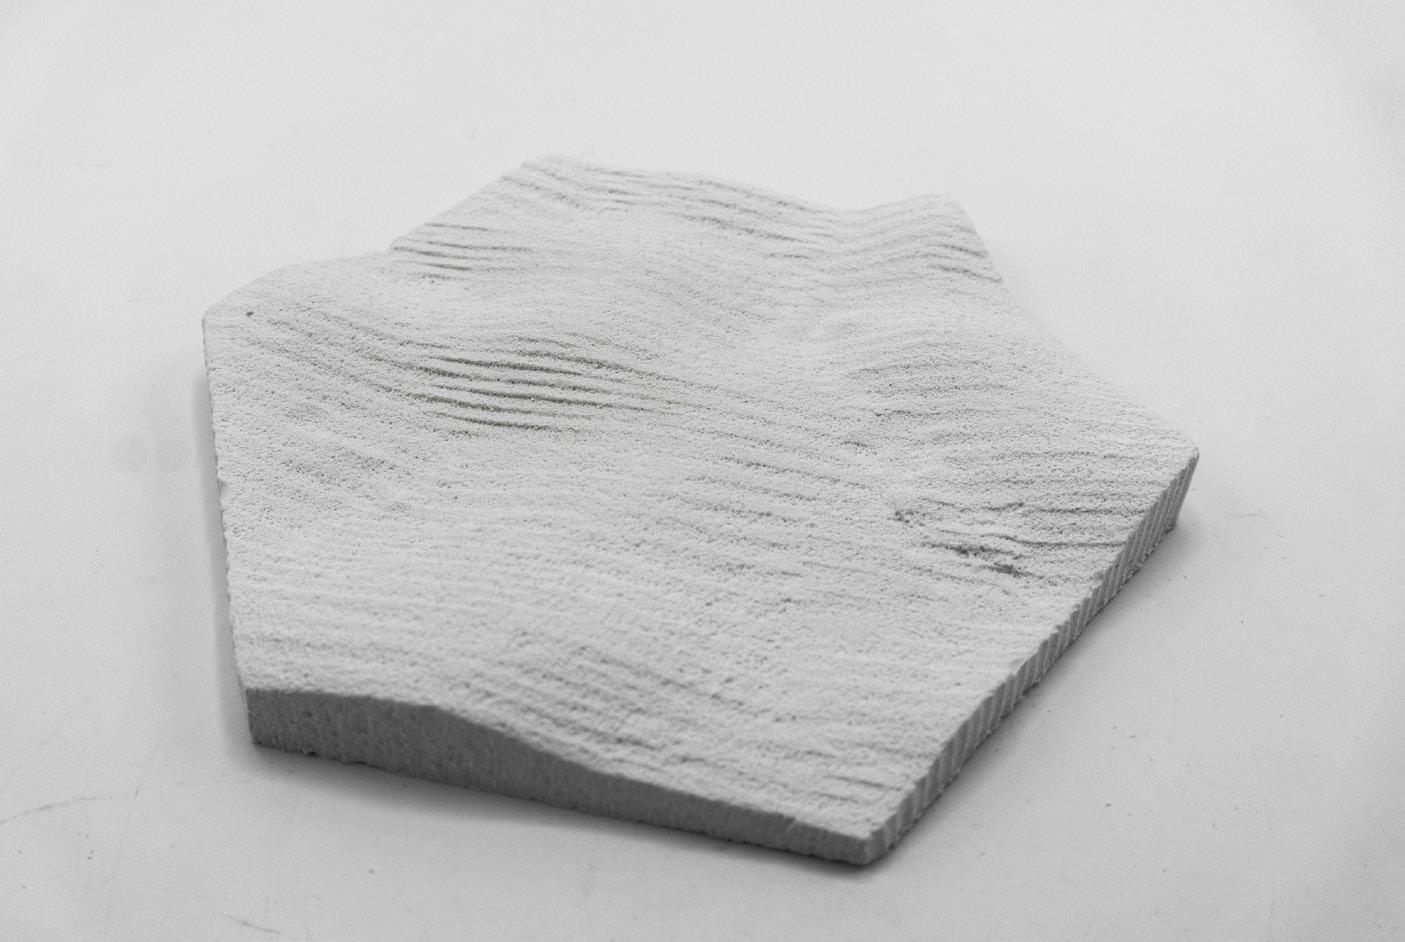
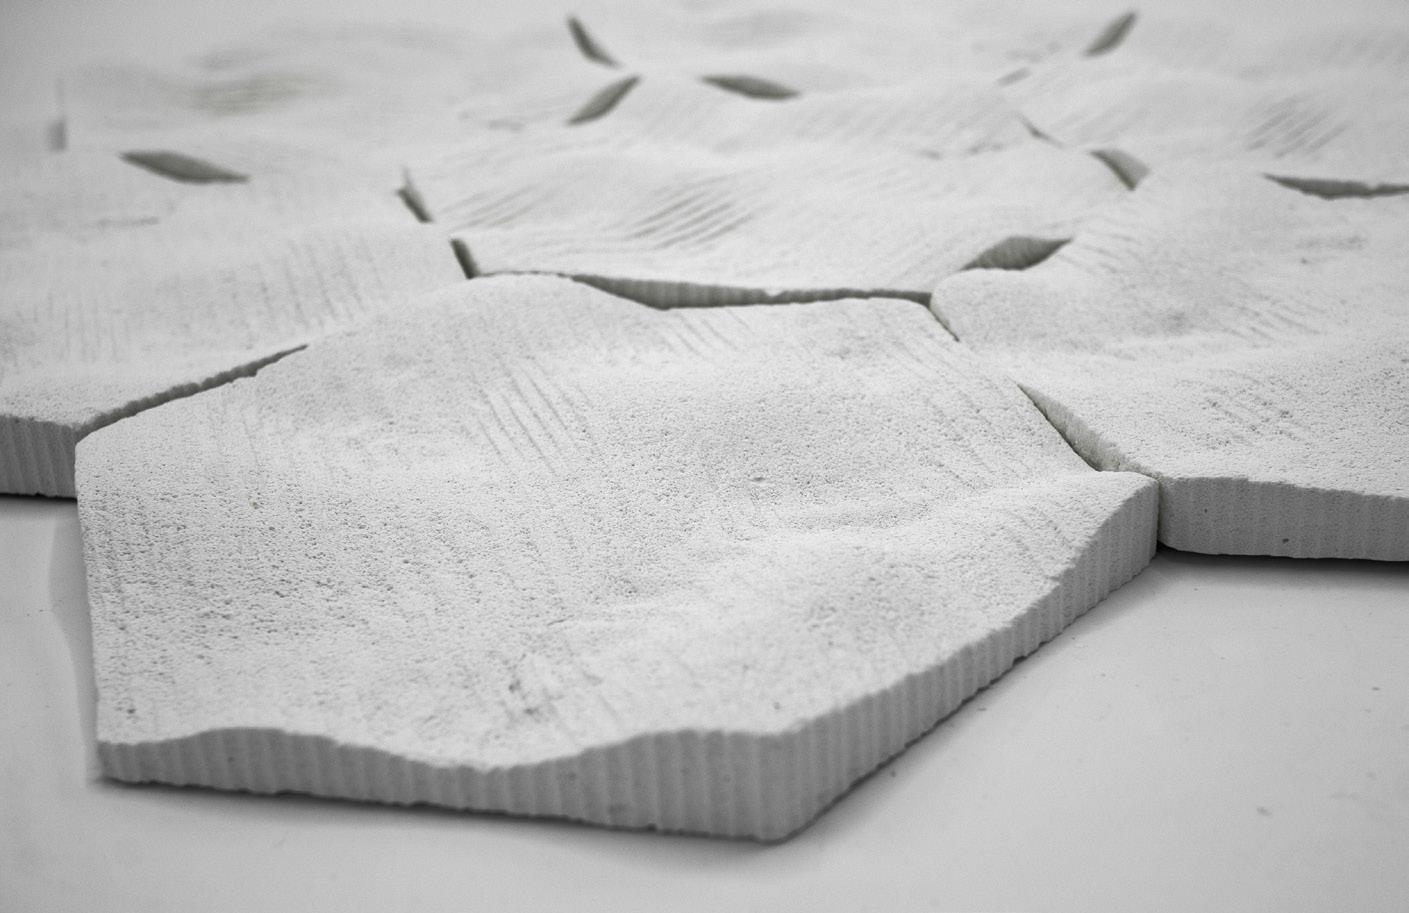
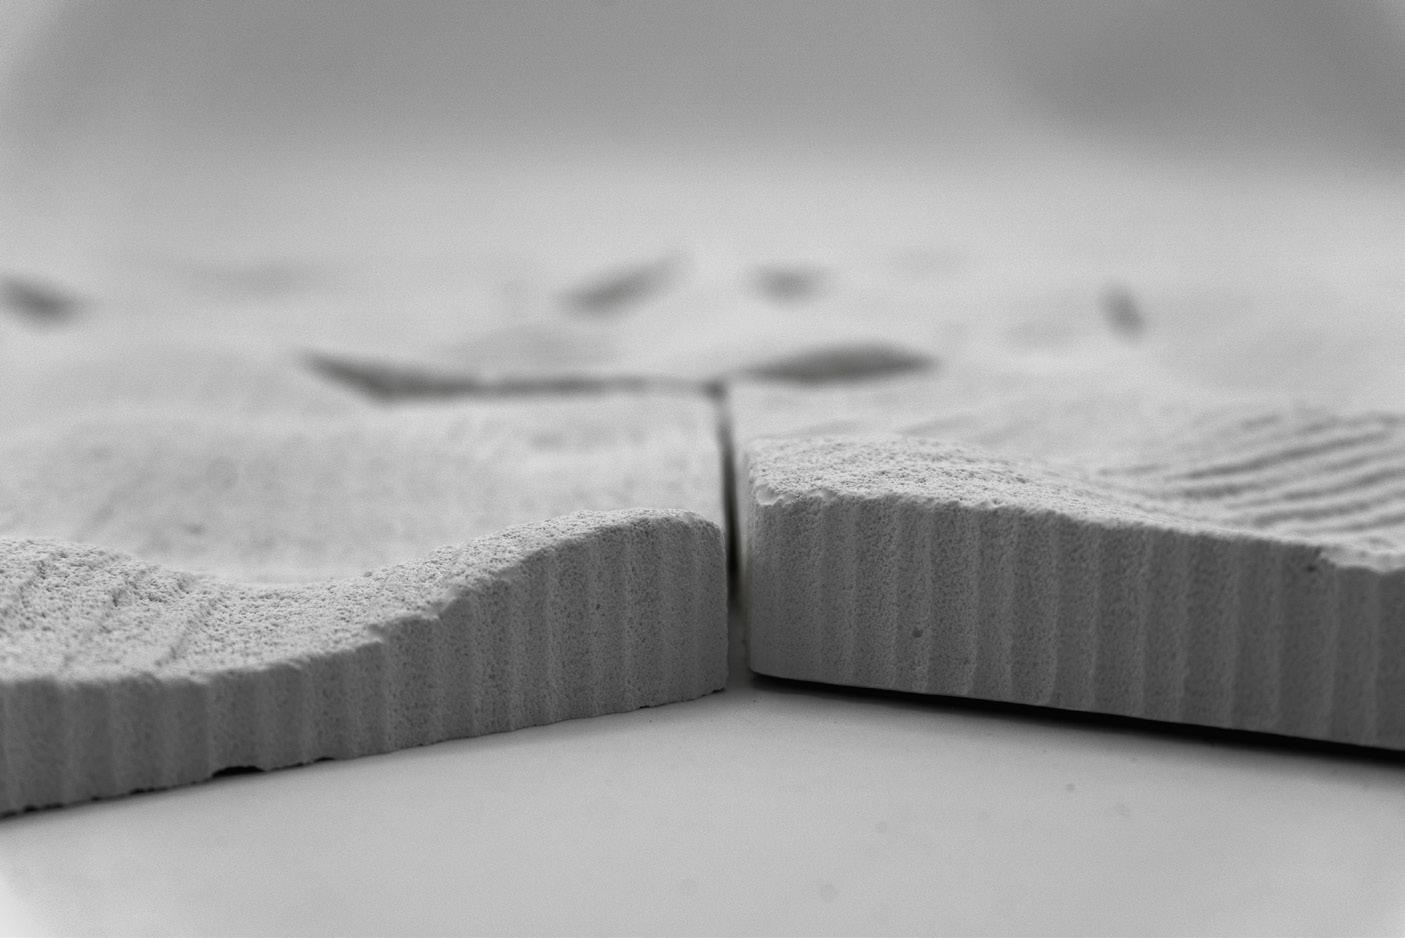
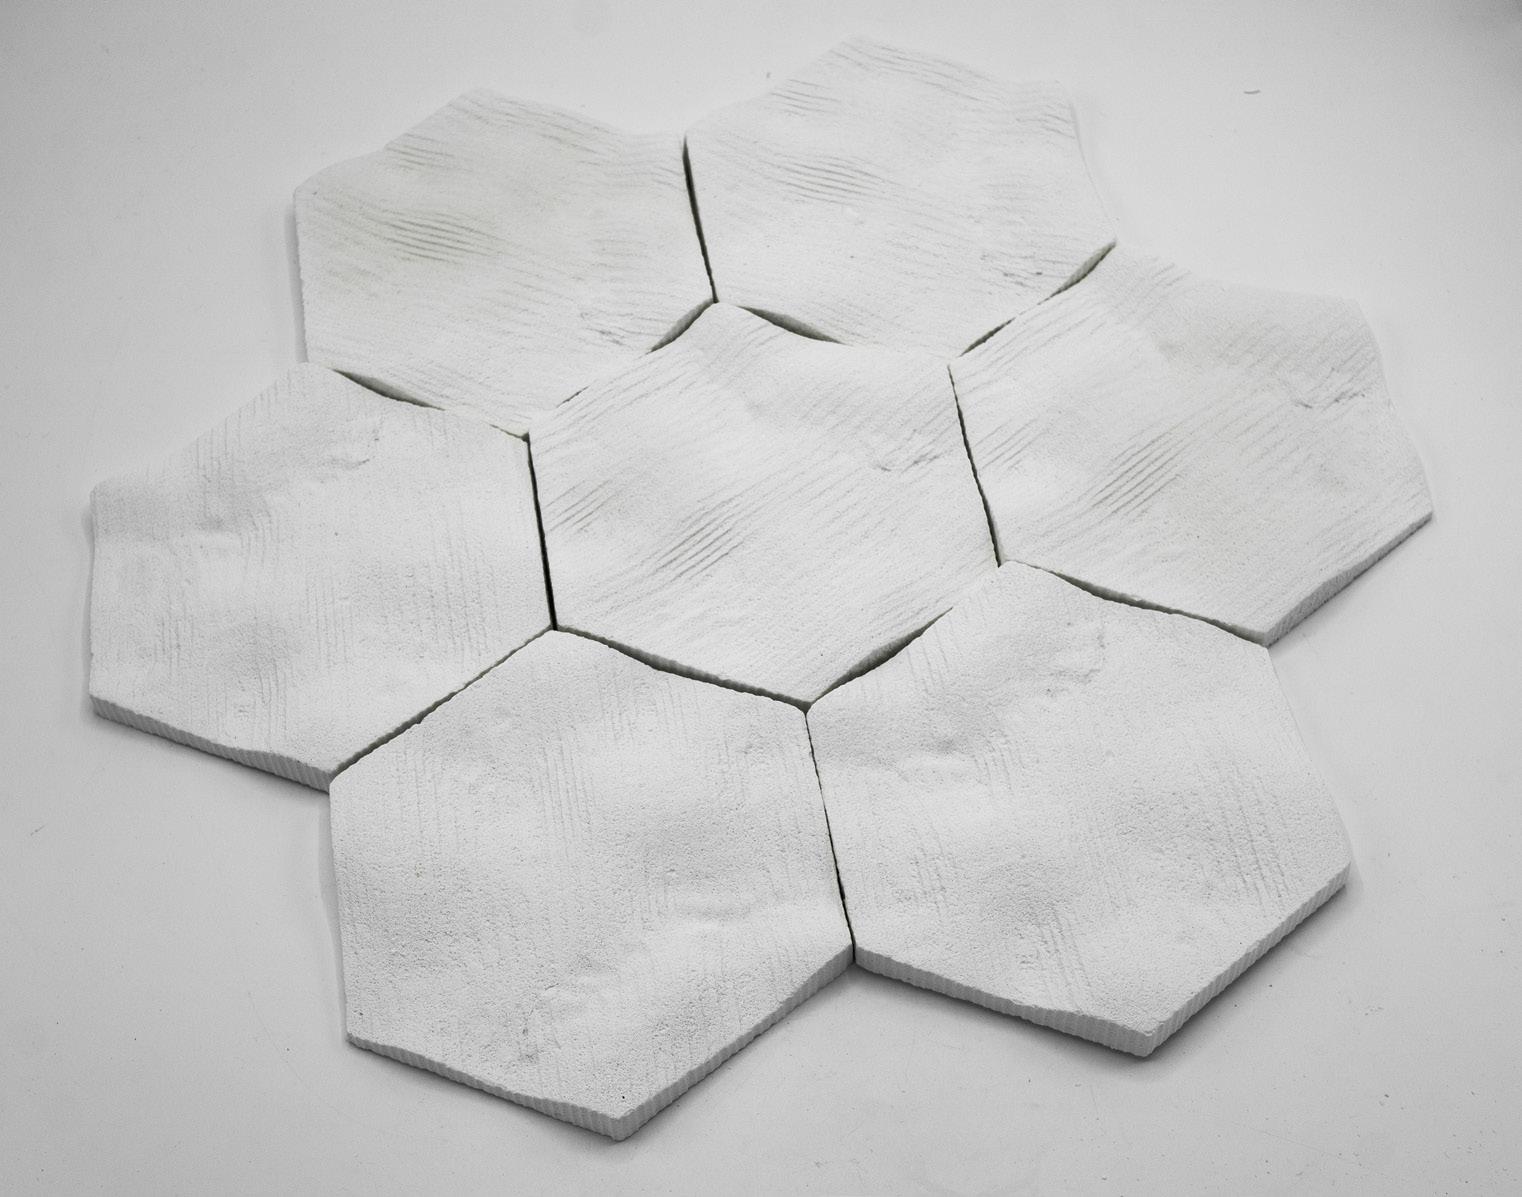
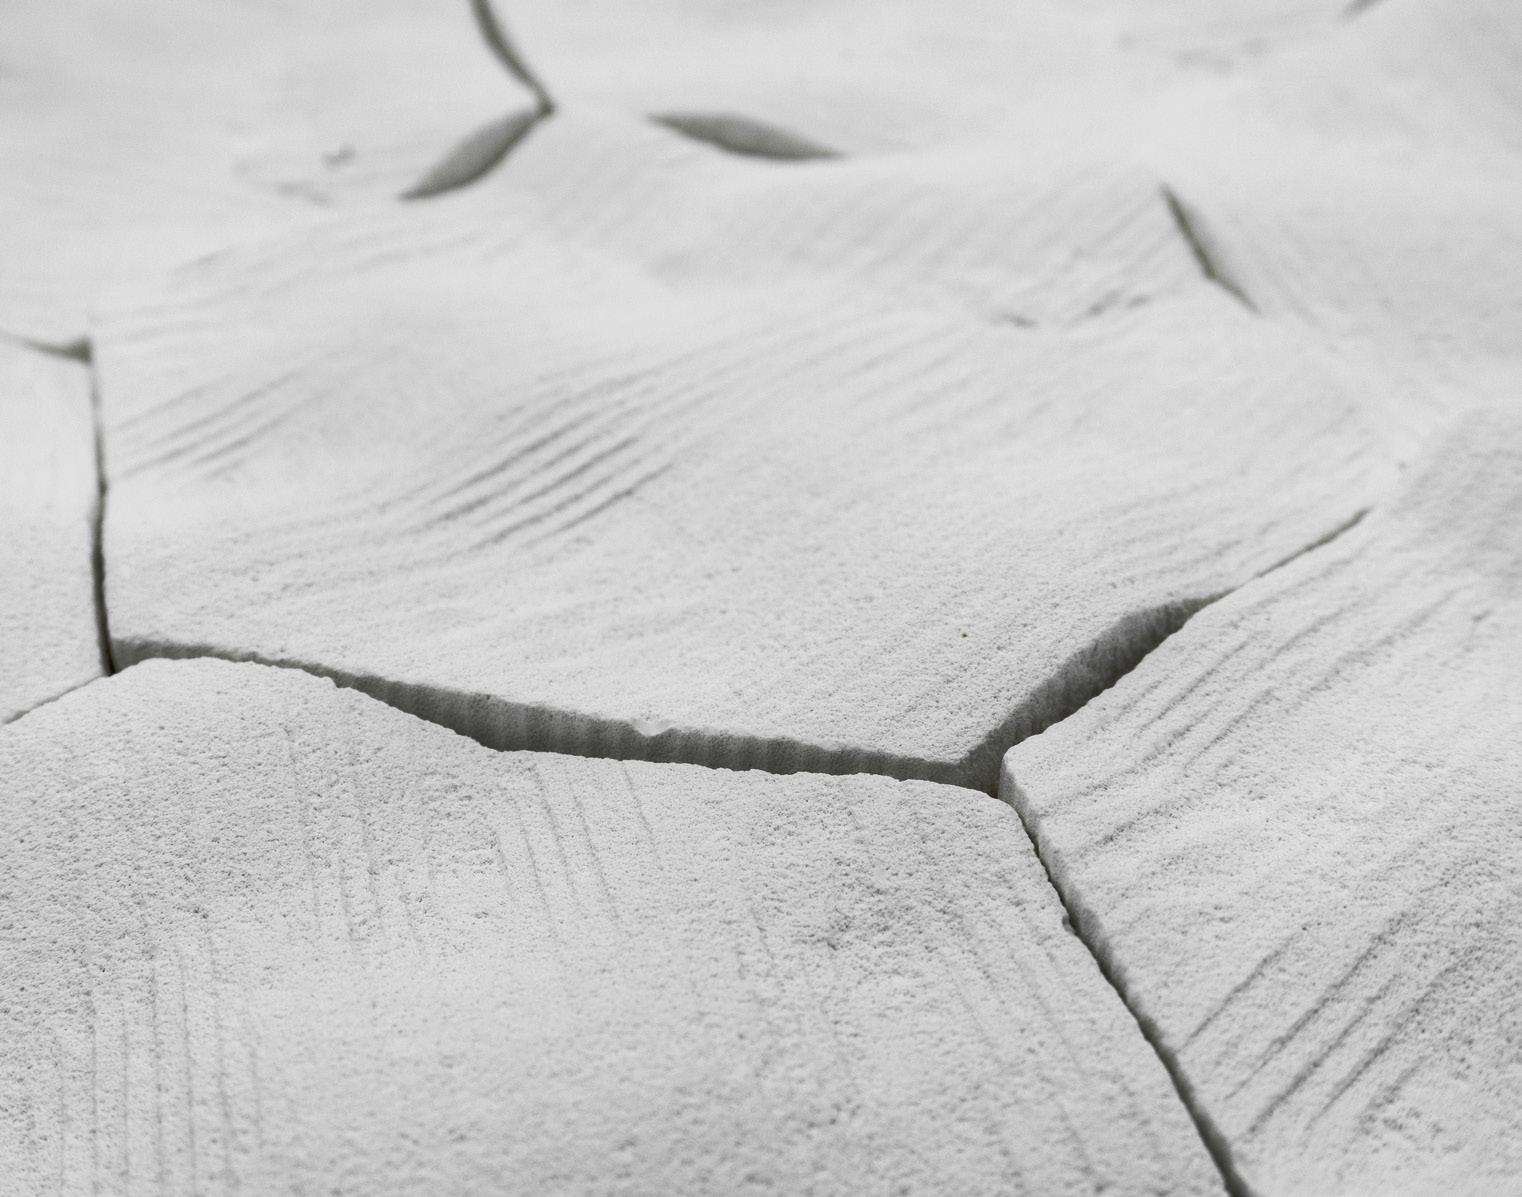
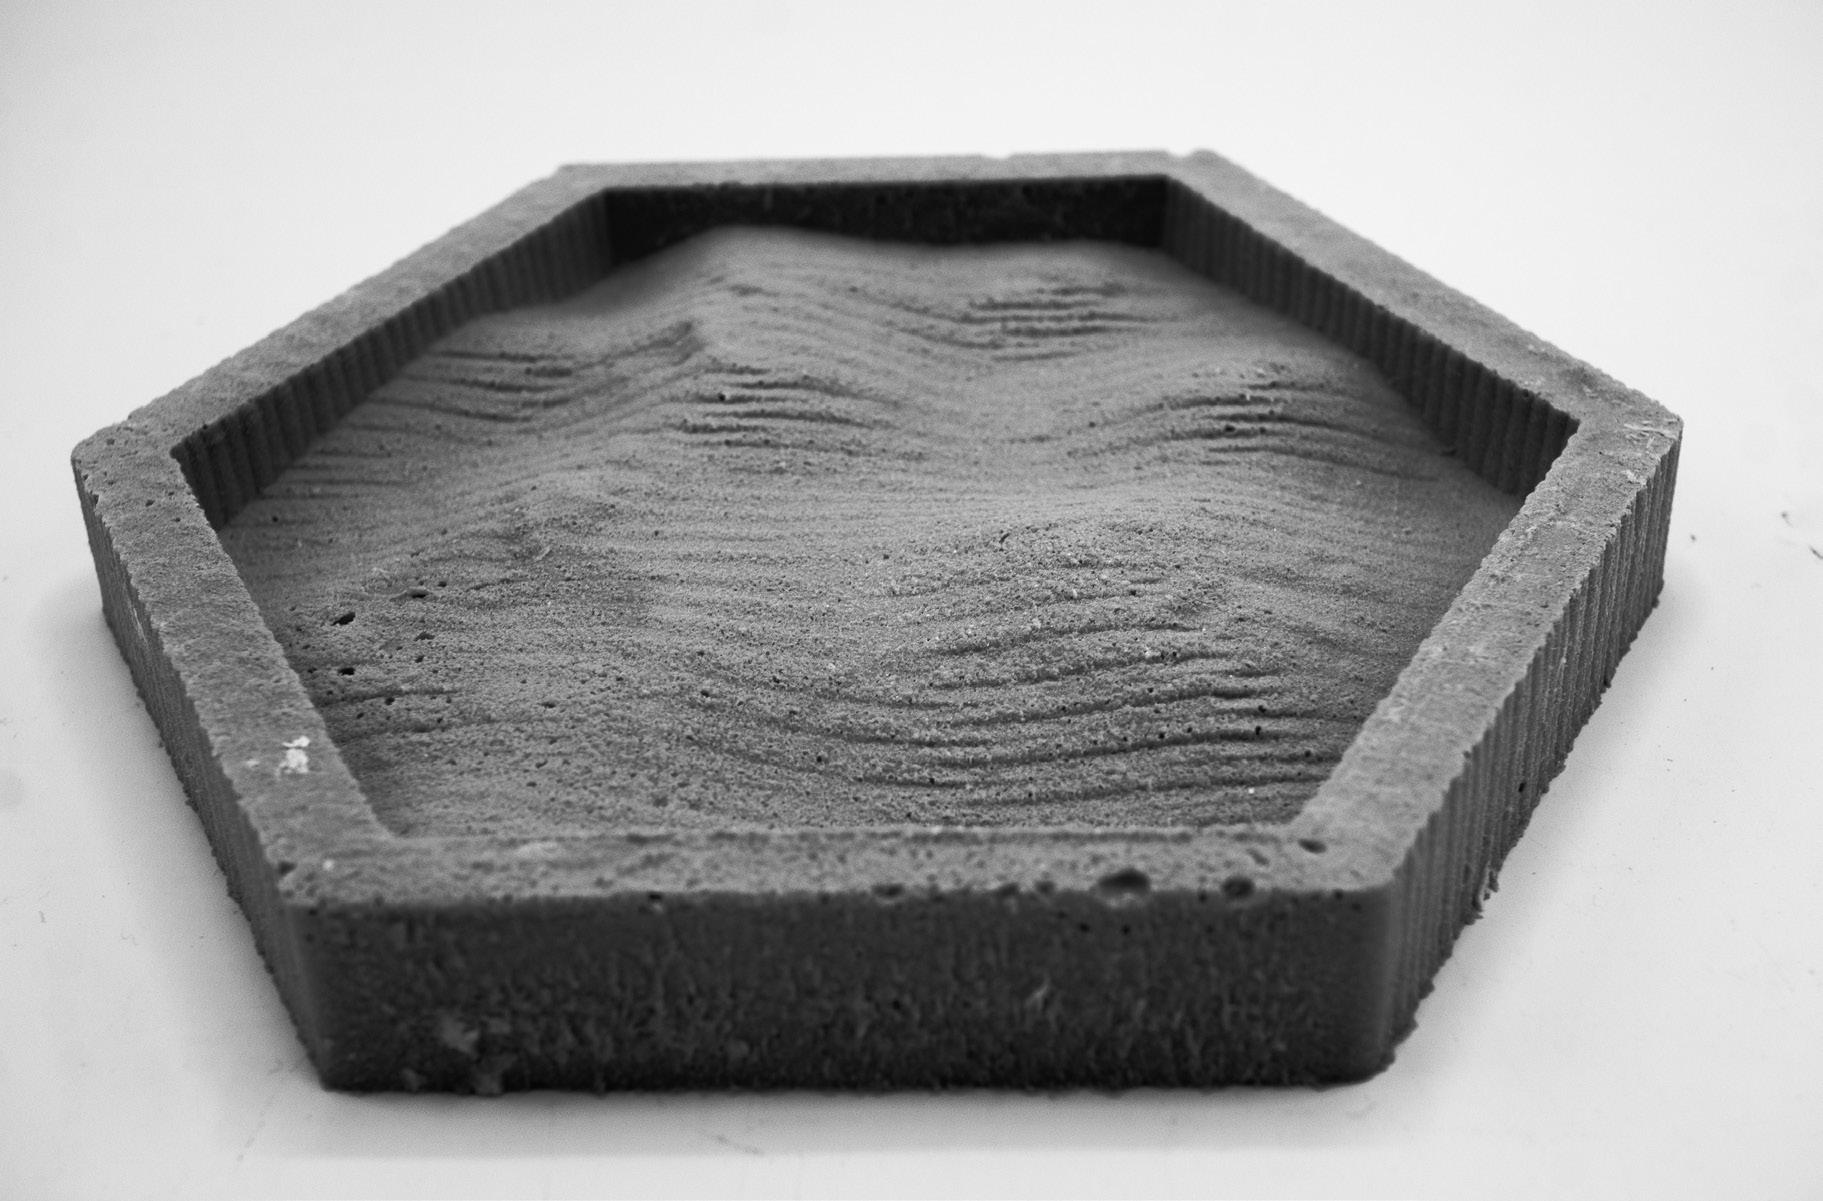
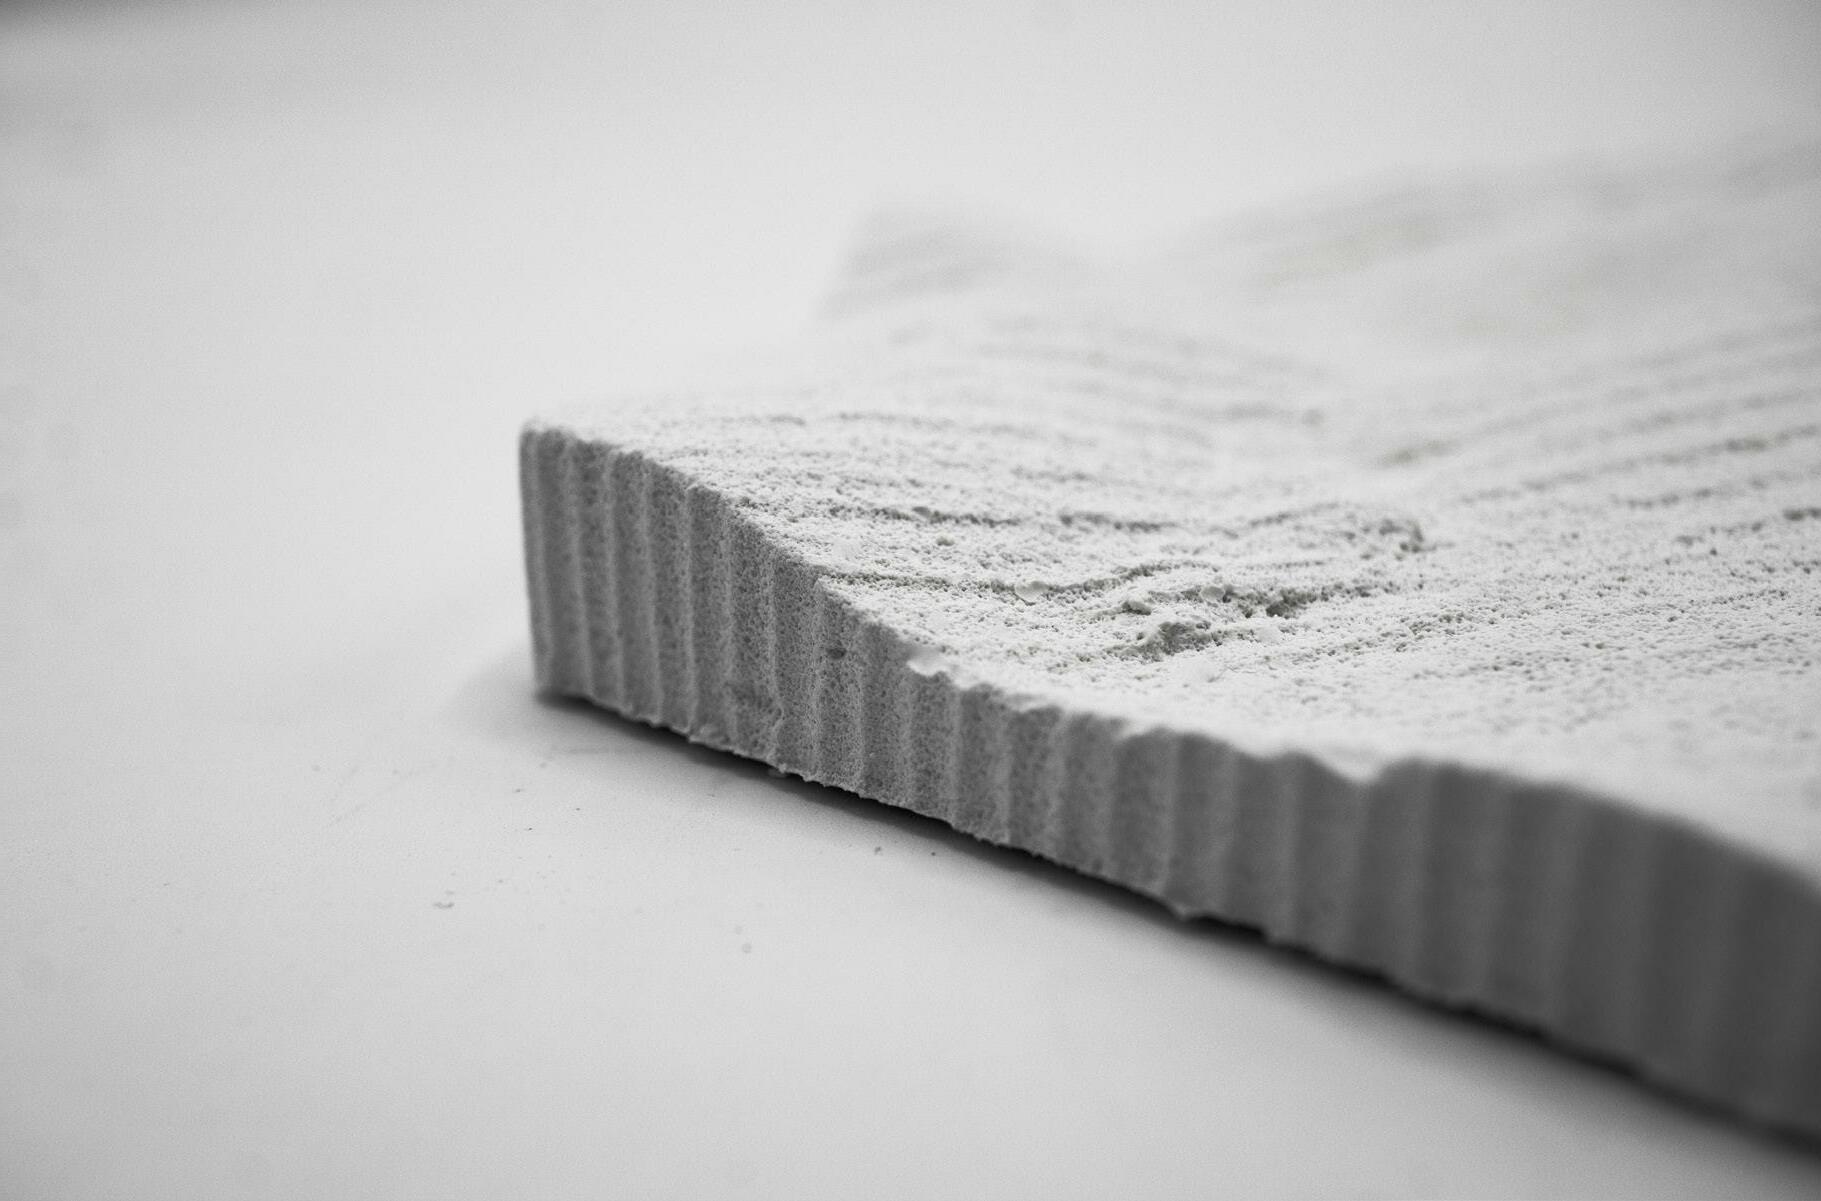
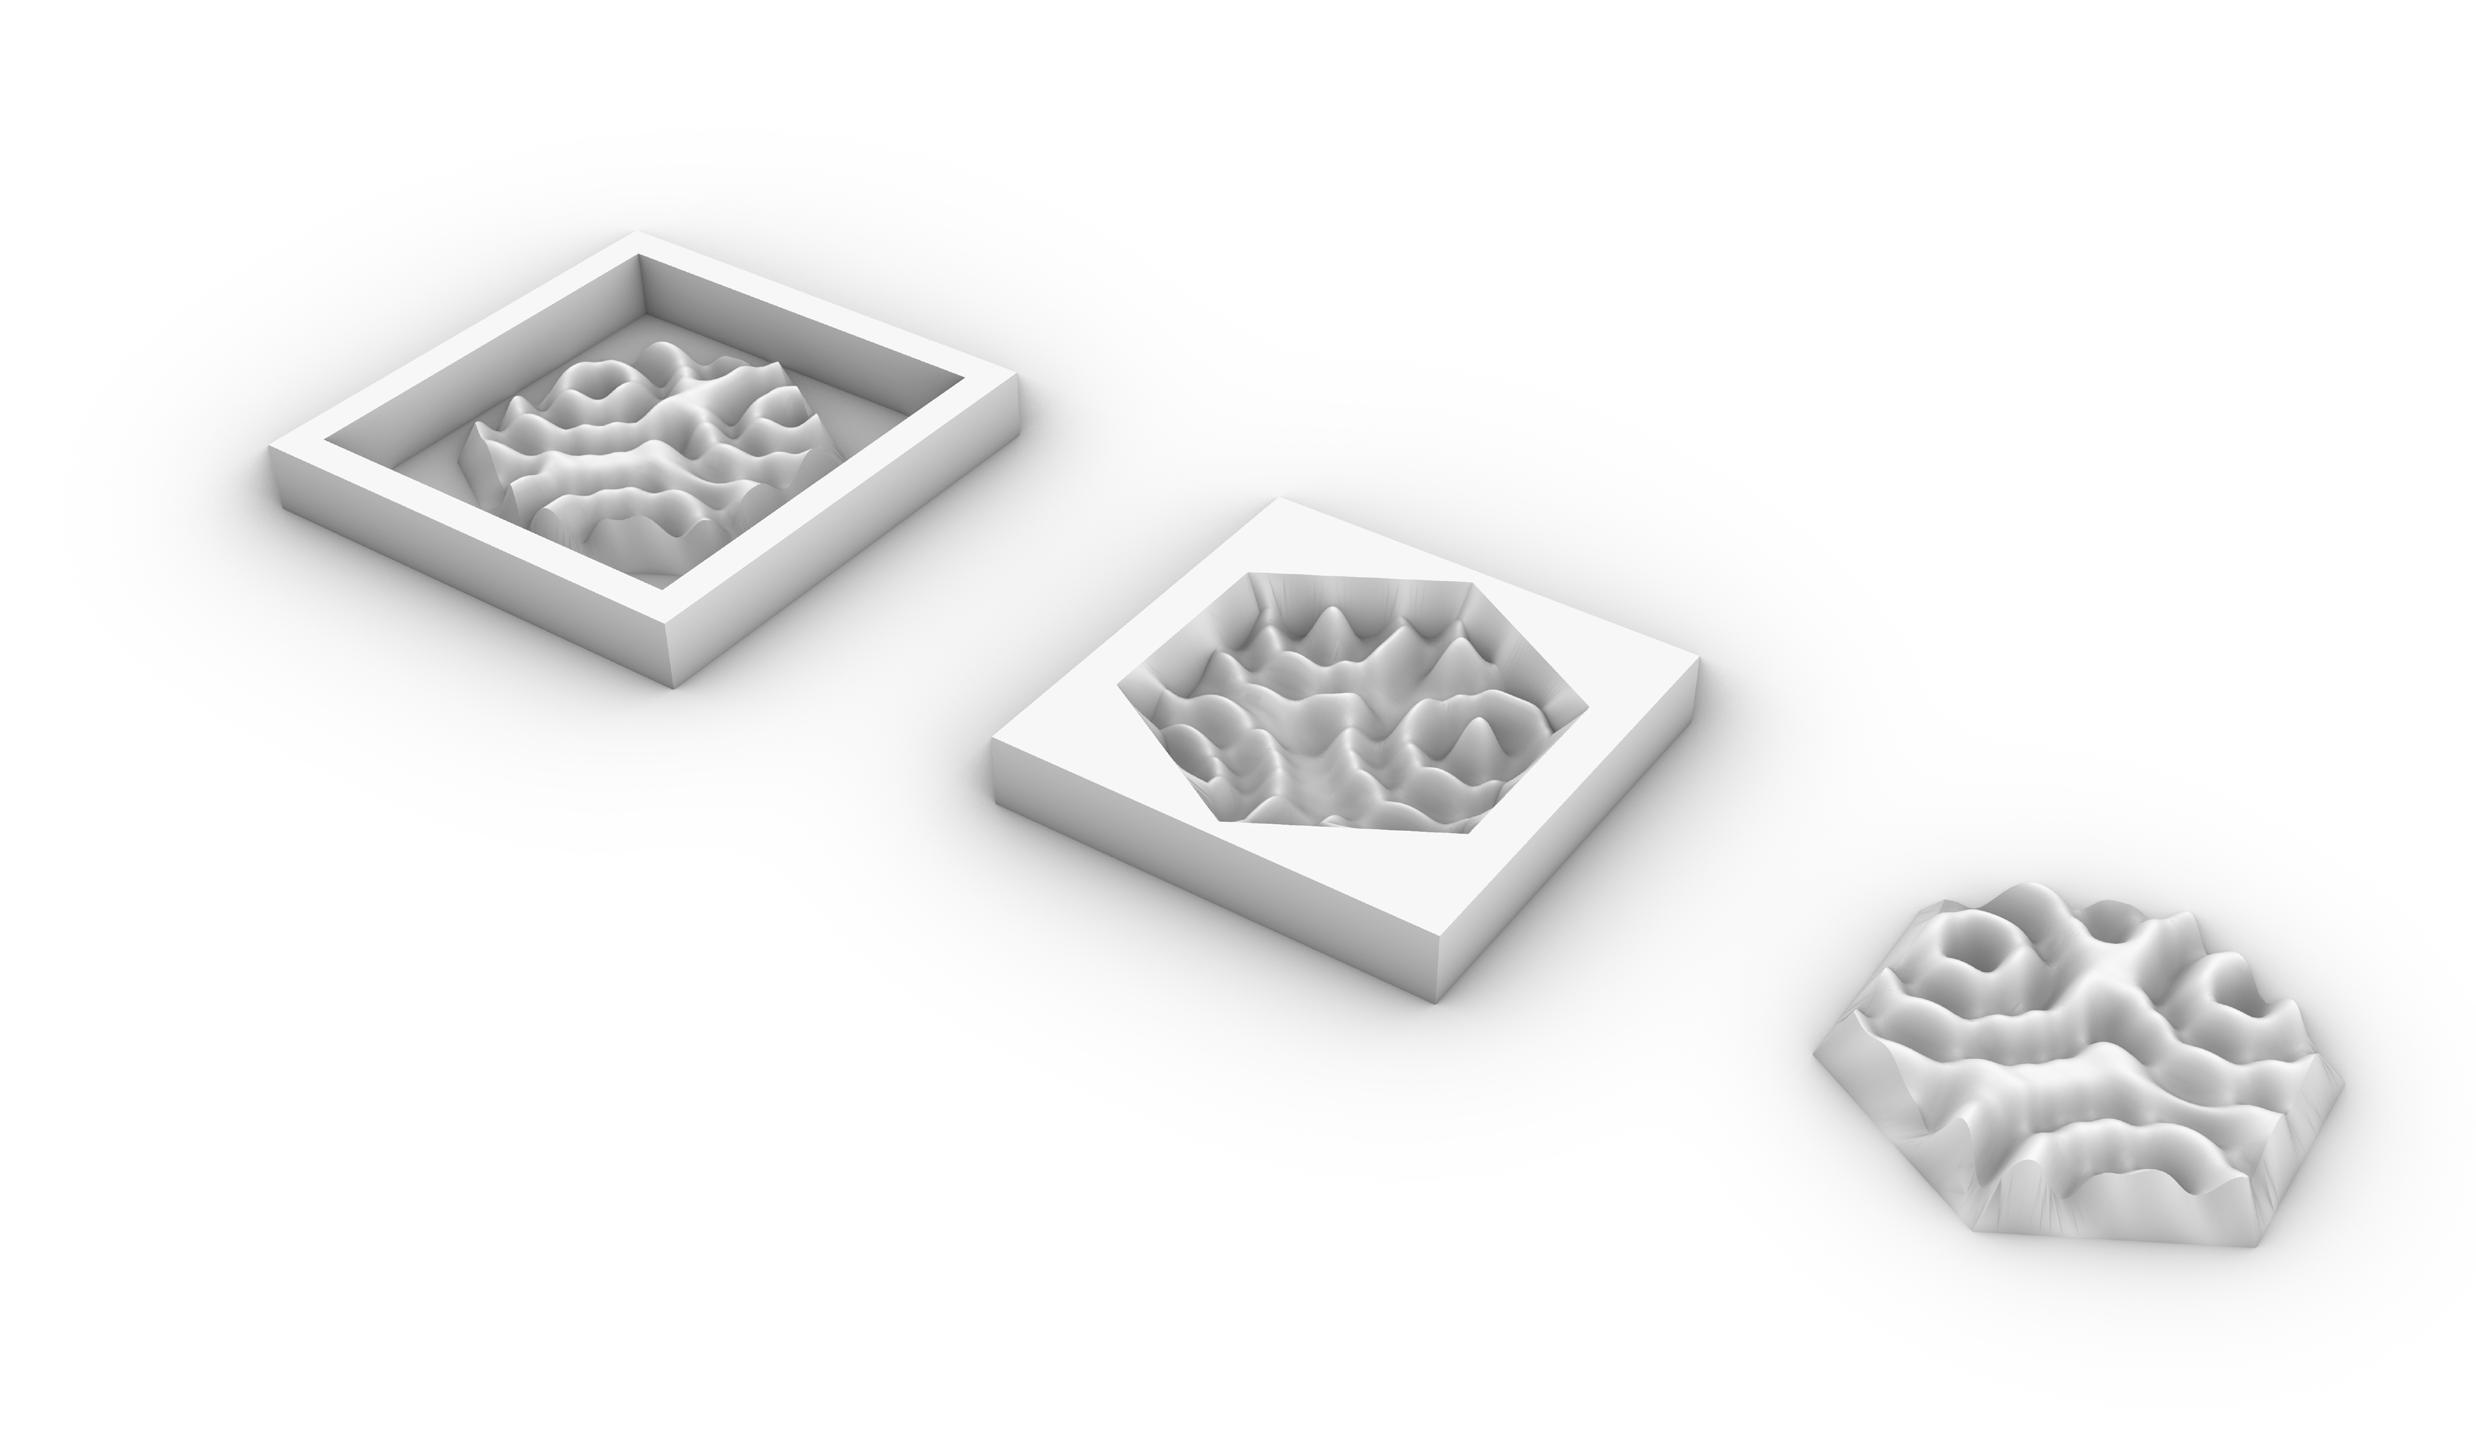
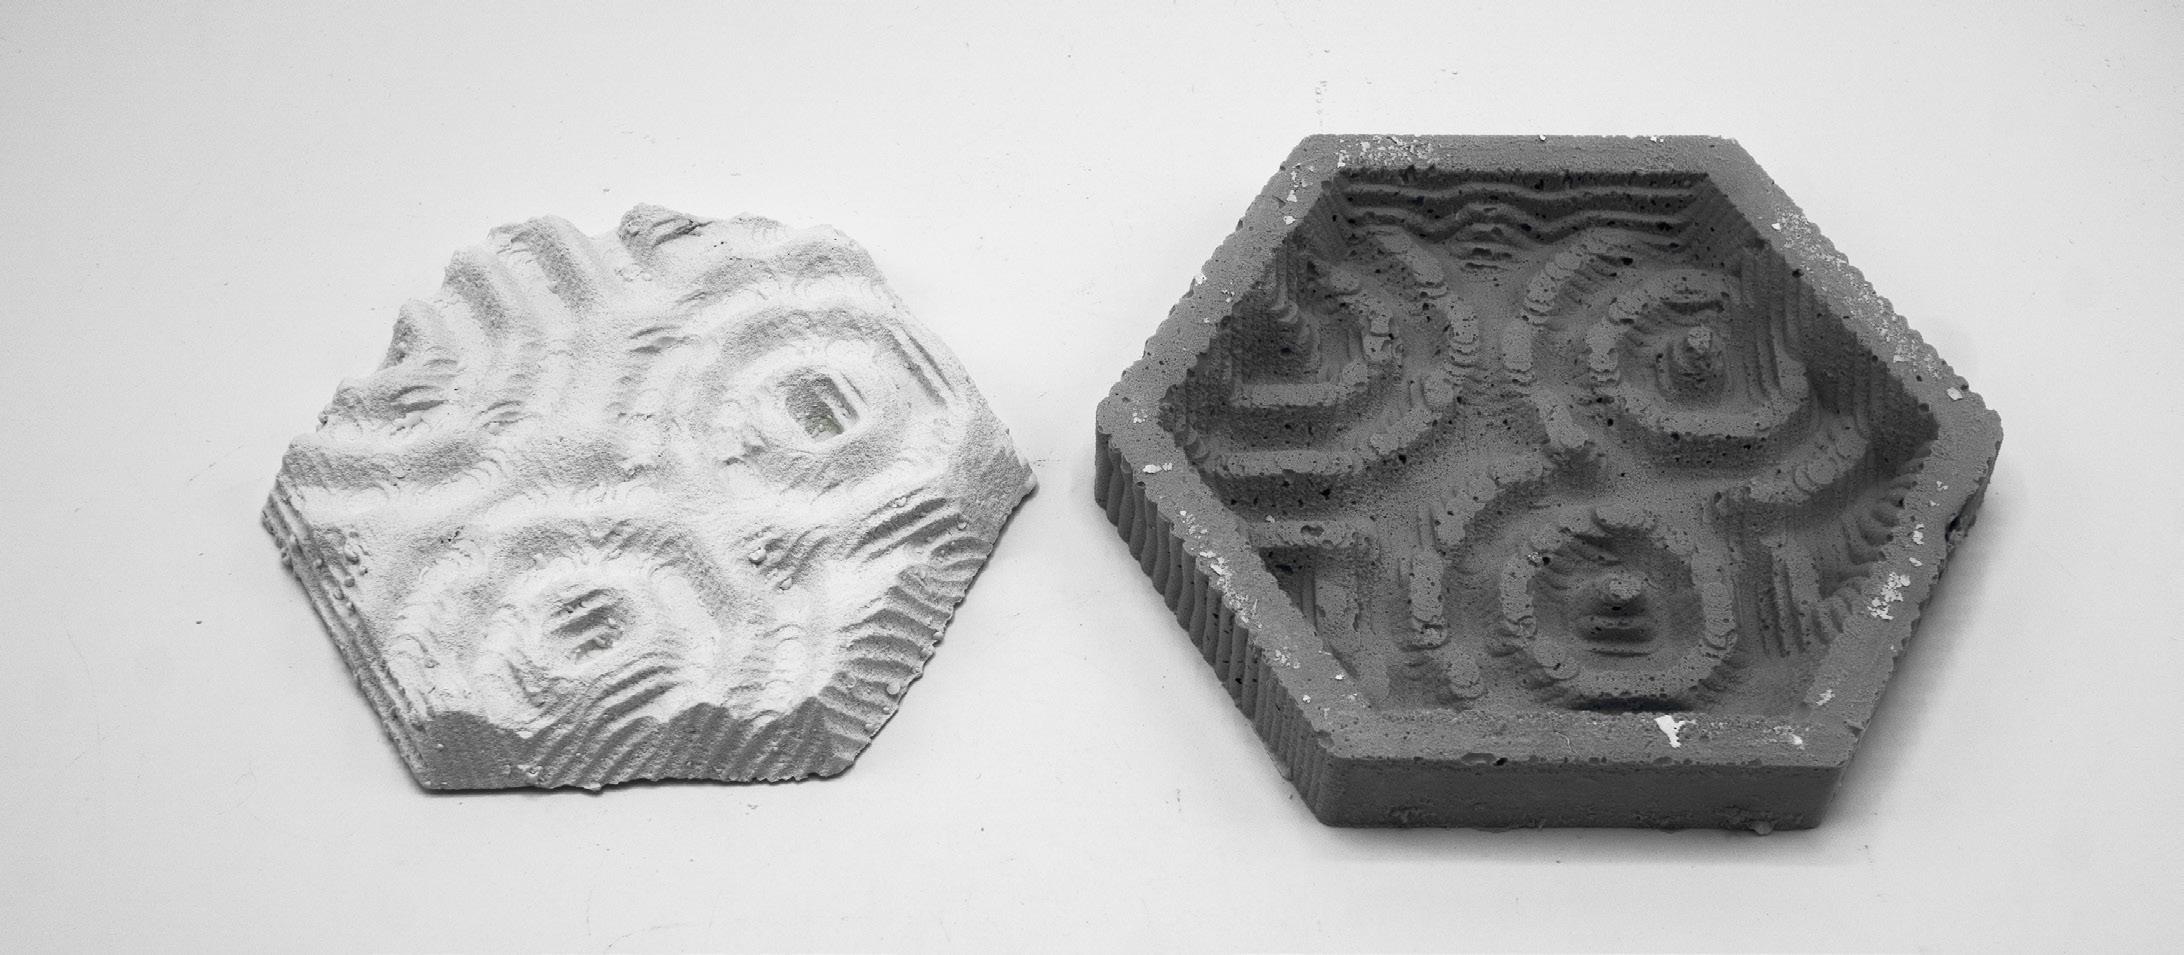
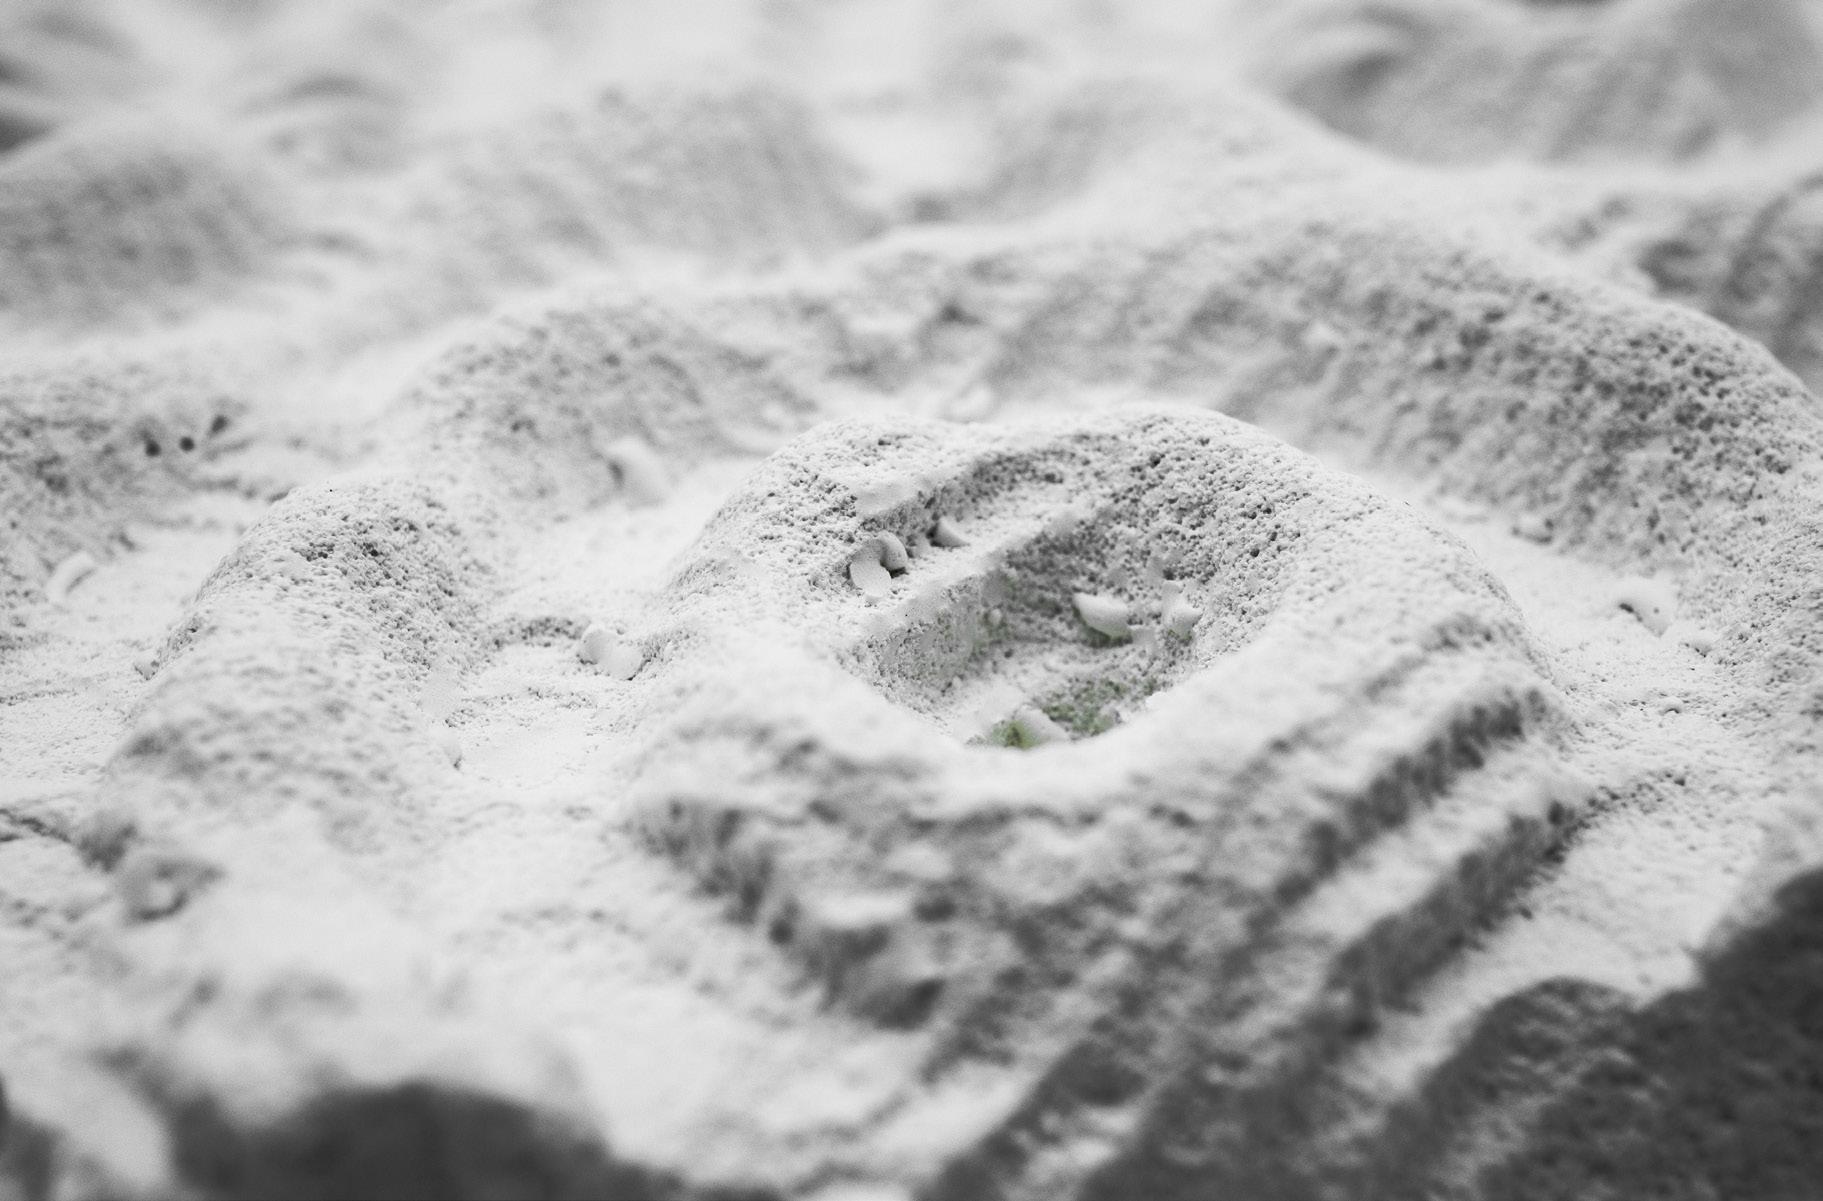
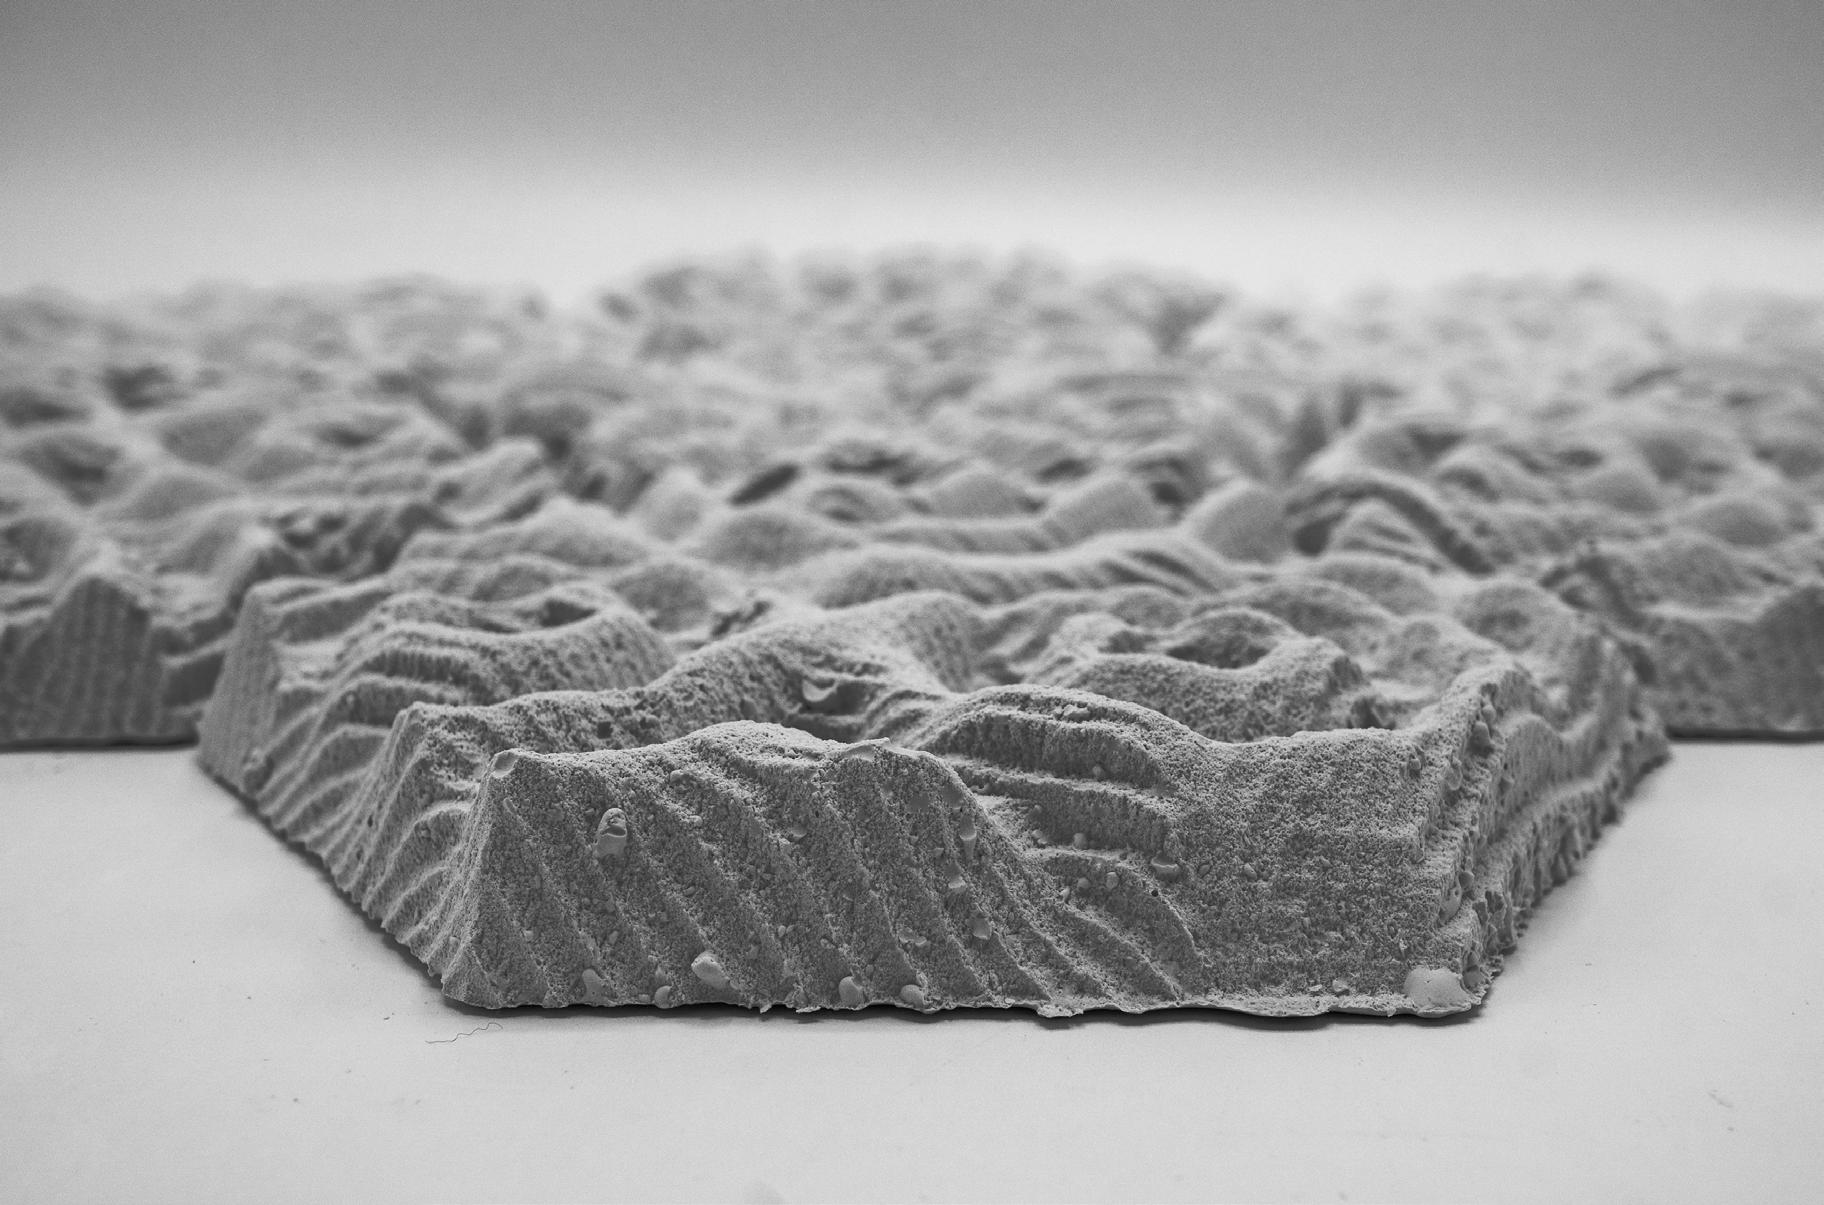
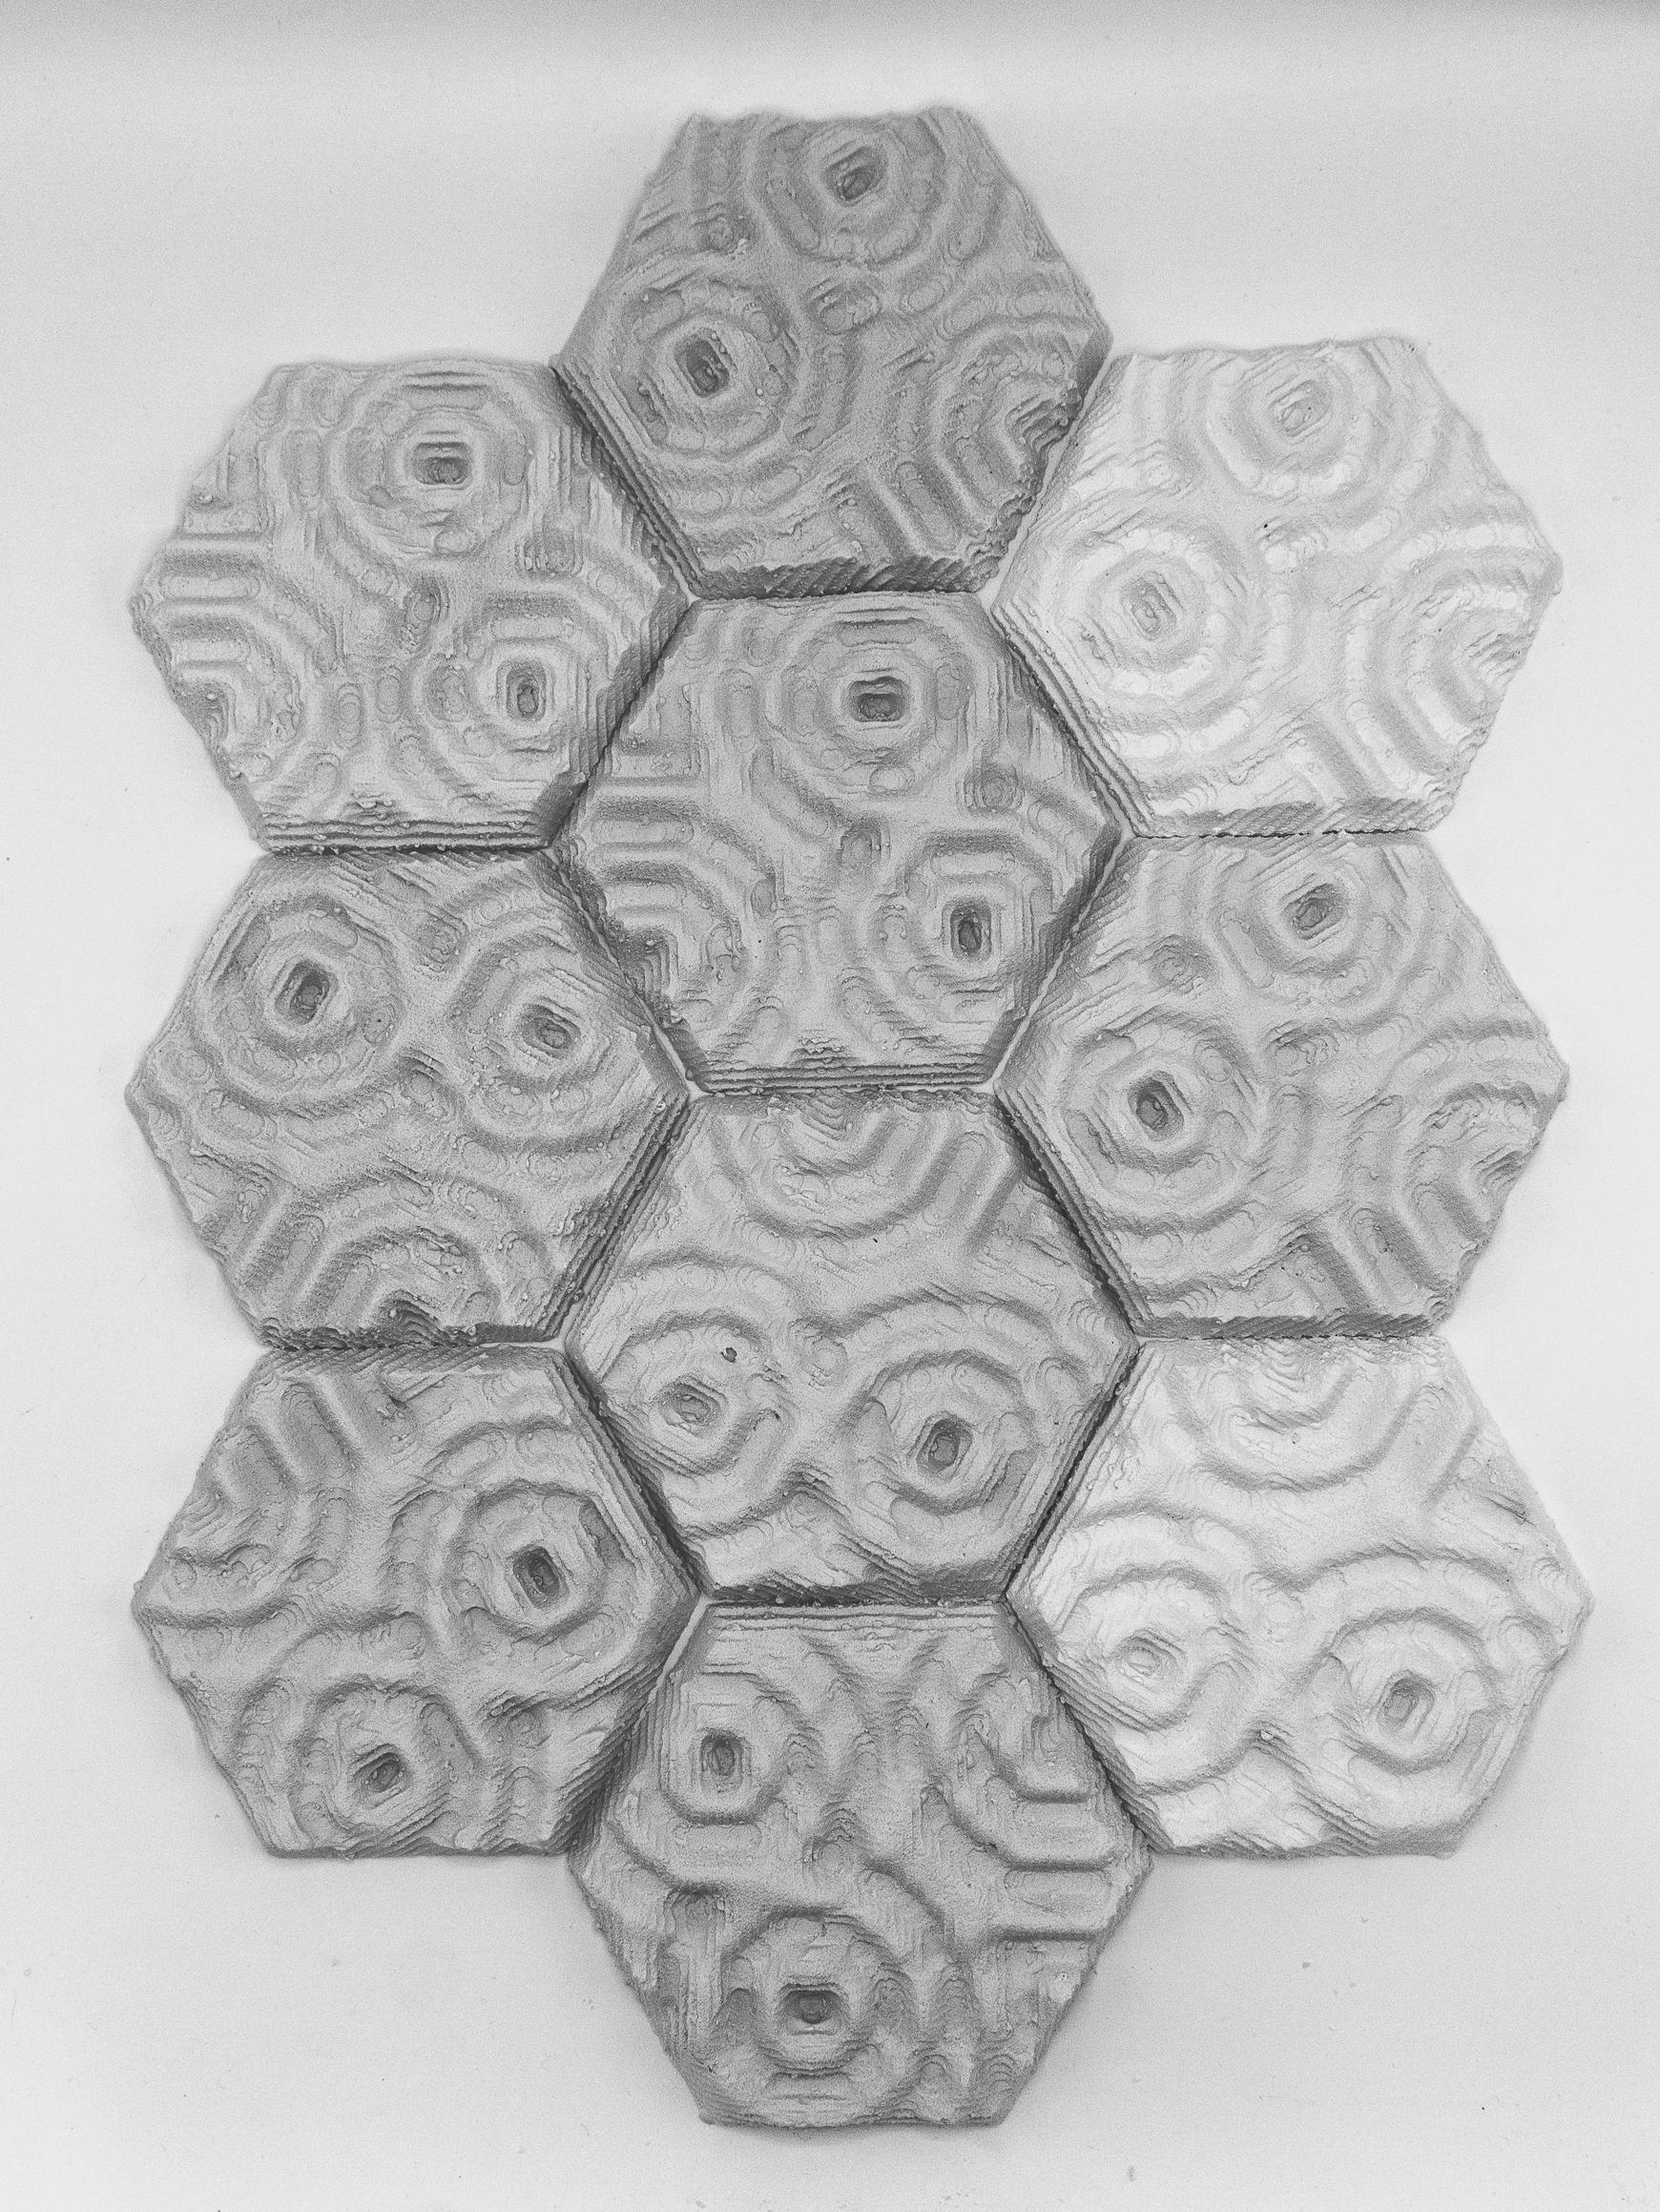
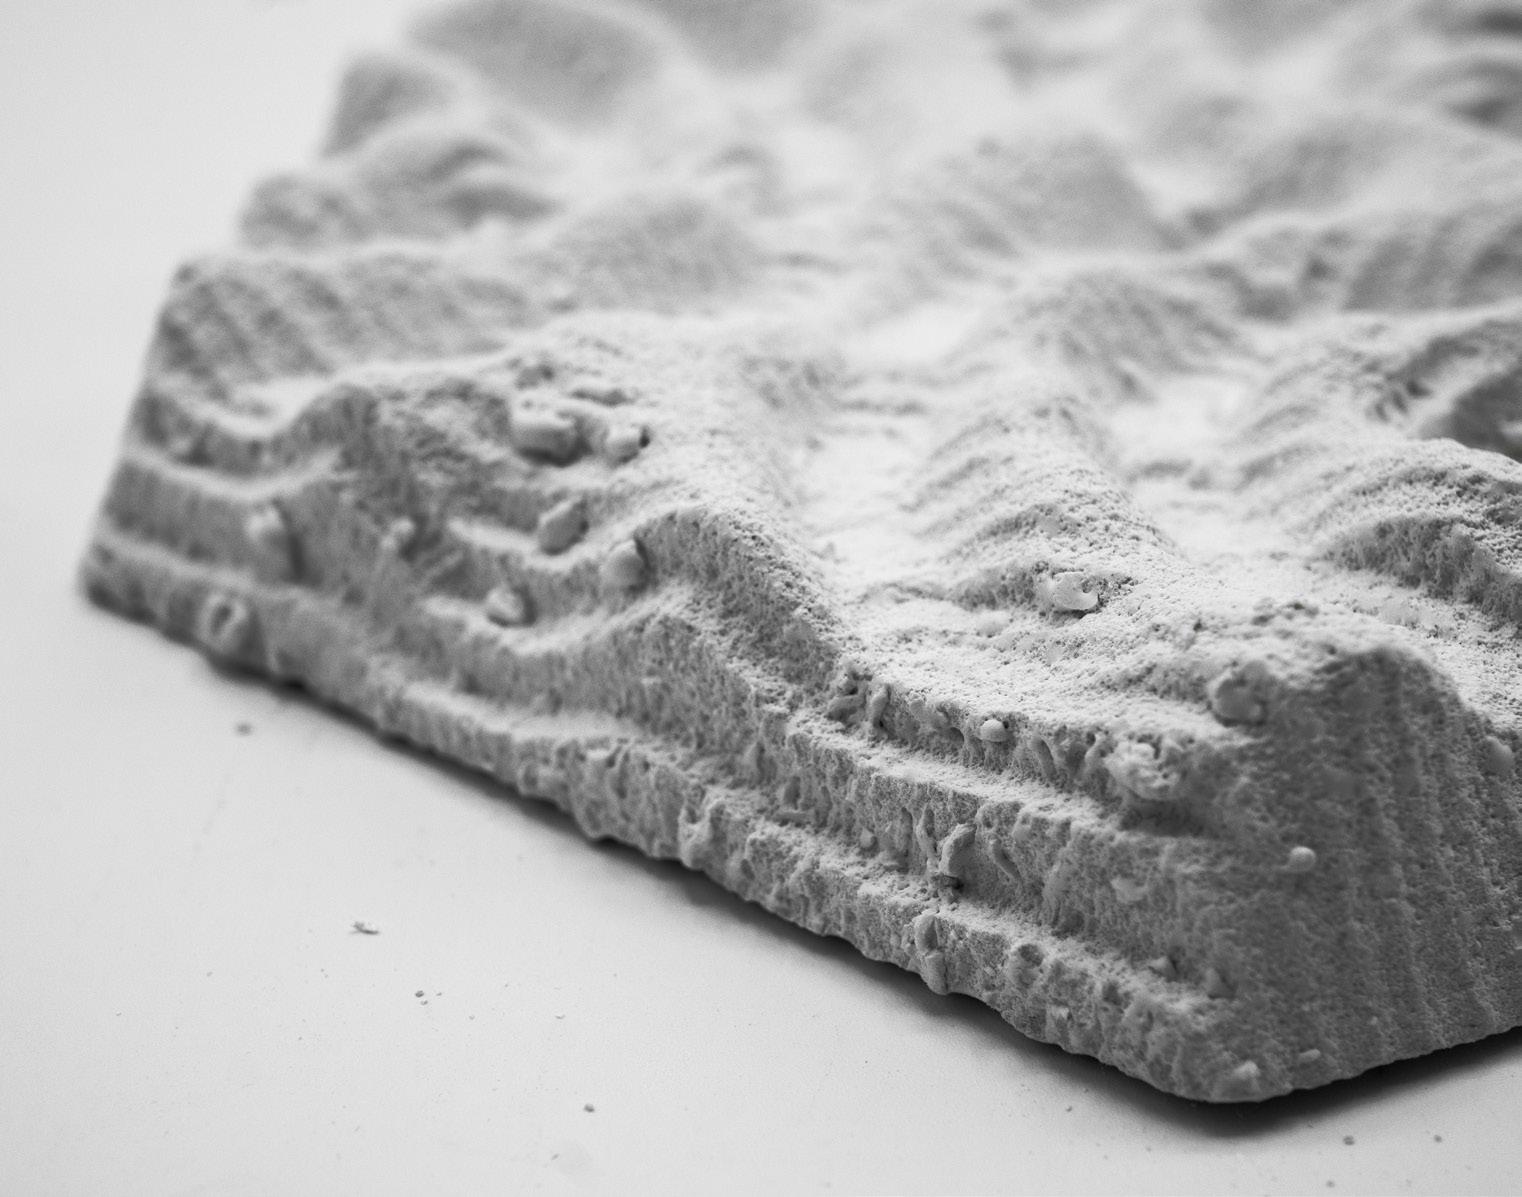
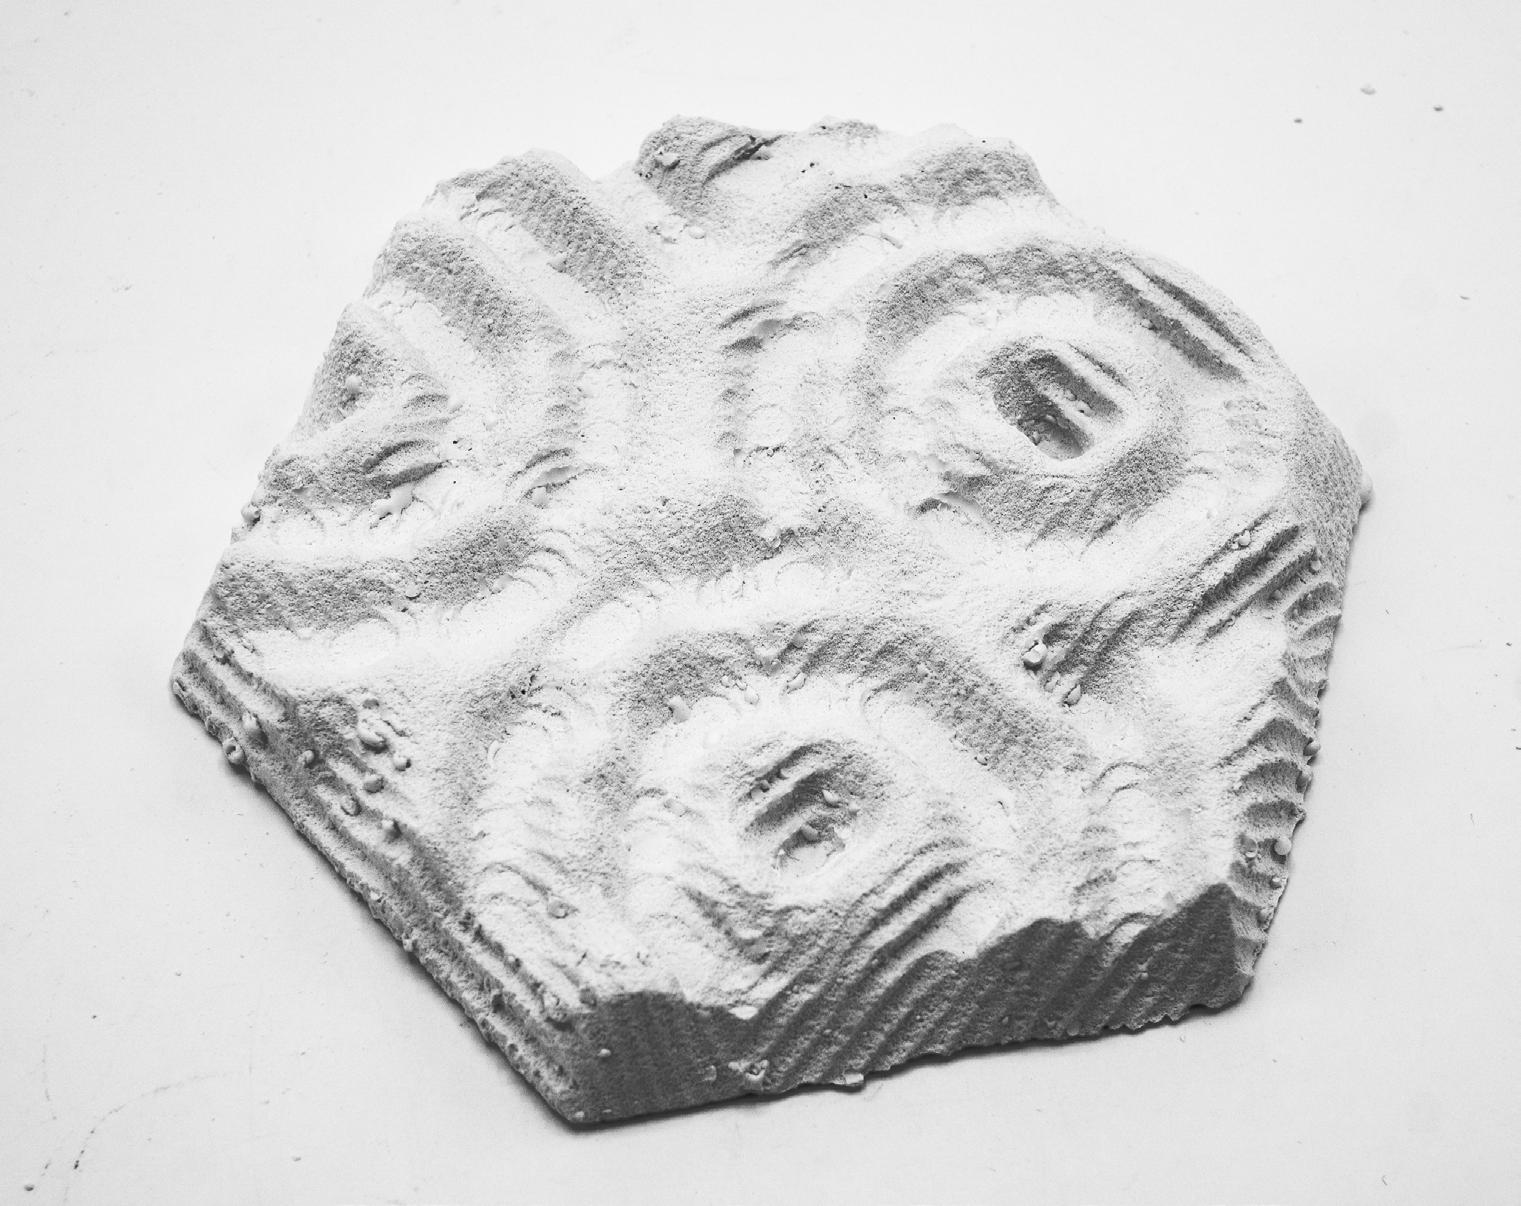
The objective of project 2 was to experiment with a CNC Mill and Casting. The CNC was used to create a positive of our intended design which was then cast with a silicone rubber to make a flexible mold. That mold was used to cast plaster tiles
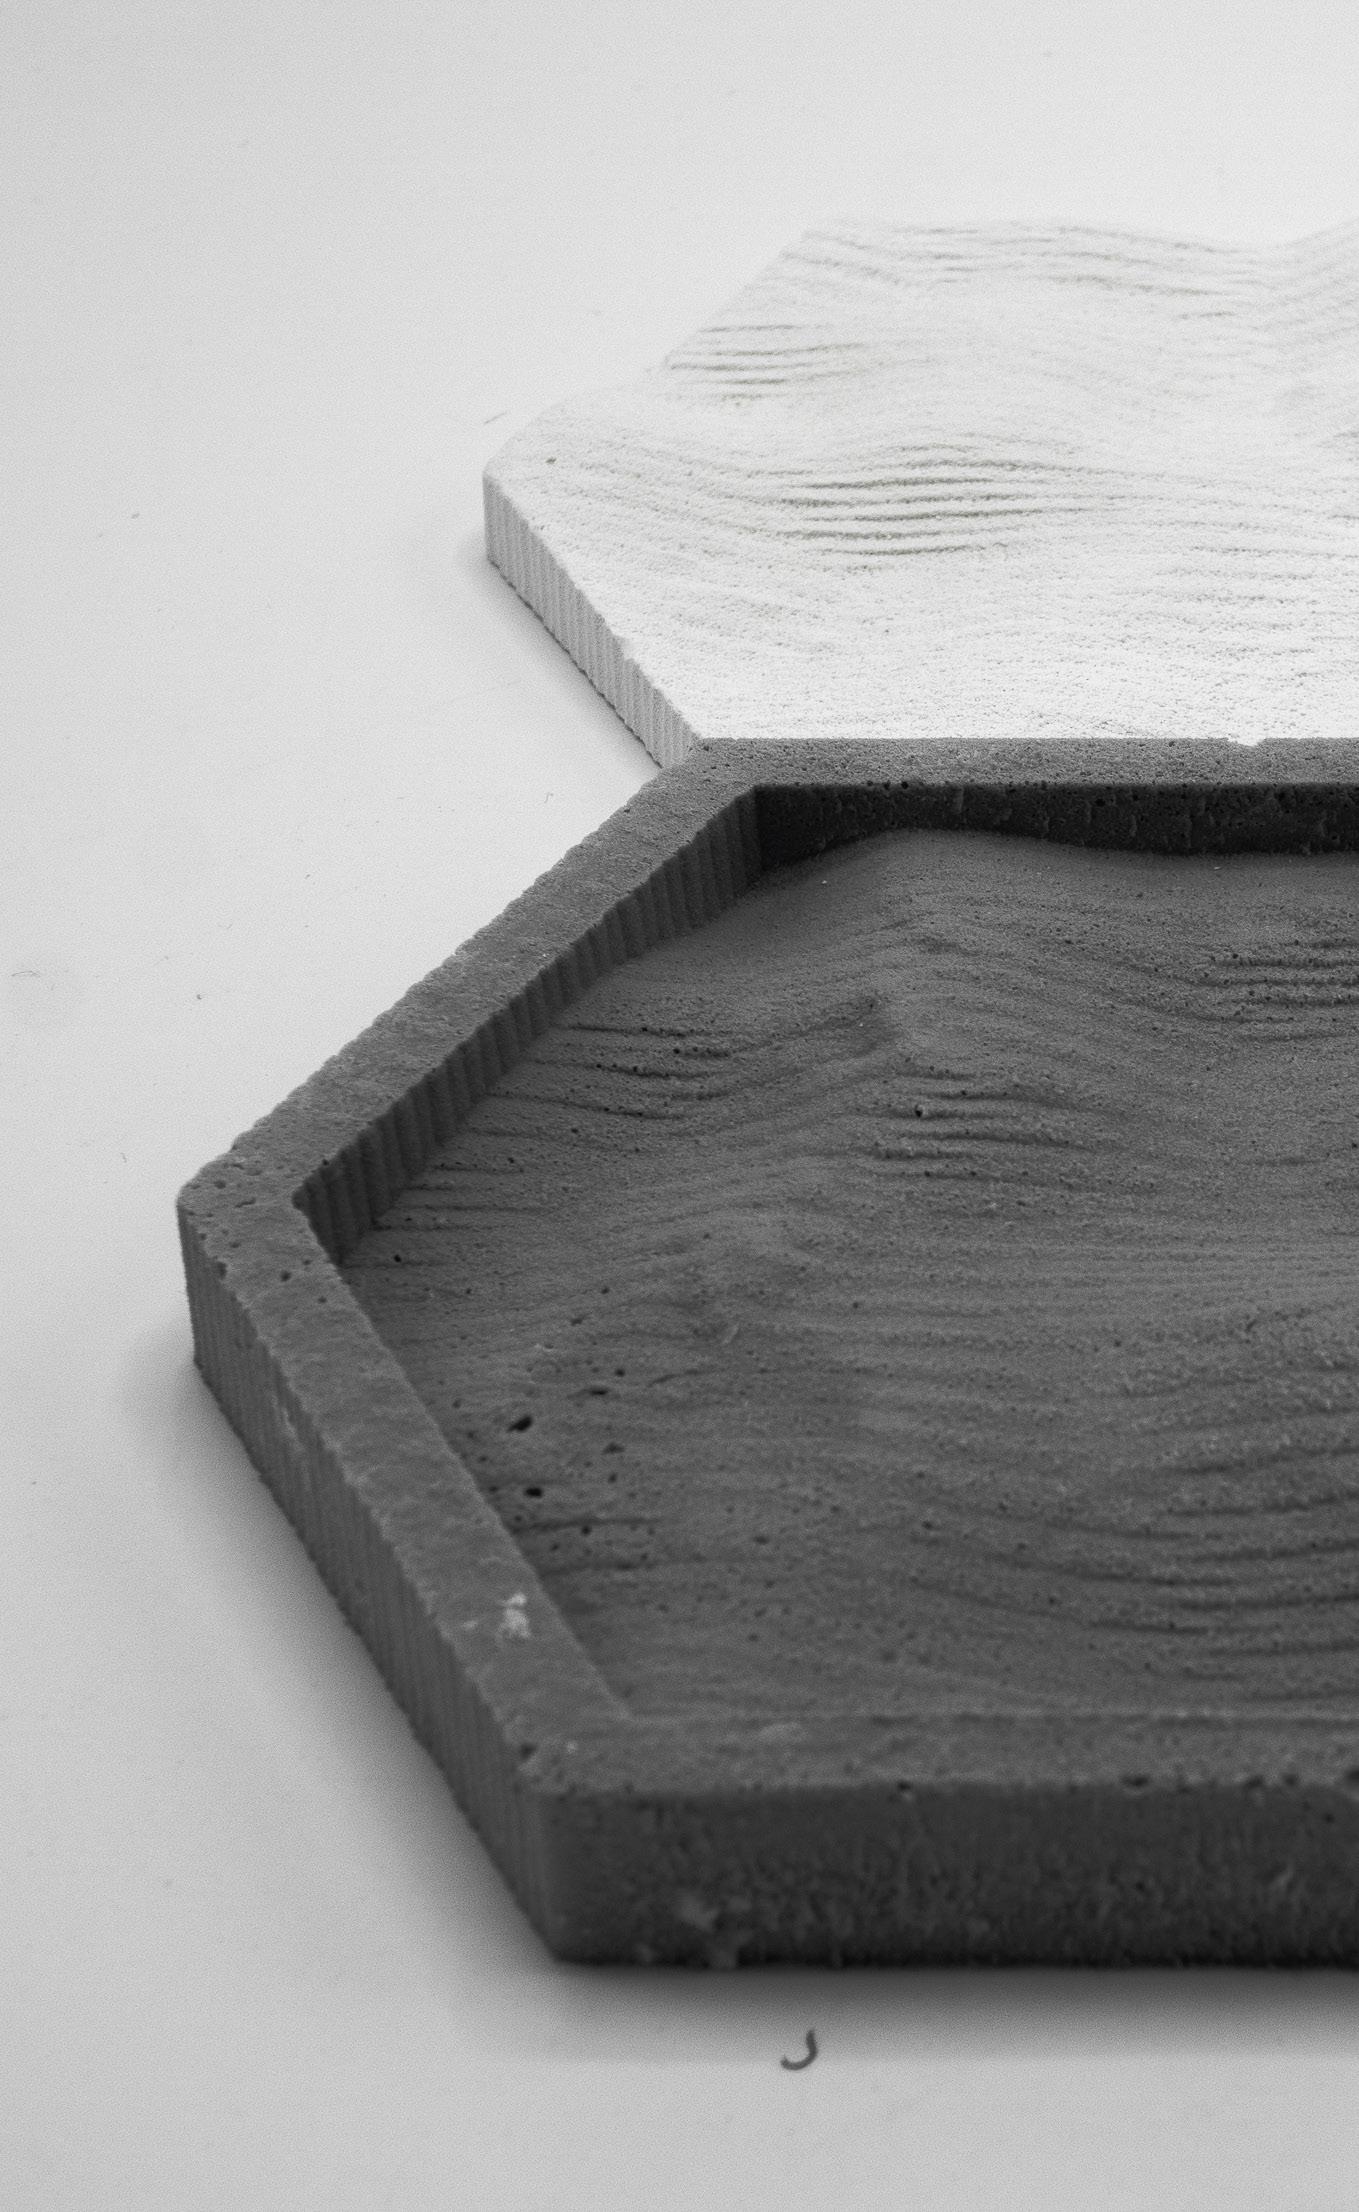
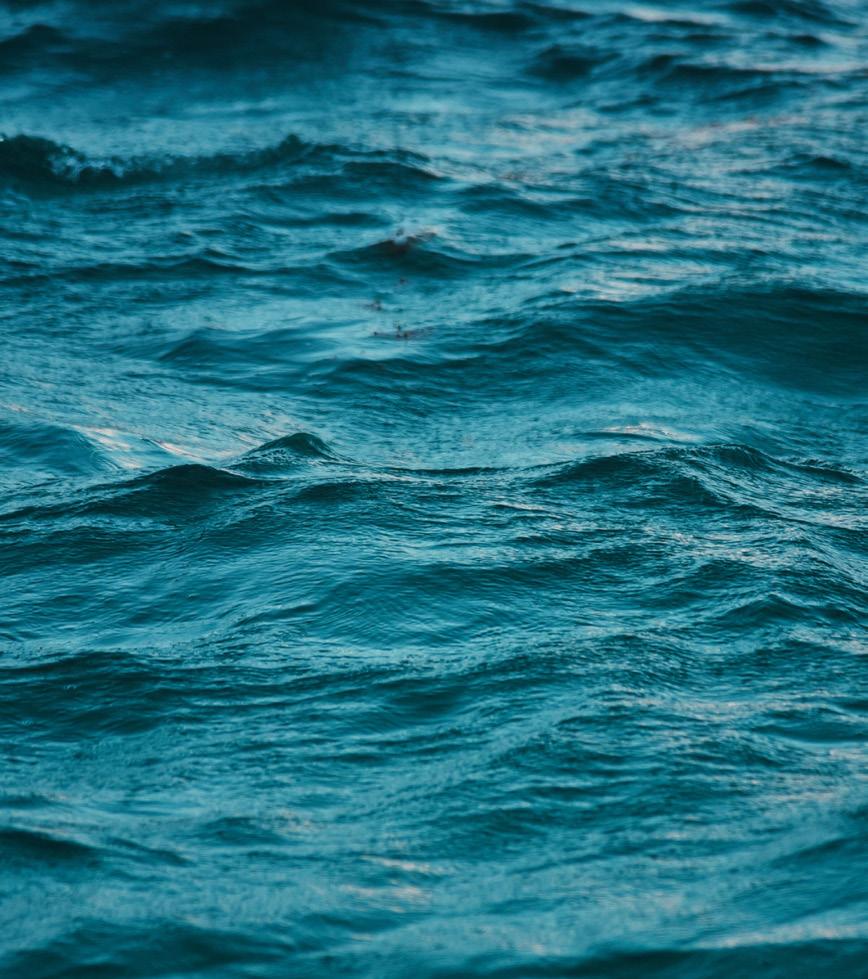
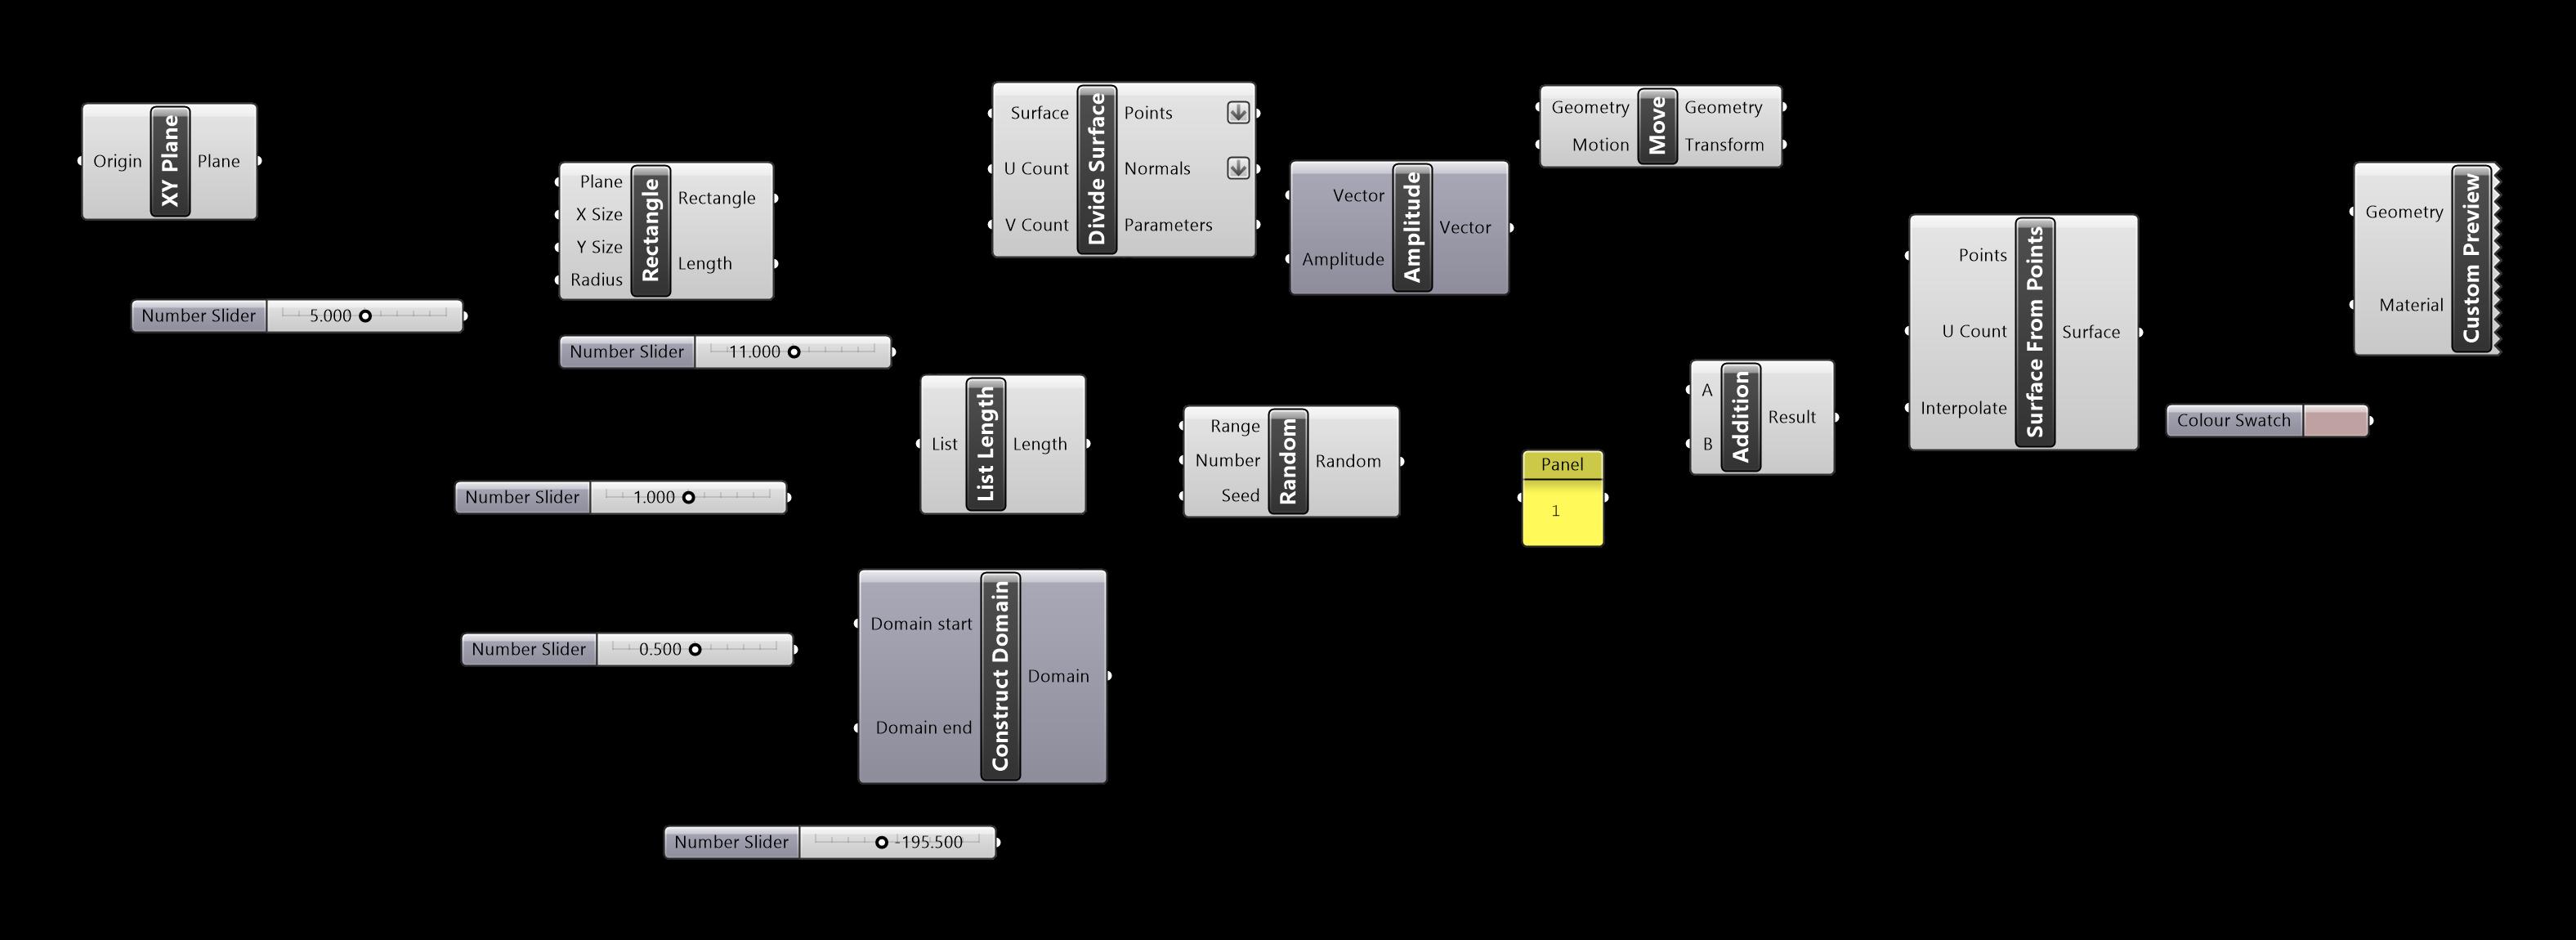
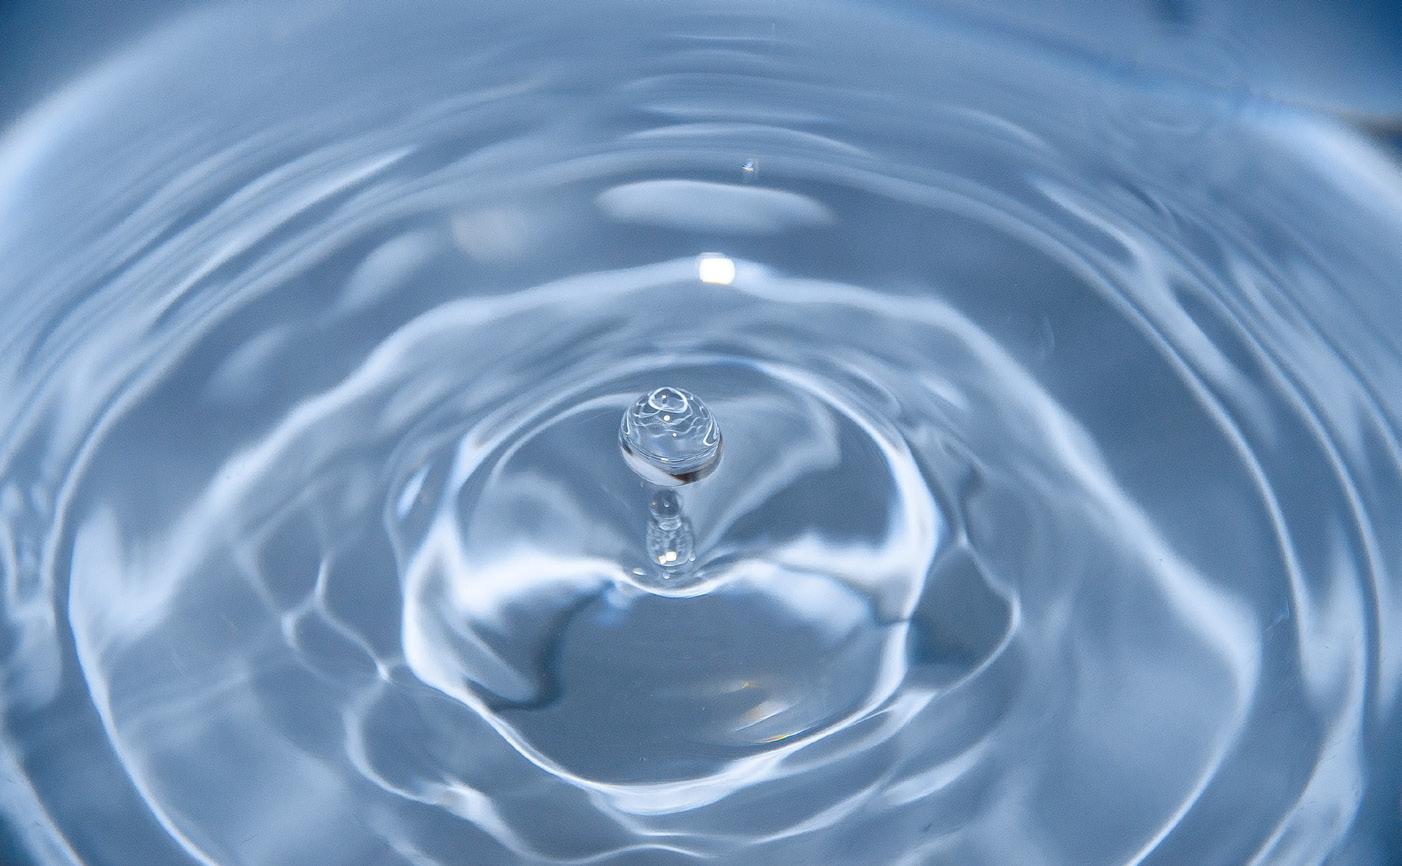
Grasshopper was used in our design process to help with our surface modeling. We looked at the texture of water body surfaces and other natural forming textures. We wanted the flexibility of an algorithm to generate surfaces with constraints and complexity.
GRASSHOPPER SCRIPT
Project 2 ITERATION 2
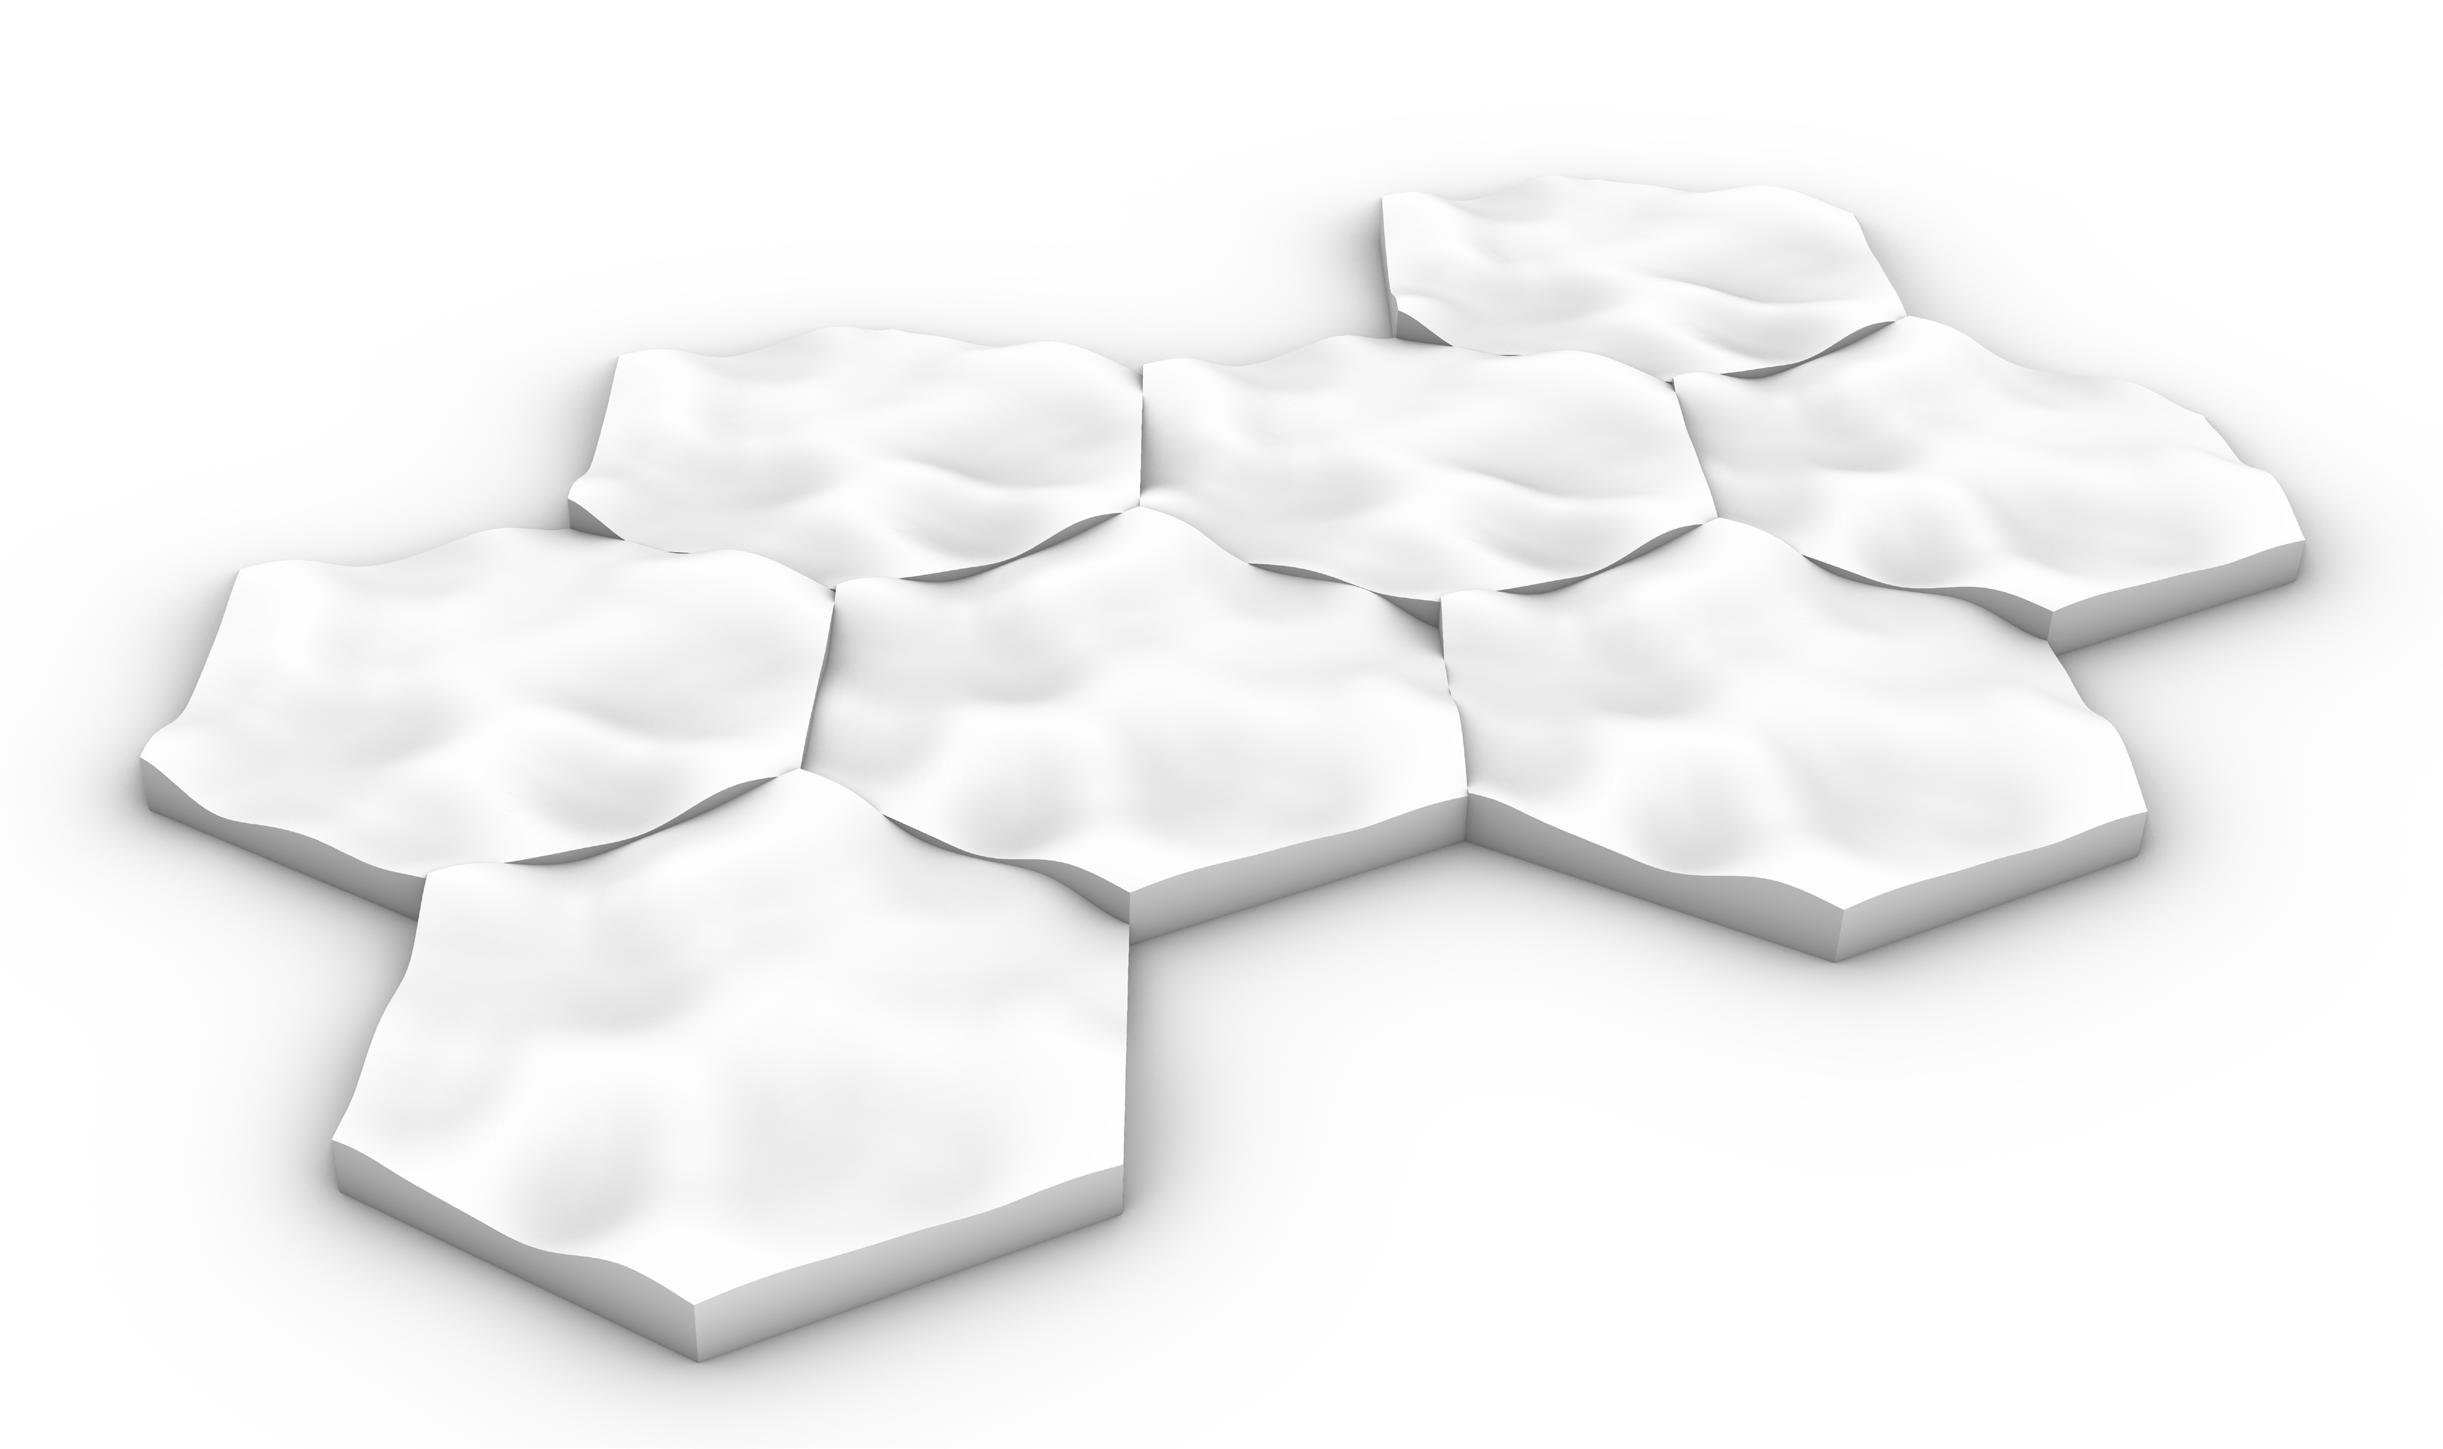
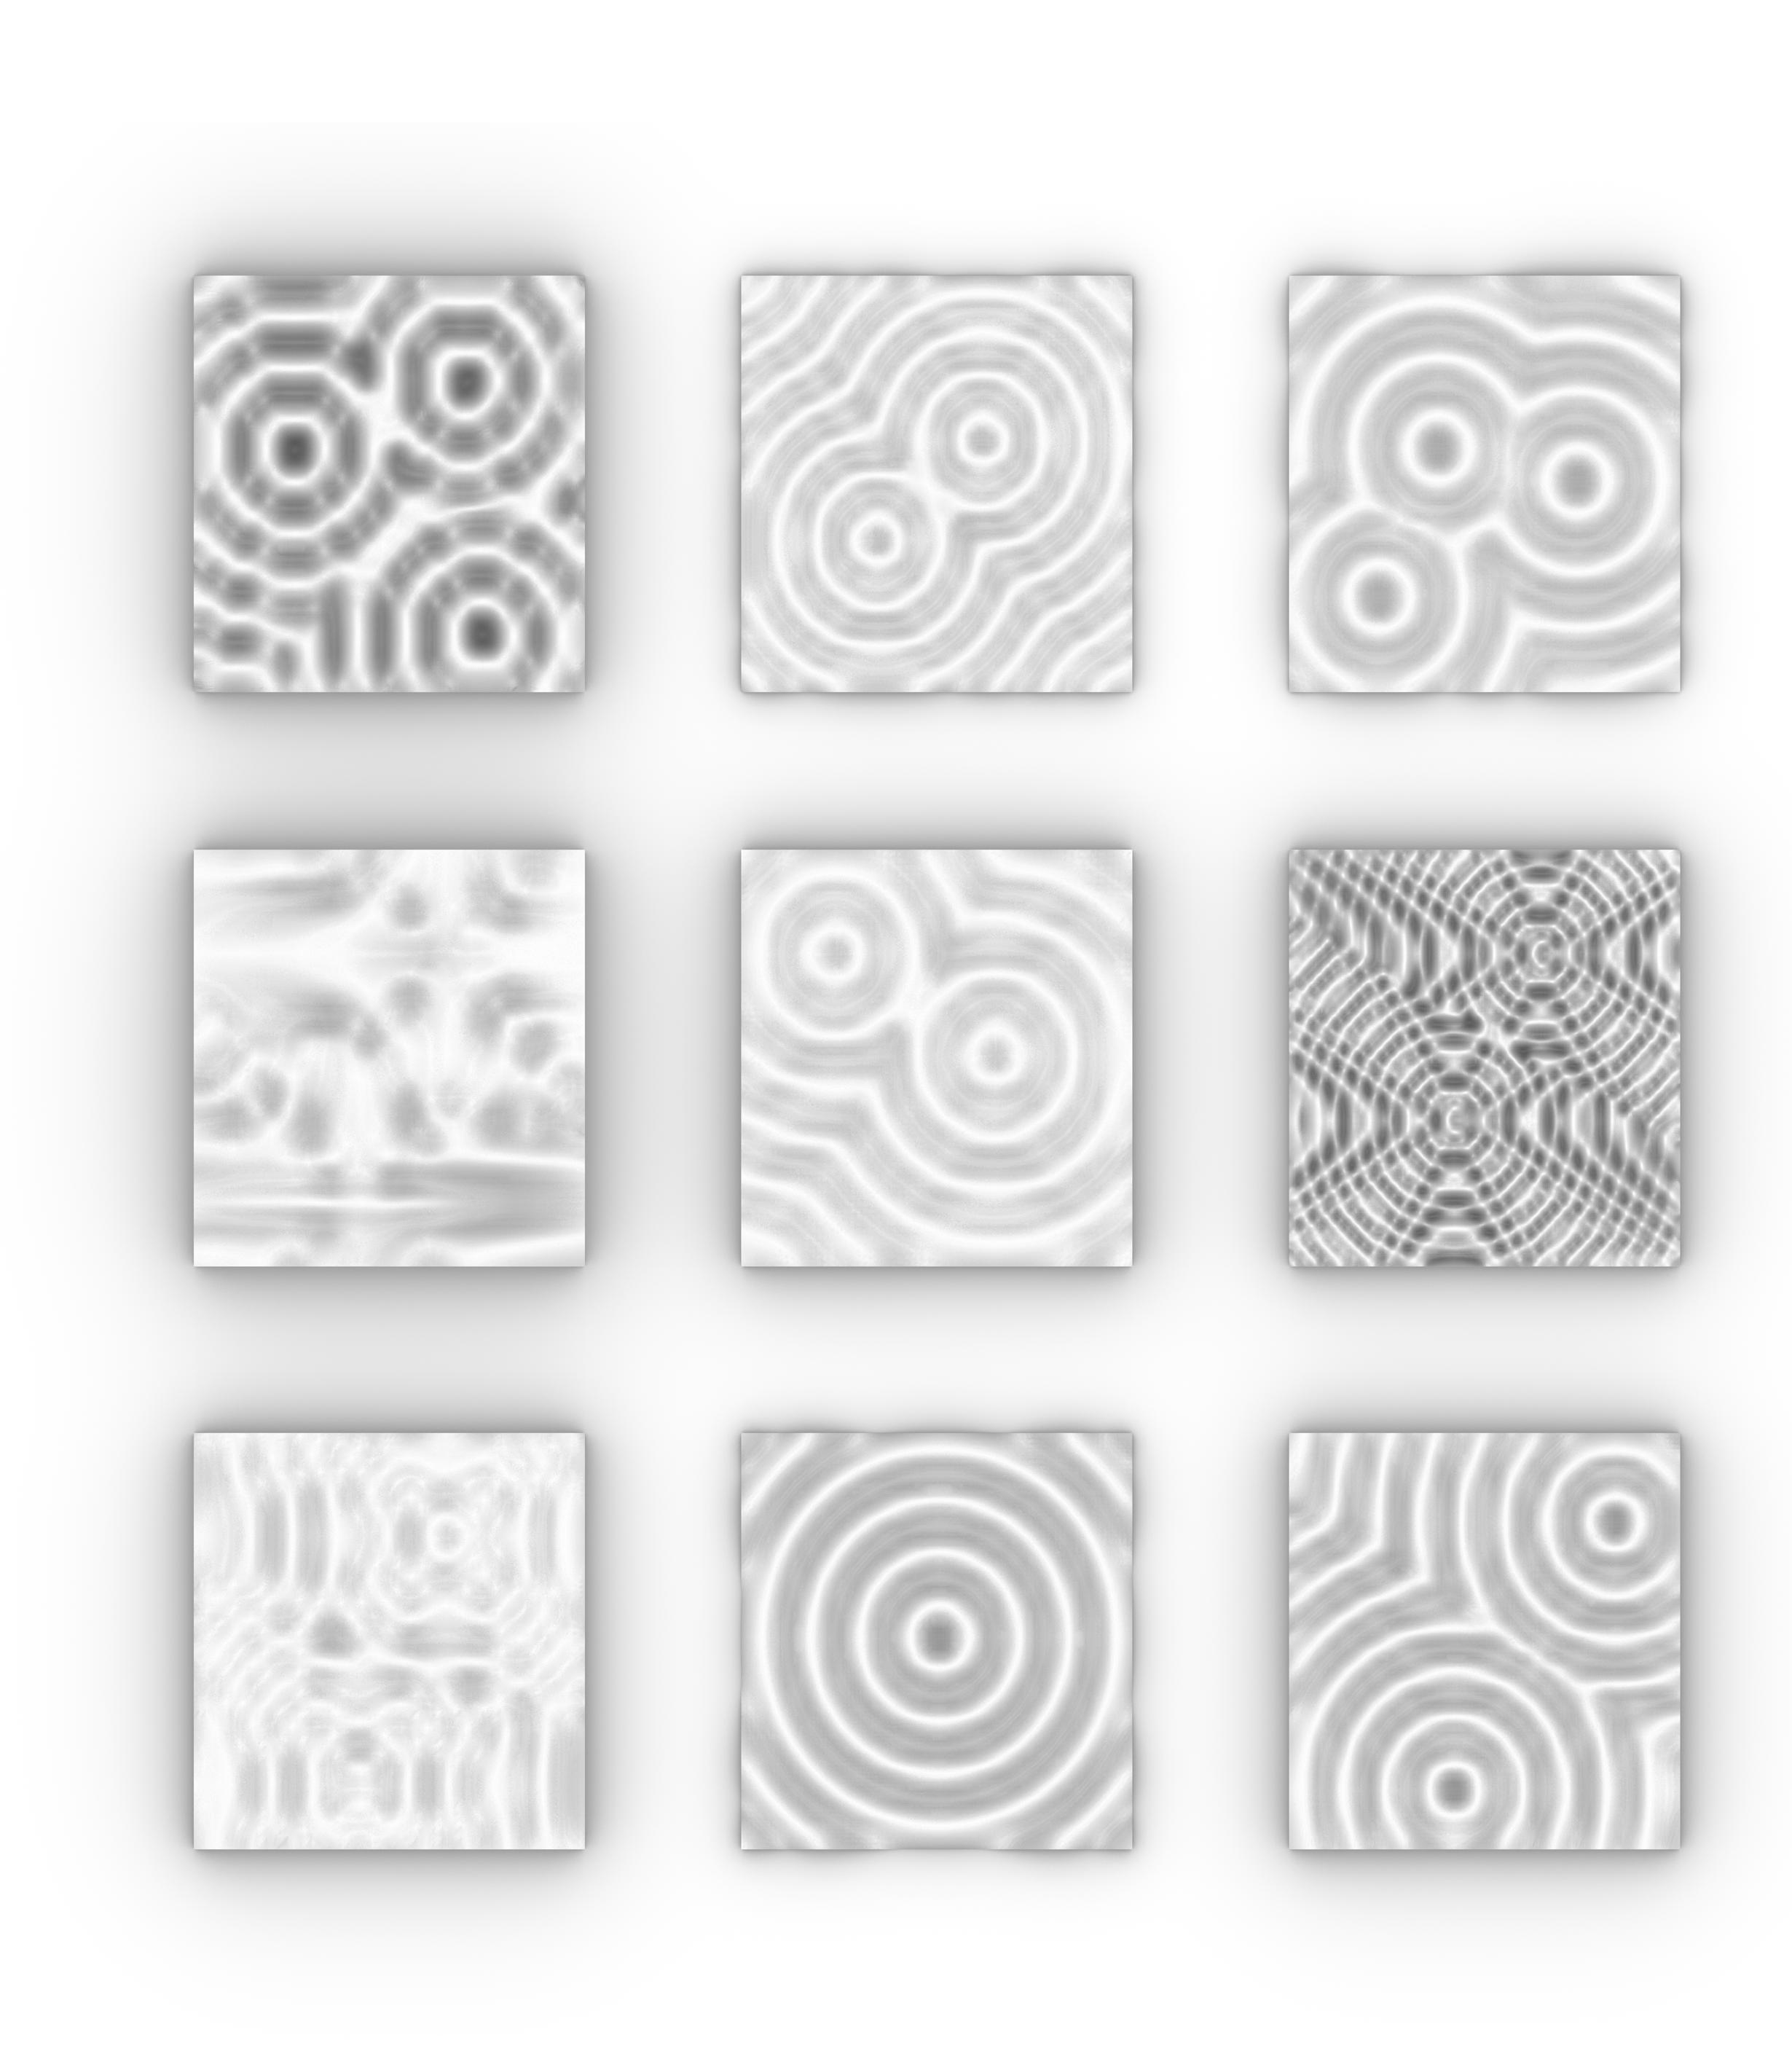
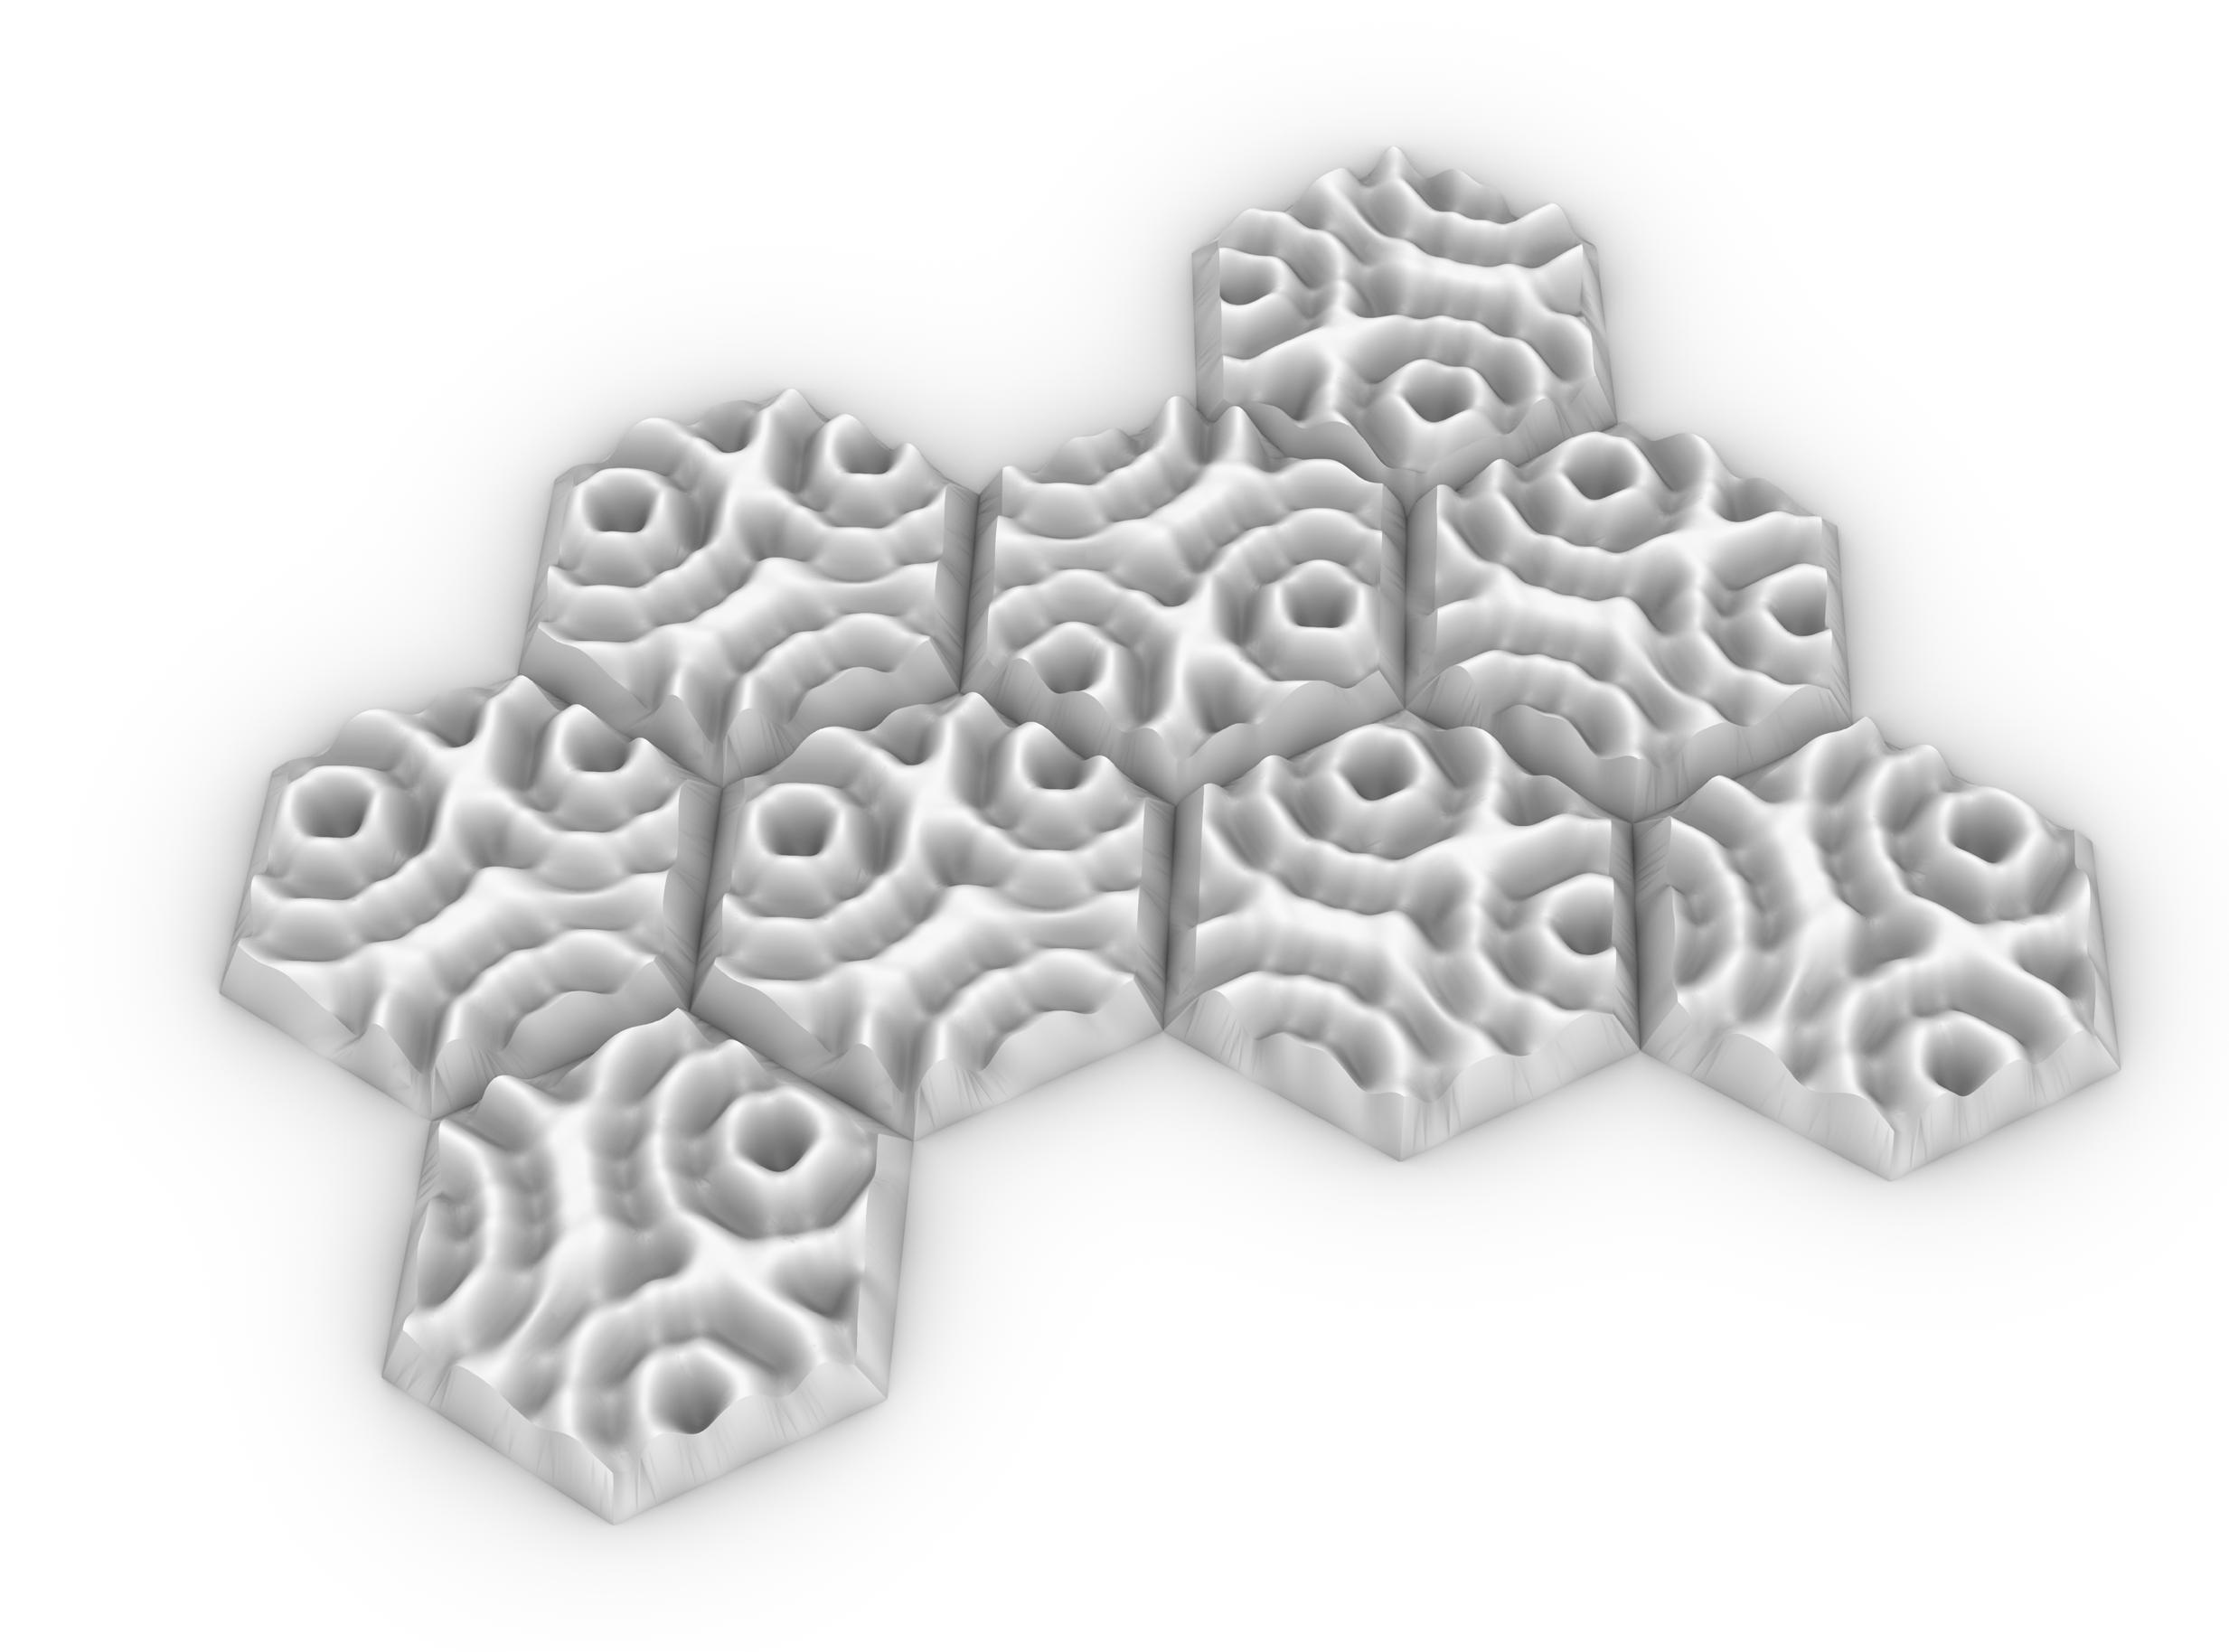
We had another opportunity to experiment and make a more defined organic module. Building off our previous iteration, we concentrated on particular features of our design. This included the surface texture, edge slope, and overall depth of cuts. We adapted a Grasshopper script to simulate ripples in water. We were able to come up with several variations of the surface we wanted to implement. After picking a surface, we went through a manufacturing process familiar to the prior iteration.
SURFACE VARIATIONS
GRASSHOPPER SCRIPT



Project 3 CLAY PRINTING
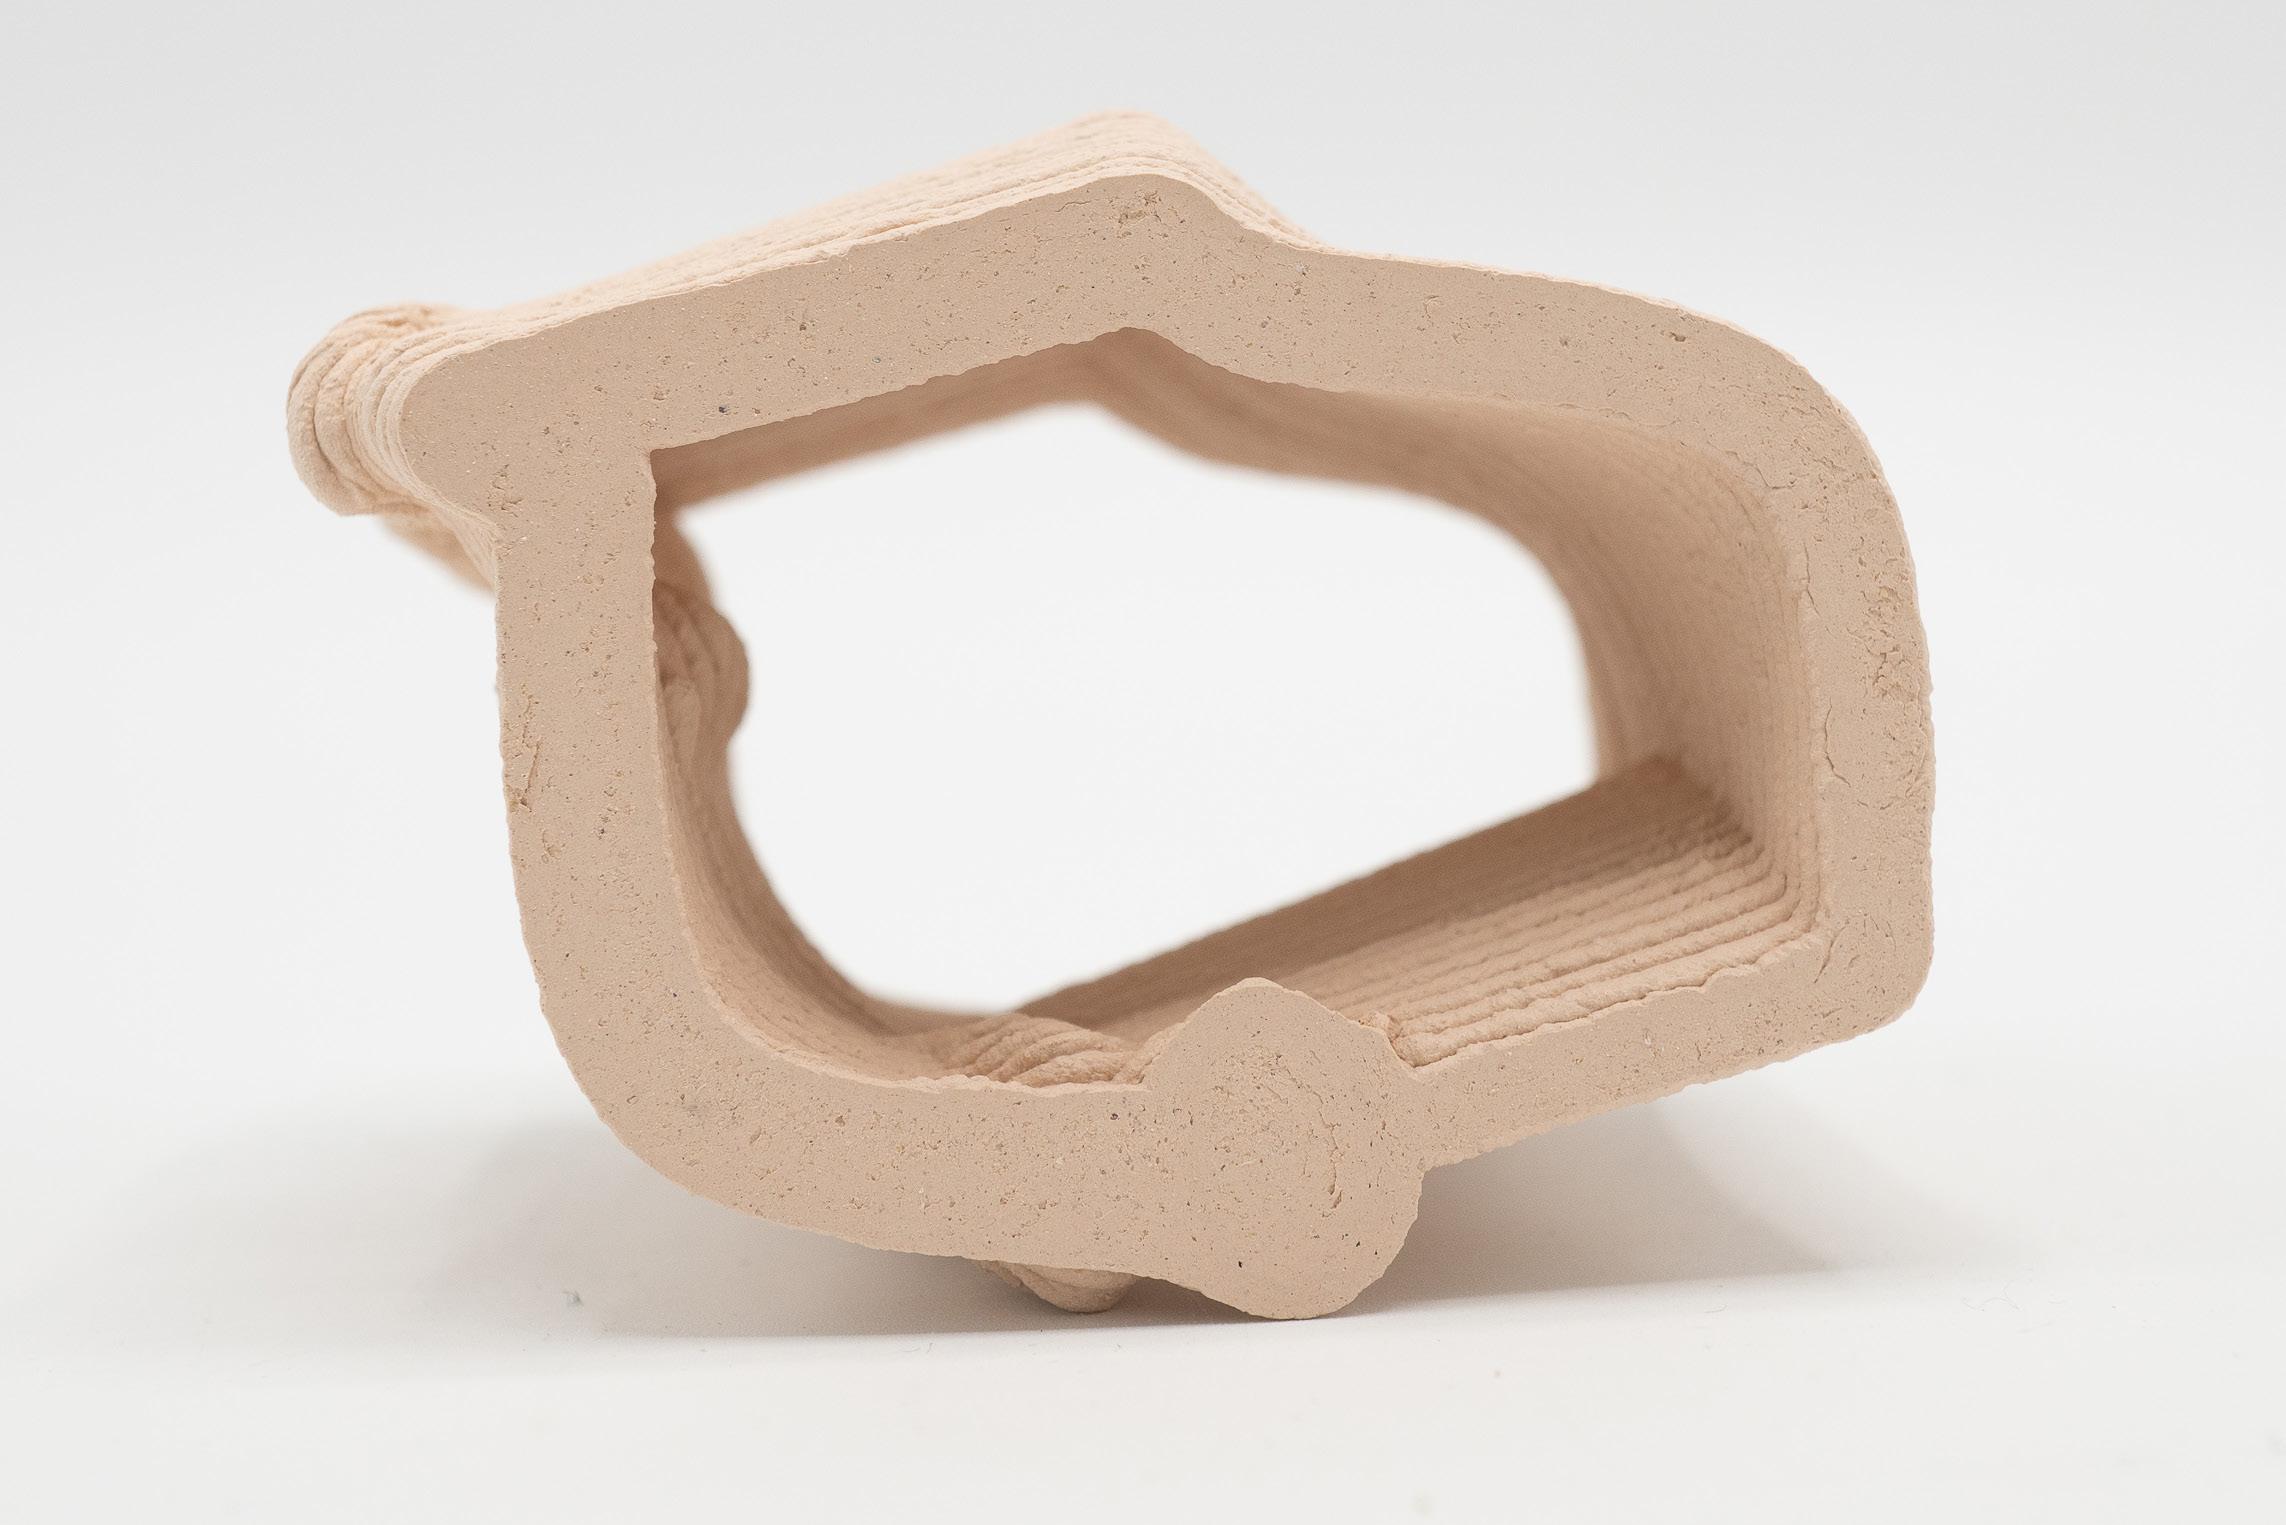
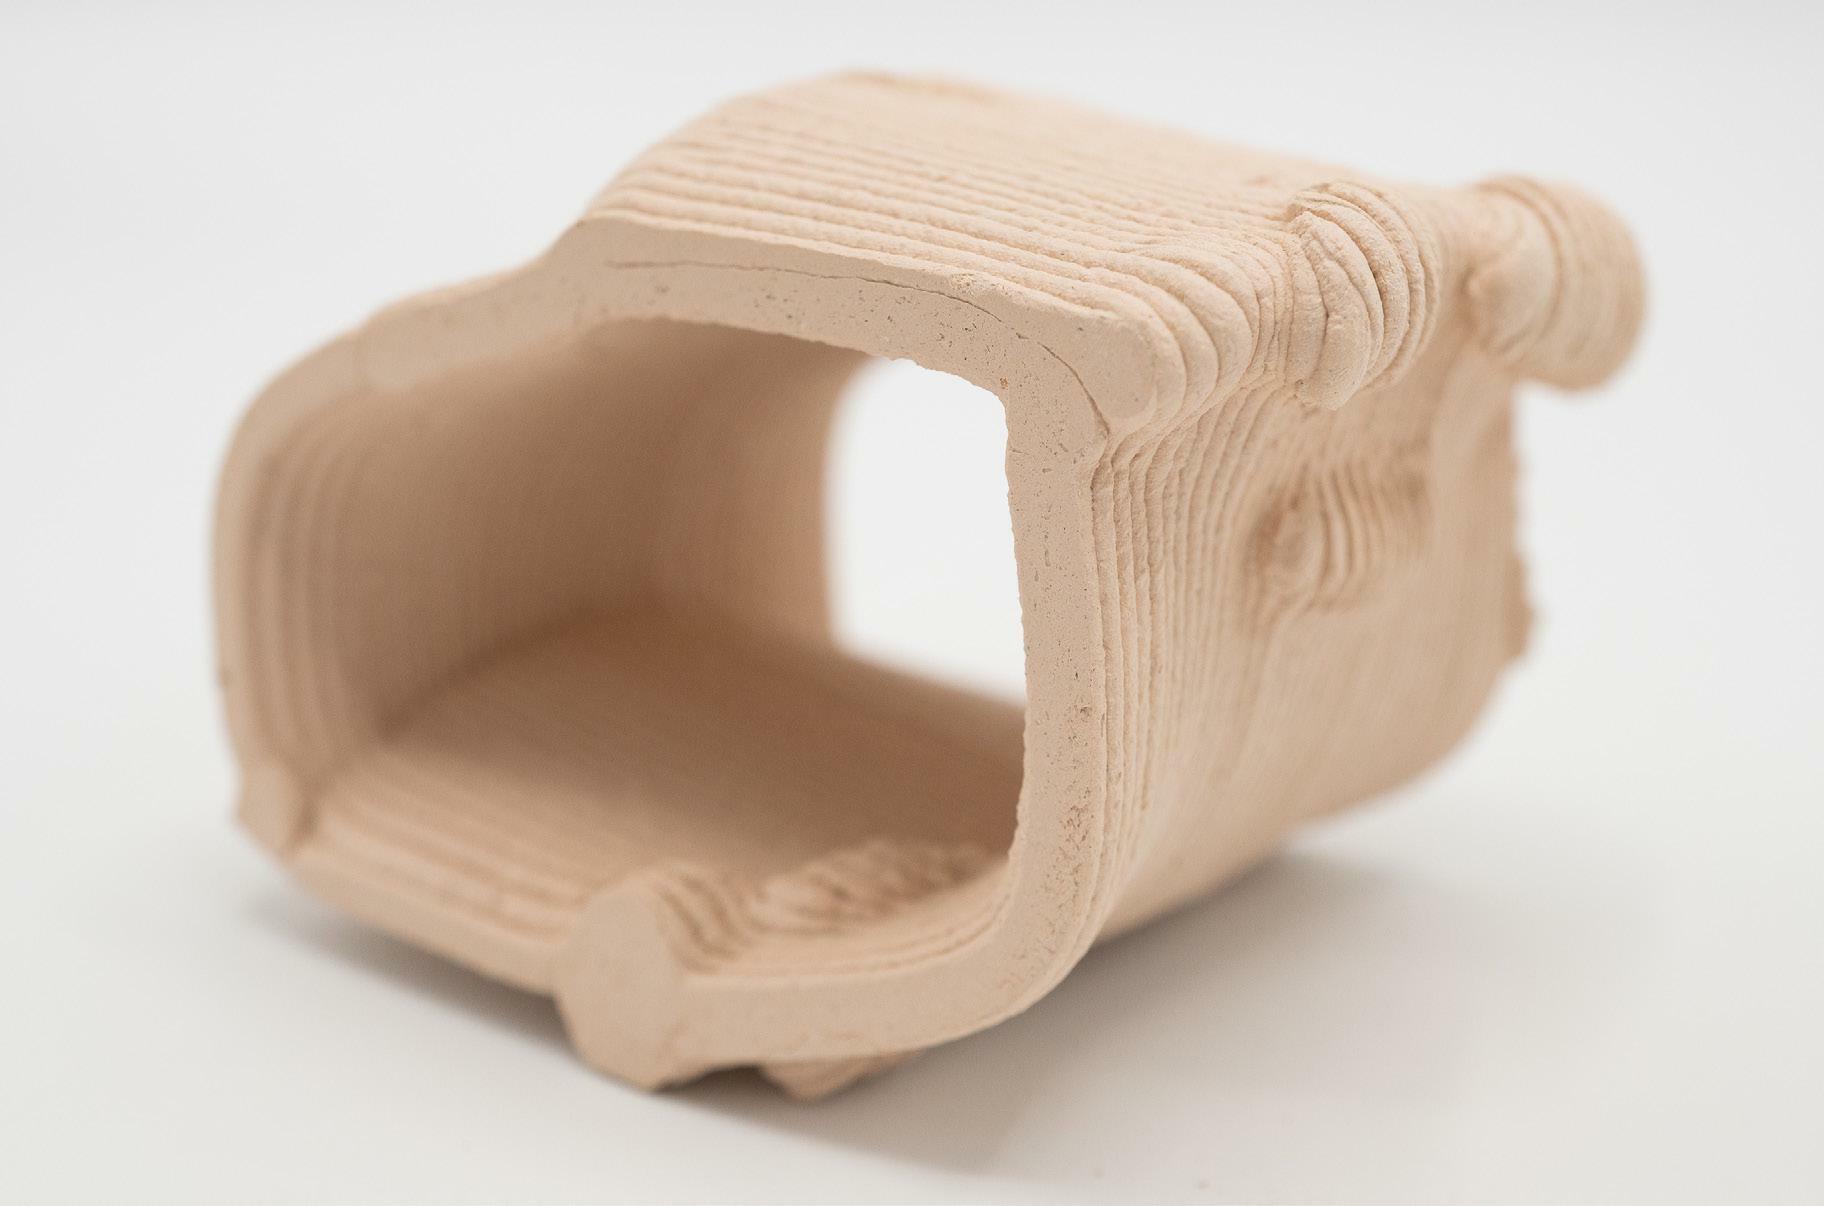
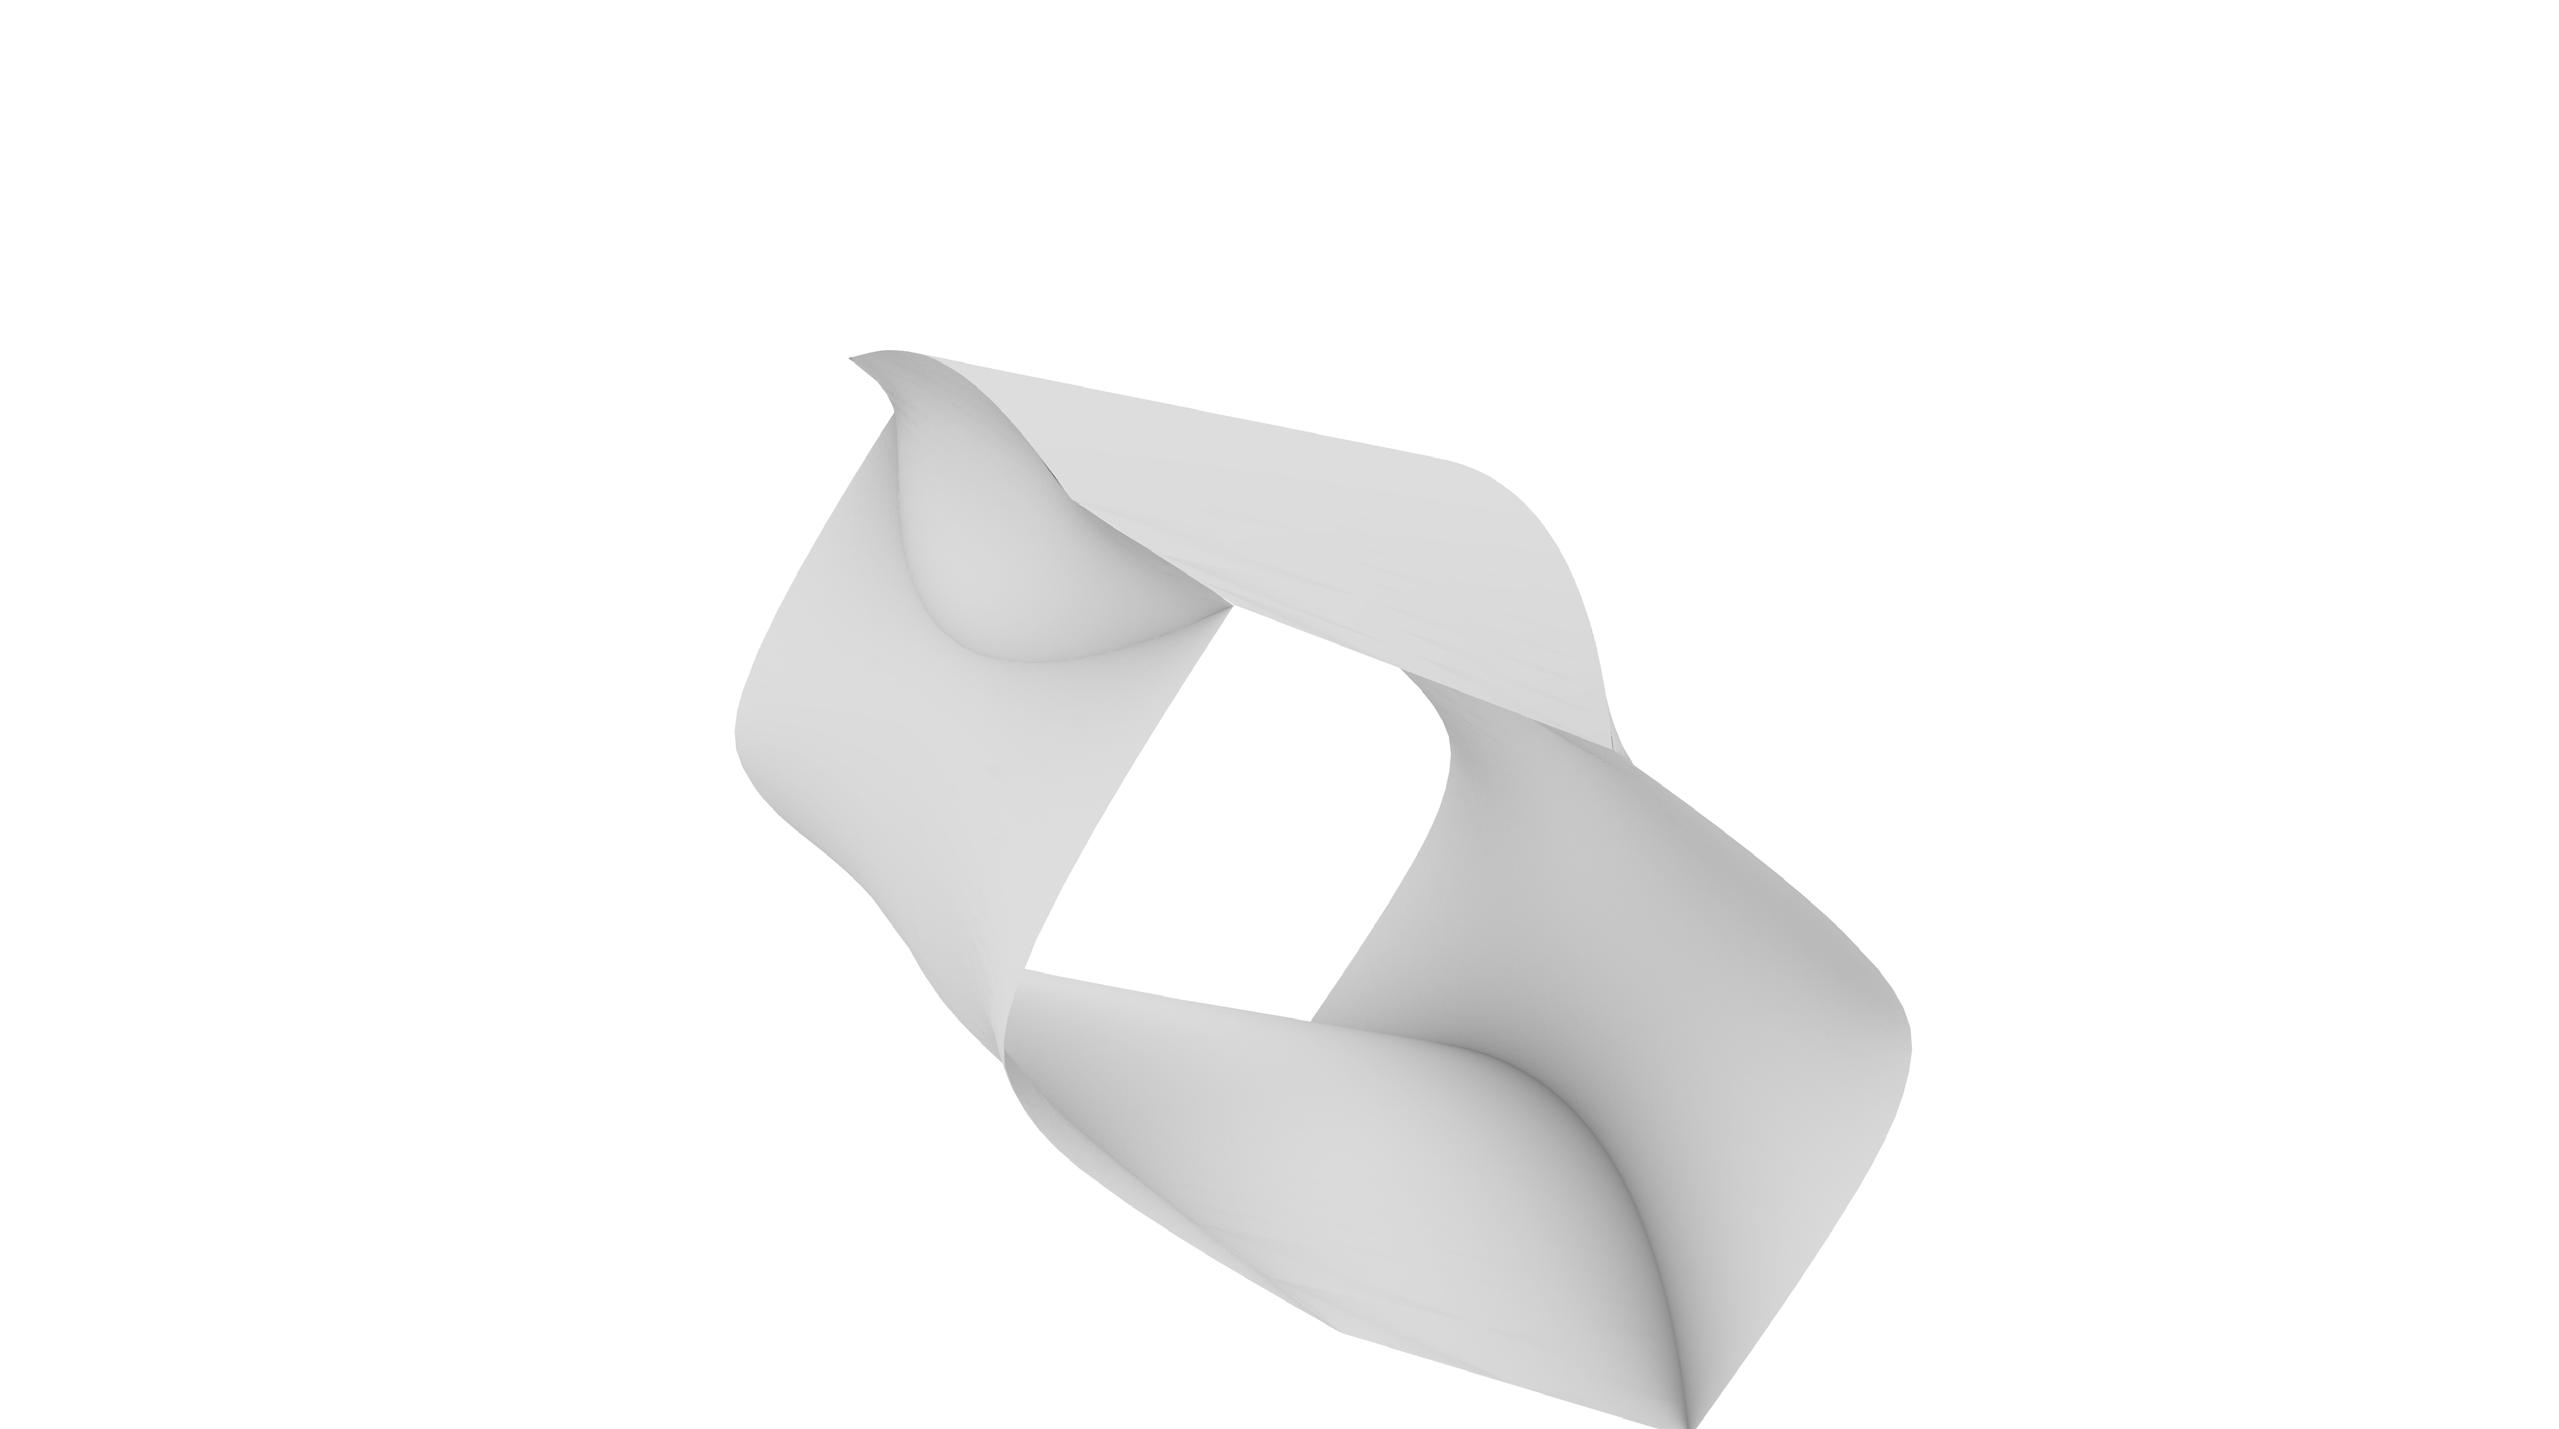
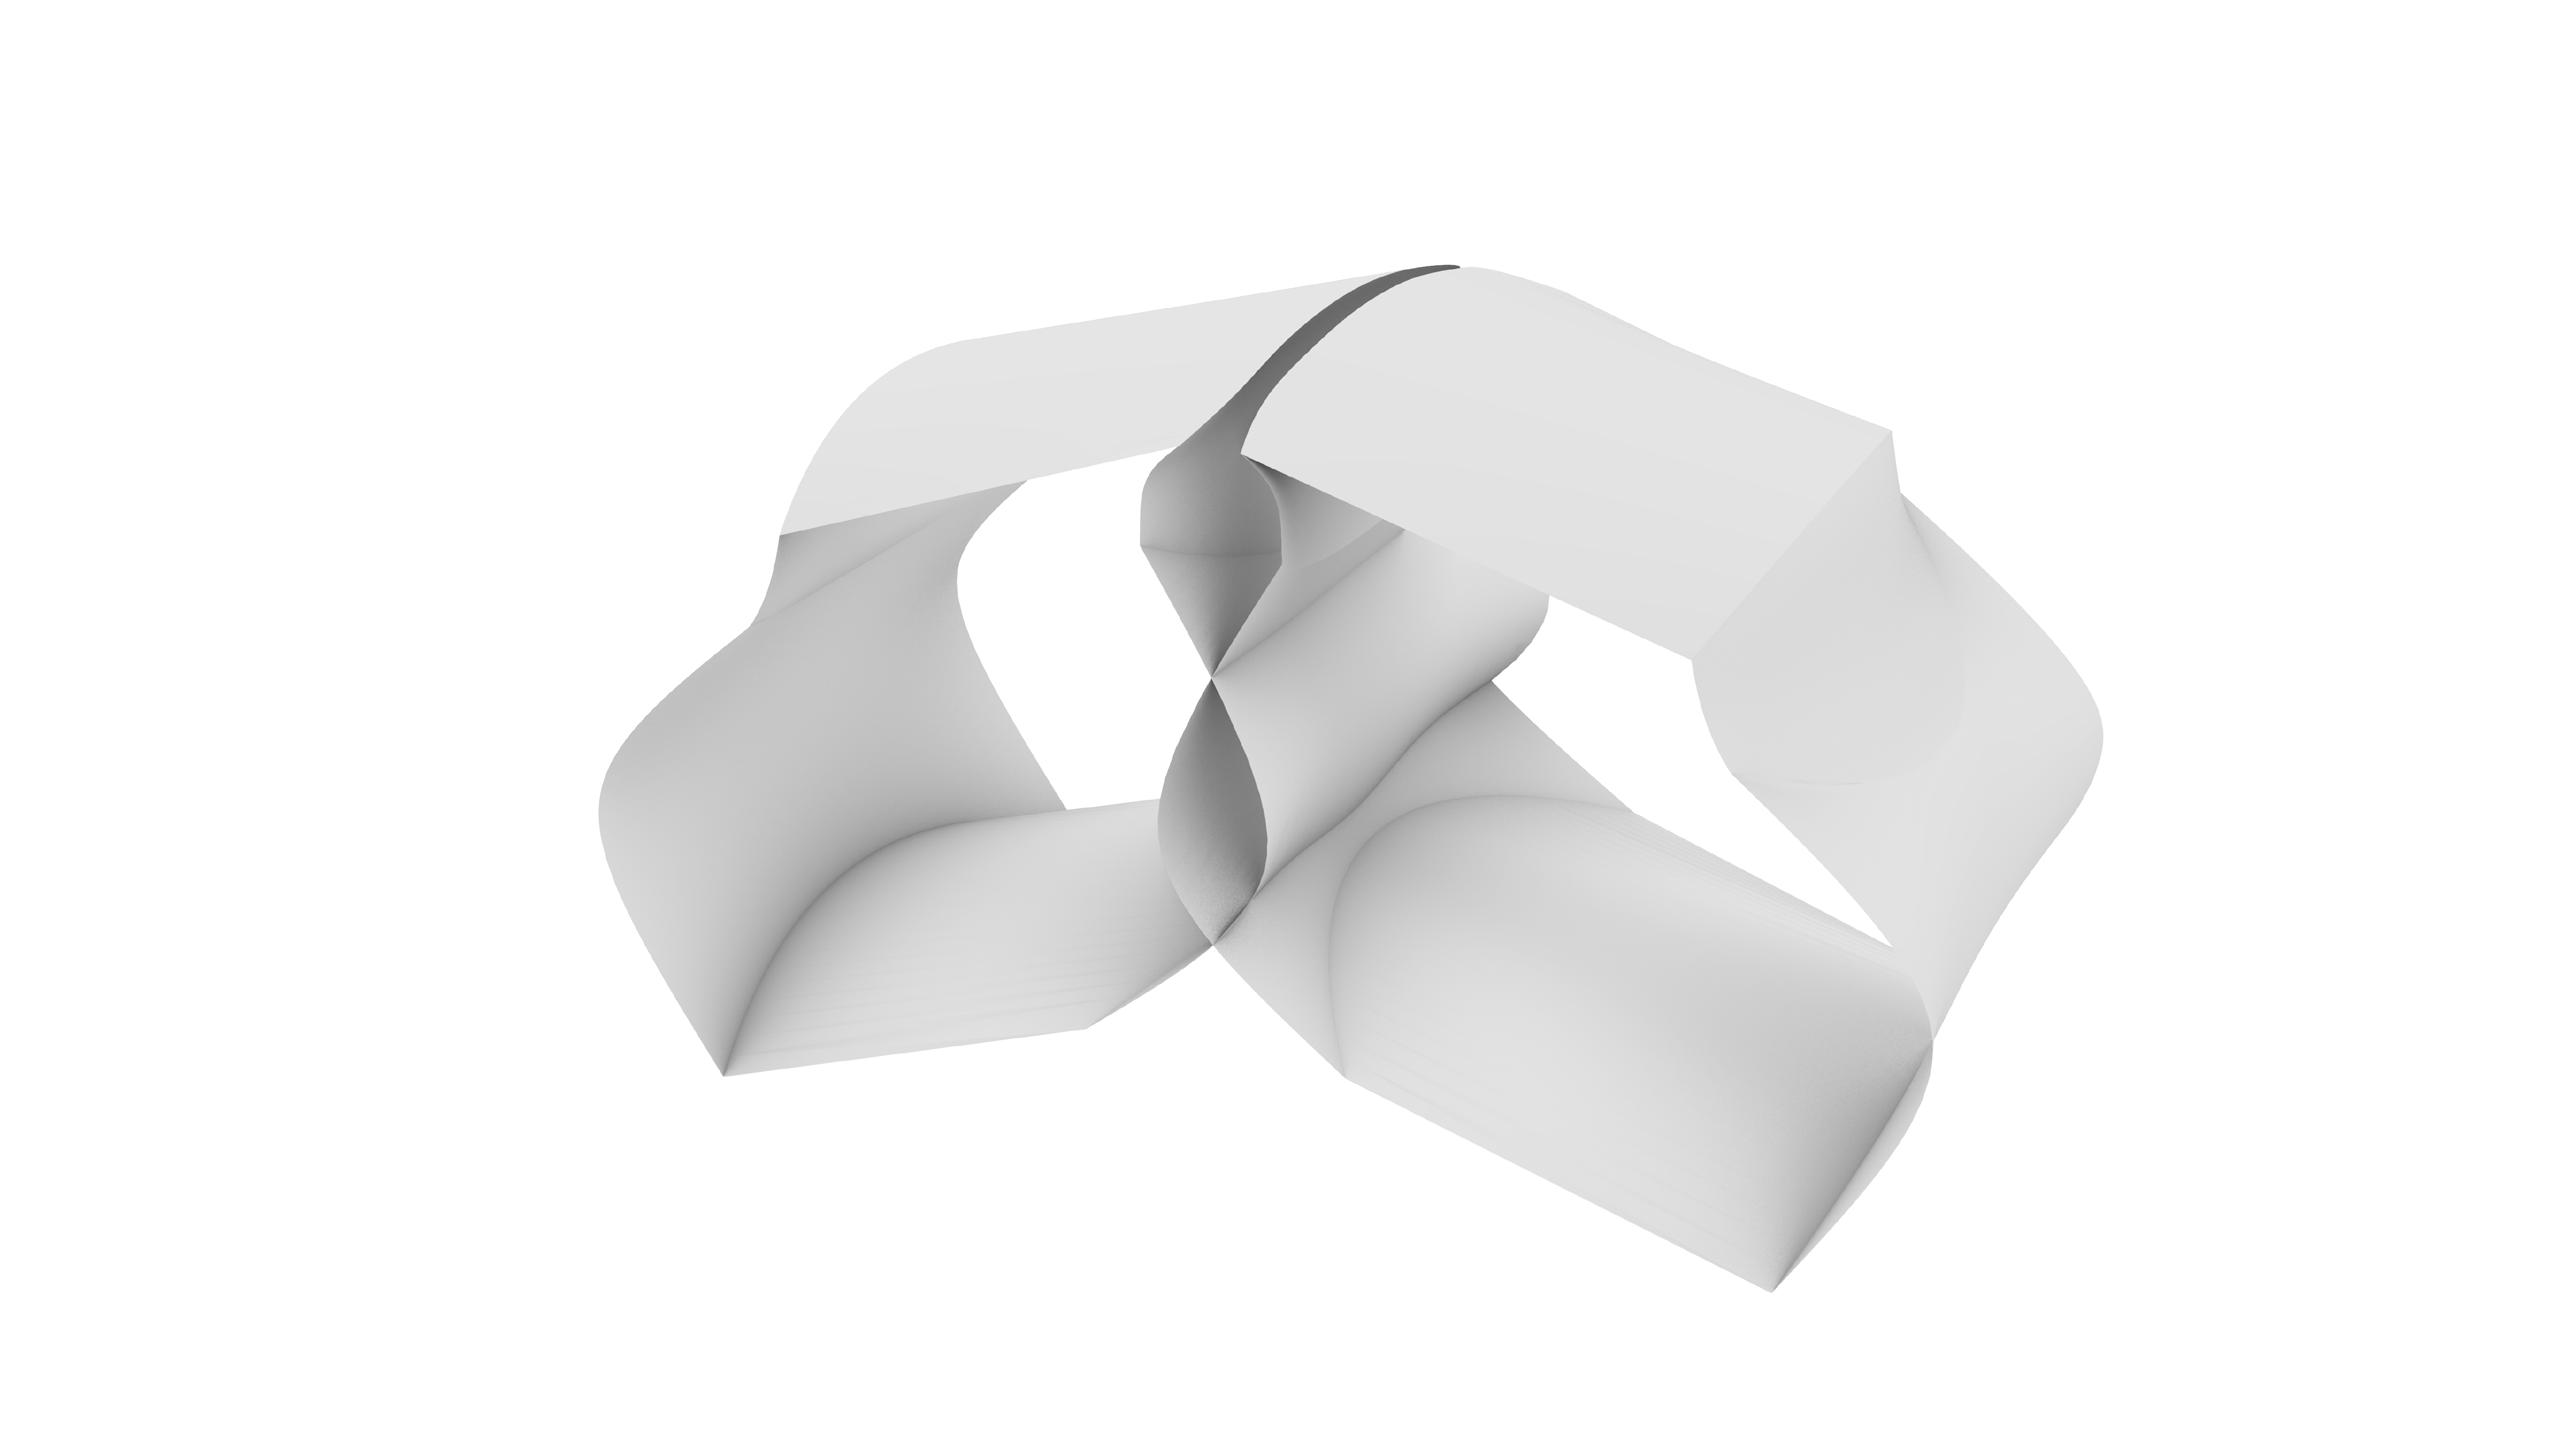
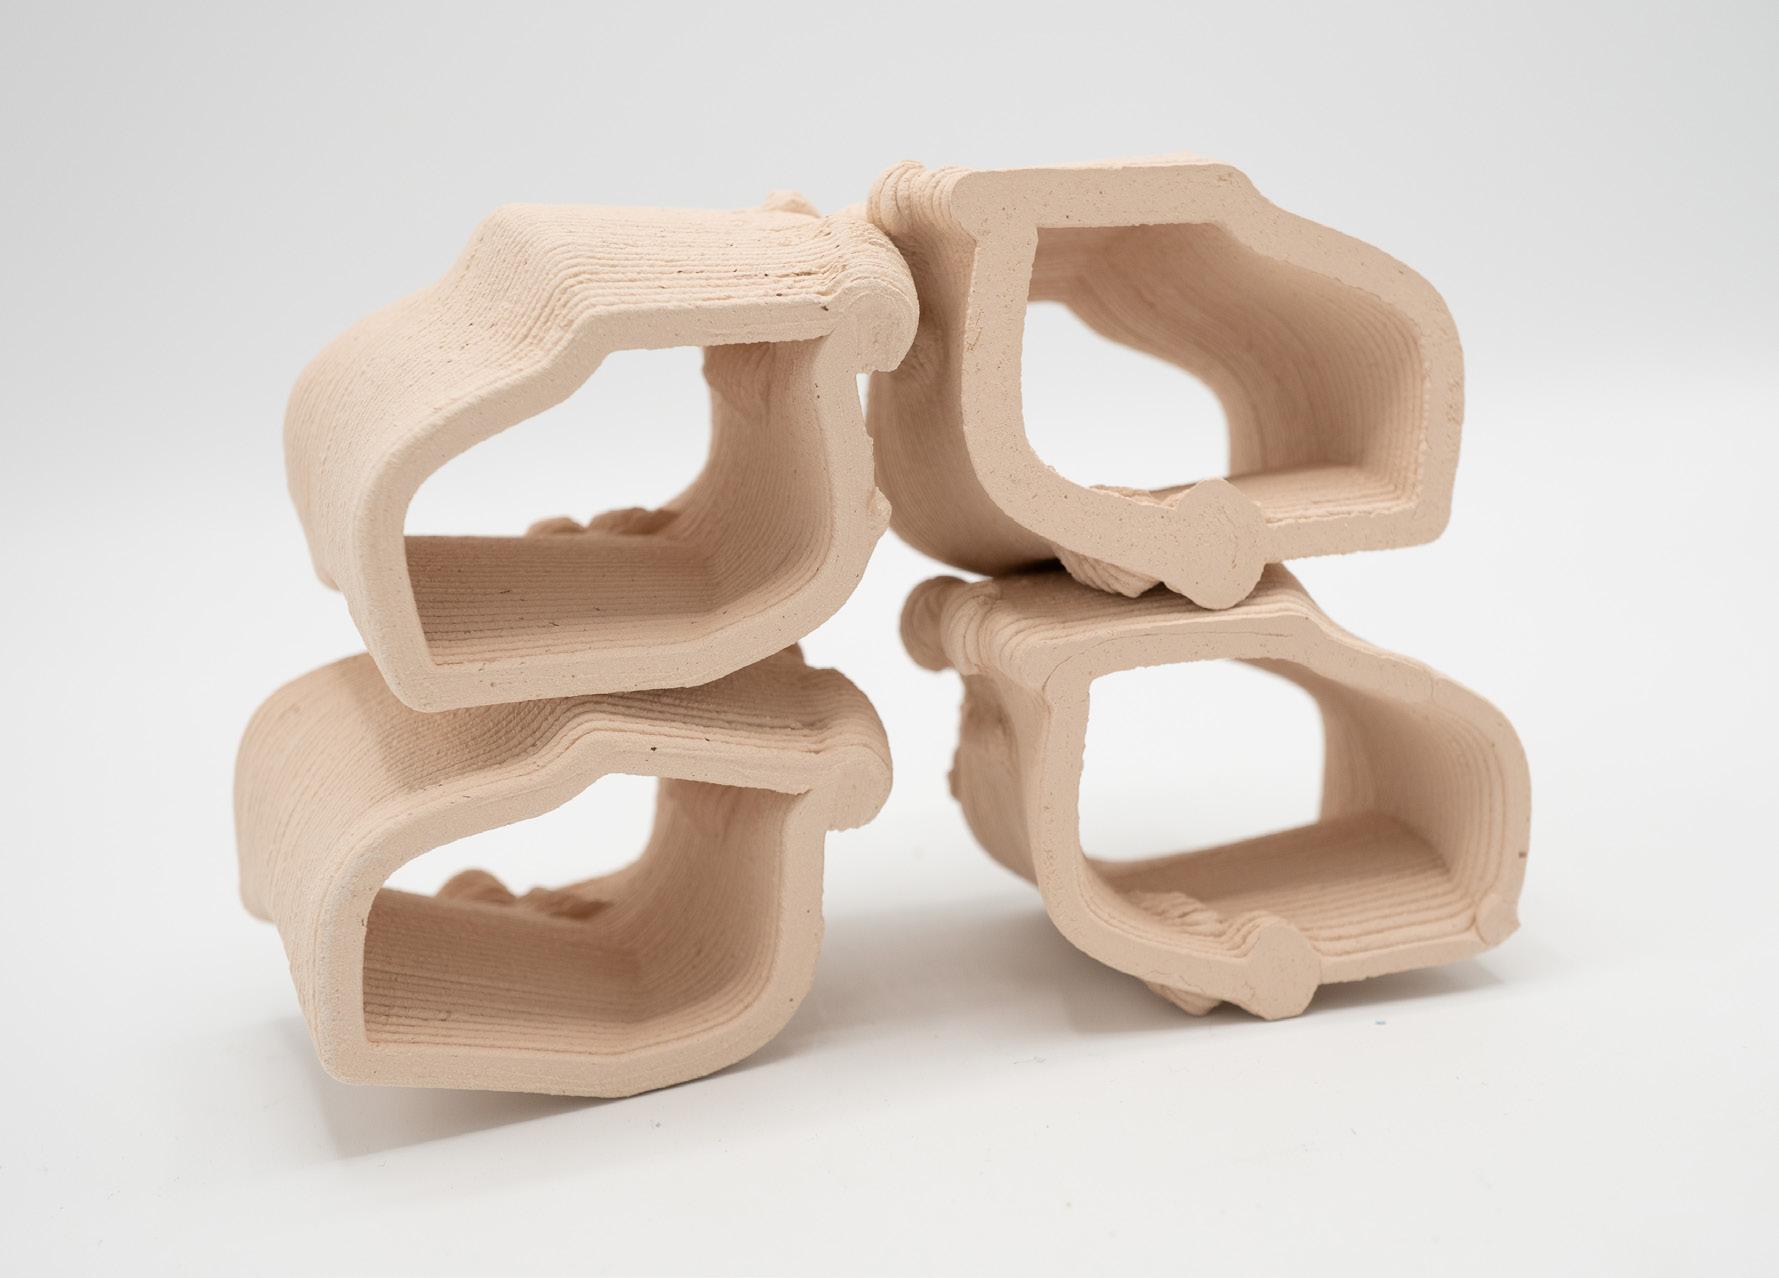
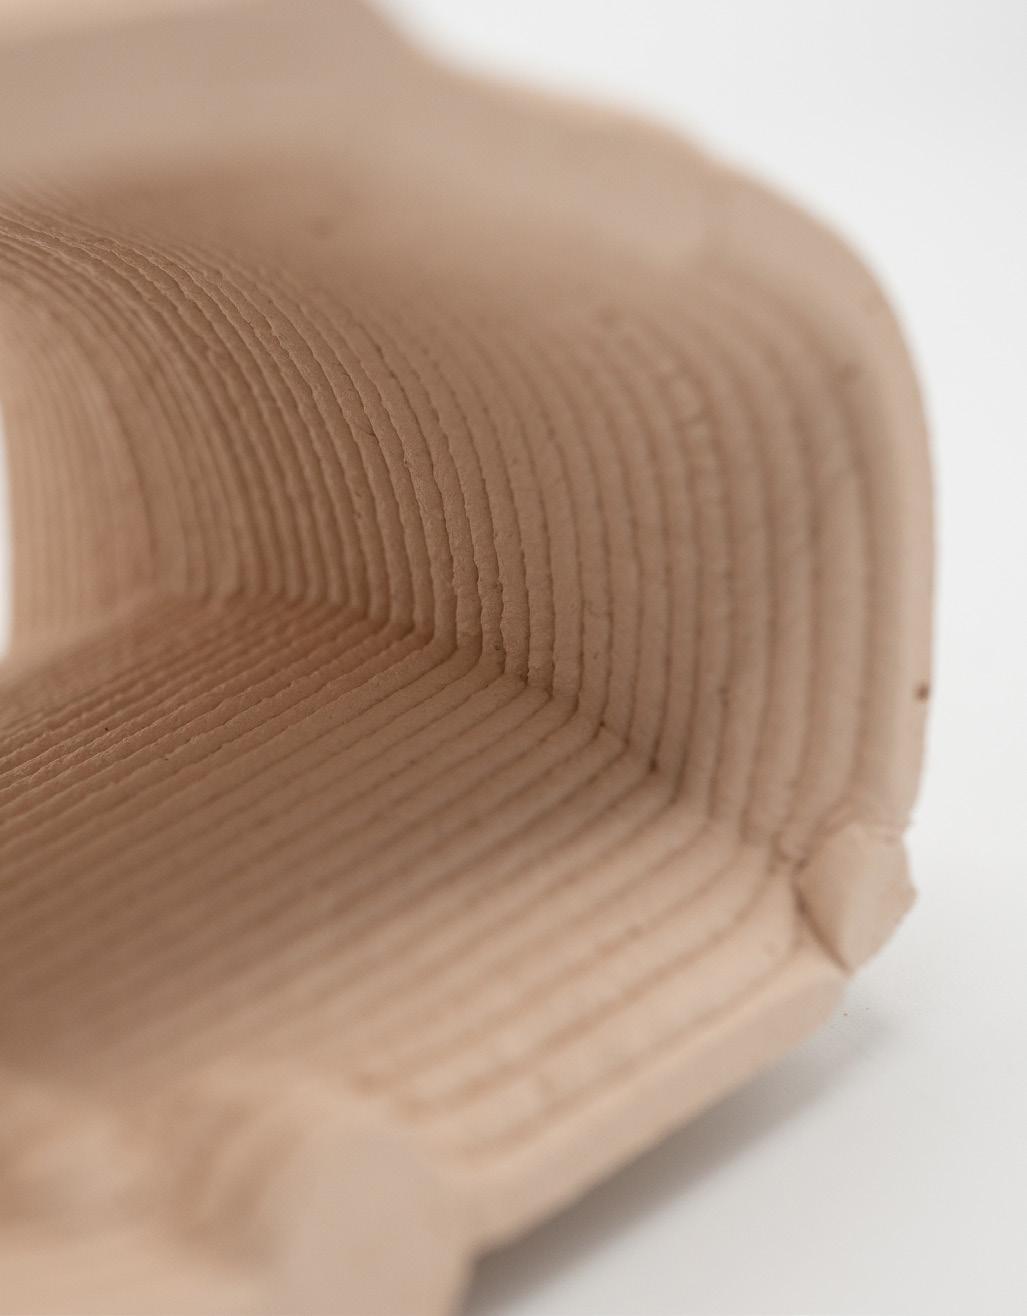
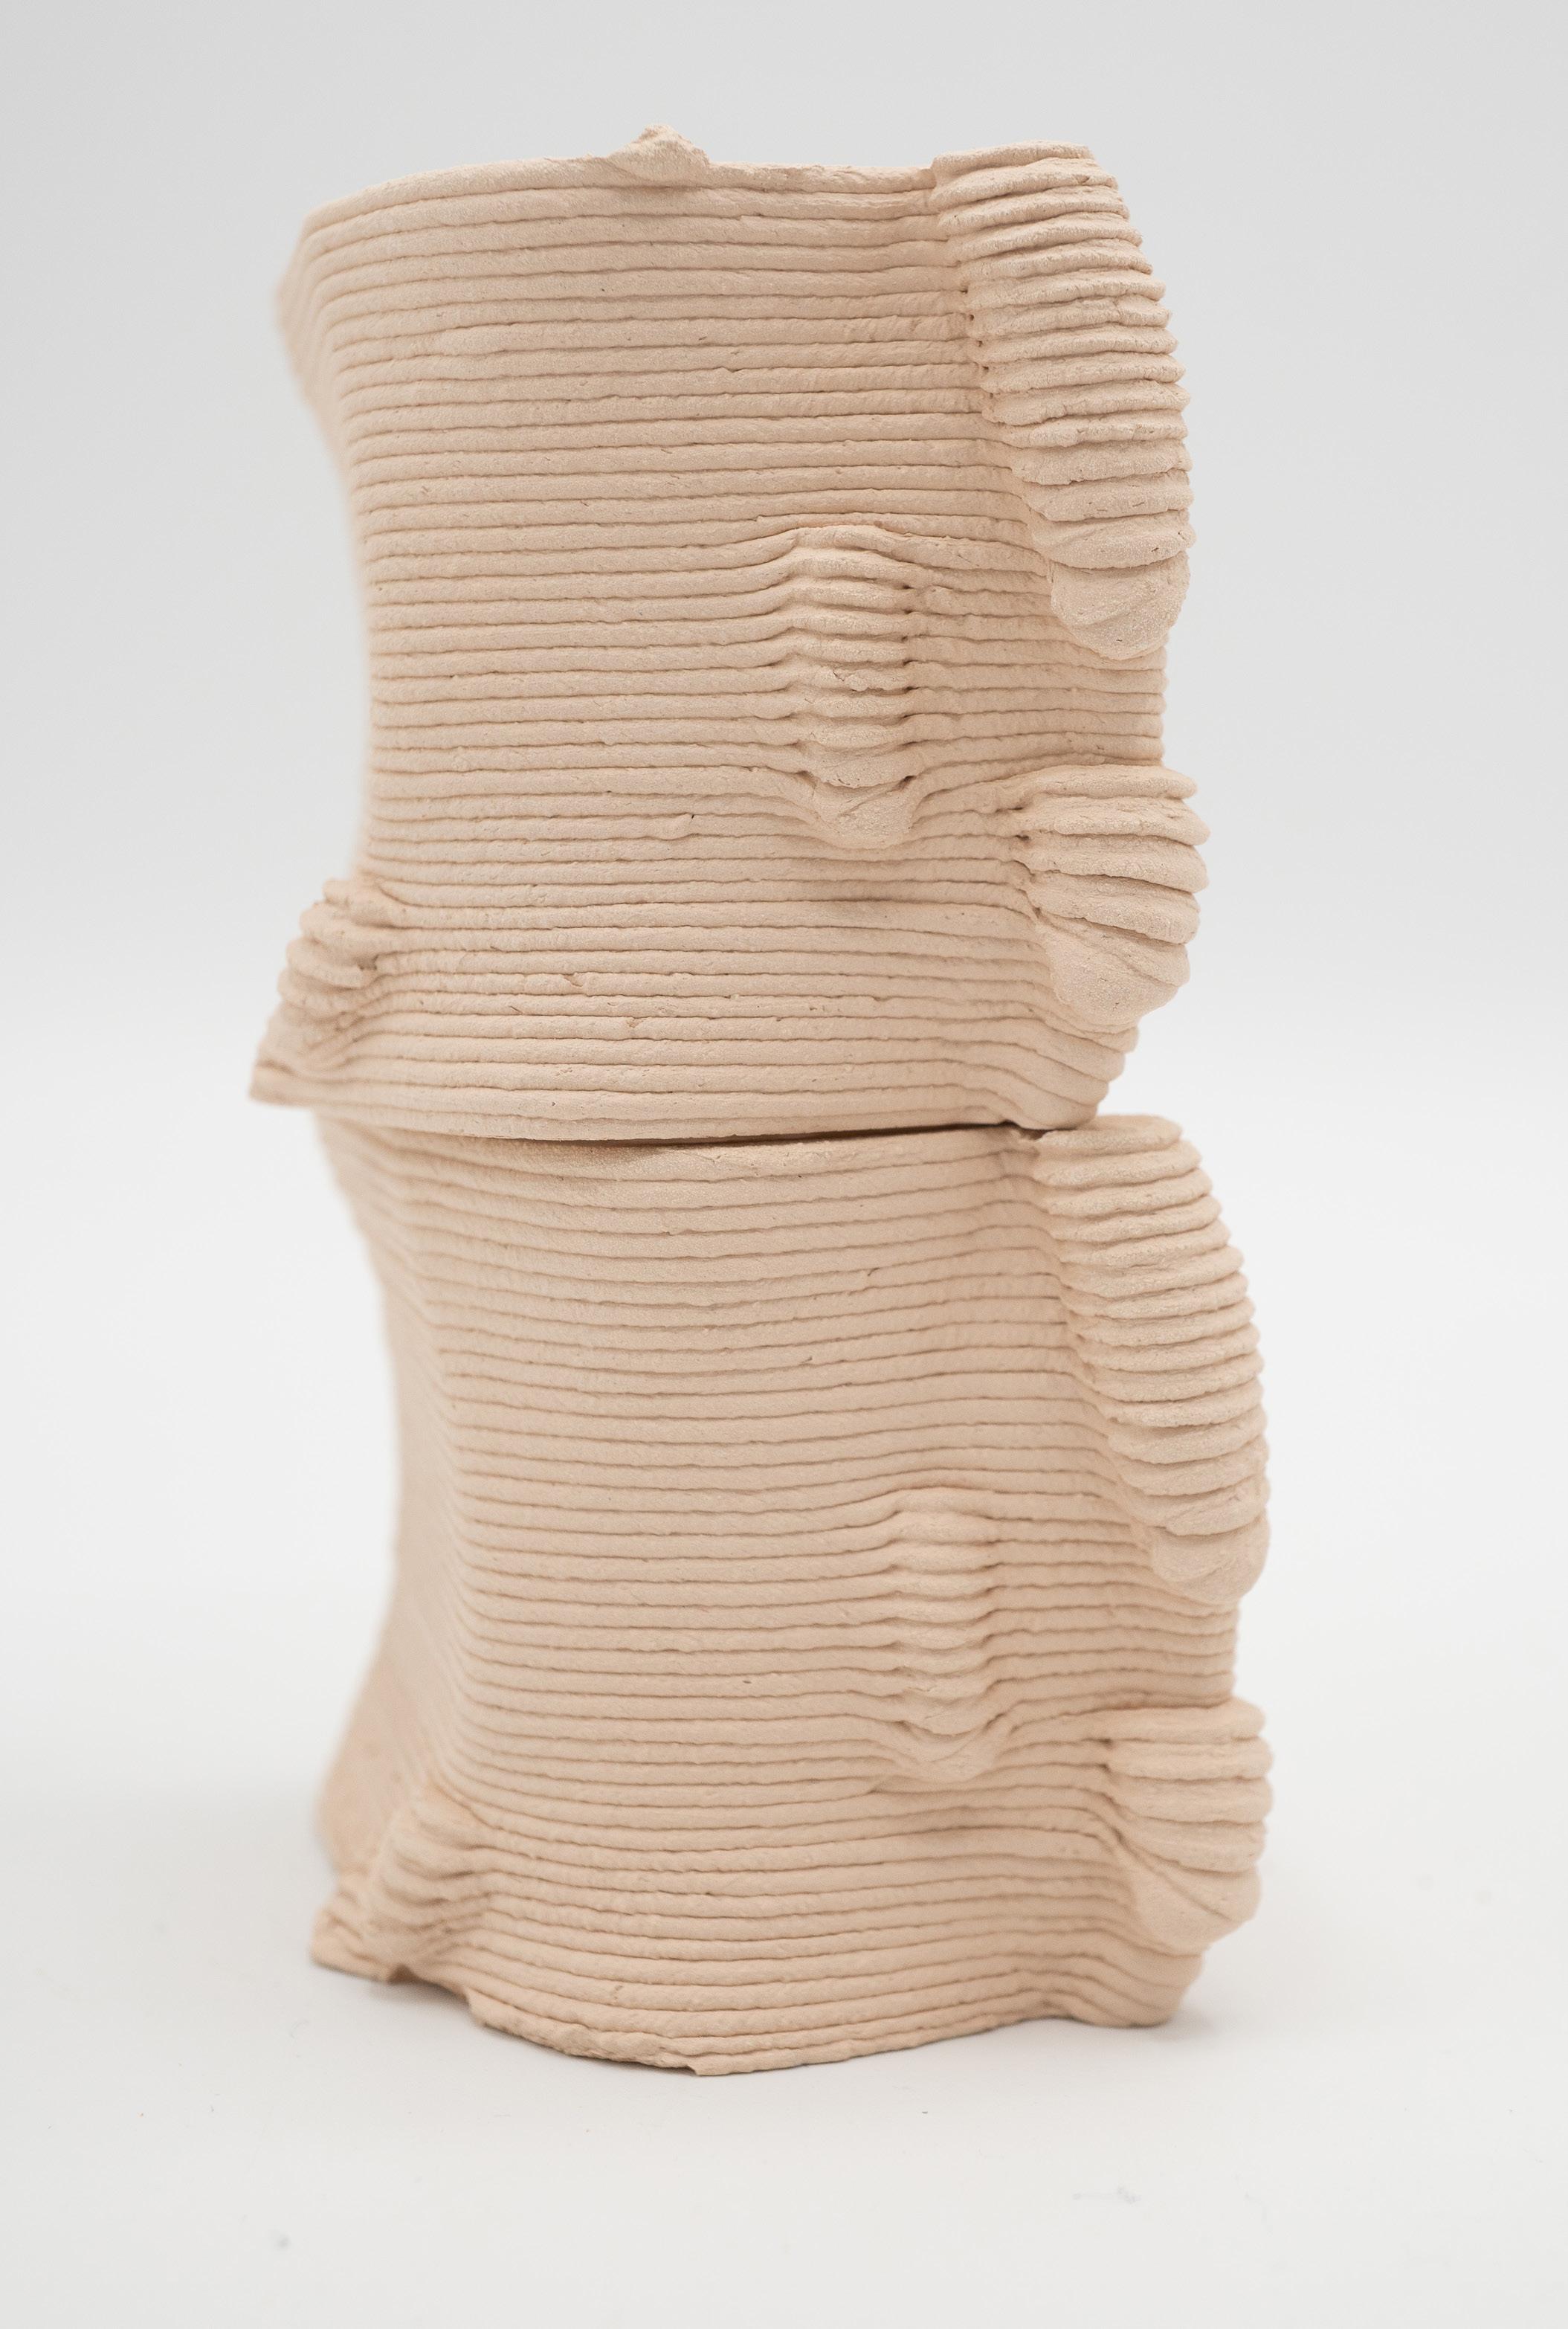
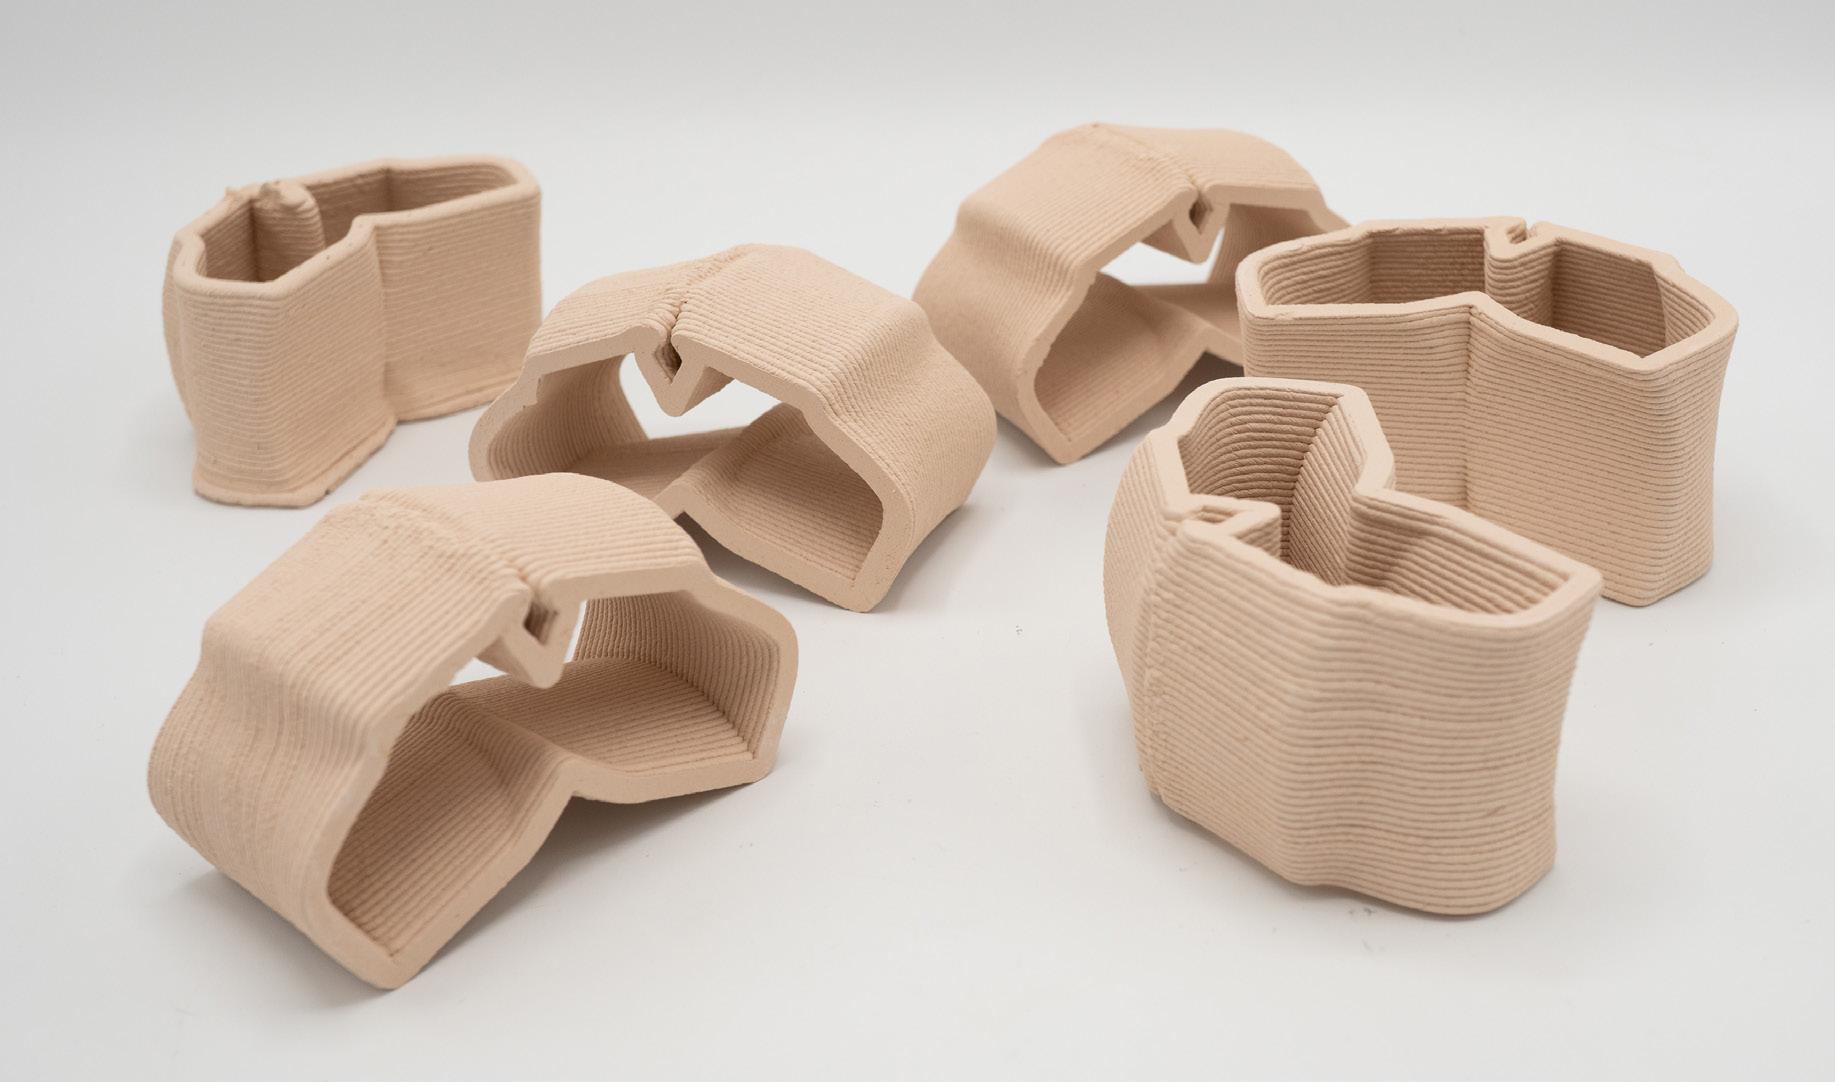
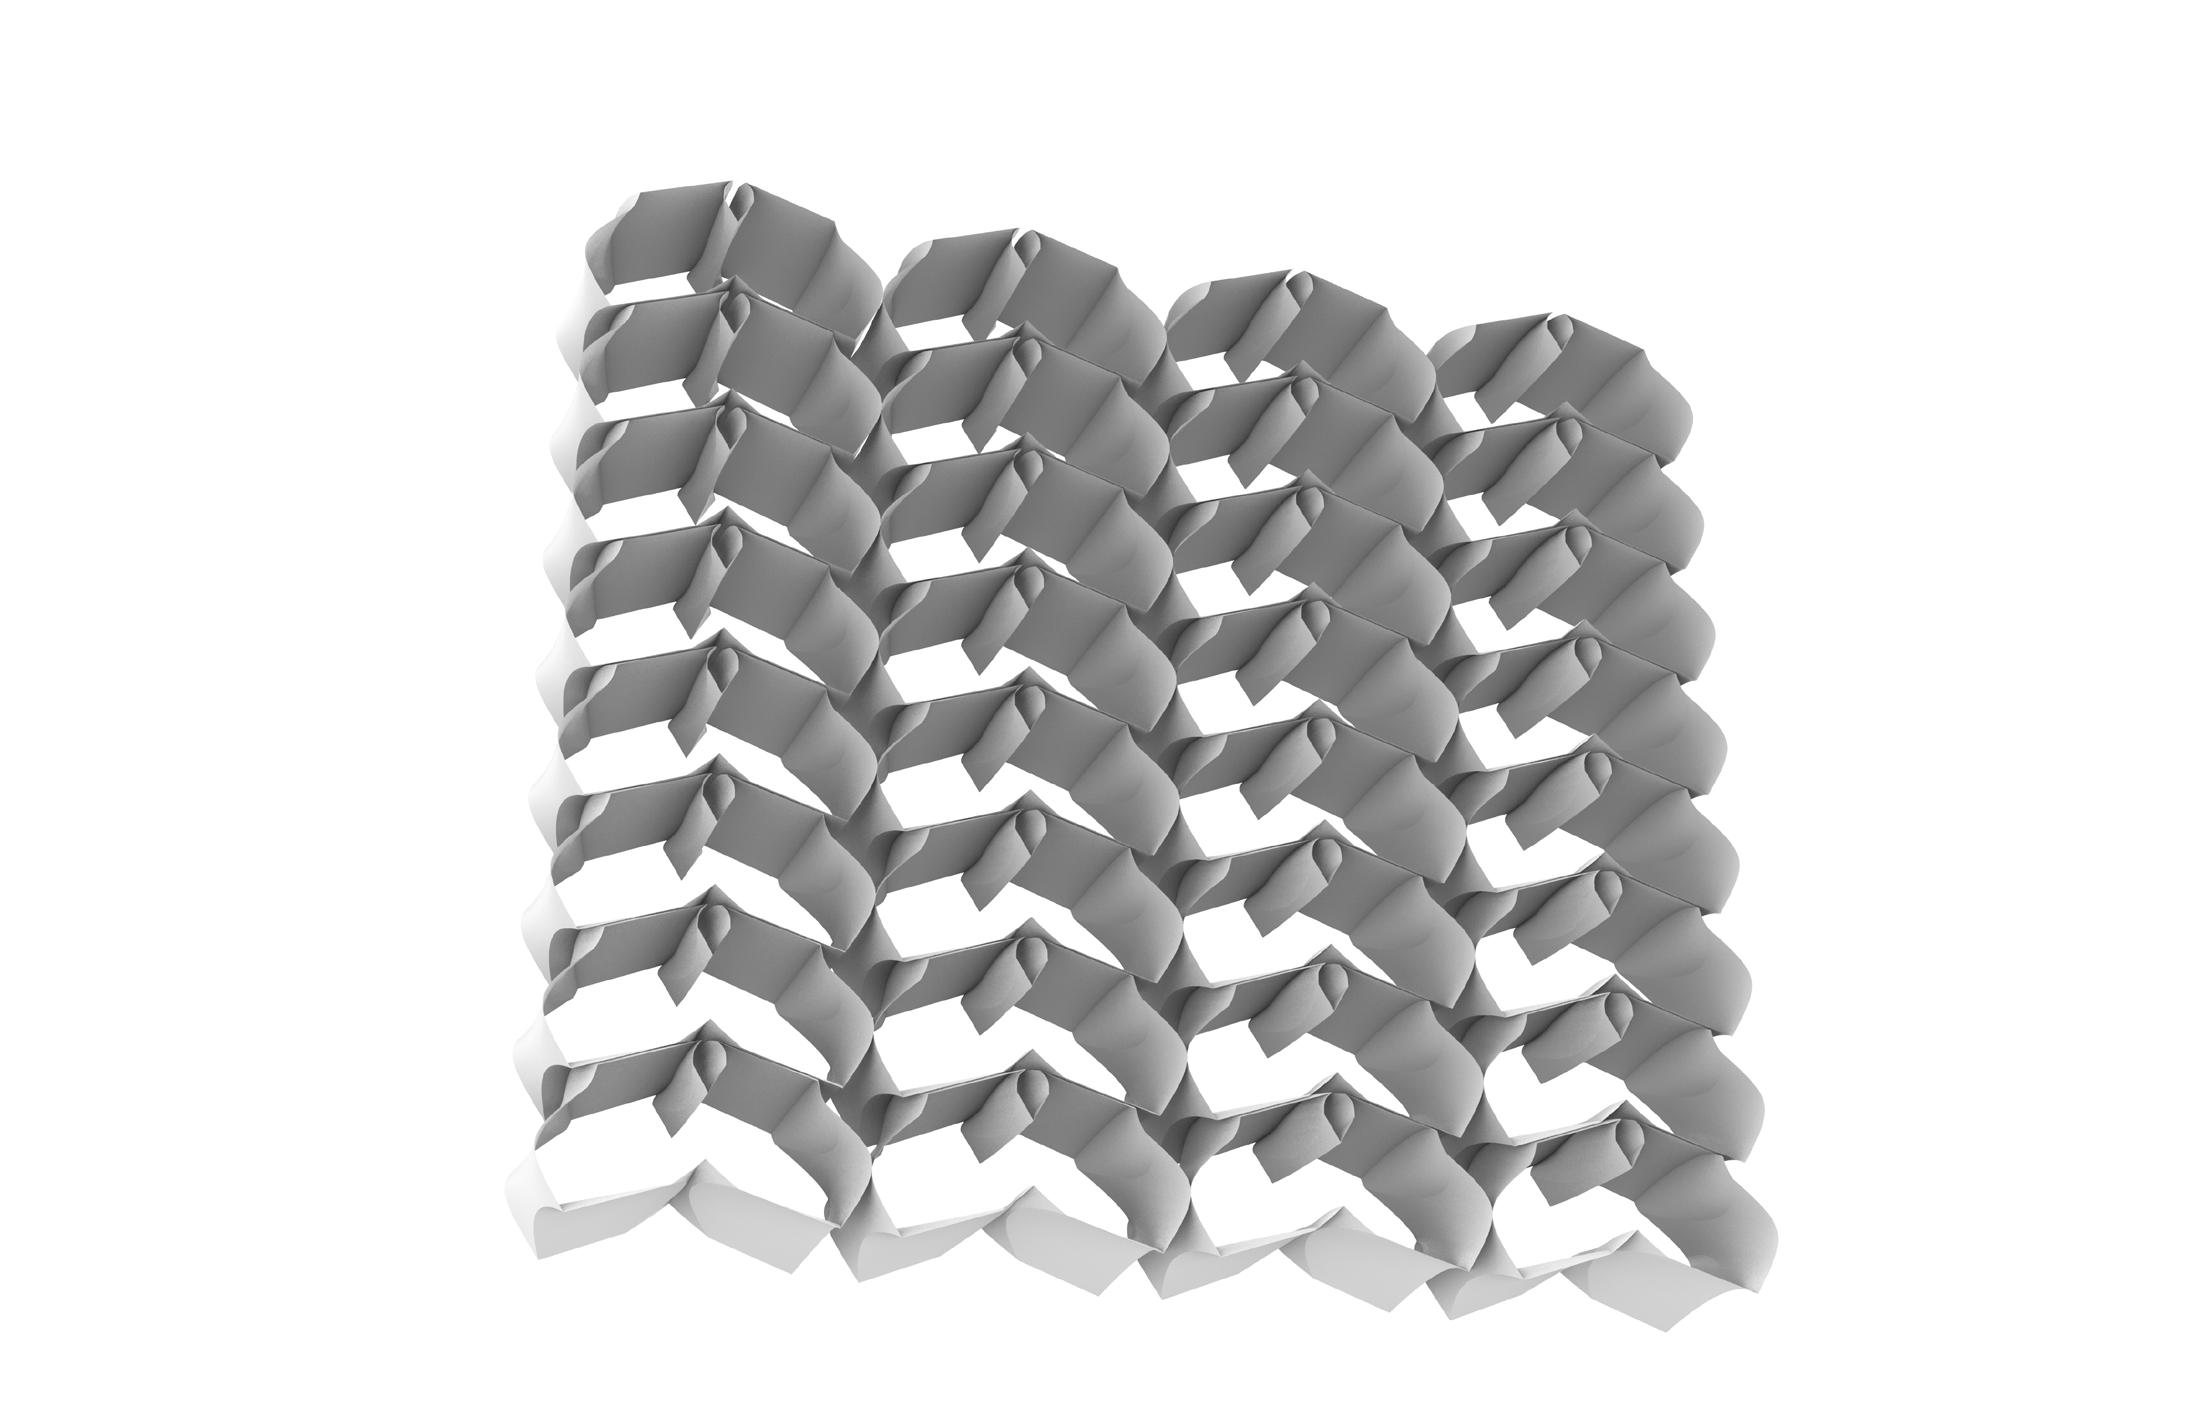
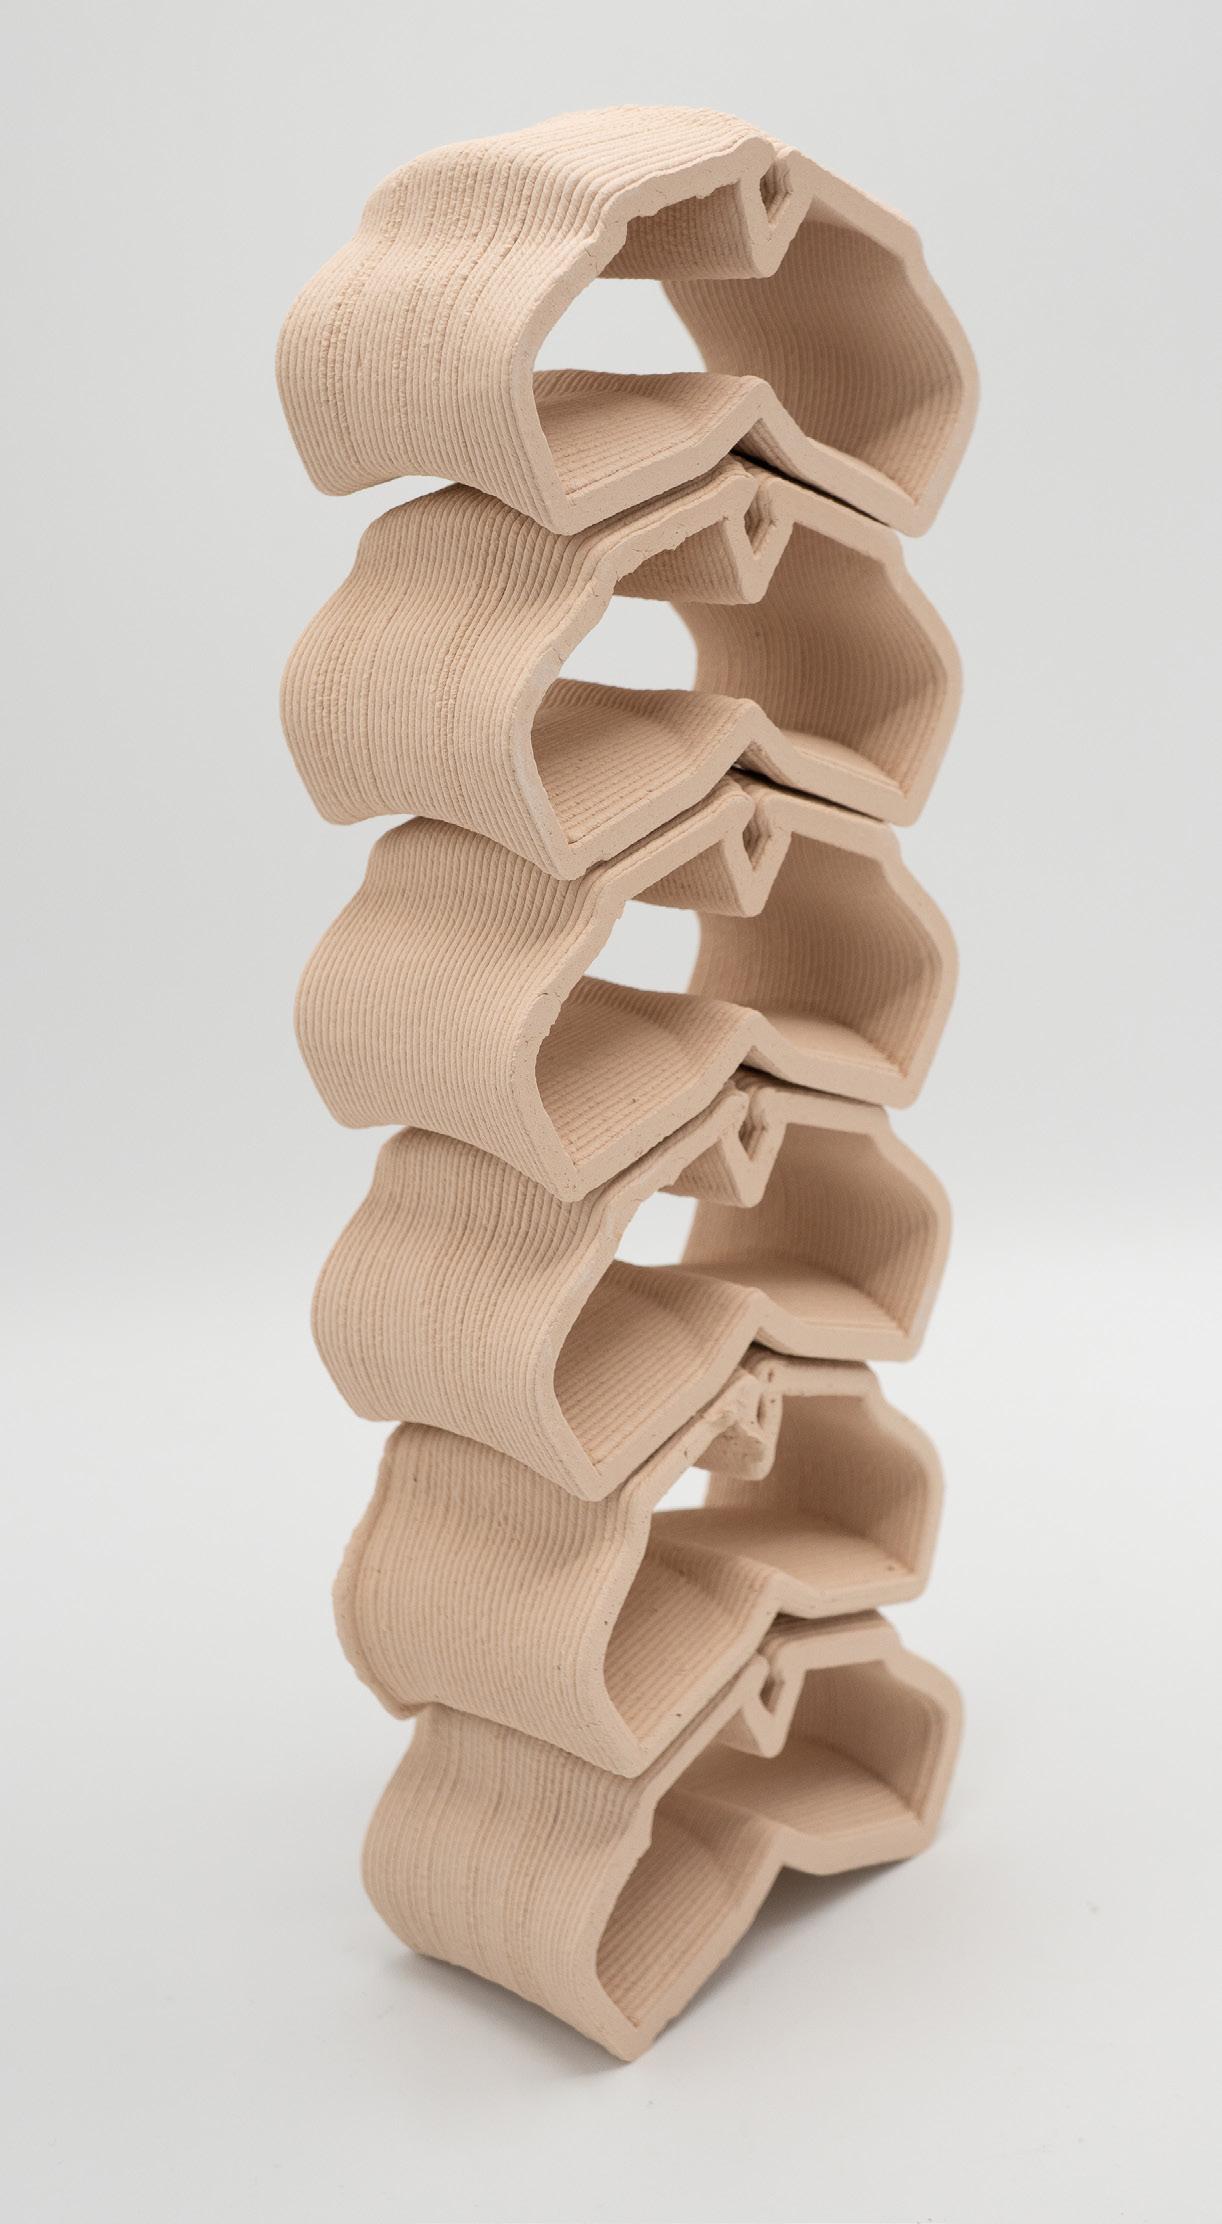
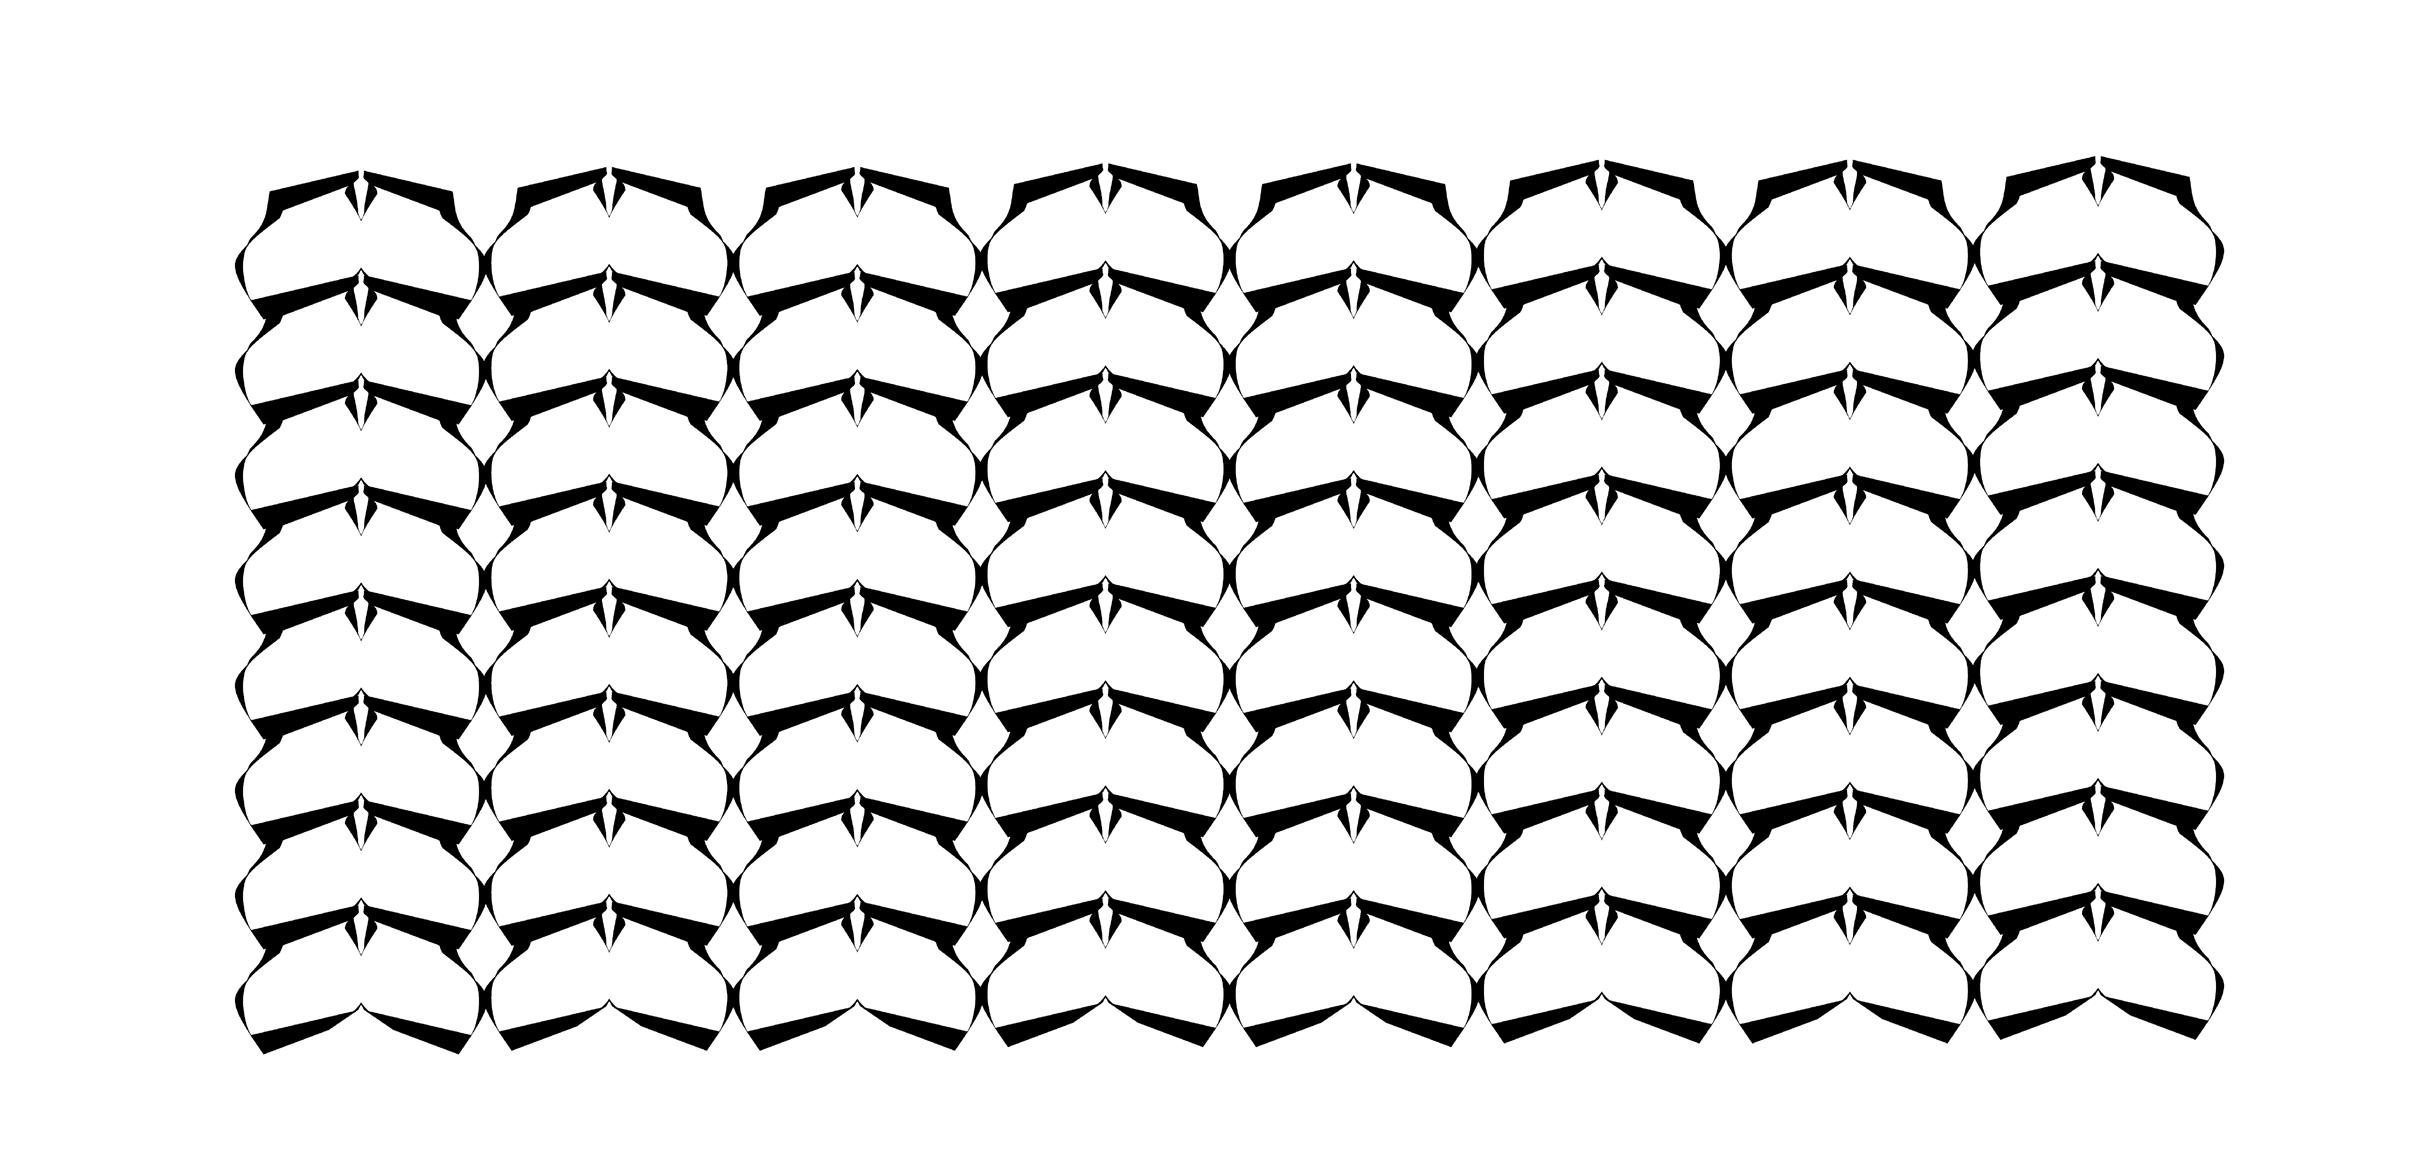
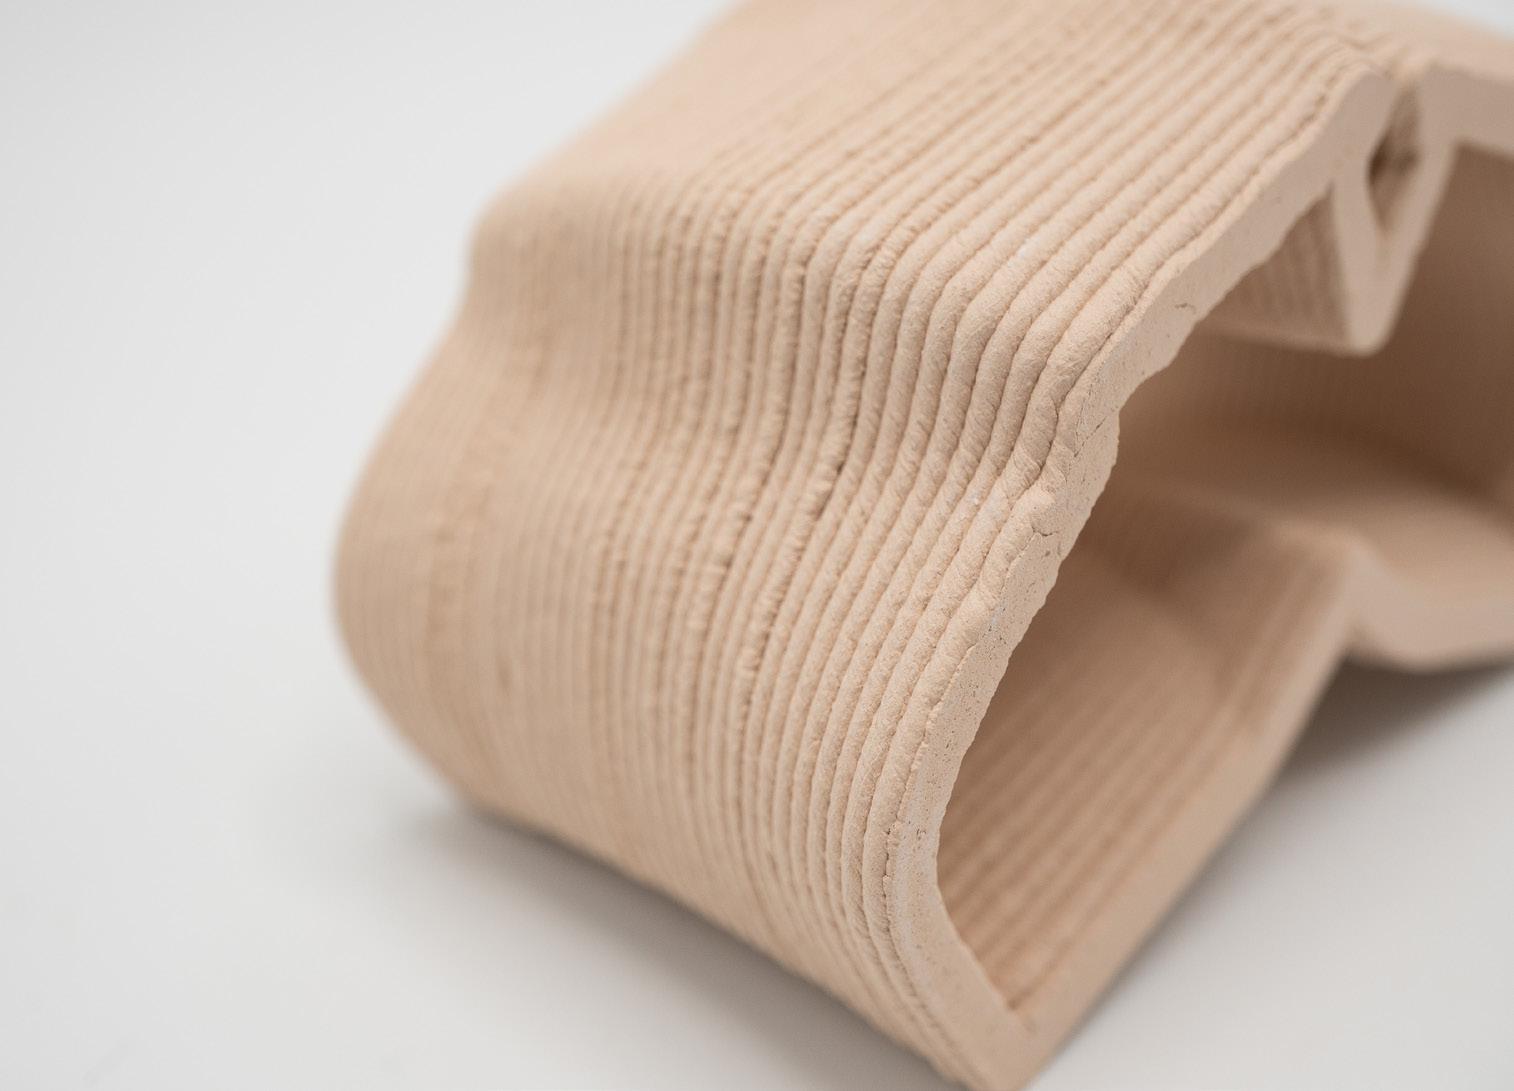
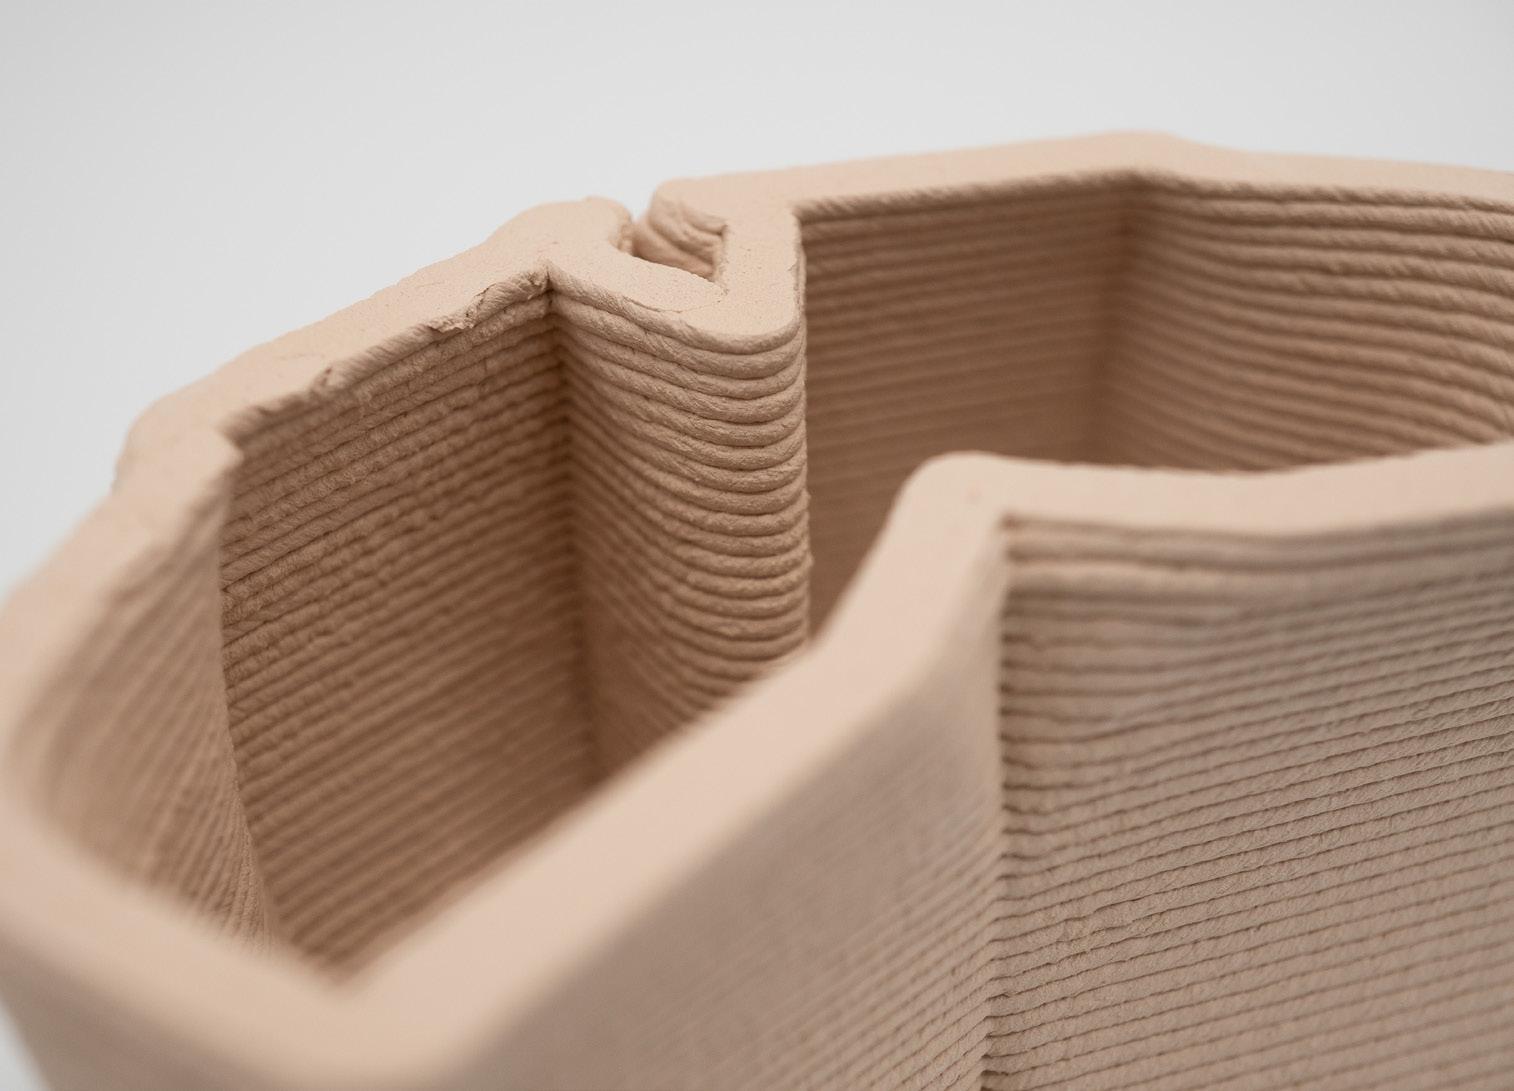
The clay printing project sought to let us create modular blocks with the use of clay printers. We wanted to focus on being able to print a shape with multiple complex curves. Our design required a lot of simplification due to grasshopper slicers not being able to make a workable GCODE for our designs. After some simplification we attempted to print using the code derived from the spinal seam function. Since we had two overlapping surfaces, the printer failed to recognize that it was one continuous print, and instead tried printing them individually. Our process of lofting the design in sections also meant that the seams were placed at random places.


Project 3 ITERATION 2
This was a redesign attempt to have a successfully print from our initial idea. The 3D model was simplified to one continuous loop. This is required for the clay printer to work optimally. An alternate seamless Grasshopper slicer was used to prevent a seam while printing. The nozzle was of a thicker size so the extruded clay was as well. This meant that the curves and elements of the model were subtler due to the smoothing effect the wider nozzle had.



Project 4 SLA PRINTING
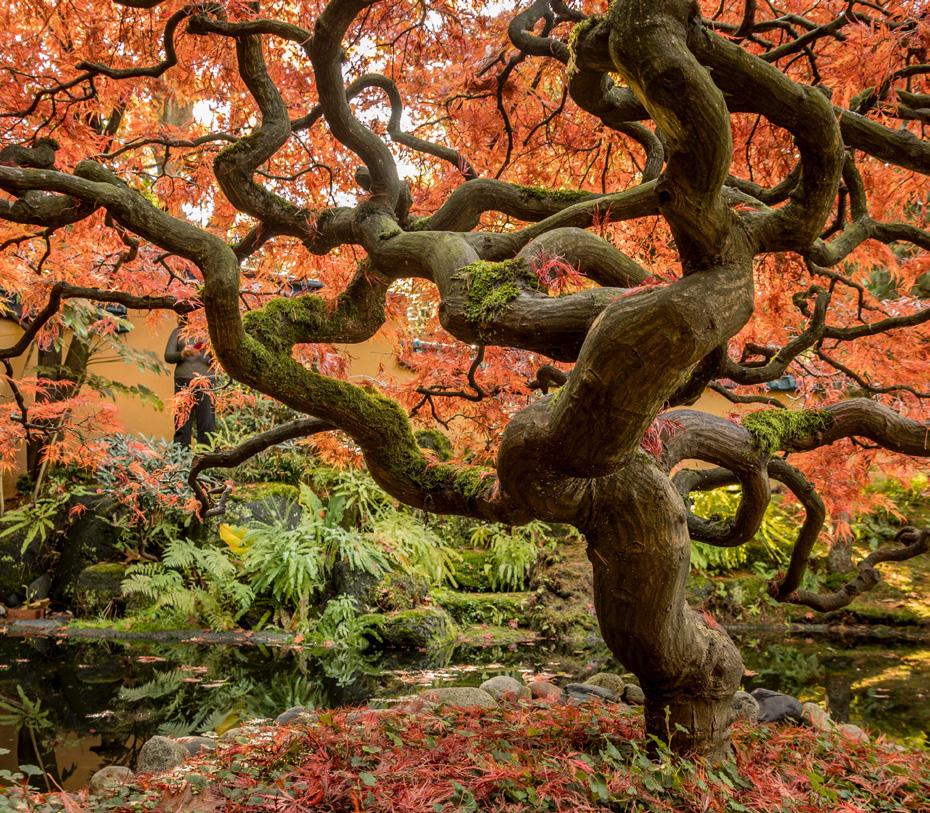
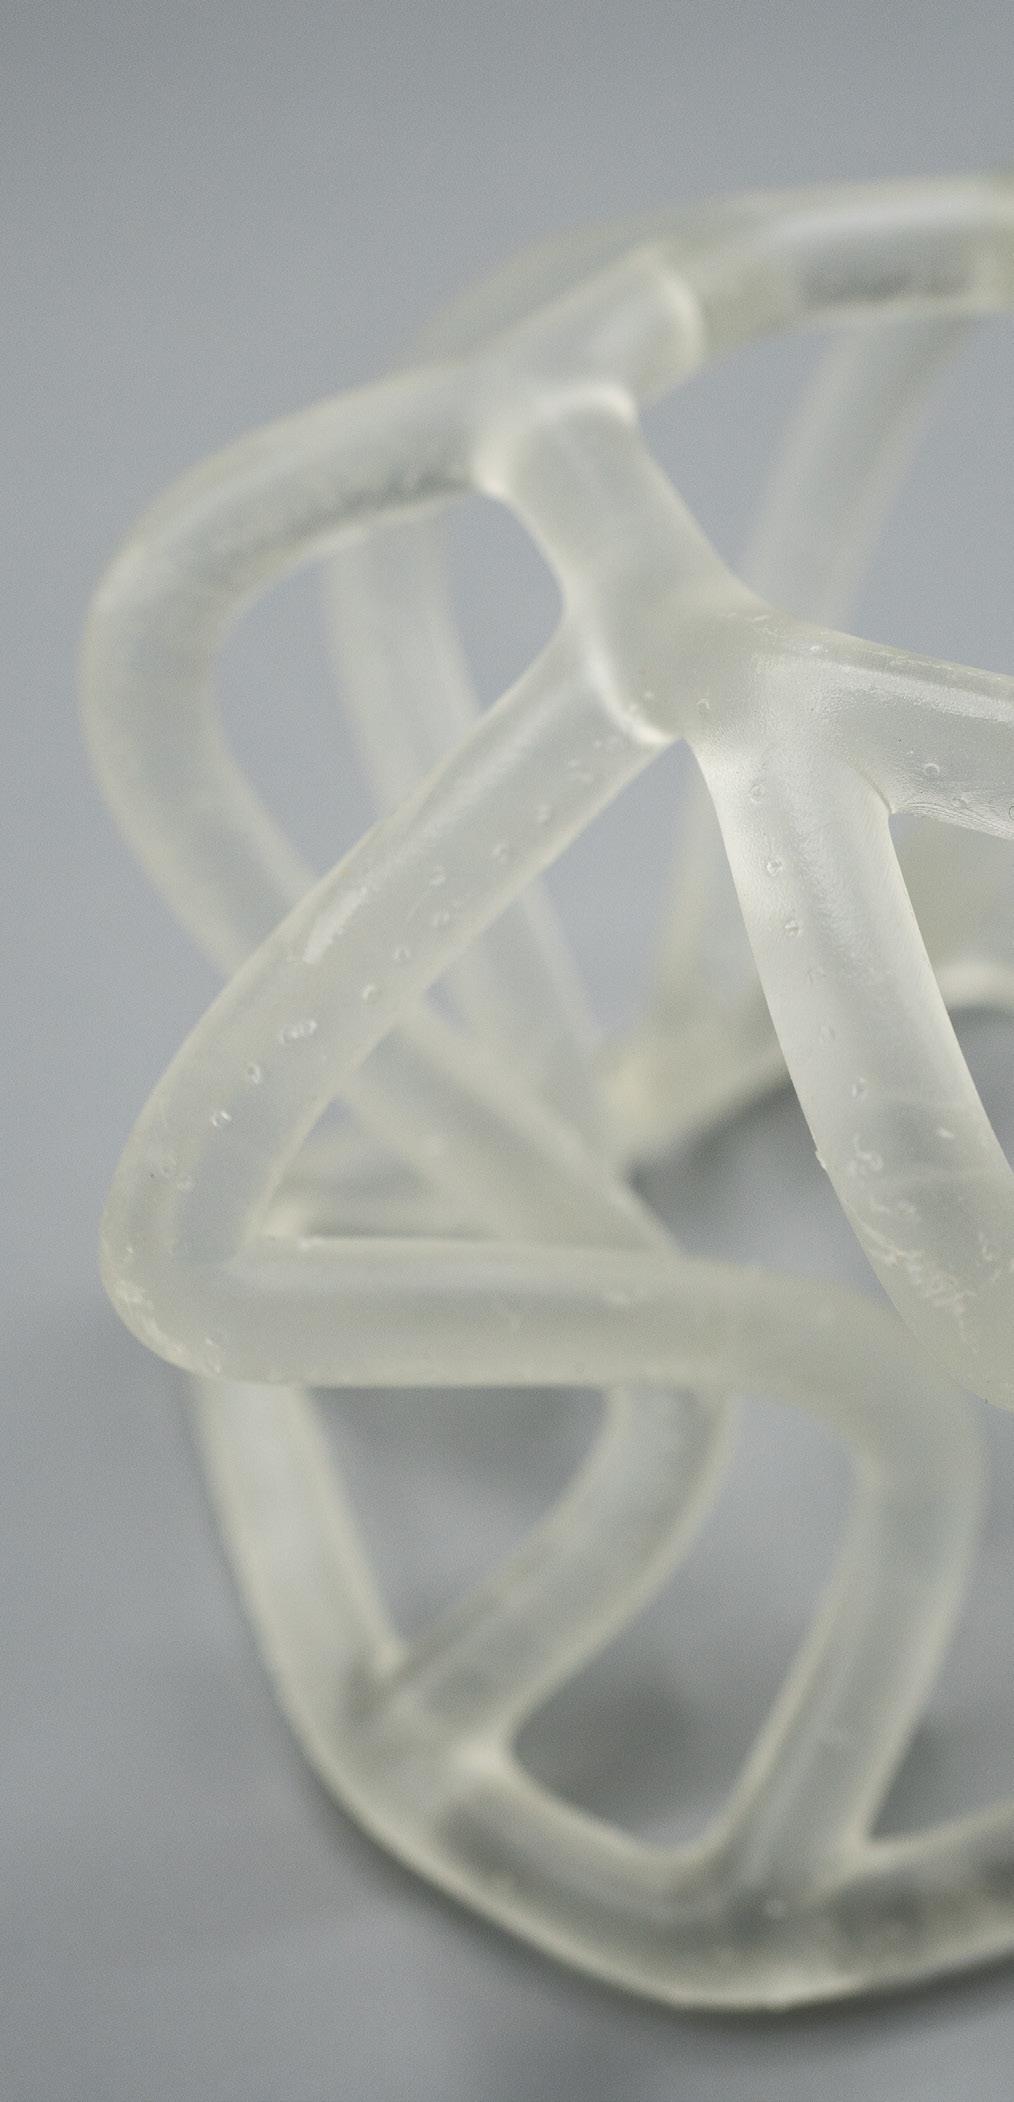
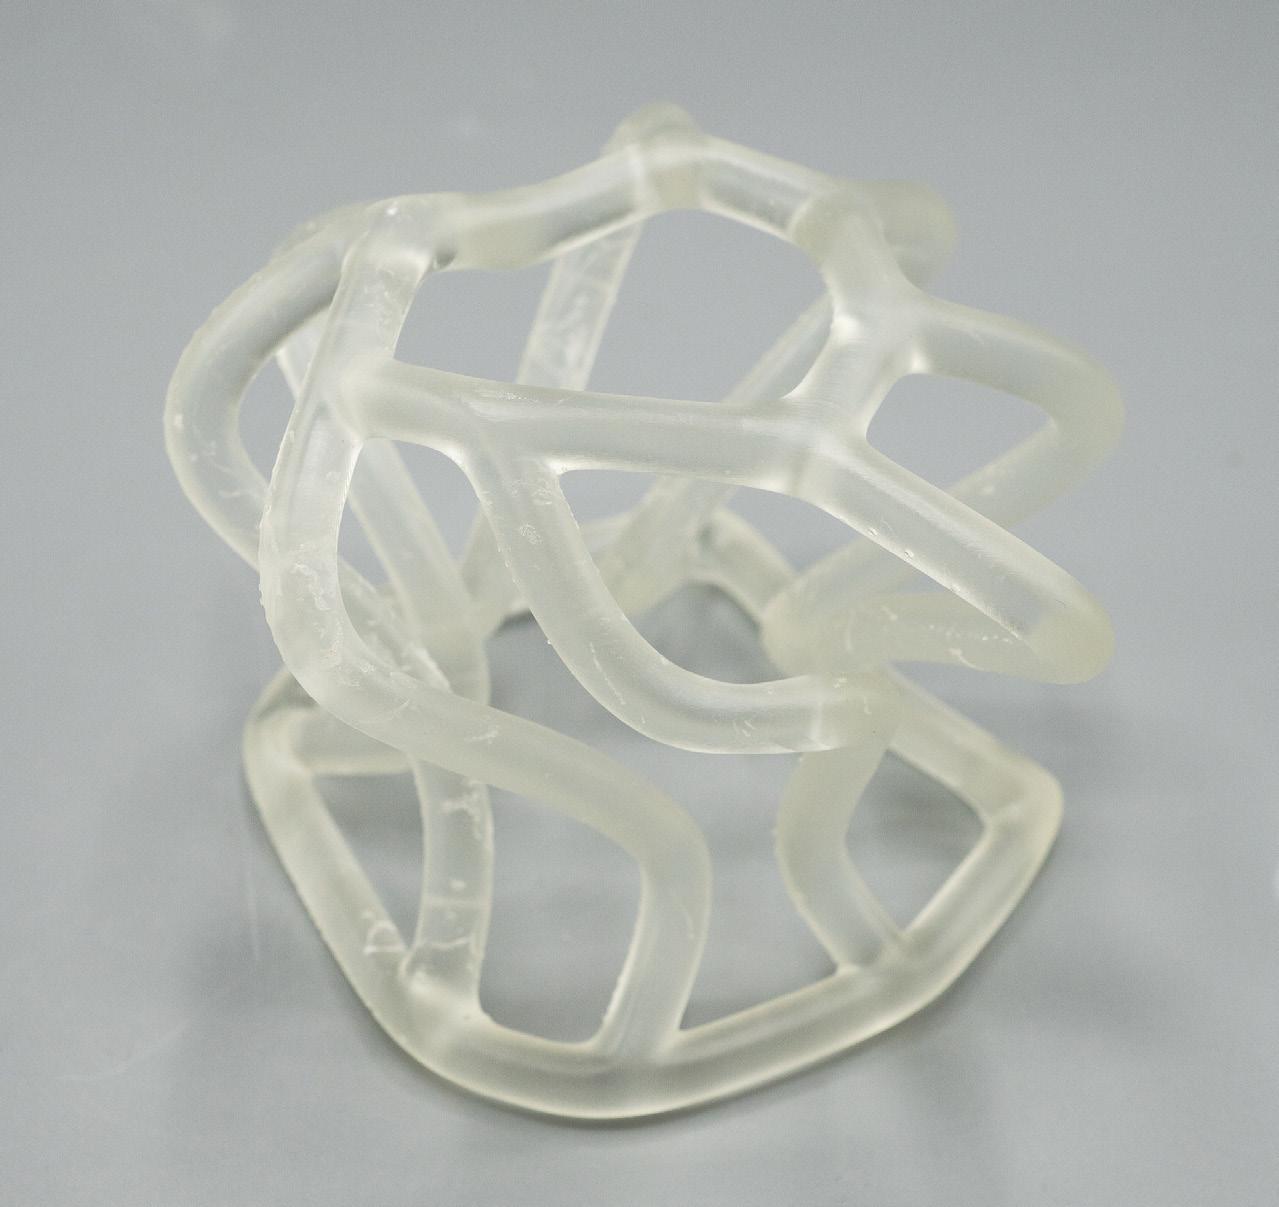
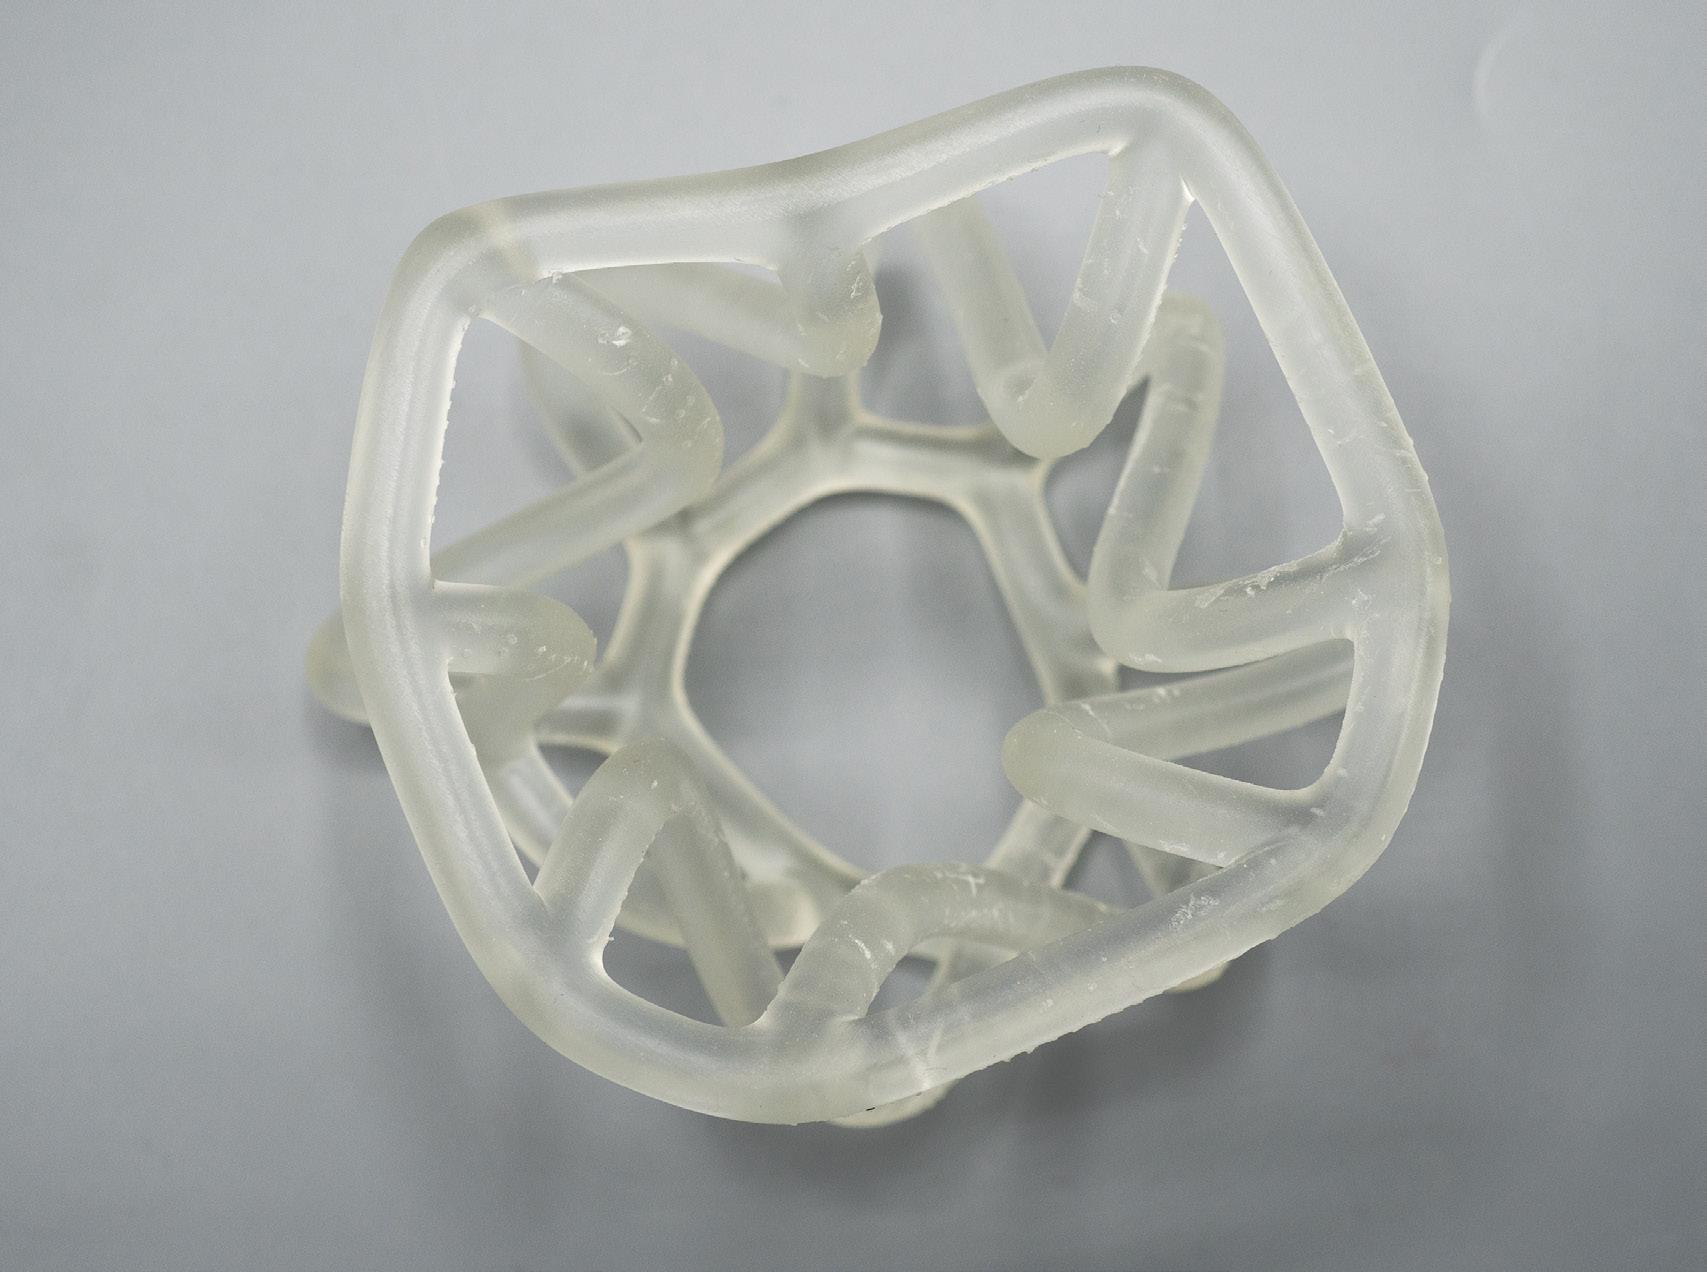
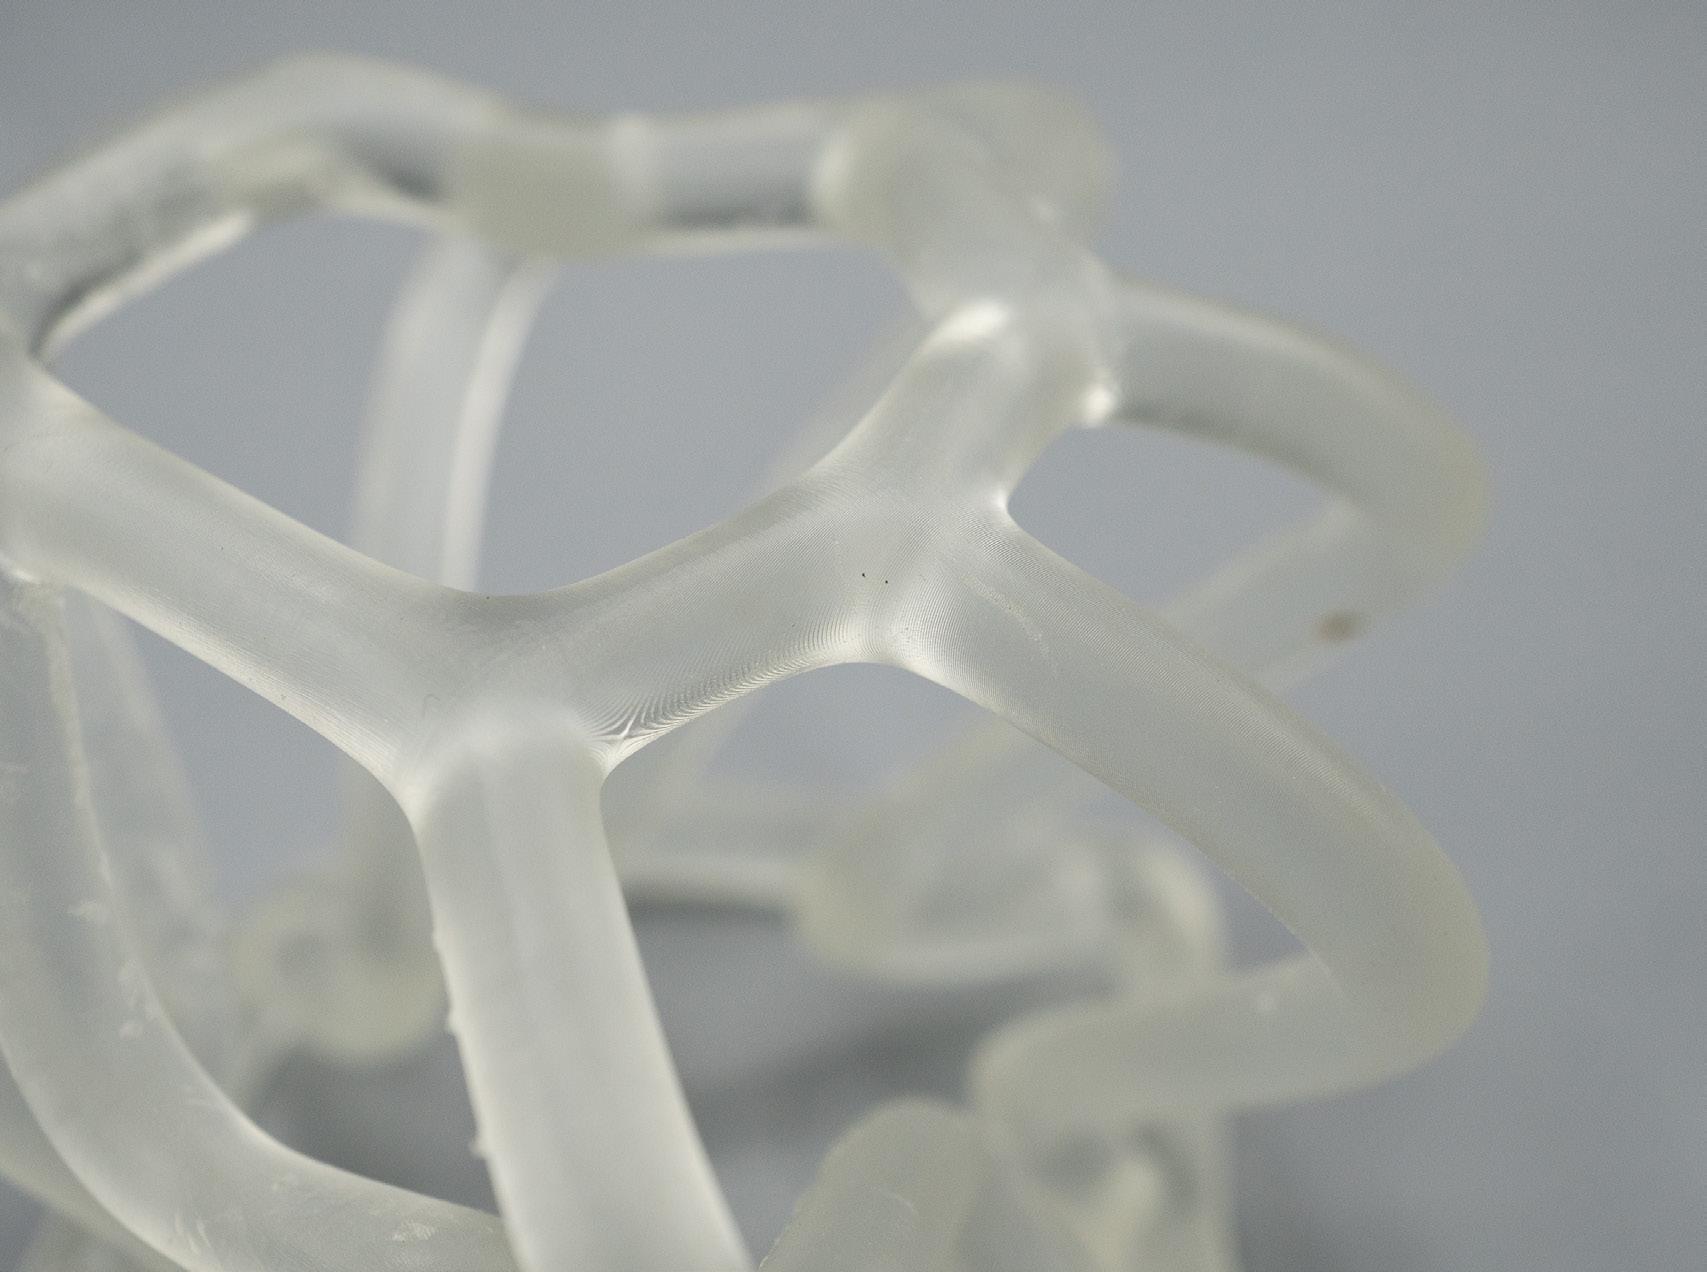
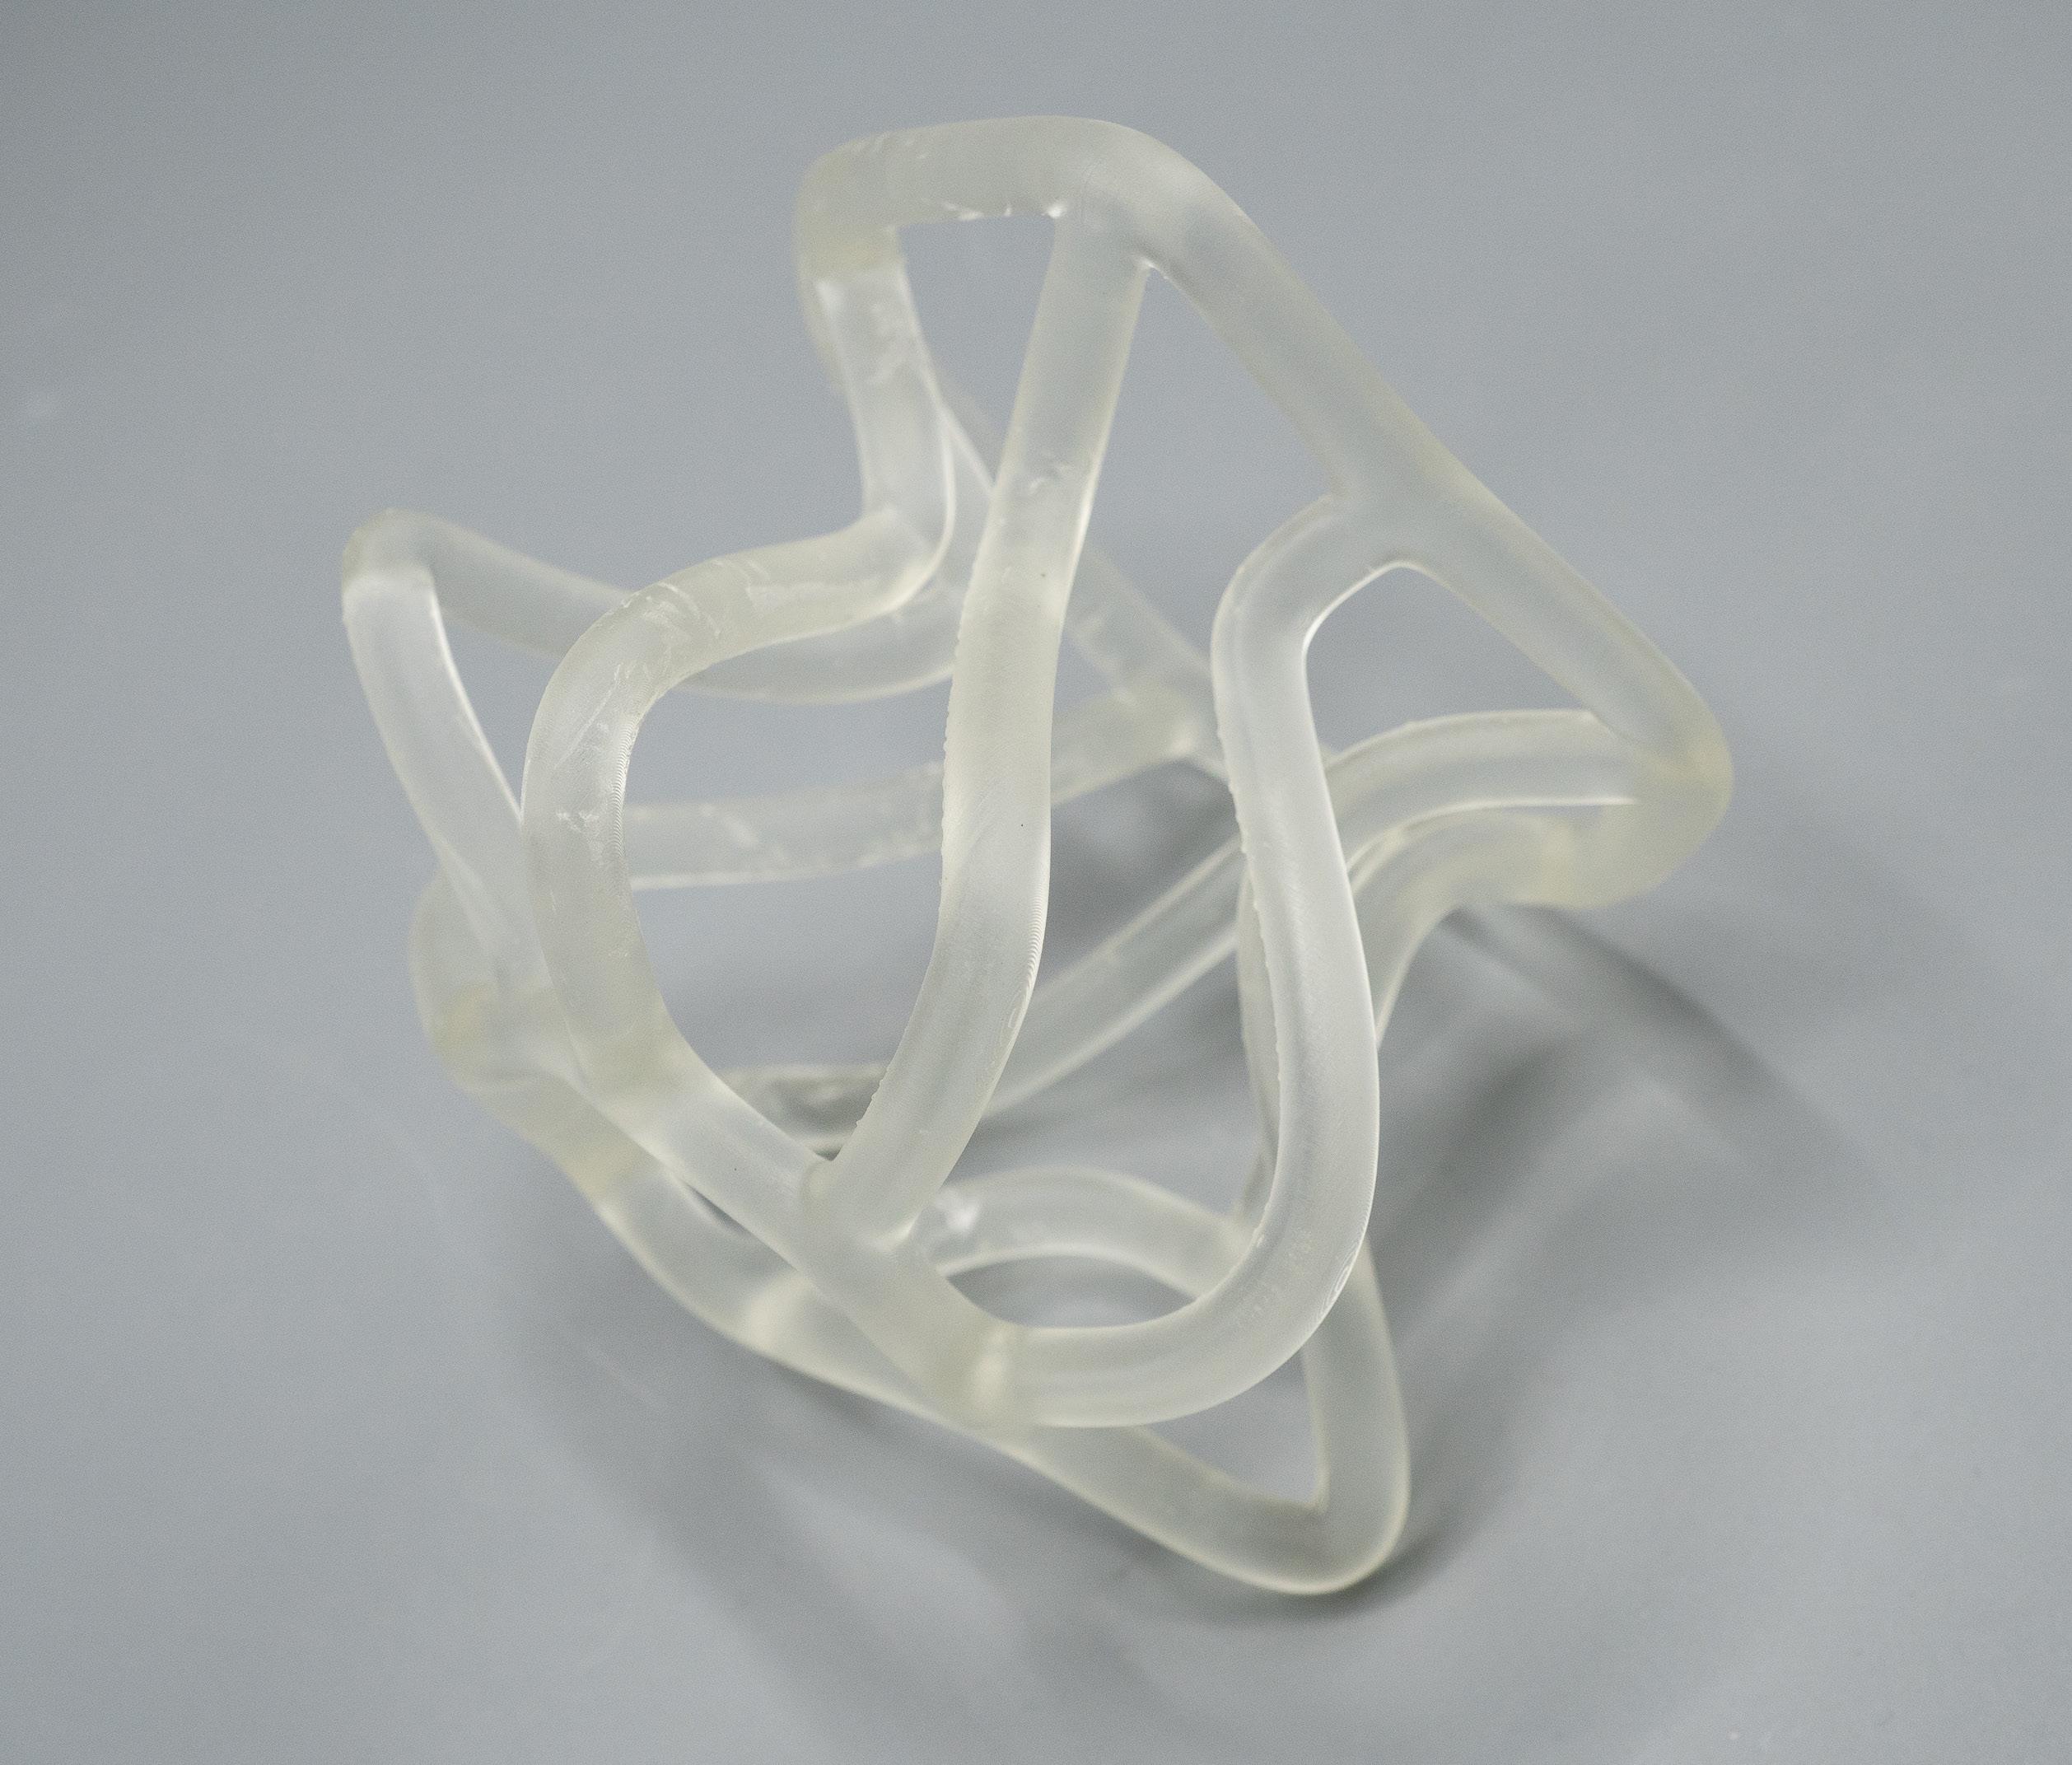
The goal of this project was to a make an SLA print of a vase design. Unlike FDM printing, SLA printing allows for more flexibility, and to take advantage of that I wanted to use organic structures as precedents for my form. The model was composed of several hexagons manipulated differently at various heights to make a flowing twisted object when lofted.
