11 minute read
Measuring Our Success
WP4 Metrology-driven Control for Manufacturing Systems
Aim: to achieve inprocess measurements in highly perturbed machine environments and to improve traceability for long term embedded sensing. This is a key contributor to one of the main Hub aims of transferring conventional lab-based metrology to fully embedded metrology for high-value production.
Advertisement
It will help to improve the embedded sensor network robustness and reliability based on fundamental studying and modelling of uncertainty of multi-type embedded sensors.
Publications: 7 Journal Papers, 2 Conference Papers
• A new workpiece temperature method has been devised which utilises transmission of ultrasonic waves to measure the core temperature of metal components during machining.
• A new embedded vibration sensor network has been developed for collecting temperature and vibration signals of machine tool over WIFI.
• New methods have been established to achieve realtime multi-scale control for embedded measurement networks within robotic machining processes.
WP5 New Mathematical Fundamentals for Sensor Net Metrology
Aim: to develop a useable holistic approach to metrology theory and practice across the manufacturing value chain by extending metrology theory from single sensors and highly structured sensor networks to irregularly structured network of disparate sensor types and develop a full kit of associated metrology tools.
Publications: 1 Journal Paper, 1 Book Chapter
Key outputs:
• A high-level Category
Semantic Language (CSL) has been developed to build multi-level hierarchy semantic structures, instead of a single layer monolithic structure of single sensors.
• A morphological filter has been developed for smoothing the freeform mesh.
WP6 Smart Semantic Metrology Systems
Aim: to create and deliver a smart semantic knowledge system that will incorporate the fusion of knowledge from design specification, production, verification and manufacturing sources in a smart machine-readable format. This lays a key foundation for the main Hub grand challenge of smart metrology semantics, where key manufacturing knowledge/information/ data is represented and manipulated by a new smart semantic language.
Publications: 17 Journal papers, 3 Conference Papers
Key outputs:
• Development of a prototype
CatLab software which is designed to facilitate the smart semantics metrology system.
• Development of the syntax and semantics of Category
Semantic Language, including libraries.
• A set of knowledge reasoning rules has been developed to enable a semi-automated reasoning engine for CatLab.
WP7 Metrology Data Analytic Models for the Manufacturing Value Chain
Aim: to establish data analytics models to extract maximal fidelity metrology information from the manufacturing supply chain. It primarily looks at the multistage manufacturing product and process data and link these to dimensional and surface metrology.
Publications: 3 Journal papers, 5 Conference Papers
Key outputs:
• AI-driven “inspection by exception” concept using part health prediction from manufacturing parameters.
• Data driven model assisted
“two stage machining” process innovation to reduce inspection costs.
• Machine learning models predicting dimensional and surface quality parameters from in-process data.
WP8 Metrology Approach to Artificial Intelligence Control
Aim: to develop a metrology approach to bio-inspired AI control to extract maximal traceable information to optimise the control of machine-tools/assembly/ measurement platforms. Without this building of rigour from the Engineering domain into the Computer Science domain, the potential for AI implementation will be hampered or precluded.
This work package focuses on the use of Artificial Intelligence/Machine Learning techniques as an enabler for advanced control. It is closely aligned with the “white box” technology of WP4, including the methods of incorporating “measurement uncertainty” and traceability into the control models and their implementation.
Publications: 7 Journal Papers, 5 Conference Papers
Key outputs:
• A new active system to compensate for machining errors with robotic tracking and rejection of external disturbances.
• An AI modelling method for machine errors using
Smart clustering and fuzzy switching based on modal analysis.
Research Programme – Phase Two
The second phase of the Hub research programme will work towards translating the early research outcomes into deliverable, industry ready solutions. While fundamental science and technology research will continue, there will be a much greater focus on bringing together the various research streams in order to create new devices and solutions.
WP9: Optical Interferometry Systems for large scale metrology (using ADL) and for micro-nano manufacturing (using large depth of field apparatus)
Builds on: WP1 and WP3
Aim: This work package will improve on the performance of the FSI technology developed in WP3 with the aim to extend the measurement capabilities of the bench-top system to un-cooperative surfaces for both surface roughness and shape measurement, and its evolution to a functional prototype at a higher TRL by working closely with Renishaw PLC. This will involve the introduction of a beam steering technique that will allow the object beam of the FSI/ADL system to scan a surface area and will subsequently allow the building of a 2-D surface (static) targets with the view to extend this to 3-D point clouds.

The second part of this work package will take the initial proof-of-concept validation for enhanced depth-of-focus OCT using Bessel beams generated through WP1. While the basic concept of extending depth-of-focus has been validated for point scatterers embedded in a translucent media. This WP aims to validate the anticipated enhanced lateral imaging resolution at all depths and confirm the applicability of the technique across a range of industrially relevant measurement scenarios/materials.
Beyond this performance verification activity, the final target will be the development of a portable OCT apparatus that can be transported to industrial partners for further evaluation.
WP10: Large Scale Embedded Metrology Systems for Manufacturing Systems and Assembly Platform
Builds on: WP2
Aim: This work package will leverage high-speed fringe projection to deliver state of the art 3D inspection/ assembly capabilities. Developments from WP2 will be combined with real-time control of robot paths to investigate two complementary approaches for agile 3D optical inspection of industrial components.
The work will also explore in-situ specular surface inspection using stereo deflectometry to deliver state of the art 3D inspection/ assembly capabilities. Developments from WP2 will be combined with real-time control of robot paths to investigate two complementary approaches for in-situ measurement of specular surfaces.
WP11: Software Platform for Integrated Geometrical Design & Metrology System Using CSL and Machine Learning
Builds on: WP5, WP6 and WP7
Aim: This work package will develop sensor net models for real industrial applications. The aim is to stress test the theoretical work developed in WP5 with real industrial applications of sensor nets and make appropriate extensions to the theory through these models from the knowledge gained.
To prepare Geometrical Product Specifications and verification (GPS) standards for use with smart autonomous manufacturing systems, the International Standards Organisation (ISO) technical committee 213 has requested that the Hub lead the formulation of a position for the revision of the structure of the ISO GPS documents to make them AI ready. Using the development of a CSL model resulting from WP6 GPS documents will be made machine readable, machine queryable and machine interpretable (i.e. AI ready). This will then be stress tested with real industrial applications
The final task will be to build on the work carried out in WP7 to develop large volume metrology informatics through a Case Study at the AMRC and Sheffield.
WP12: Metrology-driven Data Systems to Optimise the Manufacturing Value Chain
Builds on: WP4, WP7 and WP8
Aim: The main aim is to integrate the fundamental technologies from the first stage of the project into prototypes and demonstrators to accelerate TRL progression. Partners across the consortium will work closely throughout this WP to gain benefits from the different approaches to control models and different manufacturing applications. The work will be performed with industrial partners and the Catapult centres. New complimentary areas of research have also been identified during the first half of the Hub and will be initiated within this WP.
Building on work carried out in WP4 and WP8, prototype structural, thermal, motion control and error monitoring systems will be integrated into a variety of manufacturing setting to validate these techniques and gather a large volume of data which can be used in system modelling. These models can then be integrated into the “inspection by exception” method from WP7 and further developed to include uncertainties in model prediction with the ultimate aim of developing control systems to optimise manufacturing machines and product verification.
AMRC is a core member of the Hub consortium and provides a vital route to industrial deployment of Hub technology. AMRC also has its own substantial research programme and Dr Erdem Ozturk, based at AMRC since 2010, leads a team of researchers working on advanced manufacturing techniques. After attending a presentation from the Hub researchers at the University of Bath, Dr Ozturk identified several complimentary elements with his research and decided to submit a proposal for a new work package.
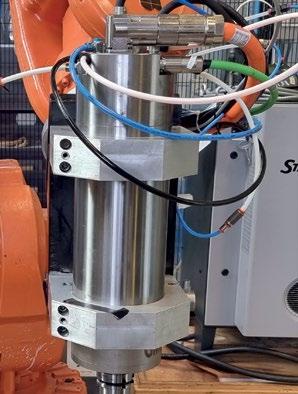
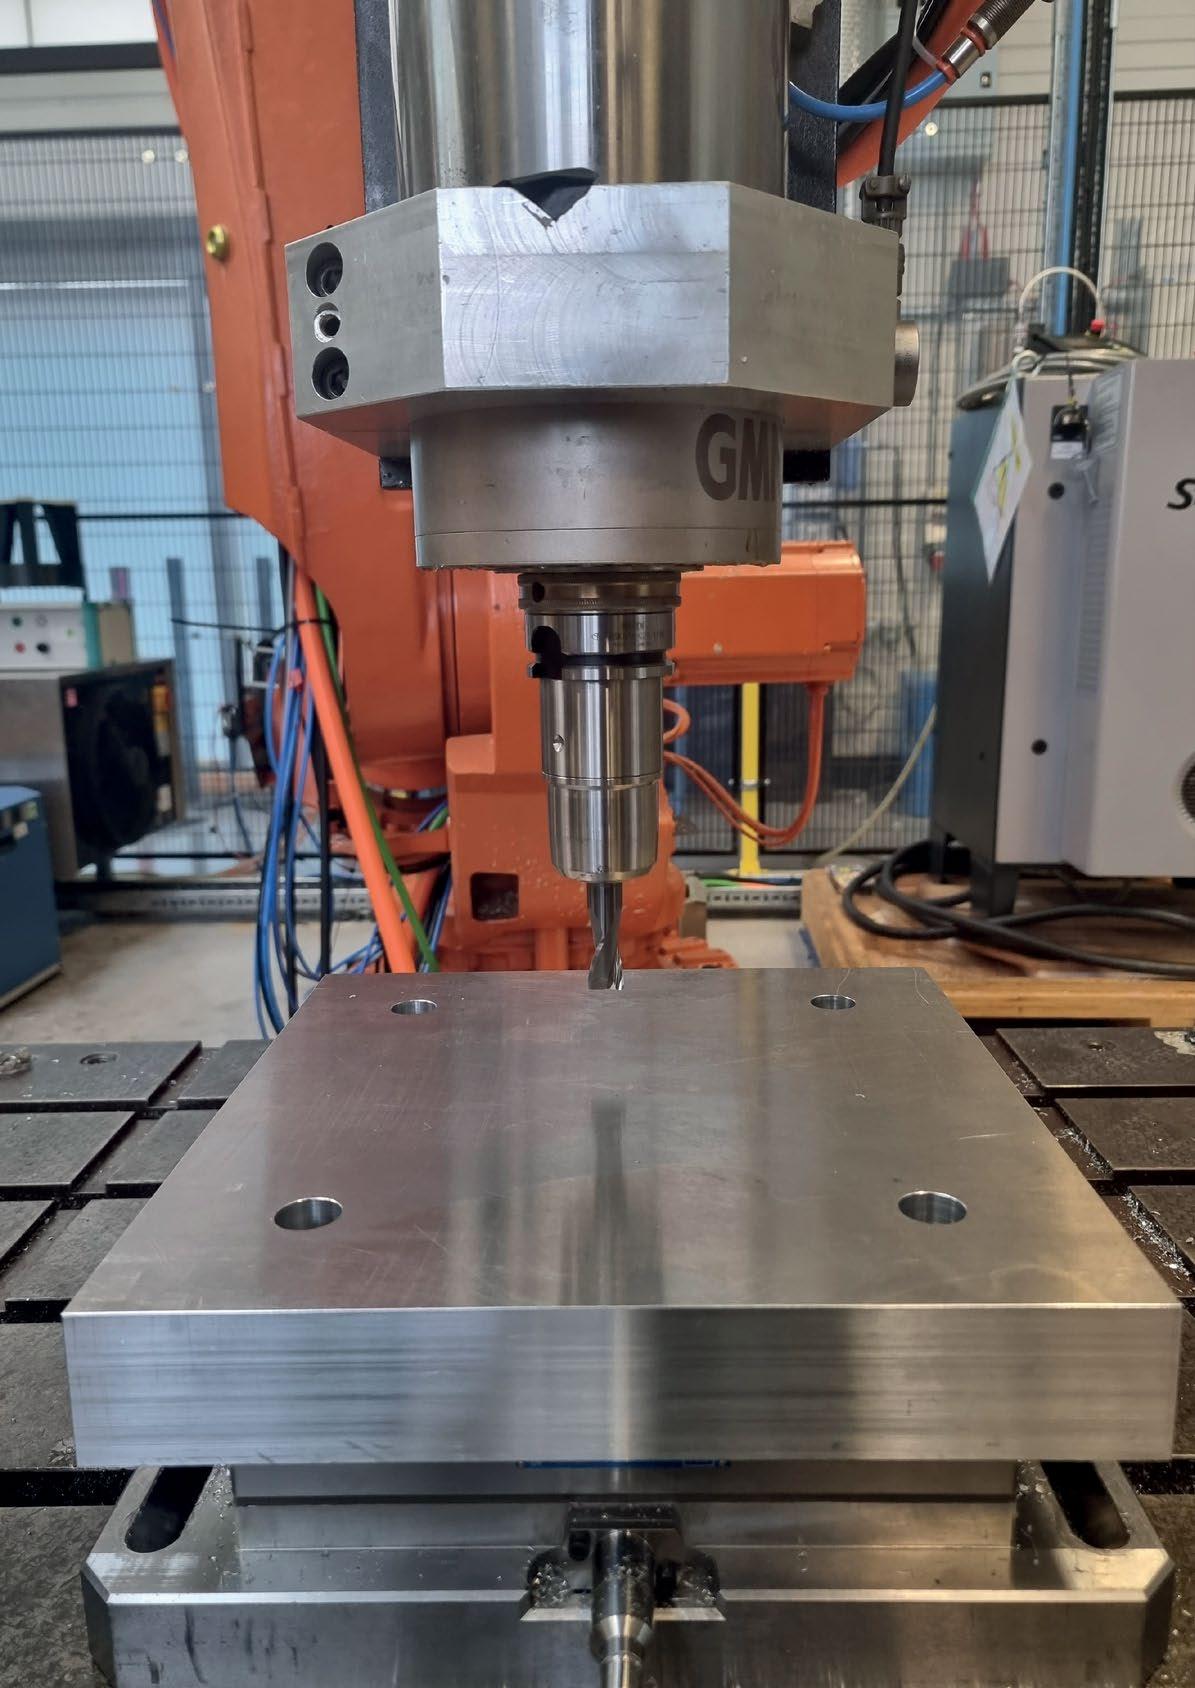
Both AMRC and the University of Bath are researching the use of robotic arms in machining operations. Robotic arms offer several advantages over traditional machine tools, especially when manufacturing large artefacts. Eliminating the need to construct very large machining centres means that the approach is much less costly while also being more flexible, making a single machine capable of a number of tasks.

However, this approach is not without its challenges. Robotic arms are generally used for activities such as pick and place operations, where the ultimate rigidity of the system does not play such a significant part in the successful completion of the task. When using a robot arm to carry out machining operations such as milling, the lack of rigidity compared to a traditional machine tool, can lead to significant errors such as chatter. The team at AMRC are investigating a number of approaches to overcoming these challenges such as using a pair of coordinated spindles machining at the same time to compensate for each other.
Another approach being investigated is the use of the redundant axis offered by a robot arm, which has a full six degrees of freedom, to orient the robot arm in the position, and offers optimum stiffness.
Collaboration with the team at Bath, using their modelling techniques to understand the backlash in robotic arms and develop a feed forward compensation strategy, has the potential to further increase the capability of these systems. The Universities of Huddersfield and Sheffield are also providing support to the project through their expertise in modelling and data management. The work by AMRC is already attracting industrial interest, particularly in high value fields with less demanding manufacturing tolerances such as the manufacture of large scale composite parts for yacht hulls. This work aims to demonstrate the feasibility of these various approaches and further enhance the appeal to a wide variety of industries.

Novel Techniques to Improve Vibration Distortion of Measurements
Professor Nigel Copner and his team at the University of South Wales are developing a novel technique to overcome the problem of vibration distortion of measurements when using frequency scanning interferometry (FSI). Professor Copner is working in collaboration with NPL, which brought their project to the attention of the Hub.
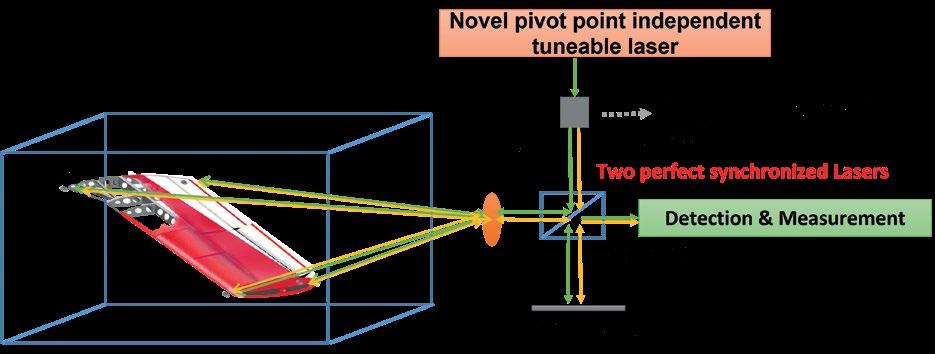
FSI uses a chirped laser source to make absolute distance measurements and generates a signal with a frequency proportional to distance. FSI is capable of multiple distance measurements on a single machine at high frequencies, making it ideal in real time monitoring of robotic machining systems.
However, FSI is inherently susceptible to vibration during the finite measurement time. Vibrations are especially prevalent throughout the manufacture process and in factories where there is a lot of extraneous activity such as other machinery and vehicles. These vibrations act as a source of modulation error substantially lowering system resolution. To overcome these challenges, frequency doubling, using a second laser with the same frequency to cancel out the up/down chirp, can be used for the error correction.

However, this method presents its own challenges in that it requires two lasers, adding substantial cost, and requires complex and costly control systems in order to match frequencies in real time.
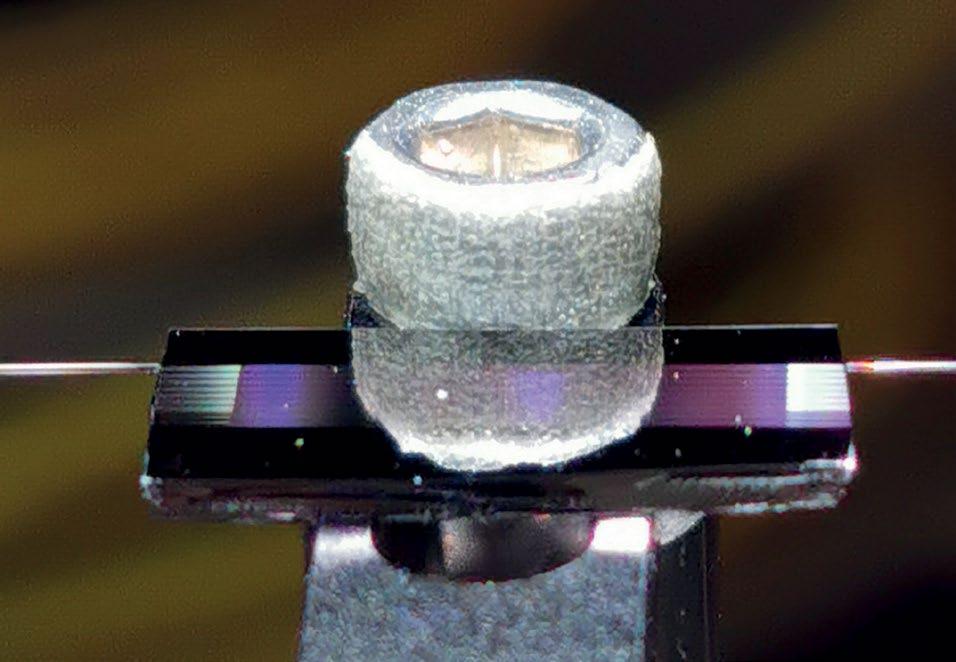
Professor Copner’s team’s innovative technique uses a smart low cost and instantaneous negative chirp laser signal generated from a master chirp laser by using non-lineal optical effect i.e. four-wave mixing (FWM). The team is currently investigating different waveguides fabricated in a variety of materials. Following proof of concept trials, the next step is to develop a prototype with highly efficient FWM and broad frequency tuning band suitable for integration into a full FSI system.
The aim is for this project to support the Hub’s ongoing research programme at the University of Bath, where a prototype system could be integrated into the robotic machining rig, to evaluate the overall vibration elimination performance. Following successful completion of trials, work will shift towards productionisation, packaging and ruggedising the device to be able to operate effectively in a manufacturing environment, and ultimately commercialisation.
