9 minute read
PROTOTYPING THE WORKSHOP KIT
PROTOYPING THE WORKSHOP
CASTING EXERCISE
Advertisement
The intention of this workshop was to give participants hands-on experience with formwork and casting inside of a sustainable formwork. Casting particular mixes and materials is such an integral part of construction, and to be able to do this at a small scale, within the homes of participants, shows that these exercise are both accessible and exciting. We used Blue Planet C03 coated aggregate and natural cement. This allowed participants to physically interact with mixes, their ratios, and alternative innovative options to low-carbon concrete.
OBJECT
Blue Planet donated a certain amount of aggregate to use in our low-carbon concrete casts. We divided this amount by how many participants we were expecting and the ratio which we tested. This gave us an 8 cubic inch object in which we could work with.
After testing the quality of three different ratios by weight and volume with different release agents, we landed on a 1:2:3 by volume with no release. The largest variability was in the amount of water. Because we decided against using plasticizers, which allow for better workability while using less water, meaning the concrete maintains a needed strength while still cast and easily workable, we added more water to the object. We landed on 2 oz of water.
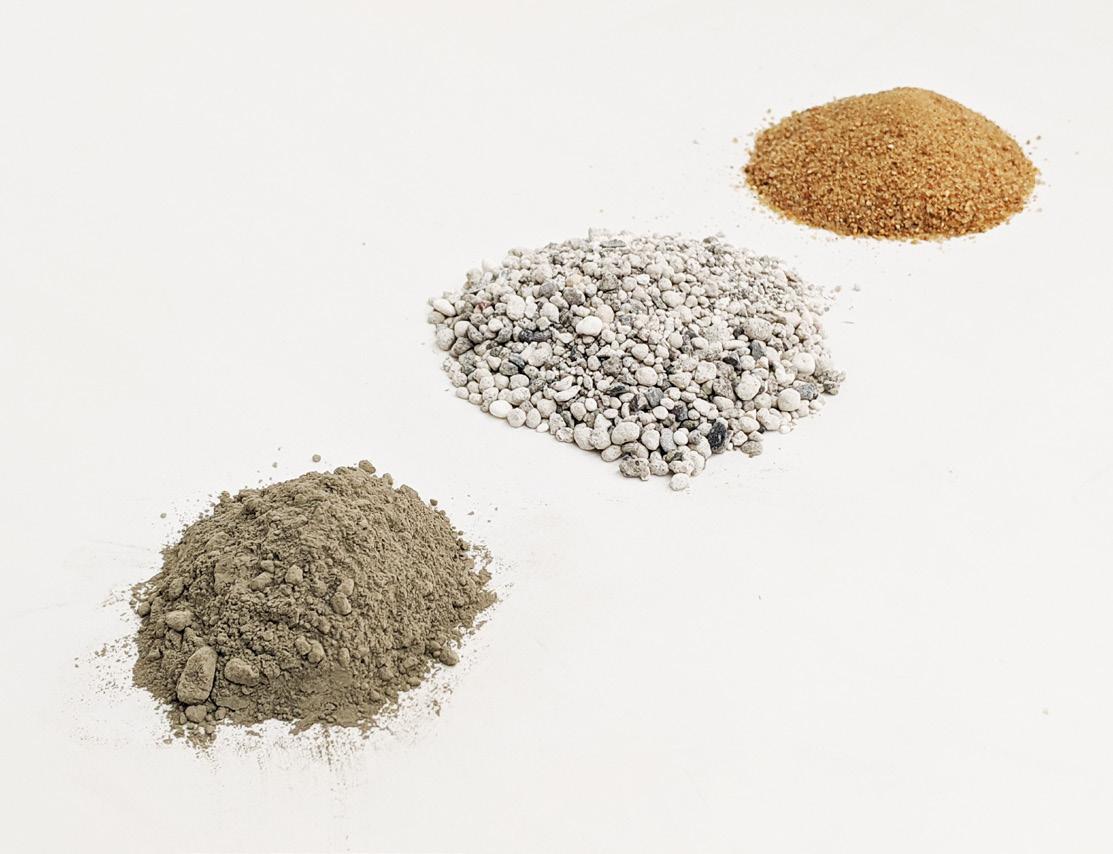
Mixes given to participants (natural cement, Blue Planet aggregate, and all purpose sand

Initial tests of concrete ratios, sizes and release agents
All concrete that is poured needs a form or mold to be cast in. On site formwork is often constructed out of wood products such as Plywood, OSB, and dimensional lumber. Durable modular metal formwork is a better option in terms of reuse but does not allow for the same amount of flexibility.
We chose 4ply chipboard that had already been laser cut and scored in order to complete in the given time of the workshop. Chipboard is made from 100% recycled fibers, which is a great alternative to more carbon heavy standards. Chipboard also releases directly from your concrete object without using a release. We laser cut and scored 50 formworks of each form using the new lasercutters at the Tech Lab in Sutton Hall.
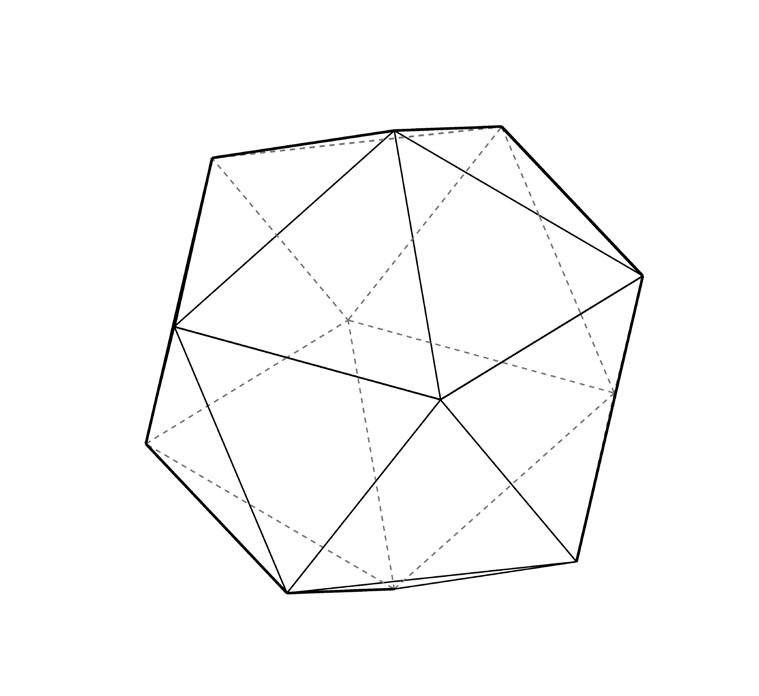
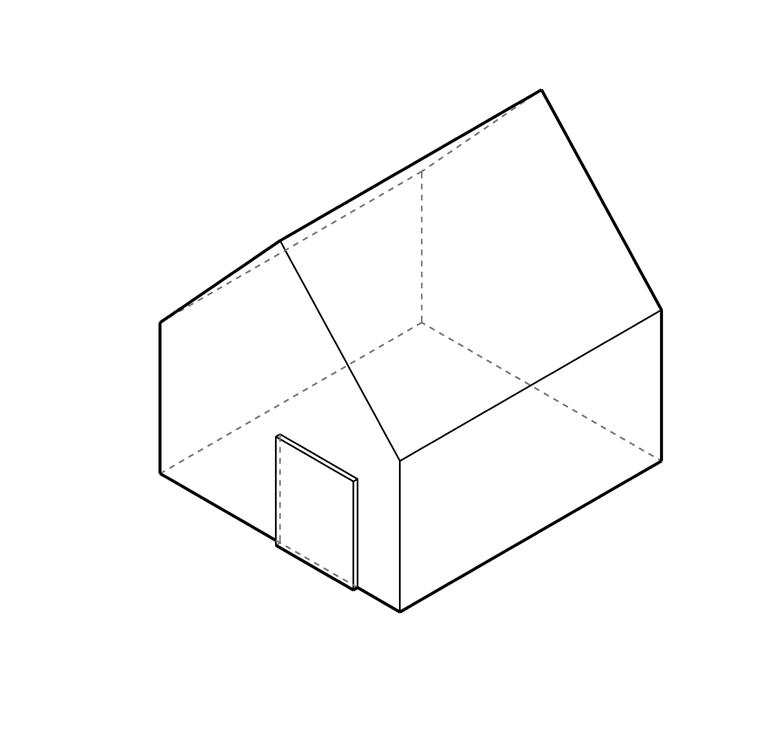
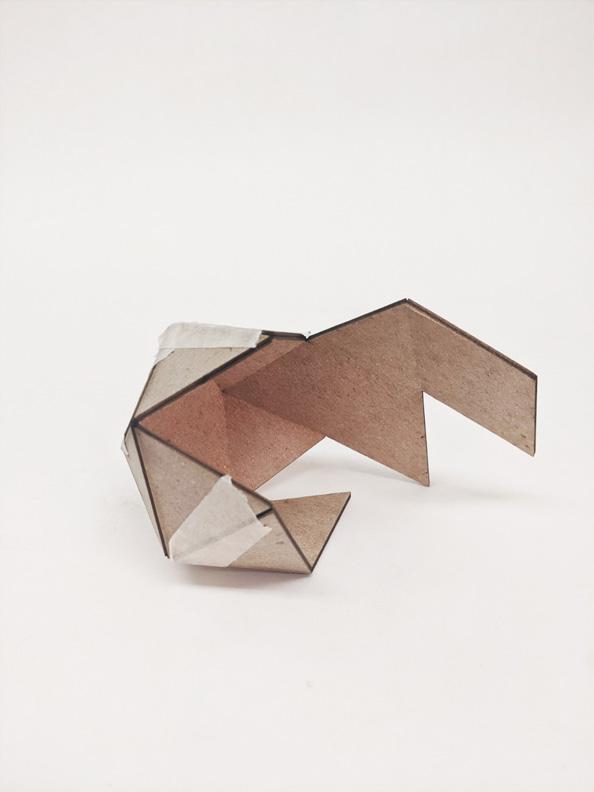
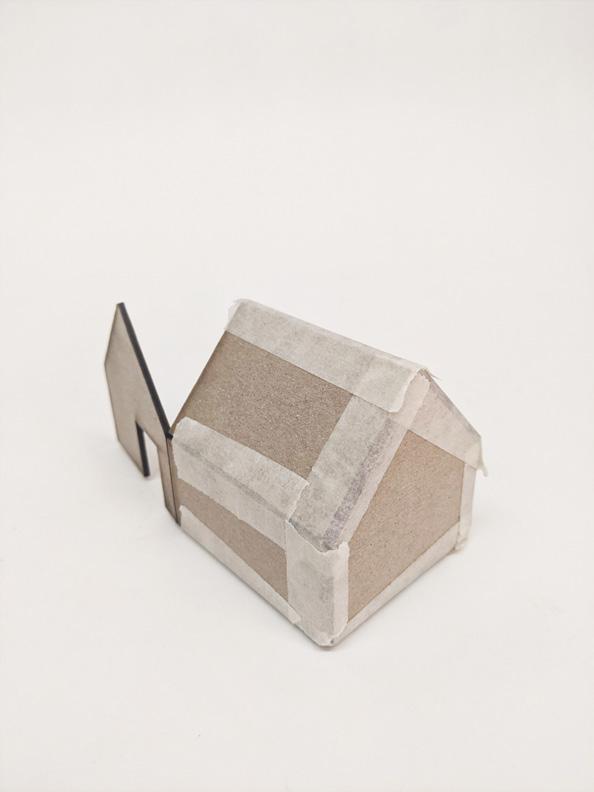
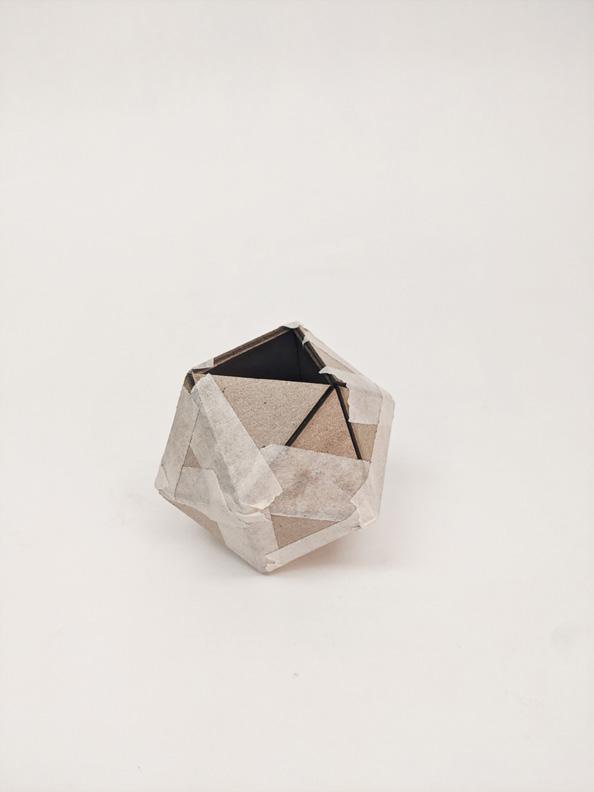
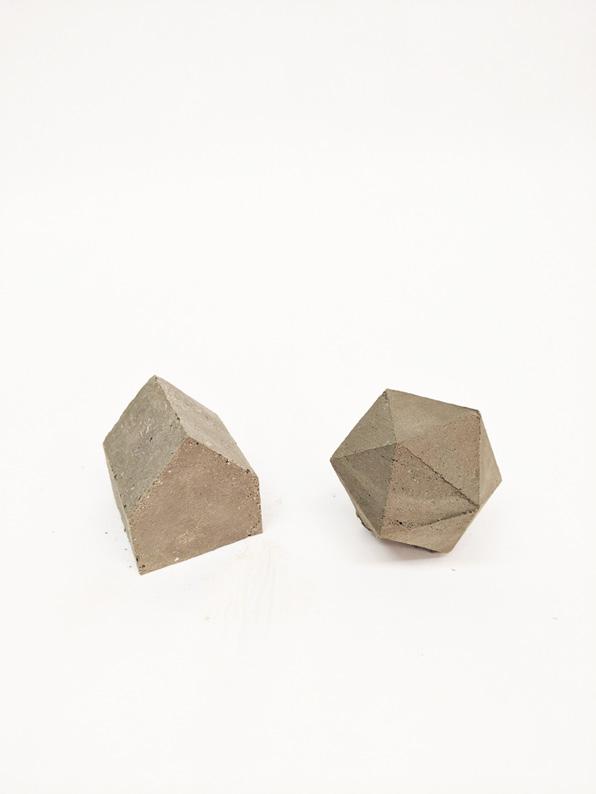
We wanted to use simple objects that could be folded easily and quickly catering to the online format and time of workshop. This led us to two different forms. One being the Buckminster Fuller Dymaxion Map, a metaphor for global climate change, and the other a small cottage, or a low-carbon house.
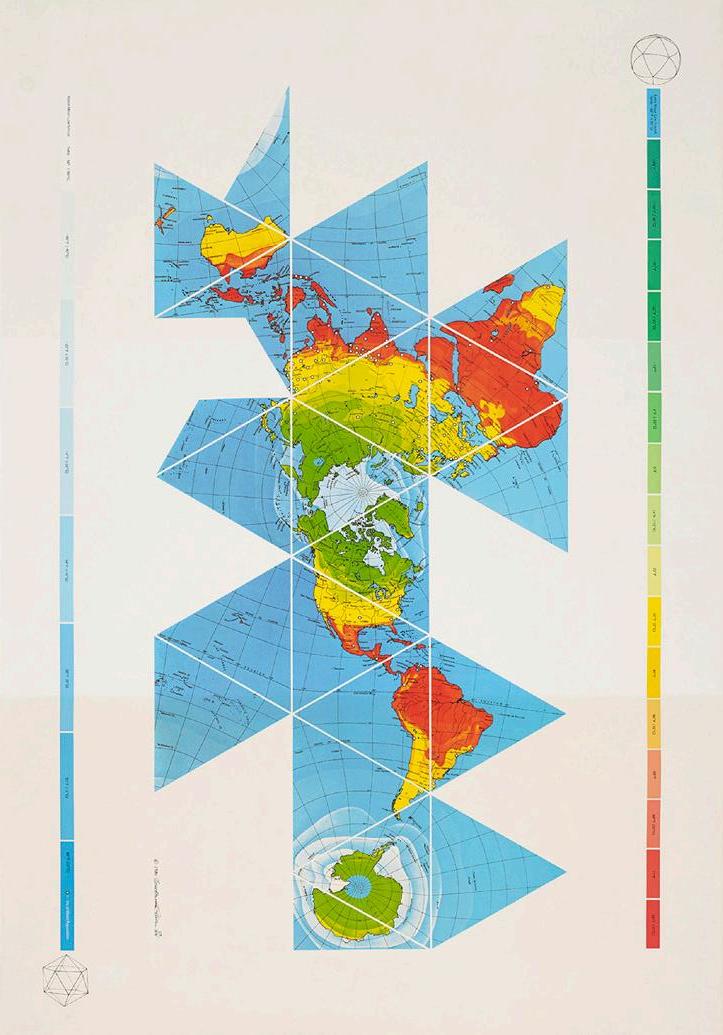
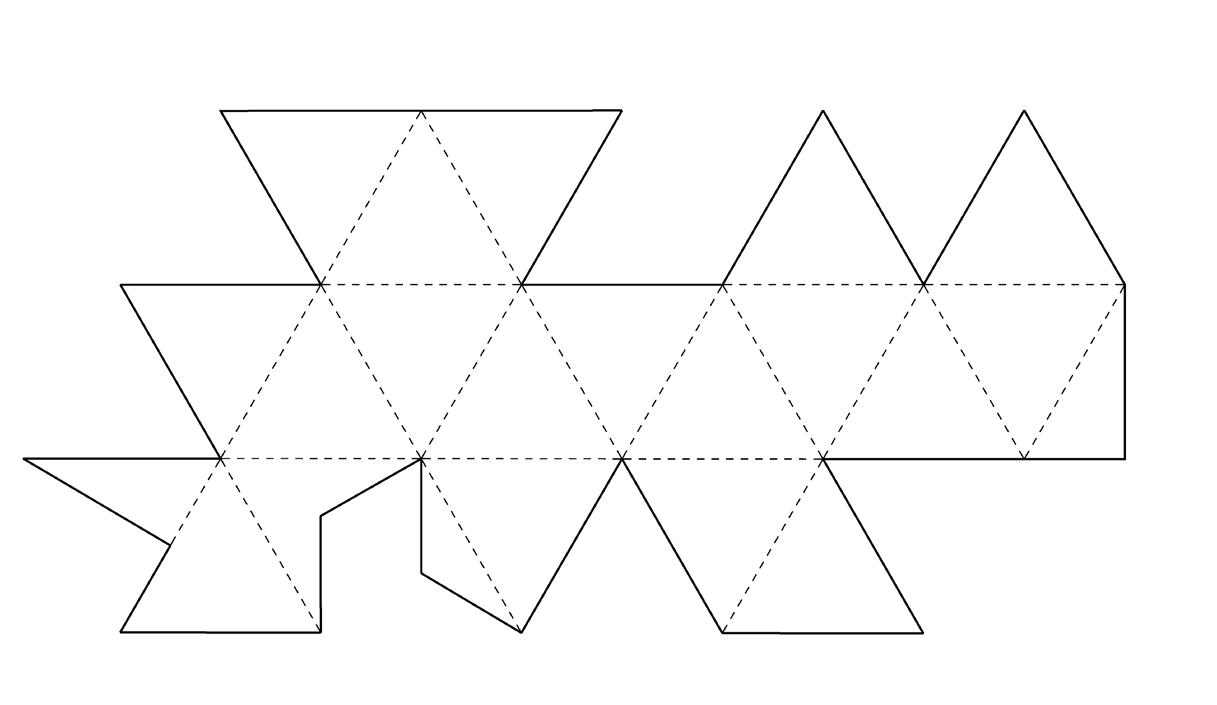
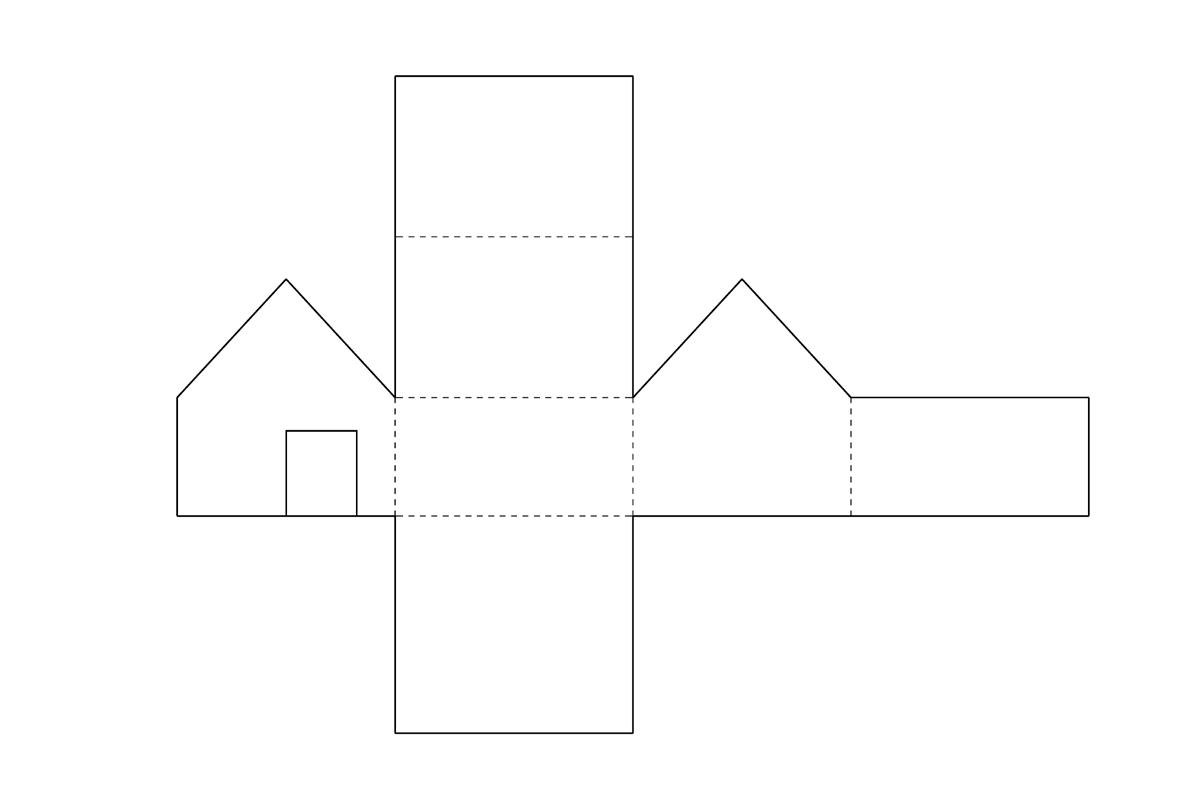
laser cut templates of the two forms isometric of objects
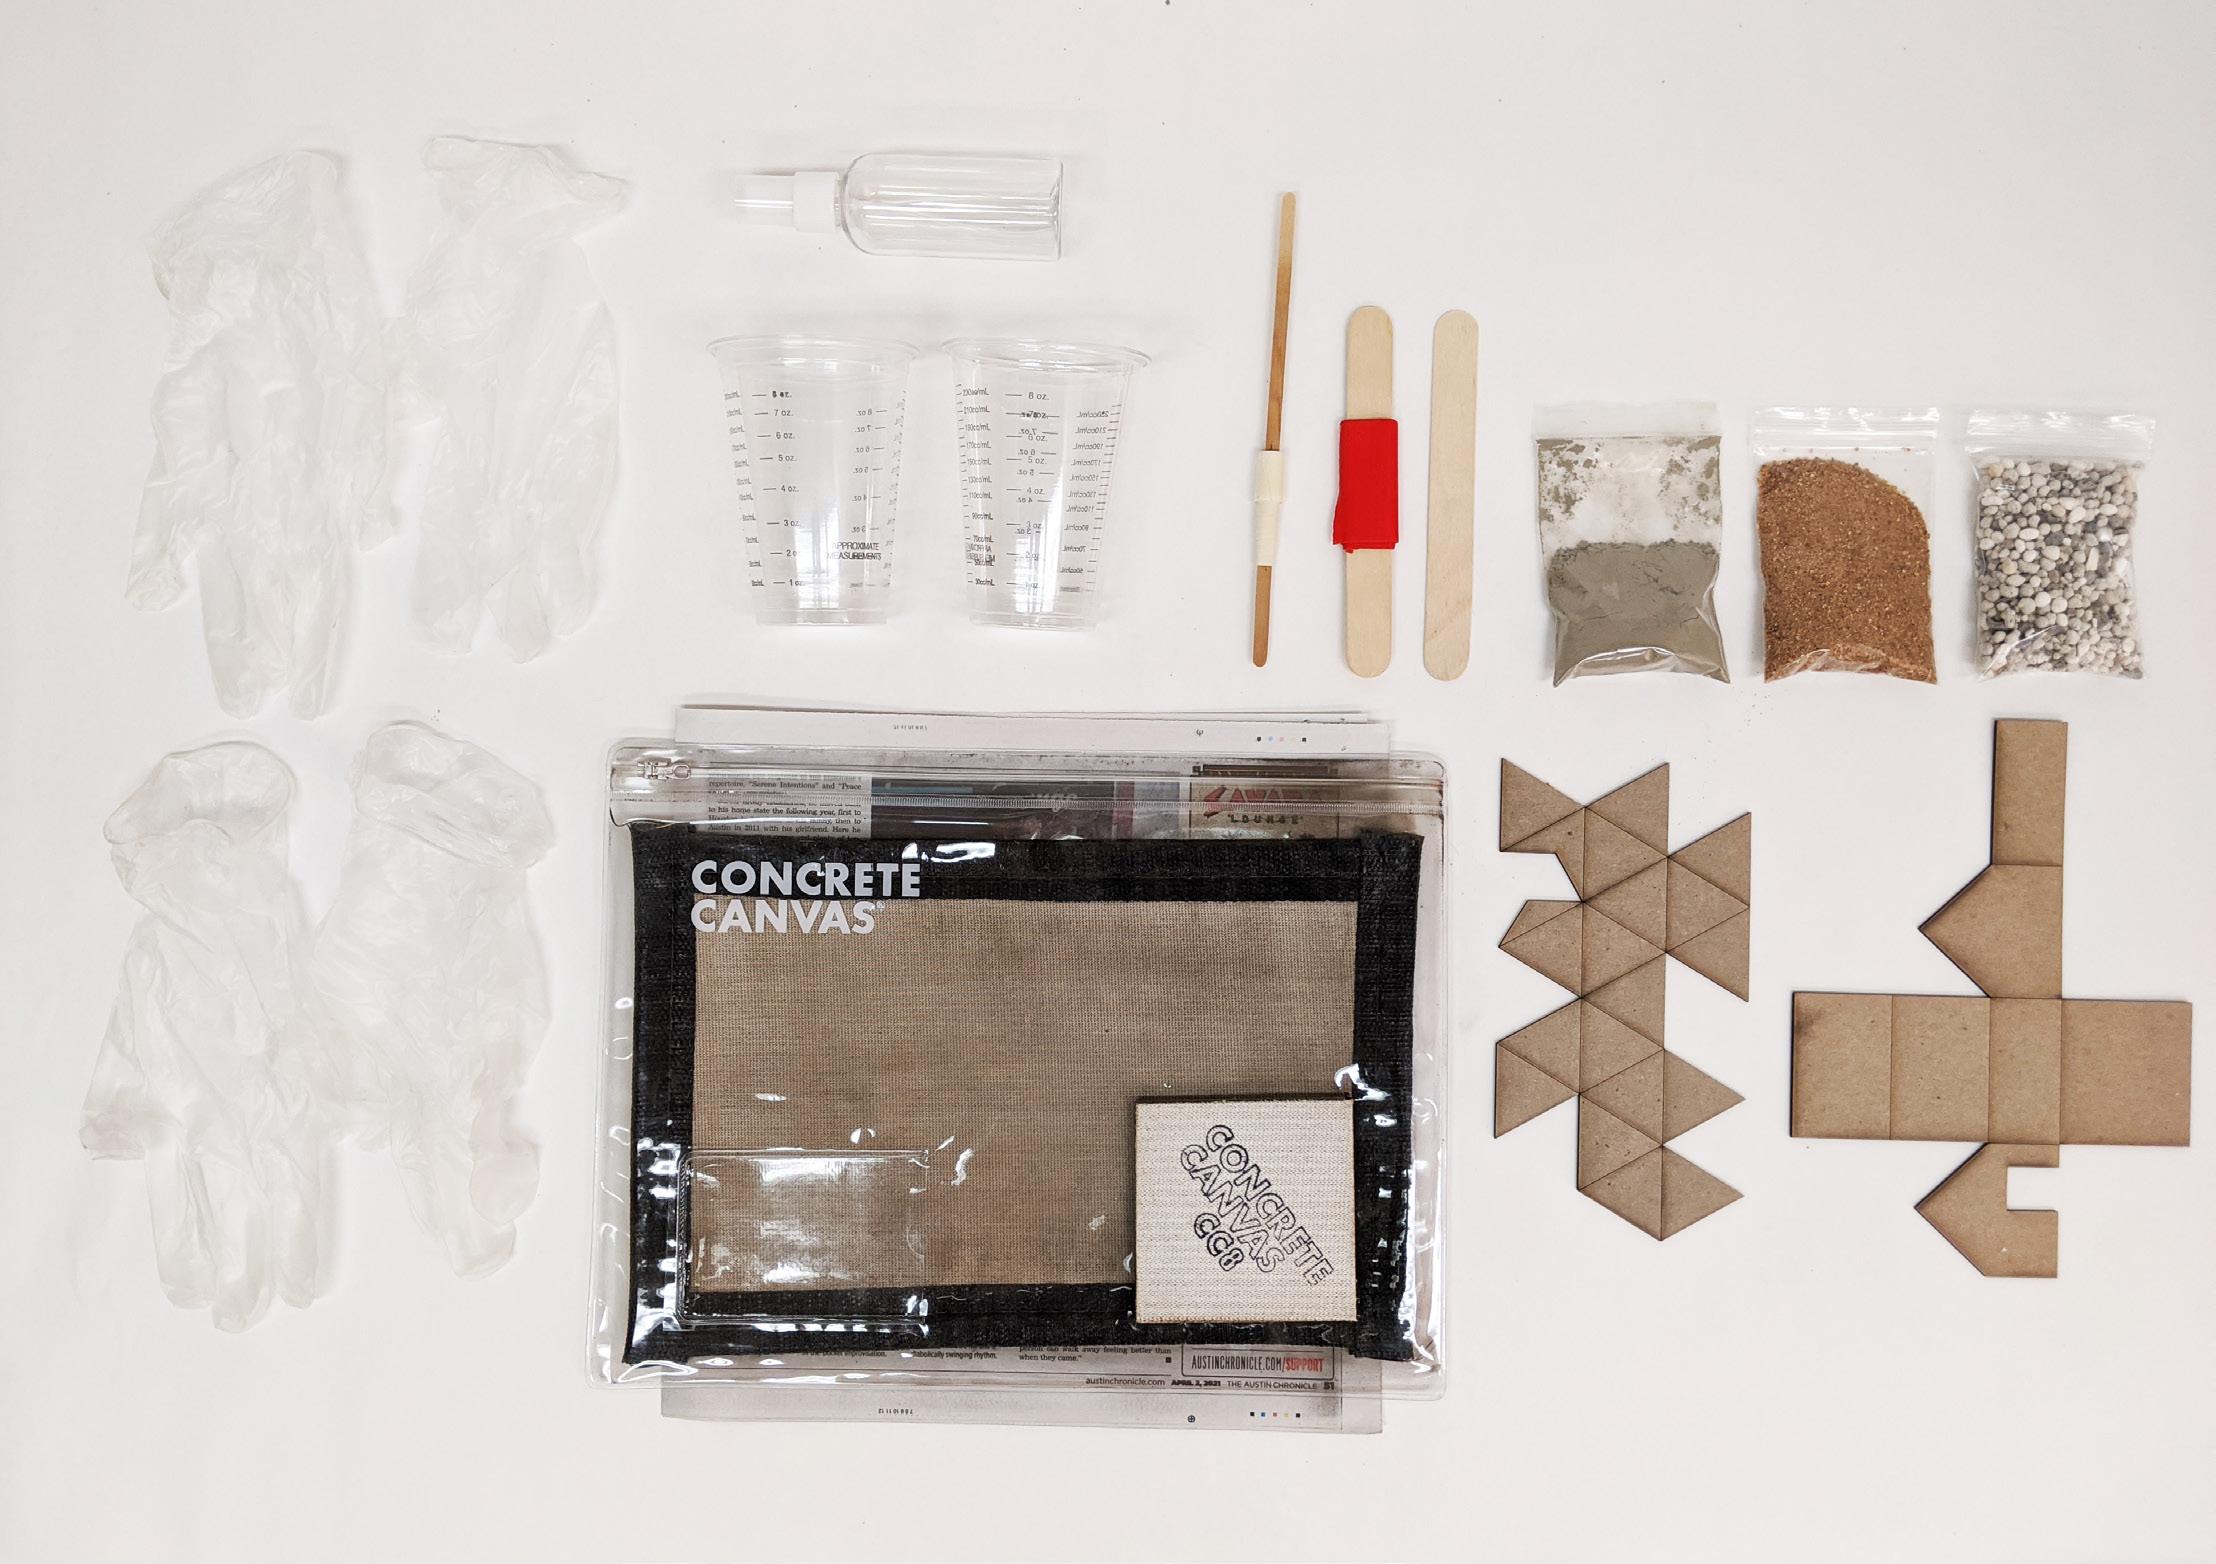
108 Blue Planet aggregate: Donated by Blue Planet LTD 72 g sand: Home Depot 36 g natural cement: Recycled from Hempcrete workshop Disposable gloves: Amazon chipboard casting templates (2): University of Texas Co-op, laser cut in Tech Lab 8-ounce mixing cups (2): Amazon mixing stick: Amazon masking tape: Materials Lab newspaper: old Austin Chronicle
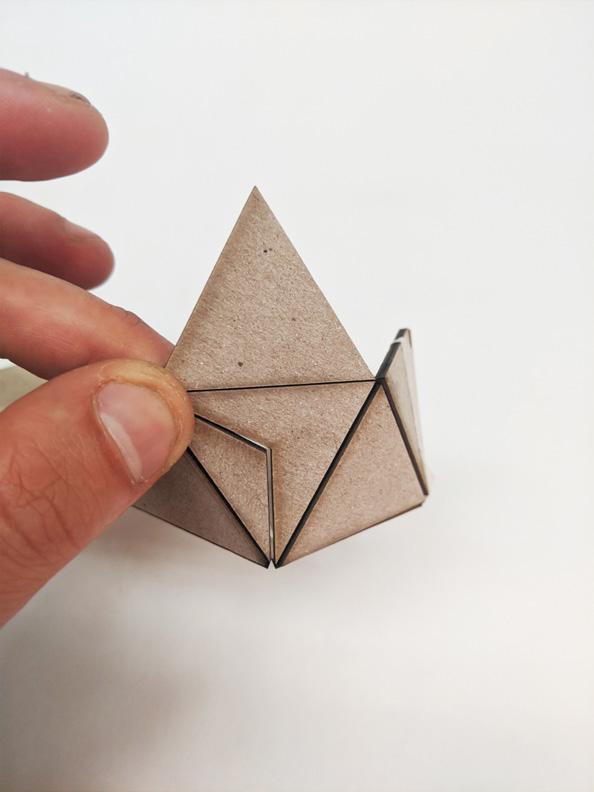
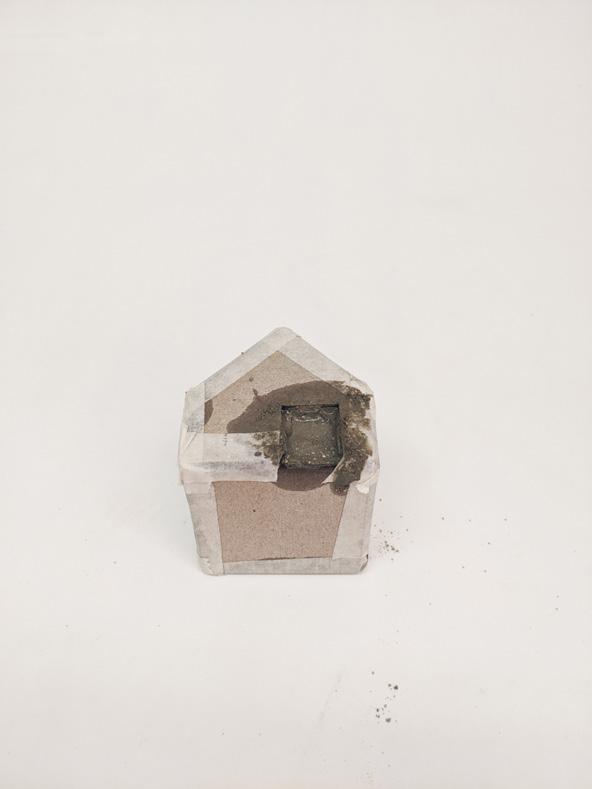
1. Gently fold and tape chip-board Dymaxion template, the first step is taping this part of the template.
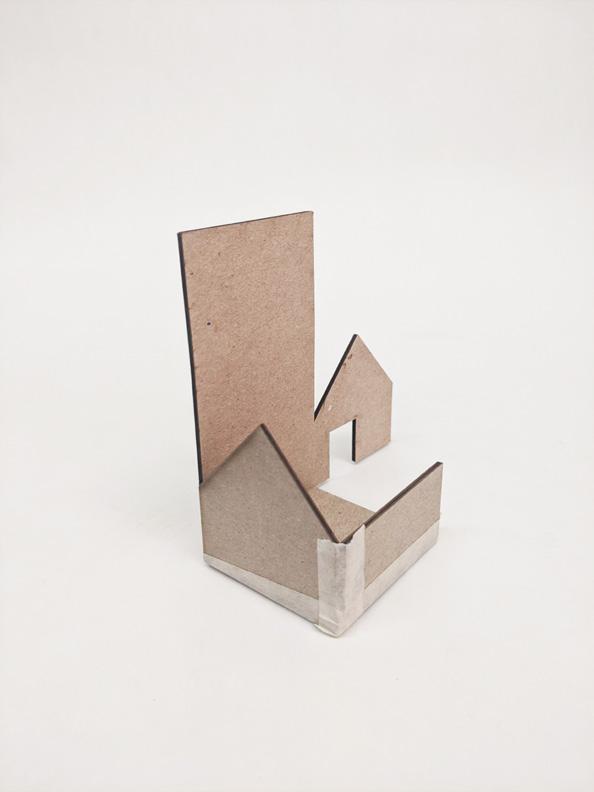
Repeat for low-carbon cottage
2. Continue folding and taping template. 3. Template complete with one missing triangle for pour hole.
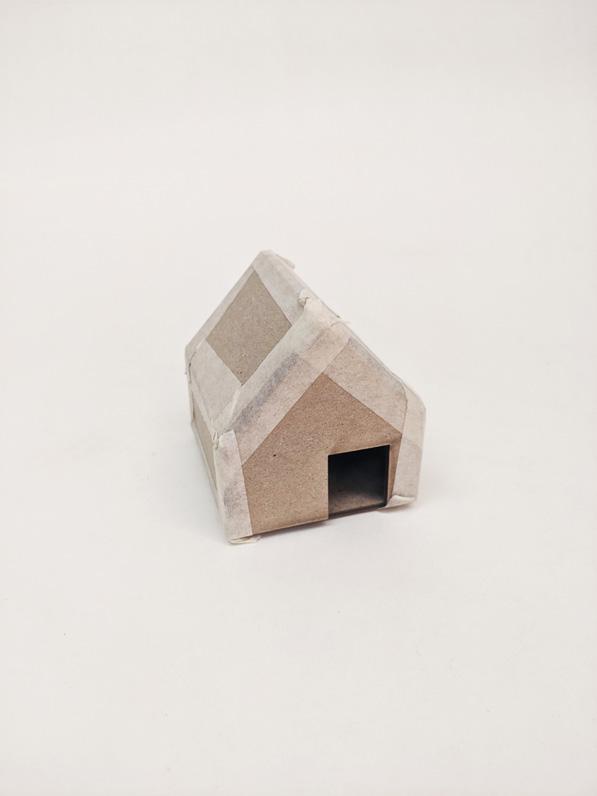
*Door is hole for pouring material.
Safety precautions : *Cement is perfectly safe to work with if proper precautions are taken.
1. If you are not outside, make sure you are in a well-ventilated space. Open windows so there is proper airflow.
Cement is a fine powder which when dry mixed can release dust.
2. Use vinyl gloves provided in kit.
Concrete absorbs moisture as it hardens, is caustic and abrasive, which can cause irritation.
3. Make sure you are using a mask.
Dry mixing can result in dust, in the short-term this may irritate your nose and throat, however if repeatedly exposed to concrete, potential risk of respiratory infections may occur.
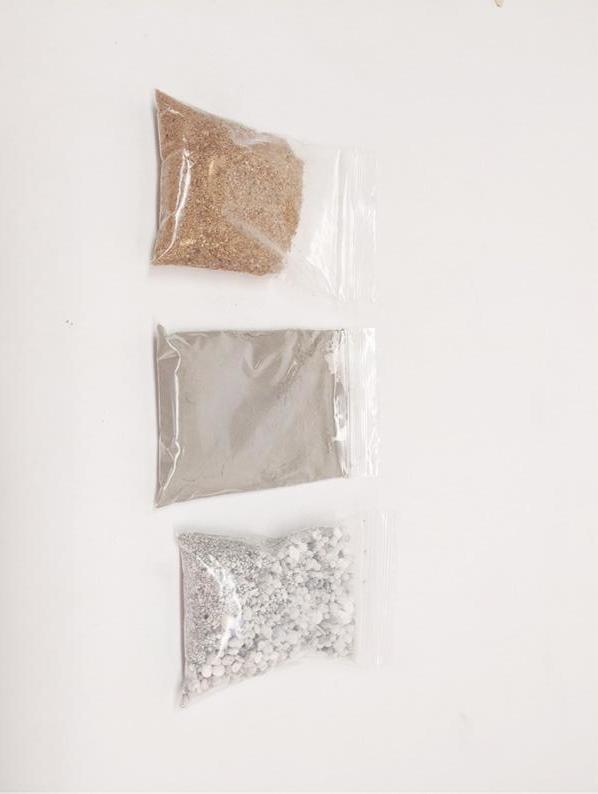
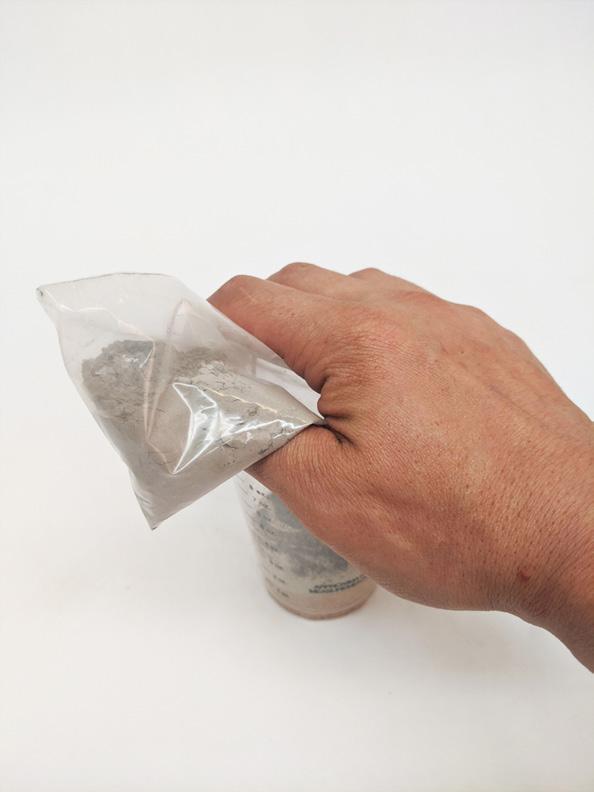
4. Get all materials ready. 5. Pour your materials into plastic cups. Start with sand so cement doesn’t clump to the bottom of the cup. 6. Then add cement. Place your hand over the top so not to allow dust particles escape.
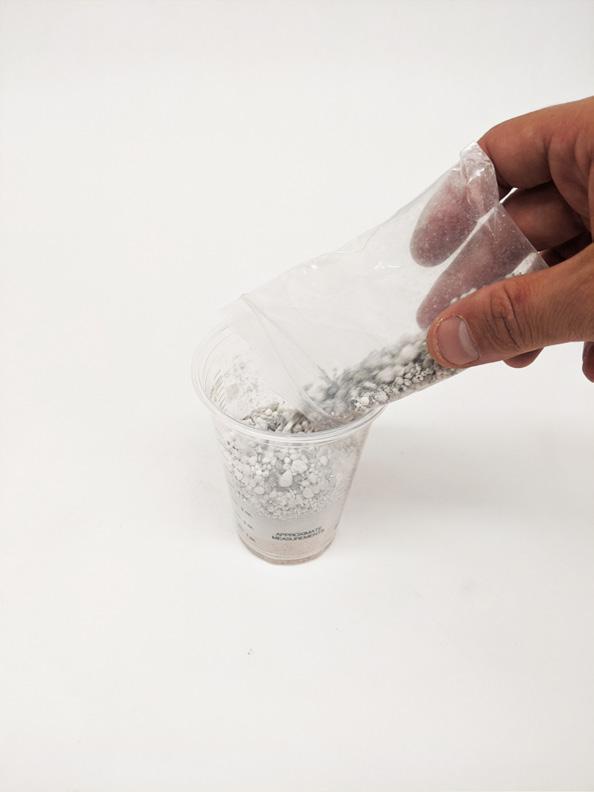
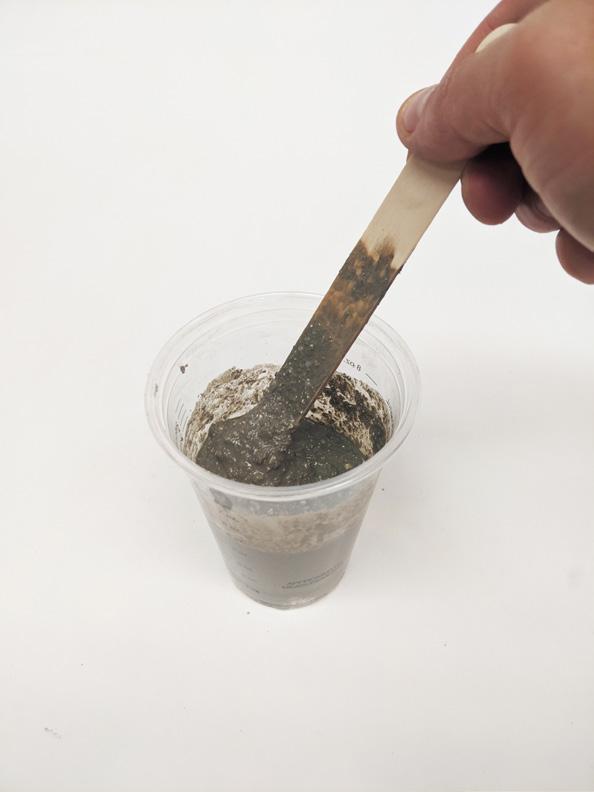
7. Add aggregate. 8. Mix until all of the materials are a homogenous color and aggregate is evenly dispersed. About 30 seconds. 9. Use other cup to pour materials back and forth if not evenly mixed.

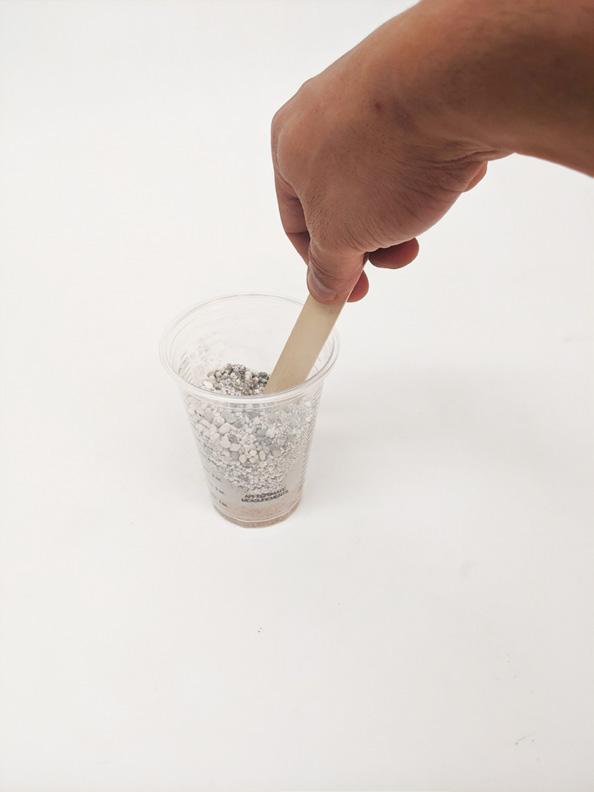
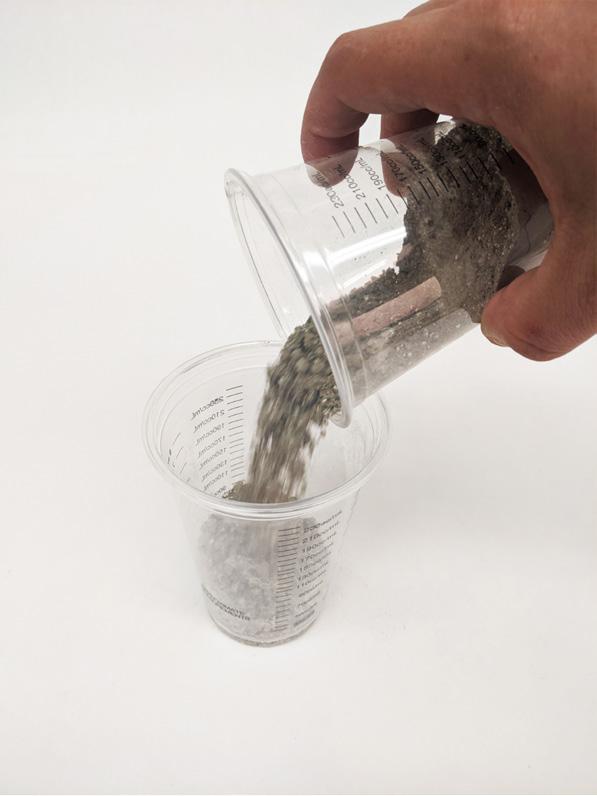

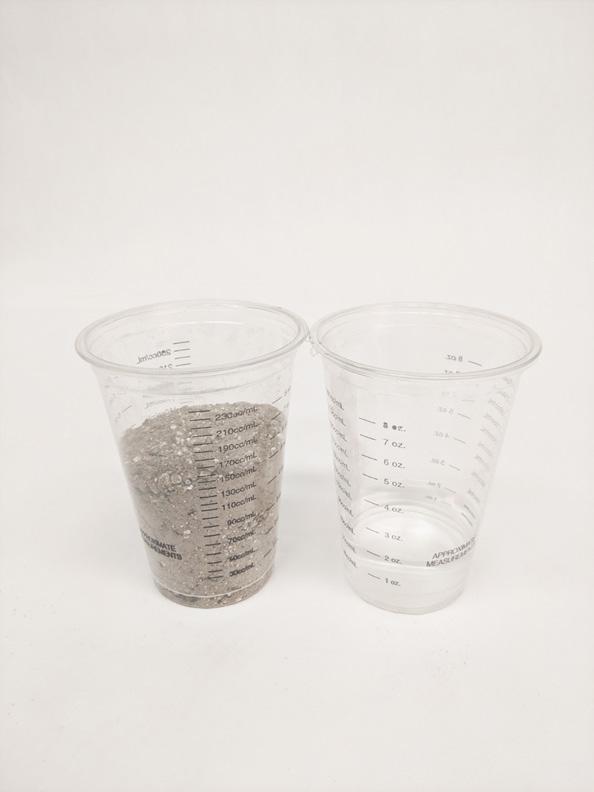
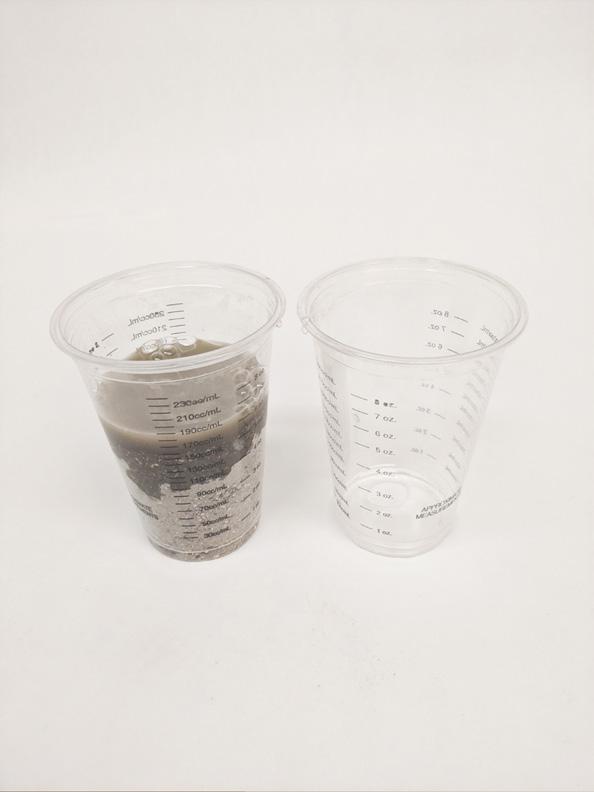
10. Fill up cup #2 with 2 oz of water. 11. Add just about 1.5 oz and see how your mix feels. *It should be the consistency of a slushy or wet oatmeal.
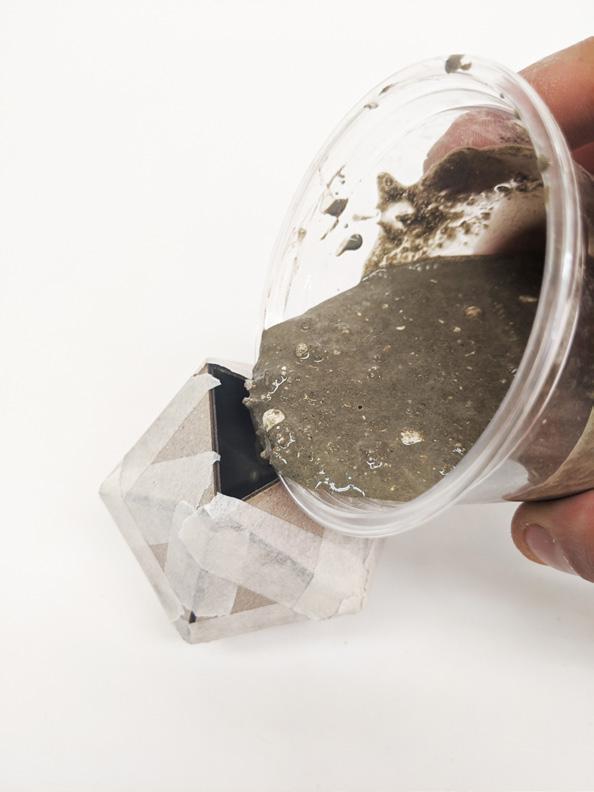
13. Start pouring in open side of the formwork. Stop about a third of the way up to tap and vibrate. 14. Tap object with your finger or stick to get air bubbles out. 12. Mix rigorously.
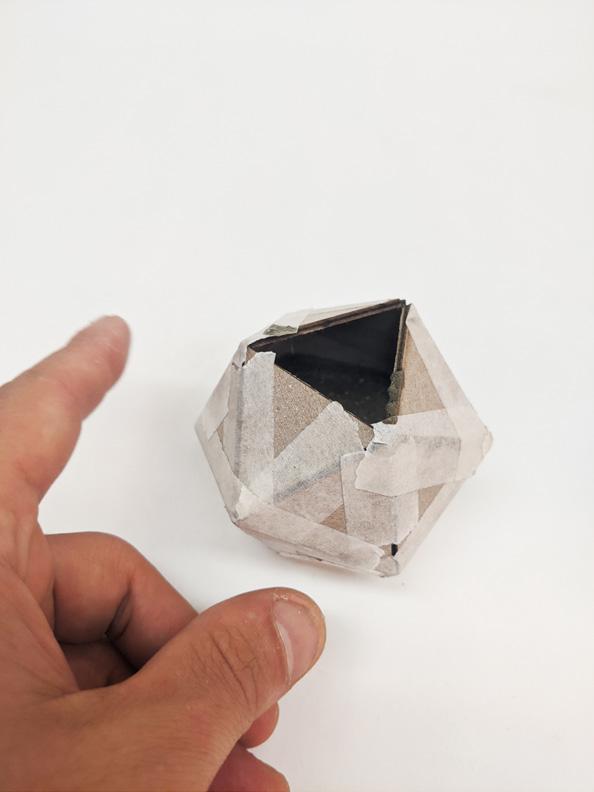

15. Tap object on surface.

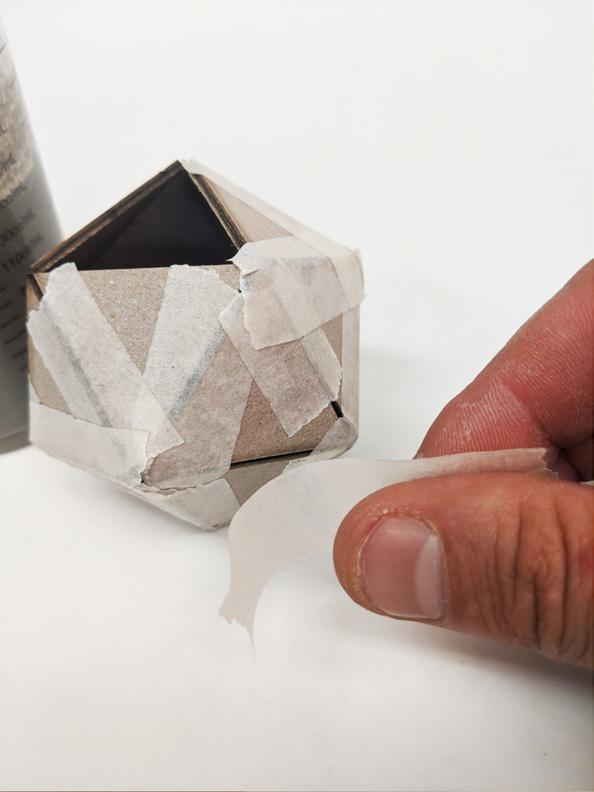
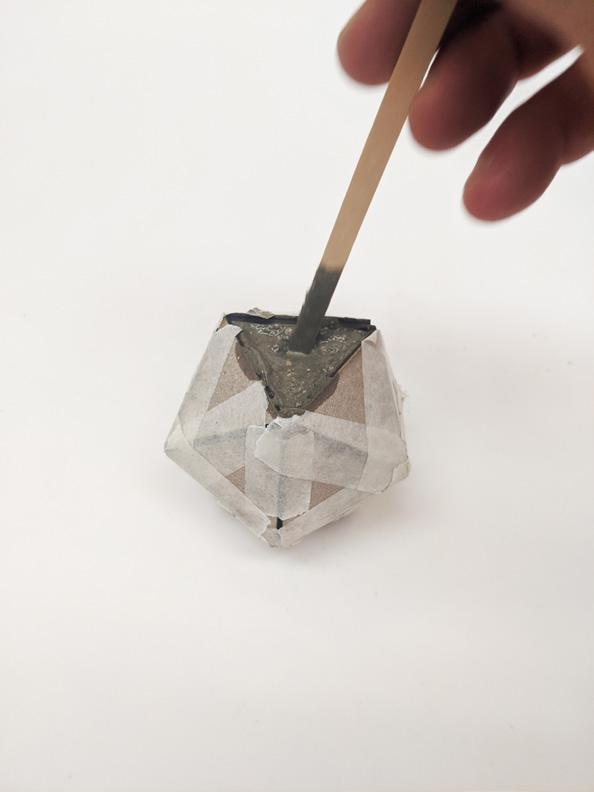
16. Make sure everything is taped up! 17. Poke small stick in and out of mold to release airbubble to get a uniform surface.
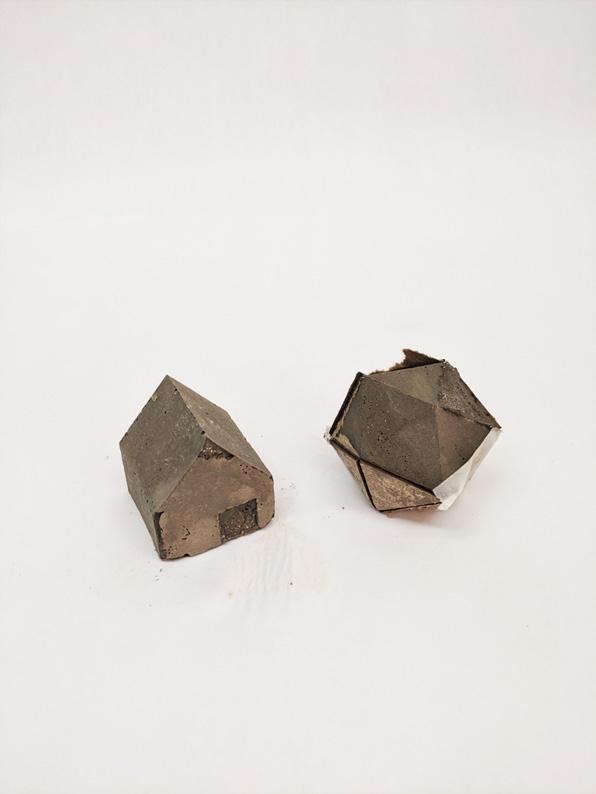
19. Leave to cure in a dark dry place for 24 hours. Demold! 20. Spray every day with light mist to increase strength and prevent cracking. 18. Repeat with low-cabon cottage.
CONCRETE CANVAS EXERCISE
This exercise was intended to examine a product that needed no formwork or mixing. We wanted participants to explore the possibilities of geo-fabric concrete, what the strength of the material was, and how this could influence design decisions.
Material Lab researchers Brandon and Lucas experimented with the material by completely submerging it in water, spraying it with small and large misters and sprayers, and flicking water onto its surface.
Although the polymesh edge stitching could be removed by simply cutting it with a matte knife, in prototyping Concrete Canvas, we found it best to leave this stitching intact. This allowed the proper moisture content to soak into the Concrete Canvas even if participants could not drench the material. Interesting experiments could be done by cutting the material, like weaving and overlapping, but for the sake of this workshop we strongly recommended not removing this edge.
The most effective use of the material was to find and object in which one could wrap the concrete canvas around and then soak the material by whatever means necessary. We provided a small spray bottle in order to contain all of the potential concrete water run-off. This worked fine, but often took too long to get to the point of proper saturation.
The material was an 8.5” X 11” sample and needed about two full spray bottles full or 6 oz. Participants could free form the material and use the tape supplied to tape to itself. We noticed that if you were to directly tape the surface of the canvas fabric, it would not fully cure like the rest of the material, causing slightly weaker areas and non-uniformity.
As Concrete Canvas states, the working time of the material is 2 hours, so water can be applied throughout this working time. After this time, the water doesn't seem to effect the material unless there were parts that had not been worked.
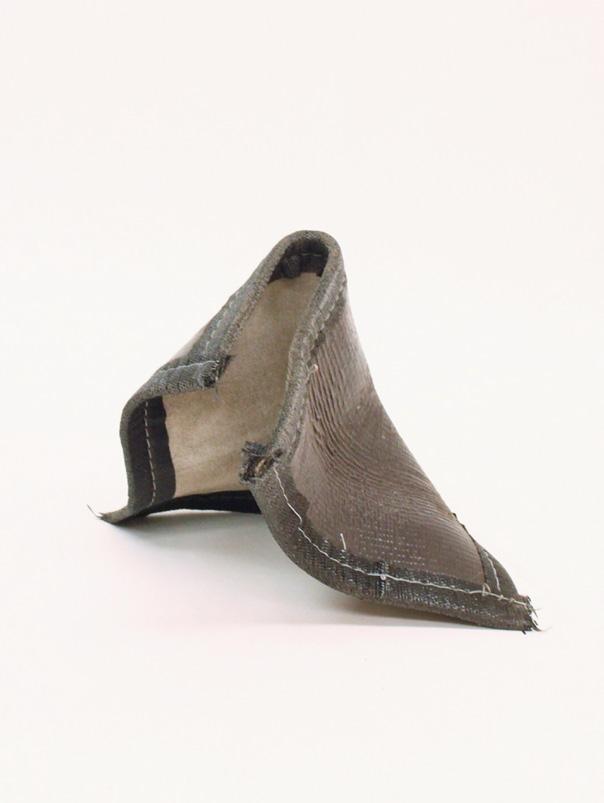
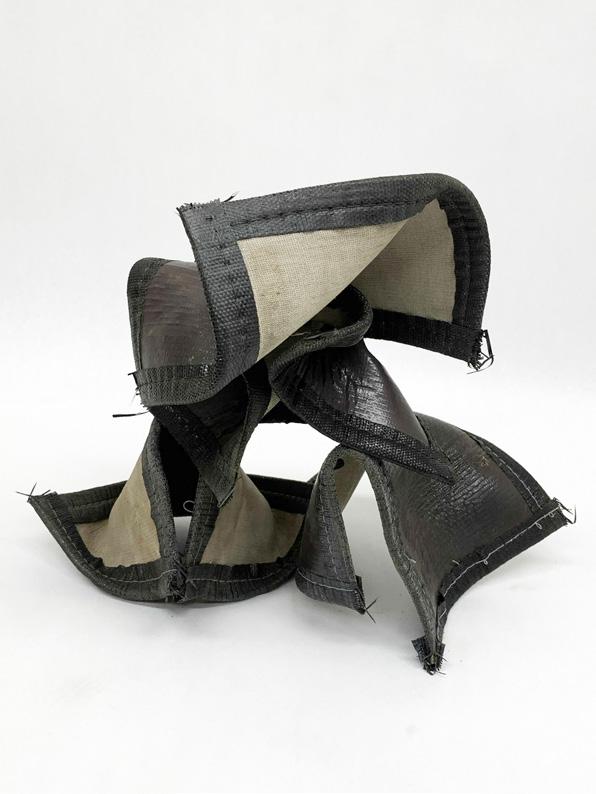
Here are a few of the results from the researchers.
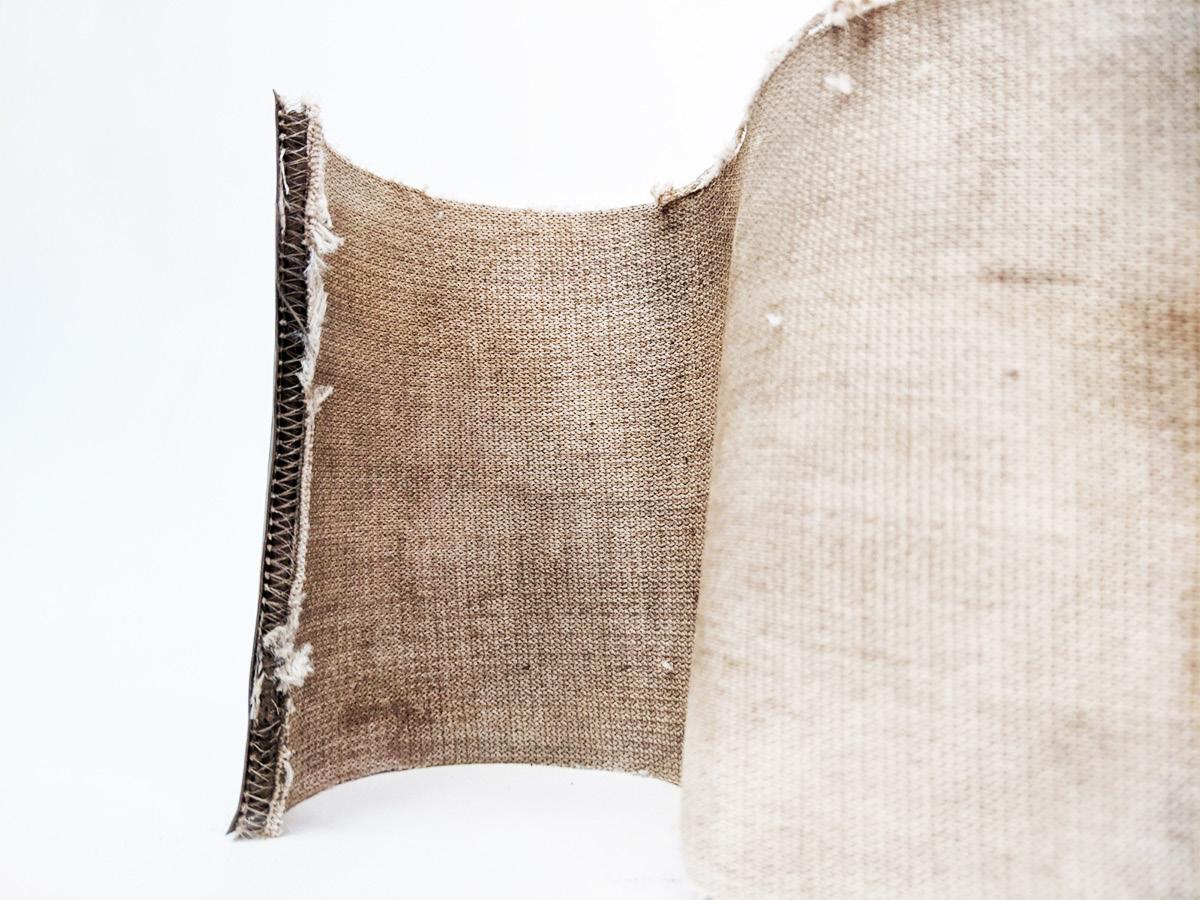
Material test using two bottles as mold
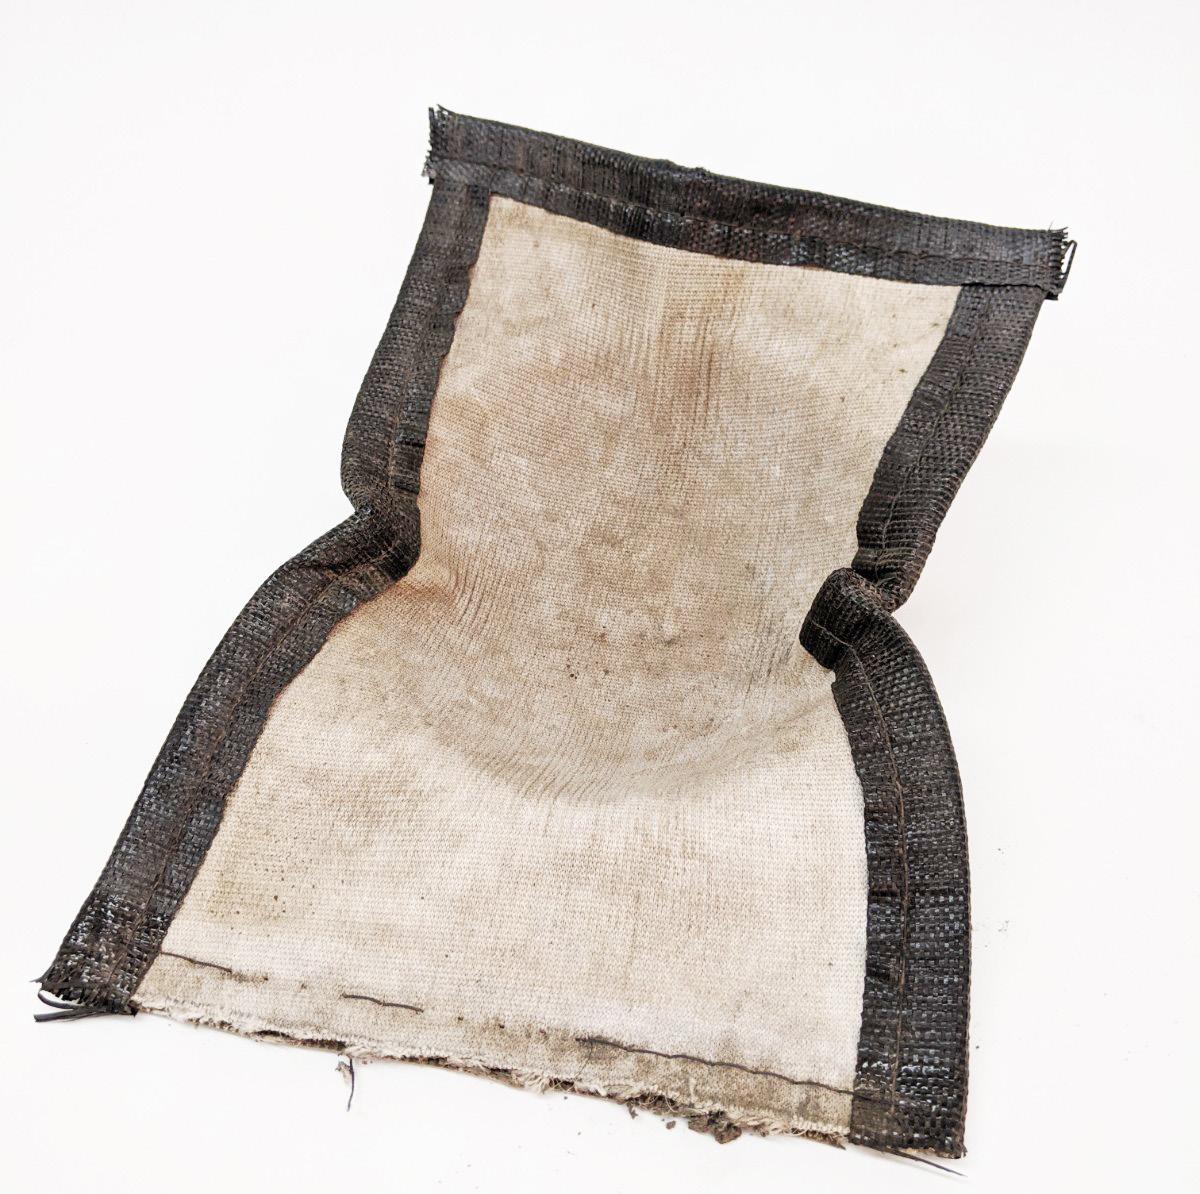
Material test using a ceramic bowl as mold
8.5” x 11” Concrete Canvas: Donated by Concrete Canvas 8mm Concrete Canvas sample: Donated by Concrete Canvas disposable gloves: Home Depot spray bottle: Amazon duct tape on mixing stick: Home Depot


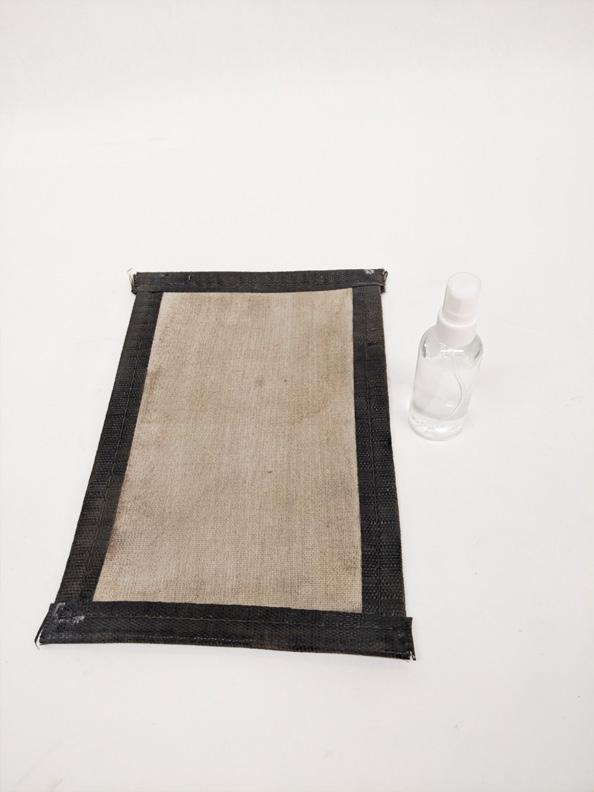
1. Remove Concrete Canvas from plastic packaging. Fill spray bottle with water.
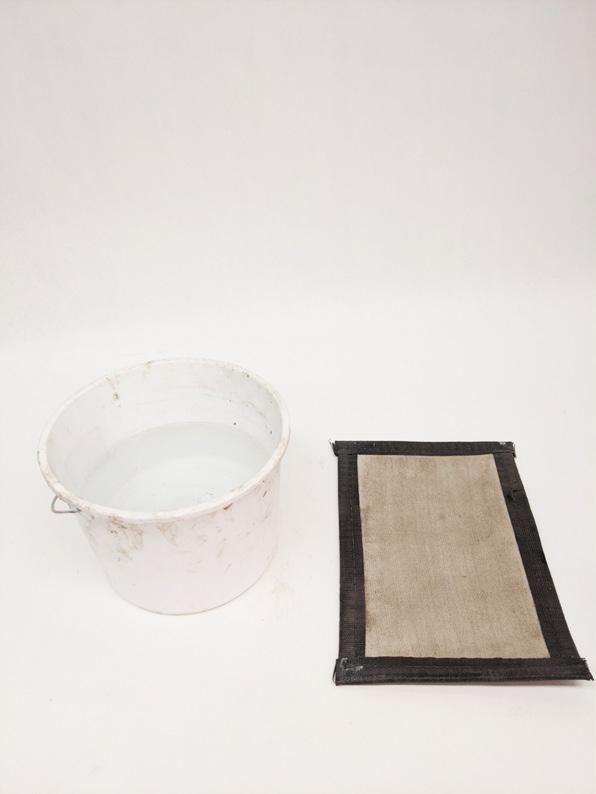
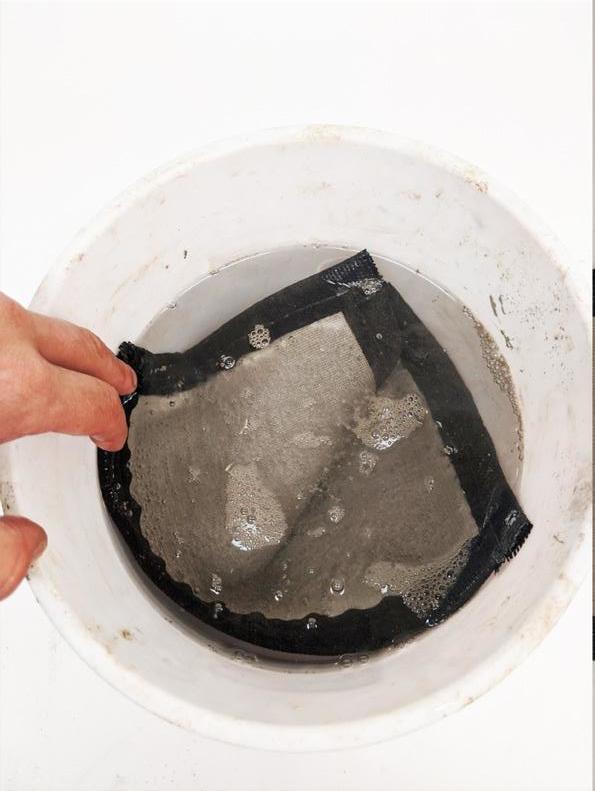
1. Remove Concrete Canvas from plastic packaging. Fill bucket with water. 2. Tape Concrete Canvas using duct tape or push it in or around a form.
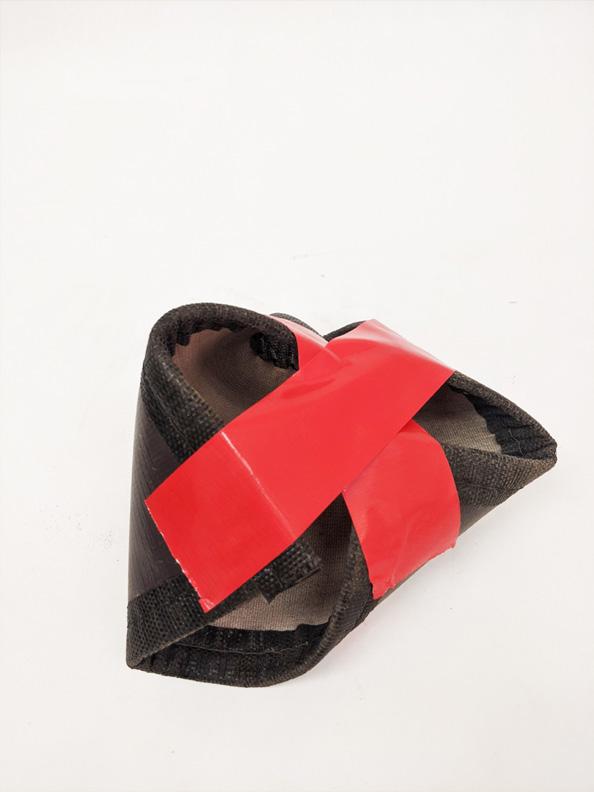
OR

2. Soak Concrete Canvas in water for about 30 seconds. Push the material deep into the water until it's fully submerged. 3. Spray with 2 bottles. You will begin to see white bubbles appearing on surface. The working time is 2 hours, so you can revisit and spray within that period. Make sure every part of the form has been sprayed. Let cure for 24 hours in a dry dark place.

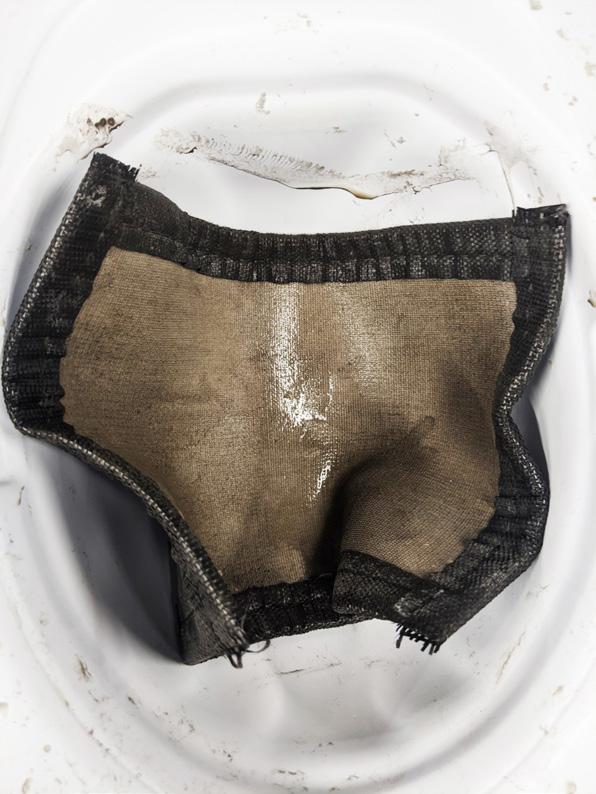
3. Use a mold to push Concrete Canvas inside of. Use other objects to wrap CC around.
Other processes and problems and experiments


You can cut Concrete Canvas on a mat or hard surface to remove the edge. The cement impregnated material with cause dust to be released from the edge. Make sure you soak the edges! Make sure you are really soaking the material! Unfortunately Concrete Canvas leaves cement residue in the bucket once soaked. This is the reason we decided to use spray bottles. Disposing of the cement waste would not be easy for participants so we wanted to avoid this.
