How To Create A Podcast

For Resort and Second Home Markets
 By Tom Tezak
What’s Your Topic?
Maybe you want to be a podcaster, but here’s the real question: Do you have something to say? Make sure you put a lot of thought into your show’s concept. We recommend using a notebook to keep track of your themes and ideas. Once you have a concept in mind, start jotting down ideas for as many episodes, guests, segments, games, etc. as you can. Planning ahead is going to be super important.
Guest ideas to get you started: friends in the business, a social media expert, a marketing expert, local area guide, etc.
Recommended Reading: Podcast Launch by John Lee Dumass and Vlog Like A Boss by Amy Schmittauer
Where Do I Find a Studio?
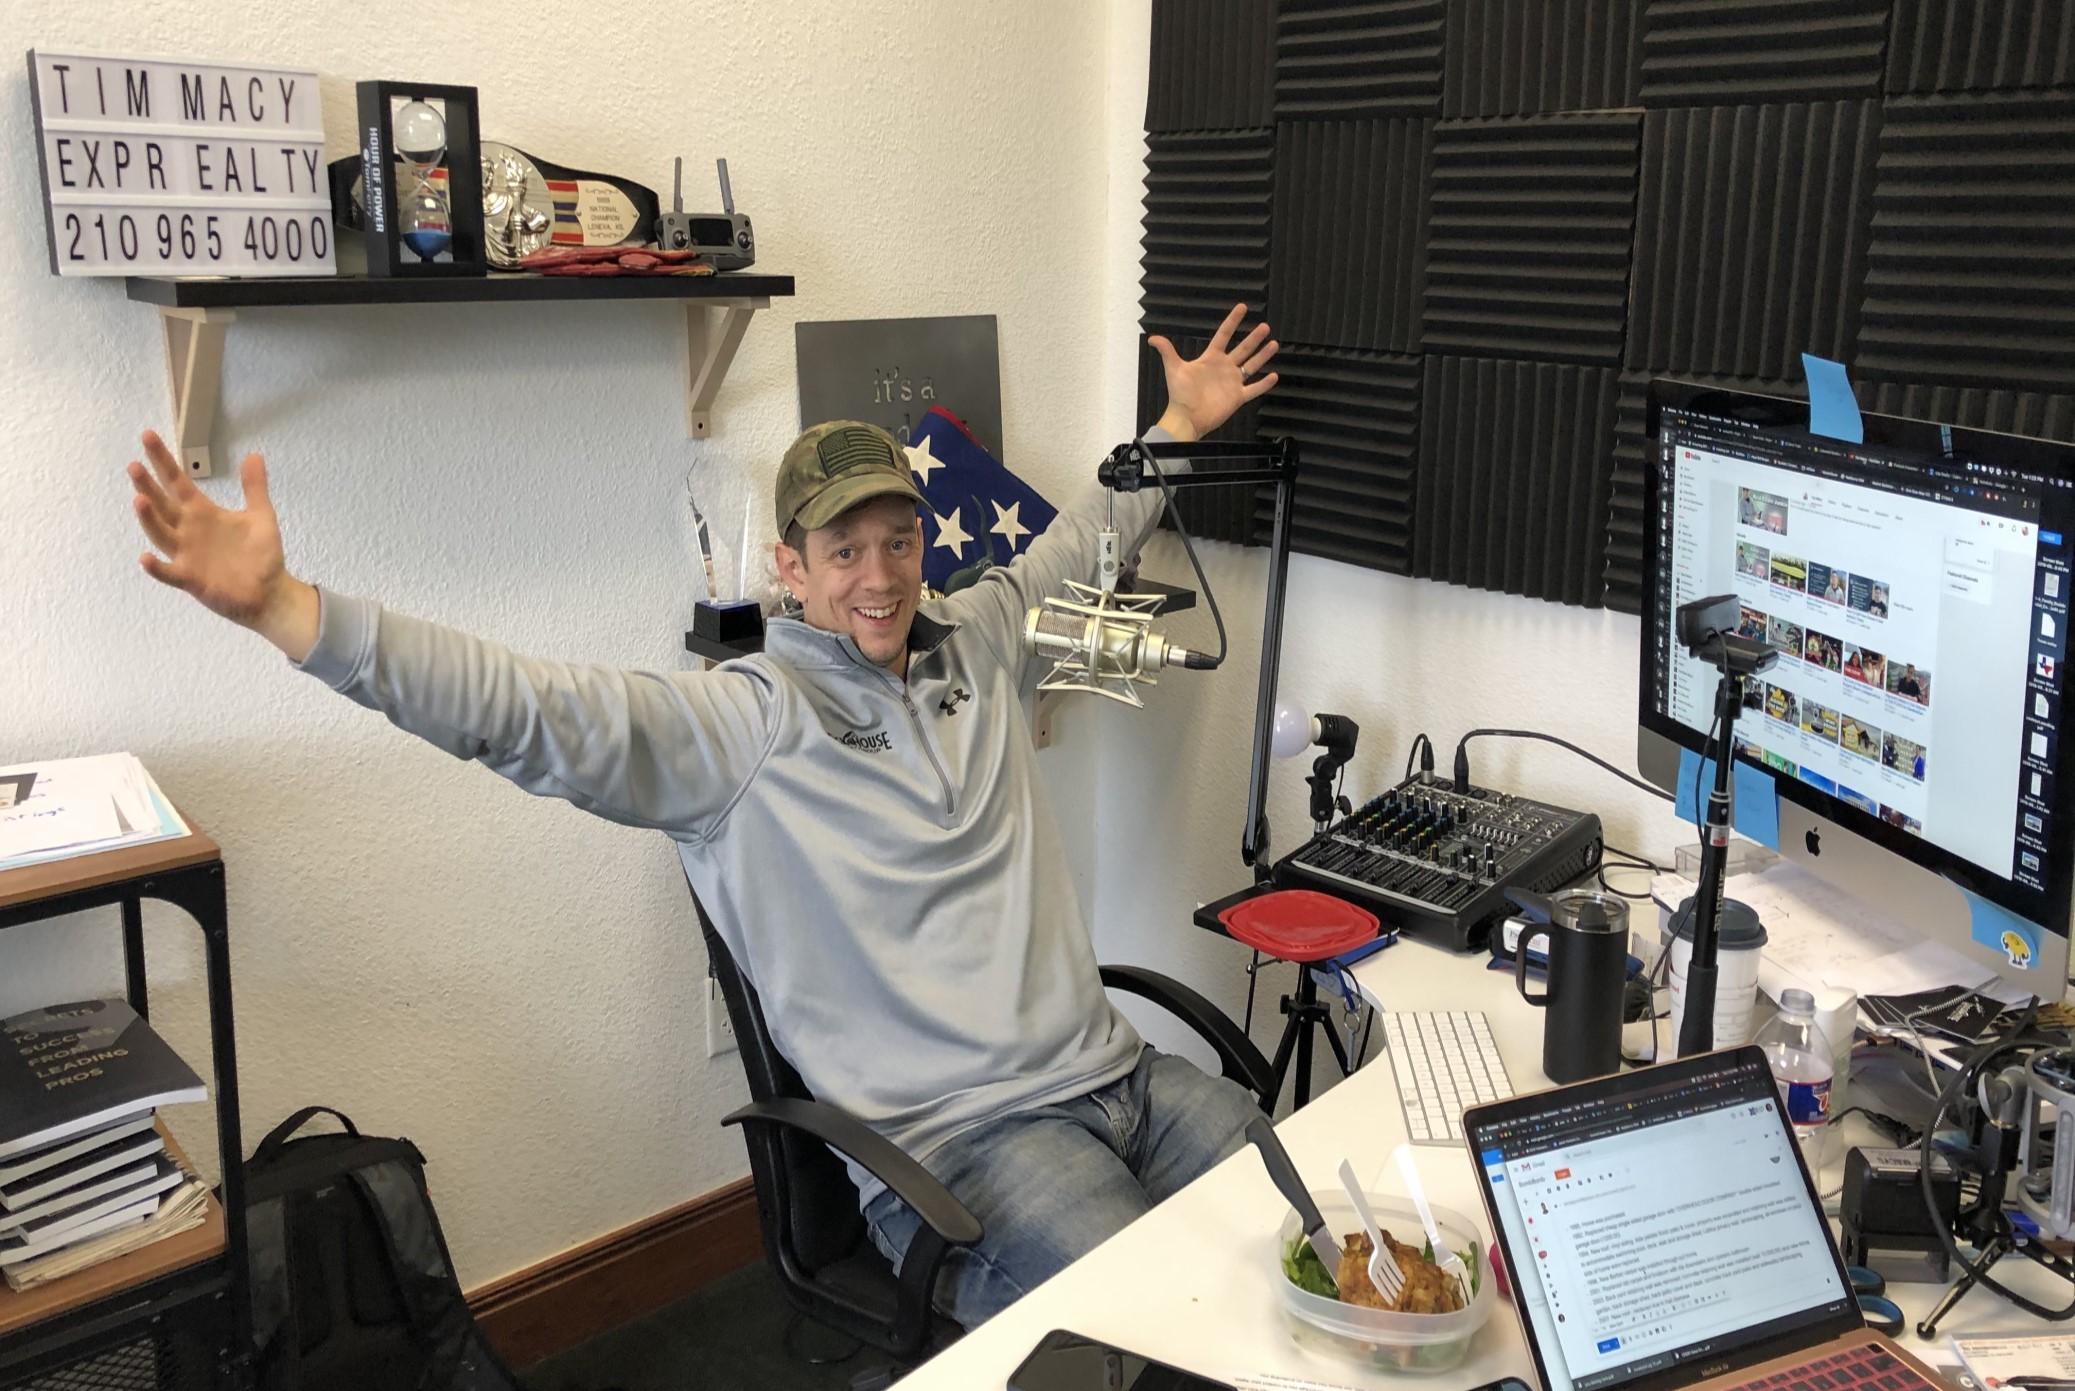
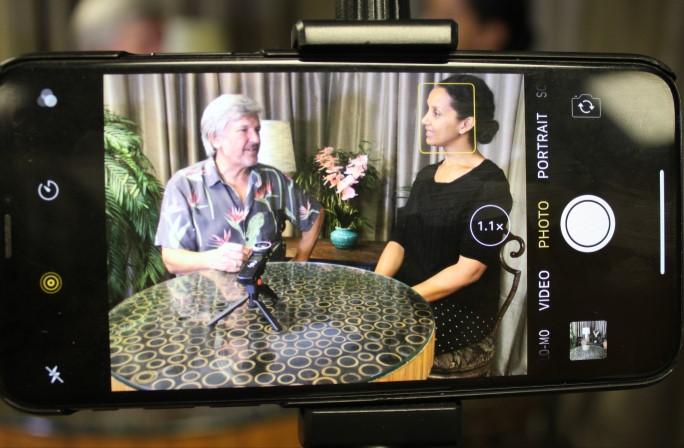
Here’s the thing: when it comes to podcasting, you will need a quiet space, but you don’t need a full blown studio to be successful. For Selling the Dream , we work out of a studio that allows us to do both audio and video. Using some basic supplies from the hardware store, you can convert a room or section of a room into a geat backdrop for recording. If audio only, you can record anywhere!
For example, $10 curtains and a few fake plants from Target can be used as a great neutral backdrop.
How About Gear?
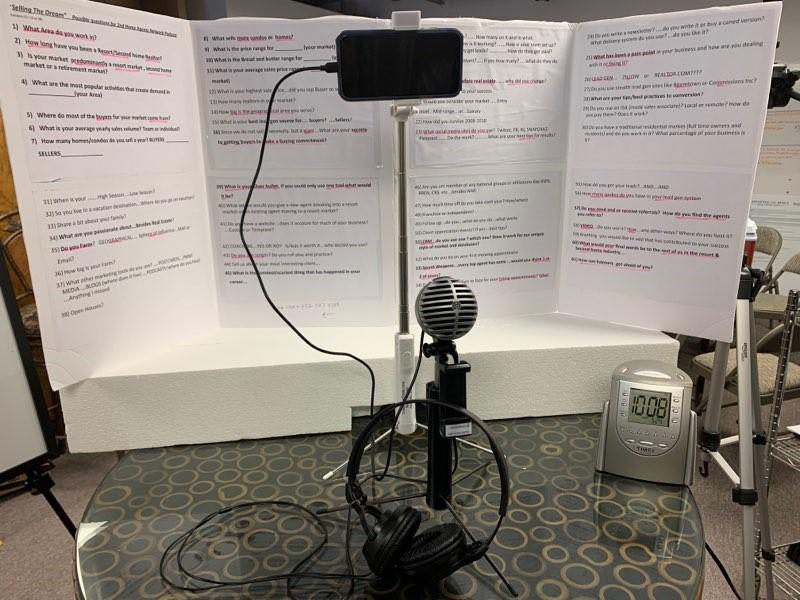
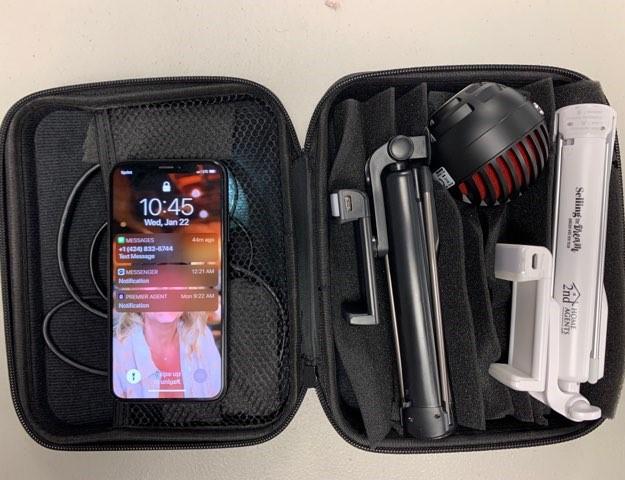
Truthfully, gear is not the most important piece of the puzzle when it comes to starting your podcast. If you have a smartphone, using that device can be a great way to get started without investing in expensive cameras or audio gear. That being said, we do want to note that using more advanced gear can help you have a more professional feel. Here’s a run down of what we use for Selling the Dream :
High Resolution Camera
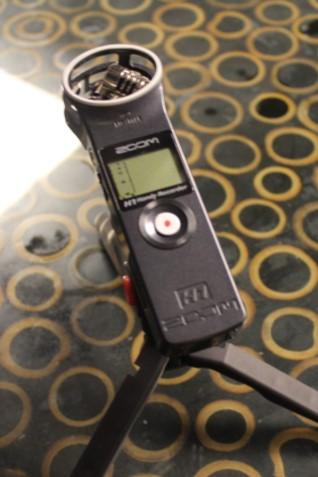
External audio recorder
Movable lighting kits
Tripods for camera and lights
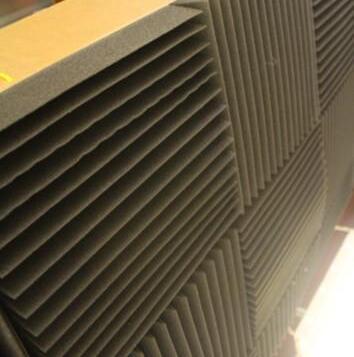
Acoustic panels
It’s up to you if you’d like to have video as an element of your podcast. You can view a diagram of our set up on the insert with this pamphlet. Again, if you’re just getting started, an audio only set up may be the way to go. In the end, as long as your content and conversation are good, no one is going to care what it was recorded on.
Lights, Cameras...Action!
So you’ve got your set up...now it’s time to record. If you are planning on starting with audio only, the process is pretty simple. Go to your studio or quiet space, get your audio recorder, and start recording. If you’re adding video, you may want to have someone on hand to run and monitor the camera while you record. An additional option for recording is to do podcasts remotely using a platform like Zoom or Skype. This will allow you to have guests from all over the world, with an easy interface for talking and recording.
You’ve Recorded...Time to Edit
When it comes to editing an audio podcast, the process is pretty simple. Pull the file from your audio recorder, and upload it into a program like GarageBand (Mac) or Audacity (PC). Both are free softwares and very user friendly. In this stage, you can add an introduction to the episode, theme song, end credits, and more!
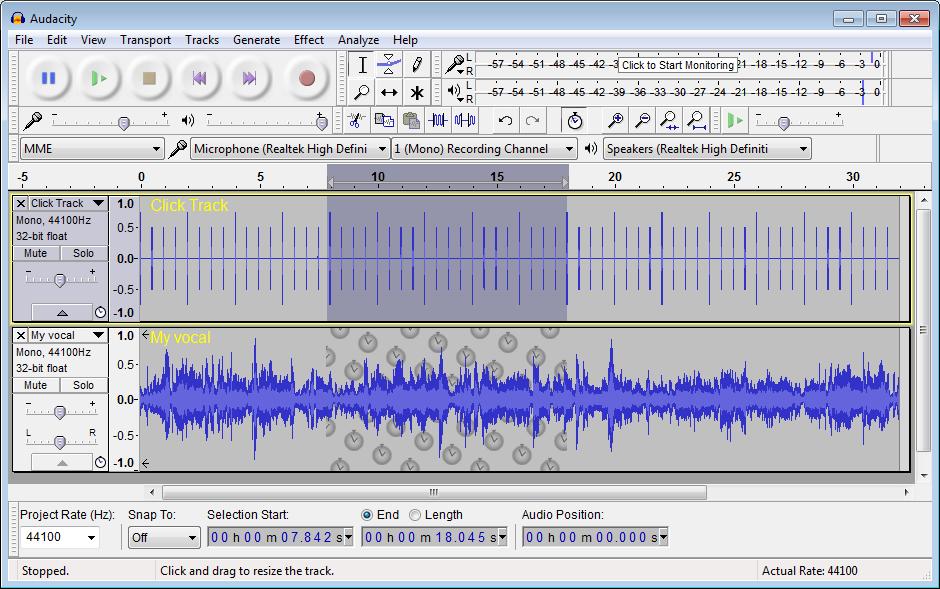
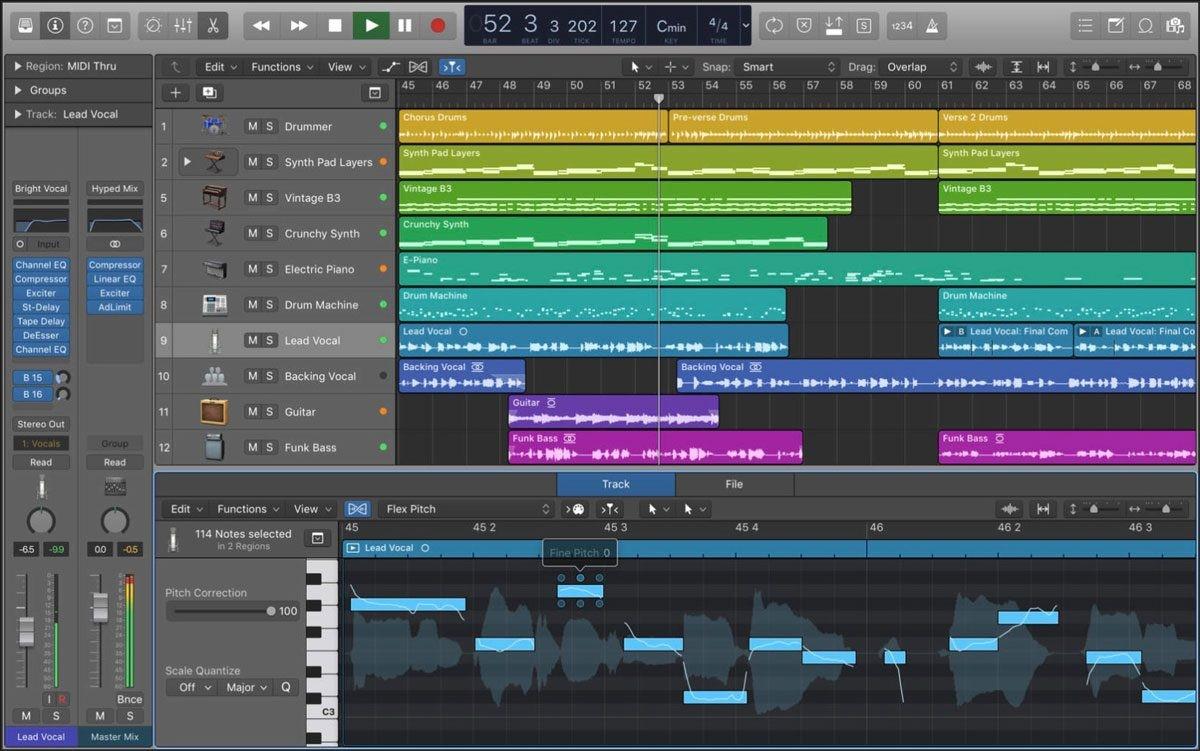
If you are editing for video, you can use iMovie, Windows Movie Maker, or any other video editing software. Once you’ve finished the video, you can export and then upload the video into an audio editing program. This will allow you to “rip” the audio from the video file and use it for your audio platforms.
Note: When exporting audio, be sure to export in AAC Format. This is standard file format for most major podcast platforms.
Getting Your Content Into the World
It’s time to spread your wings and send this great content out into the world via iTunes, Spotify, Stitcher, etc. Unfortunately, this can sometimes be the most confusing part for new podcasters. Fear not! It’s actually pretty simple, especially if you use a hosting service like Anchor, Blubrry, or Libsyn. These services make it super simple to upload your content to one location and easily have it published onto all major podcast platorms. Some of these services have a monthly fee, while others are entirely free. The free services can have their drawbacks, but if you’re just getting started, it’s a low -stakes way of hosting your content. As you prepare to launch your show, do some research into the various podcast hosting platforms to see which one feels like it would be best suited for your end goal.
Note: If you’re looking for the most user-friendly hosting service, Anchor is both free and super -intuitve; however, this comes with a minor price. Since Anchor does all of the legwork for you at no cost, you don’t technically “own” your own listing on iTunes the biggest podcast platform in the world. For a hobbyist podcaster, this may not be a big deal, but bear that in mind as you go into the process.
Podcast Graphics
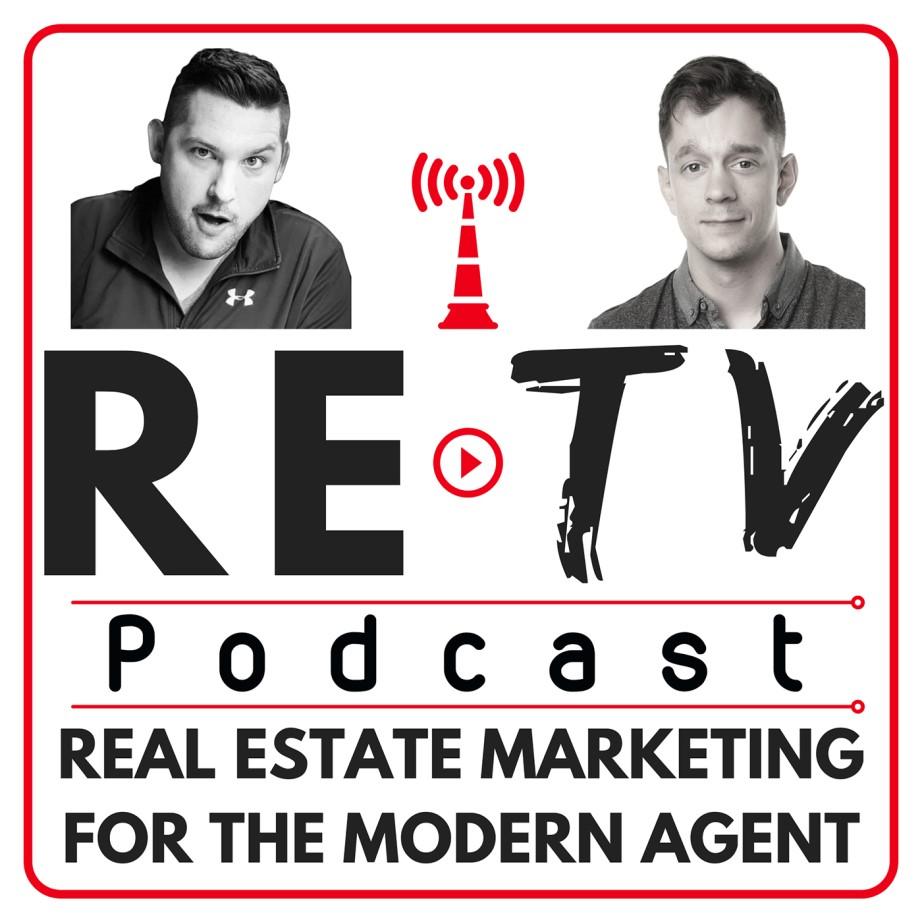
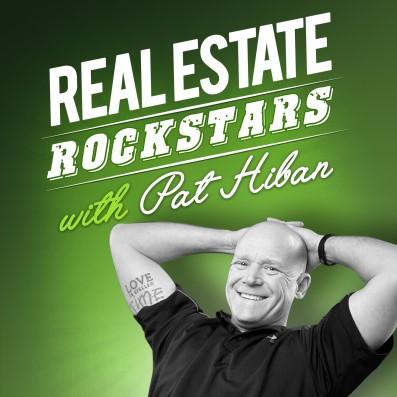
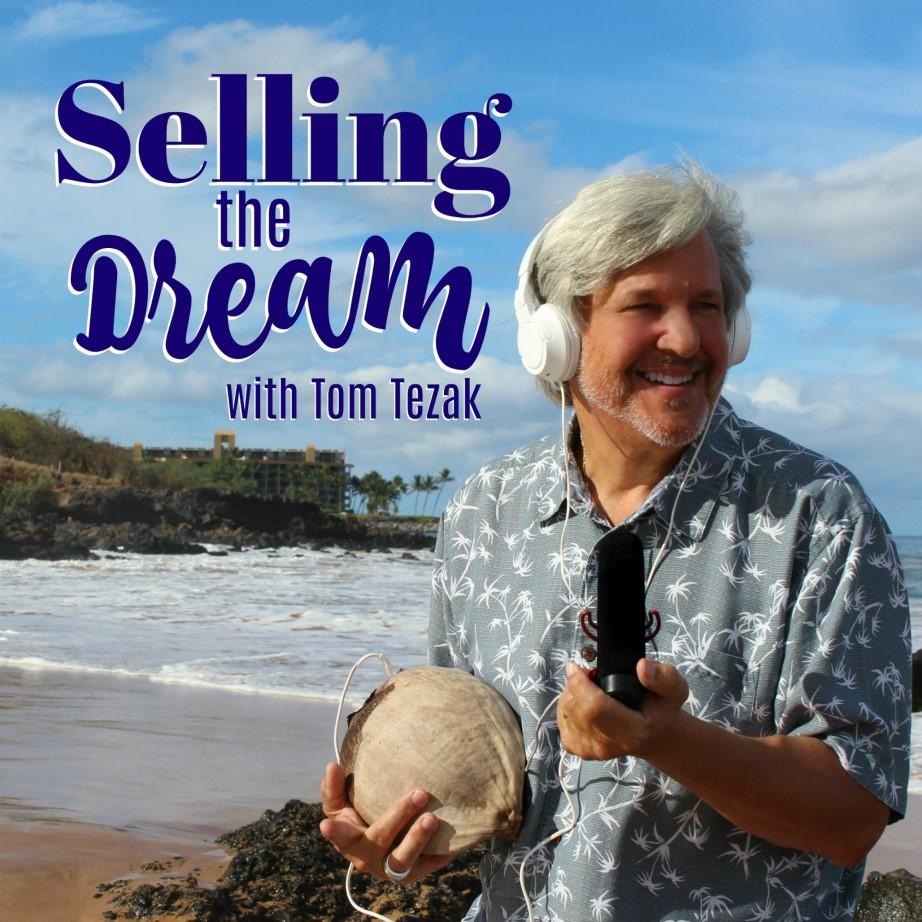
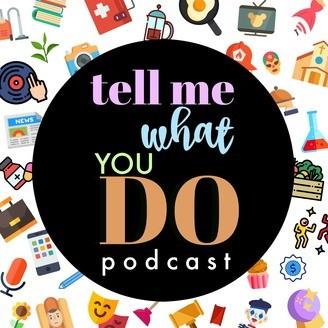
Creating cover art for your podcast may seem superfluous, but give it some thought. This is going to be a potential listeners’s first impression, so try something eye catching and related to your theme. You can include a photo of yourself, but this isn’t a must.
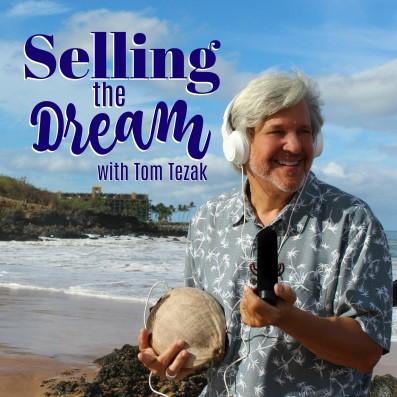
Here are a few examples:
The Perks of Repurposing:
The goal of repurposing is simple: create the content once, but share it many times and on a number of platforms.
Here are a few ideas for repurposing: Take your podcast audio and turn it into a video file for YouTube. Use your podcast cover art as a still for the video. Snippets! As you edit, comb through the content and look for good soundbites. Grab those and repurpose them on social media as minute -long teaser clips.
Go Live on Facebook: When you record a new episode, it can be a great time to do a quick live stream teaser to promote the upcoming episode and guest!
Tips to Keep the Conversation Going
Have a plan, but be willing to change and adjust that plan as you go.
Active Listening: Don’t be so focused on where you’re going that you forget to listen to your guest. Pay close attention to the conversation, and adjust your talking points accordingly. Keep a list of questions to fall back on. These will be super useful if the conversation starts to lag.
Warm up your guests by asking them personal questions before jumping into any formal interview section.
A Podcaster’s
Essential Toolbox:
Audio Recorder
Notebook to track your ideas
Basic tripod (if using video)
Audio or video editing software
Headphones (for editing)
Creative cover art
Hosting Platform (i.e. Anchor)
Backdrop Curtains
Acoustic Panels
Tripods
Whiteboard for Notes & Guest Questions
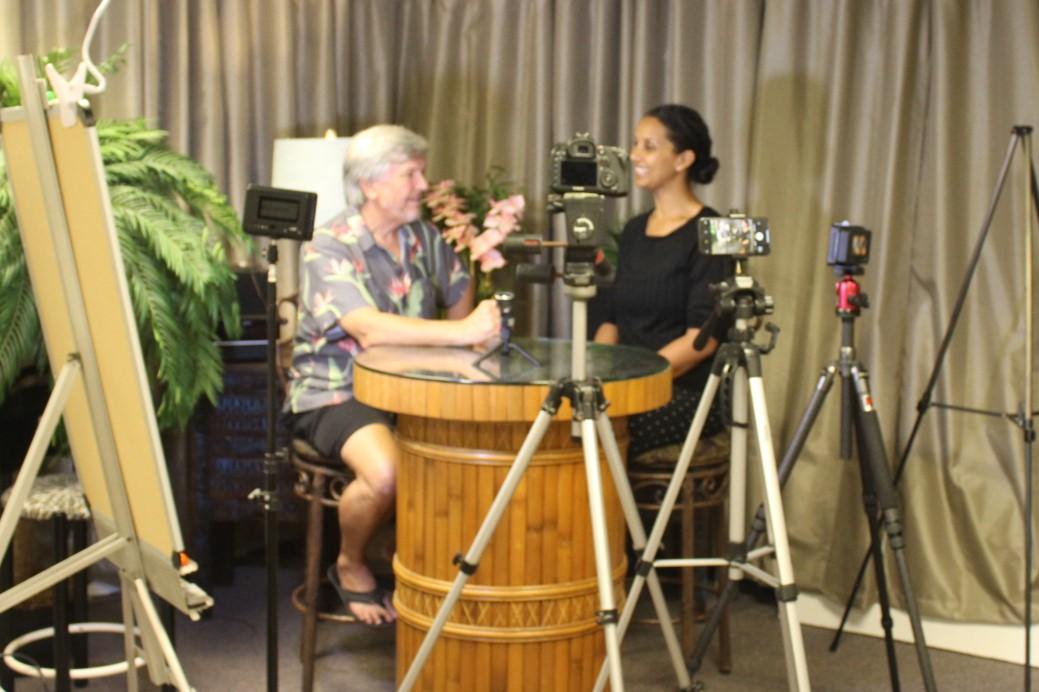
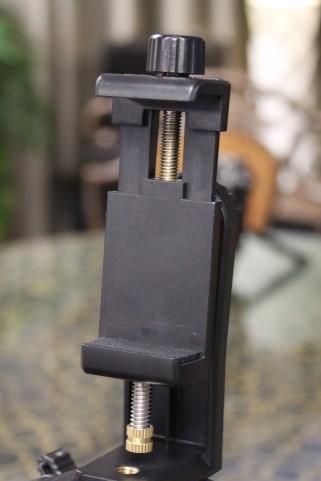
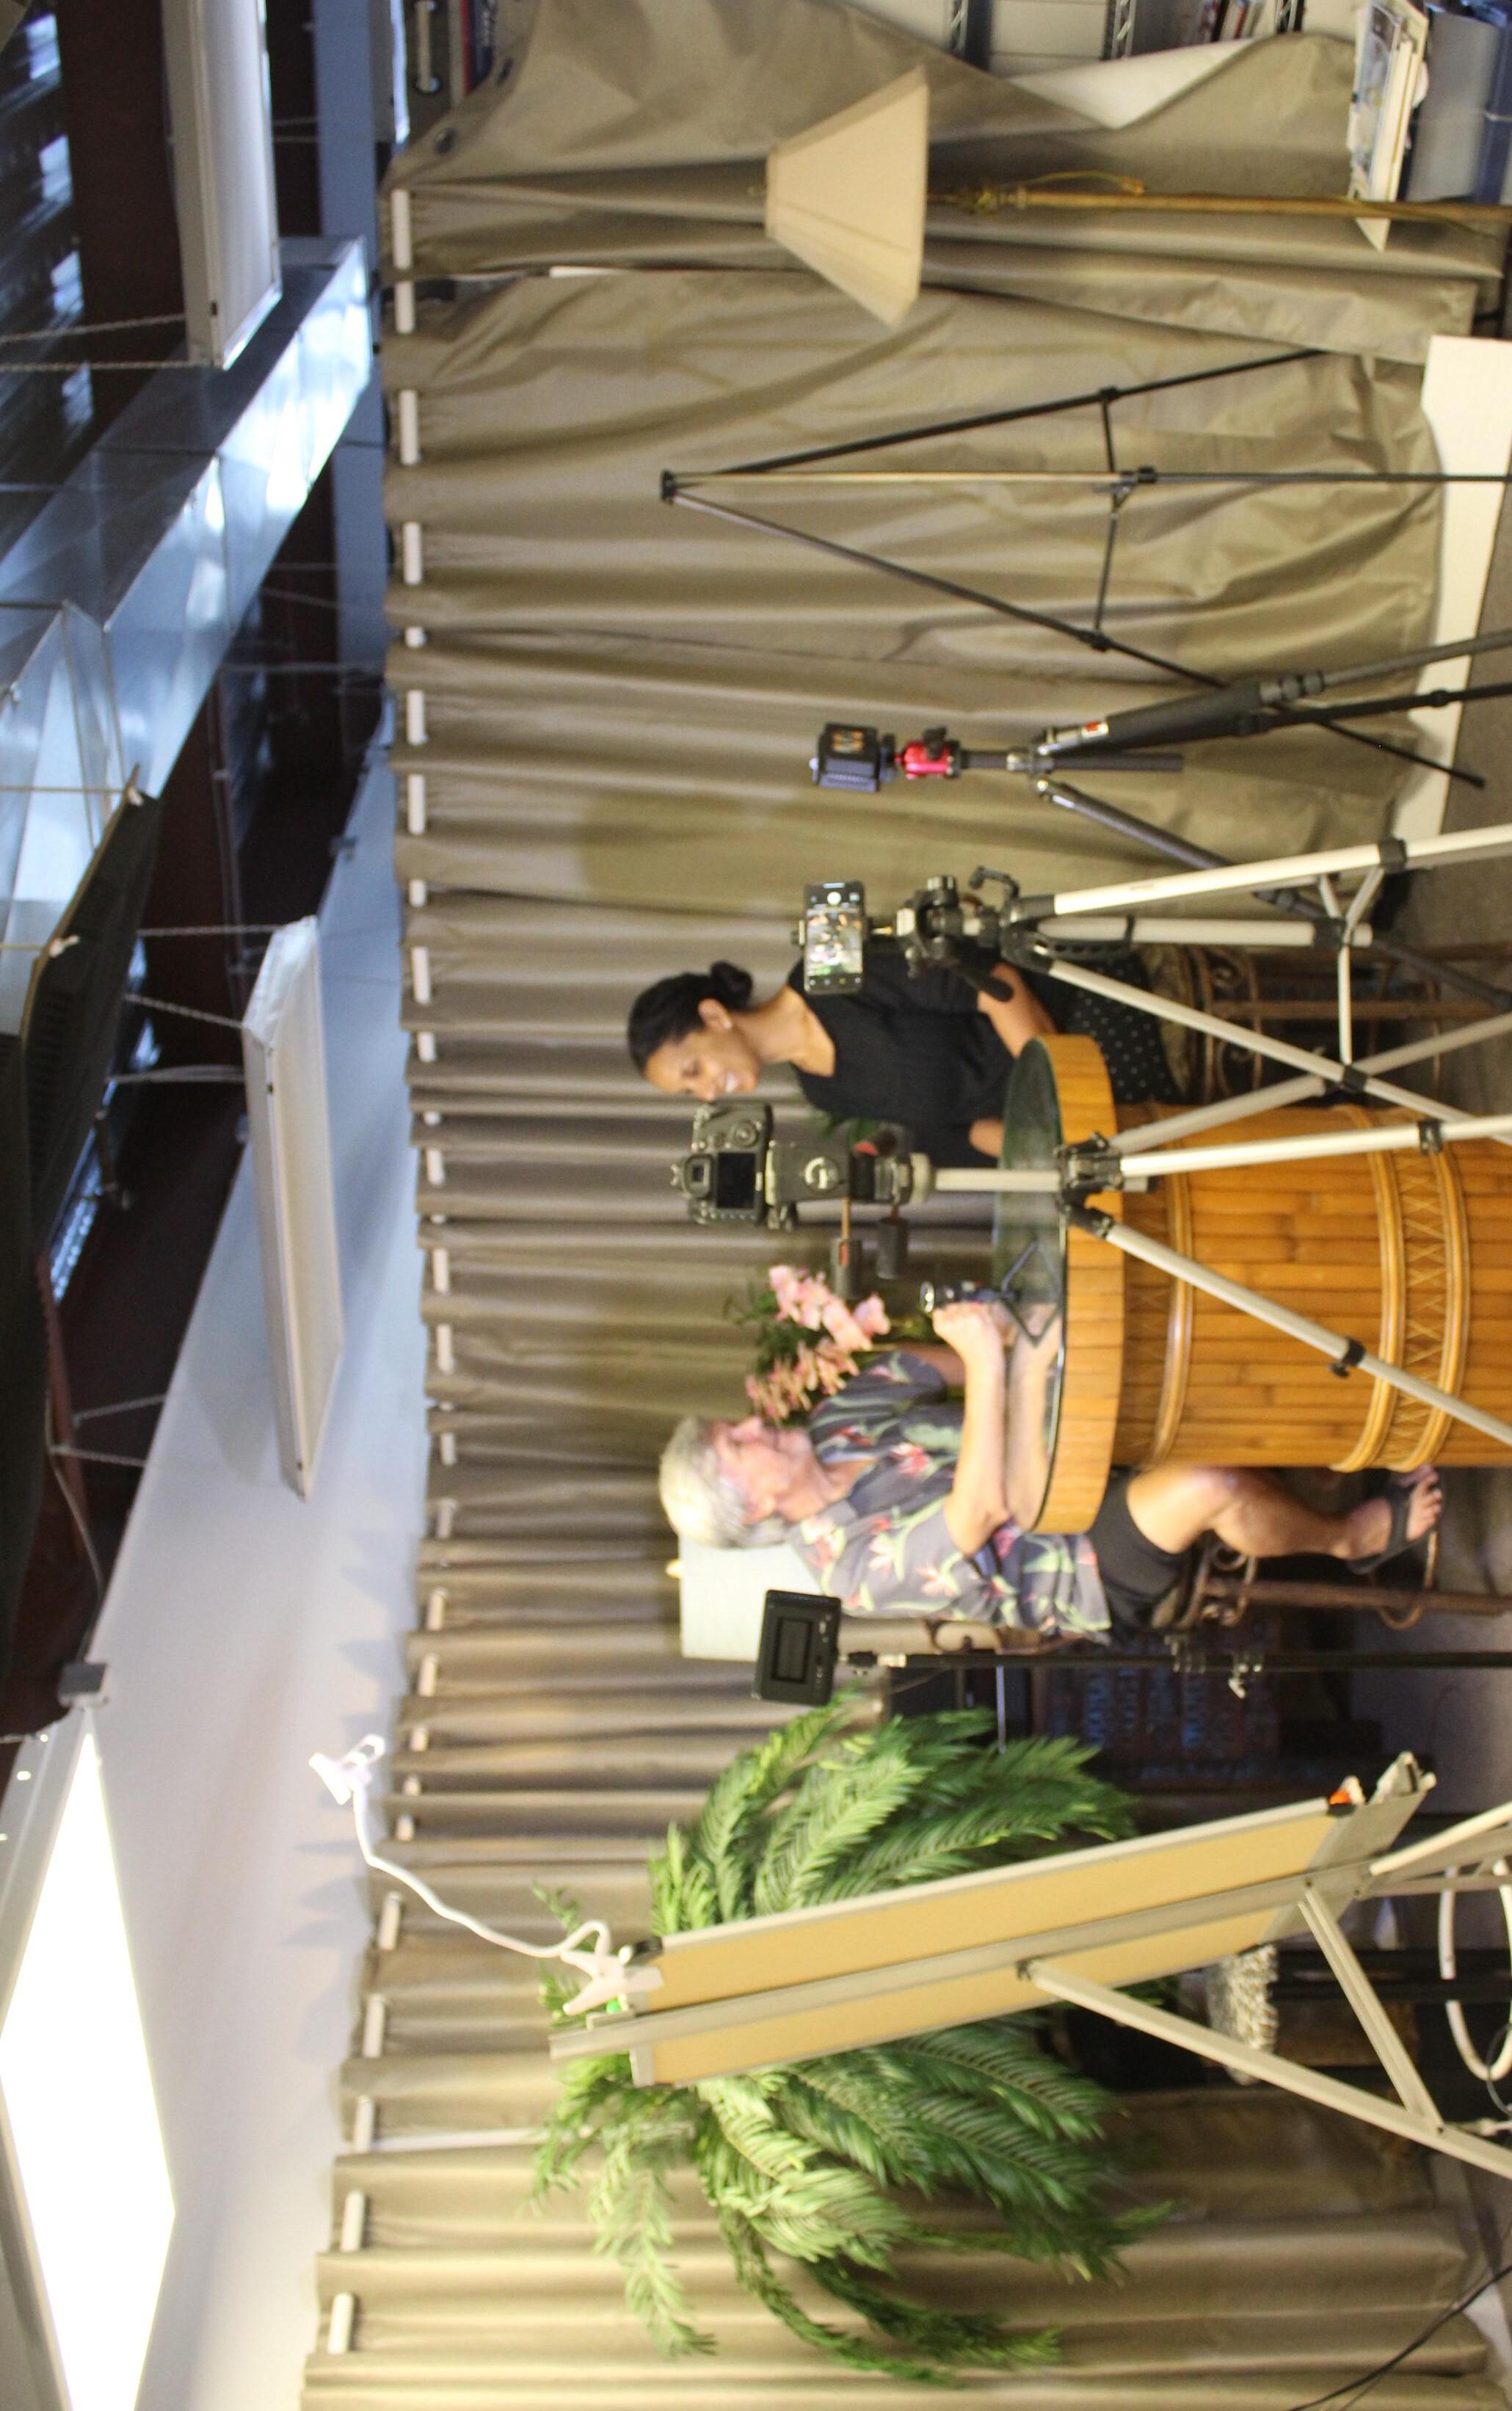
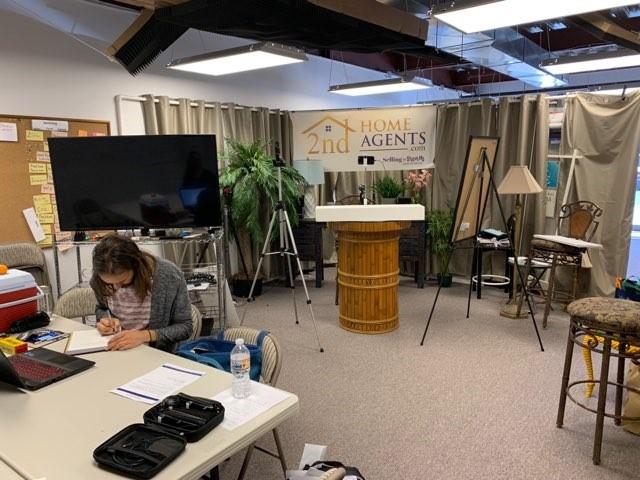
Here’s the set up that we use for Selling the Dream . For our show, we create video podcasts (also known as “vlogs”) and then repurpose the audio as a podcast on iTunes, Stitcher, Spotify, etc. We want to make it abundantly clear that this setup is advanced, and that you don’t necessa rily need all the bells and whistles to get your show off the ground. With the basics, like a smartphone and small tripod, you can start creating great, engaging co ntent to share with the world.
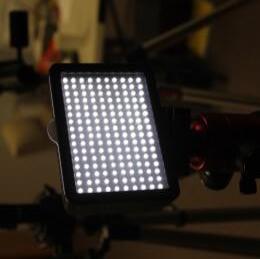
Camera Extra Lighting External Audio iPhone Extra Lighting
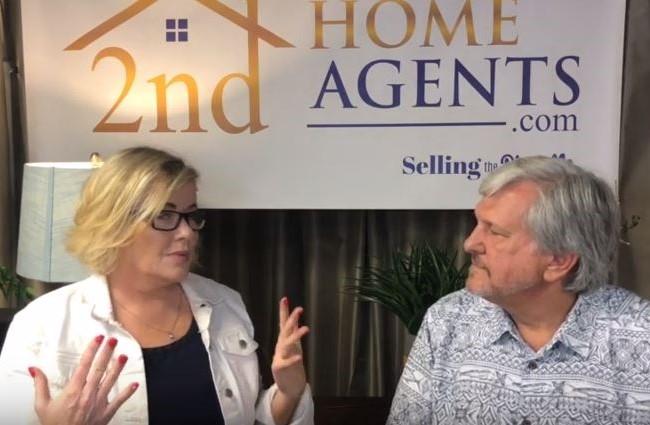
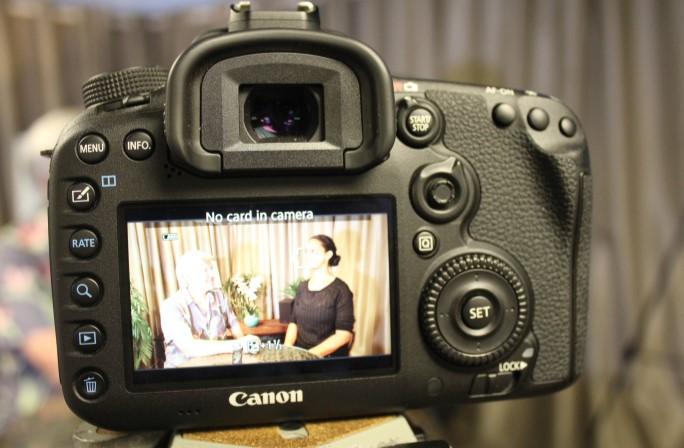
 (This is a screen grab from an interview with Denise Brown of Whistler, BC)
