
2 minute read
How do you safely precharge an accumulator


How do you safely precharge an accumulator?
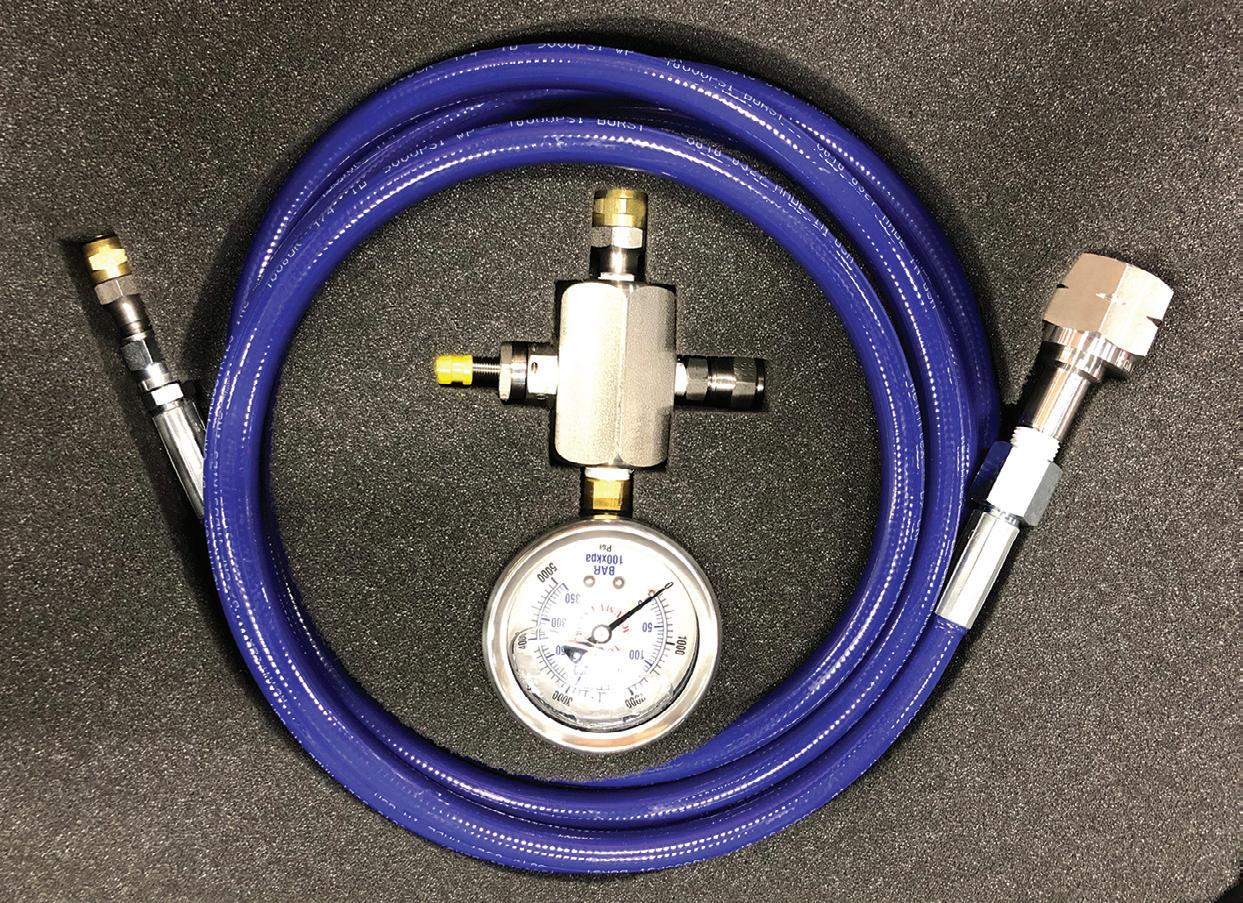
Accumulator charge kit | courtesy of Freudenberg Sealing Technologies
When high-pressure hydraulics fail, the result is often a whimper as a seal blows out and pressure decays to useless levels. The harm to the surrounding environment and spectators is often little or none, which is why high-pressure hydraulic systems are so popular.
However, when high-pressure pneumatic systems fail, you don’t want to be on the same city block, let alone next to the machine. A hydro-pneumatic accumulator charged to 3,000 psi is essentially a tube of nitrogen stuffed with over 200 times the volume of air compared to its surrounding atmosphere. That 3,000 psi wants badly to become 14.7 psi again, and when given the opportunity, will disperse its energy as rapidly as possible to equalize.
Accumulator safety is a lesson just as important as fluid injection or loading holding concepts. Any opportunity to handle an accumulator is an opportunity to tip, drop or break one as well, and more often than not, the handling occurs during the precharge operation. Accumulators are pressure vessels, and as such need to be respected for their potential to return to atmospheric pressure.
It goes without saying only approved gases, such as nitrogen, should be used for the charging of accumulators. Your cutting torch’s oxygen tank, thankfully, won’t even connect to the plumbing of your charge kit. Nitrogen cylinders are to be stored upright and chained or strapped to a cart or wall, which reduces the chance of accidental tipping.
When not in use, nitrogen tanks are best left with their valves closed, fittings disconnected, and the protective cap secured. Leaving the charge hose attached to the tank is an invitation for wasted gas, especially if the valve isn’t completely tight, so remember to tighten the valve after removing the hose. The habit of replacing the protective cap between uses is an opportunity to check the valve is once again tight.
Before installing the charge kit, set the protective cap aside safely to ensure it doesn’t fall or get damaged, preventing later installation back onto the tank. It’s important to install the charge kit’s nitrogen fitting into the tank port before loosening the tank valve. Once the fitting is tightened with a wrench, take the opportunity to double-check all other hose connections, fittings and valves on the charge assembly. Most have bleed valves that must be tight before charging as well.
The final connection will be the gas chock to the accumulator valve, which itself should be tight but not overly so. Once all lines and fittings are secure, open the gas chock valve if so equipped. Should precharge still exist in the accumulator, the pressure reading will display on the charge head’s gauge. You may now open the nitrogen valve slowly, and as long as tank pressure is higher than accumulator pressure, precharge will rise. When designated pressure is reached, close the nitrogen and gas chock valves.
Note that gauge pressure often reads higher while the nitrogen tank valve is open. To confirm precharge accuracy, re-open the gas chock valve to display precharge pressure, which may be lower than initially observed. Follow the previous procedure to fill the accumulator slightly higher to account for hysteresis, and be aware that just measuring precharge pressure in small accumulators will lower the precharge pressure.
Once precharge is set and confirmed, double-check all valves are closed, and then remove the accumulator from the charge hose. You may now remove the charging hose from the tank and confirm once again the valve is shut before replacing the protective cap.

Josh Cosford • Contributing Editor


