The PuzzleMaker
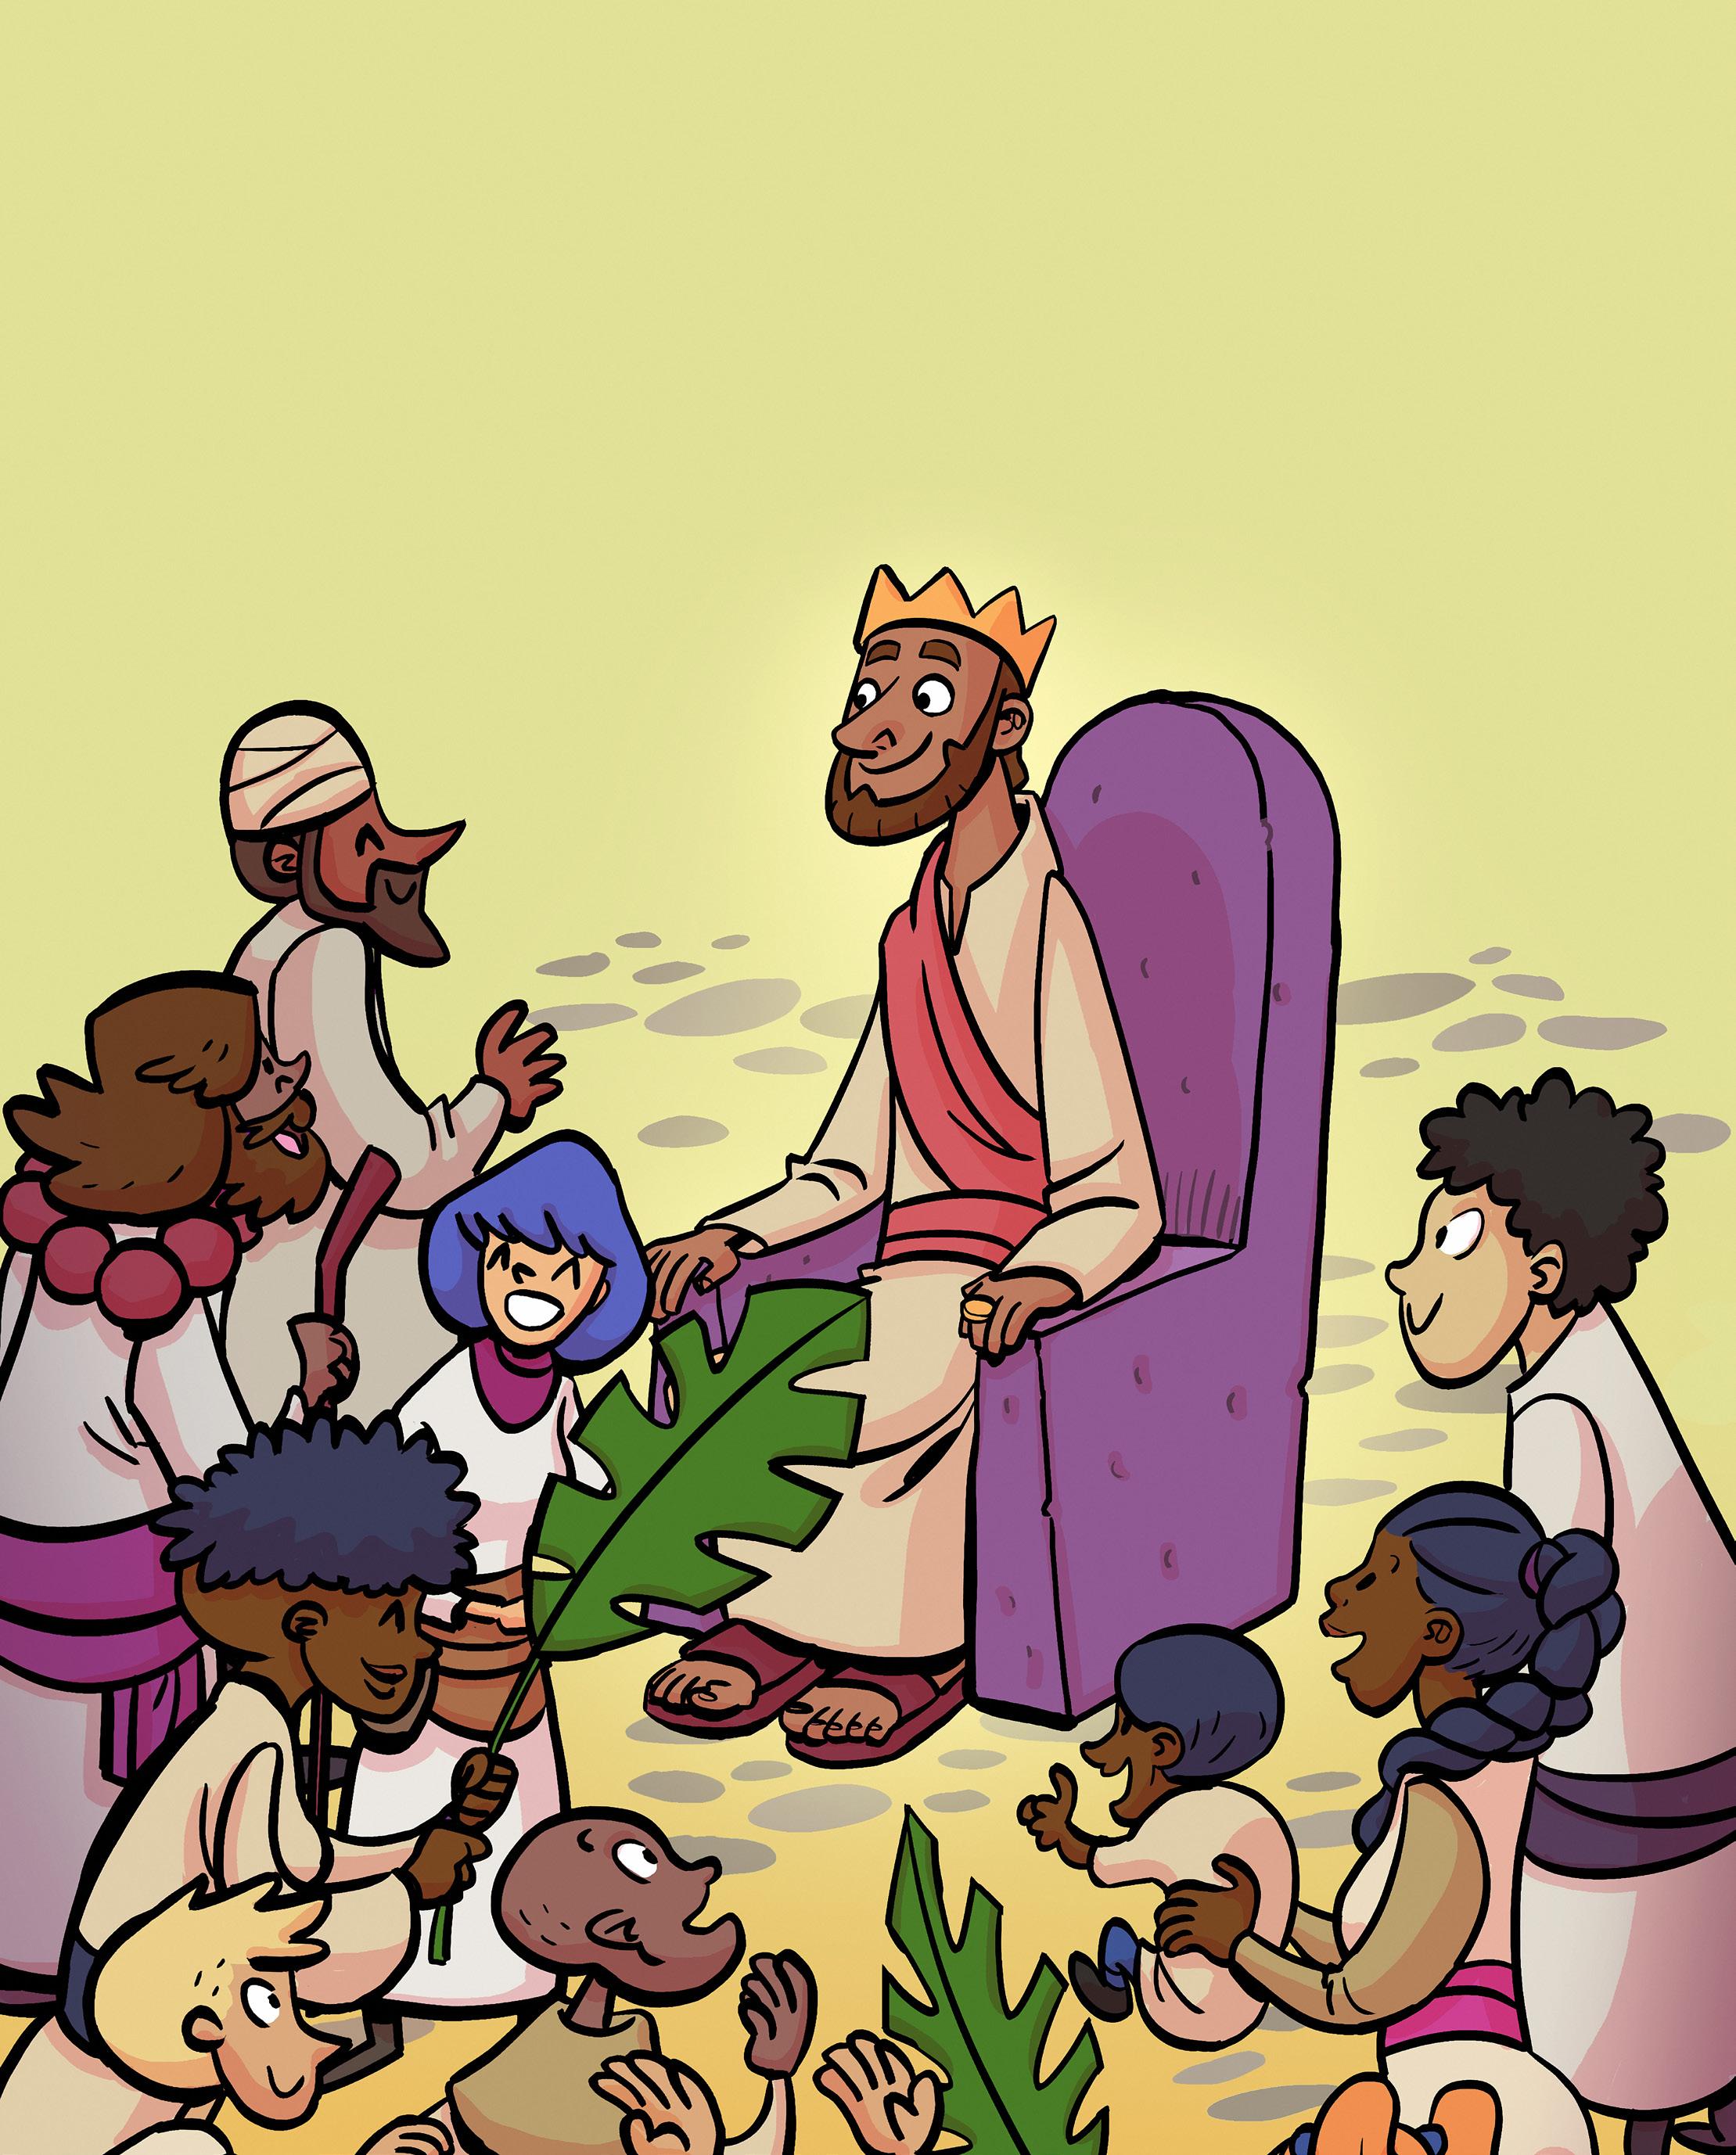
10 Kids’ Church lessons on the Bible’s big story
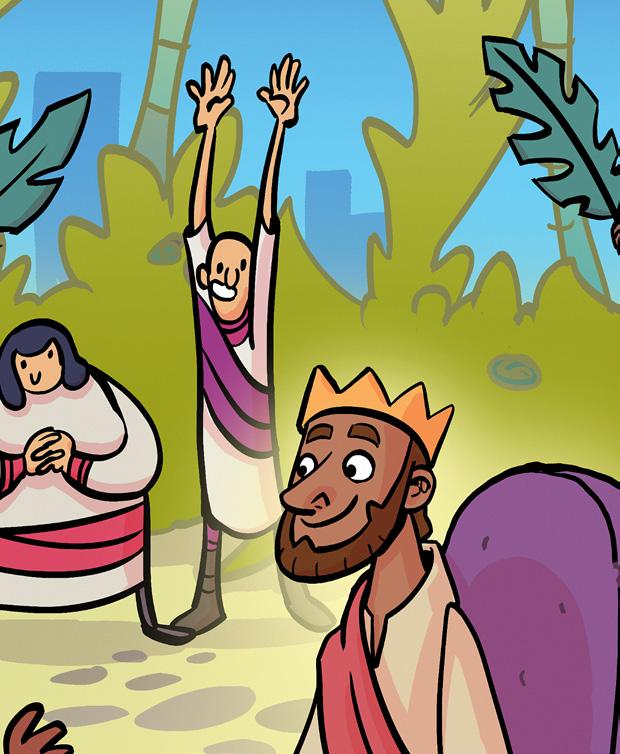 Naomi Ireland
An imprint of Anglican Youthworks
Published April 2023
© Naomi Ireland 2023
This book is copyright. The purchase of this material gives unrestricted copying rights within one church. Apart from this and fair dealing for the purposes of private study, research, criticism and review as permitted under the Copyright Act, no part of this book may be reproduced by any process without the express permission of the publisher.
Scriptures taken from the Holy Bible, New International Reader’s Version®, NIrV® Copyright © 1995, 1996, 1998, 2014 by Biblica, Inc.™ Used by permission of Zondervan. www.zondervan.com The “NIrV” and “New International Reader’s Version” are trademarks registered in the United States Patent and Trademark Office by Biblica, Inc.™
Purchasing the files to run
The Puzzle Maker gives you the freedom to run the program at one church as many times as you like. If another church would also like to run The Puzzle Maker, please direct them to youthworksmedia.net to purchase their own copy.
Youthworks Media
P: +61 2 8268 3309
E: sales@youthworks.net
W: youthworksmedia.net
Editor: Rachel Macdonald
Theological editor: Tim Beilharz
Cover/final puzzle illustrator: René Pfitzner
Weekly puzzle timeline illustrator: askib @ shutterstock.com
Resources illustrator: miniwide @ shutterstock.com
Cover and internal design: Andrew Hope
Contents 3 Program overview 9 Lesson 1: God’s good creation 35 Lesson 2: God’s good creation goes bad 67 Lesson 3: God’s work of salvation 101 Lesson 4: Abraham’s family 131 Lesson 5: The Promised Land 161 Lesson 6: The shadow of the kingdom 195 Lesson 7: The message of the kingdom 225 Lesson 8: The true King comes 265 Lesson 9: The Spirit of the King 291 Lesson 10: Our forever home
The Puzzle Maker 2
CART-CIRCLE-ARROW-DOWN
Program overvıew
Big question
How does the Bible fit together?
Big idea
The Bible is like a puzzle that has many parts or pieces but fits together to show one picture. The picture of the Bible shows God’s desire to live in relationship with his people in the world he created.
Leader’s notes
The Puzzle Maker is a program that teaches biblical theology to children. Biblical theology is a discipline that focuses on how God’s story is revealed in the pages of the Bible from creation to the new creation, centring on the person and work of Jesus. This program seeks to show, over ten weeks, how from the very beginning God’s design was for creation to be at rest in relationship with him, and will reveal how God accomplished this (see the table on page 4 for details).
The program, just like the Bible, begins with creation. God created everything, out of nothing, by his powerful word. God lived among his people in the garden he created for them. Life in the garden was peaceful and at rest. The relationship between God and his people was perfect. The relationship between his people was also perfect, and his people lived perfectly in relationship to the world they belonged in. However, this rest did not last long. God gave his people one good word to follow, but his people did not trust God’s goodness. They thought they knew better. This is when sin entered the world. The sad story of sin is that it creates chaos, pain, sadness, decay and ultimately death. But the worst part about sin is that it separates people from God. Sinful people cannot live in the presence of a perfect and just God. Therefore, God had to put his people out of the garden and now their relationship was broken.
As a result of people’s sin, God began a new work of restoring his creation. It began with one childless old man, Abram. God chose Abram, changed his name to Abraham, and promised him a land, a family that would turn into a great nation, and blessing. God promised that Abraham would be blessed and through him the
whole world would also be blessed. Well, the thing we learn time and time again in the Bible is that even when God’s people are not faithful, God is always faithful and he always keeps his promises. So, true to his word, God grew Abraham’s family from no-one but his nephew, Lot, into the nation of Israel. For a long time, Abraham and his family lived as strangers in the land God promised to give them—the land of Canaan. However, after a huge famine and 430 years living in Egypt as slaves, God delivered his people and brought them into the land he promised to Abraham all those years ago.
God’s people were now living in the Promised Land. It was theirs! They had grown into a great nation. But things didn’t go well in the land. God’s people still had one major problem. They were still sinful. So, in time, just as God said they would, his people rejected him again and asked for a king so they could be like all the other nations. God gave them the kind of king they asked for: Saul. But God always had a plan to put his own king on the throne: King David. It was through King David’s family that God’s eternal king would come.
Well, during the time of the kings, God’s people kept going from bad to worse. Time and time again God sent his messengers, the prophets, to tell his people to stop and wait. God called his people to stop sinning and turn back to him—or be prepared to face punishment—and to wait for the Promised King. God’s people, overall, didn’t listen to the prophets. They continued to ignore God and were made to leave the Promised Land. They lived as exiles in other countries for decades and, even when they were able to return to the land, it was never the same again. They continued to be under the rule of other nations. You see, God’s people needed more than a land to live in. They needed new hearts. This was always the plan!
Four hundred years passed before it was time for the Promised King to arrive. Jesus, God’s only Son, arrived in very humble circumstances. He healed the sick, controlled nature, cast out demons and taught thousands and thousands about God’s kingdom. But the king had not come to simply teach and make people’s lives better here. He came to rescue, to save, to restore his people. He came to die on a Roman cross, taking the punishment for the sin of his people to reconcile them to his Father. But death was not the end. Jesus was raised to life again, granting the gift of eternal life to all those who trust him.
3 Program overview
However, Jesus did not remain on earth. He returned to his Father and then sent his Spirit to live in his people. The work of God’s Spirit is to call people to repent, make them more like Jesus, and to help them tell others about him. This is the work of all Christians until the day Jesus returns. And Jesus will return. He will come and restore
Program summary
creation. He will come and live forever with his people in peace and harmony—the rest he always intended for them. There will be no more mourning or crying or pain, for the old order of things will have passed away (Revelation 21:4). God’s home will forever be with his people. This is the story of the Bible.
Lesson Lesson title Lesson big question Lesson big idea Bible passages
1 God’s good creation
2 God’s good creation goes bad
3 God’s work of salvation
Who made the world? And why did he make it?
What went wrong with God’s good creation?
What is the cycle that happens over and over again in Genesis 1–11?
God made everything just by speaking. He made everything to enjoy rest in relationship with him. God gives us his word to show us the best way to live.
God’s creation was ruined by sin. Everything that was good became bad, including people’s relationship with creation, people’s relationship with each other and people’s relationship with God.
Genesis 1–2
4 Abraham’s family
Did God keep his promise to give Abraham a big family?
5 The Promised Land
What was the land that God promised to his people? And did they get there?
6 The shadow of the kingdom
Who was God’s chosen king of Israel? And who was God’s chosen eternal king?
7 The message of the kingdom
8
The true King comes
9 The Spirit of the King
Who were the messengers God sent to his people? And what was their message?
Who is the eternal King of God’s kingdom?
What was the job Jesus gave to his disciples? Who did he send to help them?
10
Our forever home
What will it be like when we enjoy God’s rest?
Genesis 3
The cycle of sin. God’s people sin q God punishes them q but he always shows them grace. Genesis 4–12
Yes! Despite all the obstacles in the way, God kept his promise to Abraham. His family grew from just two members to so many that the whole land of Egypt was filled with them.
God promised his people the land of Canaan. It was a rough journey, but they finally made it—just as God promised them.
David was God’s chosen king of Israel. While David was king things were going well in Israel, but God’s kingdom in Israel was like a shadow pointing to the eternal kingdom to come. The king of God’s eternal kingdom is Jesus.
The prophets were God’s messengers sent to warn his people to stop sinning or prepare to face punishment and to wait for the Promised King.
Jesus is the eternal King of God’s kingdom who was promised to David.
God sent his Spirit to turn us back to Jesus, make us more like Jesus and help us to tell others about Jesus.
Genesis 12— Exodus 1
Exodus–Judges
1 Samuel–2 Kings 24
Revelation
1 Samuel–Malachi
Matthew–John
Matthew 28:18–20; Acts; 2 Peter 3
God’s people from every nation, tribe and language group will live freely with God, each other and creation in perfect relationships. It will be peaceful and not full of conflict; there will be no more crying or hunger or danger or pain, for the old world will have passed away and we will be living in the new creation. The Puzzle Maker 4
Program contents
This program is designed to be as flexible as possible. There are different sections in it so you can pick and choose the ones that work best for your context. Below is an explanation of each of the different sections to help you make the best decisions.
Note: If you have a really short amount of time in your kids’ program, then our suggestion would be to ensure you include The Puzzle Maker time and either the talk or the small group study for Bible teaching.
Each lesson contains these sections:
1. Lesson overview
2. Leader’s notes
3. Lesson planning guide
4. Resources for the lesson
5. Lesson instructions
6. Family spot
7. Themed section: The Puzzle Maker time
8. Focus on the Bible
• Talk (using the provided Talk or writing your own using the Leader's notes as a guide)
• Age-appropriate Small group study
» Infants (Kindy–Year 2)
» Lower Primary (Years 3–4)
» Upper Primary (Years 5–6)
9. Activities
binoculars 1. Lesson overview
The Lesson overview gives you the big picture of the teaching.
The big question offers you a helpful focus for the lesson. Students should be able to answer the big question by the end of the lesson.
There are a number of ways you could use the big question:
• Family spot: to help parents talk to their children about what they’ve been learning (see Family spot for more information).
• Introduction: ask the children the question at the beginning of the lesson and see if by the end they can answer it in their own words.
• Parent communication: if you send emails to parents regularly or have a social media presence for your kids’ ministry, you could include the big question in this content.
The big idea is the answer to the big question and is the main idea of the lesson. If you want the children to take one thing away from the lesson, let it be the big idea.
The Bible passages refer to the sections of the Bible covered in that lesson. Due to the nature of a biblical theology program, most of the lessons will cover large sections of the Bible in one go.
2. Leader’s notes
The Leader’s notes provide some background information on the Bible passages being covered.
If you would like to do some extra reading, we recommend the following books:
• According to Plan by Graham Goldsworthy
• God’s Big Picture: A Bible Overview by Vaughan Roberts
The reflection questions provide an opportunity to reflect on the passage and apply it to yourself before considering how to teach it to the children. It is important for each one of us to be listening to God’s word and asking his Spirit to change us as a result of what we hear.
TIMER 3. Lesson planning guide
The Lesson planning guide at the beginning of each lesson is essential for your preparation. It includes time estimations to help you decide which parts of the lesson to include and which to leave out (depending on how much time you have in your specific circumstances).
Here are some additional ideas and components that you might like to include at the start of your Kids’ Church time before the themed section each week.
The introduction is a time to introduce yourself and what you’re going to be learning about together. You could do this by using the lesson’s big question.
A song can be an excellent way to teach a truth to a child in a memorable way. Here are some song suggestions to use with this program. These songs are not included in the program and will need to be purchased separately.
• God is for us by CityAlight
• Nothing takes God by surprise by Colin Buchanan
• Jesus is the King by Paul Sheely
• Super Saviour by Colin Buchanan
• Great great brill brill by Doug Horley
• A very special tent by Ben Pakula
• My lighthouse by Rend Collective
• The love of the Father by CityAlight
Program
5
overview
The money collection time is an opportunity to partner with parents in teaching children to be generous. It’s important to let parents know which organisation or activity you are raising money for so they can have conversations with their children about giving and plan to send their children with some money.
Here are three suggestions for how you could use the money you collect (you can probably think of many more):
1. Collect money for one of your mission partners.
2. Save the money and use it to do something generous for others, either in your congregation or in the community.
3. Add it to your general church offertory.
The rules or behaviour code is something worth going through regularly at Kid’s Church to positively reinforce good behaviour. If you don’t have a code yet, it may be a helpful document to put together with input from your minister or even with the children.
4. Resources for the lesson
PDF printables are provided for each lesson. The Lesson instructions will give you any specific printing instructions for the printouts.
PowerPoint presentations are also provided for the program. Ensure they are downloaded onto your computer or device, so they are ready to use. You are welcome to add and delete slides as suits your context best.
Audio files are provided for an activity in Lesson 4. If you choose to include singing in your program, you will need to purchase the music separately. See page 5 for song suggestions.
MEMO 5. Lesson instructions
The lesson instructions will give you the information you need to prepare for each of the following sections in the lesson, should you choose to use the lesson as it is written.
KEYNOTE 6. Family spot
The Family spot is generally done in the church service before the children go to their age-level lessons. In this program, a Family spot is like a trailer to a movie: it will give insight into the teaching in the children’s lessons without giving it all away. The Family spots in this program aim to engage the whole church family present, not just the children, and provide parents with an opportunity to later speak to their children about what they have learned.
If your church does not do family spots as a regular part of your children’s ministry, you can use these elements of the program as introductory sessions in your regular ministry time.
7. Themed section: The Puzzle Maker time
The themed section combines the teaching with a theme. This program’s theme is the ‘The Puzzle Maker’. The idea behind this theme is that each part of the Bible is like a puzzle piece that fits into a puzzle to make one big picture. To understand each piece of the Bible, we need to see it in the context of the bigger picture.
The Puzzle Maker time generally consists of three components:
1. a Letter and a problem to solve sent by the Puzzle Maker to the children
2. a Puzzle piece
3. a Timeline character.
The Puzzle pieces are designed to help the children remember what they learned the previous week (or fill in the blanks if they were absent).
Divide children into Puzzle Maker groups of about five or six for the term. If the groups are too big, some children are will do nothing while a few do all the work. If the groups are too small, there will be a problem when some children are away—a group may even end up with only one member.
Here are some recommendations for the make-up of the groups:
• If you have multiple ages in your program, we recommend that you create groups that span across different ages, so the older children can help the younger ones.
• If attendance varies significantly week to week, pre-arrange the groups, spreading out those who attend less regularly so they don’t all end up in one group.
• If you only have a small number of children, you could do the Puzzle Maker activities together as one group.
6
The
Puzzle Maker
If you want to encourage some friendly competition between groups, create a competition chart to record their progress. You could give the winning team a puzzlerelated prize at the end of the term. Below is an example of what a competition chart could look like.
You could award two stickers for the group who completes the task the quickest or most accurately, and one sticker for the team who comes in second.
The Puzzle pieces are designed to be printed doublesided on the long edge on A3 paper (A4 is possible but will be hard for children at the back to see). If you can’t print double-sided, you could print single-sided and then use sticky tape to attach the two images together backto-back. You will need to line the pieces up carefully to make sure you cut in the right place if doing this. Each piece will display a picture that represents what the children learned the previous week. Once all the pieces are put together, they will reveal one image on the back. As you’re presenting each puzzle piece, ensure that the children don’t see the back, so they’re surprised during the reveal in the final week.
The Timeline characters should be printed out on A4 paper. Create the timeline from creation until Jesus’ return by placing a long strip of black cardboard along the wall. Add each character each lesson at the relevant point, so the children can see how the Bible fits together in chronological order.
The Puzzle pieces and the Timeline characters will be revealed from an envelope each week, so you will need one big enough to fit them in without folding them. If you cannot find an envelope large enough in a shop, you can make your own by following the instructions at wikihow. com/Make-an-Envelope
BIBLE 8. Focus on the Bible
The Bible teaching is divided into three sections so you can put together a package that works best for the way you organise your children’s church lessons.
1. Write your own talk using the leader’s notes as a guide for the content.
2. The Talk provides a ready-made, ‘one size fits all’ option for you to pick up and run with.
The provided talks incorporate creative ways to teach the Bible and include the following sections: introduction, Bible, application and prayer.
3. The Small group material is targeted at three different age levels: Infants (Kindergarten–Year 2), Lower Primary (Years 3–4) and Upper Primary (Years 5–6). Each age group includes a Bible study (with introduction, recap, Bible, application and prayer).
The Lower Primary and Upper Primary Small group studies include both suggested prayer points and a pattern for prayer (Infants only includes the suggested prayer). You could choose to use one or both in your small group time.
An Activity sheet is provided for all three age levels to accompany the small group Bible study. However, if you are teaching Kindergarten you won’t need the Activity sheet. It’s important to note that not every question in the Leaders’ notes is on the children’s sheet. Times to direct children to write or complete a task on their Activity sheet are marked with ��.
Here are some options for the way you could package the Bible teaching to best suit your circumstances:
• Option 1: Talk only
Choose to either write your own talk using the Leader’s notes or use the Talk provided.
• Option 2: Talk + Small group application and prayer
Choose to either write your own talk using the Leader’s notes or use the one provided.
In the Small group time, focus just on the application questions and the prayer section in the Small group study and choose one or two of the activities. You could talk about the questions while the children are colouring or completing a simpler craft activity.
• Option 3: Small group only
Choose the Small group study that suits your age level with the accompanying Activity sheet and choose as many of the activities as you have time for.
Group name Lesson 2 Lesson 3 Lesson 4 Lesson 5 Lesson 6 Lesson 7 Lesson 8 Lesson 9 Lesson 10 The Dolphins ** ** The Caterpillars * ** The Tigers * ** * The Crocodiles * * * The Kangaroos ** ** 7 Program overview
BOX-FULL 9. Activities
Each lesson contains a number of age-specific, themerelated activities. The suggested age-level is marked by the following icons:
I Infants
II Lower Primary
III Upper Primary
The Lesson instructions at the beginning of each lesson will provide you with a list of materials you will need for each activity.
8
The Puzzle Maker
God’screatıongood
1
Lesson
MAP-MARKER-QUESTION Big question
Who made the world? Why did he make it?
PODCAST Big idea
God made everything just by speaking. He made everything to enjoy rest in relationship with him. God gives us his word to show us the best way to live.
BOOK-OPEN-READER Bible passage
Genesis 1–2
Leader’s notes
What is your favourite opening line in a book? What does an opening line say about what is to come? The opening line of the whole Bible is, ‘In the beginning God created the heavens and the earth’ (Genesis 1:1). It is very clear, right from the start, that what is to follow in the Bible is about the God who created everything and the creation he has made. As we look at how the whole Bible fits together, we will see this is exactly what it’s all about. We’ll be looking at the relationship between God and his creation—more specifically, the people he has made.
In Genesis 1, we are told that God made everything just by speaking (v 3). We are told he created order out of darkness and emptiness (v 2) and that he made man and woman in his image (vv 26–27). Everything God made was good—very good in fact (v 31)! Once God had finished his work of creating, he rested (Genesis 2:1–3).
Genesis 2 then presents a second account of the creation of man and woman and the intimate relationships between them all. God formed the man out of the dust of the earth and breathed life into him (v 7). He placed the man in a beautiful life-giving garden with rivers flowing out of it so the man could work it and look after it (vv 8–15). And God gave the man his good word so he would know how to best live in the world that God had created for him (vv 16–17). He created the woman as a helper for the man and together they were to fill the earth and subdue it, ruling over everything else in creation (Genesis 1:28; 2:18–25).
As God rested from his work of creating, he invited all of creation to join him in this rest. And so, life in the Garden of Eden was perfect; it was easy. Adam and Eve’s work of caring for and ruling over creation was easy. Adam and Eve’s relationship with each other was free and open (Genesis 2:23–25). But the best thing about living in the garden was the relationship between God and his people. God walked with them and spoke with them (Genesis 2:15–18; 3:8). Nothing separated Adam and Eve from an open and honest relationship with their Creator. This was the very reason God created everything—to enjoy a restful relationship with him.
COMMENT-QUESTION Reflection questions
1. What do you love most about God’s creation?
2. What excites you about sharing in God’s rest with him?
3. How important to you is God’s word?
Lesson overview
The Puzzle Maker 10
Lesson planning guide
Lesson 1
When planning your lesson:
1. ensure you include the Puzzle Maker time—this is essential for each lesson
2. choose a teaching option from the Lesson instructions on pages 12–13
3. choose activities based on your available time.
Estimated time Lesson section
Church
8 mins Family spot
Kids’ Church
1 min Introduction
If you skip the Family spot in your church service, we strongly recommend you use it (or a variation of it) as an introduction to explain the theme of the term (this will then take 8 minutes).
4 mins Song
1 min Money collection
2 mins
Rules/behaviour code
15 mins The Puzzle Maker time
Focus on the Bible: Talk
3–8 mins
Introduction, including a creation from the Puzzle Maker time
8 mins Talk, including a story bag and a skit
2 mins Application
1 min Prayer
Focus on the Bible: Small group
30 mins Whole Small group study
10 mins
Activities
10 mins (per activity)
Application and prayer only
• Colouring
• Creating
• God says
• Do this! Do that!
.
11 Lesson 1: God's good creation
Resources for the lesson
PDF printables
Lesson-01-Puzzle-Maker-Letter-Lego
Lesson-01-Puzzle-Maker-Letter-Plane
Lesson-01-Instructions-Plane
Lesson-01-Family-Spot-Puzzle-Sample
Lesson-01-Family-Spot-Puzzle (01–09)
Lesson-01-Script
Lesson-01-Creation-Poster
Lesson-01-Activity-Sheet-Infants
Lesson-01-Activity-Sheet-Lower-Primary
Lesson-01-Activity-Sheet-Upper-Primary
Lesson-01-Colouring-Sheet
PowerPoint presentation
Lesson-01-PPT
Lesson instructions
How to prepare for the Family spot ( page 14)
• Family spot puzzle
Print the Family spot puzzle pieces onto 9 pieces of A4 paper and trim off any white borders. Laminate them to make them more durable (optional). You will also need an A1 piece of cardboard and Blu Tack® in order to put the puzzle together so that it can be held up for everyone to see.
• Preparation
Before people arrive at church, hide eight Family spot puzzle pieces randomly under the bottom of the chairs and fasten with Blu Tack®. Blu Tack® the ninth piece to your cardboard to begin the puzzle.
• Big question
You may like to display the Big question from the provided PowerPoint on the front screen for the congregation to view.
How to prepare for The Puzzle Maker time ( page 14)
• Divide the children into small groups of about five or six. Remember: If the groups are too big, some children will do nothing while a few do all the work. If the groups are too small, there will be a problem when some children are away; a group may even end up with only one member (see Program overview notes for more information).
• Print the appropriate Puzzle Maker’s letter and put it in an envelope.
• You will need a set of Lego® for each group. Choose a Lego® design that is simple, ensuring you have distributed the correct pieces to each group. You can download instructions for free from the Lego® website (go to lego.com/en-au/service/ buildinginstructions). For example, enter Lego® code 6468 for the instructions for a simple race car. Place each set of Lego® in an envelope or ziplock bag. Print the Lego® instructions for each group and place them in the envelope or ziplock bag with the Lego® pieces. If you don’t have access to Lego®, give the instructions on how to fold a paper plane to each group, plus a piece of A4 paper per child.
• You will need to consider where the children can race their creations in the Championship safely. Find a clear area where the Lego® creations can roll easily to a distinct finish line, or where the paper planes can fly without hitting anything and win on distance.
• If you are recording the winners each week, ensure you have your competition chart ready to go (see Program overview notes for details).
How to prepare for Focus on the Bible ( pages 15–20)
Choose the option that best suits your context from Options 1–3 (see Program overview notes for advice).
Option 1: Talk only
• Introduction
Visual aids: Ensure the PowerPoint presentation is downloaded onto your computer or device.
• Bible teaching
Lego® creation: You’ll need one of the Lego® creations that was made in The Puzzle Maker time. If you didn’t include The Puzzle Maker time, use any Lego® creation as an introduction. You could ask the children to make the Lego® in small groups or you could do it up the front (either with help from the children or by explaining each step as you go).
Bible: Mark up the relevant passages in your Bible so they are quick and easy to access. Remember, it’s great to have a child to read it but that will take a little longer.
Story bag: Collect the following items (or something similar) and place them in a bag:
» A torch
» Cotton wool balls to represent clouds
» Fake flowers
» A cardboard sun or moon or star stickers
» A toy fish and/or bird
» A toy animal
Skit: Print the Script for Adam and Eve.
ێ
ܫ
12
The Puzzle Maker
• Prayer
Depending on the age of your class, you could pause as you read the prayer and have the children repeat small sections after you.
Option 2: Talk plus small group
• Leader’s notes
Ensure your leaders have the Small group material in plenty of time to prepare for their small group. Direct your leaders to just the application and prayer sections, not the whole study.
Option 3: Small group only
• Activity sheets
Print the Activity sheets.
• Bible teaching
Teaching activity: Make sure you have playdough for each child in your group.
Infants: Bible reading: You may like to print the Bible passages out on a piece of paper in large font for the children to read along with you. Otherwise, ensure you have the passages marked in your Bible so they’re easily accessible.
Infants and Lower Primary: Creation poster: Print the Creation poster.
Bibles: Ensure you have enough Bibles for the children in your group to share one between two if possible. If you don’t have enough Bibles, print the Bible passages so the children can read for themselves. Answering the questions from the passage will be much easier if the children have the passage in front of them.
• Prayer
Lower Primary and Upper Primary: Pattern for prayer: Give the children some time to finish the sentences with their prayer points. When you pray them, you could pray one sentence at a time as a group or pair the children up to pray with each other. Alternatively, children could pray individually.
How to prepare for the Activities ( page 21)
• Colouring
You will need:
» copies of the Colouring sheet
» pencils, textas and/or crayons
» stickers (optional).
• Creating
You will need:
» craft material, Lego®, blocks, balloons, playdough and so on for the children to make their own creations.
• God says and Do this! Do that!
You will need:
» to read how to play these games (the instructions are at the end of each level’s Small group time) and become familiar with the actions so you can teach them to the children.
13 Lesson 1: God's good creation


 Naomi Ireland


