7 minute read
How to Pave Under a Carport
TTo get a carport—or parking garage—paving job done right, you have to start with the right tools and the right plan. Let’s take a look at how one crew accomplished the job with top quality results. Your crew can do this, too.
For this type of job, one of the challenges is, of course, the low ceiling you have to work under. The close quarters will trap heat and air against your equipment and co-workers, so let’s talk about safety before we talk about the paving plan.
Make sure you keep plenty of water on hand for each worker. If someone is feeling over-heated, that person should know he is allowed to take a break. Get him to a shaded area out from under the carport, away from running equipment engines and hot mix where there’s a breeze. If necessary, set up a fan or, when in a pinch, the leaf blower, to move air over him.
Watch for signs of heat exhaustion in your fellow team members at any time, but especially when working in areas where the heat of asphalt paving is trapped in with you. Check out the safety article, “How to Recognize Heat Exhaustion” on TheAsphaltPro.com website for more information.
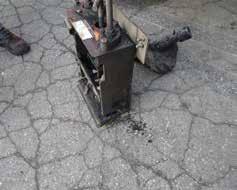
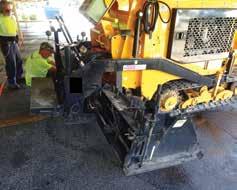
We affixed the 1-foot extensions and auger extensions to move material all the way to the endgates of the sidewalk paver. With the tools onsite, it took about 15 minutes per side to affix the extensions.

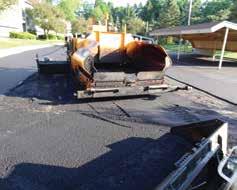
The team used a 2 by 4 to protect the unsupported edge during compaction of the carport’s leveling course. This allowed them to match the joint confidently when paving the roadway along the front of the carport.
EQUIP PERSONNEL FOR SUCCESS
Next, let’s take a look at the equipment. While some of this applies to any paving project, there are some “modifications” you can make to different machines to make the mix-delivery and paving process easier.
For example, when working under a low-roofed carport or parking garage, consider using a clam-shell or four-way bucket on your skid steer. This will make delivering the mix easier when you can merely open the “doors” to let mix fall into a mound, rather than trying to lift the bucket high enough to dump into the paver’s hopper.
Also consider using a roller with a removable or foldable rollover protection system (ROPS) so you’re able to get under all the areas of the low roof.
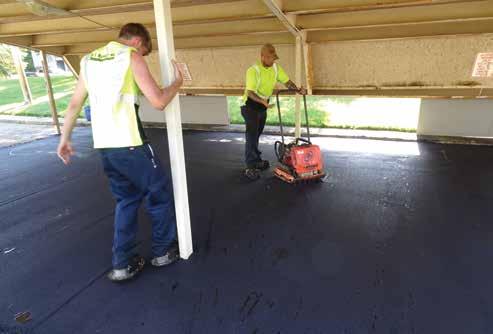
The plate compactor’s water tank is removable, making it easy to refill and replace during hand work.
Here you can see the crew lining up for the second pass with the sidewalk paver. One worker checks the slope with the level in the foreground. Another worker checks to make sure they’re matching the joint properly. This is teamwork in motion.

For the project we’ll describe here, we used the following: • A tack buggy trailer • A Bobcat S750 skid steer • A sidewalk paver with 1-foot extensions and auger extensions • An MBW 2000 plate compactor with removable water tank • A tandem roller with 51-inch-wide steel drums and foldable ROPS • Multiple pairs of tamp shoes for the workers • Wooden 2 by 4s, levels and other tools for monitoring quality
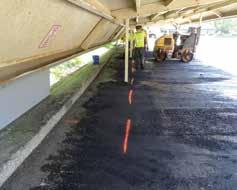
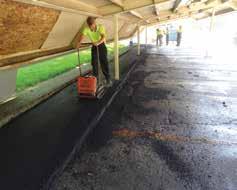
These two pictures show where we painted the line to indicate the starter pad, and how we prepared it before bringing the paver in.
MAP THE PLAN
For this project, the roof had an angle that prevented the crew from getting the paver—or the roller—all the way to the back of the carport. To create the starter pad for each pass of the paver, we used the skid steer to deliver the mix and worked it by hand under the lowest section of the roof. You can see where we painted the line to indicate where the paver could reach, in the photo at left. This is how far the starter pad had to extend into the carport.
With the mix dumped in place, the crew raked and luted it into a smooth mat, and used both tamp shoes and the plate compactor to get it compacted to 1.5 inches. You’ll see the worker operating the plate compactor wears his tamp shoes at all times to ensure the mat stays clean of marks or indents, in the photo on page 18.
With the starter pad complete across the width of the carport, we could back the paver into place and pull the first 10-foot-wide pass. We then set back and matched the joint for the second 10-foot-wide pass, and so on. Each pass required approximately 6 tons of material
We dumped the mix from two quad trucks in a pile near the carport and delivered the mix from the pile to the paver via the skid steer bucket. The heat within the pile kept the mix from losing temperature.
Notice that the roller can only make it so far into the carport before the low roof stops him. Any divot or bow that might have formed in front of the roller was quickly compacted by the plate compactor. That’s where great teamwork came in again. Notice also that we put down a 2 by 4 on the unsupported edge so the roller could get on and off the mat without damaging the joint we’d match when tying into the roadway, in the photo on page 18.
To pave the roadway in front of the carport, we used a larger paver that the quad could feed directly.
It takes a lot of finesse to pave under a carport or in a parking garage. The weight of equipment comes into play in the garage, but smaller sidewalk pavers, like the one used here, typically do the job just fine. Using a tandem steel-drum roller without vibration also gets the job done in the garage.
For the carport that will see rain and other weather events, you want to watch out for segregation. Temperature or material segregation will result in puddles later, so use your best practices to work the pile correctly when feeding the hopper and use best practices to monitor the slope to achieve proper stormwater runoff. Use the level and work together as a team to get top quality paving.
– BY JOHN BALL
John Ball is the proprietor of Top Quality Paving & Training, Manchester, New Hampshire. He provides personal, on-site paving consulting services around the United States and into Canada. For more information, contact him at (603) 4931458 or tqpaving@yahoo.com.
AND YOU KNOW WE DO THIS...
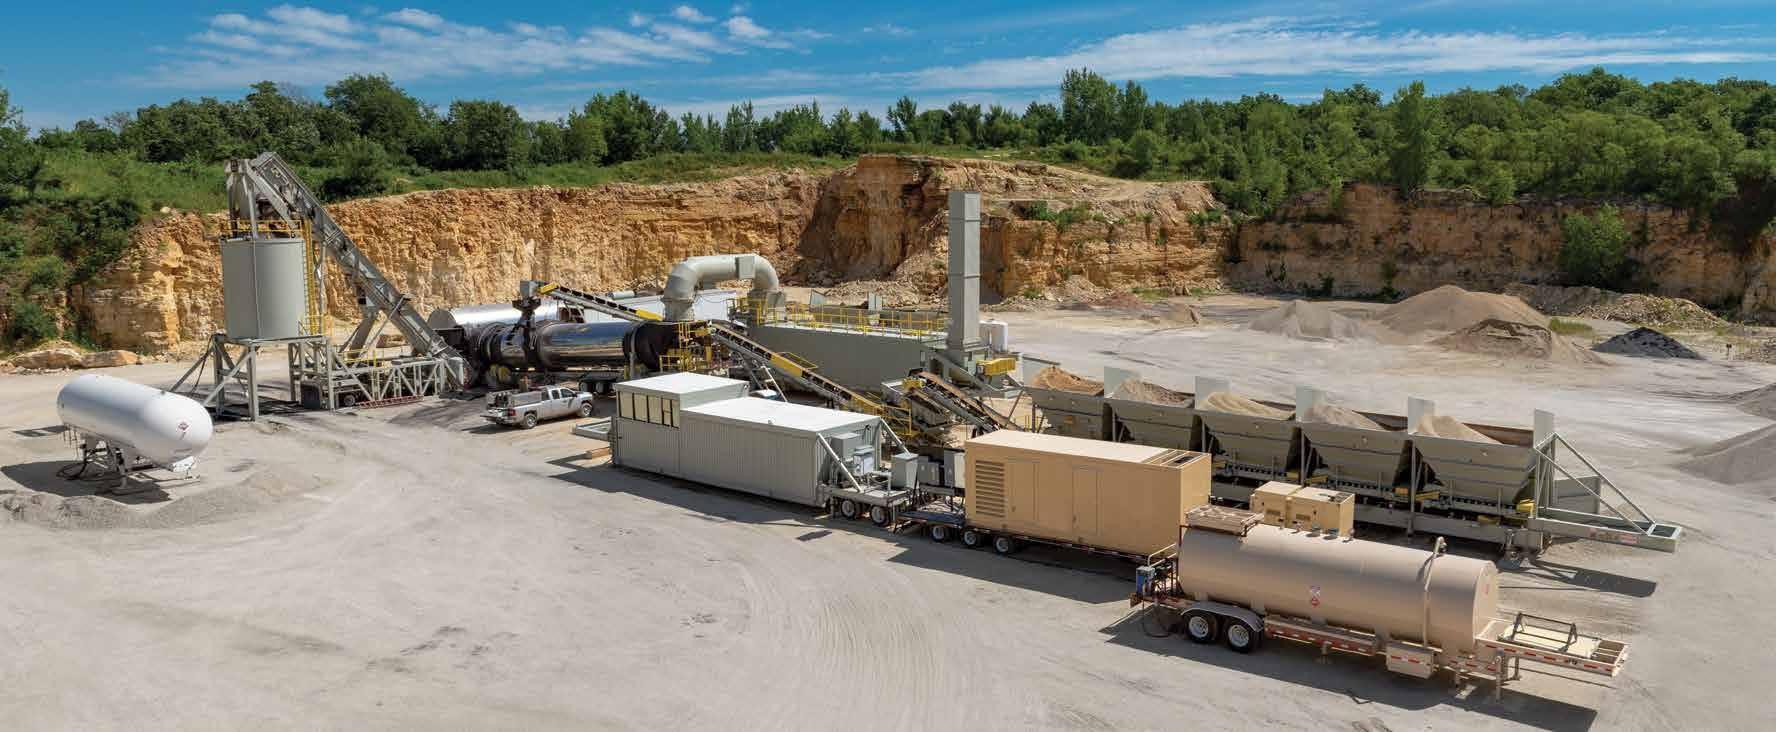
Our commitment to serving our customers in the asphalt pavement industry drives us to be our best, from our full-service engineering department eager work with you to configure a plant to meet your needs, to our logistics and construction crews ready to get that plant delivered and operational. Astec plants are all backed by after the sale parts and service support. You can count on us as your single source for complete plants, component equipment, parts and service.
SALES: 423.867.4210
ENGINEERING

CONSTRUCTION SERVICE & TRAINING
ENGINEERING CONSTRUCTION SERVICE & TRAINING
ENGINEERING CONSTRUCTION SERVICE & TRAINING PARTS ENGINEERING ENGINEERING CONSTRUCTION CONSTRUCTION SERVICE & SERVICE & TRAINING TRAINING
ENGINEERING No other North American manufacturer offers more options than Astec. ENGINEERING ENGINEERING SERVICE & TRAINING PARTSCONSTRUCTION
CONSTRUCTION CONSTRUCTION SERVICE & SERVICE & TRAINING TRAINING
4 DRUM OPTIONS
Double Barrel // DBX // DBXHR // UniDrum ENGINEERING ENGINEERING CONSTRUCTION CONSTRUCTION SERVICE & TRAINING SERVICE & TRAINING
2 BAGHOUSE OPTIONS
Pulse Jet // Reverse Pulse ENGINEERING ENGINEERING CONSTRUCTION CONSTRUCTION SERVICE & TRAINING SERVICE & TRAINING PARTS PARTS
PARTS PARTS
5 BURNER OPTIONS
ENGINEERING CONSTRUCTIONPhantom // Talon II // Fury ENGINEERING CONSTRUCTIONWhisper Jet // Versa Jet
SERVICE & SERVICE & TRAINING TRAINING
4 LOADOUT OPTIONS
ENGINEERING SERVICE & TRAINING CONSTRUCTION Long-Term Silos // Short-Term Silos Self-Erect Silos // Surge Bins


