3 minute read
3ds Max
from AUGIWORLD
by AUGI, Inc.
Implementing Best Practices for Large Scenes
With planning, we can implement some steps to improve our experience with 3ds Max, especially concerning large scenes. First, let’s discuss bevels. Bevels are one of the essential factors in visualization. The bevels serve to highlight edges when rendered. That is almost a singular purpose. We can adjust these bevels to display imperfections and bring life to our scenes as artists. Nothing screams computer-generated as objects with perfect edges and by pushing and pulling vertices around on these beveled edges. However, this custom editing of beveled edges to create ultra-realistic visualization isn’t necessary in many cases. They also become time-consuming to implement and adjust. However, this doesn’t mean we have to exclude beveled content entirely. An excellent trick to implement is applying trim sheets to everyone, from rails to walls.
Essentially, the process is a little more advanced to understand but easy to implement. All you need is a standard map with beveled edges already implemented. Then, when mapping the faces of a rail or fence, you ensure the edges of those rails and fences align with the beveled edges on the normal map. While this won’t physically bevel your objects (of course), the normal map helps to fake the

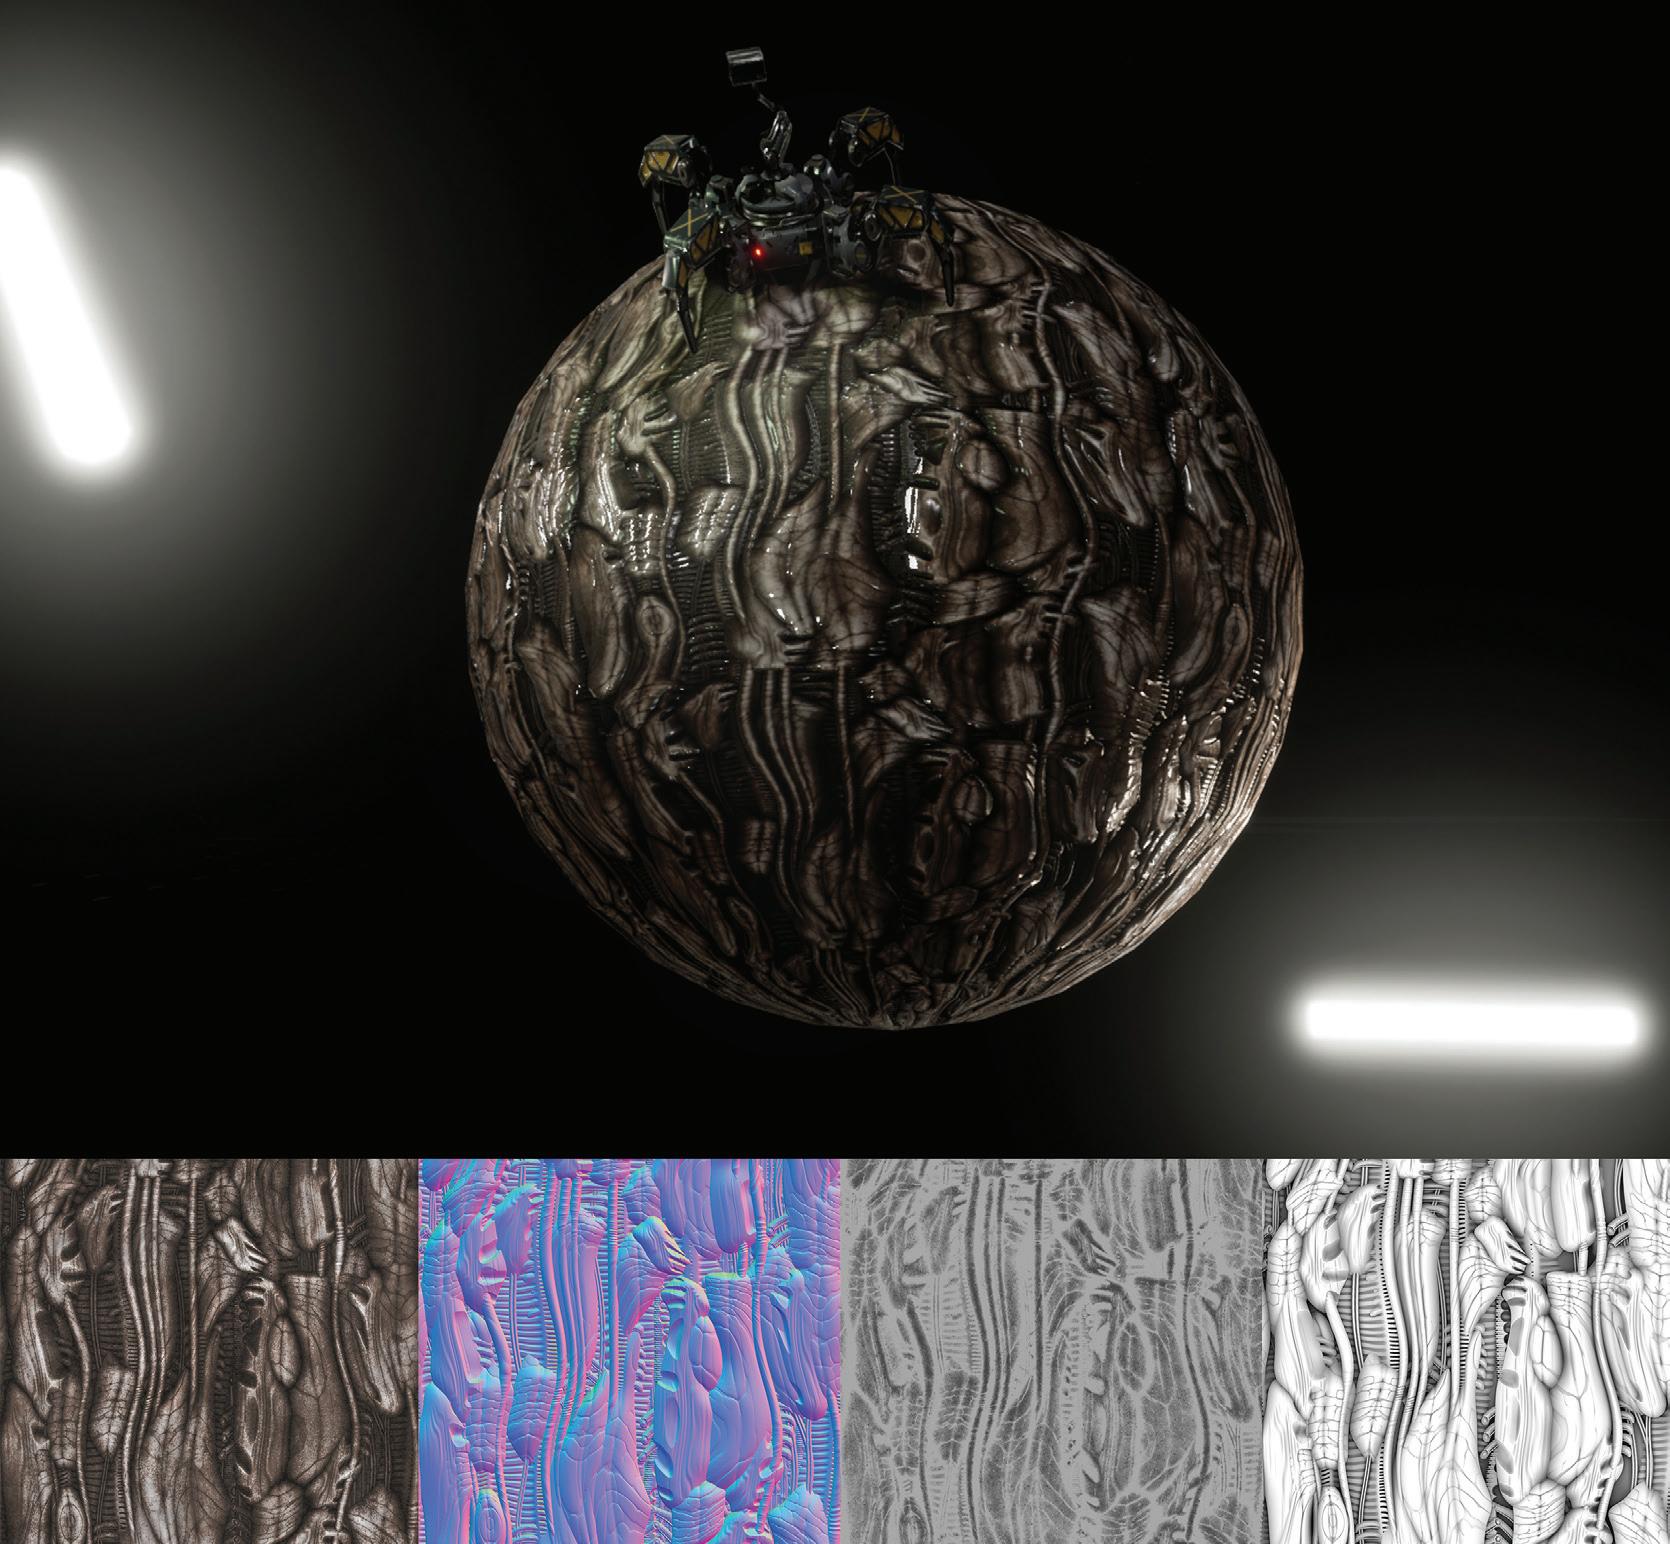
Figure 2 – Sample Texture Detail
highlighting necessary for higher-quality rendering quickly. See Figure 1. By overlaying the edges of the UV Shell with the trim sheet, the bevels are artificially added. That is also a highly optimized method. Using a single trim sheet to apply bevels to many elements reduces the texture calls from rendering software (one of the more demanding processes in rendering pipelines).
Next, let’s discuss the modifier stack. Collapsing the stack can be significant. In many cases, once certain modifications and steps are taken, there becomes a point of no return, where it’s simpler to rebuild an object than figure out where it can be modified in the stack without breaking the entire model. At this point, the modifier stack is just information/recorded history. Collapsing them can speed up scenes exponentially. It’s not rare to have 27,000 objects in a scene. When you have 27,000 objects with modifiers applied to them, 3ds Max becomes virtually unusable. A single selection can take several minutes. Think very hard about maintaining stacks when you don’t need them. Collapsing the stack is essentially the same as erasing unnecessary history that slows files and work down.
Last, let’s discuss when to model and when not to model. I recently ran into a case where the hexagonal content on a rubber carpet floor was modeled. This generated several hundred thousand polygons for an object that mattered little in the overall scheme of things. There’s a myth that high quality means a high number of polygons. Most of the time that isn’t the case. Some of the highest detailed content can be generated with minimal polygons. Generally, you want to apply modifications to edges to achieve the edge quality and silhouette of a form to generate realism. However, normal maps will produce more than a satisfactory result for many details. Textures alone can present considerable detail. So, think twice the next time you think you need 750,000 polygons to create that realistic model of a gaming chair. You can likely generate with 5,000 or less. Let’s all work smarter, not harder!

Brian Chapman is a 3D Artist located in Las Vegas with an extensive history of building 3D content for AEC, game, film, and software development. In addition to 3D art, Brian has experience with graphic arts and software development. Brian can be reached procadman@pro-cad.net


