2 minute read
Mouser Cabinetry Finishing Process
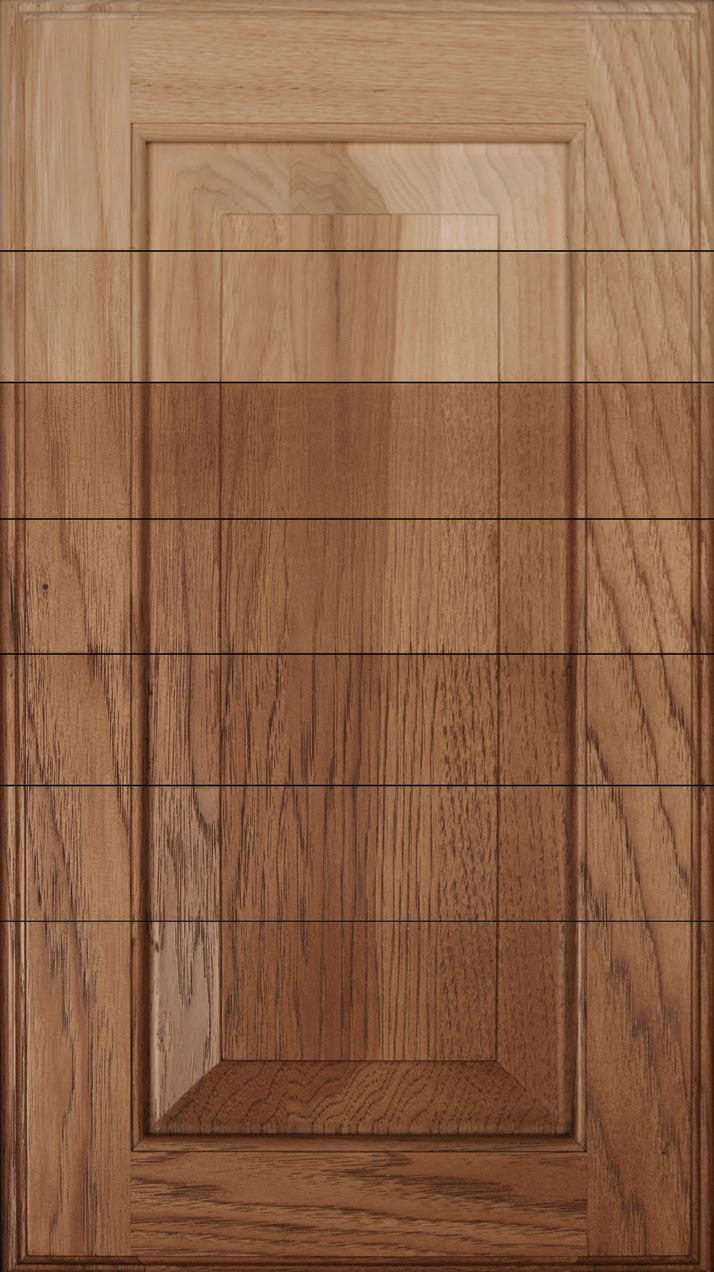
The entire 17-step Mouser Cabinetry finishing process combines to produce a finish that protects the cabinetry against stains, moisture and household chemicals. The finishing process shown below creates an extremely durable finish that will retain its original beauty through many years of normal use.
1. Raw Wood Selection - Wood is hand selected for consistency of color and grain pattern 2. Engineered Design of Components - All parts are designed to allow the flow of finish materials into areas of natural expansion and contraction, such as the door rail inside profile and the center panel profile 3. Hand Sanding - Exposed surfaces of the doors, drawer fronts, face frames, veneers and mouldings are meticulously hand sanded before the finish materials are applied 4. Sap Staining - The initial stain coat that is applied to diminish the contrast in wood tone between the lighter sapwood and the darker heartwood 5. Toner Staining - An application of a base stain that creates the color tones of the finish 6. Sealer Coat #1 - A clear catalyzed sealer is applied to maintain the natural moisture level of the wood and keep excessive moisture out of the wood 7. Oven Curing #1 - The product is oven cured at 120 degrees to activate the catalyst in the sealer 8. Sealer Sanding # 1- The sealer coat is hand sanded to remove raised wood grain and create a smooth surface for the next finish application 9. Hand Staining - The application of additional stain enhances the beauty and color of the wood by highlighting the wood’s natural grain
Optional Glazing - Light and dark pigments can also be applied at this step in the finishing process to create highlighting and accenting 10. Oven Curing #2 - After the stain and glaze are hand-wiped, the product receives a second oven curing that accelerates the molecular bonding of the finish materials 11. Sealer Coat #2 - A second clear catalyzed sealer coat is applied to build on the depth, quality, and durability of the finish 12. Oven Curing #3 - A third oven curing, which further bonds the finish materials, is completed 13. Sealer Sanding #2 - The second sealer coat is hand sanded to remove any raised wood grain and create a smooth surface for the next application 14. Tack Cloth Cleaned - An inspection is performed while the product is thoroughly cleaned with a vacuum and a tack cloth 15. Topcoat - The application of a very durable catalyzed conversion varnish topcoat of 10-Flat, 20-Matte or 45-Satin is completed 16. Oven Curing #4 - The fourth oven curing completes the chemical bonding needed to produce the most durable finish in the industry 17. Final Inspection - A final inspection is performed before moving the product into a holding area to allow the finish to further cure thirty-six


