4 minute read
Engine Turning With Daniel


ngine turning is a process that involves adding decorative patterns to metal surfaces such as aluminum and stainless, steel. With e this process it produces an almost holographic swirly pattern that is amazingly easy to keep clean. Engine turning became exceedingly popular in the 20’s and 30’s on car parts, it was an affordable way to customize and make unique looking parts. The overlapping circles can be applied by hand with a twisting motion. A hand drill or drill press is my choice. Cratex helps make the engine turning process quite simple and affordable. Round rods are available in many sizes and grits. Cratex is like a rubber eraser infused with silicon carbide abrasives. The abrasive is what produces the swirl pattern when turned. The swirly patterns are usually overlapped by ½ the Cratex diameter. They can be overlapped by more than ½ or less to create unique patterns. This is what gives you the handmade look & feel to your custom parts. For this month’s tech I am going to show you how I do engine turning. Cratex comes in 4 different grits and varied sizes from 3/16 dia to 1” C- Coarse- Steel M-Medium – Stainless/Aluminum F- Fine – Aluminum XF-Extra Fine- Soft Metals
Advertisement
The Cratex that I am using here is ½” Dia and approximately 2” in length. This can be mounted directly into your drill press chuck and lightly snugged into place. This reduces you’re working height. So, I chose to cut off a
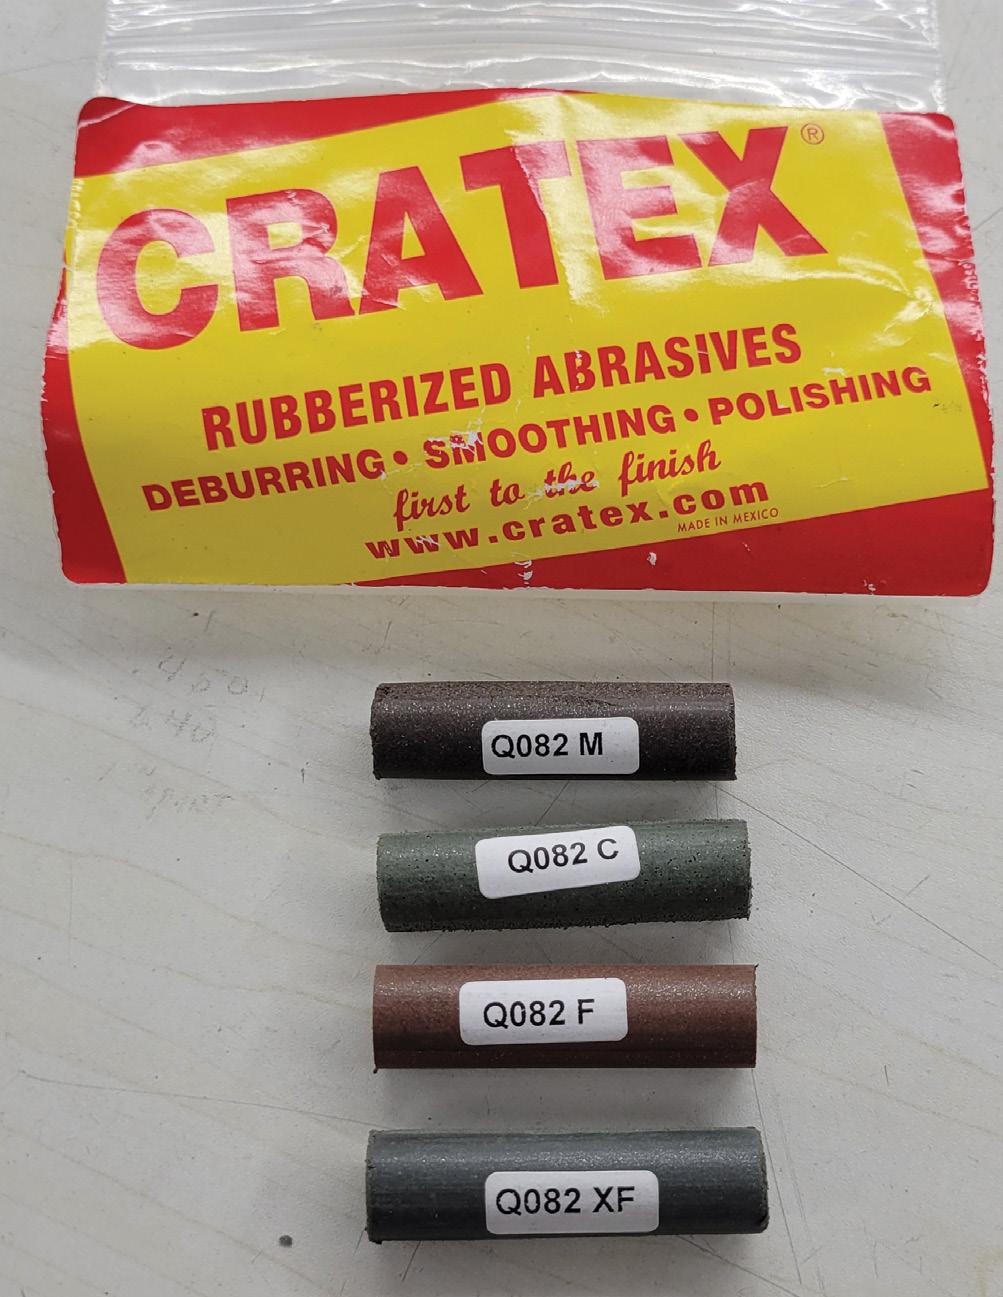
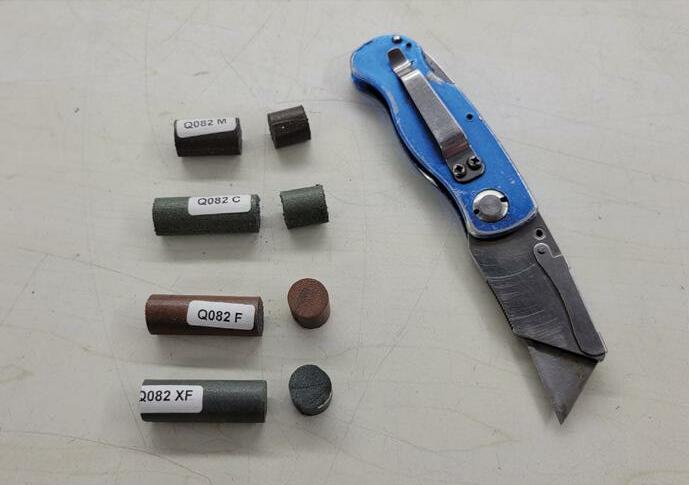
piece about ½” long using a sturdy bladed razor knife.
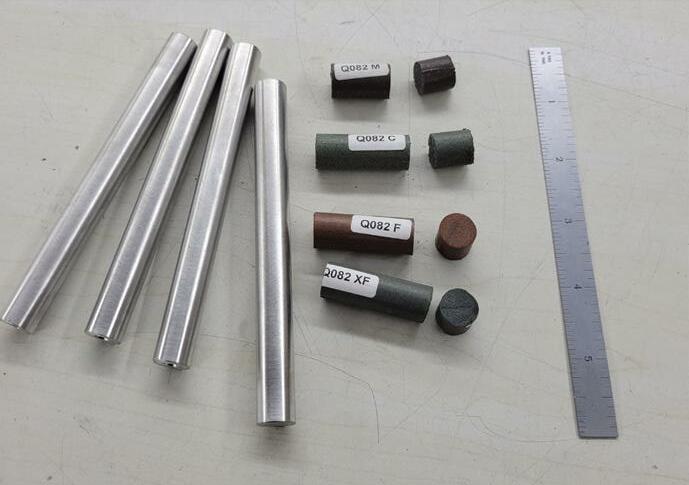
To gain some additional working height I like to make a mandrel for the Cratex. The mandrel can be made of wooden dowl, round steel or aluminum. Whatever you may have around. The mandrels pictured here are approximately 5” length. This allows you to have as much working height as you need.
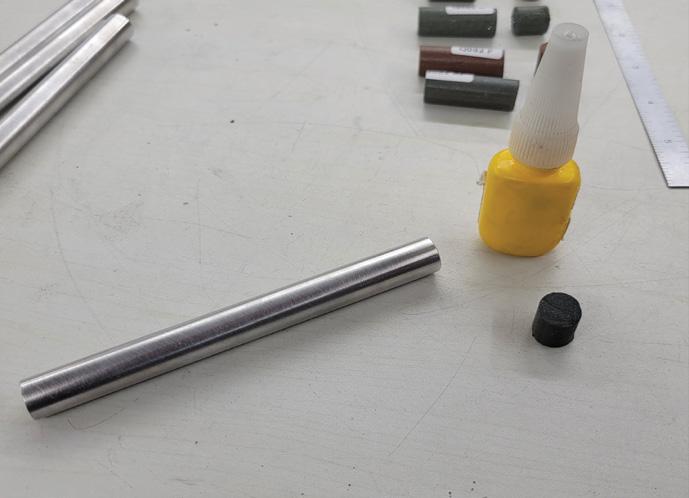
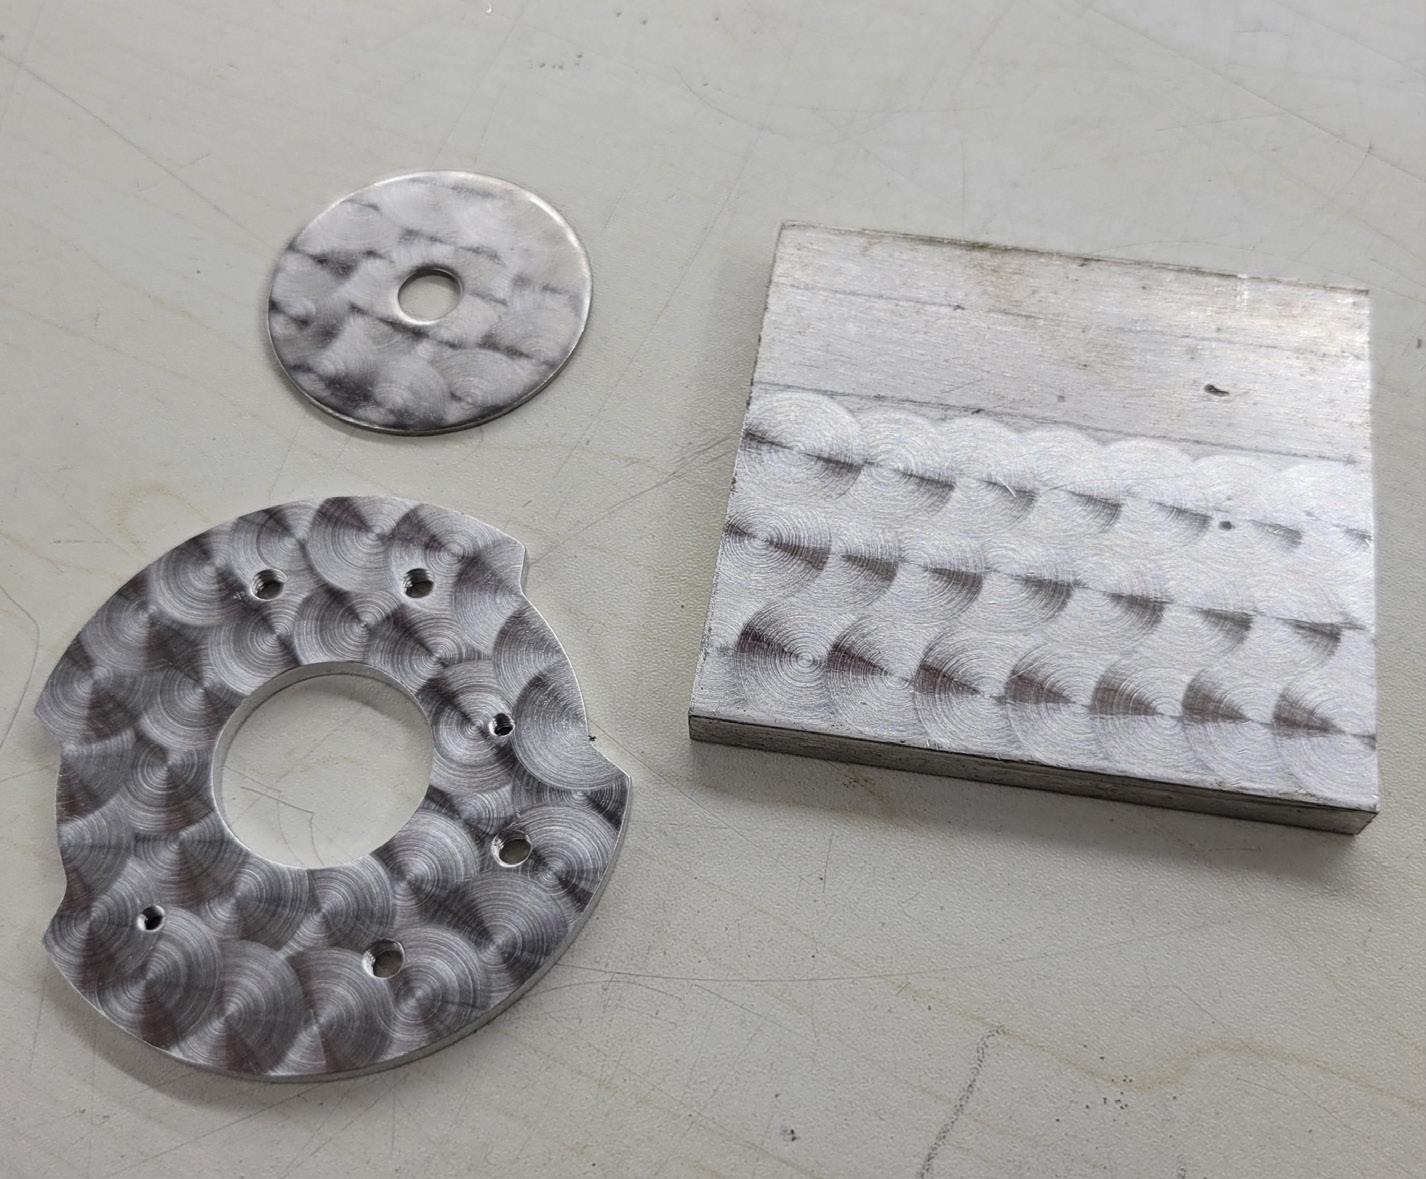
I then use an epoxy or some type of super glue to attach the Cratex to the mandrel. This has worked very well so far. (Just a side note, I have been using these in my drill press on the slowest speed possible.) Grab a scrap piece of aluminum to give you a basic idea of how this can work. I used a ½ metal rule to lay out some guidelines. This can get as precise as you want it to, or as simple as winging it and doing it freehand. It all depends on the look you are after. Also notice the scratches and imperfections that are on the piece. This is some of the beauty of engine turning, it will hide some of these surface imperfections.


Using a medium grit Cratex, I run the drill press at low speed with minimum pressure applied to the aluminum. Using my reference lines as a ballpark guide, I overlap the swirls about 1/3 leaving the center of each exposed. Continue until you get something like this. The amount of overlap is determined by you and the look you are after. There is no right or wrong way. It is going to be cool either way.
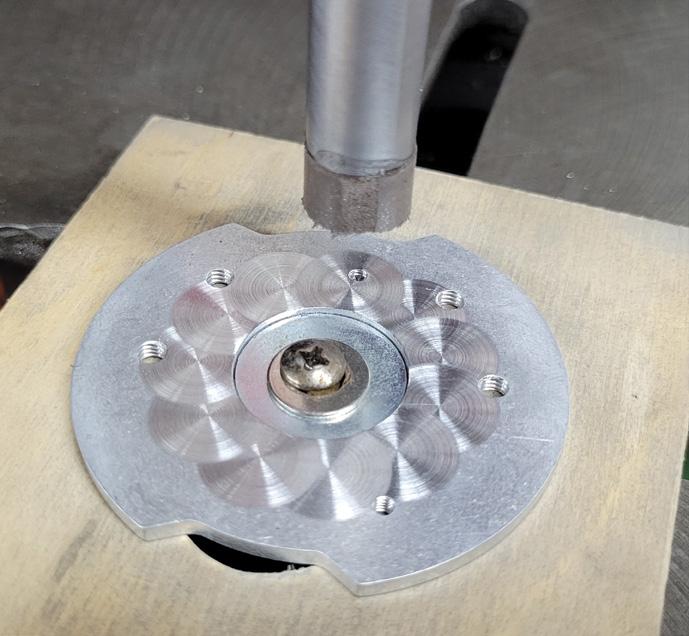
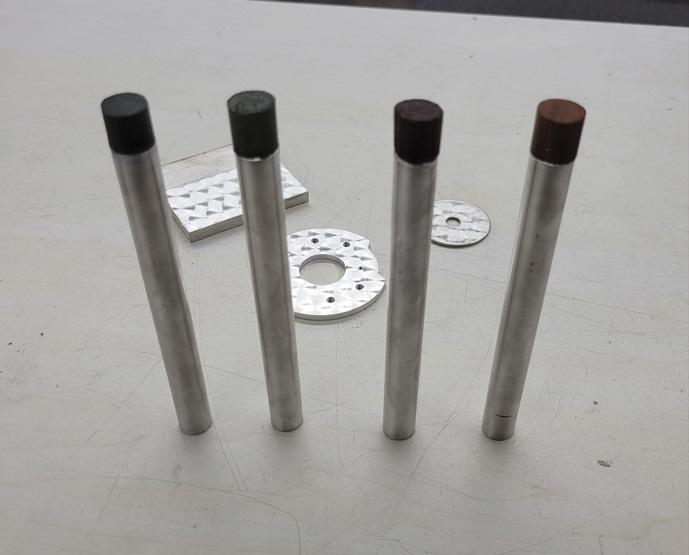
Instead of going in a straight line here is another application. Something that is round. I just took a piece of
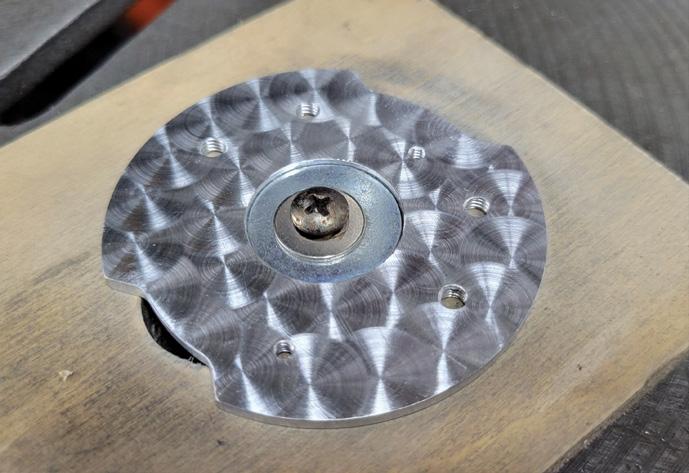
scrap plywood and screwed a washer to it for my application. This will allow me to rotate the round part. For the round part it was best to start in the center completing a row then working my way outward. Still using about 1/3 overlap.
Engine turning is a quite simple and straightforward process. There is lots of information and how to do it on the web. The history on it is also remarkably interesting as it has been around for quite some time. It is a straightforward way to take a simple part and really give it a unique look that has a handmade appearance. Check out www.cratex.com 800-800-4077
If there is something that you would like to see a Tech article on or have any questions, please call me or email me.
Daniel Donley Pandemonium Custom Choppers FB- Pandemonium Custom Choppers IG- pandemoniumc2 happydandemonium@gmail.com pandemoniumcustomchoppers.com