This is for you! Take a look inside and see what you think!
Are you looking for practical support?
Read more inside...
TOMORROW’S SCIENTISTS THROUGH PRACTICAL SCIENCE
OF USEFUL IDEAS AND INSPIRATION
shop.wf-education.com/science INSPIRING
VISIT OUR RESOURCE HUB, FULL
is
NEW
Highlights... NEW BMS microscopes Drosophila Required practicals Enzymes Electrolysis Cloud chamber Troubleshooting tips
This brochure
BURSTING with
products!
Delivery charges
FREE delivery on all orders* of £75 and over. Orders of less than £75 are subject to a £7.50 delivery charge (within UK mainland).
We aim to dispatch all stocked items ordered before 11am, on the same day.
* Delivery to Scottish Highlands and Islands is subject to a surcharge. Please contact customer support for an estimate.
Carriage Surcharges
Some of our Highlights...
Inspiration for you, inspired by you
We’re passionate about supporting science educators to engage and empower the students they teach. We’re inspired by the valuable work you do every day, and our spring brochure is a resource through which we can help support you with ideas, insights, and inspiration. In this issue, you’ll find details of our new and extended ranges, as well as useful functionality on our website – such as Shop by Practical. Some of our most popular categories have been enhanced to include the products you need most – we have something to suit almost every activity you’ll deliver.
Certain chemicals e.g., lithium, potassium, methanol, bromine etc, may now only be transported by ADR vocationally trained drivers. As such, we have implemented a carriage surcharge of £12.50 if an order contains these chemicals.
All chemicals with the surcharge are clearly highlighted online. Any over-sized or weighted items may be subject to specific delivery charges. For help and advice email us at customer.support@wf-education.com
The important bit…
T&C’s: All prices shown in this brochure are ex. VAT.
Need advice?
Please, call our friendly customer support team (Mon - Fri, 8.30am - 5pm, excl. Bank Holidays) on 01743 812 200 for advice on your delivery options, prices, and product selection. We offer additional delivery options including guaranteed next day.
We also have an experienced technical team to answer all your questions regarding our products, troubleshooting, or any health and safety queries.
time of print.
For full and most up-to-date terms and conditions, please, visit wf-education.com/terms-and-conditions
Listed prices valid until 31/07/2024. Timstar reserves the
amend any promotions at any time. Items marked as CX incur additional delivery charges. All hazardous goods, chemicals (incl. live cultures/media) are non-returnable. Accurate at the
right to stop or
Designing
guide 12,
Biotechnology 14, 15 Genetics 16, 17 Kidney dissection 22, 23 QUICKFIT® 36, 37 Melting point 40, 41 Colour 46, 47 Balances/underpan weighing 48, 49 Datalogging 48, 50, 54, 55 Cloud chamber 52, 53 Supertech meets 2024 56
These mailers are 100% recyclable BMS microscopes and cameras 6 – 9
labs
13
Enjoy browsing!
CX
NEW FOR 2024!
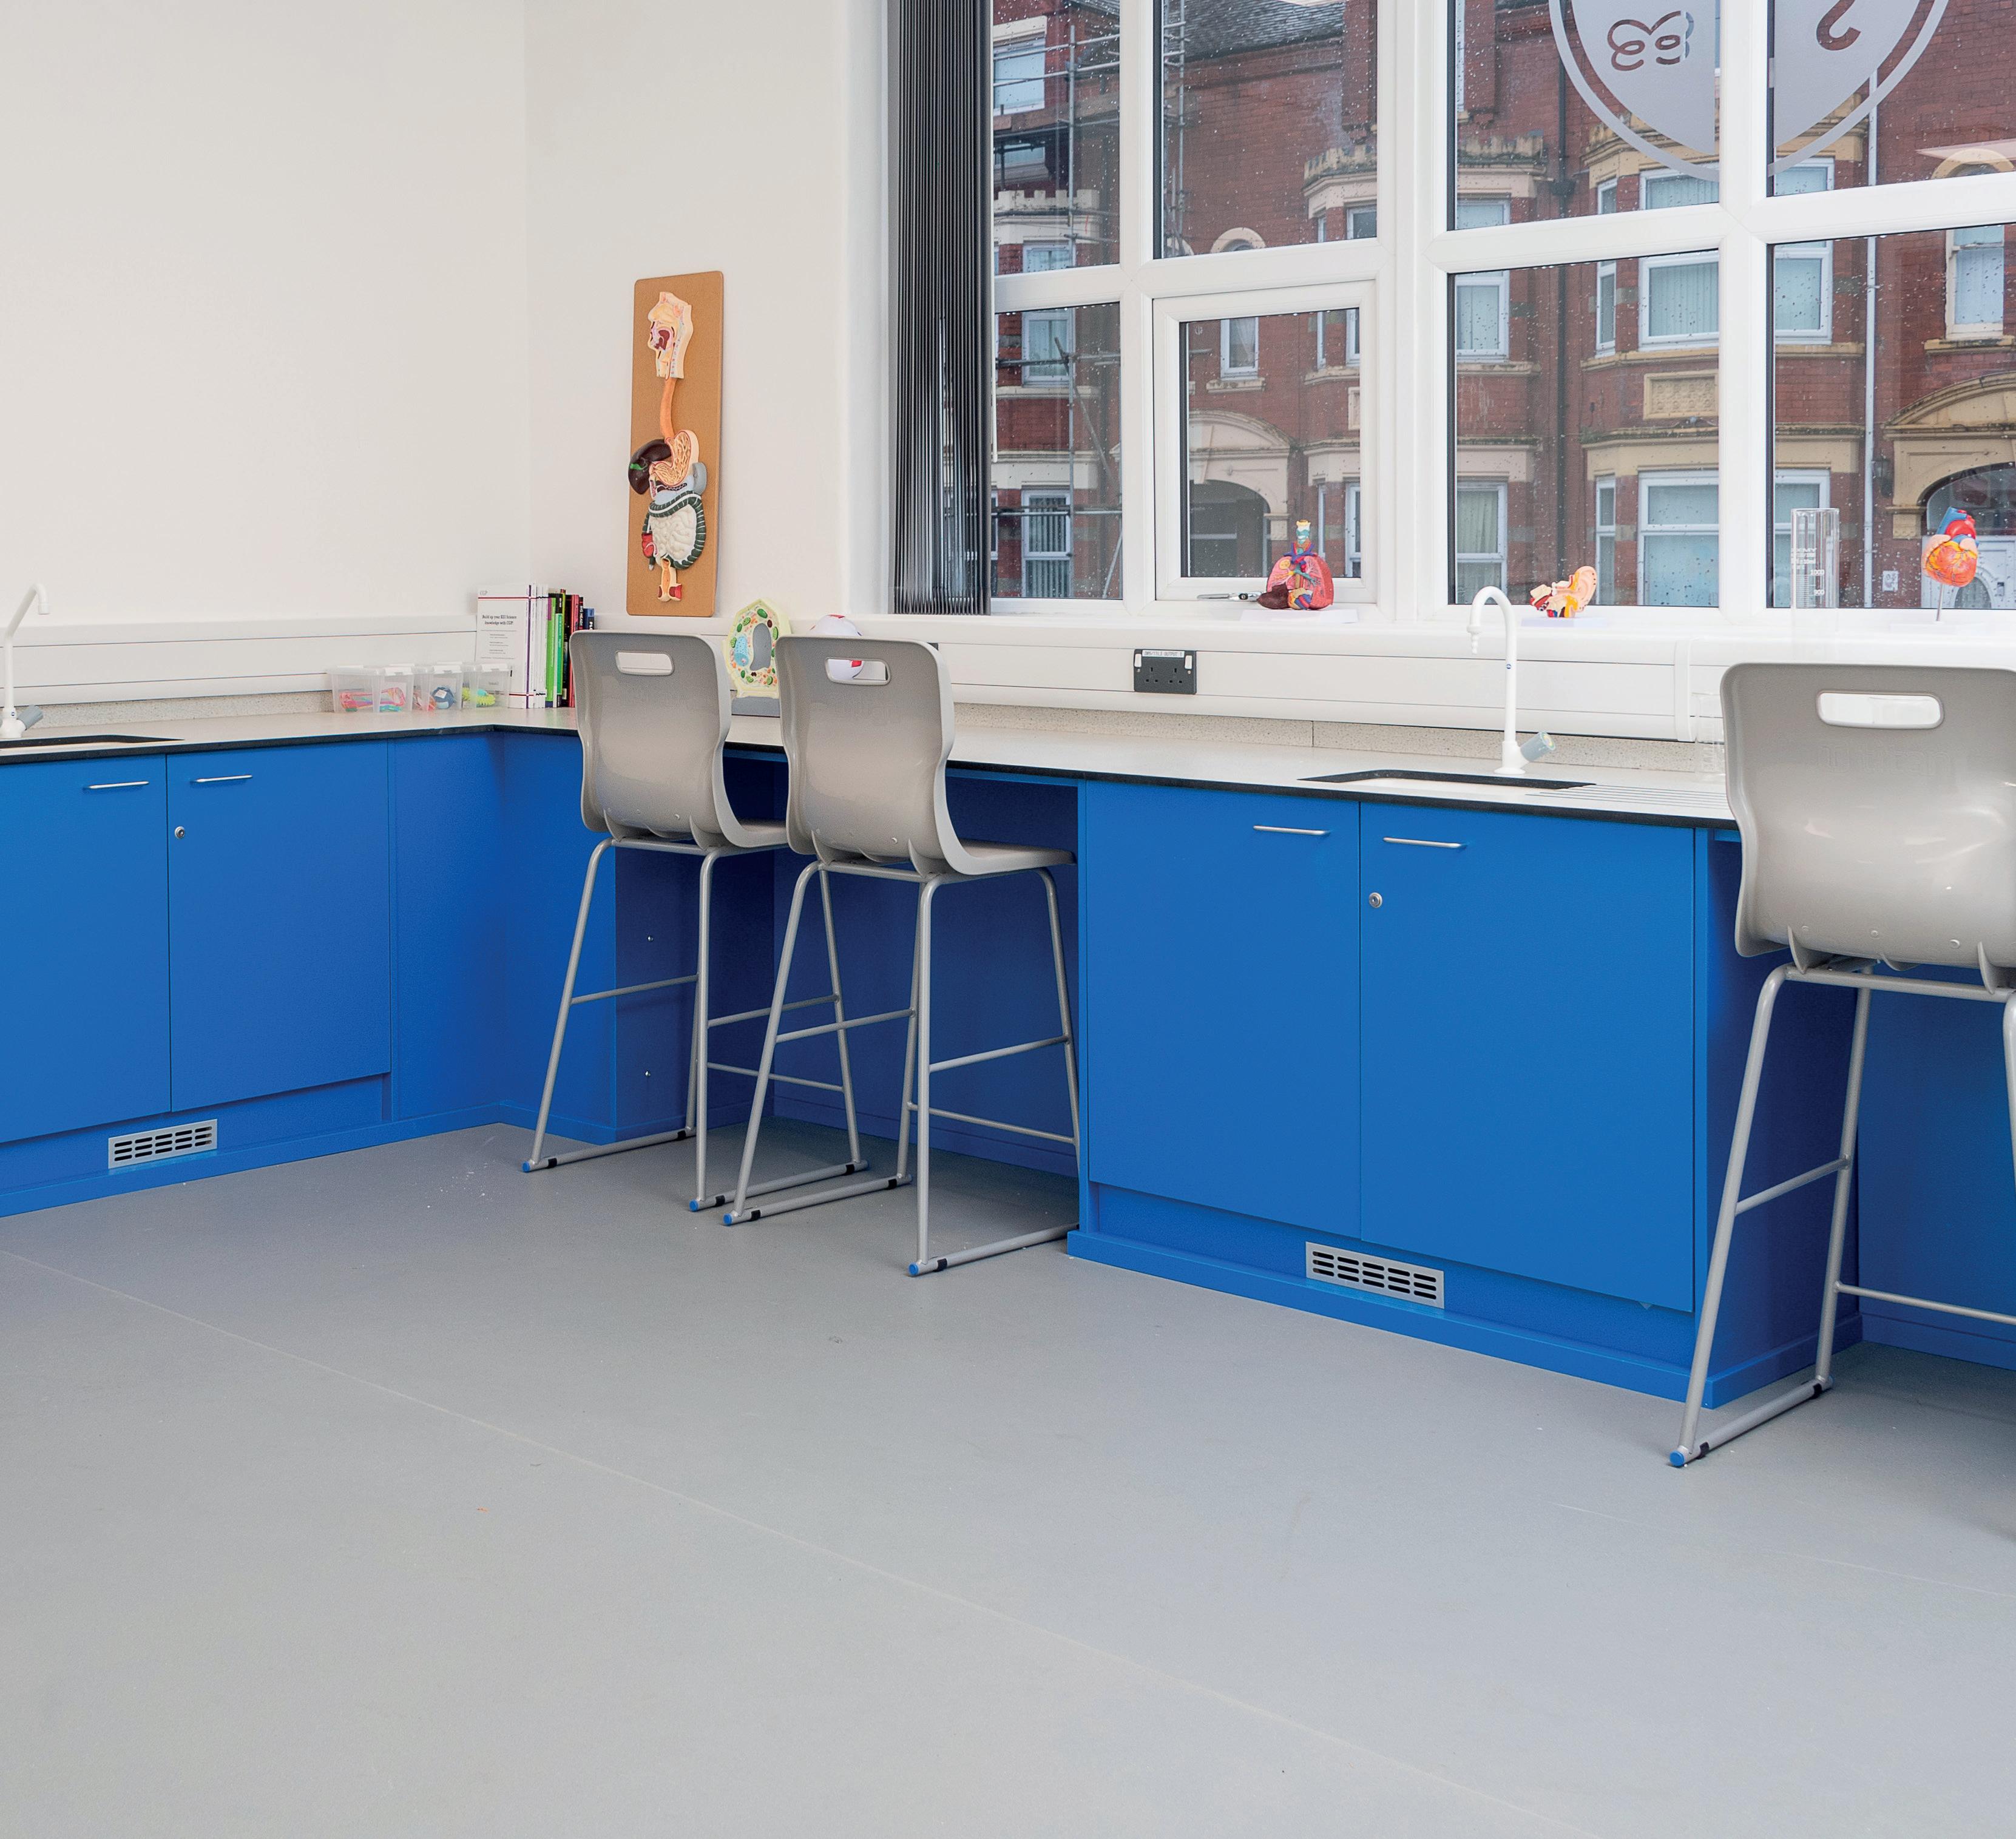
We’ll work with you to create an inspirational new science laboratory. Our specialist design team will consult with you and your colleagues to make layout suggestions that will maximise your space and budget.
We have taken care that the elements we offer are robust and appropriate for school use and place importance on providing quality furniture and equipment that will stand the test of time. We are an expert ISO 9001 accredited team, drawing expertise from our in-house space designers, layout and
Scan here to find out more...
space planners, and education sector health and safety specialists as well as consulting regularly with teachers and technicians.
A Timstar lab provides space for a mixture of practical and non-practical activities and includes consideration of demonstrations, presentations and discussion, individual, small group, and class work, experimentation, and research.
Our new ranges are designed to inspire ideas of how to enhance practical science and provide plentiful opportunities for hands-on learning.

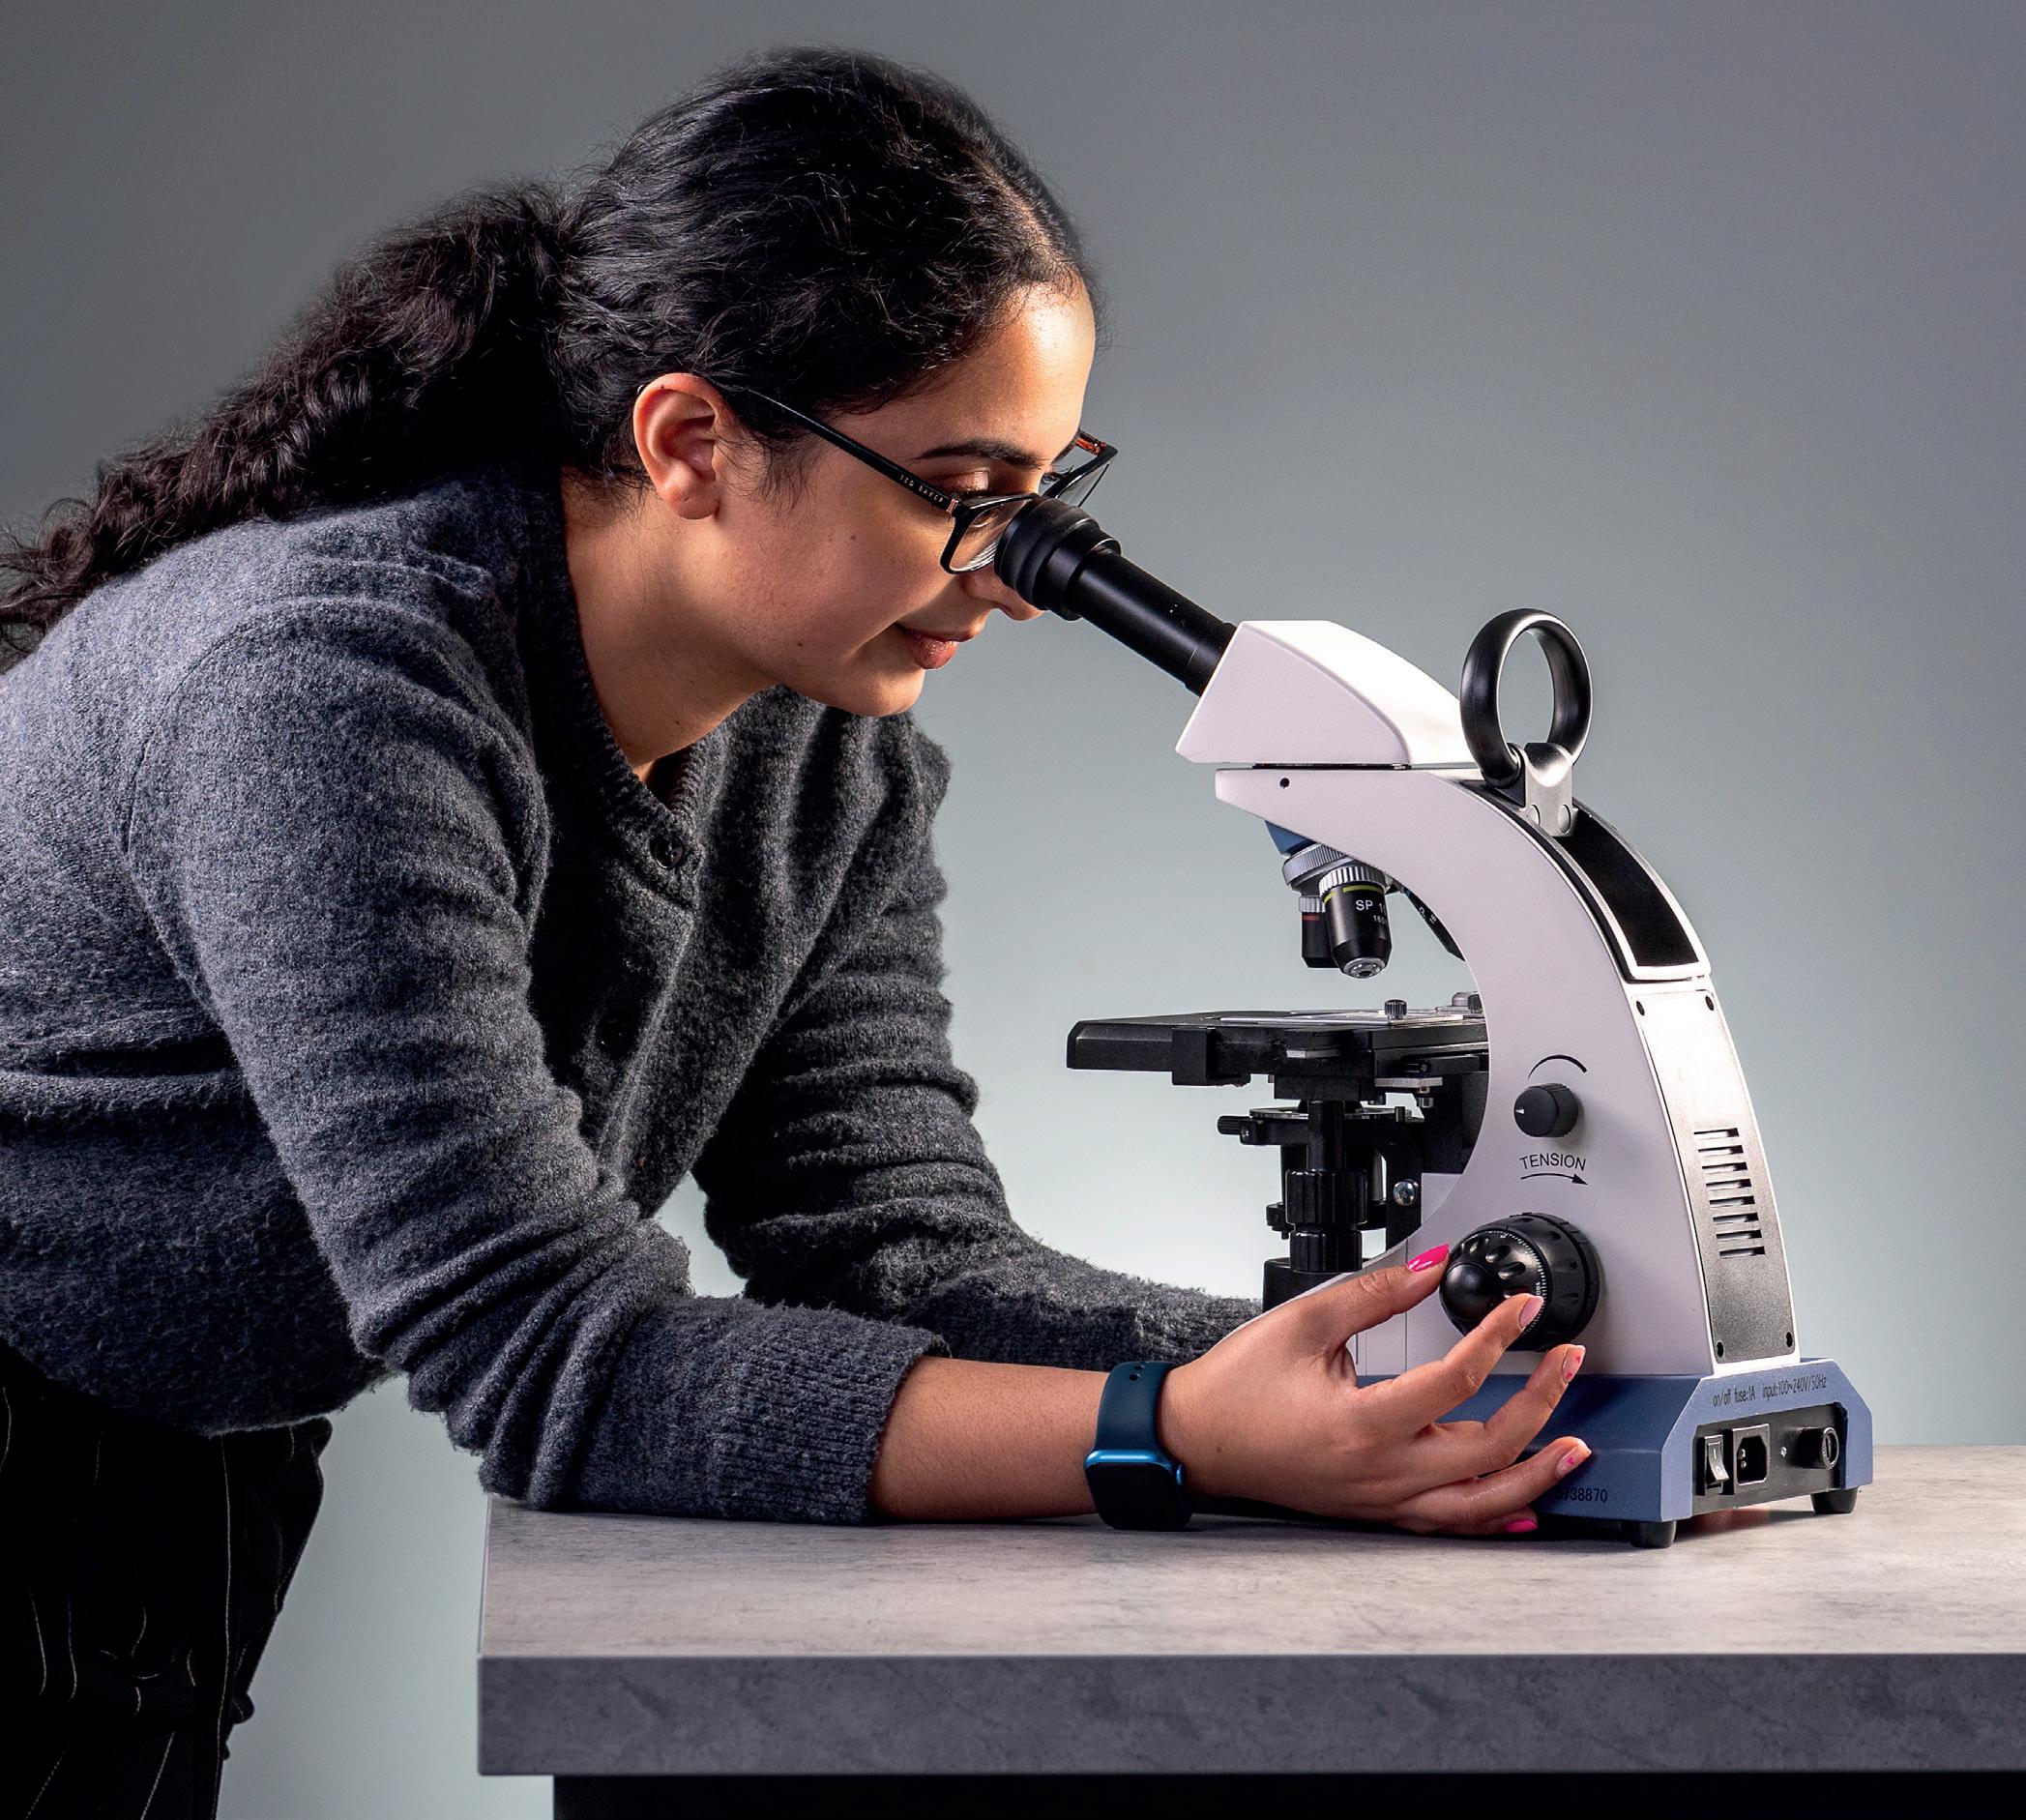
NEW! We are delighted to expand our range to include the fantastic education-ready BMS Microscopes. Book your FREE demo with your local rep..

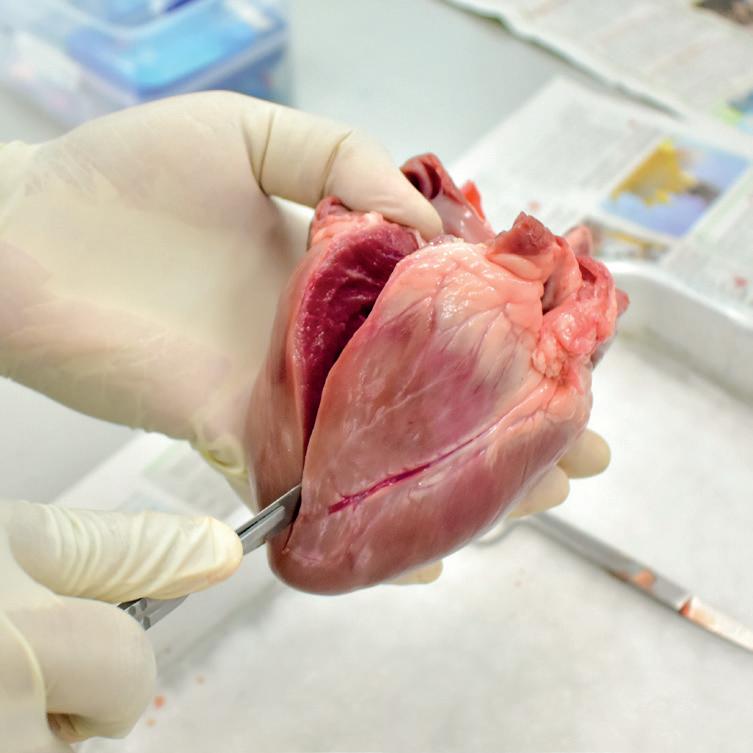
NEW! We’re now stocking a great new selection of British-sourced dissection samples and dissection tools to support practical activities!

NEW! Shop all you need to support GCSE and A Level required practicals on our website. Including all equipment and consumables, we’re a one stop shop to get stocked up.
Visit: shop.wf-education.com/science 01743 812 200
customer.support@wf-education.com
Design it, fit it, fill it – with Timstar! Work with our friendly team to design your next amazing laboratory or prep room space.
Enriching Biology, Supporting Outcomes
We’ve been busy! If you are looking for a one-stop biology shop, look no further than Timstar.
During 2023 we explored the biology curriculum for AQA, Edexel, OCR and WJEC at GCSE and A Level (Scotland will follow, as will IB). Our comprehensive range supplies all the products you will require.
So, if you want biology, look no further!
View the whole range on our website!


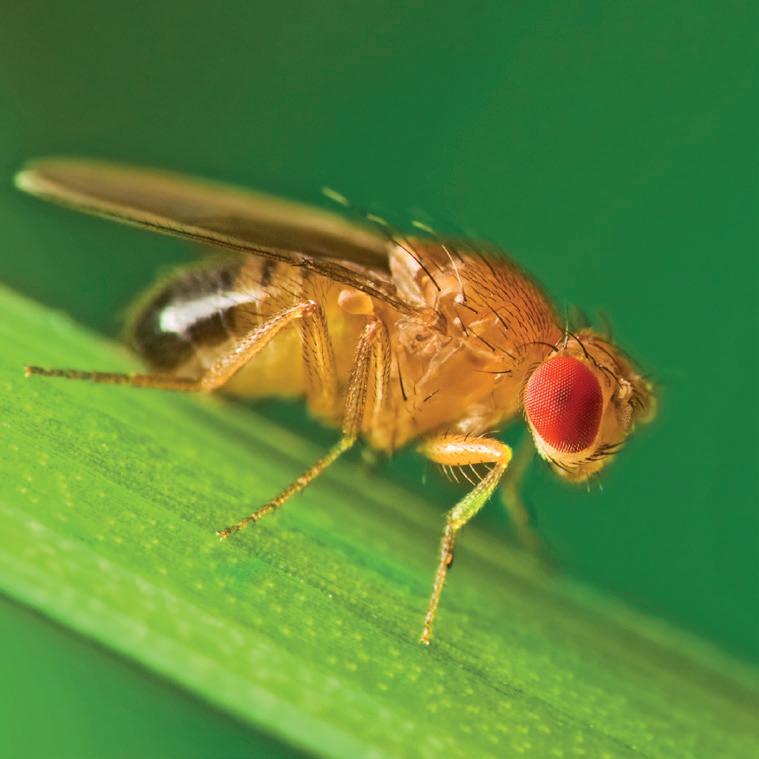
Looking for drosophila? Now available from Timstar.
Drosophila melanogaster, fruit flies, are often found near overripe and rotting fruit and are an ideal species for behaviour and genetics studies. Find out more on pages 16 and 17.
For information on our new online required practical lists see pages 20 – 21.


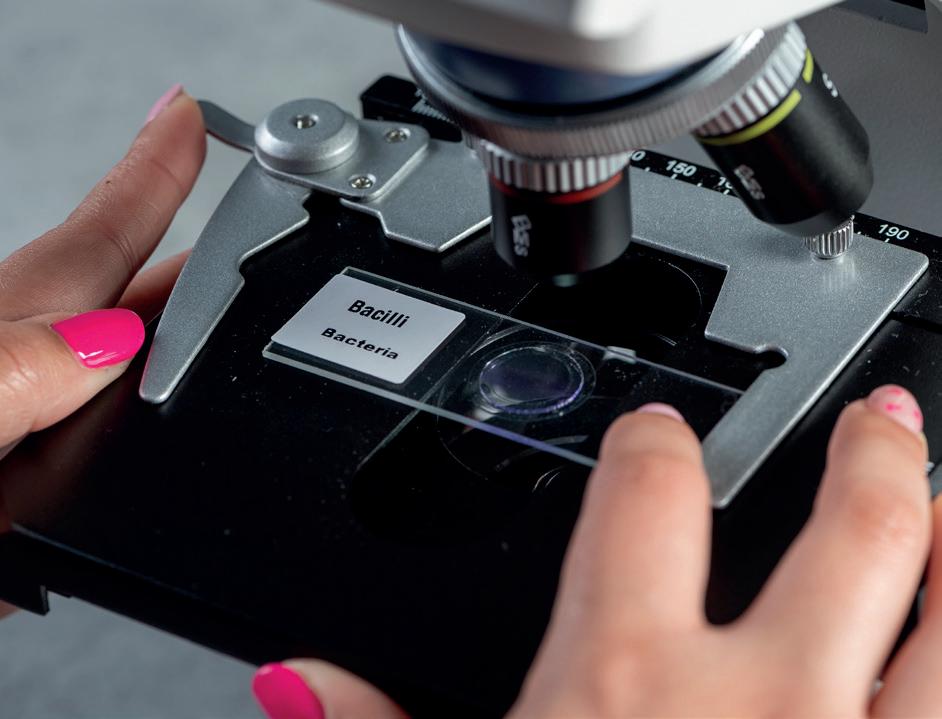
We are pleased to announce a new partnership with BMS Microscopes.
W arranty 5 YEAR
A well established, high-quality brand offering a structured range of microscopes and cameras for the education market.
See pages 6 – 9 for further detail.
NEW!

NEW!
We have reviewed our genetics and biotechnology products.
We have been partnered with Edvotek®, the world’s leading supplier of safe, affordable and easy-to-use biotechnology kits and equipment designed specifically for education, for many years. We continue to add their new products and kits, keep checking online for new additions.
For more information, please see pages 30 - 31 or view the entire range online!
We are pleased to offer a full range of dissection specimens.
Frozen or preserved options, sourced from British abattoirs with the highest standards of animal welfare.
See pages 22 - 23 for how to download our kidney dissection worksheet!
Visit: shop.wf-education.com/science 01743 812 200
customer.support@wf-education.com
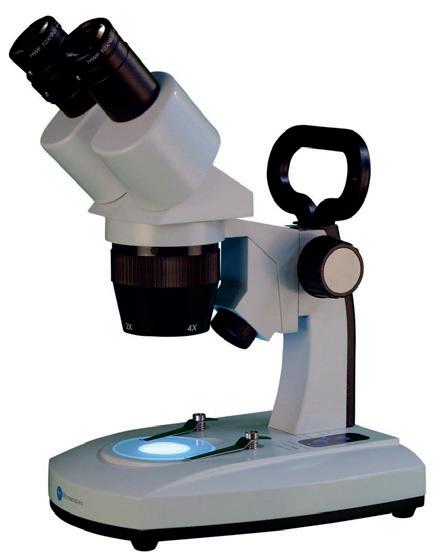
NEW! Stereo microscope
The latest model
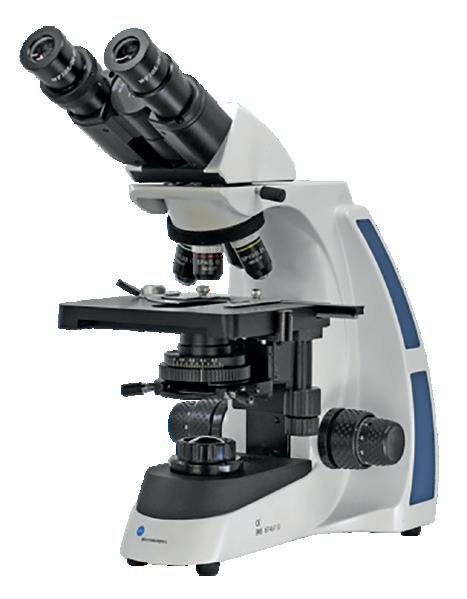
NEW! Advanced model
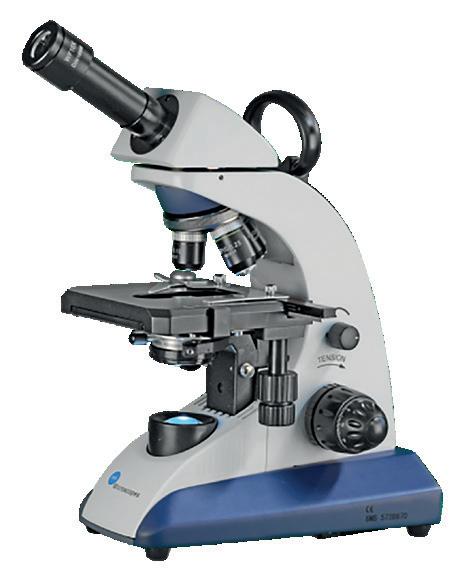
Bestselling model

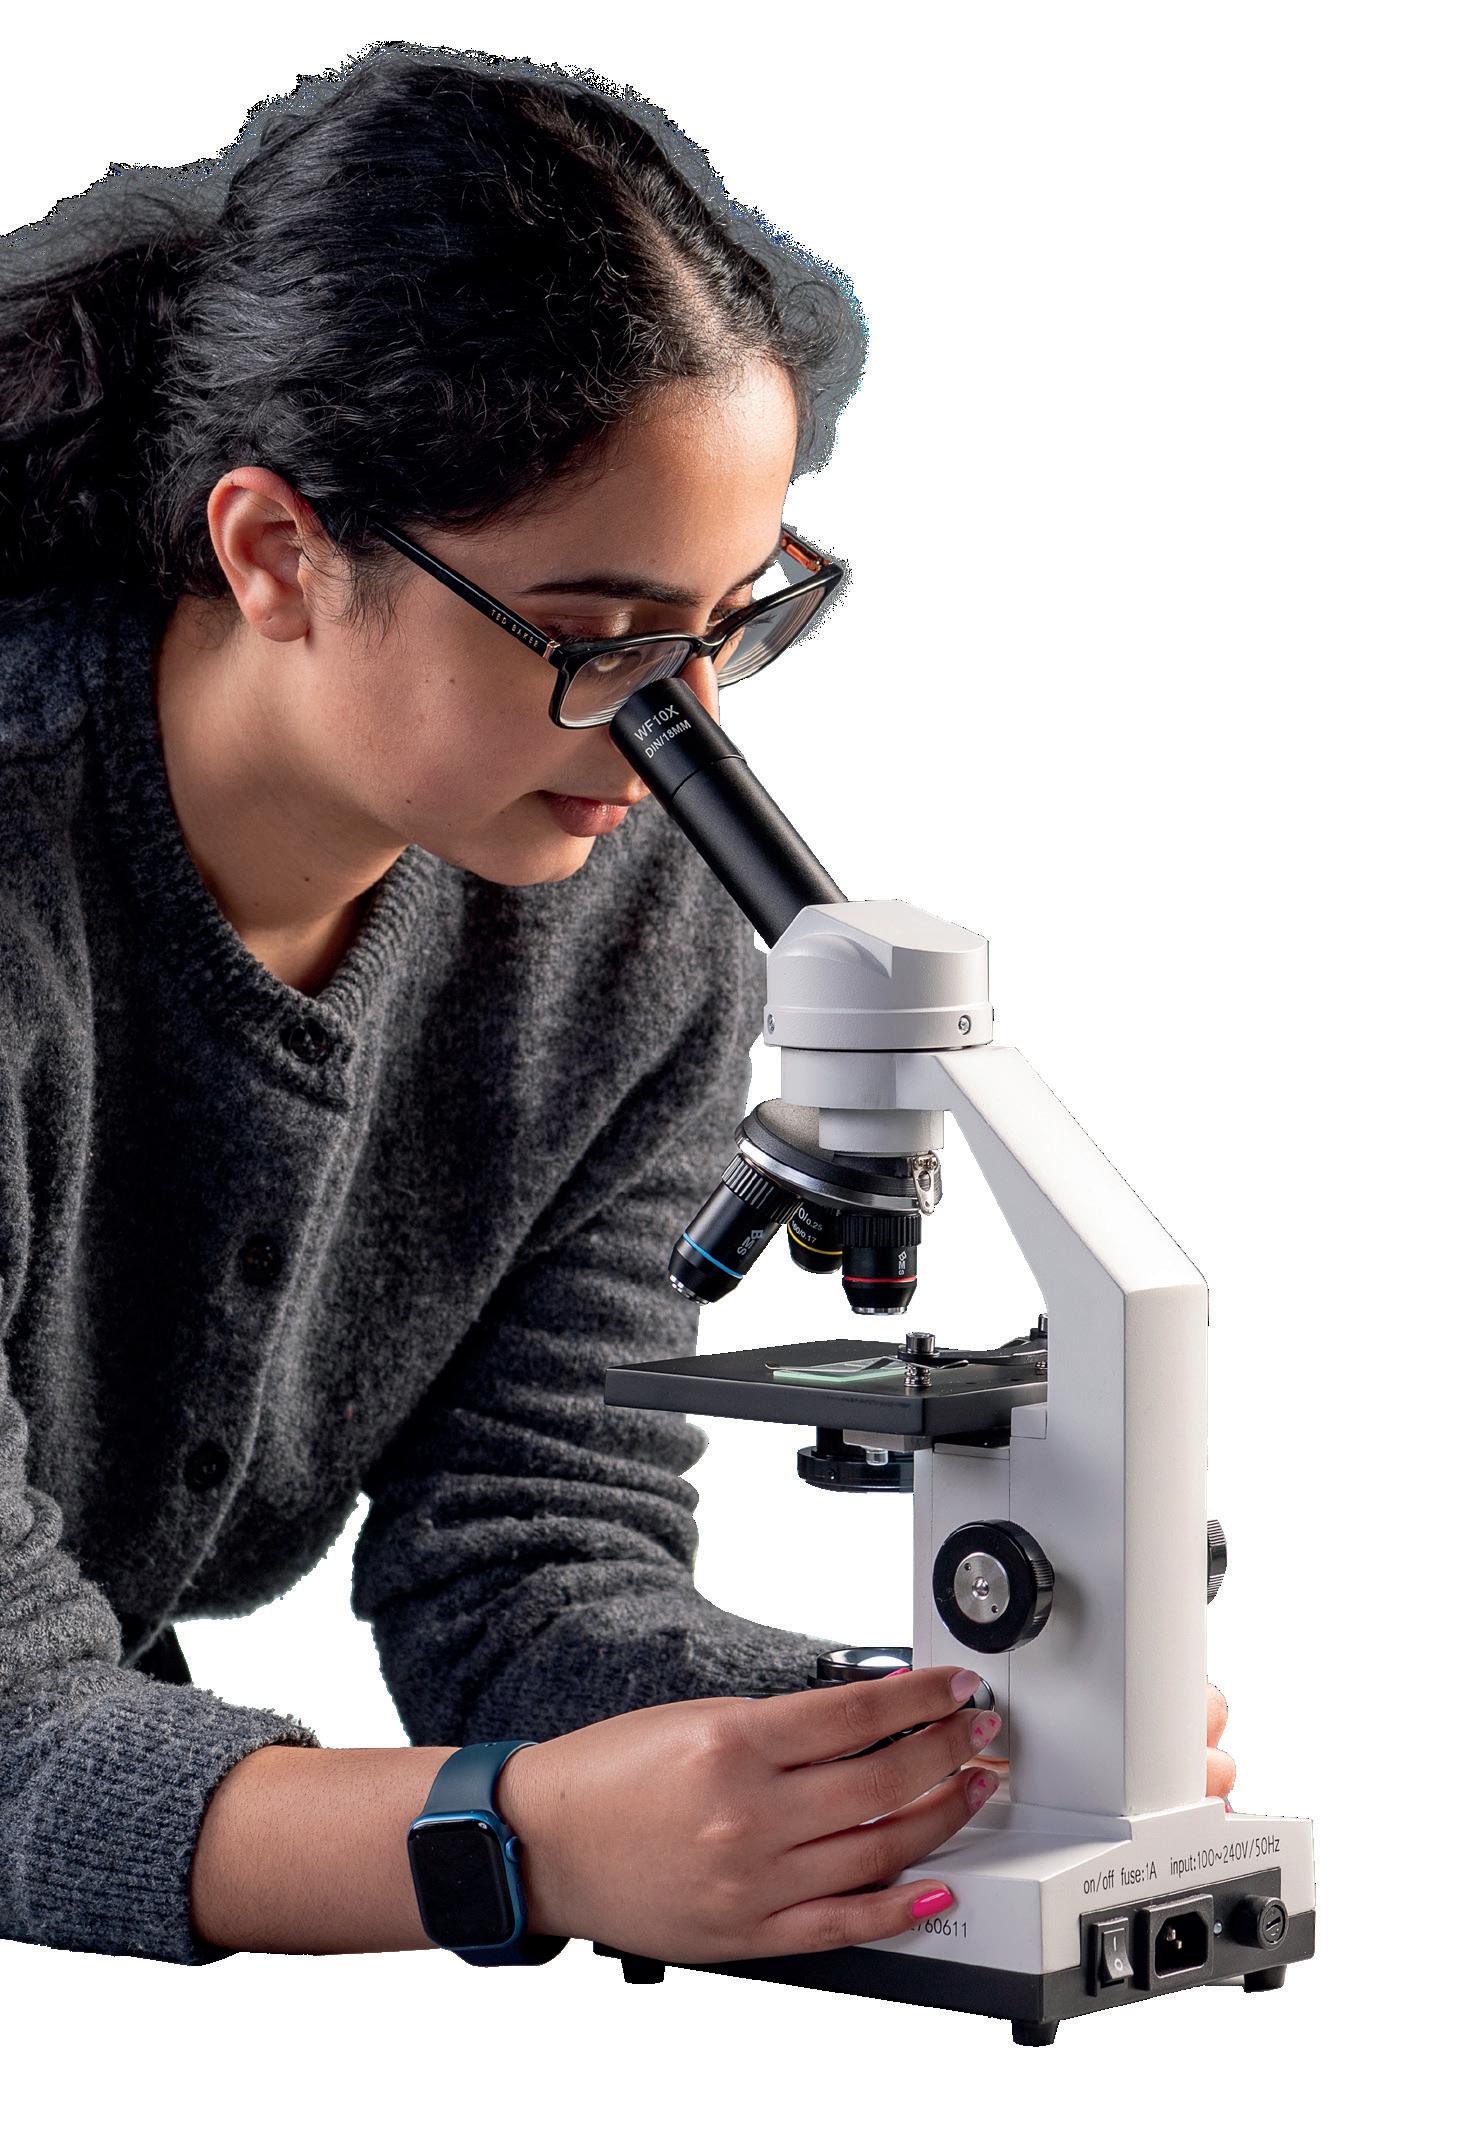
Timstar is incredibly pleased to launch the full range of high-quality microscopes and cameras from BMS Microscopes
What do you get when you buy a BMS microscope?
To learn more about objectives and the difference between achromatic, Semi-Plan, E-Plan and Plan, High-quality microscopes developed with schools in mind
Free demonstrations from our sales team
Ongoing technical support
5-year warranty
Competitively priced
NEW!
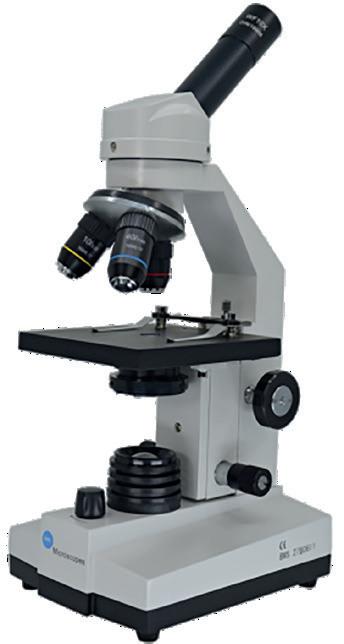
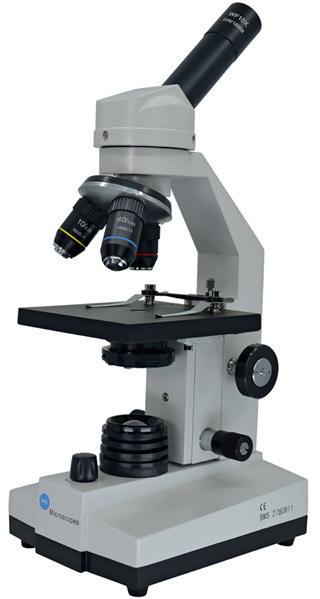
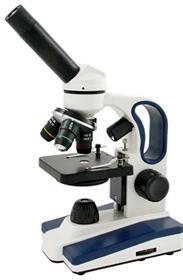
BMS 100 FL LED Microscope
Our most popular microscope. Combining fantastic optics, strong body and stand, and all parts locked to the microscope. What’s not to love?
MI240020
NEW!
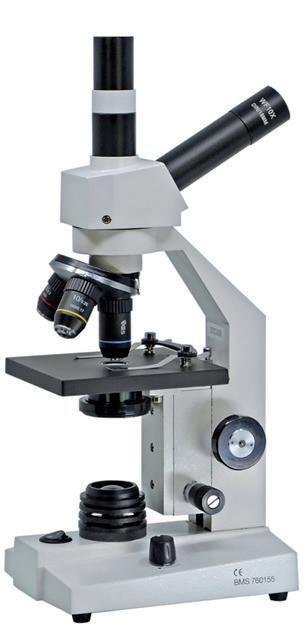
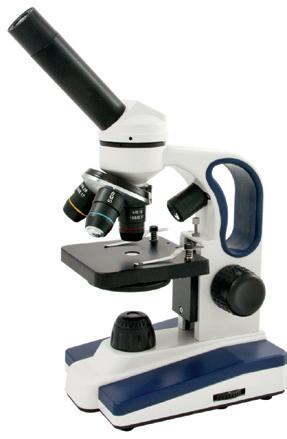
BMS 200 FL LED Microscope
Looking for an affordable microscope to use with your camera? The BMS 200 FL LED is the perfect choice!
MI240030
The total magnification of a microscope is the multiplication of the eyepiece magnification and the objective magnification.
6 | NEW BMS microscopes
£127.50
£160.00


BMS
037 LED Microscope
TWO microscope types in ONE – an incident and transmitted light microscope. Easy to transport, quality optics and great value.
MI240010
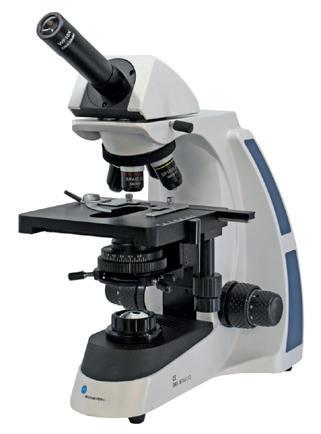
BMS D2 Microscopes, 1000X
Developed for use in education and professional laboratories, this high-specification microscope offers ergonomic design, sturdy components and high-quality LED. Featuring sPlan objectives, integrated X-Y specimen holder and an Abbe condenser which can be exchanged for darkfield or phase contrast condensers.
MI240110 Monocular
MI240120 Binocular
MI240130 Trinocular
Want to see the full specification?

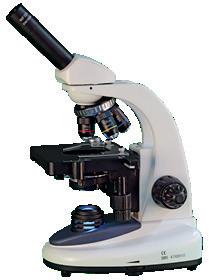

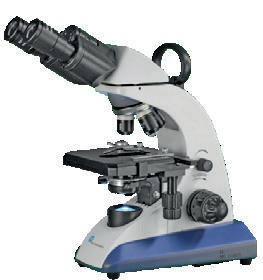
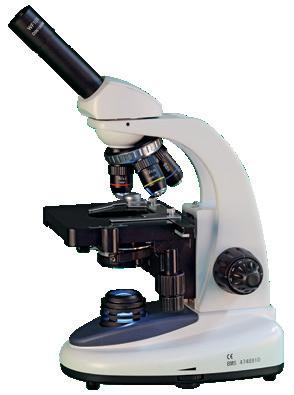
BMS 146 FLArQ Microscopes
These BMS FLArQ microscopes are ergonomically designed with a reverse nosepiece for ease of access to the slide. They feature total magnifications of x40, x100 and x400, a rack and pinion system for the condenser and an integrated mechanical stage.
MI240050 Monocular
MI240060 Binocular
MI240070 Trinocular
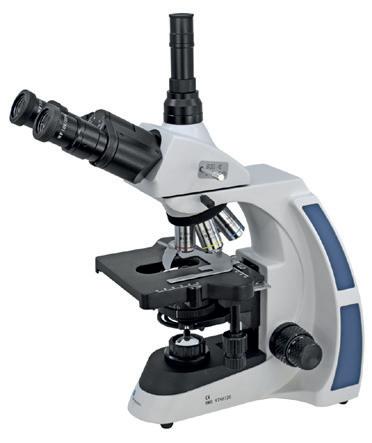
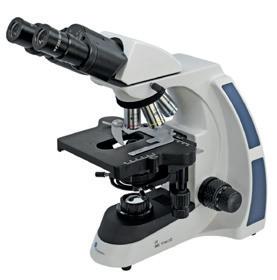
BMS D3 Microscopes
A new approach for higher demands in microscopy. In a nutshell: flexible, efficient, stable and comfortable in use. Offering quintuple nosepiece with ePlan objectives, large working stage which will hold 2 microscope slides and magnification of up to 1000x.
MI240220 Binocular
Trinocular

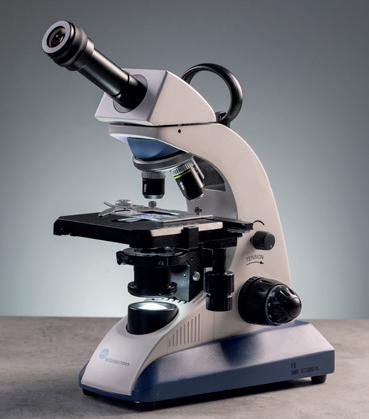
BMS EDULED FLArQ Microscopes
A high-quality, well-equipped microscope with Semi Plan objectives and a height adjustable Abbe condenser with iris diaphragm, making it suitable for the addition of a 100x oil immersion objective. Coarse and fine coaxial focussing and a mechanical stage combined with an ergonomic design and built in carry handle make this the ideal microscope for advanced microscopy.
MI240080 Monocular
MI240090 Binocular
MI240100 Trinocular
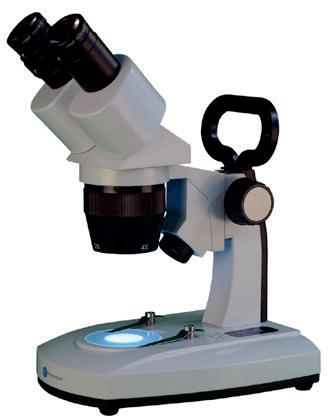
BMS S-40-2L LED Stereo Microscope
A stereo-microscope, also known as dissecting microscope. This model offers magnification options of 20x and 40x.
MI240140
Visit: shop.wf-education.com/science 01743 812 200 customer.support@wf-education.com
The BMS range of microscopes is simple to understand and well structured.
Search BMS BMS 037 BMS 100 FL BMS 146 BMS EduLed BMS D2 / D3 NEW! for 2024 | 7
£210.00
£305.00
£350.00
£370.00
£475.00
£545.00
£175.00
£725.00 MI240230
£825.00
£99.00
£285.00
£380.00
£425.00
The digital classroom! Biology lessons can be made more engaging for students with the addition of digital microscopy.
The range of BMS cameras offers options including USB, Wi-Fi, HDMI and a selection of different resolutions, to suit all budgets. Images can be viewed on tablets attached to the microscope or projected onto laptops or screens, creating an immersive lesson enhancing student’s understanding.
Some features of the easy-to-use software allow you to:
Conduct measurements in microns, millimetres, centimetres, inches, feet, etc. under any magnification power and within desired tolerances.
Adjust colour balance, exposure, saturation, contrast and orientation. Conduct measurements for single, parallel or perpendicular lines and rectangular, elliptical and irregular areas.
Add notes, measurements, text, arrows, labels.
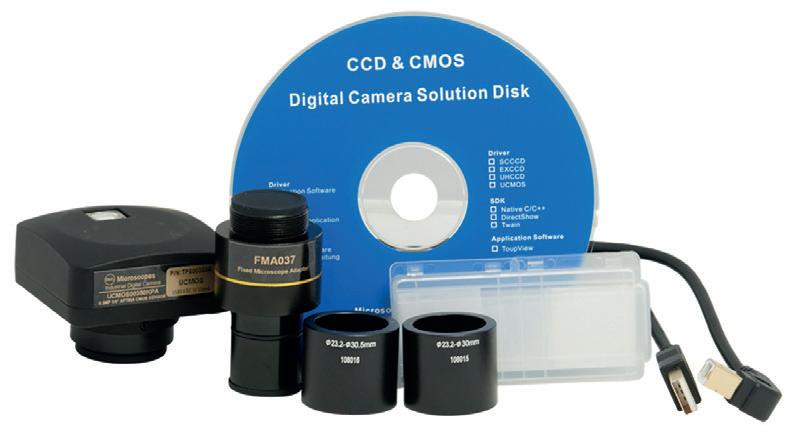
USB Cameras
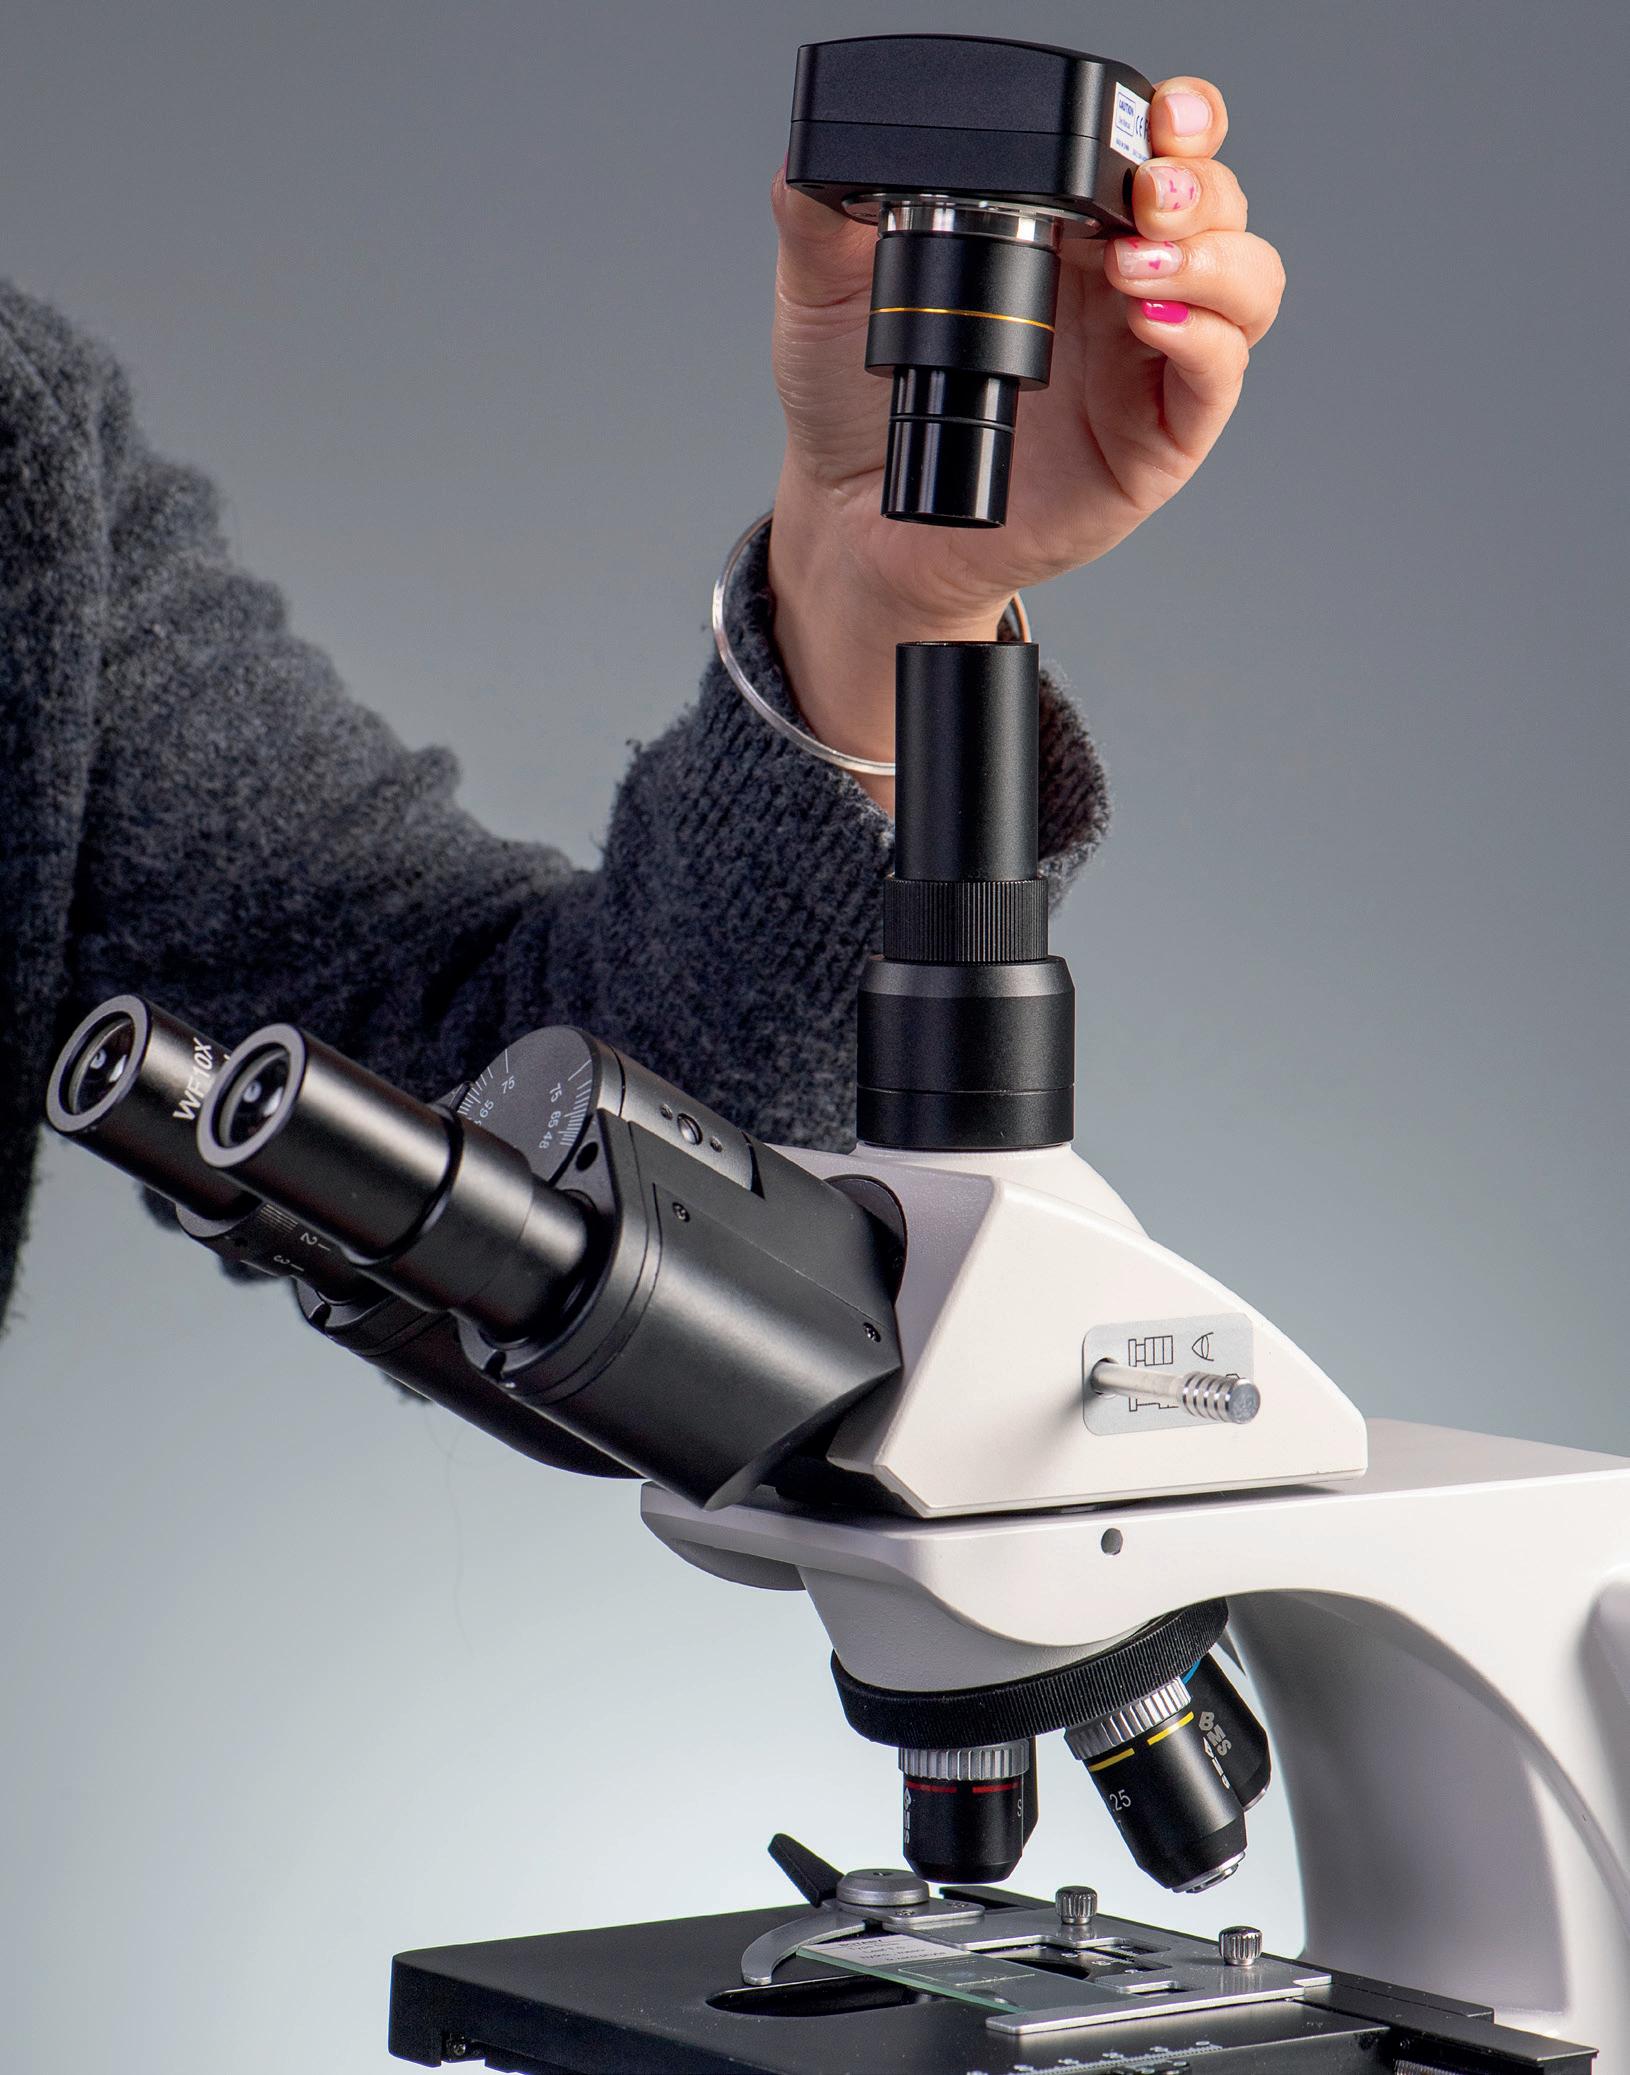
A USB microscope camera connects to your microscope on a c-mount adapter or over the microscope eyepiece and plugs directly into your computer or laptop with a USB connection.
MI240150 USB 2.0, 3.1MP
MI240160 USB 2.0, 5MP
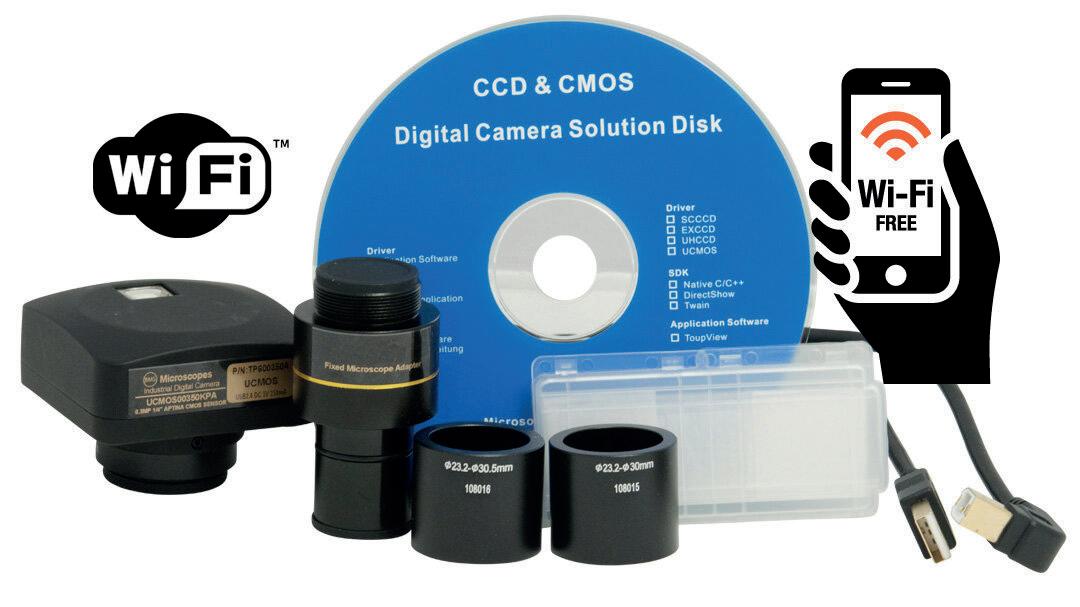
WiFi Cameras
WiFi microscope cameras connect to your microscope and create their own WiFi signal.
MI240170 WIFI 2.5MP
MI240180 WIFI, 1.0MP
NEW! for 2024 8 | NEW
cameras from BMS
£175.00
£199.00
£420.00
£215.00
An introduction to measuring with microscopes and cameras.
Microscope calibration is a required practical for all exam boards at A level and is found in the “cells” topics.
The eyepiece graticule (or reticule)
Eyepiece graticule (arbitrary units)
Eyepiece graticule (reticule): arbitrary units

1
graticule unit
Microscope eyepiece
This is either fitted into the eyepiece or can be added separately. It is an arbitrary measurement, which when calibrated with a stage micrometer, can be used to indicate the size of the object being magnified.
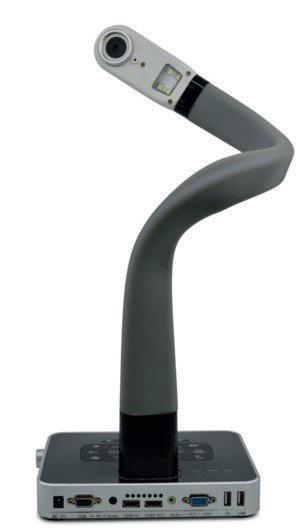
BMS SyncCam 12MP
A 12 MP camera with built in microphone.
MI240190
£450.00
Working out cell sizes and magnifications is also present in the GCSE specifications.
Stage micrometer (calibrated scale)

stage micrometer: 1 mm in 0.01 mm divisions
Microscope slide
This is a measurement scale, in SI units, embedded into a microscope slide that has been factory calibrated to ISO standards. This means that you can be confident when using it to calibrate the graticule that your measurements will be accurate and reproducible.
Micrometers come in a range of sizes, although most common is the 1 mm micrometer, divided into 100 divisions of 1 μm (0.01 mm)
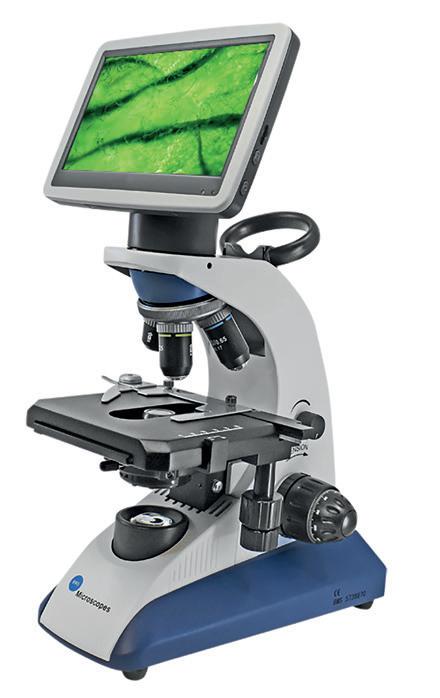
BMS Cellpad Mini, 7-INCH
Mounts onto the microscope head of the 037, 146, EduLed, D2 and D3 microscopes.
MI240200
Want to see the full specification?
£435.00
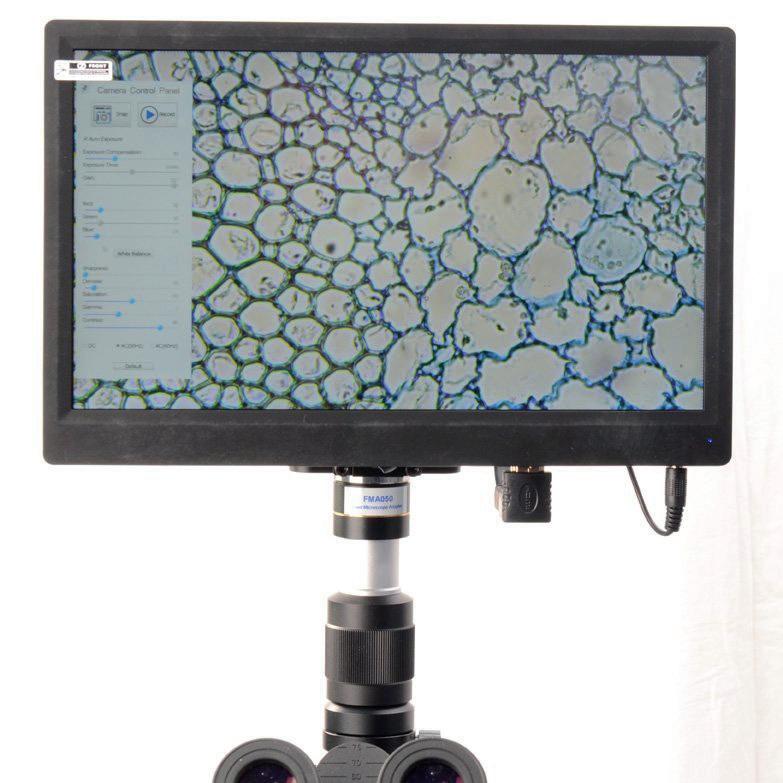
BMS Cellpad 3, WIFI, HDMI, 5MP
All in one C-mount camera (HDMI, WiFi, SD card) with high sensitivity and ultra high performance Sony CMOS sensor. HDMI and WiFi are used to transfer the data to either a HDMI display (screen) or to a computer.
MI240210
£900.00
Visit: shop.wf-education.com/science 01743 812 200
customer.support@wf-education.com
| 9
Search BMS NEW!
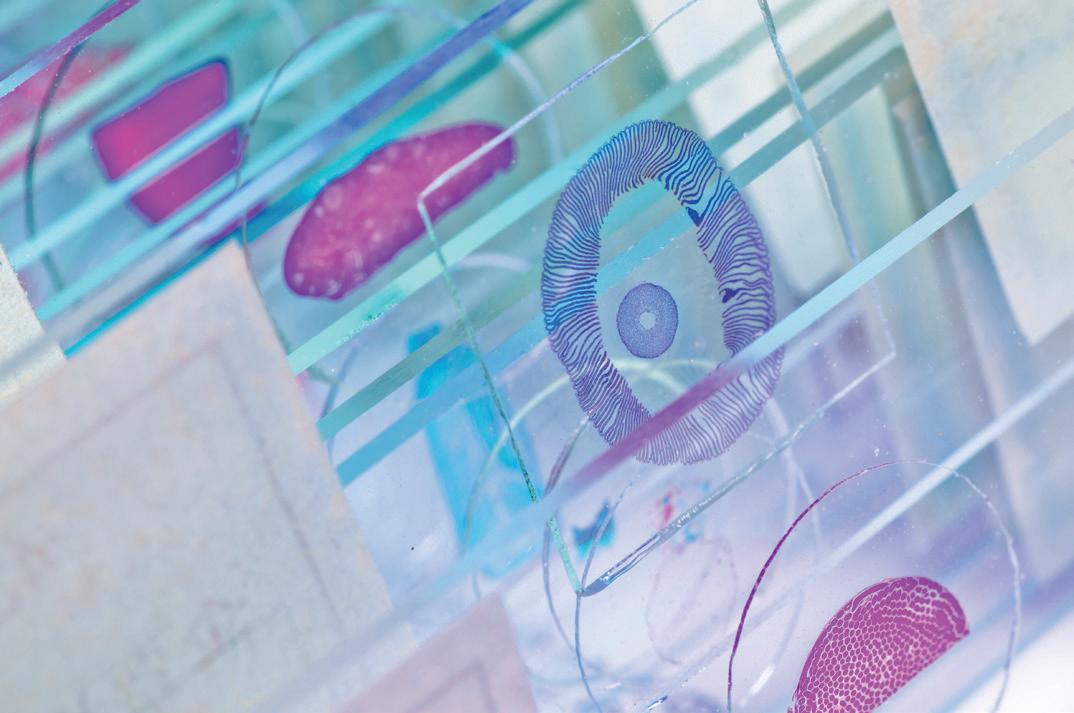
Don’t get confused when buying histology slides for your department ever again!
There are many different terms used in slide section terminology. Longitudinal and transverse originate from human anatomy dissection and incorporate terms such as sagittal/ coronal planes of the body.
Most slides used in educational biology will be labelled as longitudinal or cross section.
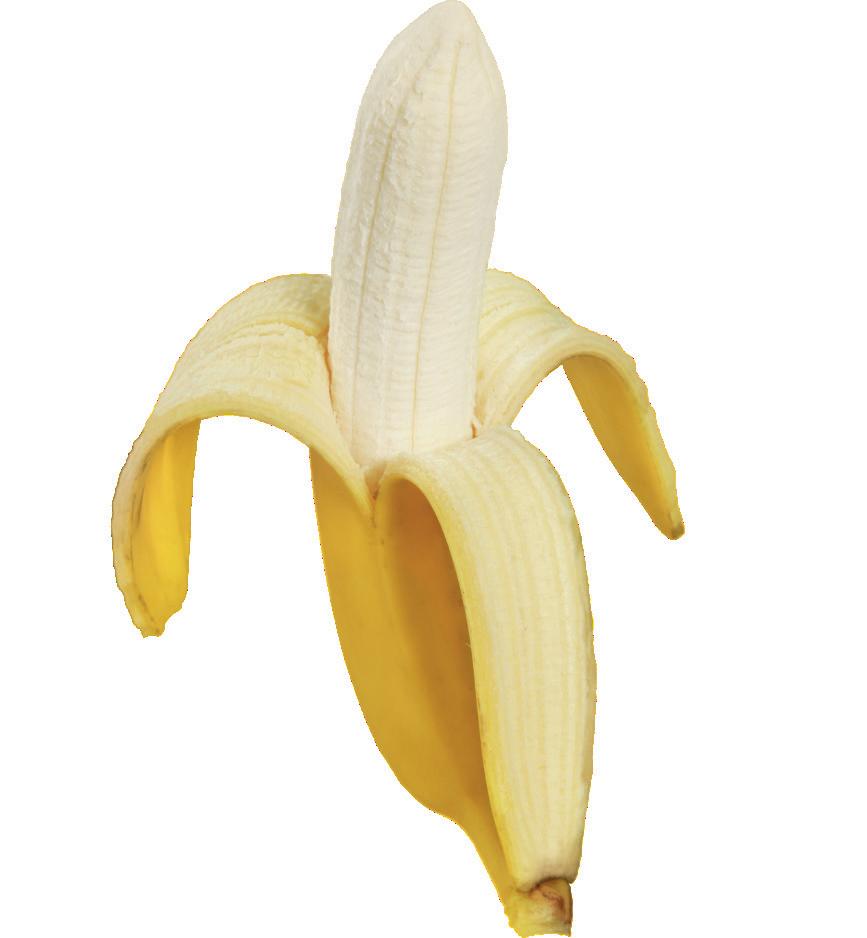
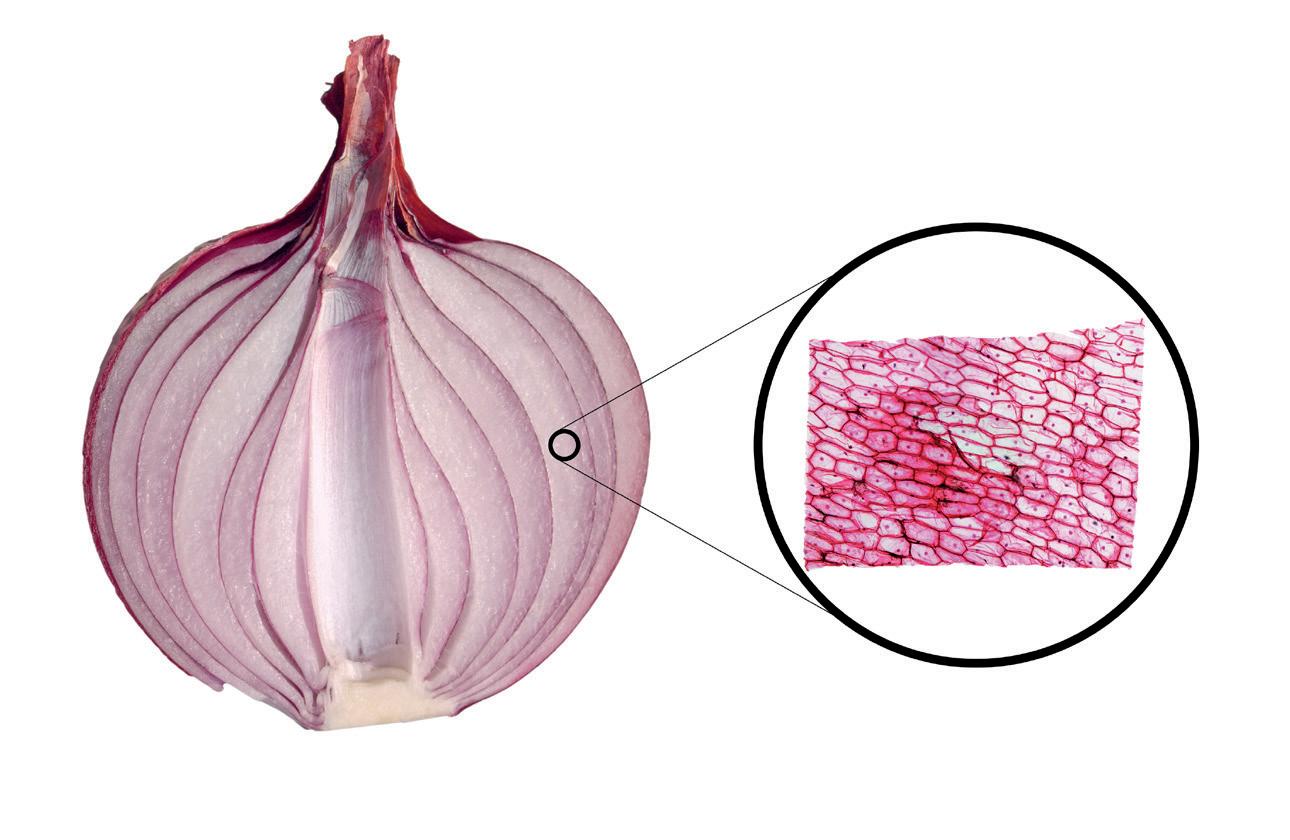
With our handy guide opposite, you can familiarise yourself with all the types of slide sections available for your biology team, from CS to WM!
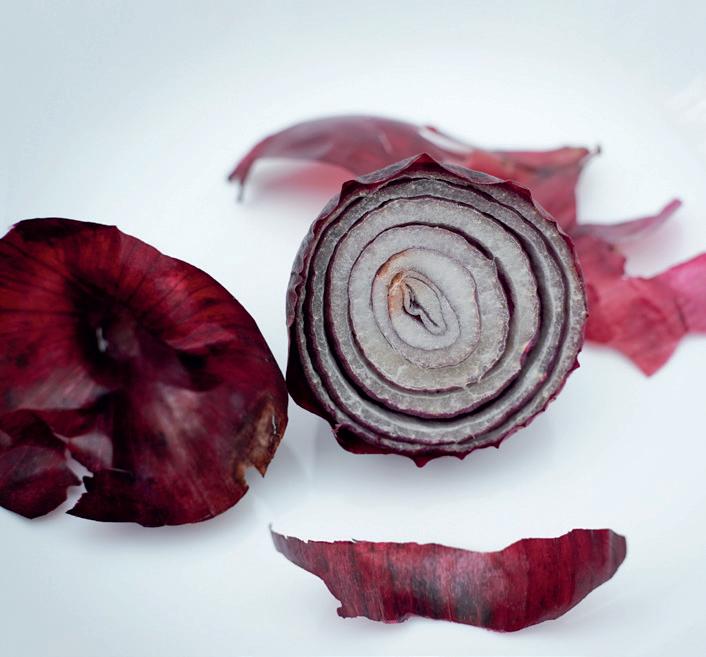
A transverse /cross/ horizontal section is cut across the width (perpendicular to the long axis) of the specimen
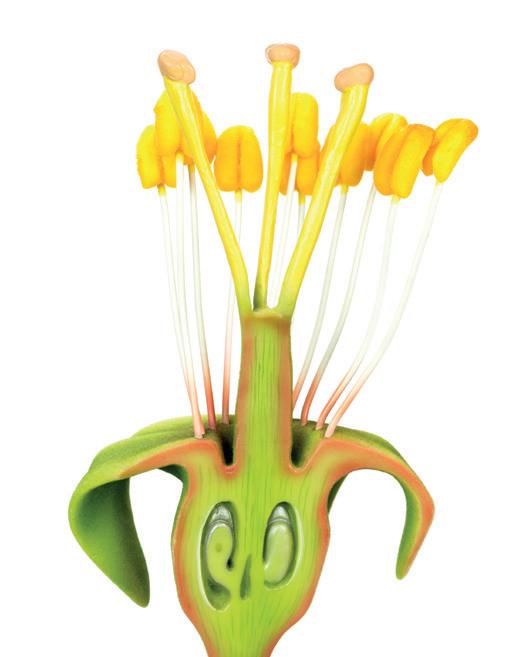
A longitudinal/vertical section is cut down the length (long axis) of the specimen
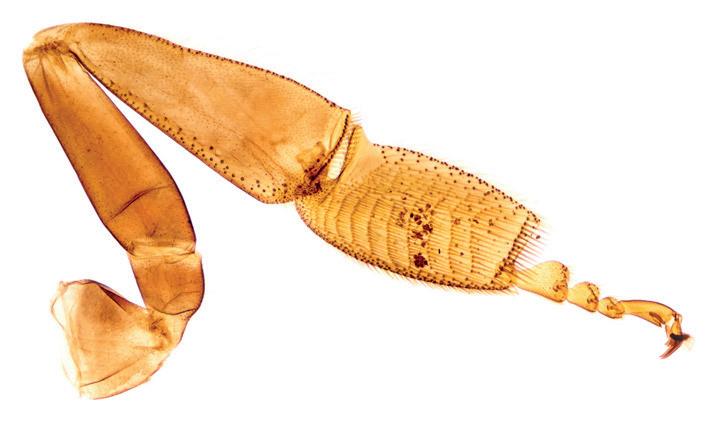
Some examples are shown here...
Created by Wilhelm His, a Swiss anatomist, the microtome is a mechanical apparatus widely employed in microbiology for slicing embedded tissue to generate exceedingly fine sections. A microtome is particularly useful because it can be used to produce and reproduce sections of uniform (and desired) thickness for microscopy
 Cross section of an onion
Longitudinal section of a flower model
Whole mount of a honeybee leg
10 | Abbreviations used in microscope slide work
This table should help you to better understand what each slide will show.
Abbreviations used
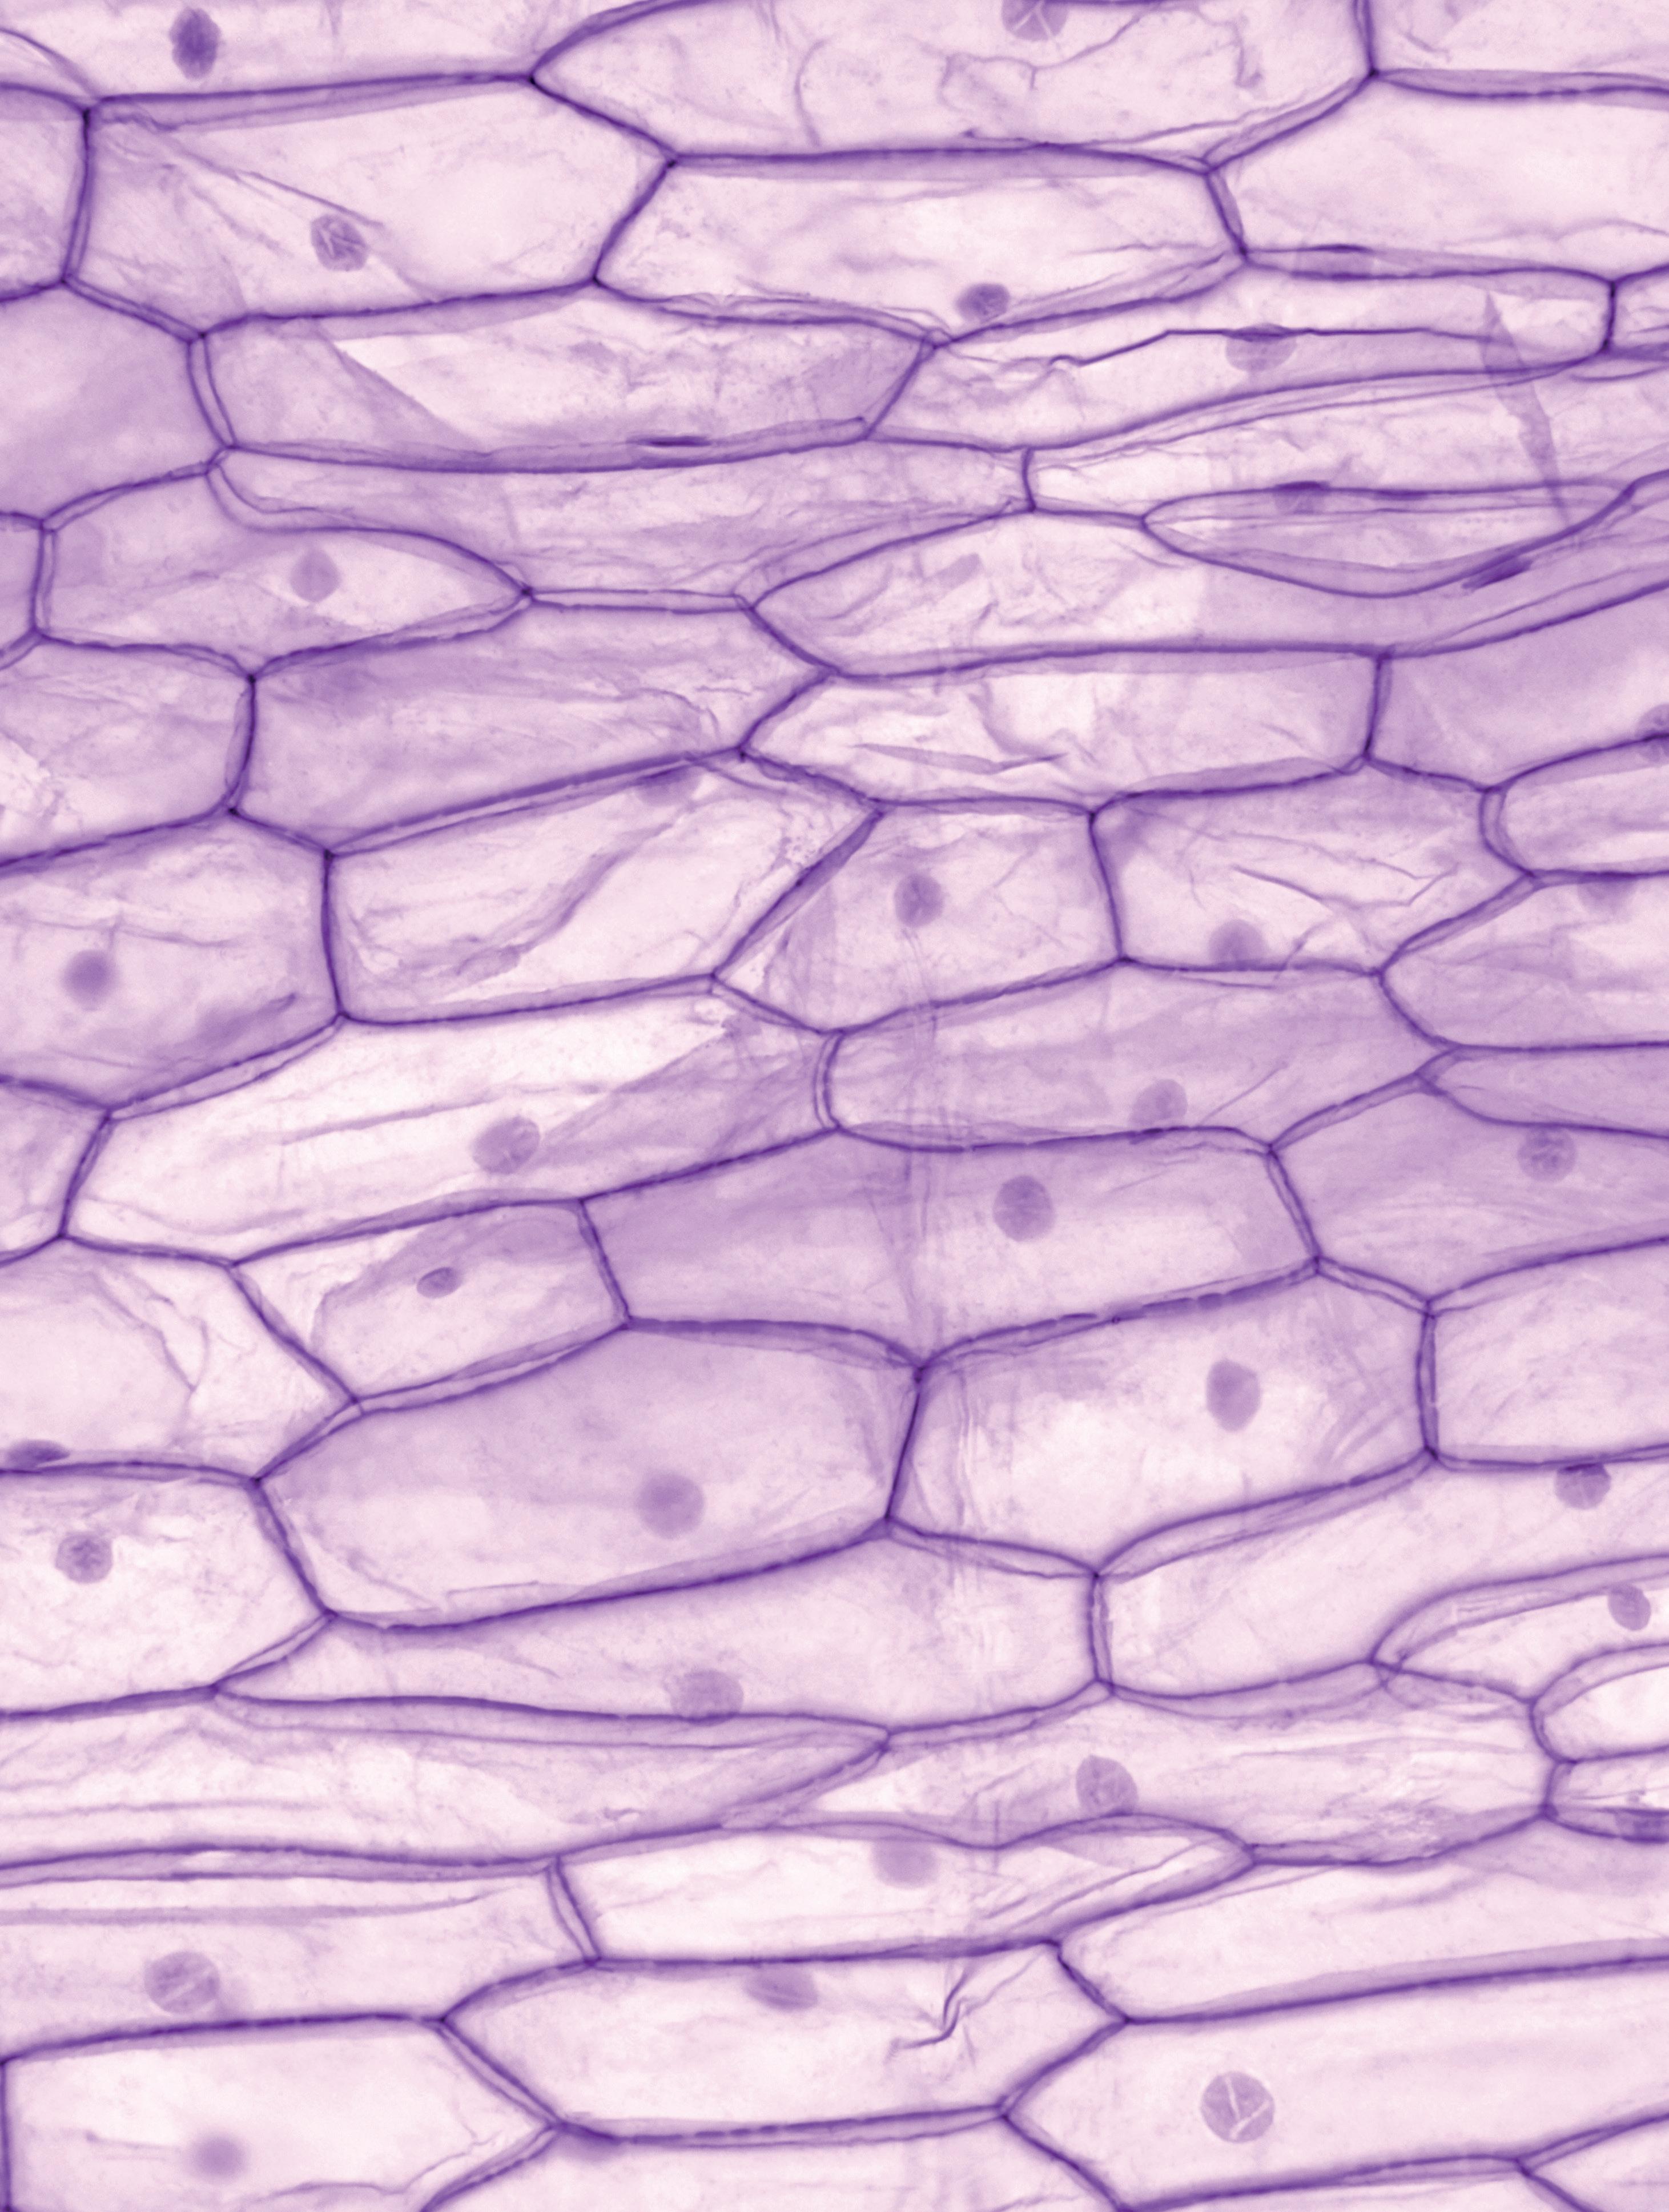
Type of slide section
E Entire
WM Whole Mount
LS Longitudinal section (along the axis)
VS Vertical section
TS Transverse section (perpendicular to the longitudinal axis)
CS Cross section
HS Horizontal section
VLS Vertical longitudinal section
HLS Horizontal longitudinal section
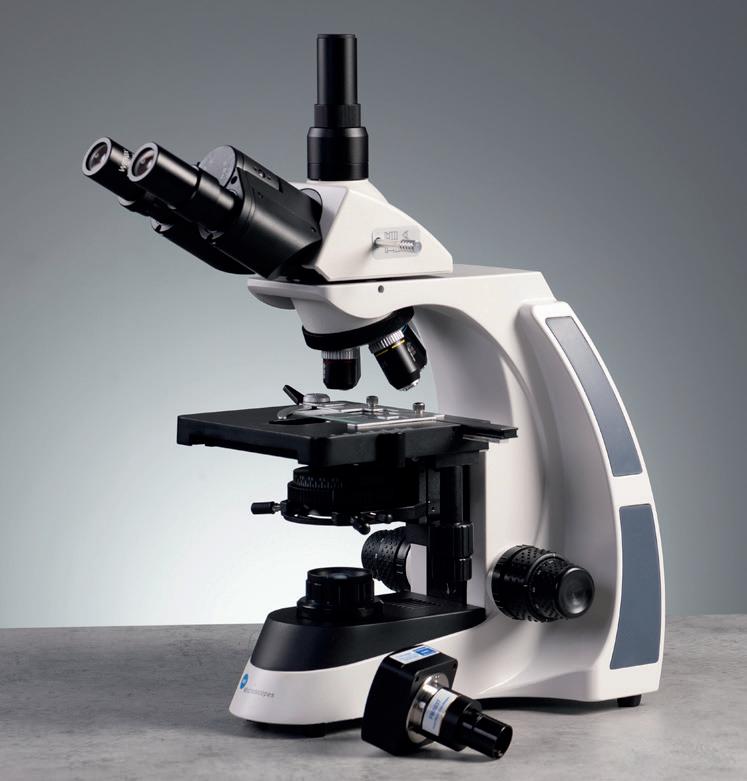
To allow us to see detail in cells, we need the help of a microscope. For teachers and pupils to best view their slides, we would recommend a Trinocular Microscope. See page 7
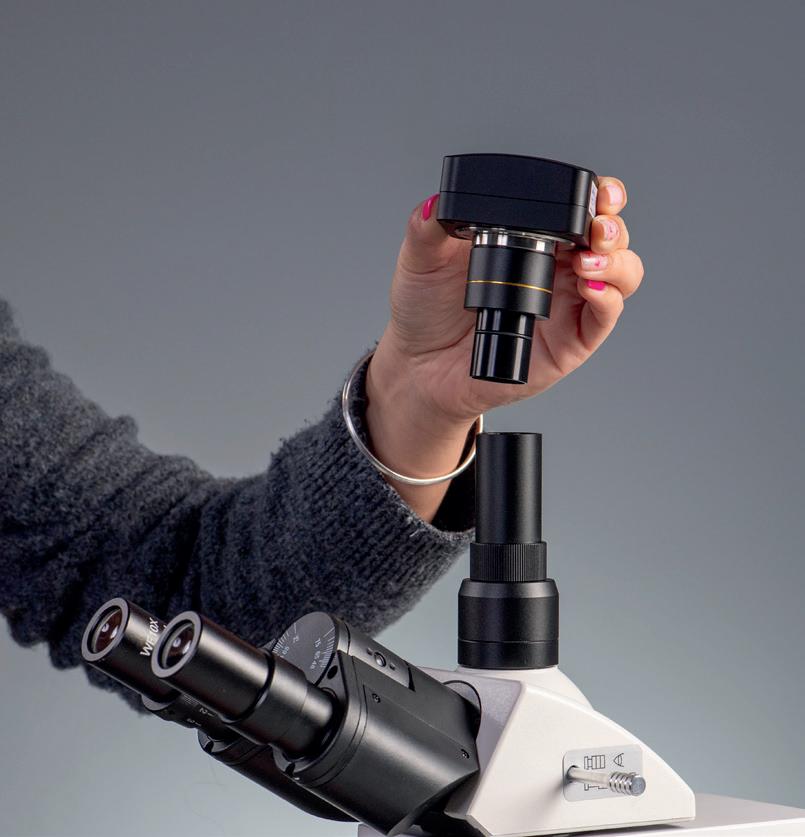
A microscope camera is a useful tool when identifying cell level images and sharing them with the class.
Fantastic for sharing ‘live’ images from the mitosis required practical. See page 9
Prepared Microscope Slide Sets
For details of the contents of our slide sets please see our full range online.
Want to see the full range?
Search prepared slide
Visit: shop.wf-education.com/science 01743 812 200 customer.support@wf-education.com
| 11
PM95230 Histology slide set 1, set of 24 £190.00 PM95226 Human biology slide set, set of 24 £177.00 PM95252 Animals slide set, set of 24 £177.00 PM95256 Biological science slide set, set of 24 £152.50 PM95218 Plant structure slide set £114.00 PM95214 Mitosis and meiosis slide set £94.45 PM230120 General slide set no IV, set of 50 £70.00 PM230100 Basic slide set, set of 25 £23.50 PM230090 Bacteria slide set, set of 12 £19.95
If your school or college is refurbishing or creating new science teaching or preparation spaces, this guide is for you!
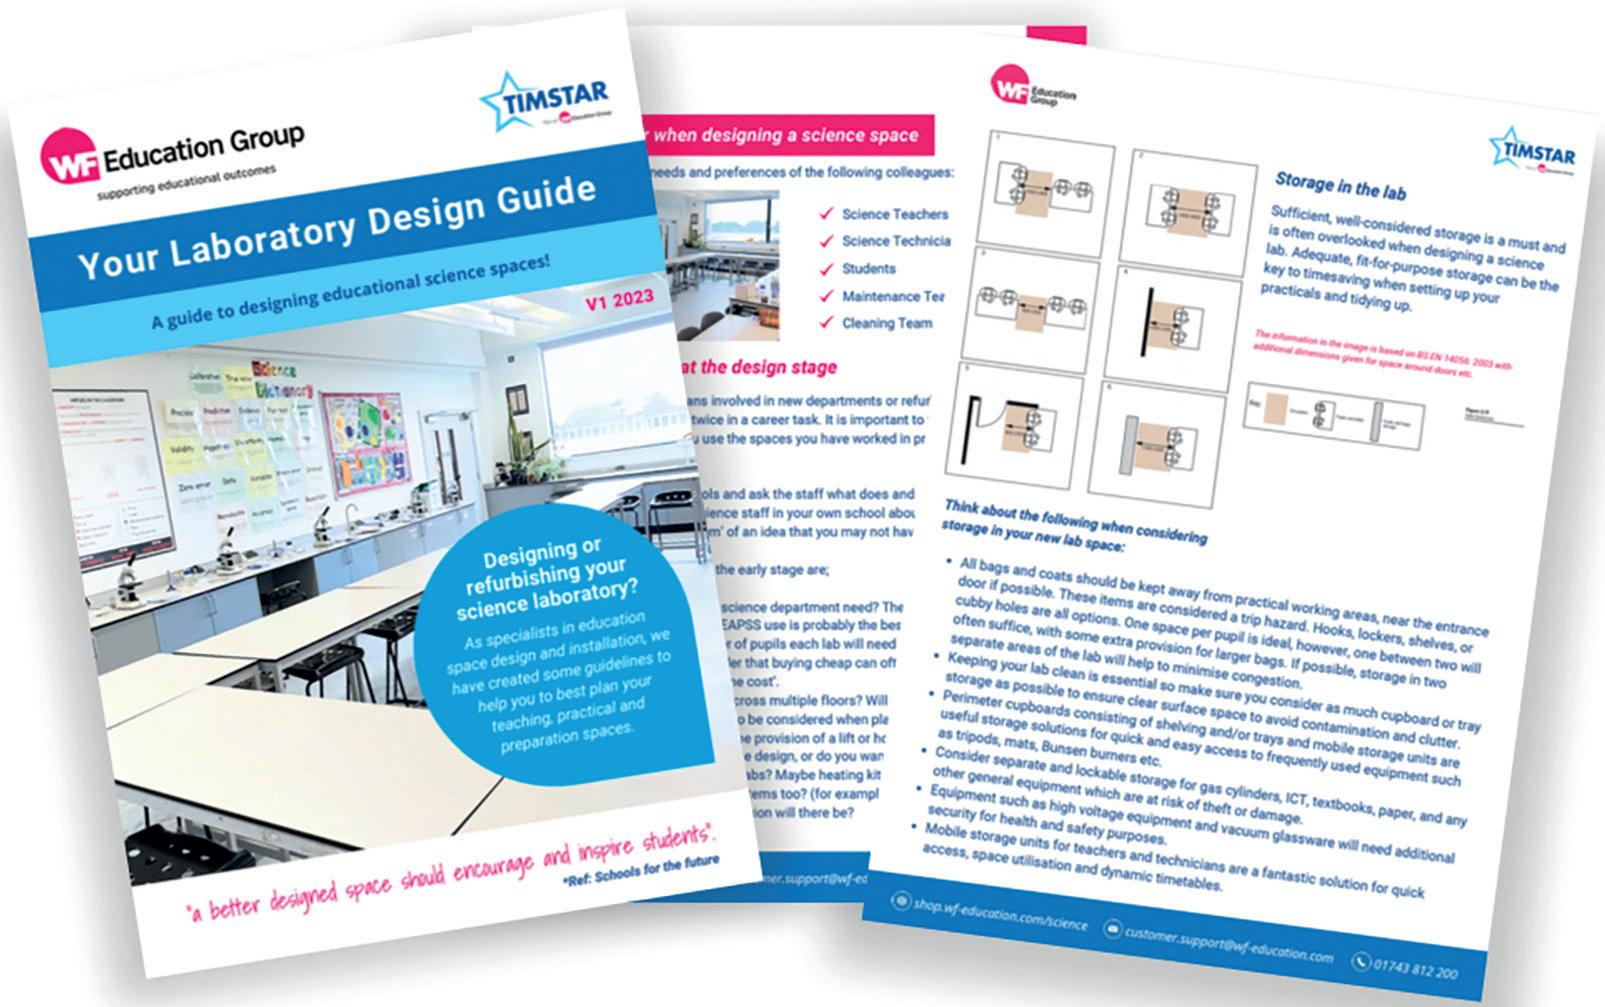
“Your Laboratory Design Guide” has been written specifically for departmental staff, facilities management, and school leadership to support decision-making alongside architects and space planners and help to ensure that you have a facility that is fit-for-purpose for years to come.

Scan to download your FREE copy!
“School science laboratories are an expensive investment and are expected to last for many years. A poor design will impact on generations of pupils, teachers, and technicians.”
The Association for Science Education
We understand the importance of creating effective educational environments. While redesigning educational spaces may be infrequent for most, we’re here to support you every step of the way and make the most out of your laboratory spaces.
Customised Lab Design
Our labs are versatile, catering to a variety of activities, from demonstrations to research, fostering student engagement and learning. We prioritise creating attractive, engaging laboratory spaces that stimulate pupils’ learning, along with well-planned preparation areas for teaching and technical staff.

12 | Designing Laboratories Guide
Insights include…
Considerations when designing a science space
Requirements for different types of lab
Storing hazardous materials
Comprehensive Service
The prep room
Fume cupboards
Technical information
Our service streamlines the process, from design approval to installation, providing coordination of all trades for a seamless experience. Additionally, we offer a unique chemical store service, advising on your chemical storage with expert care and compliance.
Our experienced team pays attention to every detail, from DfE requirements to acoustics, ensuring a comprehensive approach to your space.
Contact us today to embark on your customised lab journey with Timstar!
Don’t
just take our word for it!
Wendy Thorburn, Lead Science Technician, Kingdown School
“Timstar’s service was excellent, communication was very good between the project manager, me and our site team who worked on the lab refurbishment. We’re delighted!”

| 13
Using bacterial transformation scientists can produce antibiotic resistant bacteria as well as other things like producing insulin or allowing plants to become disease resistant.
Gene technology is studied in all the A Level Curricula:
OCR A: Manipulating genomes
AQA: Gene technologies
Edexcel A: Gene technology
How does it work?
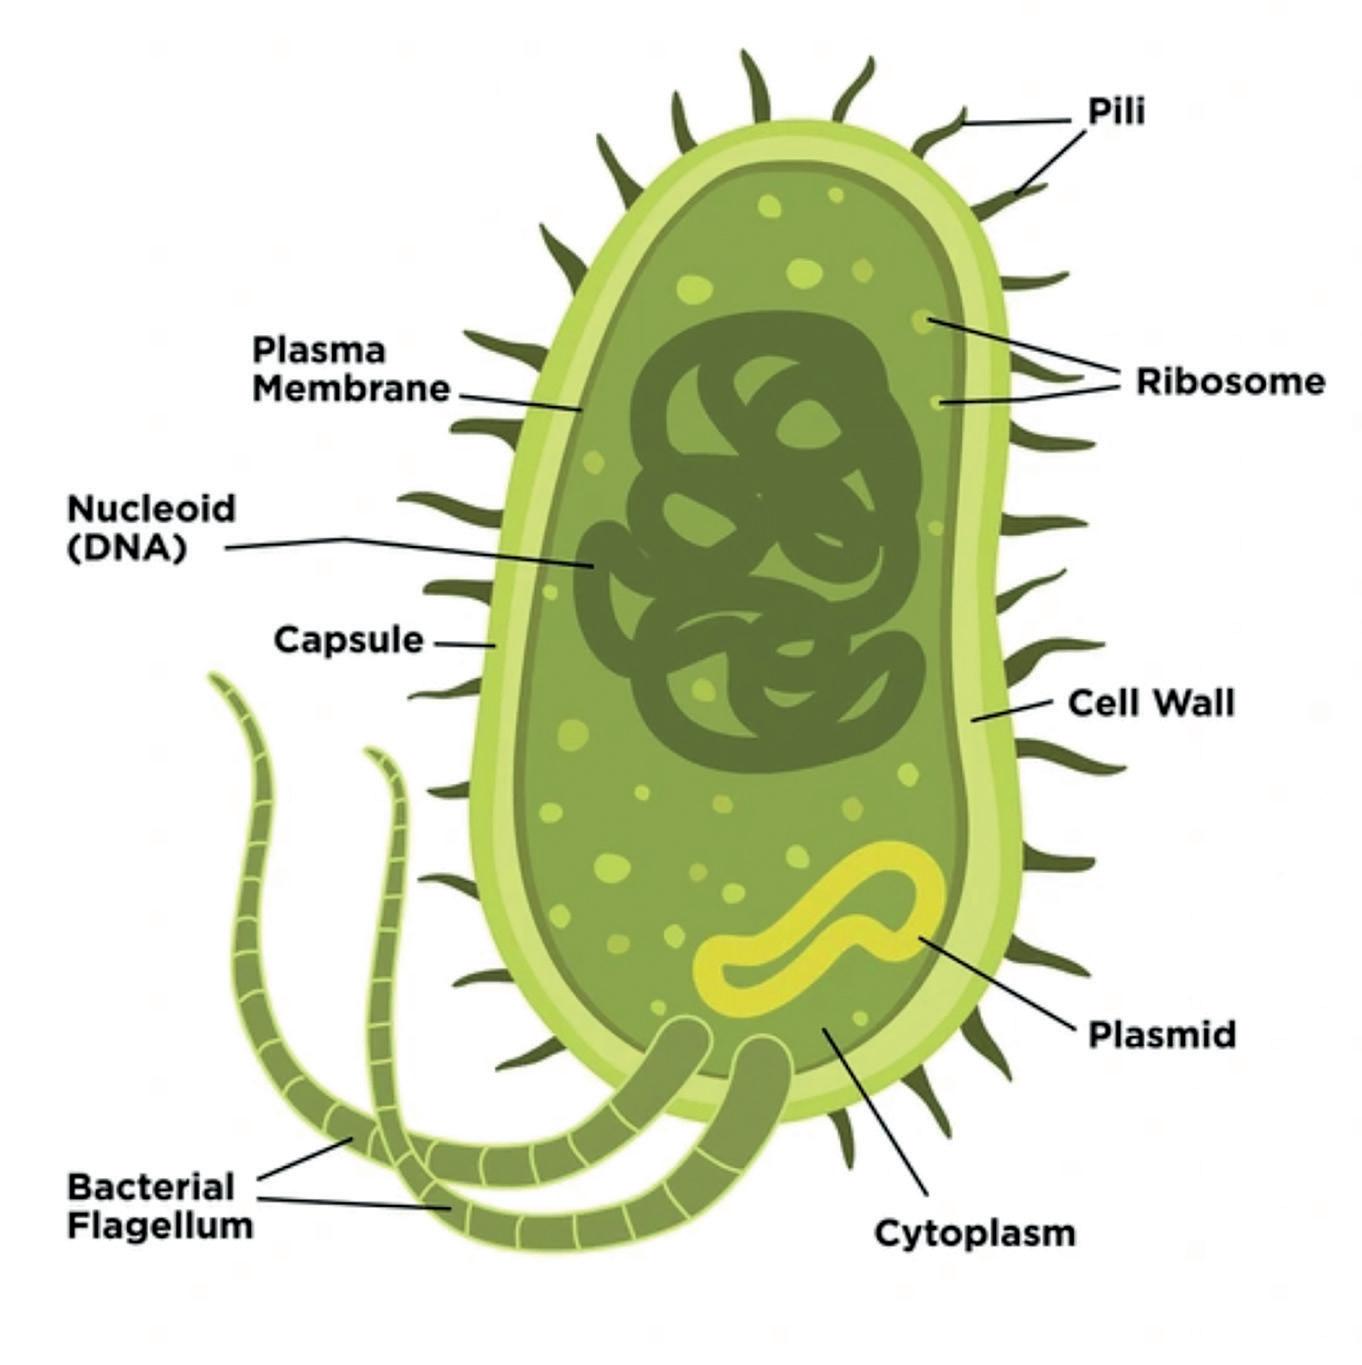
The reason bacteria are such a good model for transformation comes from the way the bacterial cell is designed.
The chromosomal (nucleoid) DNA is not bound within a membrane as it is in eukaryotic cells, and bacterial cells also contain plasmids, circular pieces of double stranded DNA containing extra (non-essential) genes. It is these plasmids that are the key to transformation.
Search DNA
Want to find
out more?
Edexcel B: Microbiology and pathogens
WJEC: Variation/ inheritance
Visit our Resource Hub for lots more information about transforming DNA. Search ‘DNA’.

Search DNA 14 | Transforming DNA using Edvotek® kits
The antibiotic ampicillin works to prevent bacteria from growing by interfering with cell wall synthesis.
A gene for ampicillin resistance (β-lactamase) is carried on a plasmid.
If this gene (or the plasmid) is added to a second bacteria, it will start to secrete β-lactamase, and will become resistant to ampicillin, meaning that it will continue to grow in the presence of this antibiotic. Furthermore, it will continue to reproduce, exhibiting this gene.
Bacteria have the ability to do this naturally, but we can also do this in the laboratory (under specific conditions). This means that scientists have been able to make bacteria producing insulin, and disease resistance in some plant varieties. This is a method of genetic engineering.
In order to support the students learning of this important topic, we supply 3 bacterial transformation kits from Edvotek®
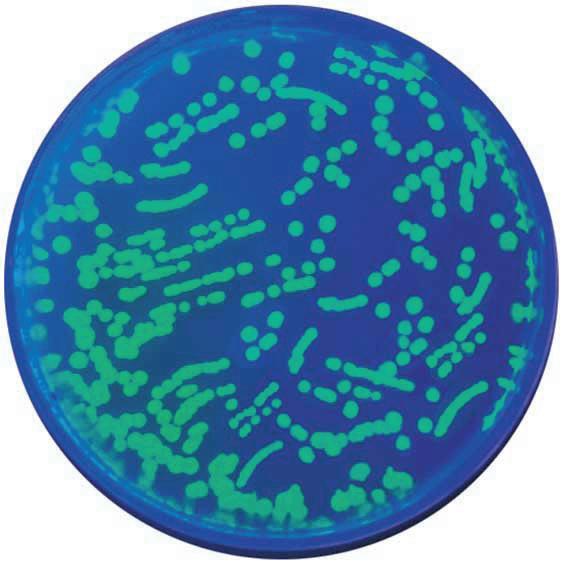
Transformation of E. Coli with Green Fluorescent Protein (GFP) Kit
In this experiment, students will explore the biological process of bacterial transformation using E. coli and plasmid DNA. At the end of the activity, students will have experience observing and analysing acquired traits (ampicillin resistance and fluorescence) as exhibited by transformed bacterial cells.
• Explore genetic engineering with this elegant experiment
• Transform E.coli with pFluoroGreen™ - a plasmid containing genes for ampicillin resistance and the green fluorescent protein
• Select for transformed cells using LB-ampicillin plates and calculate transformation efficiency
• Expose transformed cells to IPTG to demonstrate differential gene expression
• New transformation protocol has high transformation efficiency = great results!
BI130985 £84.60
Transformation of E. Coli with Blue & Green Fluorescent Proteins
In this experiment, students will explore the biological process of bacterial transformation using E. coli and plasmid DNA. At the end of the activity, students will have experience observing and analysing acquired traits (ampicillin resistance and fluorescence) as exhibited by transformed bacterial cells.
• Explore genetic engineering in this elegant and expanded experiment
• Transform E.coli with either pFluoroGreen™ or pFluoroBlue™
• Select for transformed cells using LB-ampicillin plates and calculate transformation efficiency
• Expose transformed cells to IPTG to demonstrate differential gene expression
• Different plasmids help emphasise the concept of DNA>RNA>Protein>Trait
BT97940
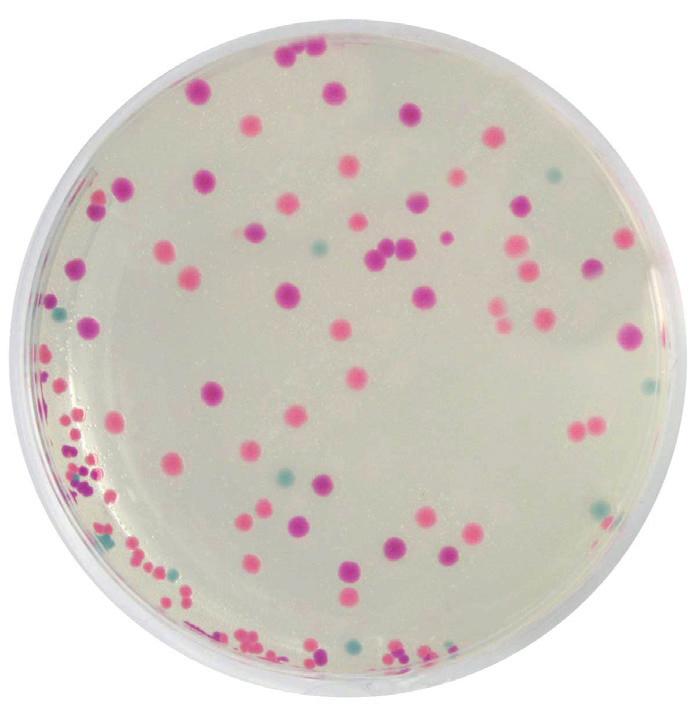
Rainbow Transformation
£99.95
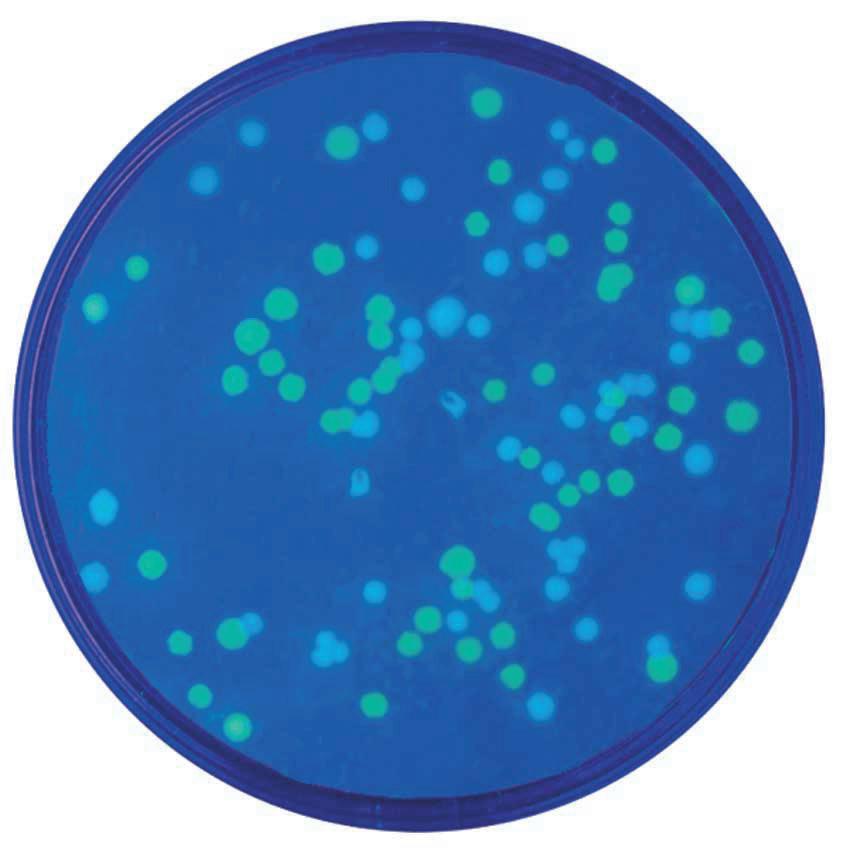
In this colourful experiment, students will explore the biological process of bacterial transformation using vibrant chromogenic proteins. Students will use three recombinant plasmids to transform E.coli bacteria. The resulting E.coli will be examined for the presence of blue, purple, and pink pigments, as well as for resistance to ampicillin. Features new enhanced transformation protocol for improved student results.
• Explore genetic engineering with this colourful experiment
• Transform E.coli with plasmids that contain a gene for ampicillin resistance and a gene for either a blue, purple, or pink pigment
• Select for transformed cells using LB-ampicillin plates and calculate transformation efficiency
• Expose transformed cells to IPTG to demonstrate differential gene expression
• Different plasmids help emphasize the concept of DNA>RNA>Protein>Trait
BT150274
Want
to explore all of our Edvotek® Kits?
Search ‘Edvotek’
£110.65
Visit: shop.wf-education.com/science 01743 812 200
customer.support@wf-education.com
| 15
Drosophila are also known as fruit flies and are often seen hovering around decomposing fruit.
Drosophila is mentioned in the A level specification, in the inheritance section of genetics.
AQA: Topic 3.1 inheritance: Investigate genetic ratios using Drosophila
OCR A: PAG 12.2 Research skills: genetic crosses in fruit flies
OCR B: Topic 5.11: Patterns of inheritance
Edexcel B: Topic 8: Origins of genetic variation
WJEC biology: Topic 5: Variation and inheritance (although Drosophila is not specifically mentioned here)
Drosophila (and more specifically Drosophila melanogaster) have been used as agents to study genes and inheritance since 1910 when Thomas Hunt Morgan identified the white gene.
Although even before this, in 1901, the entomologist Charles Woodward was the first to successfully breed Drosophila and proposed its use as a model organism for study.
They are now used worldwide, and their genetics have been extensively studied making them one of the leading genetic models in the world today.
Drosophila have only 4 pairs of chromosomes making up their DNA, with approximately 14,000 genes, significantly less than that of humans (estimated to be 20-25,000). Having so few chromosomes makes studying the genetics of fruit flies very easy, and they have lots in common with humans, because of a shared evolutionary path: brain and nerves/digestion and circulation, and body organisation all have similarities to our own (and that of other animals). Drosophila have a short life span and females produce a lot of offspring, making them an efficient and cost-effective way of studying ‘live’ genetics.
Genetic mutations in the fruit fly have some easy to visualise phenotypes (the outward appearance of the genetics): the red/white eye; short (vestigial) wing/normal wing; ebony body/normal body. You can also get more than one genetic mutation on a single fly: (ebony body/vestigial wing for example, and there are many more phenotypic variations.
One of the great things about using Drosophila to study genetics is the ability to easily manipulate them, they can be anaesthetised very easily and revived with no ill effects, and you can breed wild type and mutant, or mutant and mutant, and study the offspring, all over a period of a just few weeks.
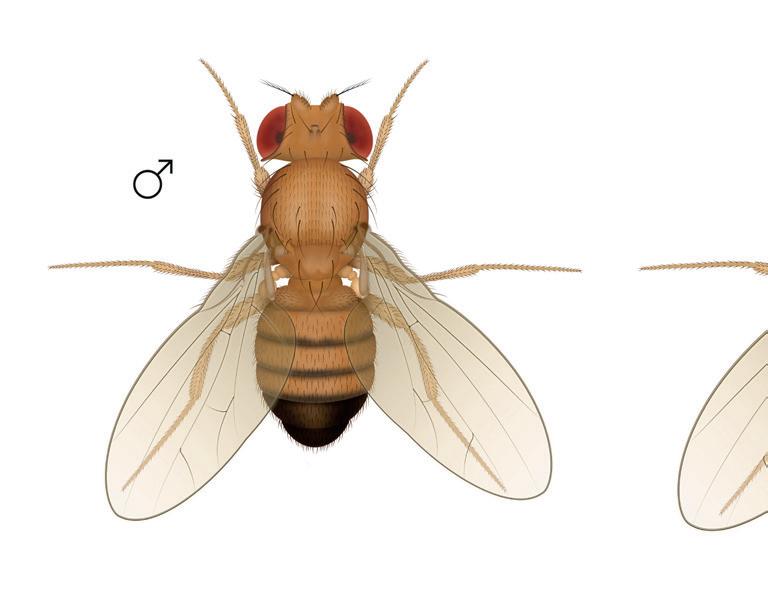
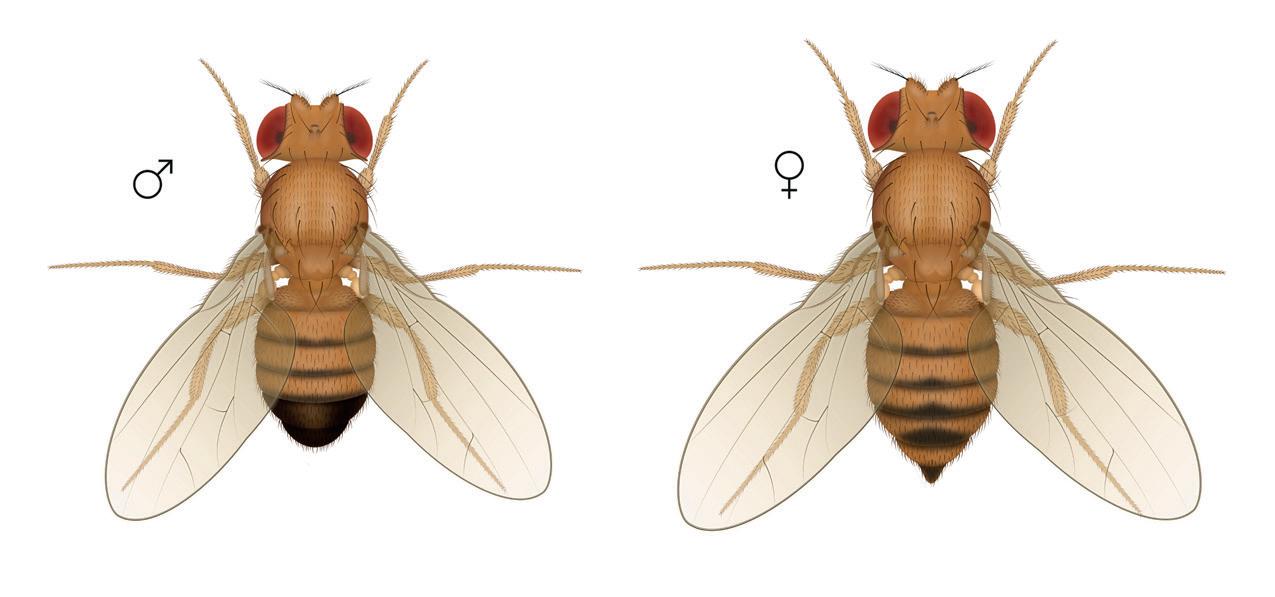

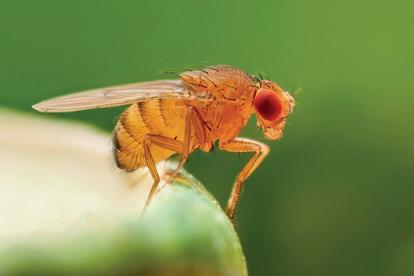
Using Drosphila to Study Genetics If the words Drosophila and genetics make you run away, take a deep breath and read our great blog post on how to handle fruit flies for practical work. Read More Want to find out more? Visit our Resource Hub for a comprehensive document about studying genetics using Drosophila. 16 | Drosophila
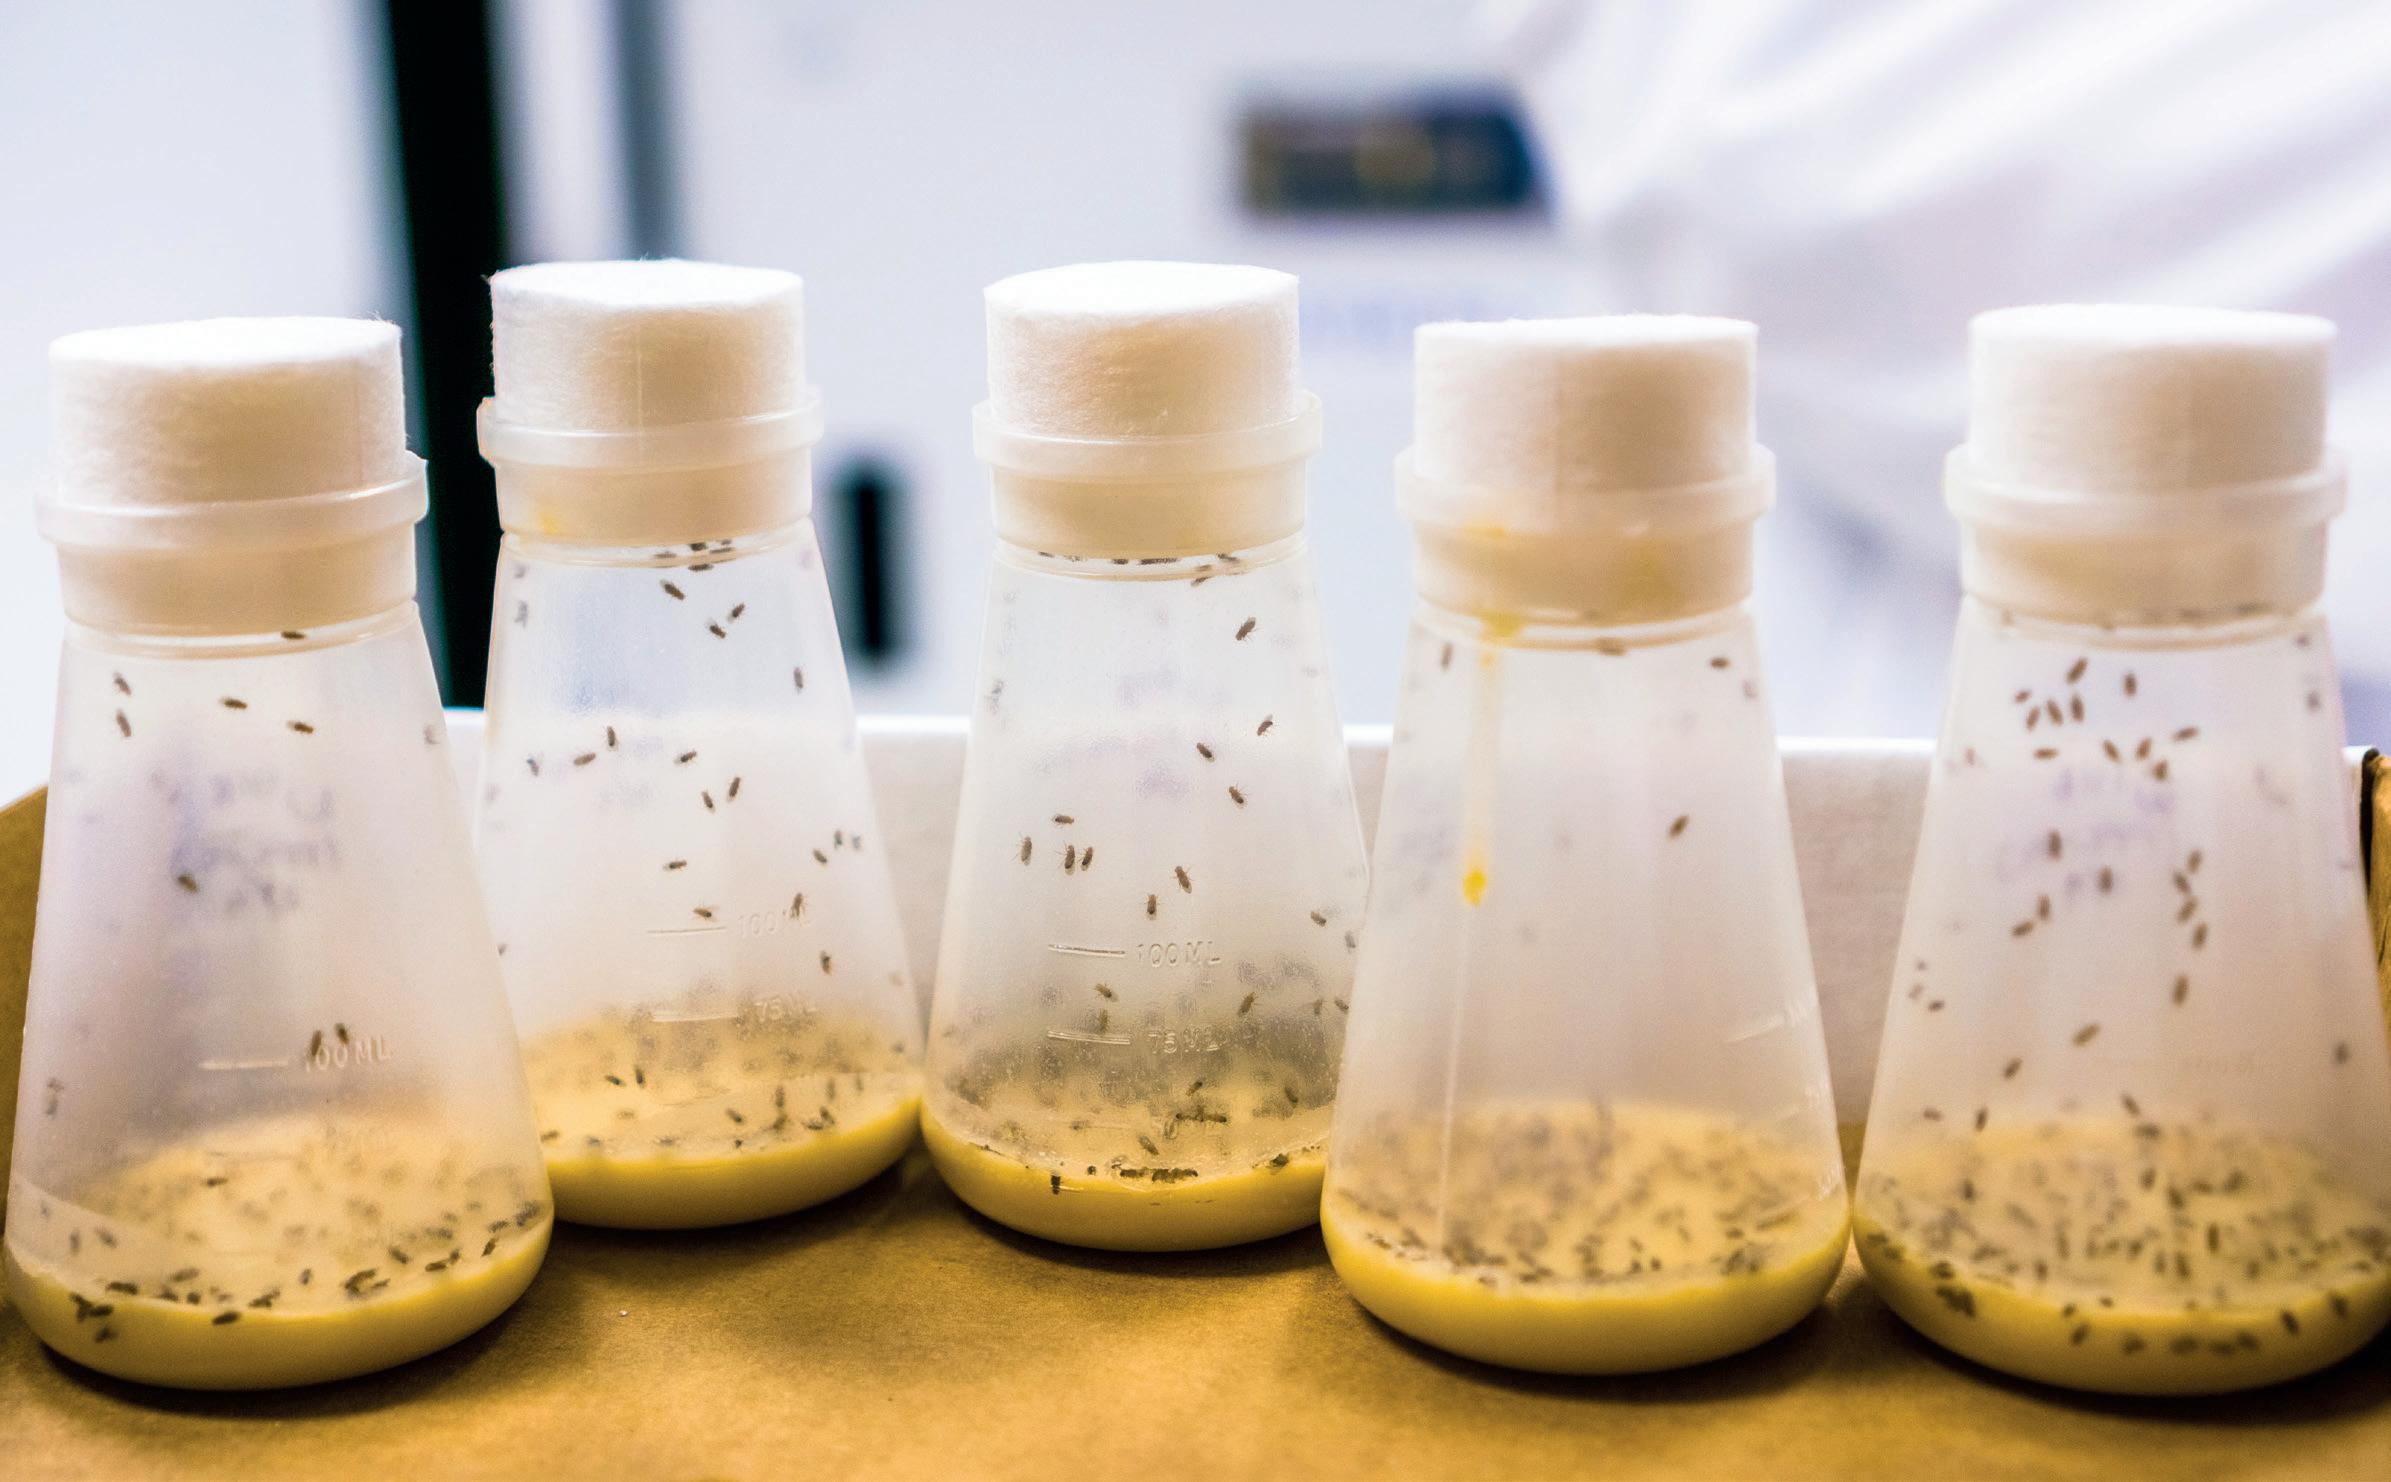
Handling, storage and care of Drosophila
You will receive your Drosophila direct from our supplier in a taped vial.
As soon as you receive them, remove the tape, but not the foam insert, this will allow airflow into the vial. In the vials the flies will use the media for nutrition, you will need to move them onto fresh media every 10-20 days, to allow them to thrive.
For a full guide about how to move flies between vials and how to safely use Fly Snooze, please visit our Resource Hub and search ‘Drosophila’.
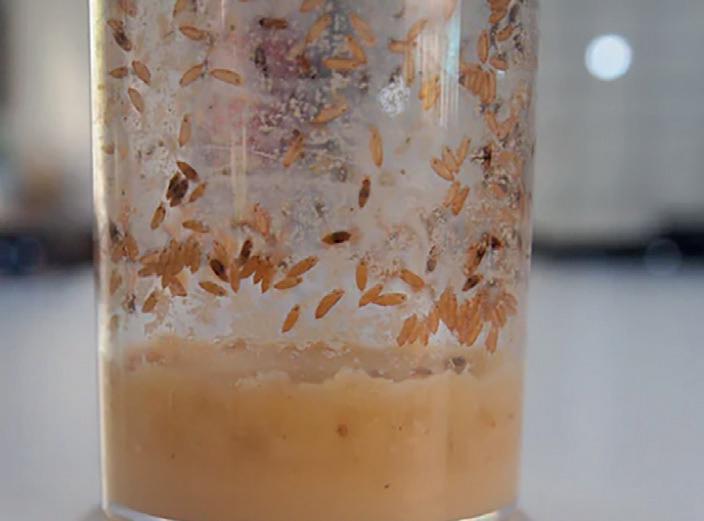
Drosophila
Cultures and segregated flies are supplied in glass specimen tubes. All Drosophila are bred, and sexed, in-house at our supplier.
All flies are dispatched on Mondays - please advise when ordering your preferred delivery week.
BP230150 Wild type culture
BP230160 White eye culture
BP230170 Vestigial (short) wing culture
BP230180 Ebony body culture
BP230190 Scarlet eye culture
BP230200 Ebony vestigial culture
BP230210 Wild type males
BP230220 White eye virgin females
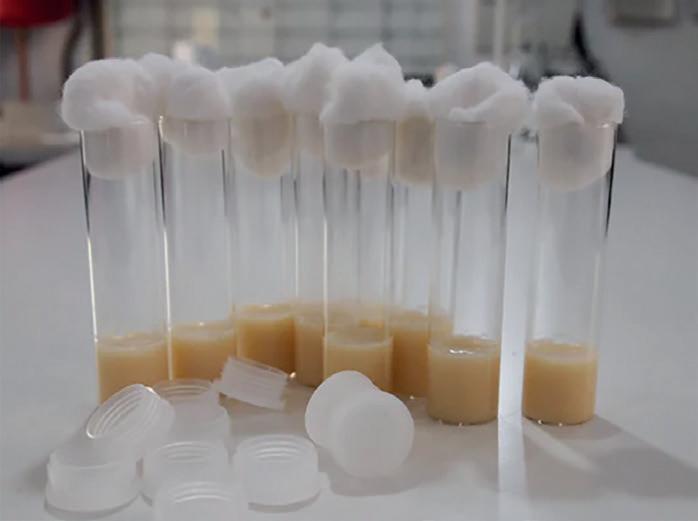
Ready-Made Drosophila Tubes with Media
High quality fruit fly food with an anti-mould agent in 10 cm glass specimen tubes. Extra delivery charge will apply. BP230230 £21.20
Want to find out more?
Search ‘Drosophila’
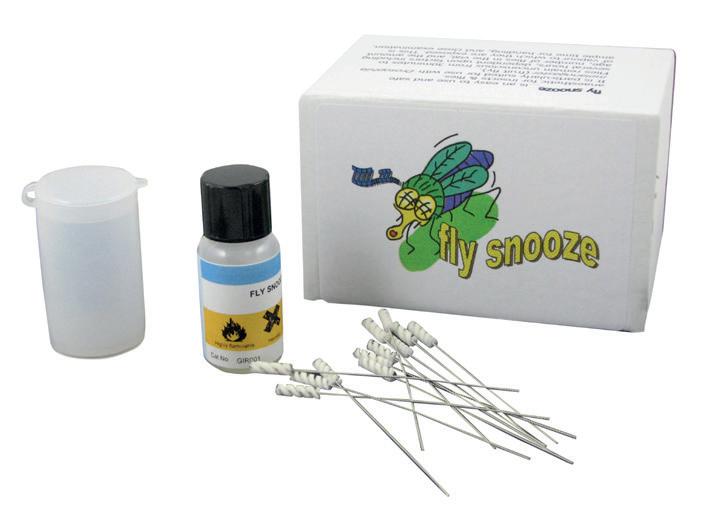
Fly Snooze Kit
For anaesthetising Drosophila. Flies remain immobilised for at least 50 minutes. Kit contains 10 mL vial of Fly Snooze and 12 anaesthetic wands. separate anaesthetiser is not needed. Easy to use and safer than ether. Kit contains 100 doses. BL90415 £36.50
Visit: shop.wf-education.com/science 01743 812 200
customer.support@wf-education.com
NEW! NEW! CX CX
£14.10
£14.10
£14.10
£14.10
£14.10
£14.10
£37.50
£53.40
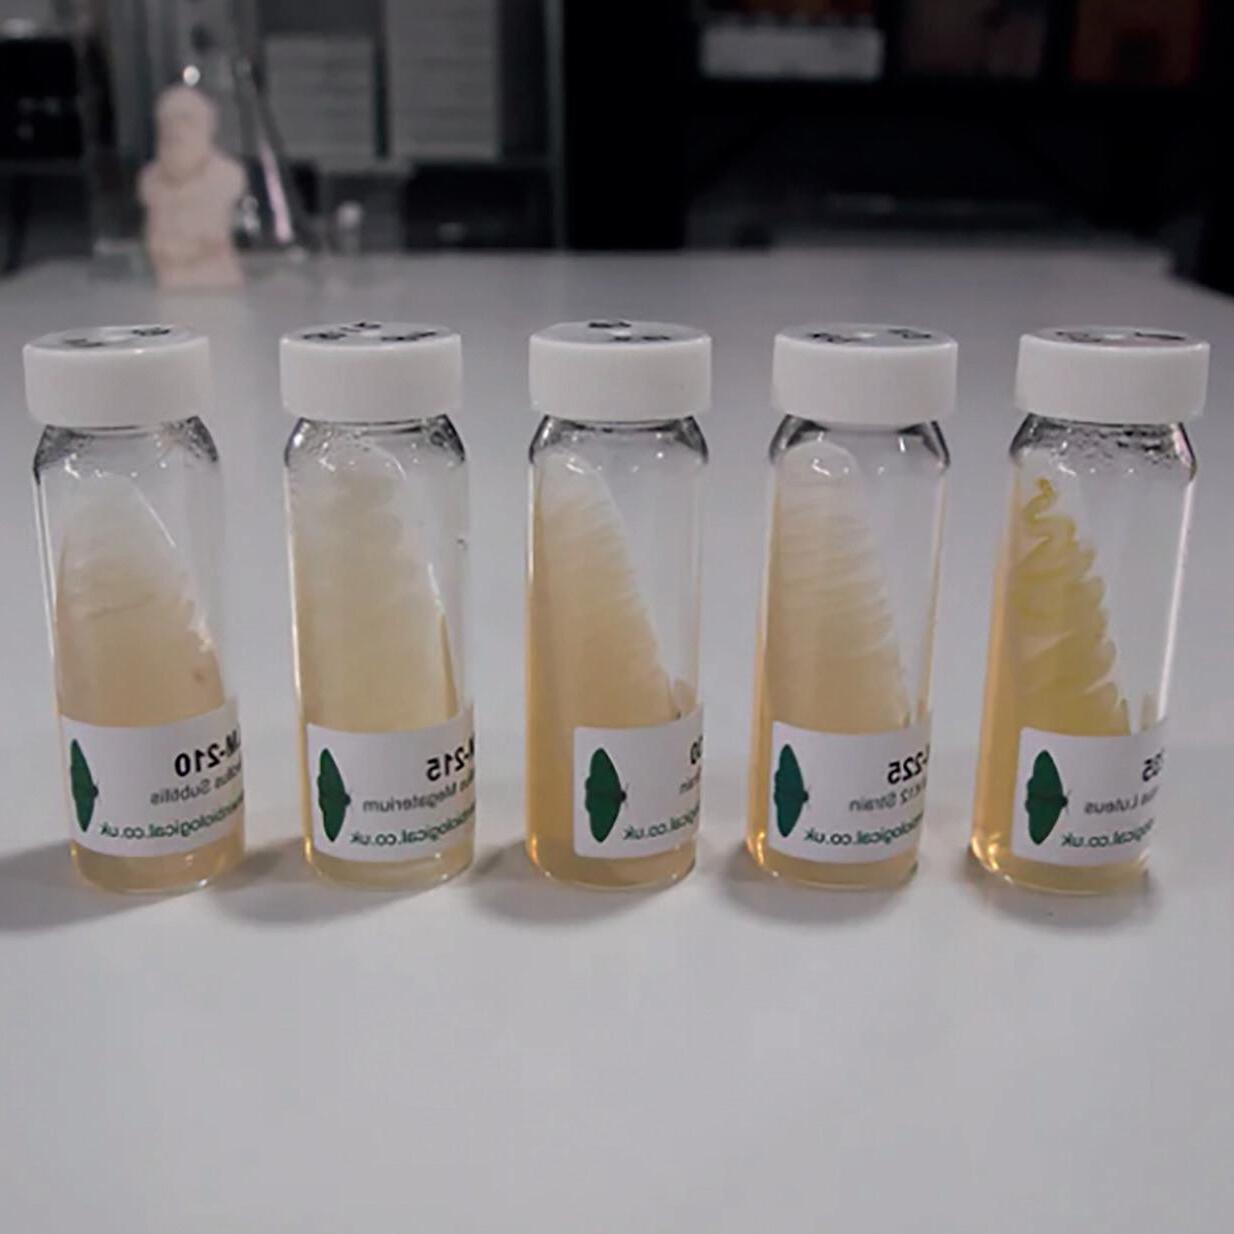
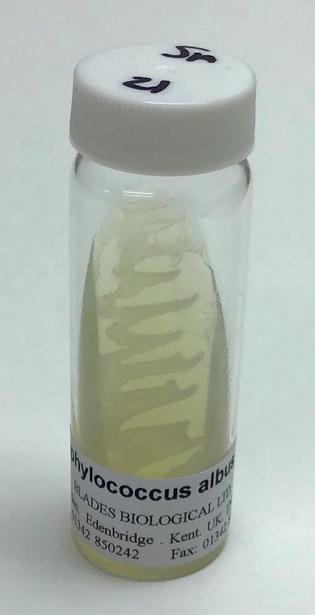
Bacteria will arrive in your department as an inoculated slope (or slant). The agar has been poured into the bottle on a slope and bacteria is added to this. The reason for the slant is to give a large amount of agar for the bacteria to grow on, but it also makes it easy to remove what you need for experiments.
After preparing your nutrient agar petri dishes, you need to remove some of the stock bacteria:
Working aseptically, touch and gently drag an inoculating loop through the bacteria on the slope.
You don’t need to dig into the agar, there should be plenty of bacteria on the surface.
You then need to add this bacteria to a plate in order to grow it on further for experiments.
Bacteria
should be sub-cultured onto sterile nutrient agar/broth within 1 week of receipt and every 2 weeks thereafter.
Incubate at around 25°C until growth is visible (around 2-3 days) then store in the fridge (4°C). Bring up to room temperature before using.
We have more information about bacterial colonies, sterilization and autoclaving as well as agar. Scan to explore microbiology in the Resource Hub!
You can practice streaking a plate using glycerin with food colour mixed in, on a jelly (rather than agar) plate, or make the plate with technical, not nutrient, agar.
18 | Microbiology, what to do when your bacteria arrives
Streaking a plate
The aim of streaking a plate is to spread the bacteria until you can see single colonies on the plate. The initial ‘blob’ of bacteria on the loop will contain thousands of bacterial colonies, this needs to be spread as thin as possible. Streaking is the tried and tested method of doing this.
1. Drag the loop across the plate whilst also moving down towards the middle (but stop at about ¼ the way down)
Wire inoculating loop (in loop holder)
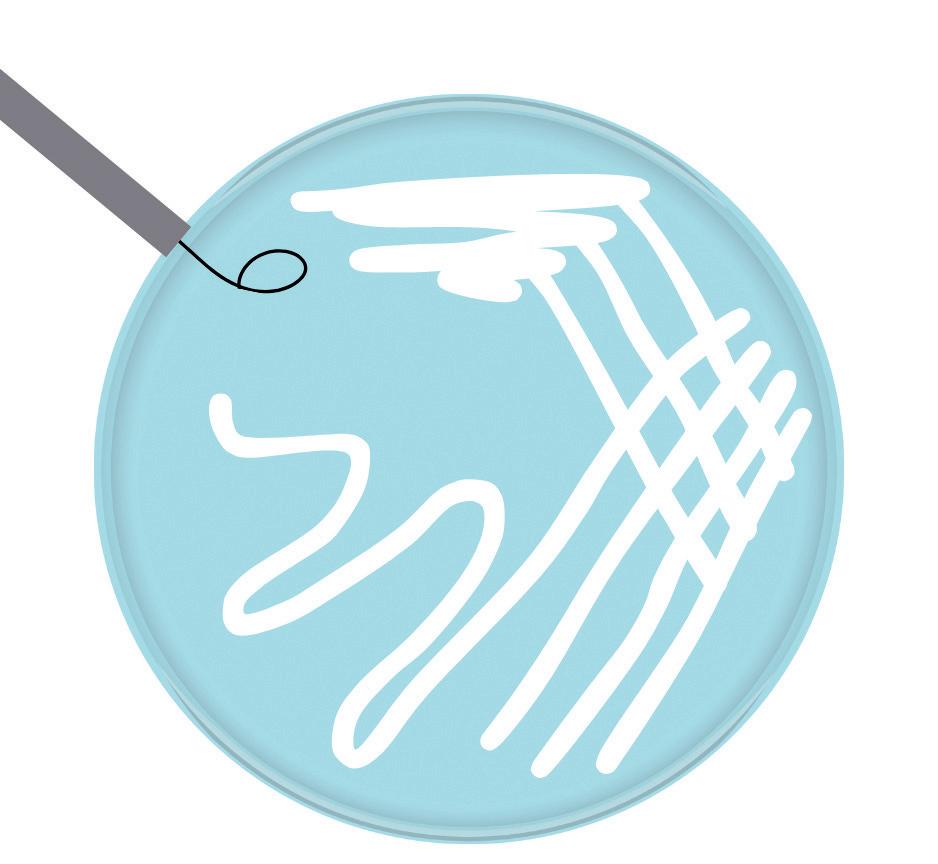
2. Turn the plate 1/3 turn and, using the loop draw several lines away from the initial streak
3. Turn the plate 1/3 way round and repeat step 2, but this time draw out the last line, back and forth and down across the remainder of the plate 1 2 3
Bacteria Cultures
Culture is supplied on a nutrient agar slope in a glass screw top universal bottle. Store in a fridge (2-8°C), bring to room temperature prior to use.
Culture at around 25°C.
BL80894 Bacillus megaterium
BL80900 Bacillus subtilis
BL80910 E.coli K12 Strain
BL80917 Micrococcus luteus
BL80920 Pseudomonas fluorescens
BL80930 Staphylococcus epidermidis
BL80954 Mucor hiemalis +ve strain
BL80960 Penicillium roqueforti
BL80980 Saccaromyces cerevisiae
Petri Dishes, Polystyrene, Sterile
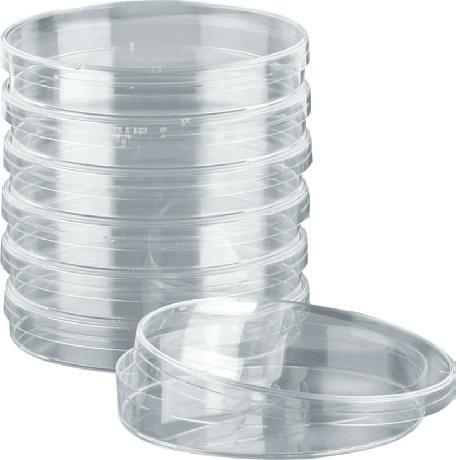
Disposable, triple vented petri dishes.
PE12035 90 mm, pack 20
PE240000 90 mm, pack 480
PE12030 55 mm, pack 20
PE12031 55 mm, pack 600
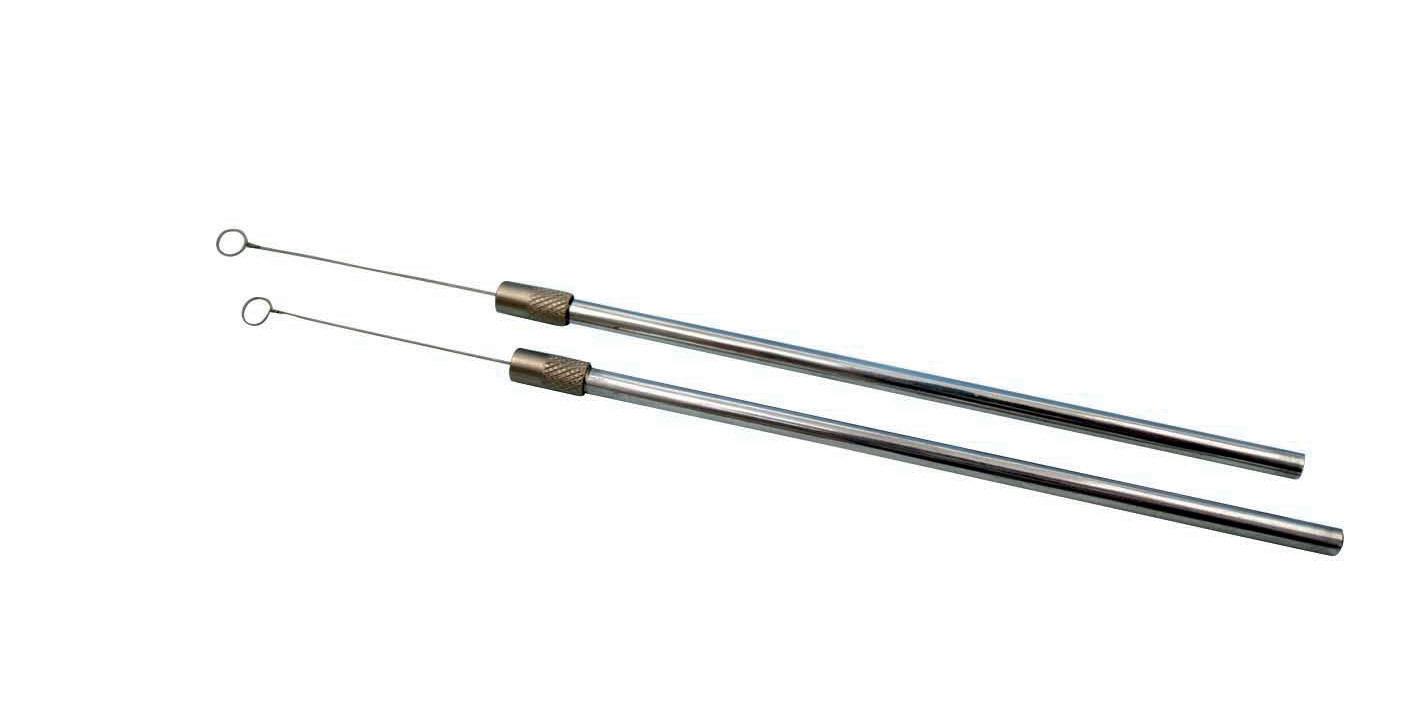
A needle holder suitable for innoculating loops. Nichrome wire is suitable for
DI05920 Single needle holder
DI05921 Pack 10 needle holders
DI05925 Pack 10 nichrome wire loops
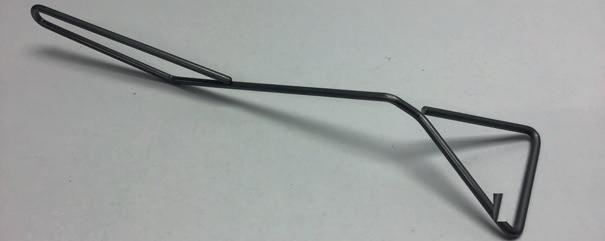
Bacterial Spreader
Stainless steel rod bent to facilitate spreading bacterial dispersions evenly over an agar plate.
DI230130
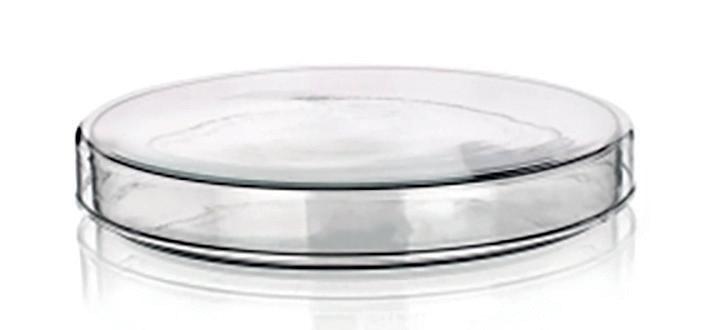
Petri Dishes, Simax
Petri dishes made from heat resistant soda glass. Supplied in a pack of 10.
PE230000 60 x 12 mm
PE230010 80 x 15 mm
PE230020 90 x 15 mm
PE230030 100 x 15 mm
PE230040 120 x 20 mm
Visit: shop.wf-education.com/science 01743 812 200
customer.support@wf-education.com
NEW! NEW! | 19
£18.40
£18.40
£18.40
£18.40
£18.40
£18.40
£18.40
£18.40
£18.40
£2.05
£19.90
£3.90
£17.50
£2.60
£56.20
£2.10
£64.95
£11.30
£12.70
£13.90
£15.30
£22.20
Required practicals
Busily working behind the scenes, we have looked at all the A level and GCSE curricula* for biology and all the required practicals/core practicals/PAGS.
We carefully evaluated each practical, looking at them from the technician’s point of view – this meant not only checking the equipment that the student will need, but also including any extra equipment techs will need to set up the practicals for the prectical session (thinking incubators, autoclaves etc.).
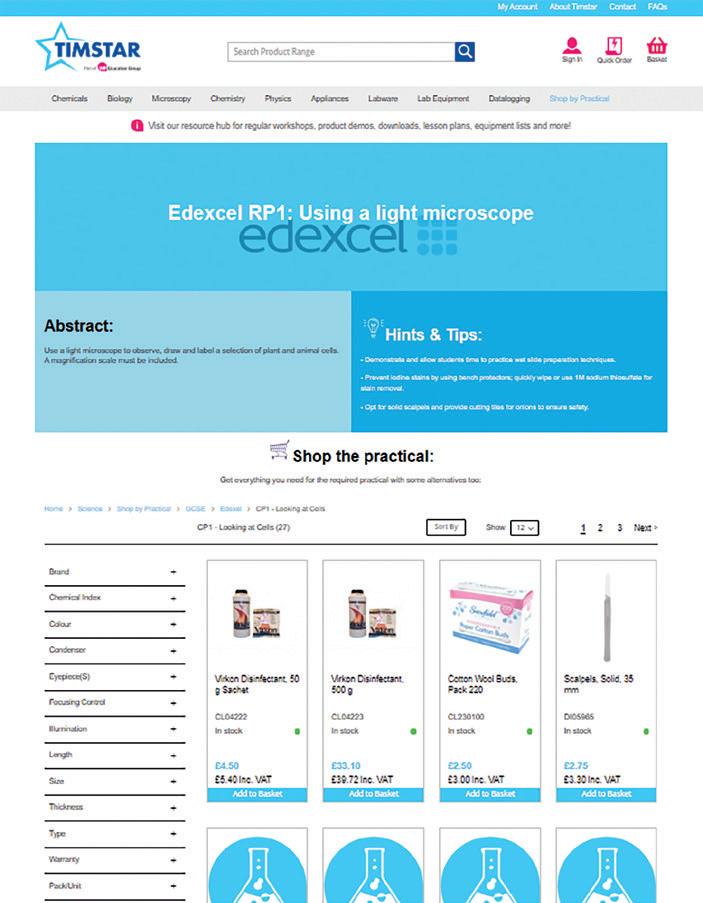
So, if you are looking for ‘Shop by practical’, look no further!
View on our website!


NEW FOR 2024!
Our aim has been to give you a comprehensive list of equipment needed for EVERY required practical in biology for A level and GCSE. Alongside this list of equipment, we have added any tips that will help and any content that we have written around these subject areas to enhance your understanding of the science behind some of these experiments.
We really hope that you will find the required practical/shop by practical resource immensely helpful in your work as a technician – you can use it to order equipment you will need for the practical, ensure that you have covered off all the equipment on the list and even identify some equipment on the list that you don’t yet know (what even IS a Thiele tube?!).


We have organised our navigation by GSCE or A Level and sorted by exam board and then by practical!
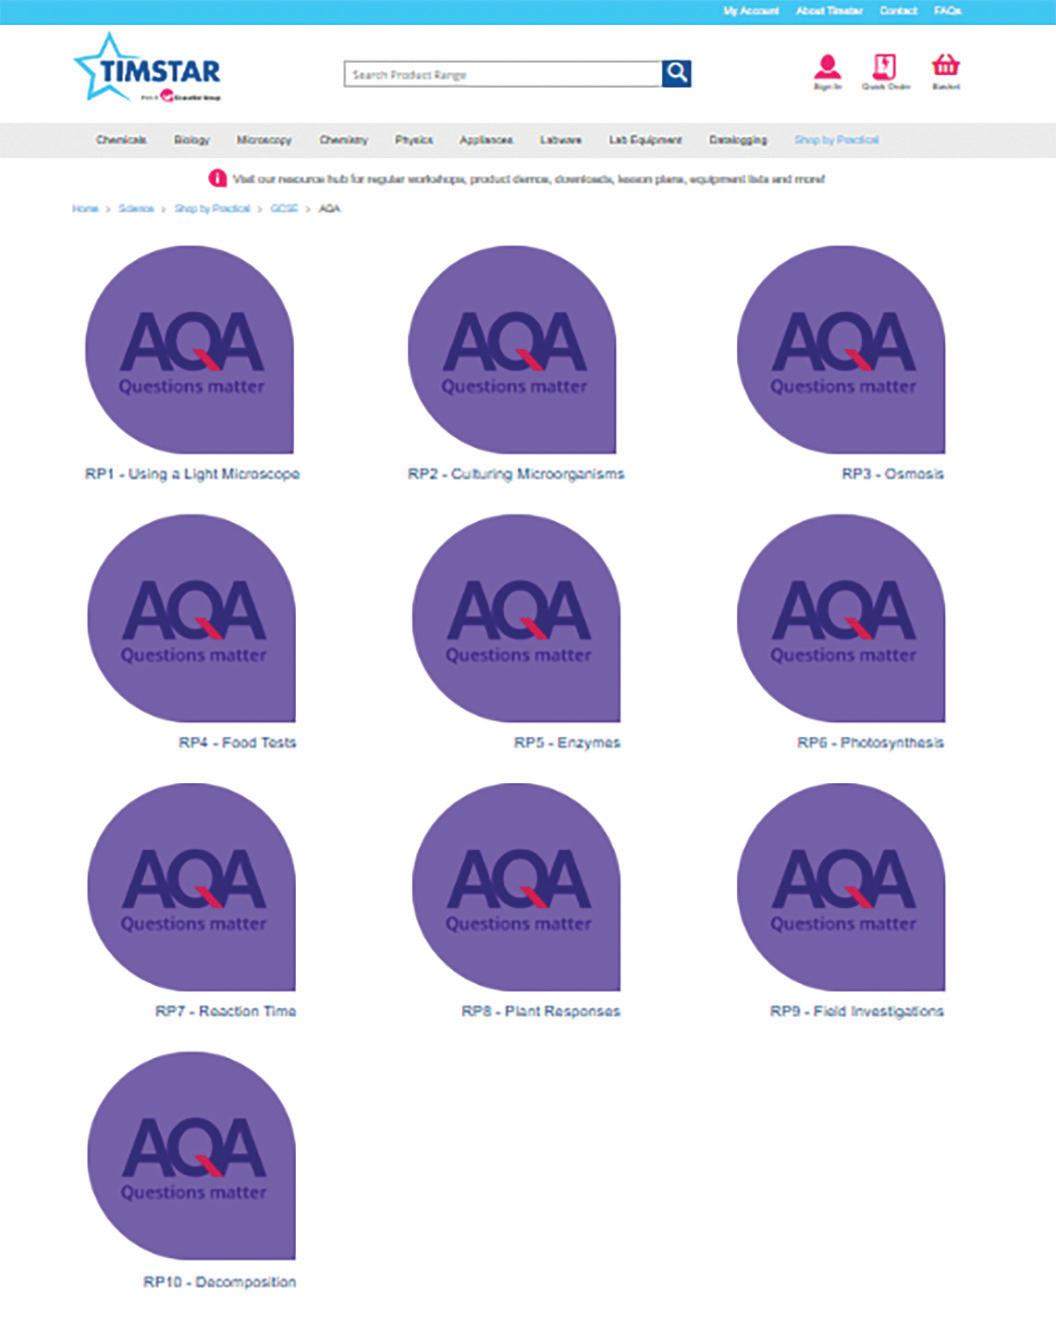
Please note we have launched our required practicals with biology, we are working on physics and chemistry. We’ll keep you posted!
Curricula covered GCSE
AQA
Edexcel
OCR gateway and 21 century
Curricula covered A level
AQA
Edexcel A and B
OCR A and B WJEC WJEC
*(with the exception of Scotland and IB – more to come later)
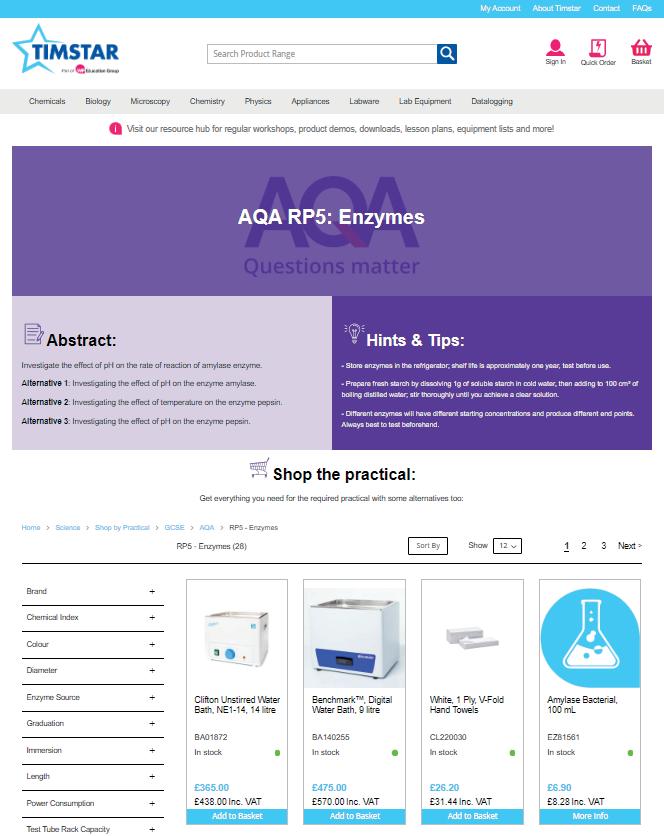
For each practical we have included the abstract, some of our top tips and everything you need for the required practical with some alternatives too
Visit: shop.wf-education.com/science 01743 812 200
customer.support@wf-education.com
Dissection of a mammalian kidney
Kidney dissection is a useful tool to help understand how the organ functions in relation to filtering waste products from the blood and the formation of urine and it is often carried out as a teacher demonstration at GCSE level.


Kidney dissection features in the WJEC A level specification (practical 26 in the homeostasis and the kidney topic) and it is expected that the students will do the dissection themselves, with some guidance. Other specifications focus on heart dissection.
Humans, like all mammals, have two kidneys.
Shaped like a kidney bean, and about the size of your fist, they are sited either side of the spine just below the rib cage.
The main function of the kidney is as a filter, removing toxic waste products from the blood, but it also regulates the solute concentration of the blood (osmoregulation).
The kidney contains millions of nephrons to carry out this process of filtration and osmoregulation, all with a good blood supply. The students will learn about ultra filtration and selective reabsorption along the loop of Henle, inside each nephron.
Other functions of the kidney include hormone production (renin is produced which helps blood pressure regulation), acid-base regulation, and, along with the liver, glucose regulation.
Kidney stones are hard mineral deposits that accumulate within the kidney, and sometimes can block the ureter (exit tube) of the kidney causing pain, inflammation, and infection. This is due to a high concentration of salts/minerals and waste products in the blood compared to the volume of water.




We have a great worksheet about heart dissection. Free to
22
|
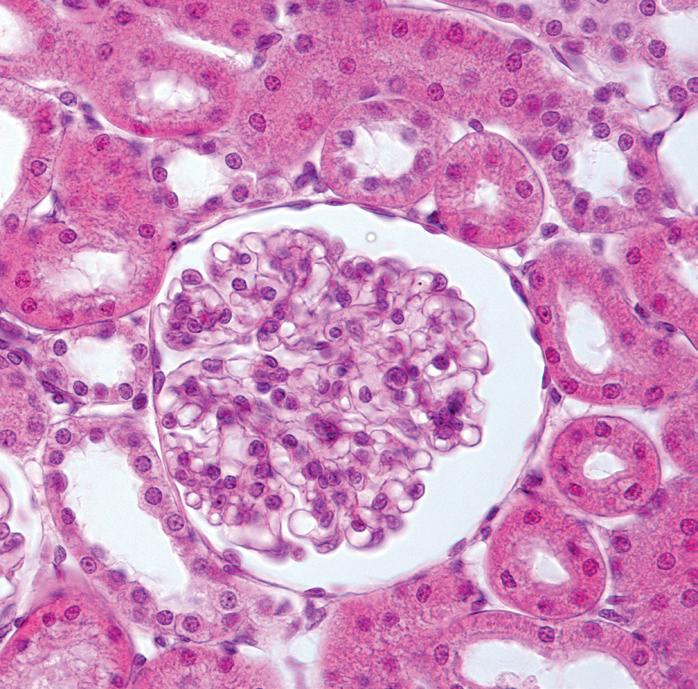
Observing the cellular structure of the kidney
To further investigate the cellular structure of the kidney, remove a very small (smaller than your little fingernail) piece of tissue and place it on a microscope slide with a drop of water.
Place a coverslip over the top of the sample and a piece of tissue or paper towel on top of this. Then press down hard with your thumb. This will spread the tissue out into a very thin layer
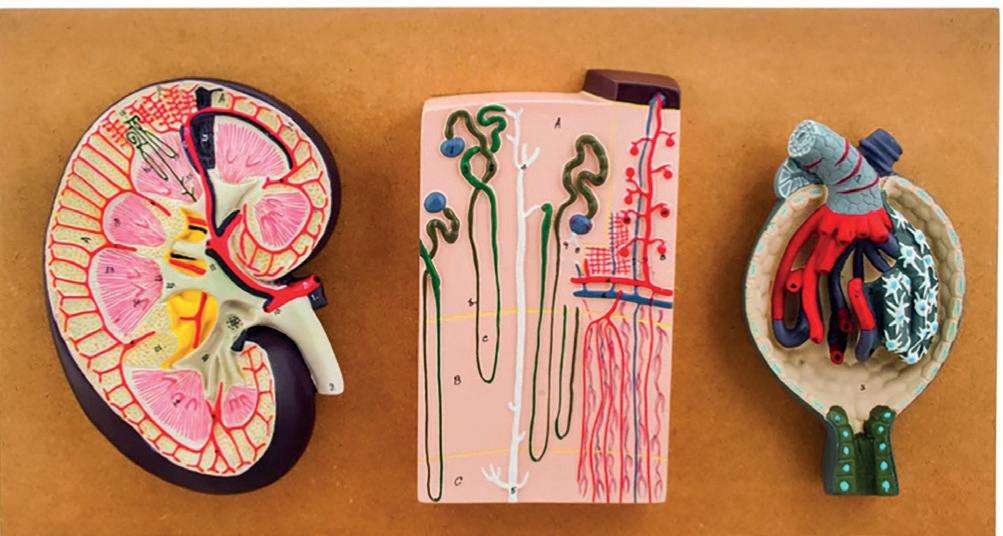
Human Kidney Model, 3 Sections
Looking under the x4 and then the x10 objective you should be able to identify cells from the kidney. This will be better with smaller and well squashed tissue samples.
You should have some proprietary slides of kidney tissue to aid identification. Timstar supply prepared slides: VS, code PM86765 and LS, code PM86770.
Human kidney model includes 3 parts - kidney section, 3 times life size, nephrons and blood vessels 120 times life size, and kidney glomerulus opened, 700 times life size.
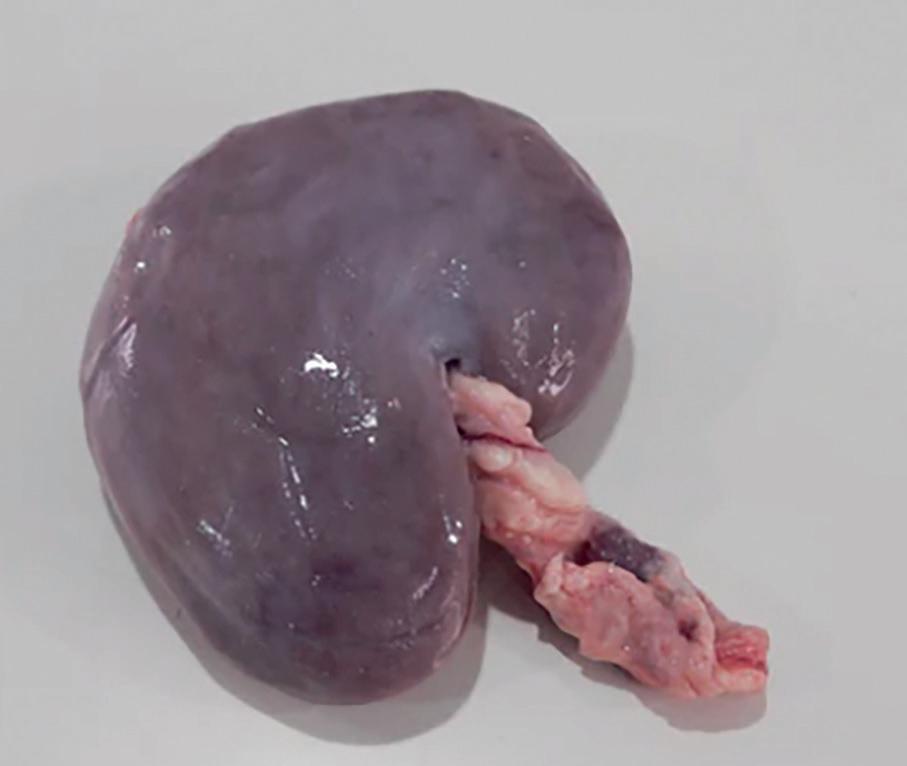
Frozen Lamb’s Kidneys, Pack 5
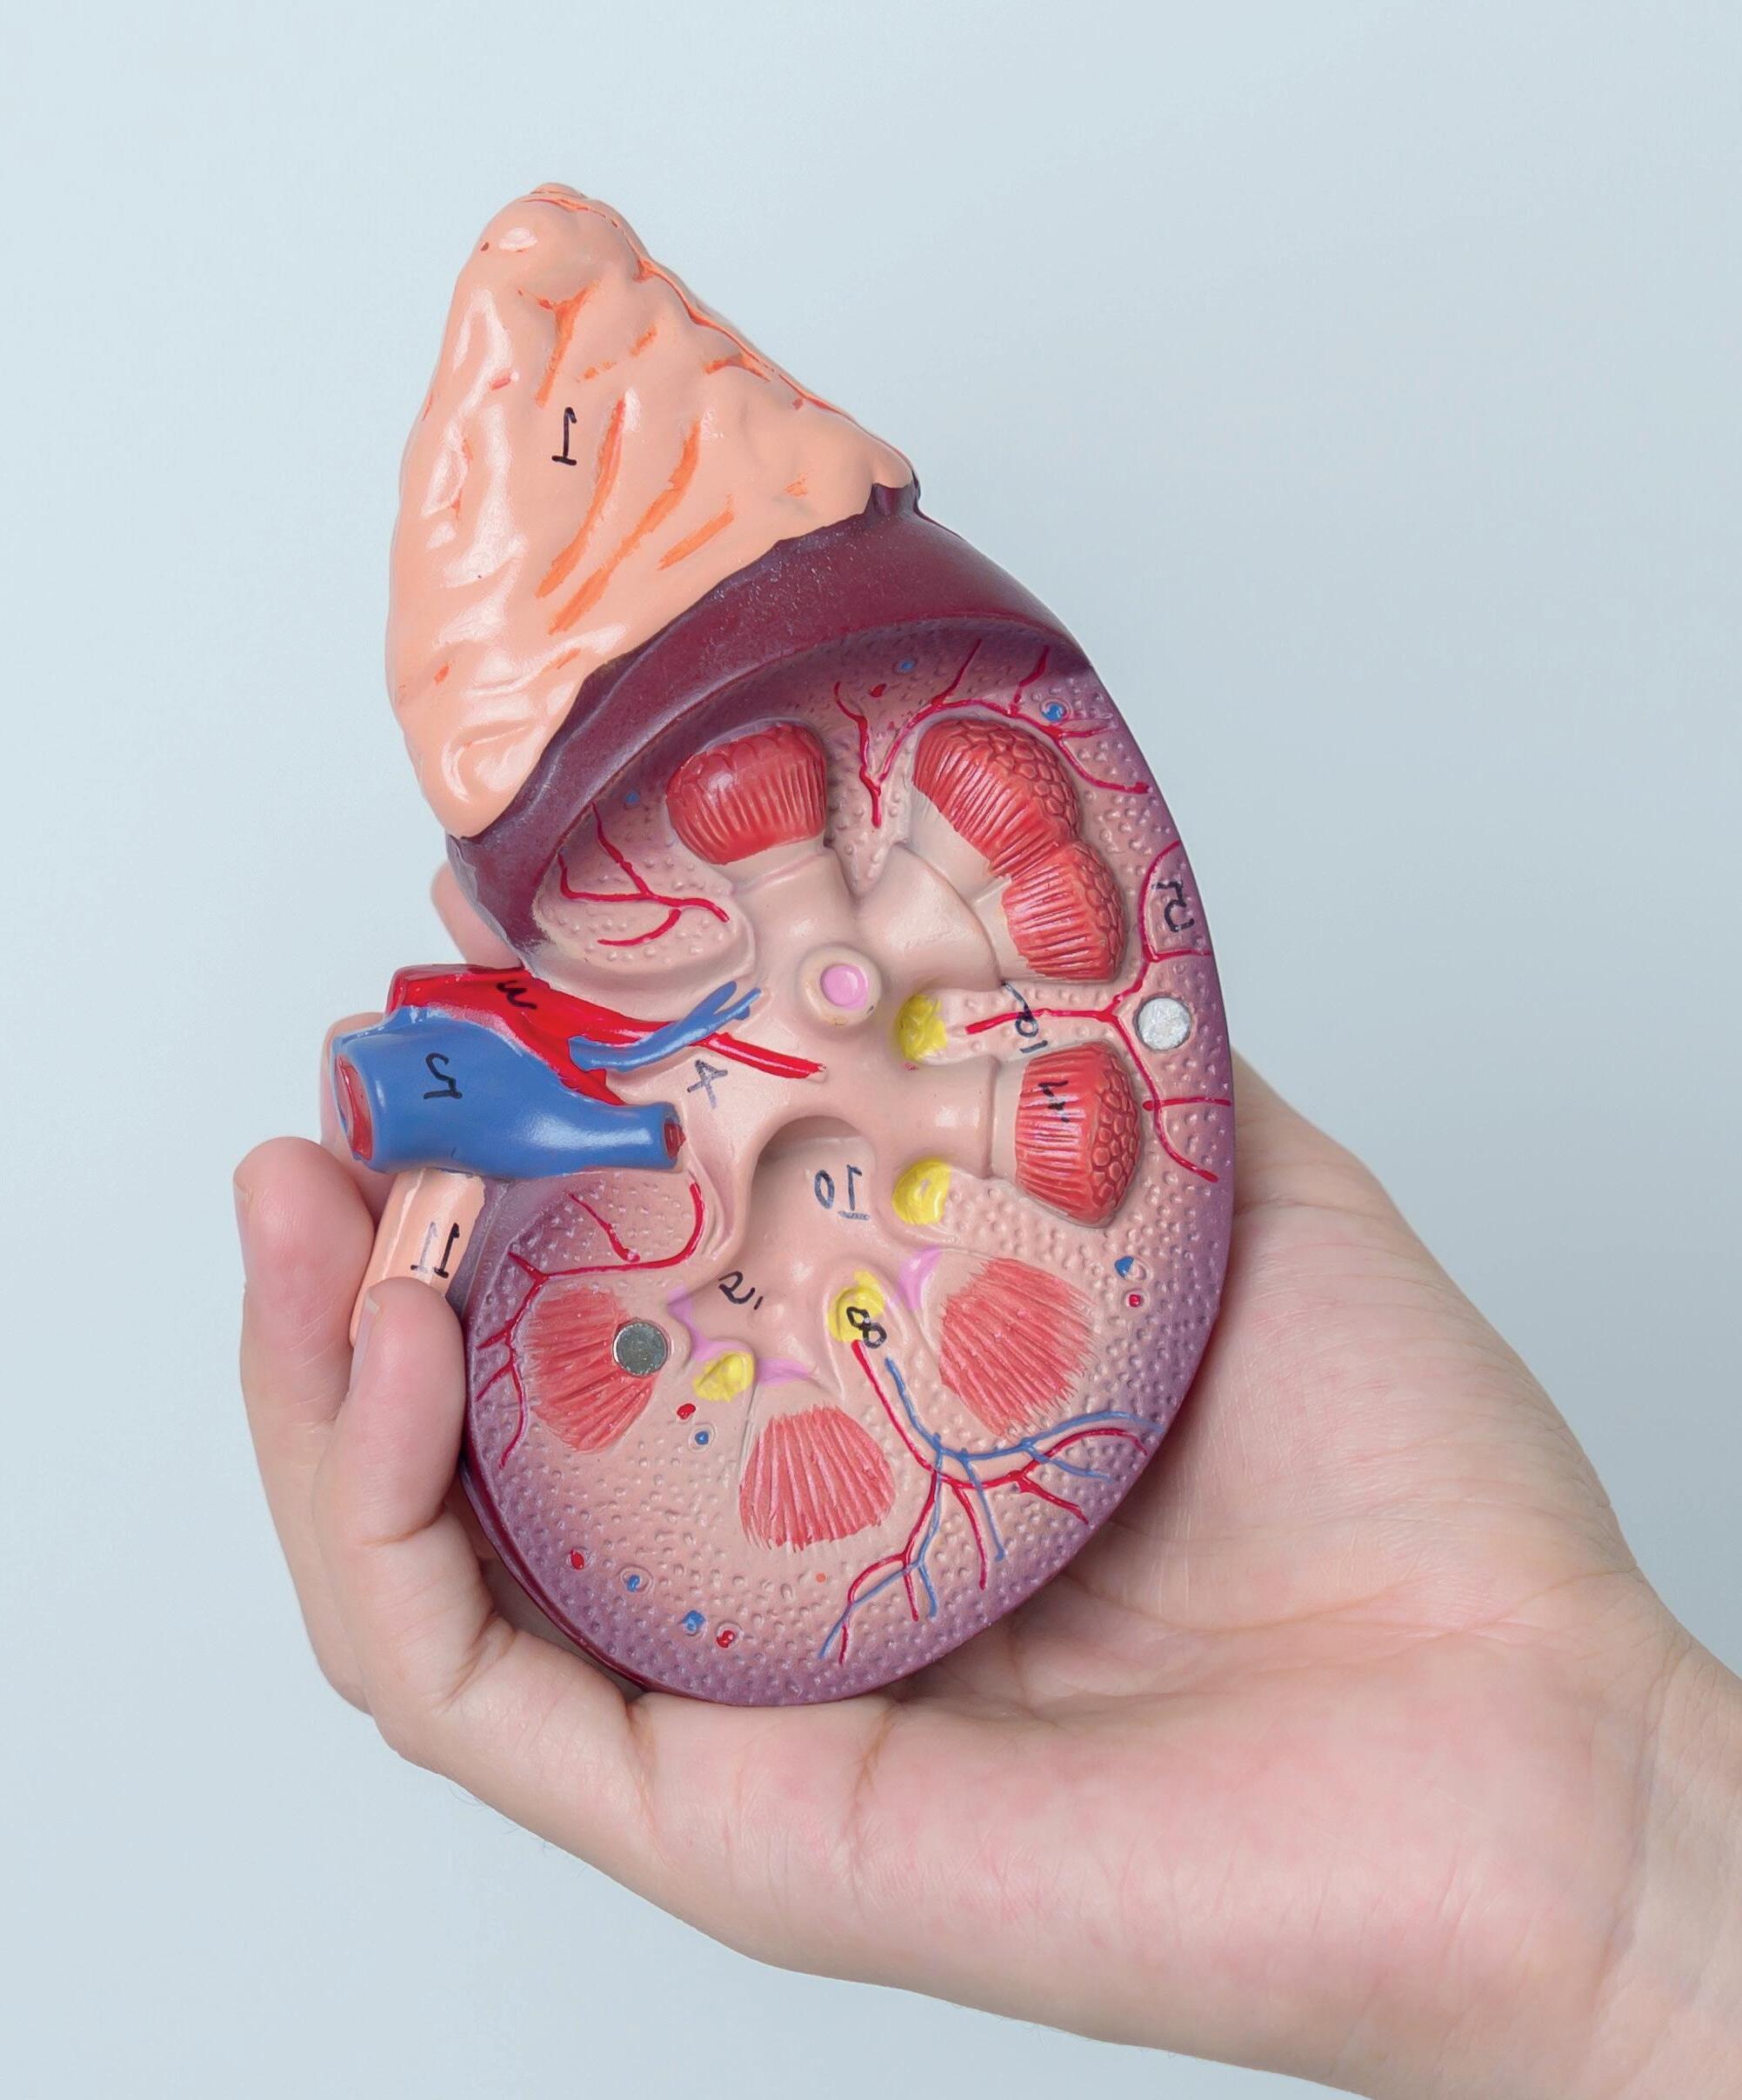
Kidney with Adrenal Gland Model, 2 Parts
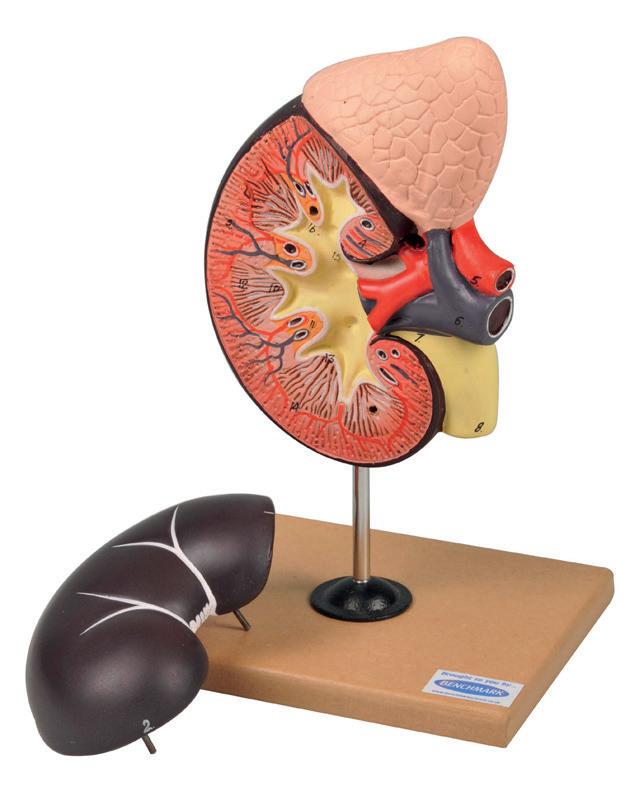
This model shows the kidney with an adrenal gland as well as renal and adrenal vessels and the upper portion of the ureter. Removable front half of the kidney to show cortex medulla and vessels as well as renal pelvis.
Follow this link to view the full range of dissection equipment and specimens
Visit: shop.wf-education.com/science 01743 812 200 customer.support@wf-education.com
NEW! NEW! | 23
MO230020 £75.00
MO130525 £36.95
Whole lamb’s kidney with vessels attached, suitable for student dissection.
BP230130 £21.35
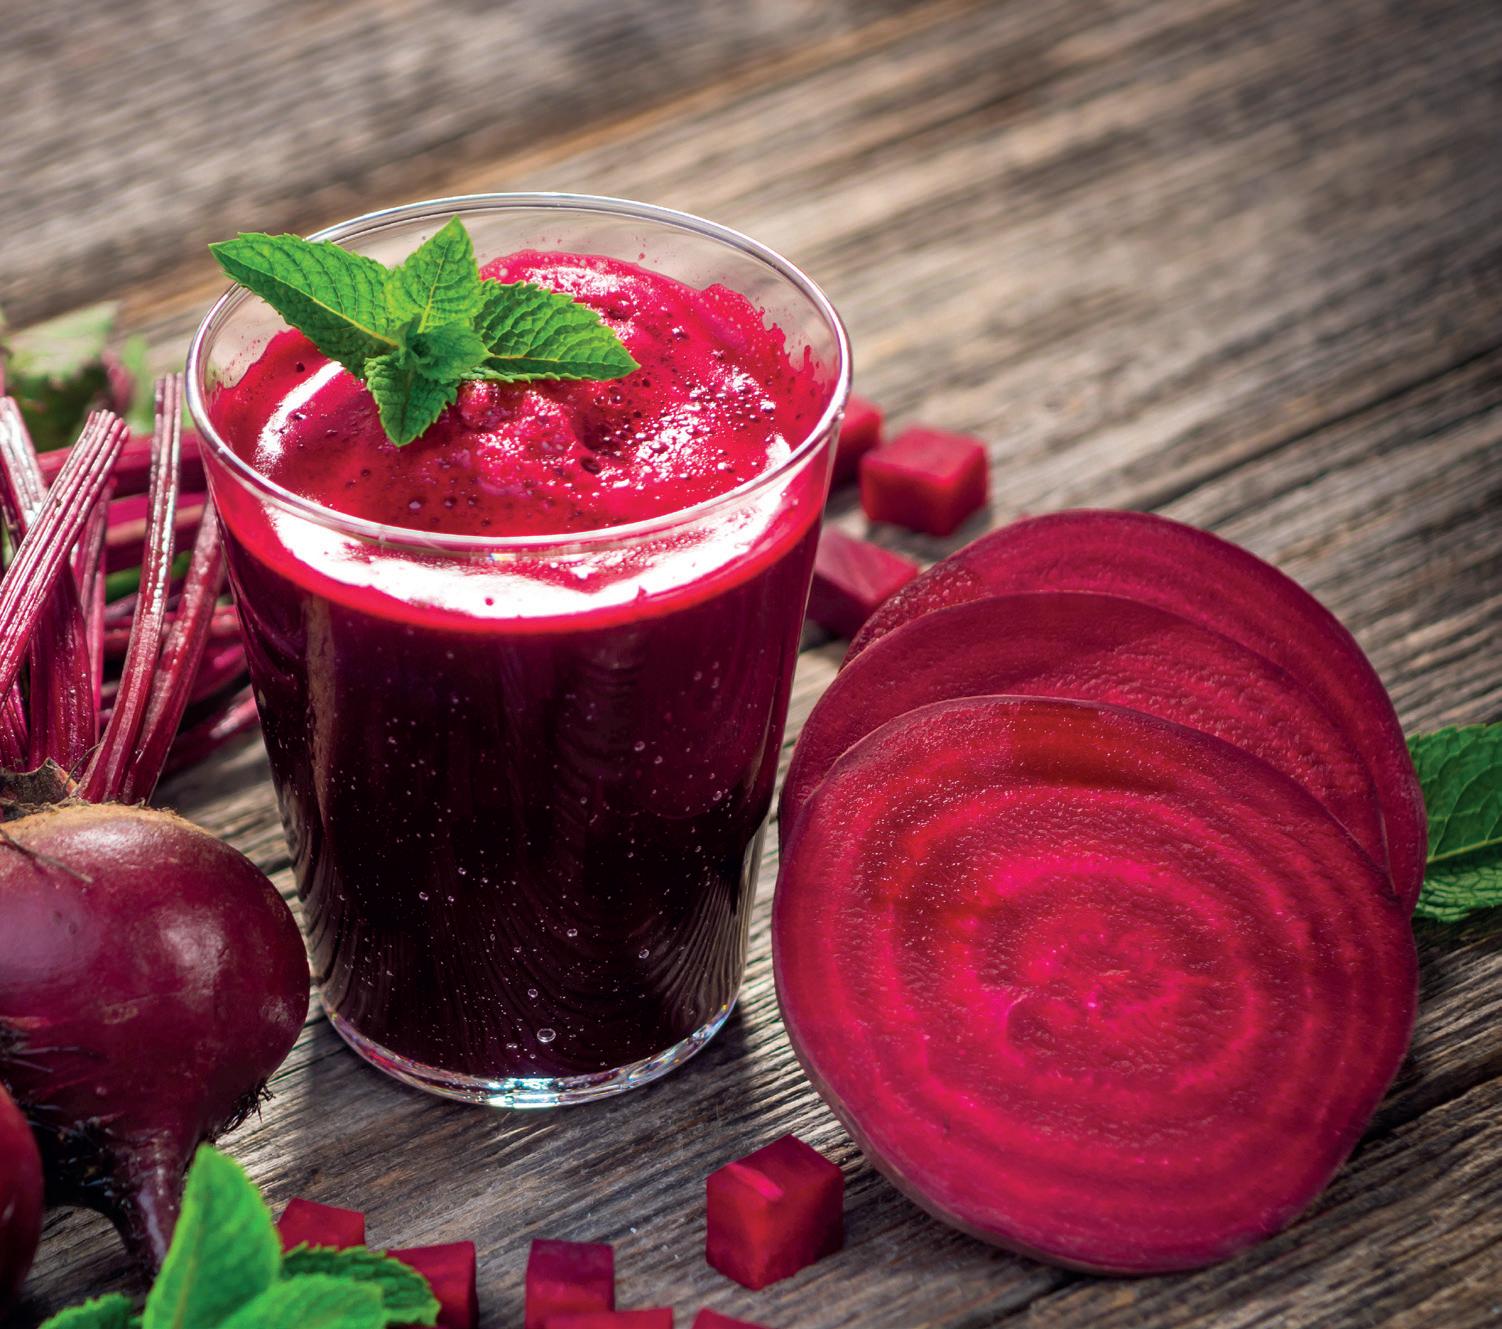
A level required practical: Effect of a variable on the permeability of membranes
Practical specification links
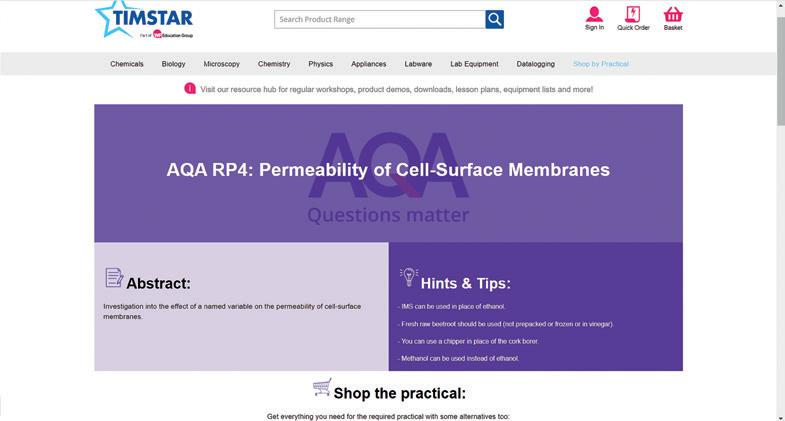
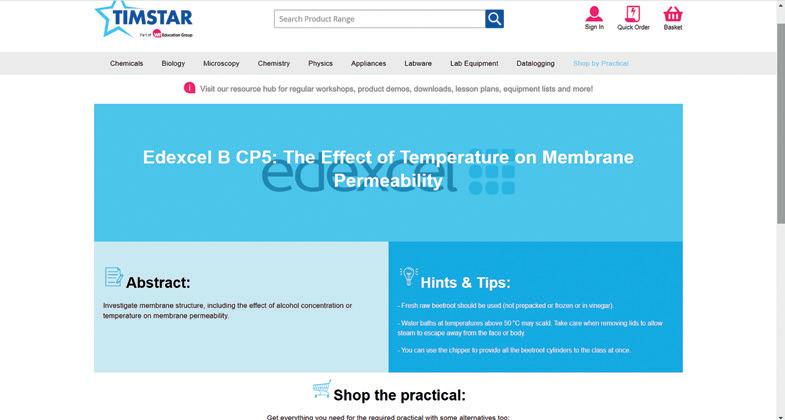
AQA: Effect of changing ethanol concentration on beetroot cell membranes
OCR A; EDEXCEL A & B; WJEC: Effect of changing temperature on beetroot cell membranes

Tips for preparing the beetroot

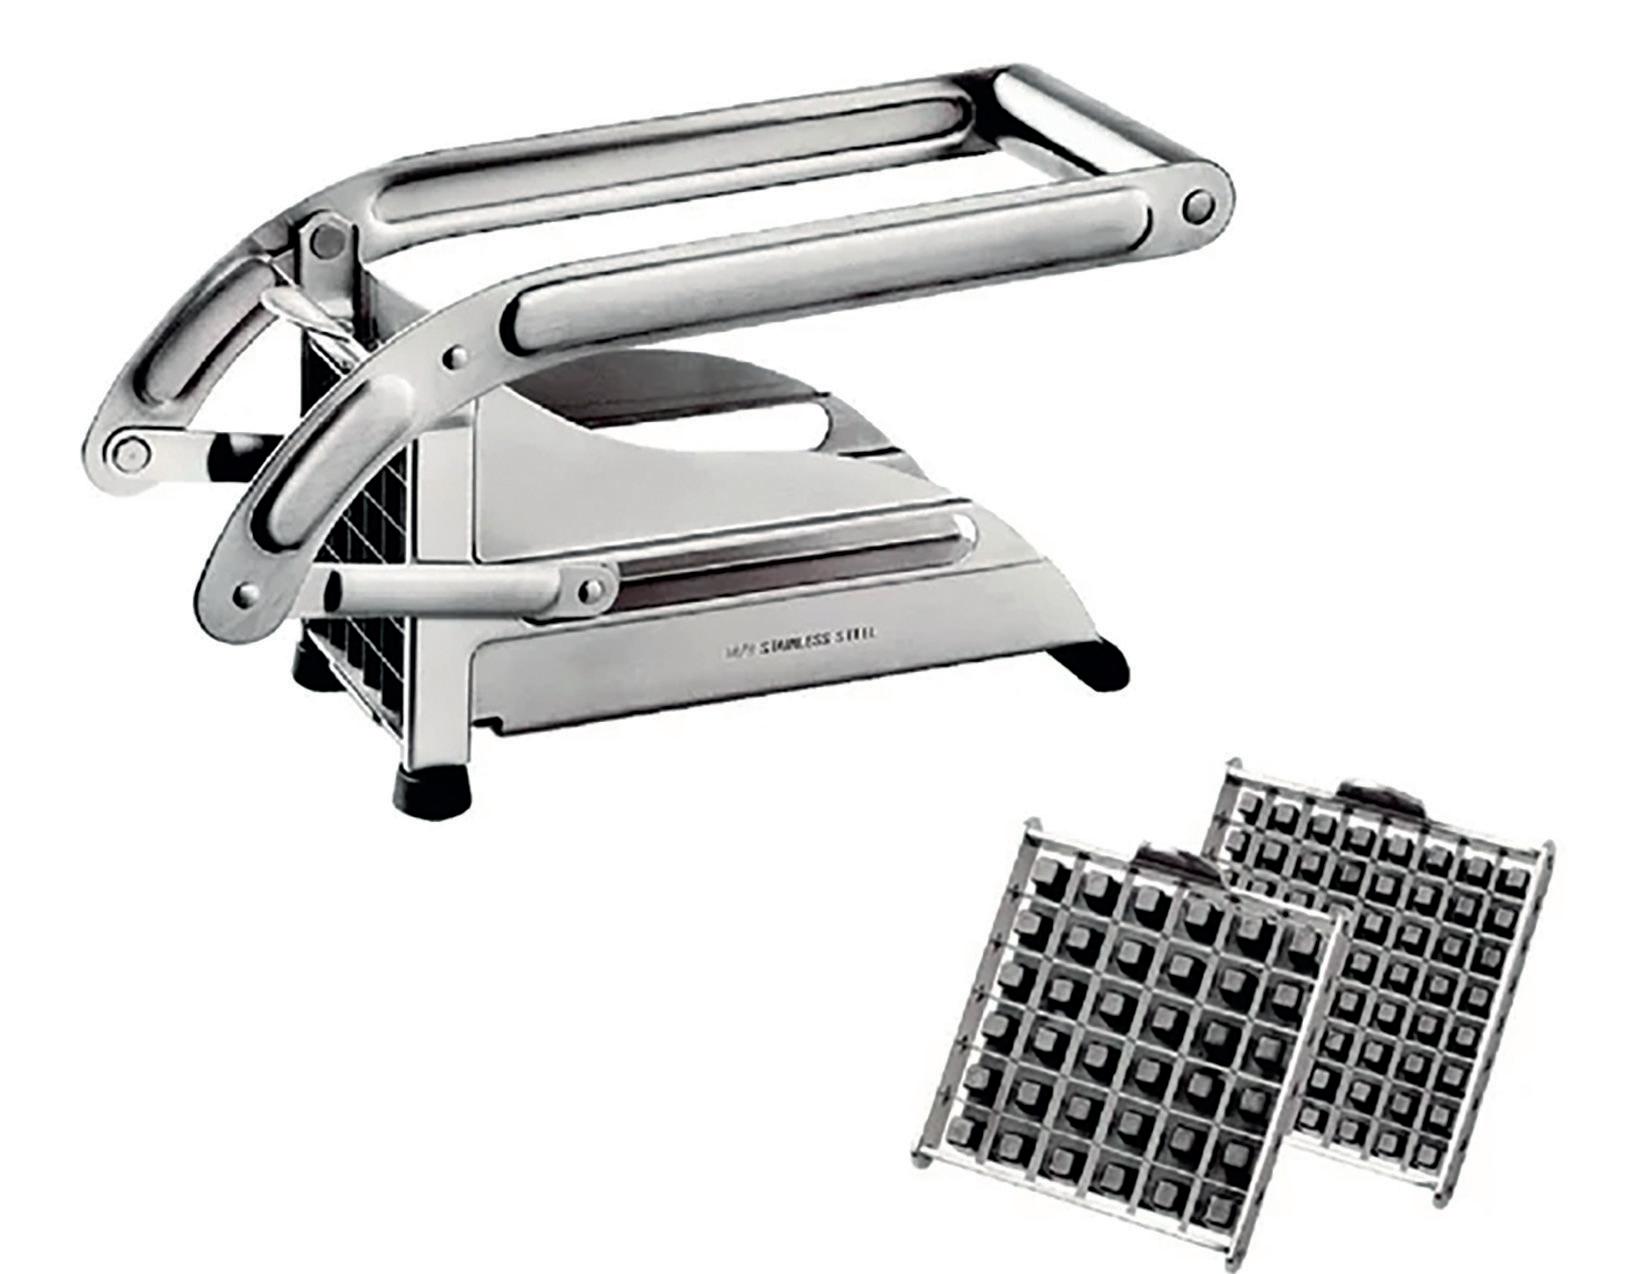
For this practical, cylinders of raw beetroot are required, all of the same size. Often these are pre-prepared by the technician, and a cork borer is used. This is a laborious, sometimes painful task and wastes a lot of beetroot. Using a potato chipper is an excellent way of producing many rectangular (chips) of equal size, with minimum wastage.
After cutting the beetroot, the ends should be removed (making sure the ‘chips’ are consistent in length), they should then be placed in a beaker of distilled water to allow for any betalain leakage (due to the physical membrane damage caused by cutting the beetroot) to be removed from the system before the students do the practical. They can be stored in the fridge overnight and placed in fresh water when the students are ready.


24 | Permeability of membranes
Using a colorimeter in this required practical
When using the colorimeter, the students will require a blue/green filter (530 nm).
The AQA practical requires a stock solution of betalain: adding beetroot discs into a solution of 100% alcohol (ethanol or methanol can be used). This extract, when mixed with water, can also be used to make colour standards for the colorimeter. (see the practical specification for more details). Edexcel use % transmission rather than absorbance to measure betalain concentration. % transmission is the opposite of absorbance (so 0 absorbance = 100% transmission and the solution will be clear).
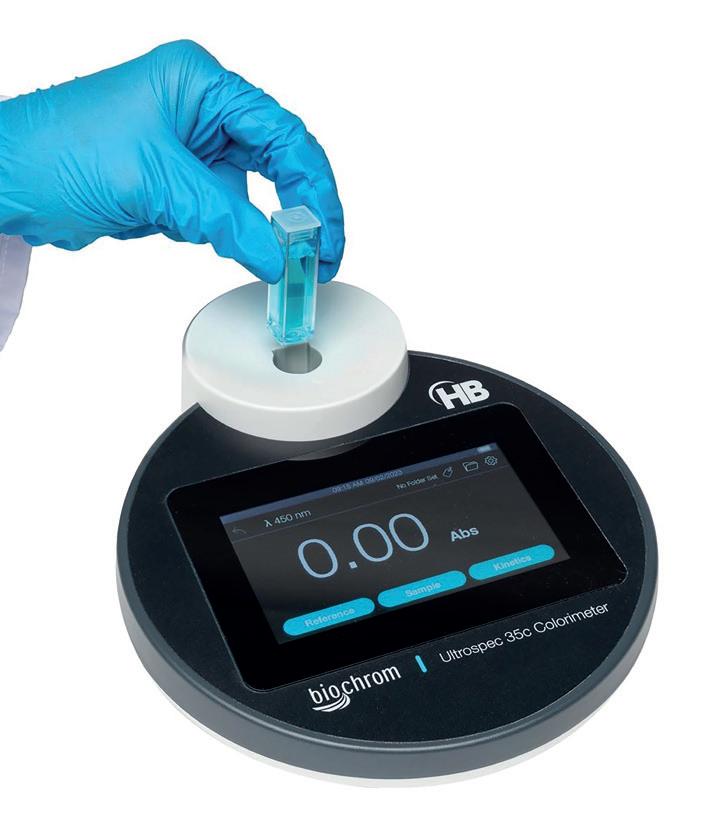
Ultrospec 35c Colorimeter
The Ultrospec™ 35c Colorimeter measures the absorbance/transmission of liquid samples in either a cuvette or test tube at fixed wavelengths to determine molecular concentration. See online for the full technical specification.

CO240000 £1,410.00
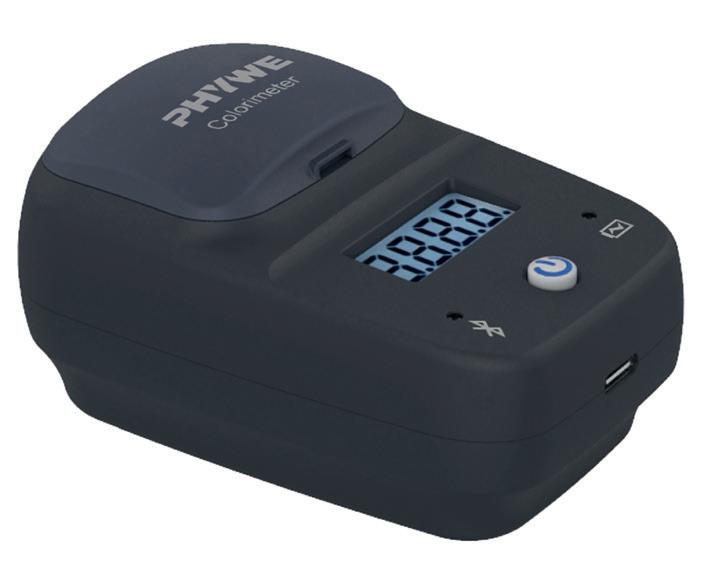
Phywe Cobra SMARTsense Colorimeter Sensor
This Phywe colorimeter sensor is ideal for measuring the transmittance or absorbance of samples at different wavelengths. In addition, turbidity can also be determined.
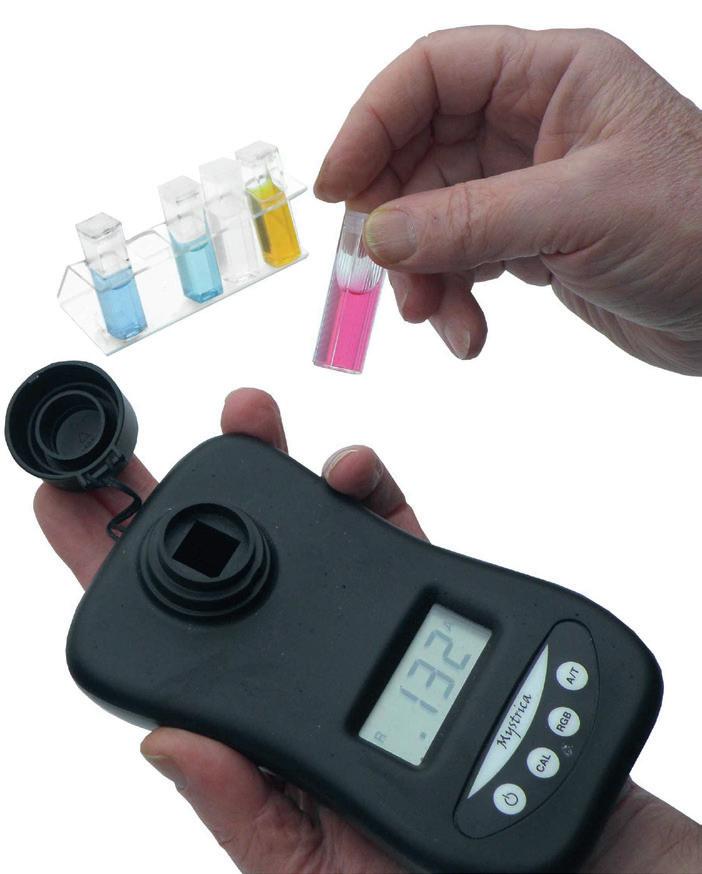
Mystrica Colorimeter
The Mystrica colorimeter delivers high quality performance in a small, robust, user-friendly and affordable package.
CO100720
Each £126.00
CO160740 Pack of 4 in a tray

| 25
NEW! NEW!
£467.50
DA220370 £352.85
Enzymes feature heavily in the biology curriculum at both GCSE and A level.
Enzymes can be particularly temperamental, and it is always worth testing them before any practical. Enzyme troubleshooting:
Check the optimum working conditions of the enzyme for pH and temperature. See our Resource Hub for a table on enzymes with more details of working conditions.
Do not make the enzyme up in hot (greater than working temperature) water, use distilled water and check the pH.
Make sure that both the substrate and enzyme have had time to come up to room temperature if they have been stored in the fridge.
Ensure that the enzyme and substrate are well mixed and don’t add an enzyme to a hot substrate, this applies especially to starch which is best made using boiling water. Allow the starch to cool to room temperature before adding any enzyme. (Heat will denature the enzyme and render it useless).
Decrease the concentration of the substrate (so the ratio of enzyme to substrate is higher).
Increase the concentration of enzyme (so the

Follow the same protocol as the students will use to test the enzyme. If they will be looking at the action of amylase on starch at different temperatures, using spotting tiles, do the same. The activity of the enzyme in a large volume of starch in a test tube will not show up as the volume of starch is so large compared to the volume of amylase, however, it will show in the spotting tile.
Beware of contamination of starch stock solution with the enzyme. Although (as noted above) a drop of amylase in a test tube of starch may not show digestion initially, left overnight even a single drop of amylase will work its way through a beaker of starch which means the practical will not work the next day. So, make sure the pipettes you are using do not get muddled and end up in the wrong beakers.
Storage: ensure you are following the correct storage procedures for each enzyme. Storing enzymes too cold can be just as damaging to them as storing them too hot.

Enzymes Set
A set of eight tubes of 10 g each of Amylase (Diastase): bacterial and fungal, Invertase, Lipase, Pancreatin, Trypsin and Urease. Complete with teaching notes.
Enzymes have specific temperatures and pHs that they work best at. We have a table showing this for all products in our range. Search ‘Properties of Enzymes’ on the Resource Hub to find out more!
26 | Enzymes, all you need to know
EZ98242 £82.70
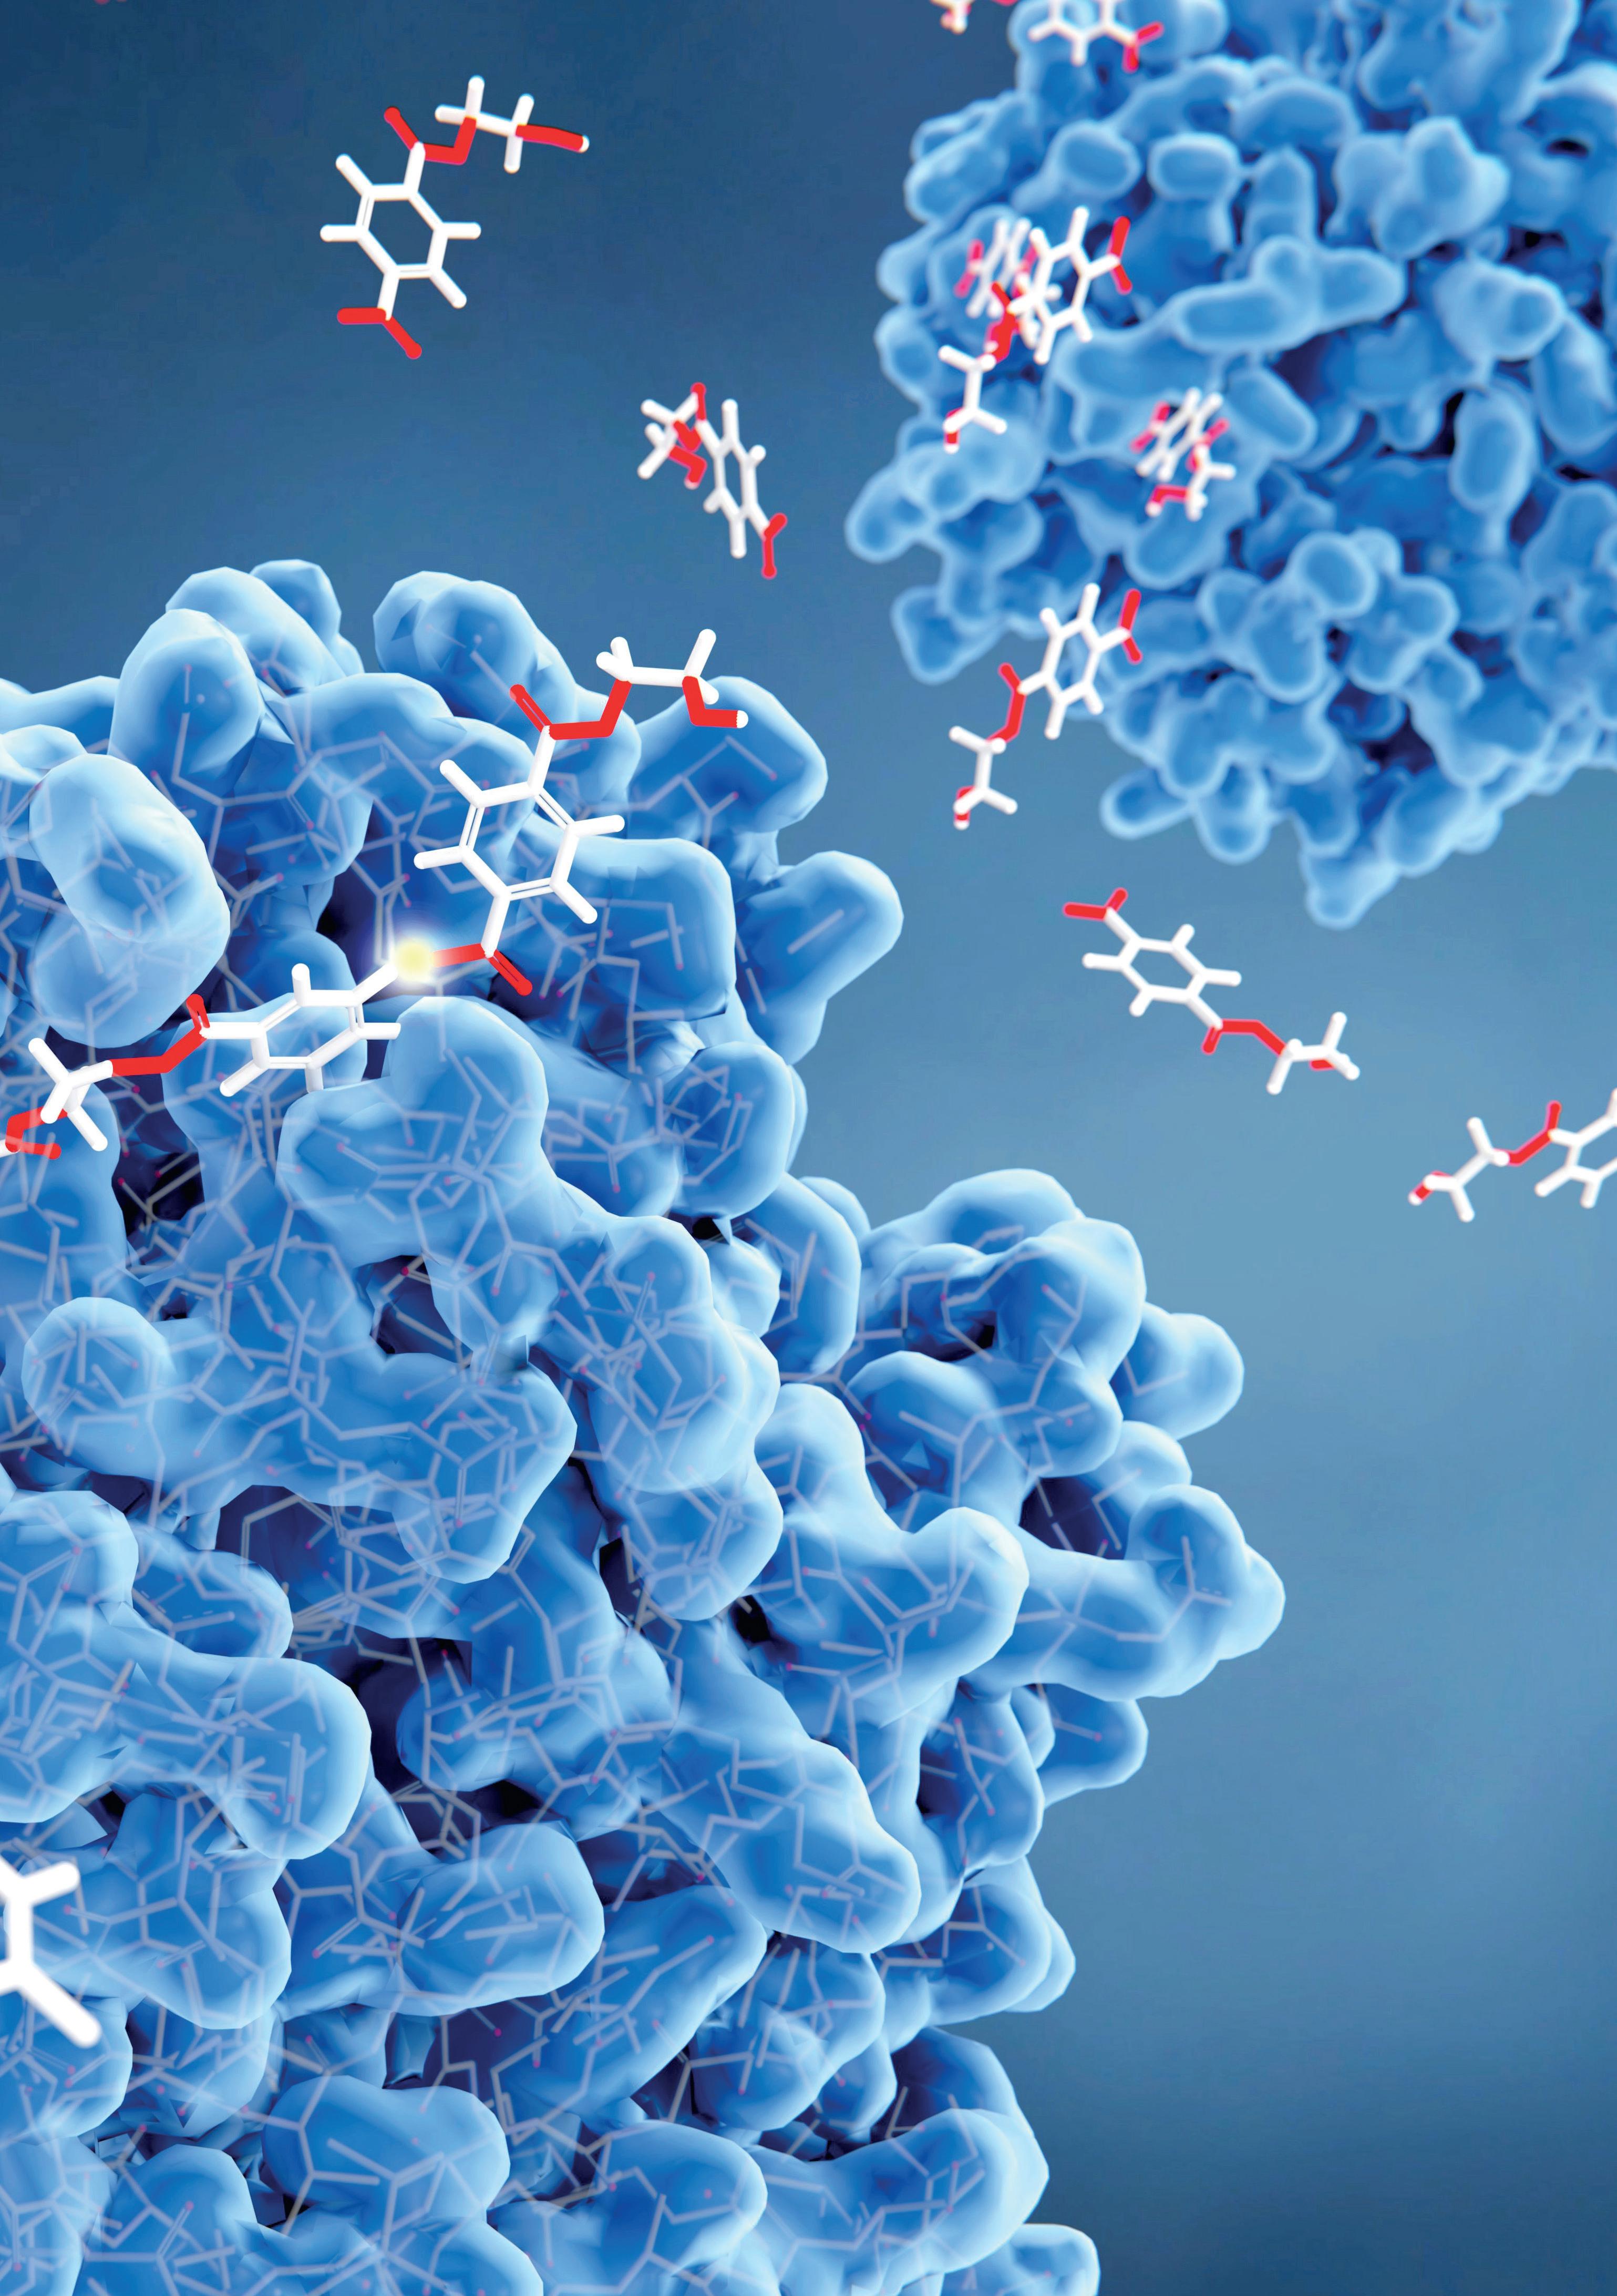
How do enzymes work?
Enzymes are highly specific for the reactant (substrate) they are reacting with. Enzymes are made of protein. Proteins are made of strings of amino acids that are then folded in a specific way (depending on the protein); thus, the enzyme will be folded in a specific way that will fit the substrate perfectly. Where the substrate binds to the enzyme is called the active site (of the enzyme) and this is different for every enzyme-substrate pairing. The specificity of this interaction led to the “lock and key” hypothesis of enzyme action: the lock being the enzyme that the substrate ‘key’ fits into, every lock being specific for its complimentary key.
Code Variant Description Unit Price EZ81560 Fungal Alpha Amylase 50 g £11.50 EZ81561 Amylase, Bacterial 100 mL £6.90 AM1342 Alpha Amylase, 50% Reducing Sugars 25 g £5.00 AM1344 Alpha Amylase, 50% Reducing Sugars 100 g £19.70 EZ81562 Amylase Working Solution 50 mL £11.70 AM1338 Alpha Amylase, Bacterial, Free from Reducing Sugars 10 g £7.50 EZ81563 Alpha Amylase, Free from Reducing Sugars 50 mL £18.75 EZ81564 Catalase 50 mL £9.60 EZ81565 Cellulase 2 g £62.00 EZ81566 Diastase, from Malt 100 g £20.10 EZ81568 Invertase, Bio-Invert 50 mL £23.90 EZ81569 Invertase, Concentrate 50 mL £16.50 EZ81570 Lactase B-Galactosidase 25 mL £12.50 LI3512 Lipase Powder 10 g £6.95 LI3514 Lipase Powder 25 g £14.65 PA4450 Pancreatin from Pig Pancreas 100 g £59.50 EZ81573 Pectinase 100 mL £41.35 PE4506 Pepsin 25 g £5.90 EZ81574 Pepsin 50 g £12.30 EZ81576 Protease, Bacterial 100 g £21.25 EZ81577 Protease, S.A 50 mL £19.10 RE5162 Rennet 25 g £15.95 EZ81578 Rennet 50 mL £8.20 EZ81579 Rennin 5 g £15.25 TR6338 Trypsin 25 g £24.00 UR6438 Urease Active Meal, from Jack Beans 25 g £26.50 | 27
Green algae, such as Scenedesmus quadricauda have become excellent teaching resources especially when studying photosynthesis.
Although algae aren’t plants, they are eukaryotic (usually aquatic) organisms that produce nutrients by photosynthesis.
The beauty of using algae in the classroom is that it is small and fast growing, you can buy it quite cheaply and then ‘bulk it up’ for long term use in experiments, and it photosynthesizes really fast, so experiments can be completed well within (most) lesson times. Algal photosynthesis is generally more efficient than plant photosynthesis, as they use more light absorbing pigments and carbon dioxide concentrating systems to get the most out of the CO2 and light available to them.
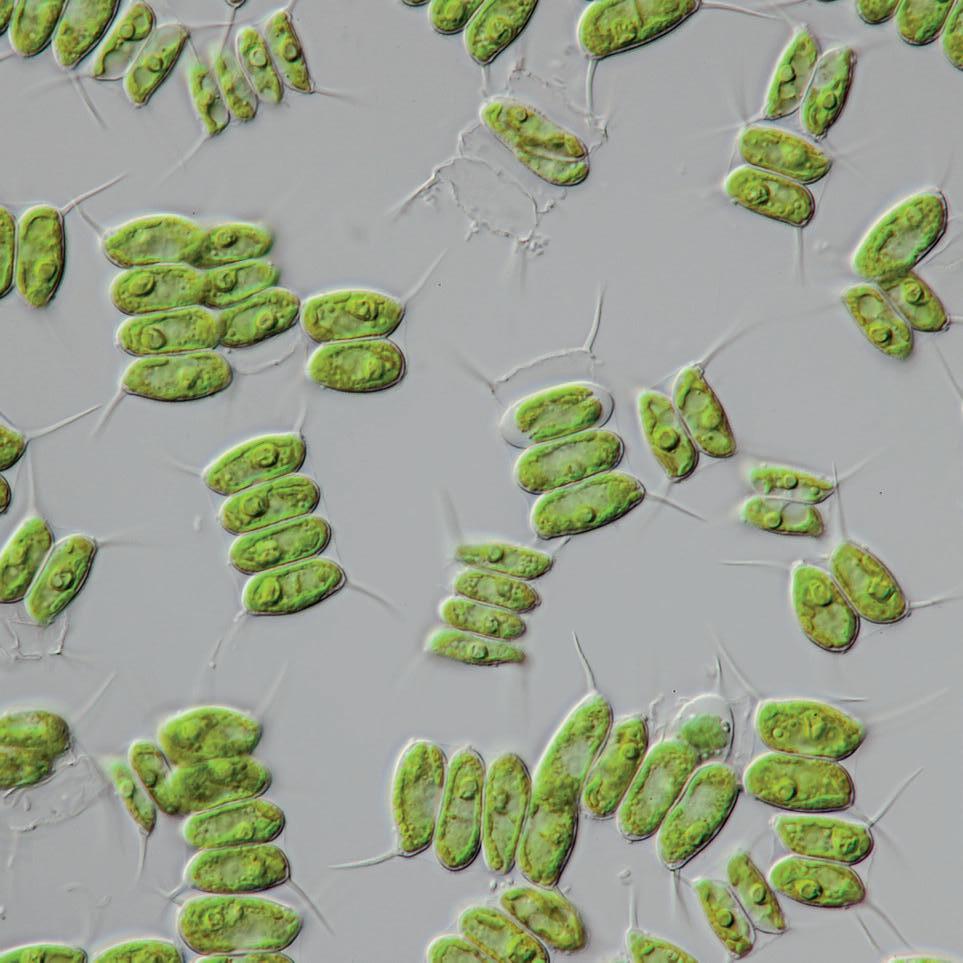
Chlorophyte algae: Scenedesmus quadricauda
We have more information about algal balls and how to set up and perform this experiment. Visit our Resource Hub and search ‘Algal Balls’.
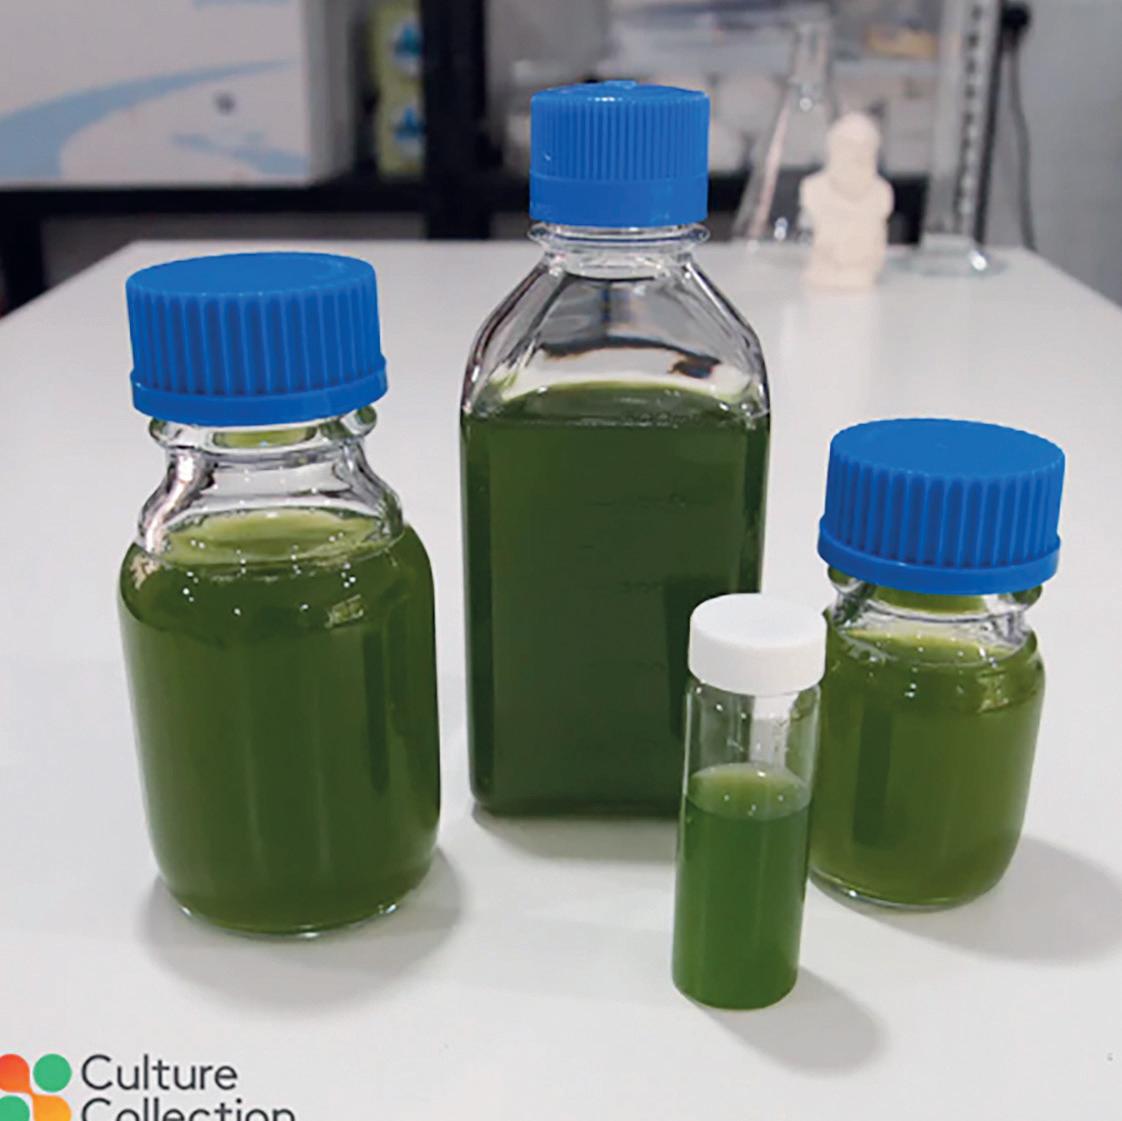
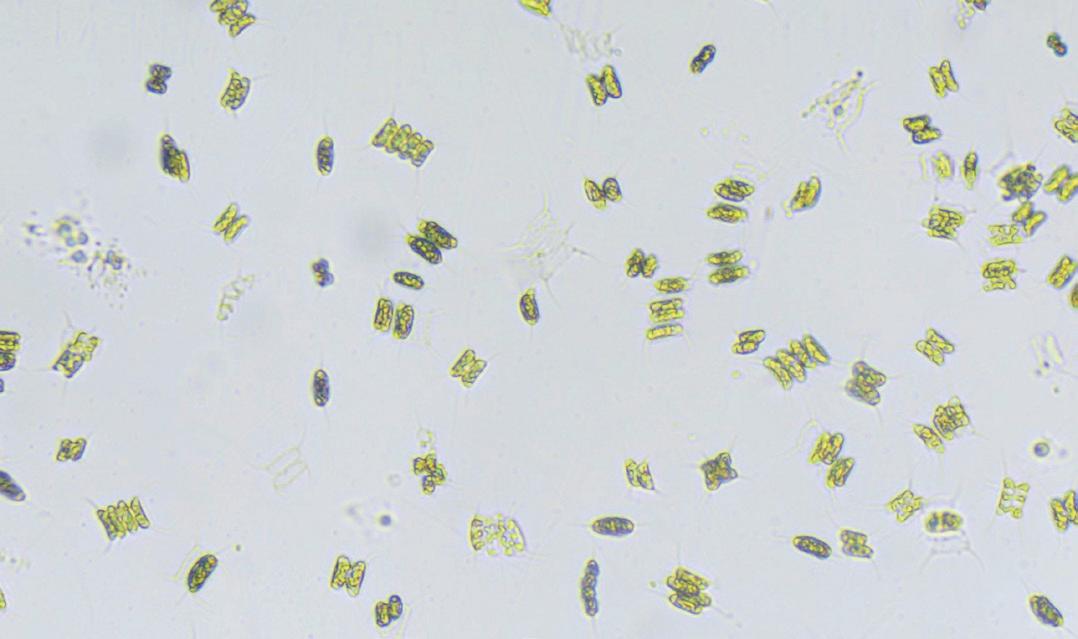
Scenedesmus Quadricauda 30 mL Tube
Scenedesmus quadricauda is a green freshwater algae, typically 4 cells with a spine at each corner. It is quick and easy to grow, and ideal for use in many experiments including in the algal ball experiment for studying photosynthesis.
BL180550 £16.40
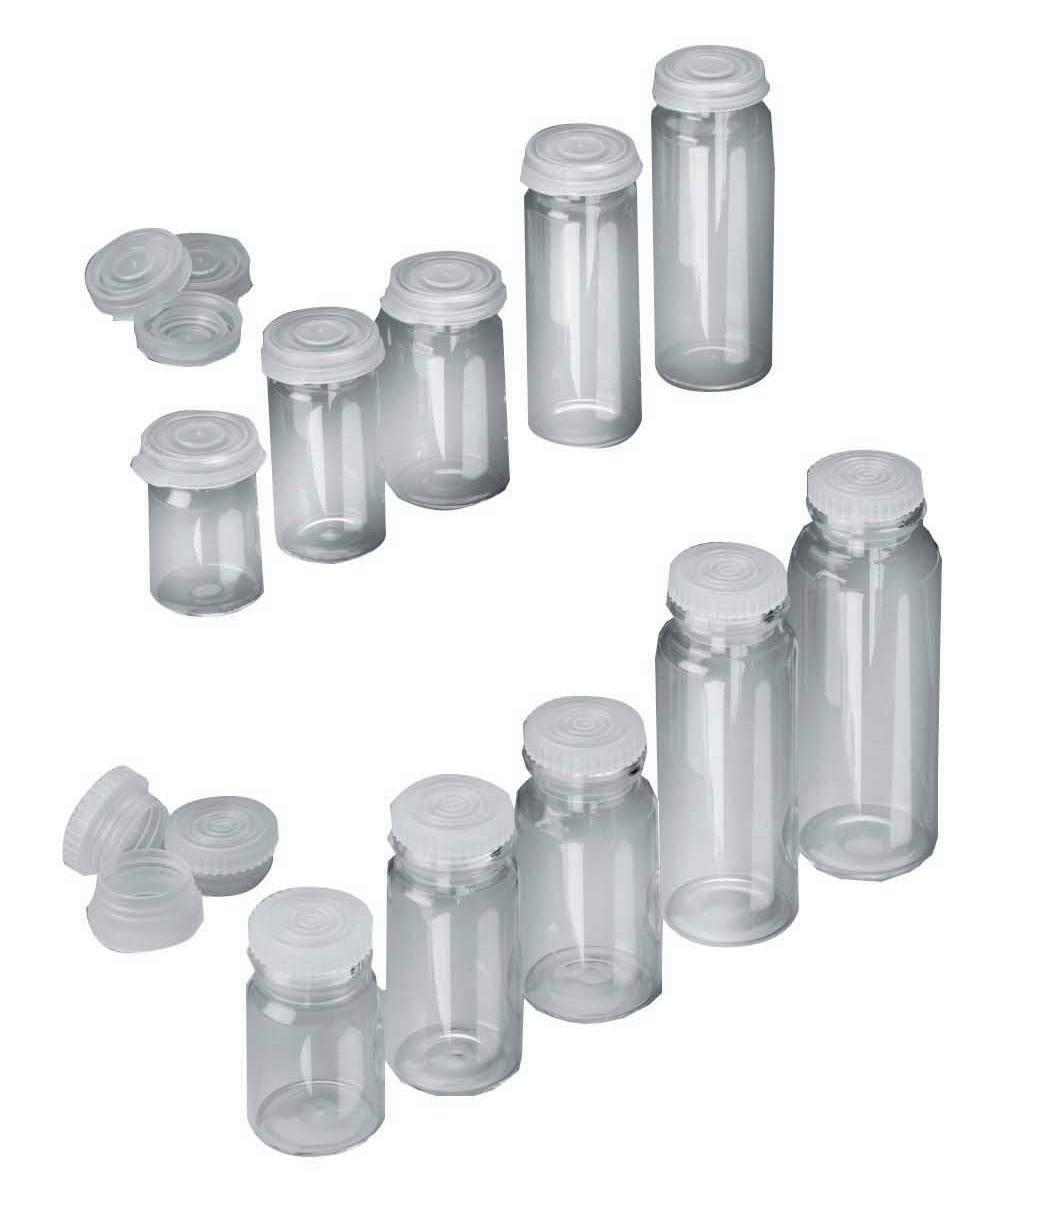
7 mL Vials, Pack 190
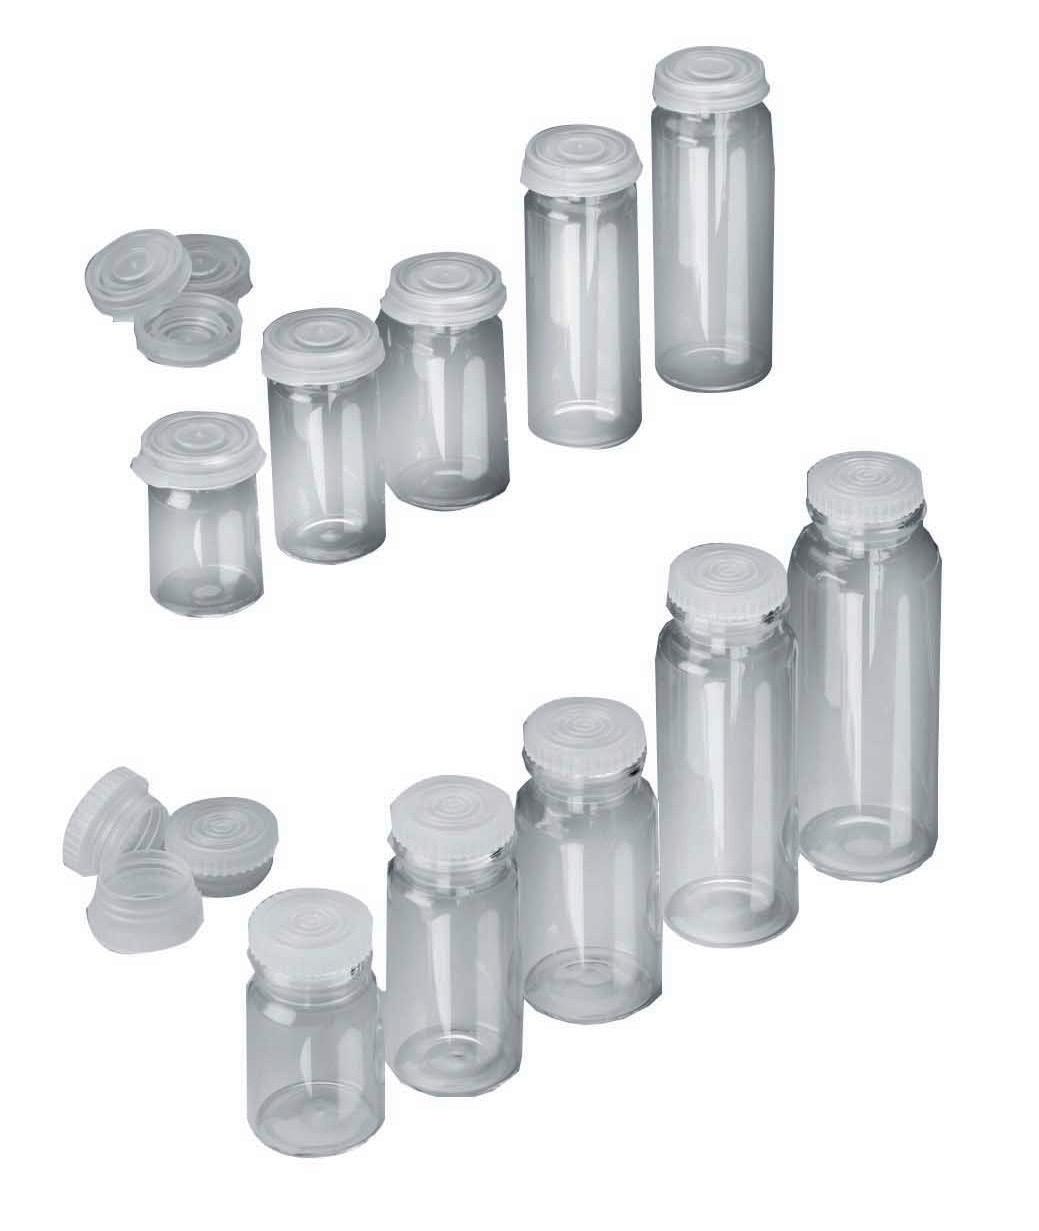
Neutral glass with polythene clip-on cap.
VI16980
28 | Algal balls
£48.50
Required practical - The core practical 6 in the Edexcel GCSE specification, asks students to look at the effect of light intensity on the rate of photosynthesis using algal balls.
If the algae look pale, they may need more light before the practical
If the practical is happening too slowly, add more algal balls to the tubes or decrease the amount of indicator
For good algae they should be bulked up, so the solution is a pea green colour, and exposed to light before use
Students place a prepared algal sample at several specified distances away from a bright light source and leave for a minimum of 60 minutes. A final prepared sample is wrapped in black paper or foil to block light and is placed alongside the sample nearest the light. This is a negative control.
Directly in front of the light source, a large beaker of water is placed, this acts as a ‘heat sink’ preventing the heat from the lamp reaching the samples and so removing temperature as a variable factor in the practical.

The result of this practical shows that the nearer the samples are to the light source, the more purple they are, meaning that more carbon dioxide is being used in photosynthesis. The dark control sample should look yellow as there is more carbon dioxide in the system than at the start, indicating that carbon dioxide is not being used up. (it is being produced from respiration of the algae).


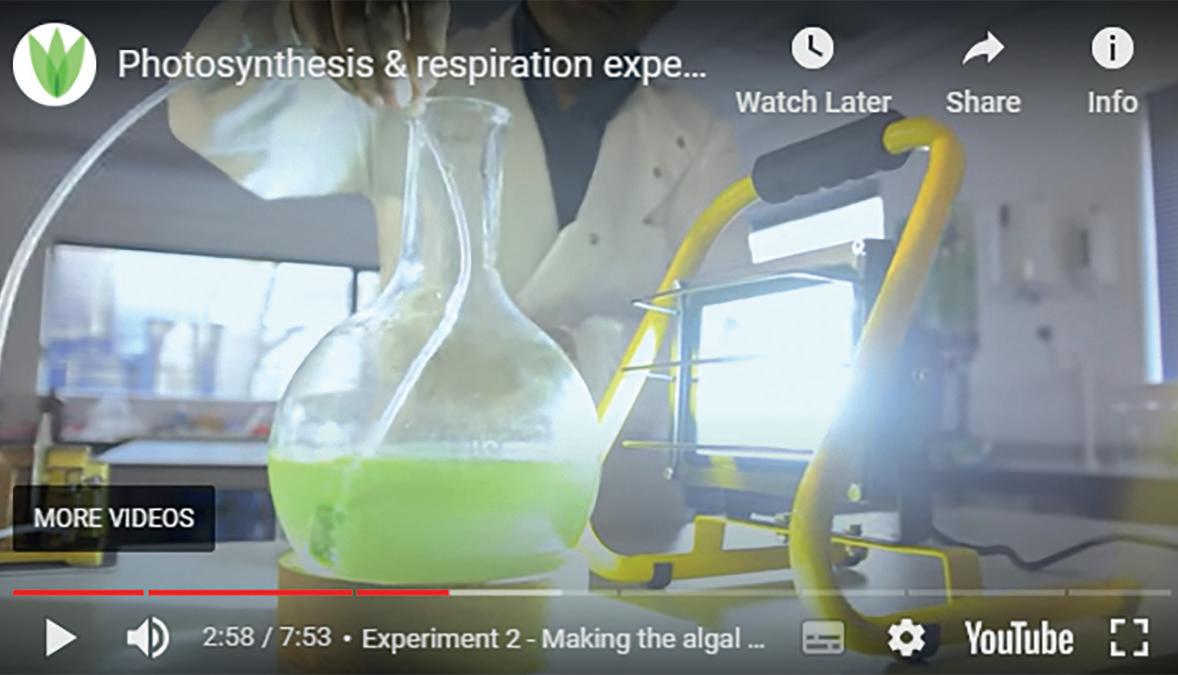
Scan to watch a video of how to prepare and set up this experiment!
Visit: shop.wf-education.com/science 01743 812 200 customer.support@wf-education.com
Heat sink
Bright
Control sample
Algal samples in solution Metre rule
light source
| 29

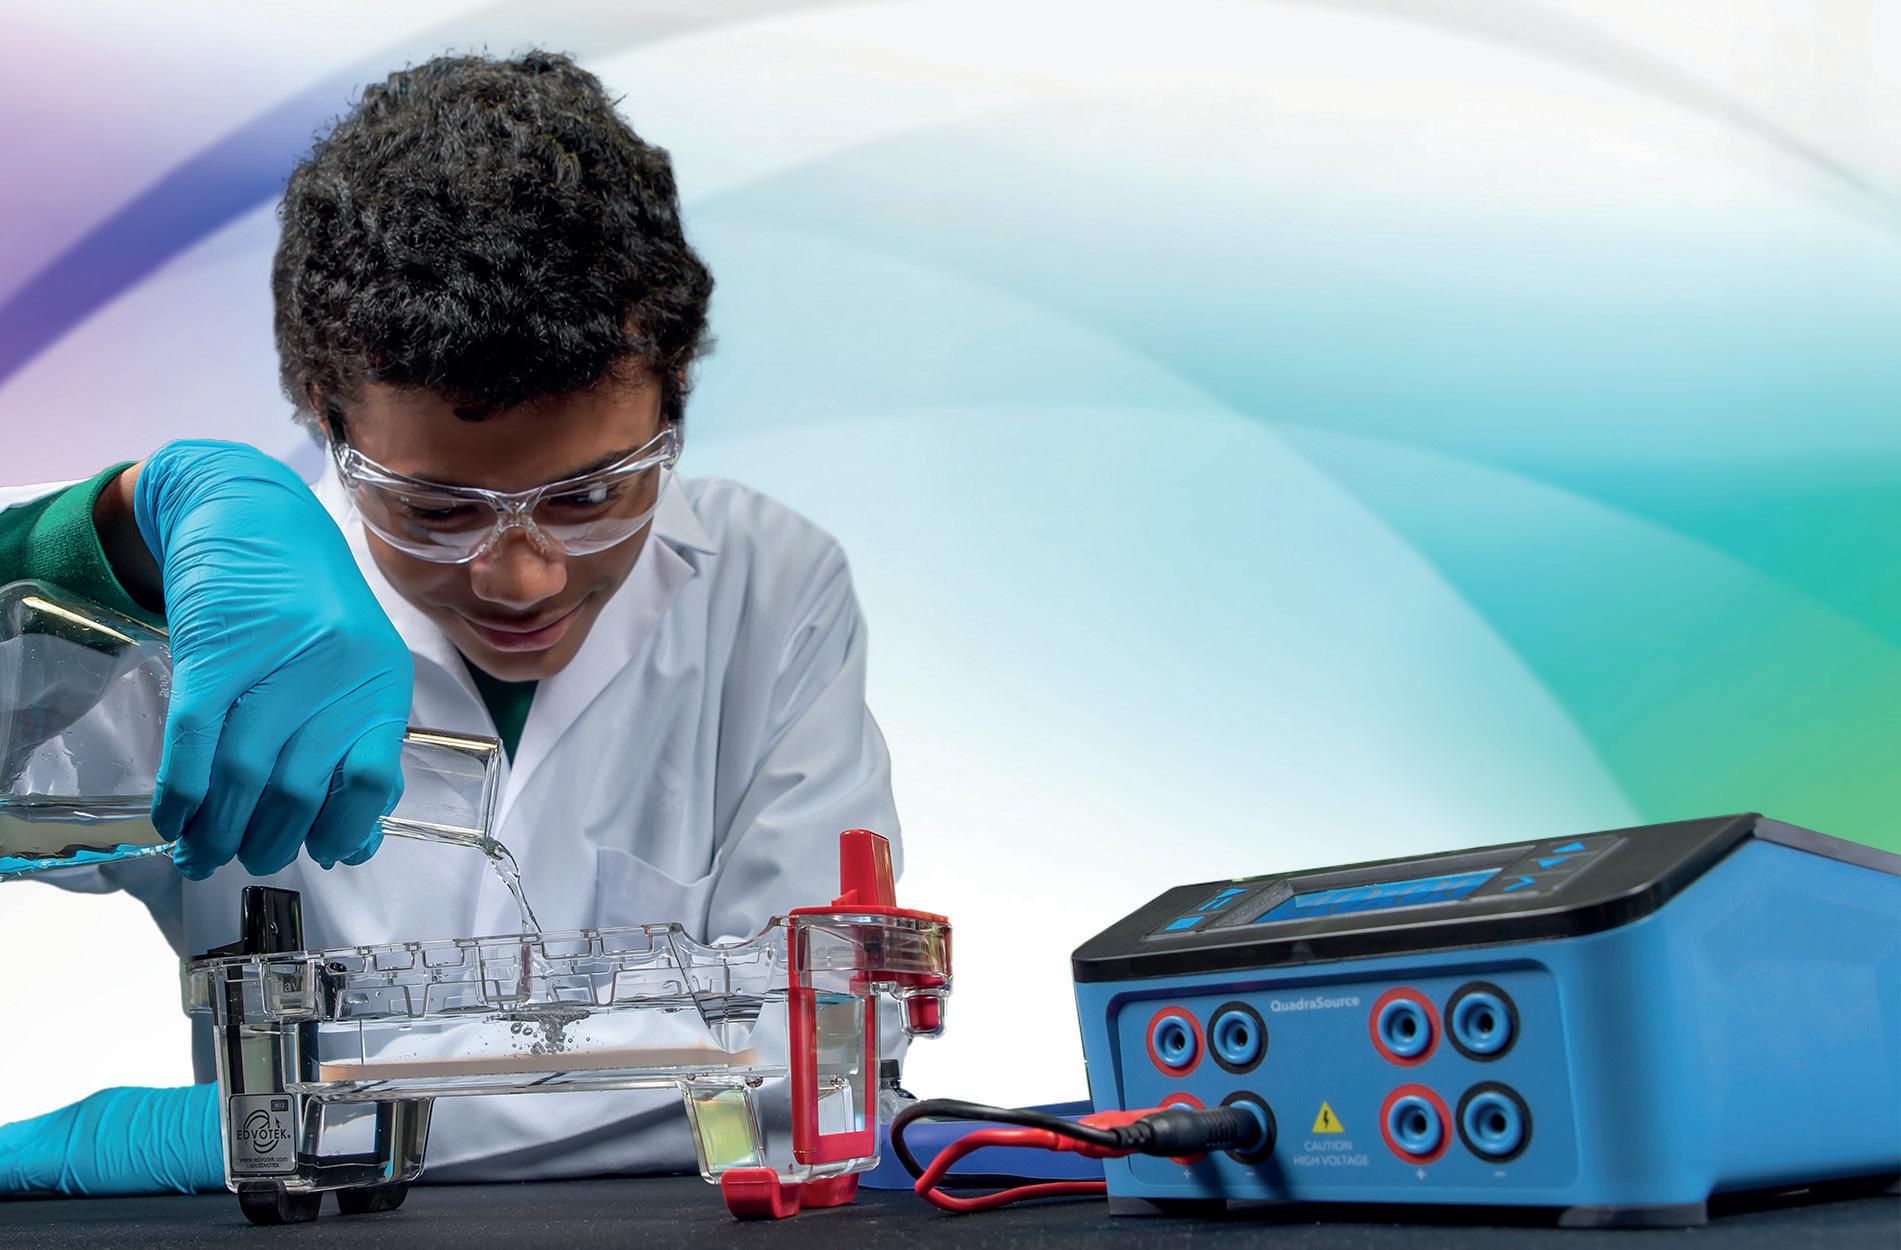
Biotechnology covers a whole range of processes important for identification, whether that is of a crime suspect, or parental (genetic) responsibility (DNA fingerprinting); or disease identification through mutation detection; or further understanding of heredity via sequencing.
Working with Edvotek®, Timstar can guide you through the process and share our recommendations of which kits are the most useful for each stage. We also have experts on hand to offer guidance and support.
The process...
1.
Extract DNA (from blood*/ saliva/hair)
2.
Amplify DNA target sequence (PCR)
1. DNA extraction: Kits to use
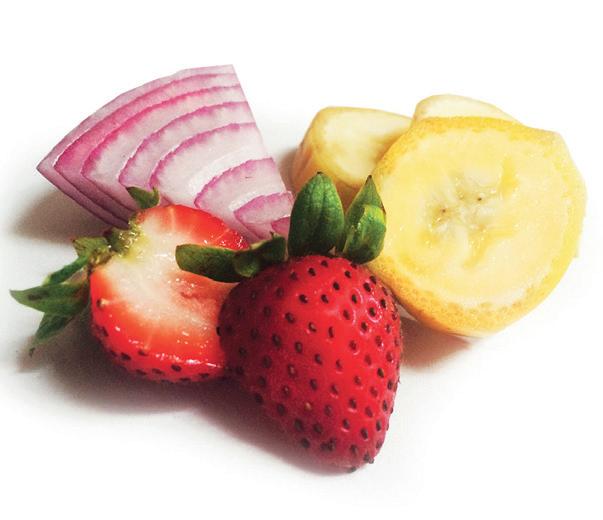
Extracting Fruit and Vegetable DNA
• Learn about the basics of cells and DNA
• Extract DNA from household fruits and vegetables
• Spool DNA to visualise genetic material
• Includes extraction buffer, test tubes, pipettes, and spooling stick
BT230060 £49.65
3.
Separate amplified fragments (electrophoresis)

4.
View and analyse fragments
*DNA is extracted from white blood cells in a whole blood sample.
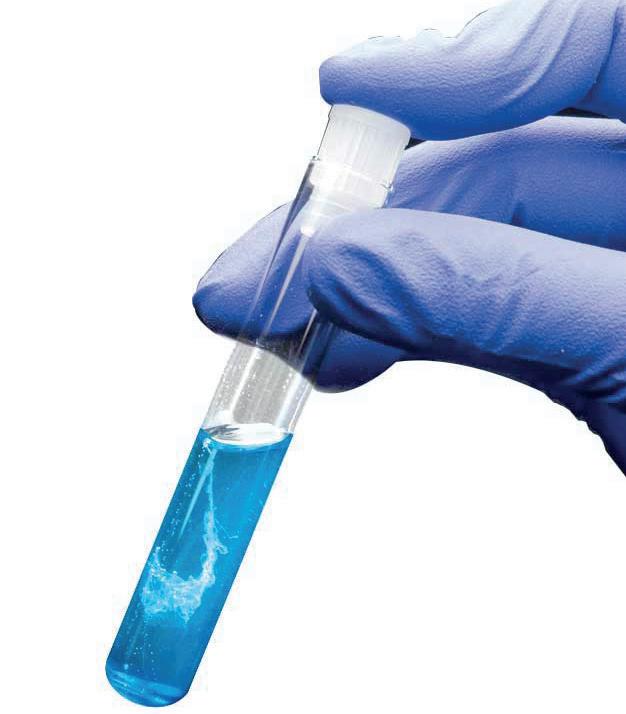
Genes in a Tube Kit
Students perform a DNA extraction from their own cheek cells, via a simple cheek swab, and then store the extracted DNA in a “genes in a tube™” necklace.
This would be the first step in isolating DNA from a crime scene, as DNA can be isolated from the smallest sample of cells. BT97805 £110.00
30 | Biotechnology: PCR and electrophoresis
To be able to study or visualise the gene or region of interest in the DNA we need to make a lot more of it, to do this PCR is needed.
2. Amplify target sequence: PCR
To make multiple copies of the target DNA sequence, the DNA is separated: step 1 denaturation. Next, primers (short complementary sequences of single stranded DNA that match the ends of the target sequence) are added, along with a polymerase enzyme which can add free nucleotides, dNTPs, to the end of the primers, to match the target sequence: steps 2 and 3 anneal and extend. At the end of this, new copies of the target sequence will have been made. The process (steps 2 & 3) is repeated 35-40 times (cycles), with extension giving millions and millions of copies of your target sequence.
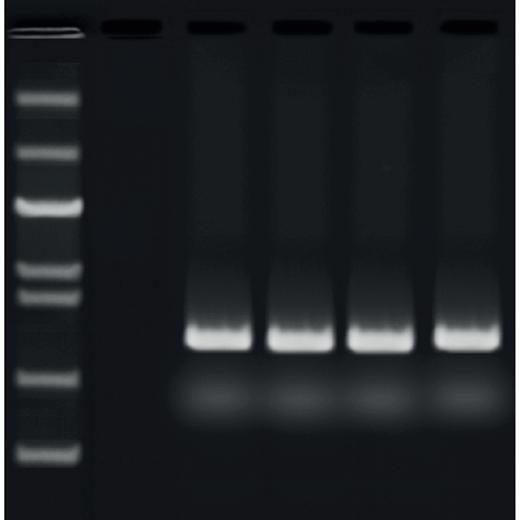
Quick PCR Kit
Students are able to amplify preprepared DNA, followed by gel analysis (electrophoresis) BI130975
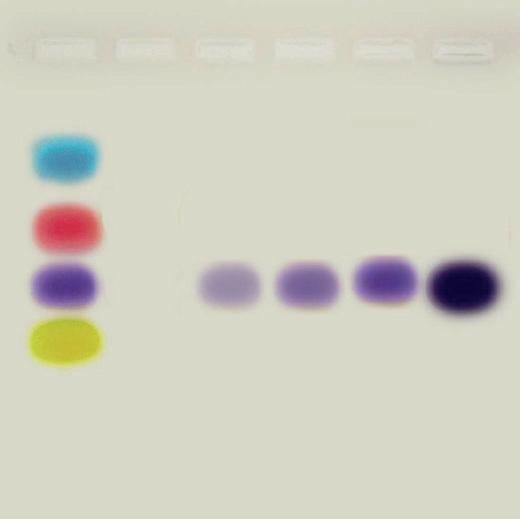
3. Separate amplified fragments (electrophoresis)
What Is PCR and How Does It Work? Kit
Pre amplified samples of DNA sequence, with the PCR stopped at different cycle numbers, to show the relationship between number of PCR cycles and amount of DNA. BT97925
After amplification in a thermal cycler (PCR machine), there will be a mix of different length sequences in the tube. To visualise these, they first need to be separated, and this is achieved through electrophoresis: a gel separation technique using an agarose gel and electricity. Fragments are separated based on size and thus their ability to move through the gel.
4. View and analyse fragments
After allowing the samples to separate on the gel, you need some way of visualising them (since DNA is colourless). This will depend on what you have added to the sample, either in the gel itself or as an external stain after running the gel. By adding a dye marker to the product, you can track the sample as it travels through the gel. The type of marker added will affect the type of visualisation system you will need: either UV or blue light, or a white light system.
All the kits supplied by Edvotek® for Timstar come with detailed instructions and background information. A second supportive resource: “Edvotek®: struggling with biotechnology?” is also available to download from our website.
If you are interested in our recommendations for kits to teach the various stages of the process, as well as comprehensive information and ideas about DNA fingerprinting, disease mutations, and Amanda’s top product suggestions for all aspects of biotechnology, please read our Resource Hub post here.
Visit: shop.wf-education.com/science 01743 812 200 customer.support@wf-education.com
| 31
£143.25
£53.25
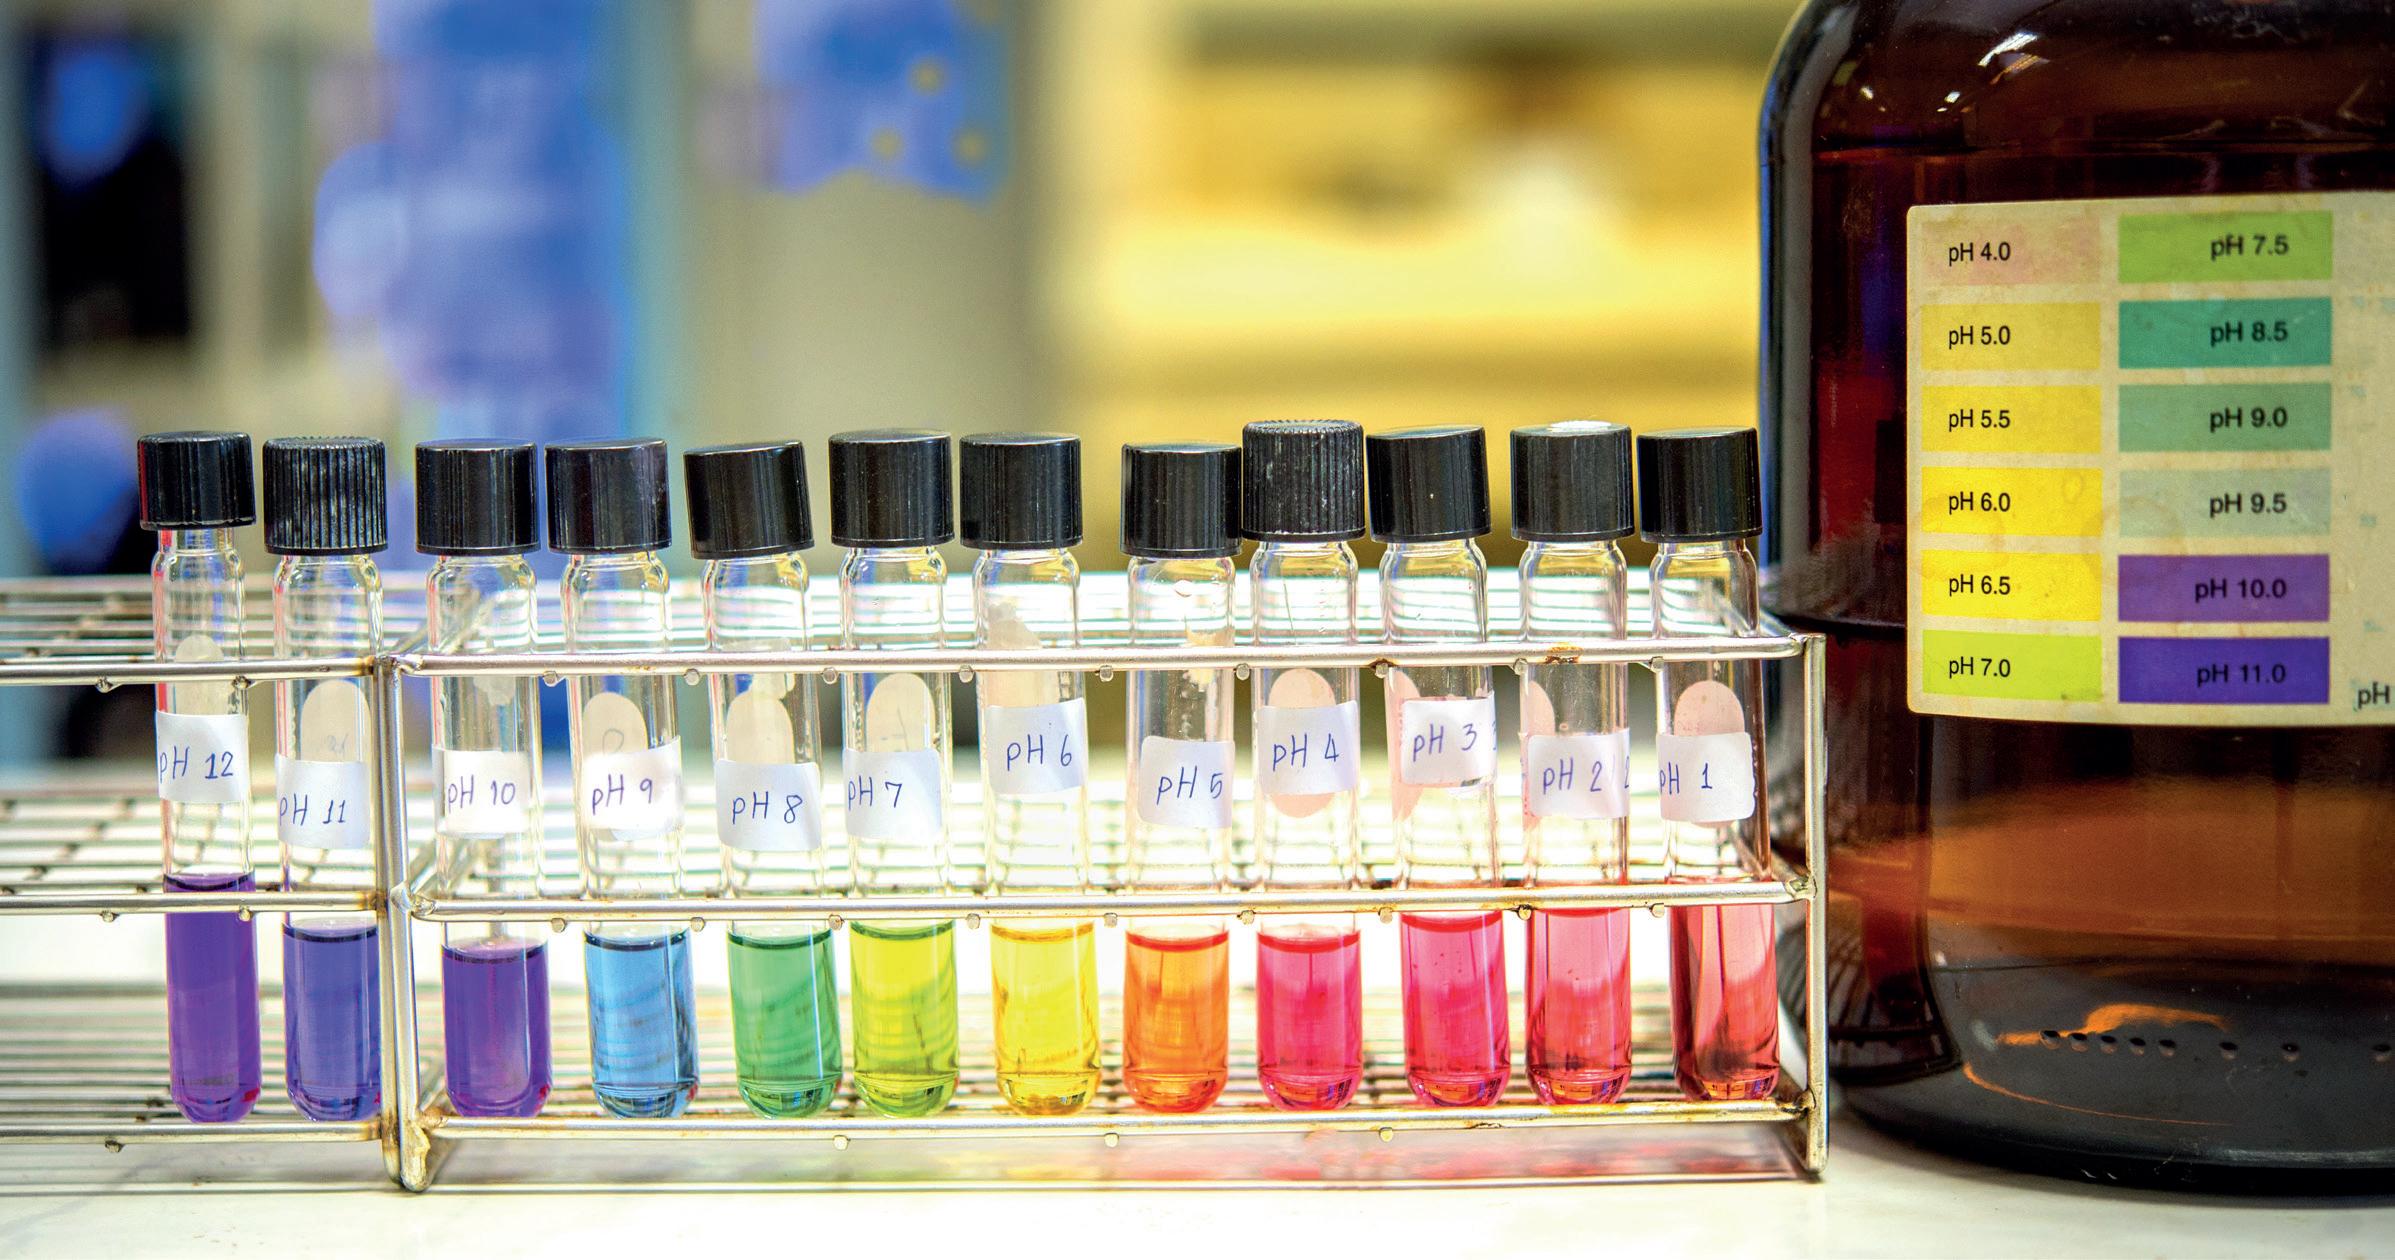
pH stands for ‘Potential of Hydrogen’: it is a measure of the concentration of hydrogen ions in a solution.
The pH scale is logarithmic – each whole number pH increase actually represents a tenfold difference in the acidity or alkalinity. This means that pH 2 is ten times more acidic than pH 3. So even though the difference of 1 pH may sound small it is actually quite sizeable.
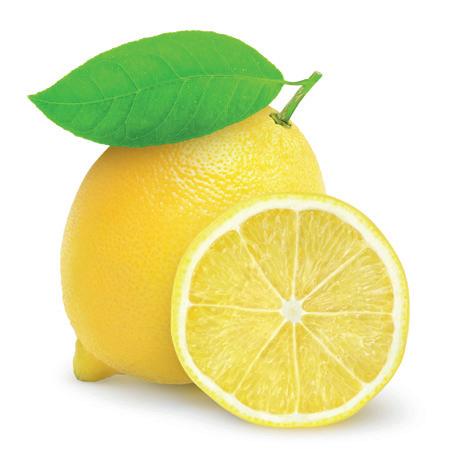
Lemons are one of the most acidic fruits with a pH of 2. That is a reason why they are often used as cleaning aids. They also have a high vitamin C content. Their zest is used for baking and their leaves can be used in tea.
pH buffers are used in many solutions, to maintain them at the correct pH over time. The practical: the Hill reaction (decolourisation of DCPIP by chloroplasts) requires buffered solutions to be made.
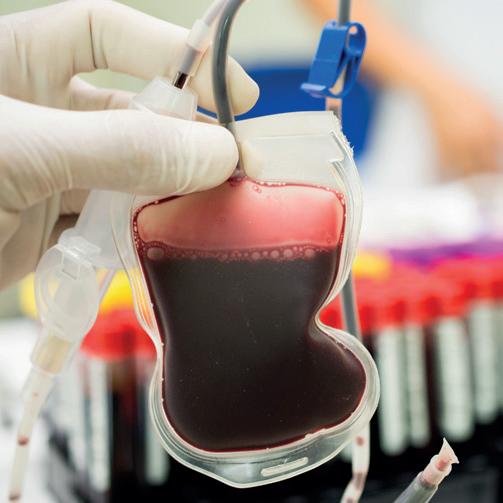
Blood has a pH of around 7.4. This is controlled by respiration. CO2 dissociates into carbonic acid in the tissues. So, more CO2 means more acidic blood. Don’t hold your breath for too long as your blood pH will lower, and you might faint!
32 | Ten interesting facts about pH!
2. 3. 4. 5. 1.

6.
Different plants grow better in different levels of soil pH. It is always helpful to understand the pH of your garden’s soil and choose plants accordingly to this. Hydrangeas, for example will grow in most soil pHs. However, grow them in acidic soil and you will get blue flowers, alkaline soil will produce pink flowers. A neutral soil (pH7) will give both pink and blue flowers on the same bush!
7. 8. 9.
Stomach pH is around 2. The addition of acid helps stomach enzymes break down proteins. To protect the stomach lining from these harshly acidic conditions, the stomach is lined with mucus.
The pH of saliva is between 6.5 and 7.5. Saliva helps to neutralise acids produced by bacteria which helps reduce the risk of tooth decay.
10.

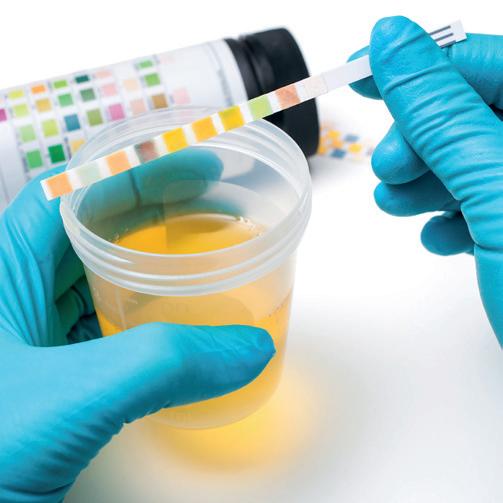
The pH of the body is between 7.35 and 7.45. The renal system regulates the pH of extracellular fluid. If the acidity of fluids gets too high, the kidneys secrete H+ ions whereas if the alkalinity rises it retains H+ ions and secretes HCO3. Renal regulation is slow but effective. It is limited by the fact that the pH of urine cannot be below 4.4.
Some solids will only enter solution if they are at the correct pH: EDTA will only go into solution at pH8 – very handy when you need to make some EDTA in a hurry!
Timstar stock a wide range of pH meters. Scan to see the full range online.


OHAUS® ST10 pH Pen Meter
A new pen pH meter that is durable, practical and affordable.
• Simple operation in a slim and portable design
• Durably constructed to withstand wear and tear resulting from repetitive use
• Waterproof housing protects the meter in its working environment
• Range: 0.0 – 14.0
• Resolution: 0.1 pH
• Accuracy: 0.1 pH
PH240000
£59.00

OHAUS® ST20 pH Pen Meter
A new pen pH meter that is durable, practical and affordable.
• Simple operation in a slim and portable design
• Durably constructed to withstand wear and tear resulting from repetitive use
• Waterproof housing protects the meter in its working environment
• Range: 0.00 – 14.00
• Resolution: 0.01 pH
• Accuracy: 0.05 pH
• Calibration: 3 point
PH240010
£125.00
Visit: shop.wf-education.com/science 01743 812 200
customer.support@wf-education.com
| 33
A few facts about electrolysis.
Electrolysis means splitting with electricity
It is completing an electrical circuit using free ions in a liquid or solution
It needs a power source (DC)
It needs electrodes: somewhere for the ions to go (be attracted to)
Electrolysis is used to ‘plate’ metal in industry, to extract metal from its ore, in the manufacturing of chemicals, and it is also employed in pH probes
Set up of electrolysis:
Power supply
Positive electrode (Anode)
Direction of (conventional) current flow
Direction of (electron) current flow
1. The electrolyte solution is added to a suitable container.
2. Electrodes and a power supply are added as in the diagram above.
3. The power supply is switched on and bubbles should appear at one of the electrodes.
4. Depending on the electrolyte and the electrodes used you may see: plating of a metal at one electrode, a diminishing electrode (as it is used in the reaction), gas produced at one electrode.
5. Adding a microammeter into the circuit, (in series) will indicate that current is flowing.
Want to find out more about how electrolysis works, including ideas about microscale and miniscale set ups?
Negative electrode (Cathode)
Electrolyte solution, containing ions
Electrolysis Cell
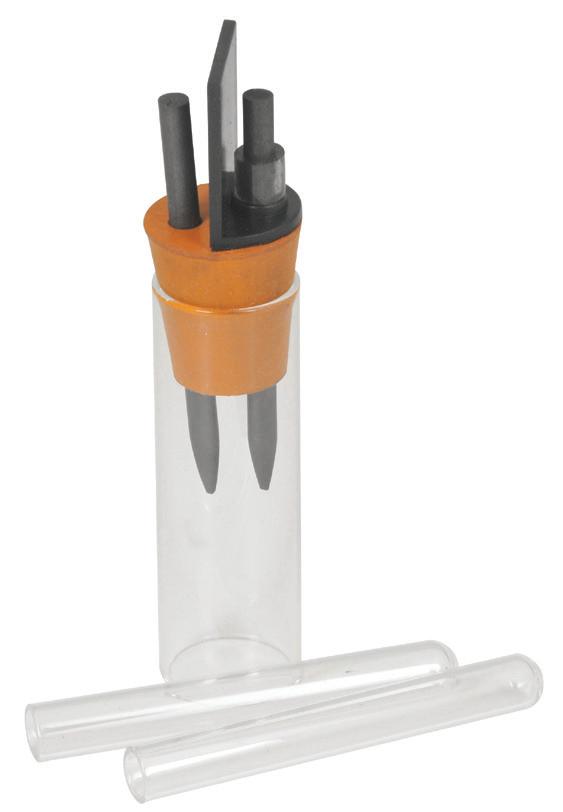
Each cell consists of 75 x 24 mm glass cylinder with 2 hole rubber stopper fitted with carbon electrodes. Electrical contact is made through the crocodile clips and a piece of insulating material between the electrodes prevents short circuiting. The gases evolved are collected in two 75 x 10 mm test tubes suspended over the electrodes by piece of wood and rubber bands (not supplied).
Visit our Resource Hub and search ‘Electrolysis’
34 | Electrolysis explained
EL06891 £27.60
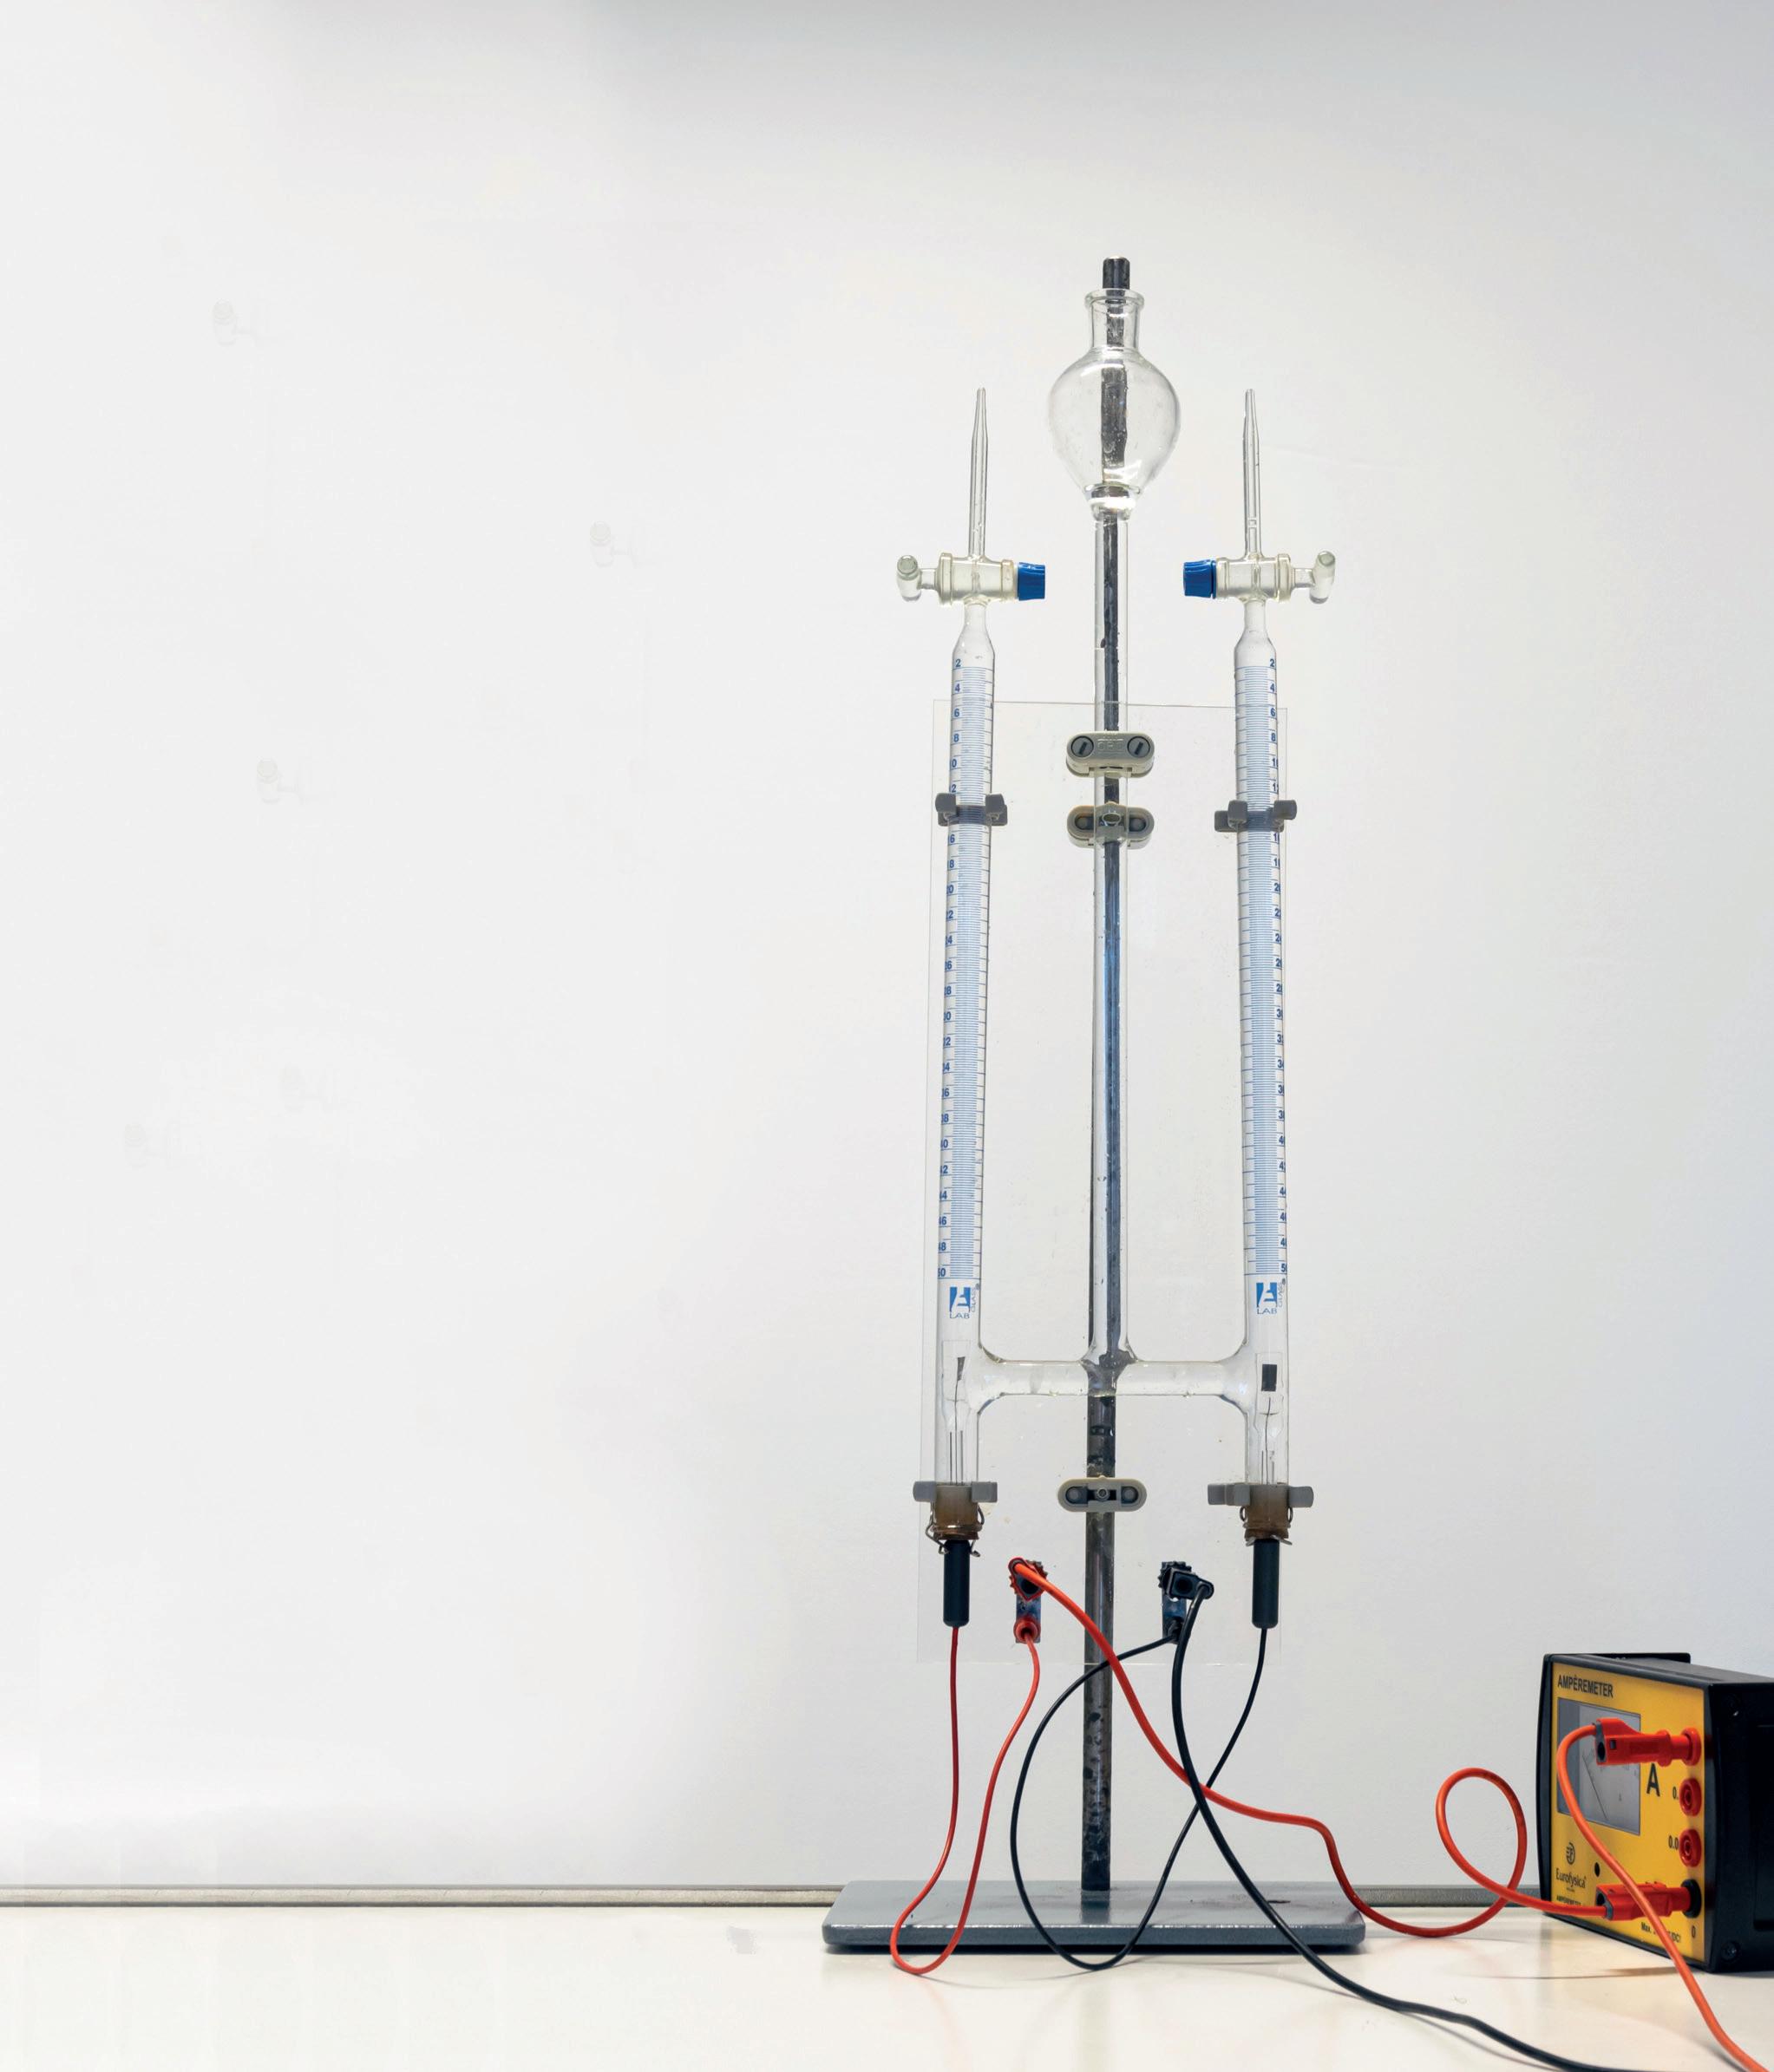
Electrolysis of water: the Hofmann voltameter - Although the Hofmann apparatus is filled with dilute sulfuric acid, it is actually used to demonstrate the electrolysis of water.
Electrolysing water splits the water molecules, H2O, into hydrogen, H2, and oxygen, O2.
Water
2H2O(l)
Hydrogen + Oxygen
2H2(g) + O2(g)
What you will see from the equation is that the volume of hydrogen is twice that of oxygen. Using the Hofmann voltameter will provide a visual demonstration that there are twice as many hydrogen atoms as oxygen atoms in water.
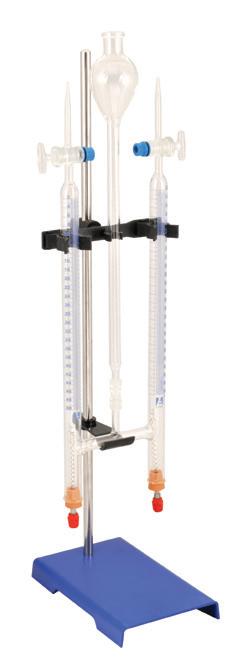
Hofmann Voltameter
The Hoffman Electrolysis Apparatus is used for the demonstration of the chemical composition of water and the production of gases through chemical reactions.
EL180875 Glass Stopcock
EL180877 PTFE Stopcock
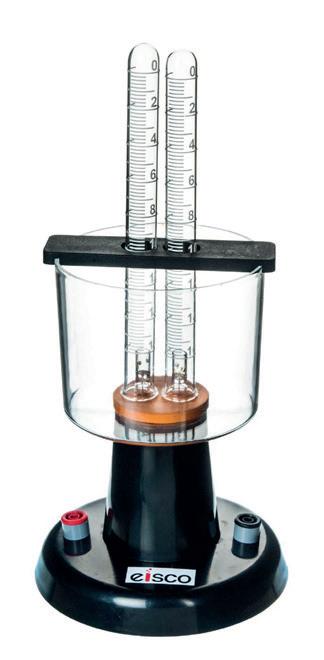
Student Gas Voltameter
Platinum electrodes, with two 15 mL graduated test tubes. Mounted on moulded base fitted with two 4 mm banana sockets.
EL62520
Visit: shop.wf-education.com/science 01743 812 200 customer.support@wf-education.com
| 35
£47.70
£68.95
£24.45
What you need to know about QUICKFIT®
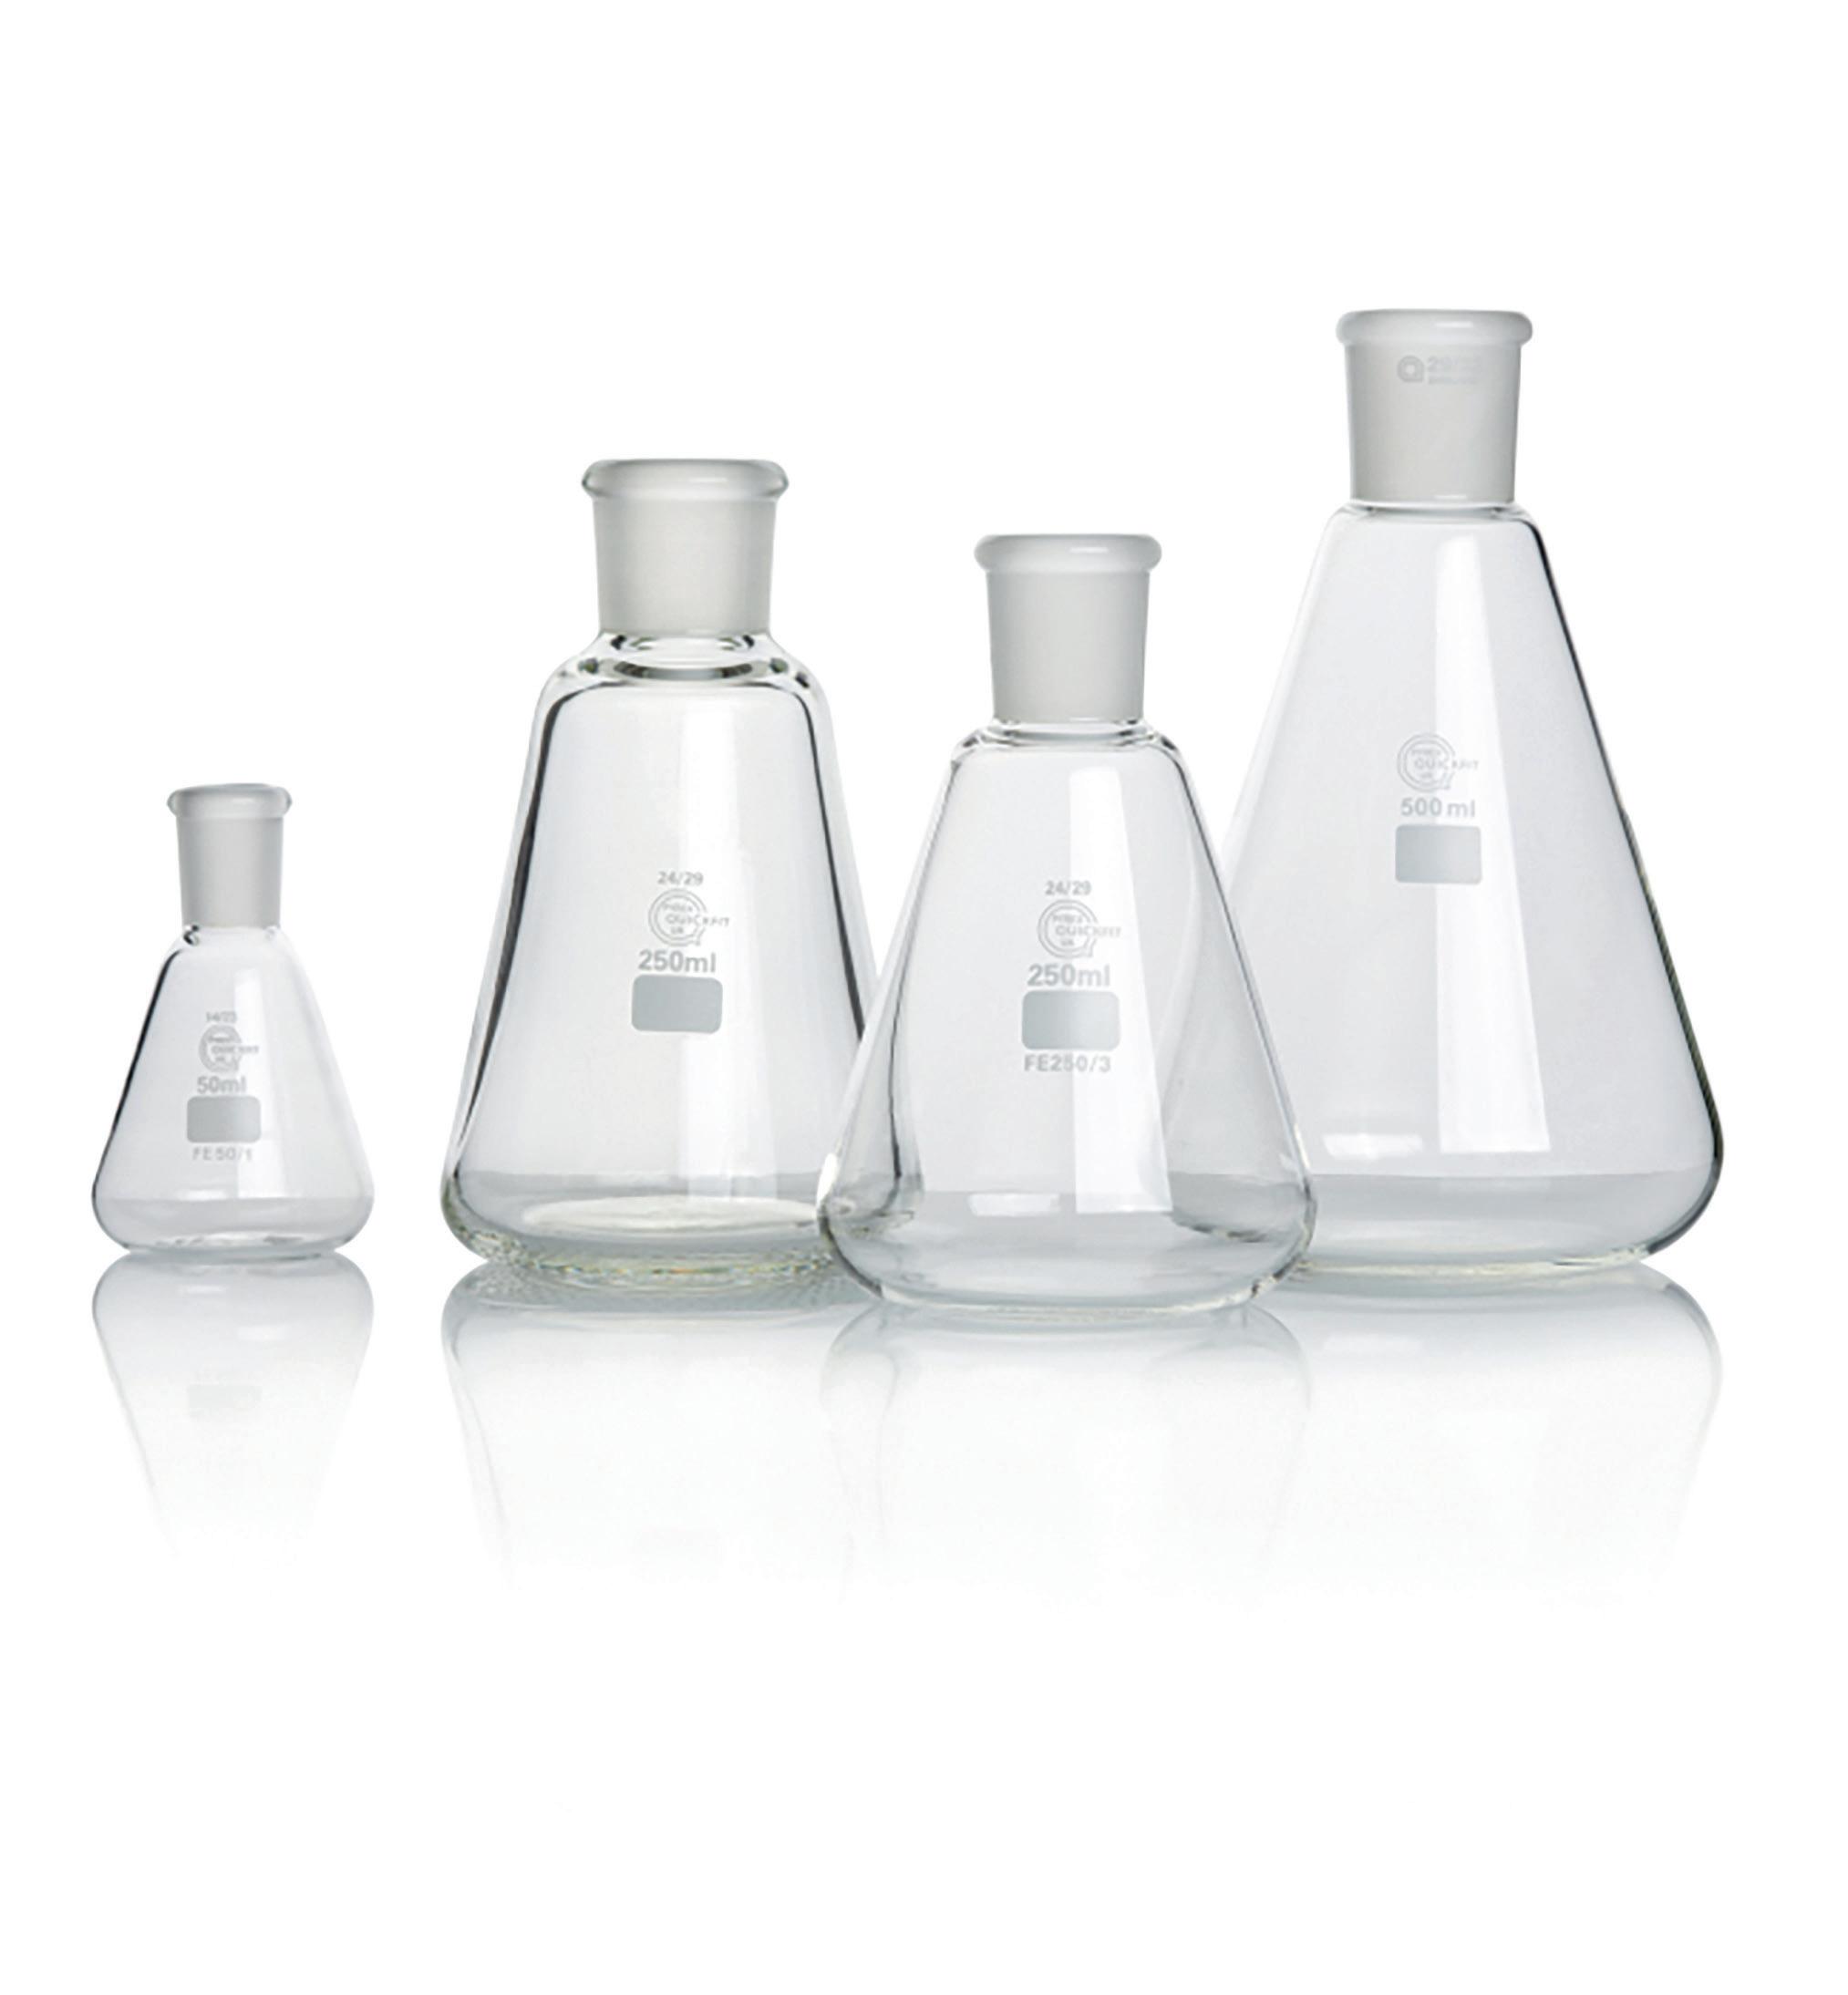
QUICKFIT® ground glass joints were developed as an alternative to scientists using rubber bungs and glass and rubber tubing to connect pieces of glassware.
All QUICKFIT® glass items are manufactured from PYREX® borosilicate glass which is ideal for use over a wide temperature range, is highly resistant to chemical attack and can be used with most acids, alkalis, and organic solvents.
QUICKFIT® interchangeable conical joints are made using a two-stage grinding process that ensures the joints have a precision 1:10 taper and super-fine surface finish, resulting in joints that have an exceptionally good seal with a greatly reduced risk of joint seizure. The excellent surface finish also ensures that the joint will not leak and will be gas and vacuum tight.
QUICKFIT® sockets feature a rounded rim profile which gives extra strength to the joint and is less prone to chipping than a square rim profile.
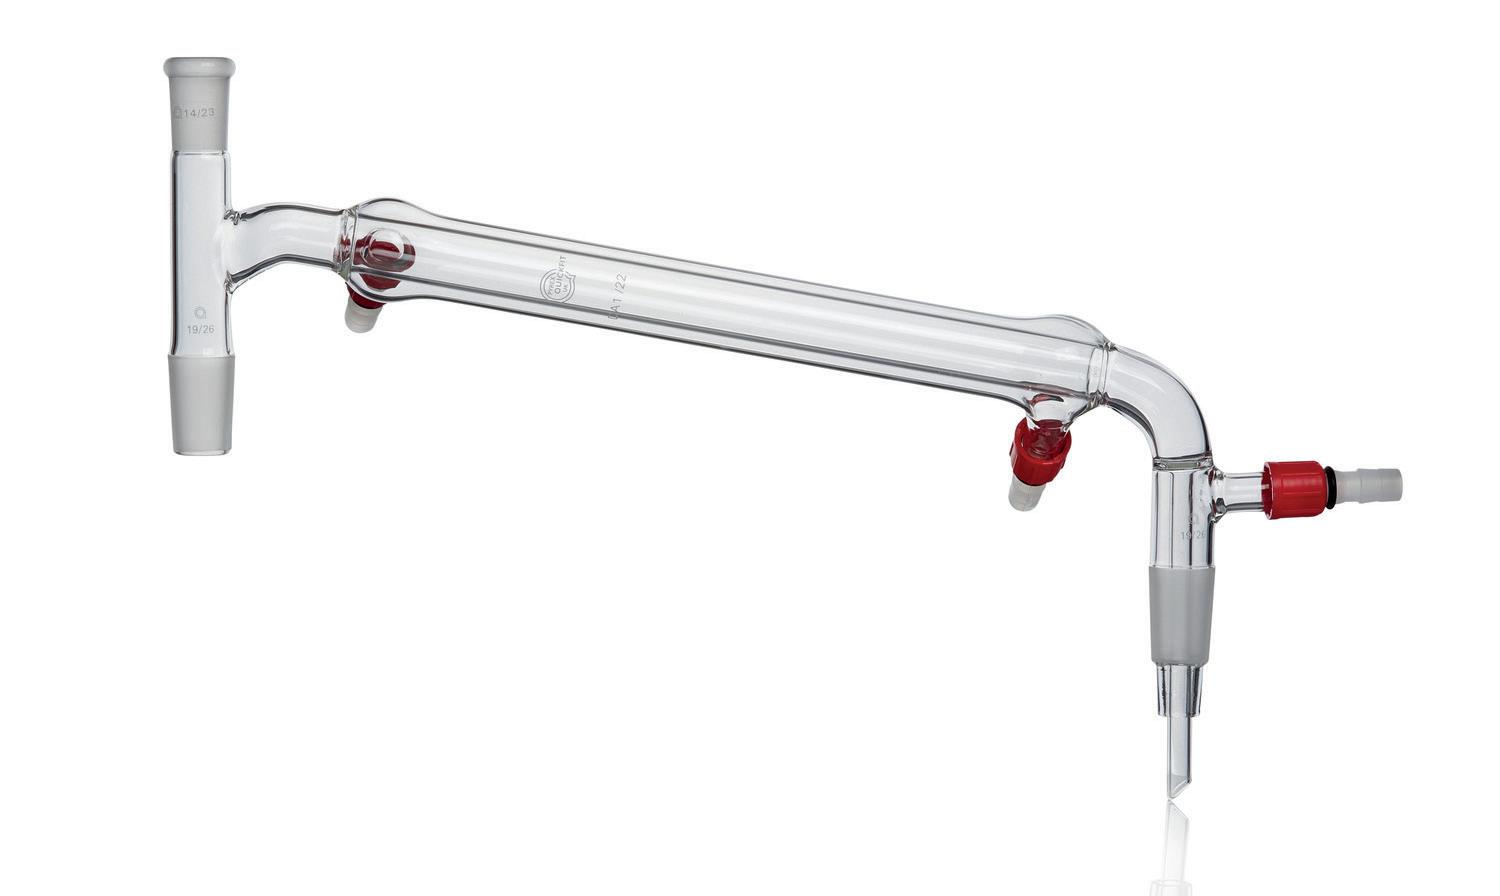
One Piece Distillation Apparatus, QUICKFIT®
The one-piece construction means that the angle of the condenser, still head and receiver are pre-defined and optimised for vacuum distillation applications. Because there are no joints between the components, this assembly is vacuum, gas, and airtight, and is liquid leakproof.
QDA1/22
QUICKFIT® Microscale Organic Chemistry Kit
£125.75
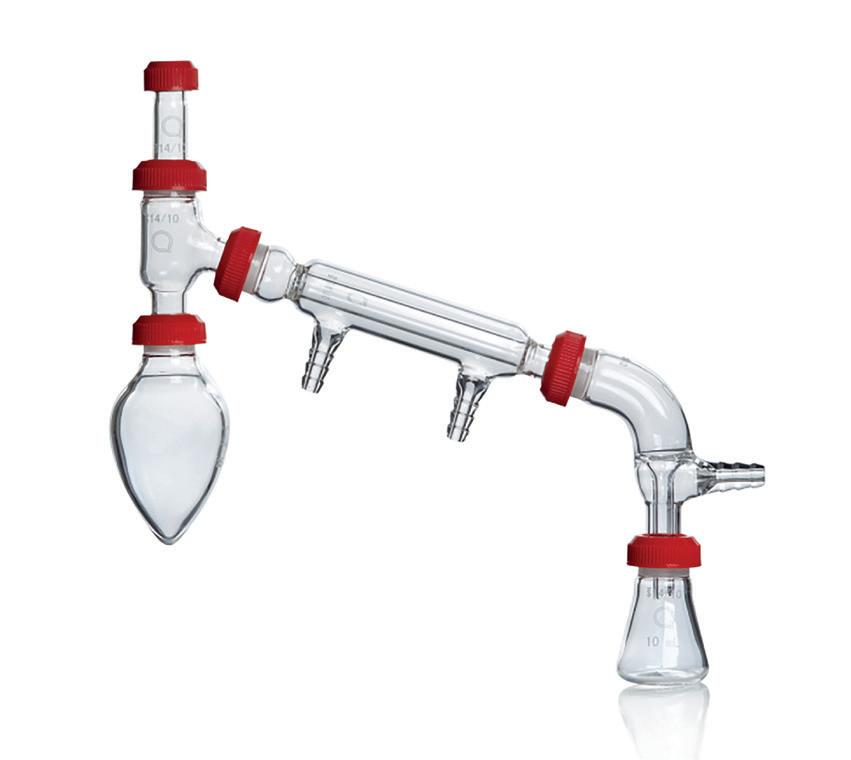
The QUICKFIT® Microscale Chemistry Kit was designed to perform organic chemistry experiments, but on a much smaller scale.
QU130500
Conical joints are the most common type of ground glass joint and comprise a tapered (male) cone and (female) socket.
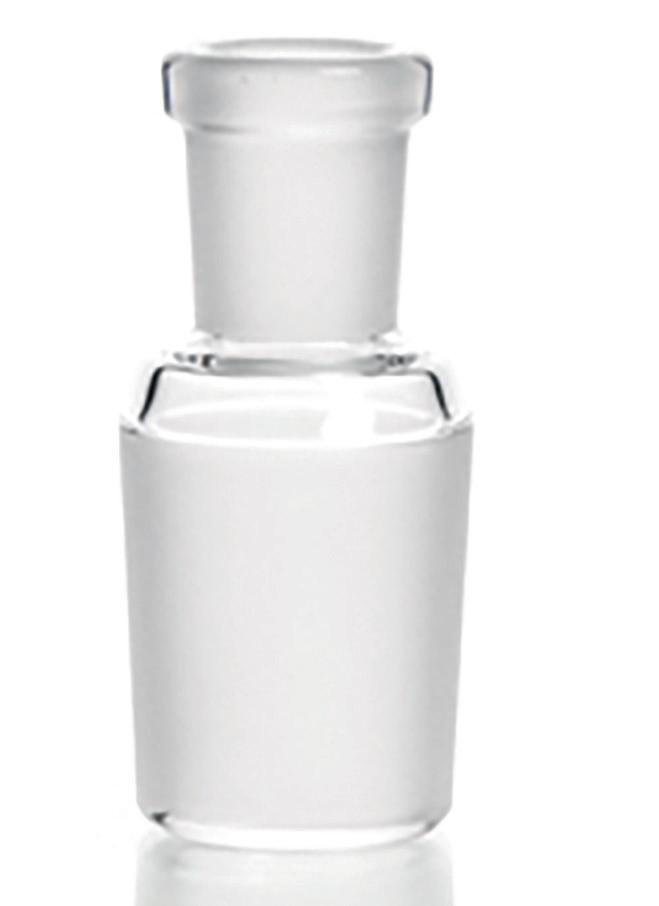
Search QUICKFIT® online to see the full range.
Search Quickfit

QUICKFIT® Liebig Condensers
The condenser is a tube with standard ground joints and a glass jacket. The cooling water is fed through the jacket in counter flow principle to increase the cooling capacity.
QC1/11SC
QC1/12SC
QC1/22SC
£243.40
Socket 14/23, cone 14/23, jacket length 160 mm, overall length 260 mm
Socket 19/26, cone 19/26, jacket length 210 mm, overall length 340 mm
Socket 19/26, cone 19/26, jacket length 400 mm, overall length 530 mm
£39.25
£42.20
£47.10
SOCKET CONE
36
|
Safe operation for jointed glassware.
As with all laboratory glassware, there are some basic steps you need to follow to ensure the safe, sustainable use of jointed glassware:
Wash new glassware before first use to avoid contamination from packaging and examine it to ensure it is not scratched, chipped, cracked, or etched as defects will reduce its mechanical strength and may cause it to break during use. Whether transferring or using glassware, be careful not to scratch it, force it or handle it at the weakest points.
Other considerations for use:
While silicone grease may be used to help seal a joint, QUICKFIT® joints are designed to be used without it to avoid contamination.
Always check the maximum temperature guidelines - although the maximum recommended temperature for QUICKFIT® glassware is 500°C (for short periods only), the working temperature for other items –plastic connections, stoppers, tubing, etc, - could be much lower.
When using temperatures above 150°C, heating and cooling should be carried out in a slow and uniform manner to avoid breakage by thermal shock.
If using a hotplate, ensure that the top of the plate is larger than the base of the vessel to be heated. Never put cold glassware onto a pre-heated hotplate.
When using a Bunsen burner, employ a soft flame and use a wire gauze with a ceramic centre to diffuse the heat. This will avoid ‘hot spots’ developing in the glass which could cause it to break.
PYREX® borosilicate glass is microwave safe, but you must also ensure the contents and any attachments are as well.
Always wear appropriate PPE when conducting any laboratory experiments and always use any available safety equipment – safety screens etc.
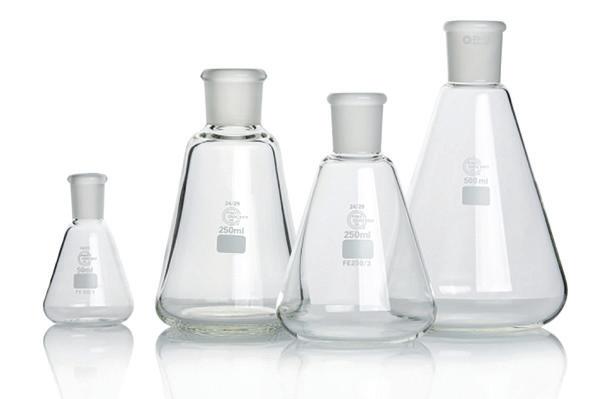
QUICKFIT® Erlenmeyer Flasks
Erlenmeyer flasks feature a conical ground glass neck joint that is fully interchangeable with other jointed glassware with the same joint size.
QFE50/1 50 mL capacity, socket 14/23
QFE100/1 100 mL capacity, socket 14/23
QFE500/3 500 mL capacity, socket 24/29

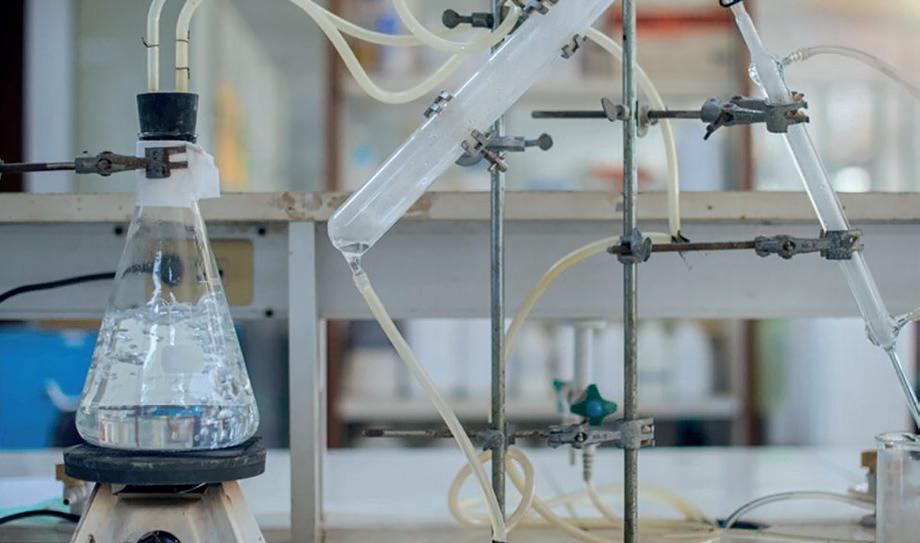
We have a helpful guide to QUICKFIT® online! It covers the components you can select from and what they are used for, as well as more useful information about the when, why, and how of using jointed glassware.
Scan to view
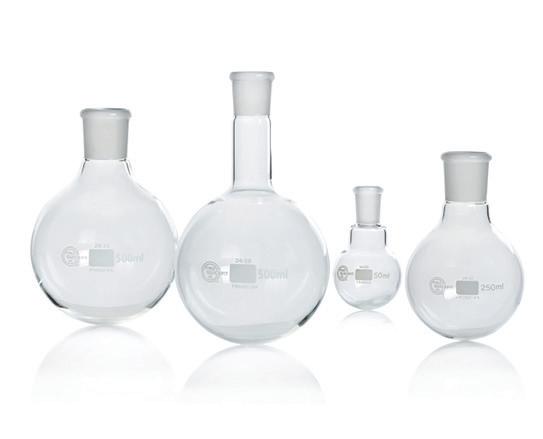
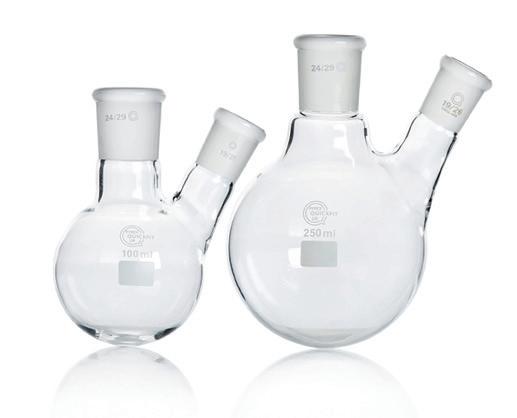
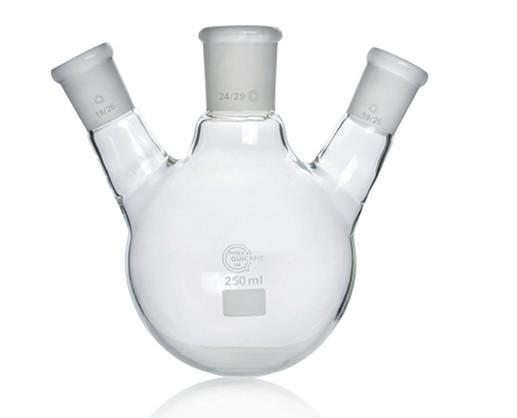
Round Bottom Flasks are available with short or medium necks, one neck, two necks, and three necks and a variety of capacities and socket sizes.
01743 812 200 customer.support@wf-education.com Visit: shop.wf-education.com/science
| 37
£17.30
£19.00
£21.40
New school? Lab refurbishment? We are here to help and support you with your projects.
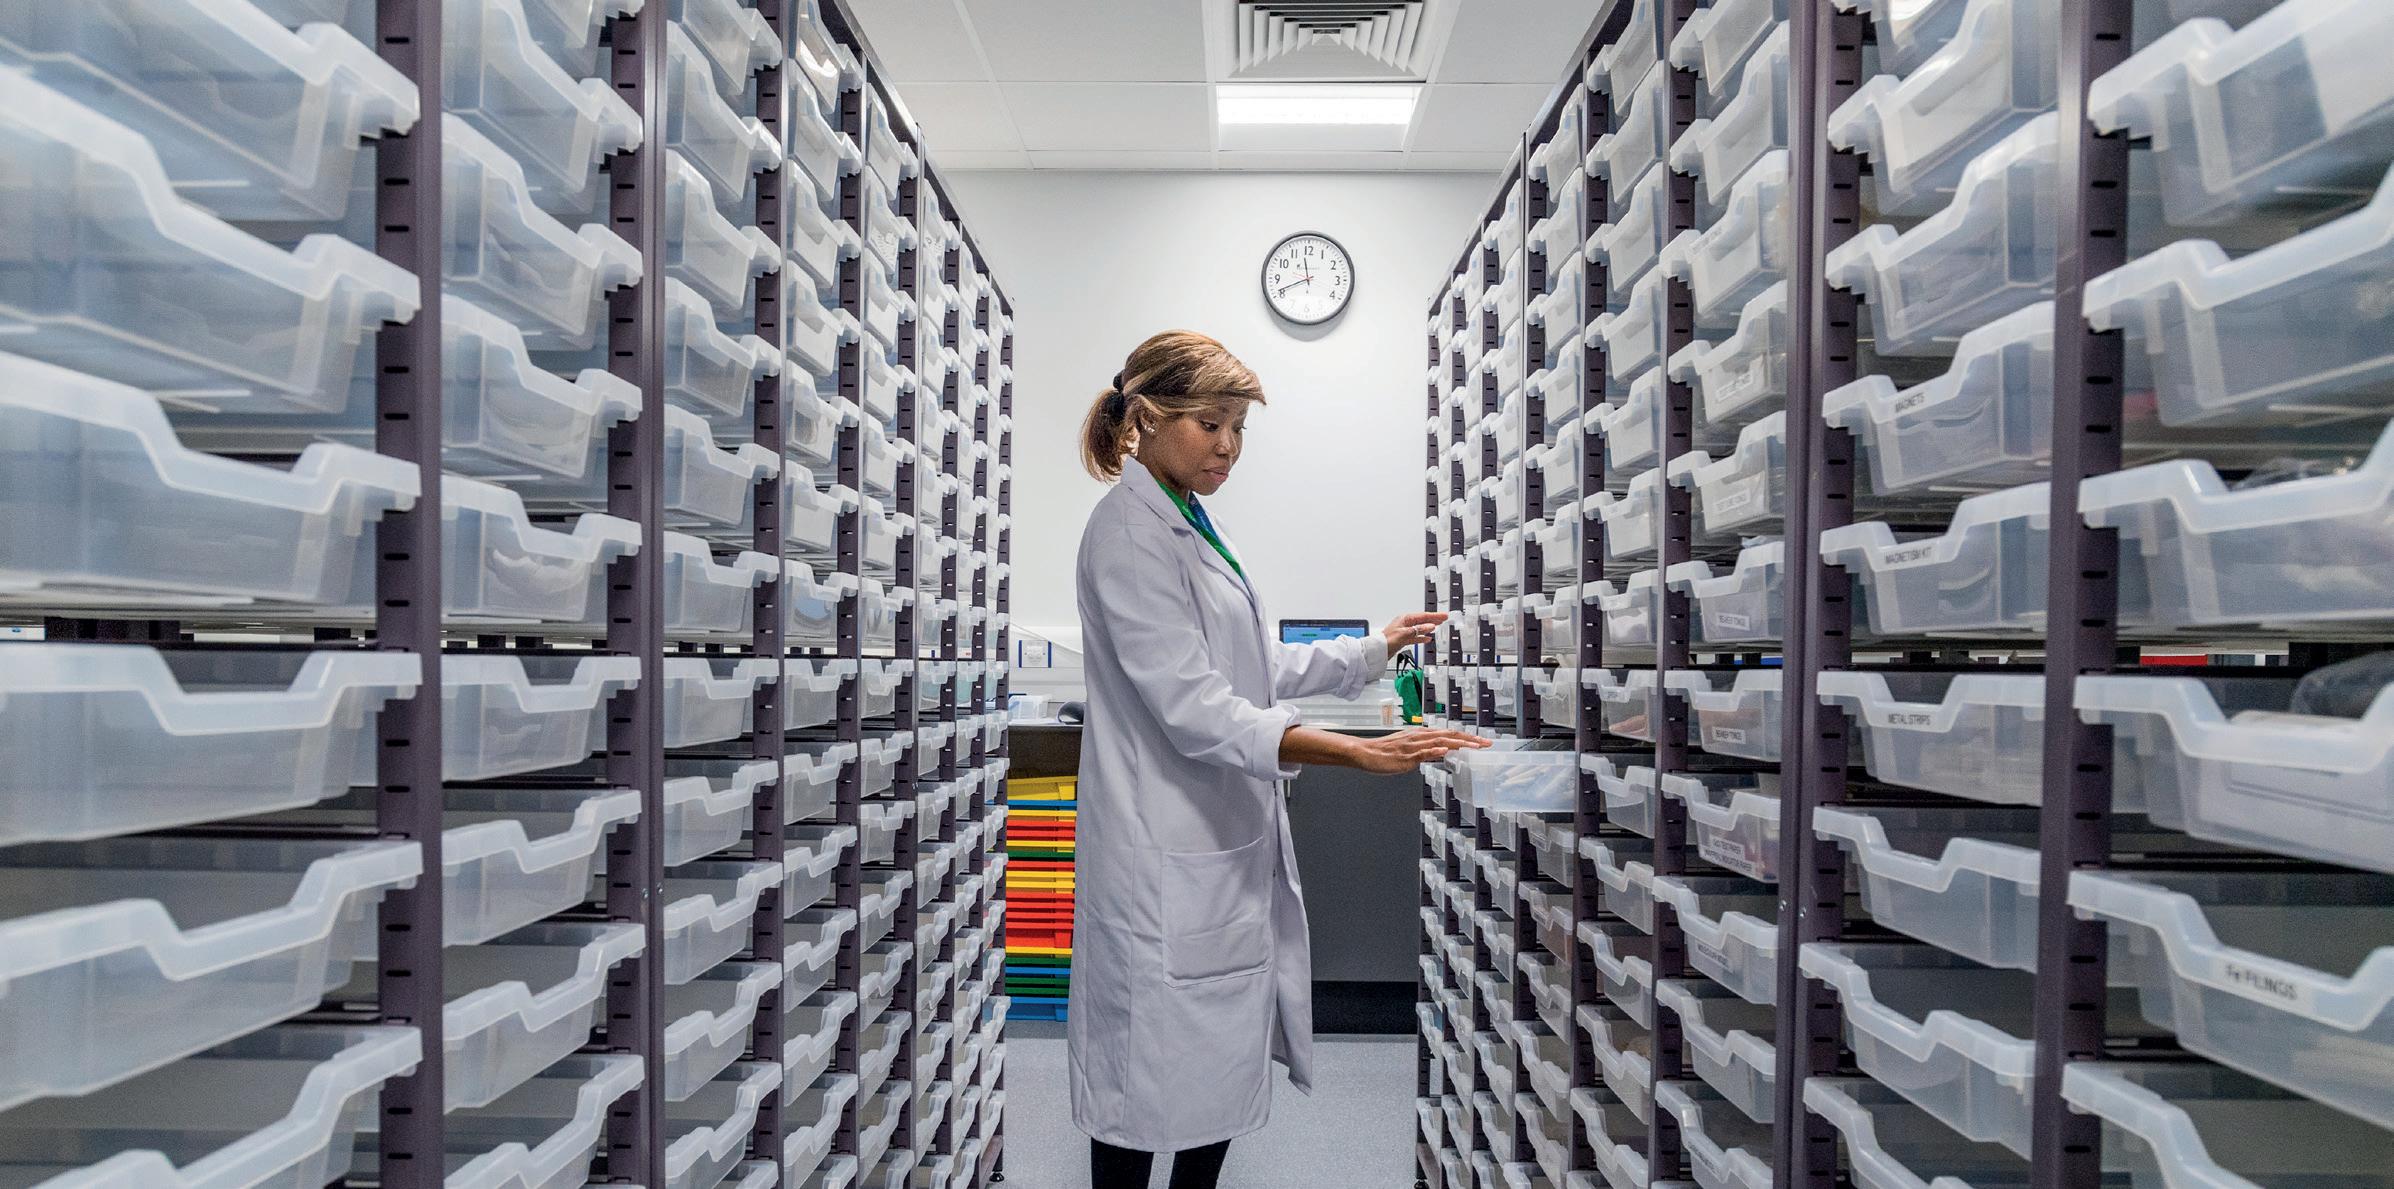
We can help you with large project unpacking!
Setting up a department and prep storage for a new building, new 6th form teaching rooms or a department refurb can be a time-consuming and daunting task. Not only deciding what you need, but once you have taken delivery of the goods and chemicals the task of unpacking products and sorting chemicals into a cohesive and safe storage system can feel overwhelming.
This is where we can help.
Working with one of our product specialist team right through from your initial inquiry to order placement and convenient delivery, we will be on hand to help you to unpack the full order and make sure that everything is stored correctly and in the right place.
Complete chemical store service.
Uniquely, our in-house expert can assist you with ordering all that you will need to stock your store, and then unpack and put away all chemicals following all Health and Safety requirements.
Our customers can take advantage of this unpack service for large orders: We are only satisfied when you are too!

Large project coming up?
Amanda Kingsnorth Technical Specialist Our technical specialist is happy to assist you with with unpacking your chemicals. Contact us 38 |
Timstar can help with your unpack!
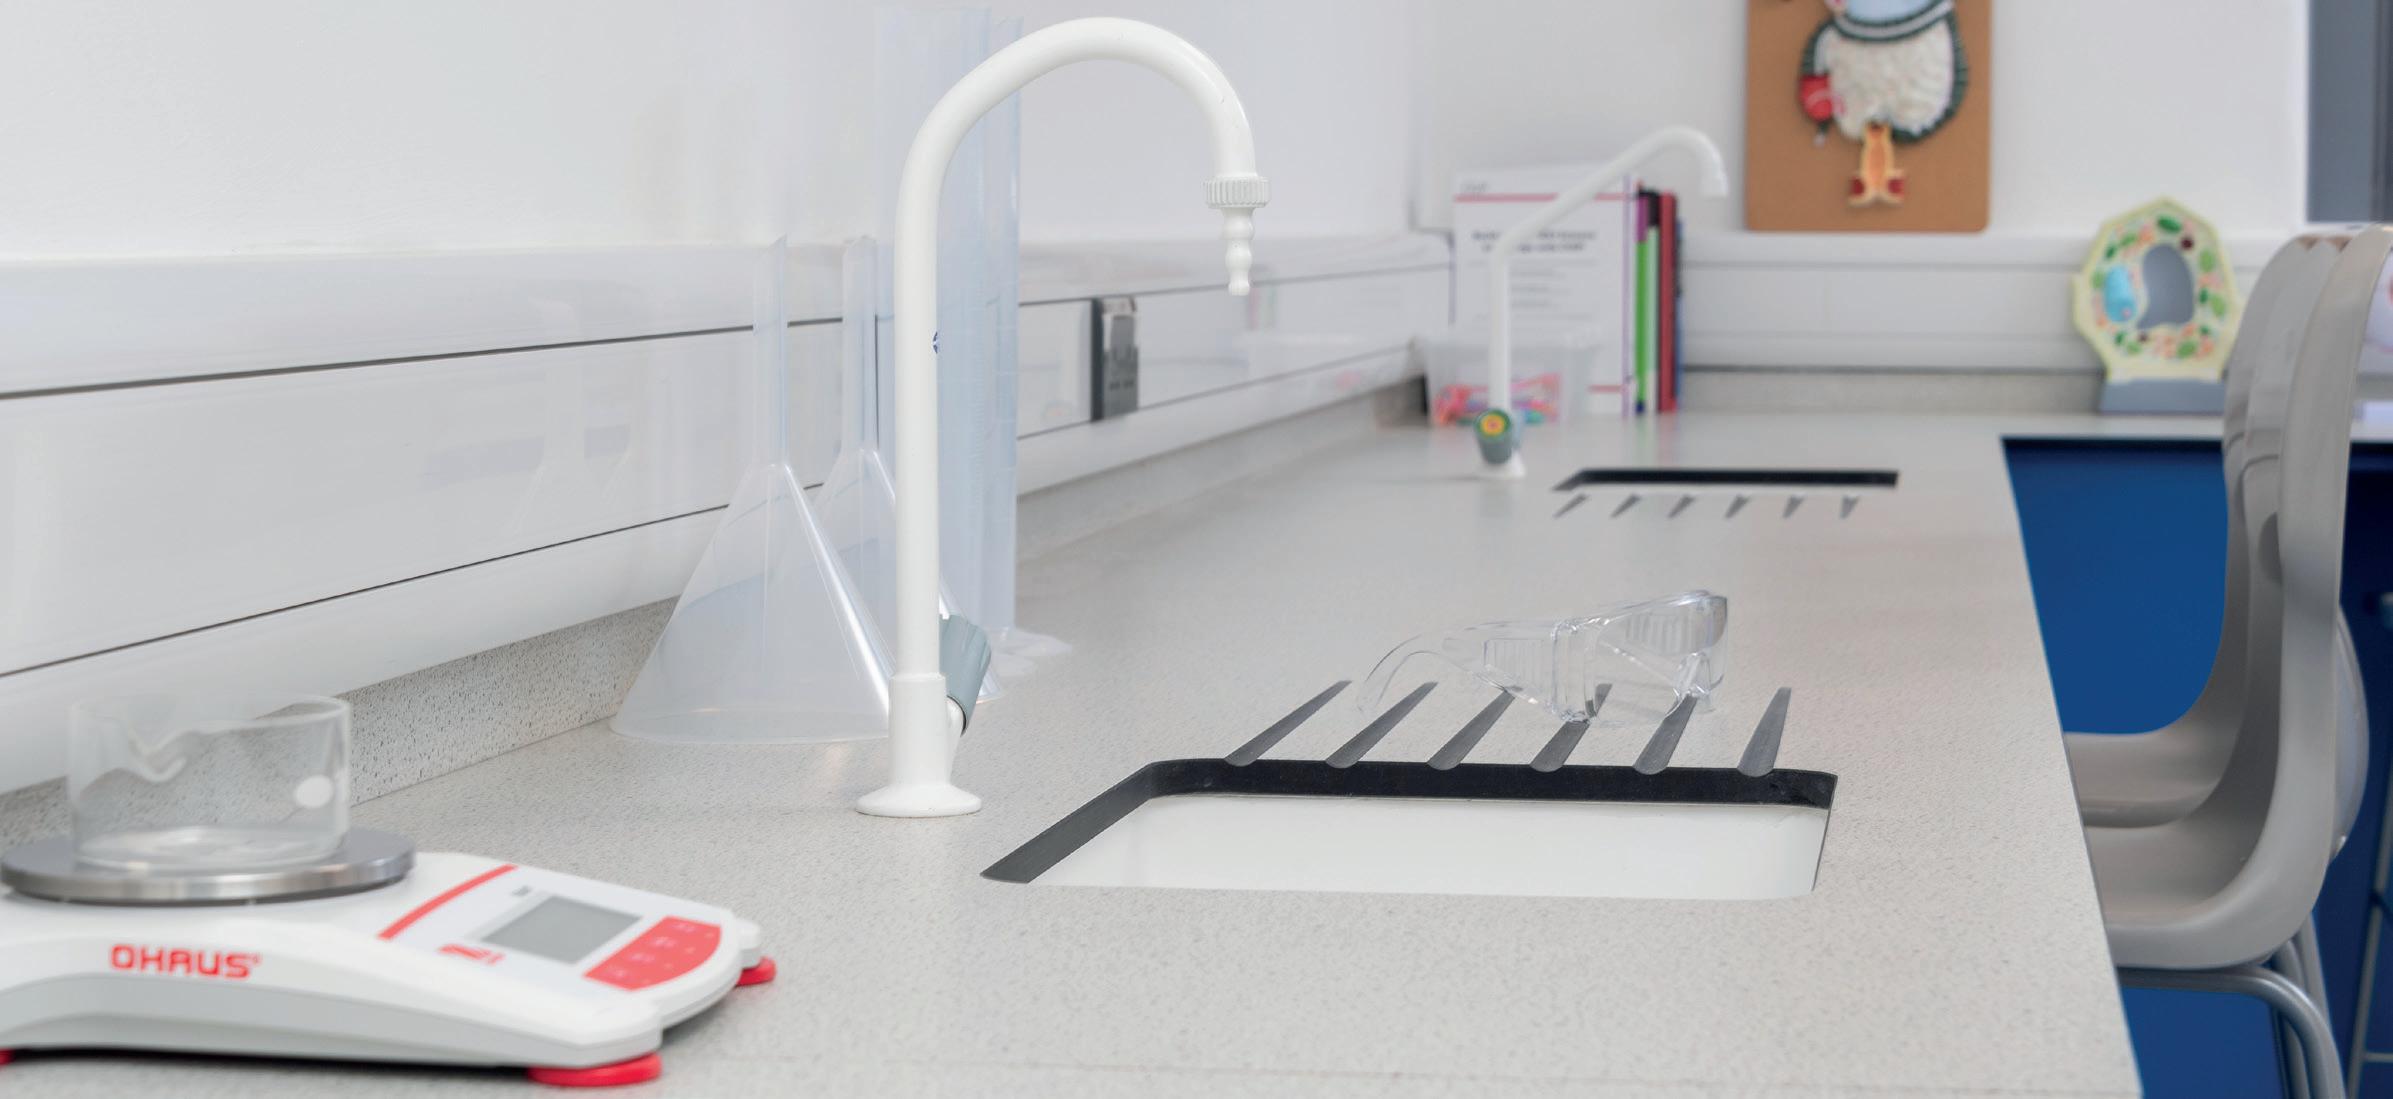
Scan to read about some of our other customers who have used our unpack service!
Unpack at Greenhead College, Huddersfield
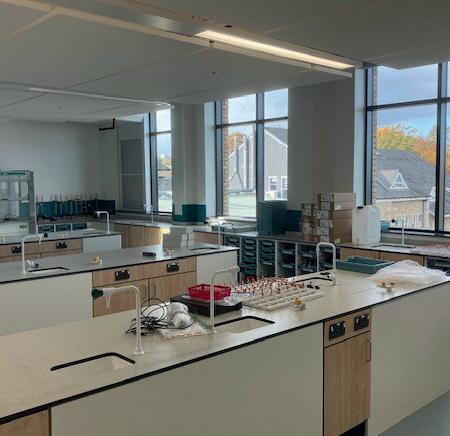
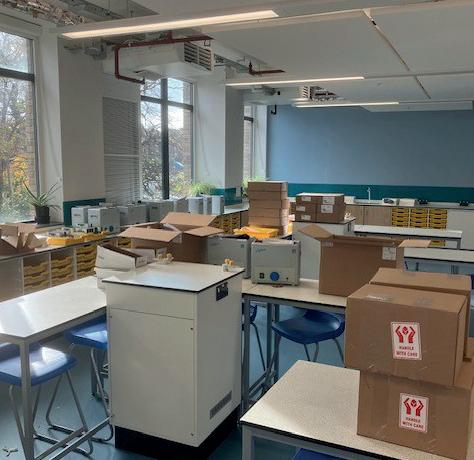
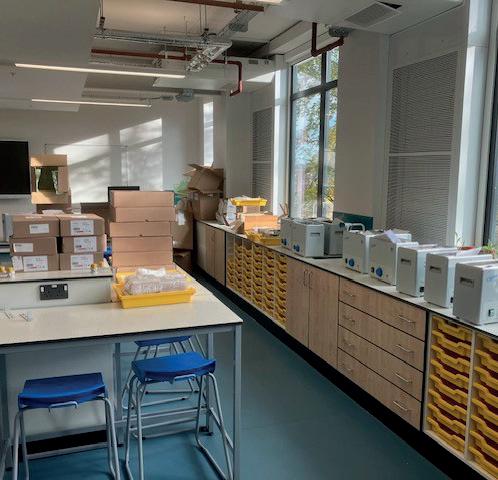
At the Greenhead College, we took care of a large order that was ordered to stock up a number of teaching and preparation spaces. The Timstar team unpacked the order and were on hand to advise the department throughout, from box to shelf! Our product specialist Matt supported them with the equipment unpack, helping the staff to be as organised as possible before the start of their teaching.
Let us know if you are setting up or reorganising any part of your science department, and we will help you from start…to finish!
“We have just moved into a brand-new building expanding our capacity to fourteen labs teaching A level Chemistry and Biology. It was quite a task to fit out four labs from scratch but with Matt and the team at Timstar it all went smoothly.
From submitting a huge order for a quote to unpacking at the destination, we were provided with excellent support and service...”
Senior Chemistry Technician - Greenhead College

Visit: shop.wf-education.com/science 01743 812 200 customer.support@wf-education.com
| 39
Melting point: All you need to know
What is a melting point apparatus?
It is an instrument used to determine the accurate melting point of a substance.
Melting point apparatus range from the Thiele tube to analogue, and now digital equipment.
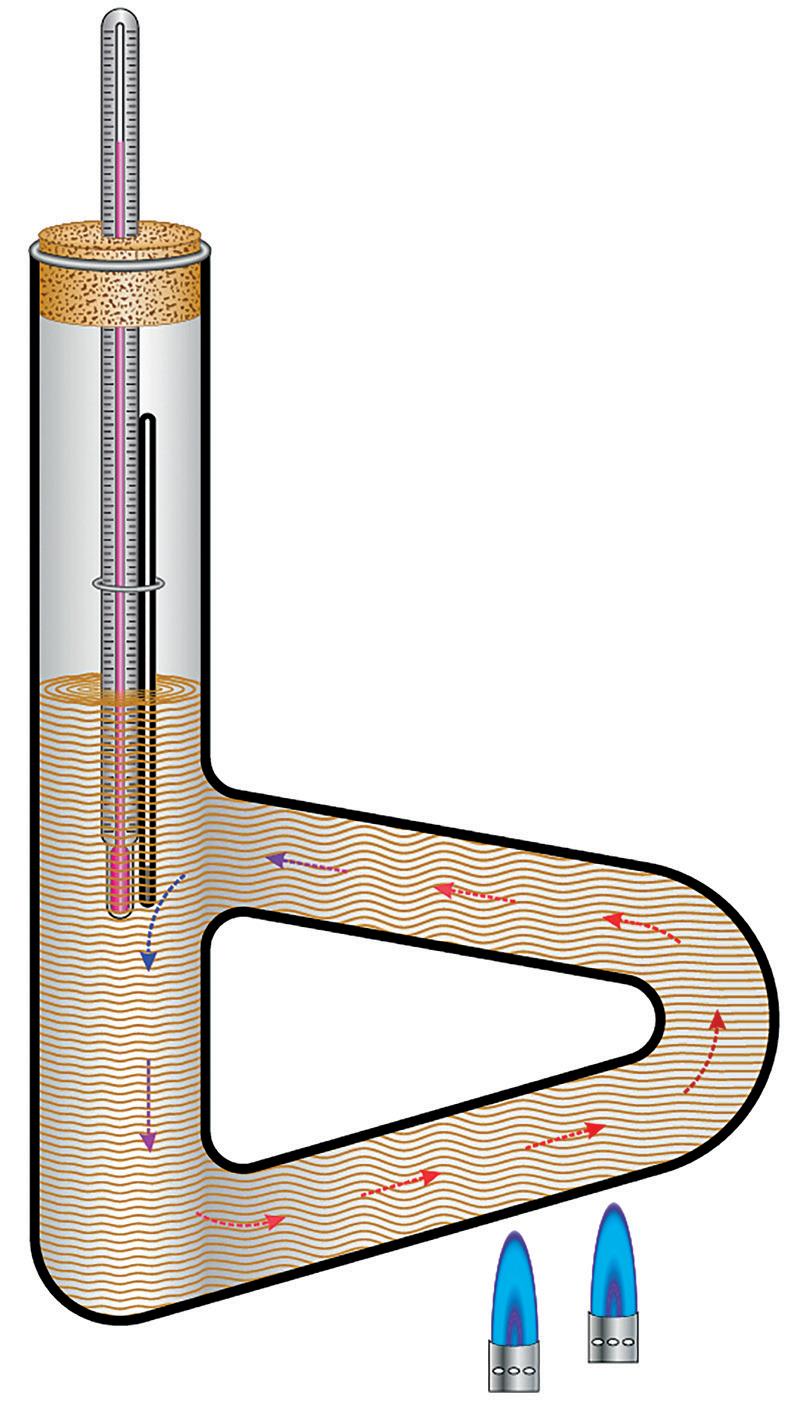
Using a melting point apparatus.
A sample is placed into the apparatus in a sealed capillary tube. As the sample is heated it changes from solid to liquid and the precise temperature at which this change occurs is recorded.
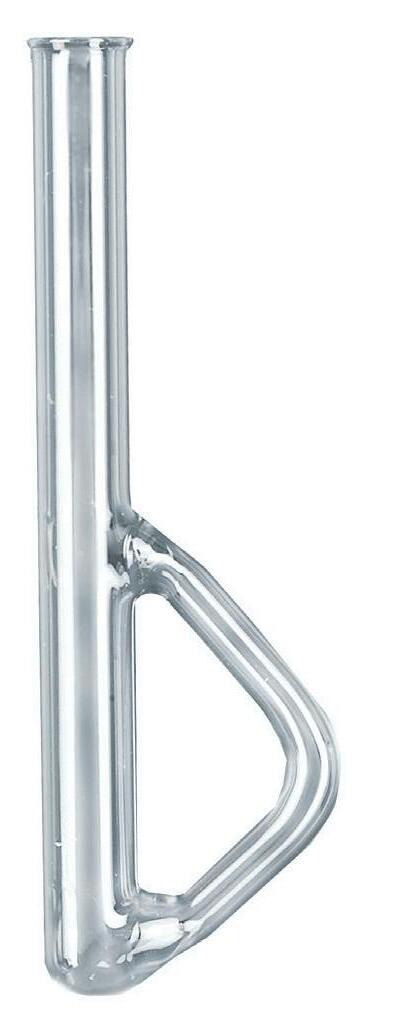
One of the most basic ways to determine the melting point of a solid sample (or boiling point of a liquid) is the Thiele tube.
The tube is made of borosilicate glass with a hollow glass ‘handle’ to the side.
1. Clamp the Thiele tube securely and at a comfortable height.
2. Fill the tube with oil to just above the top join of the handle.
3. Add a few crystals of the sample to the bottom of a closed capillary tube and attach it to a thermometer (max 350°C) using a tight band.
4. Fix the thermometer/capillary tube into the Thiele tube such that the sample and the thermometer bulb are immersed in the oil (don’t immerse the band).
5. Use a holed bung sliced down one side so that the divisions on the thermometer are not obscured.
6. Heat the bottom arm of the handle with a low blue flame.
7. Heating the oil sets up convection currents and the sample in the capillary tube is heated slowly and evenly, the oil flows around the system without any additional stirring.
8. Note the temperature as soon as the crystals have melted.
9. Remove the heat and allow the system to cool completely before dismantling.
40 |
glass apparatus with side tube to allow stirring by convection of heating liquid. ME10384 £9.40
Thiele tube
Thermometer Handle Capillary tube containing sample
Thiele Tube A
More commonly, automated equipment is used to determine the melting point of unknown substances. These are extremely easy to use and give accurate results.
With these systems there is no external heating, and no oil is needed.
Sometimes the capillary tube containing the sample is inserted horizontally rather than vertically.
They are cold to the touch and pose no burn risk to the user, when used appropriately.
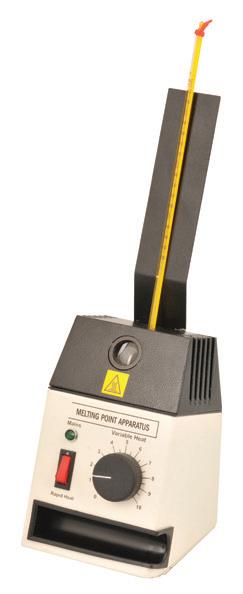
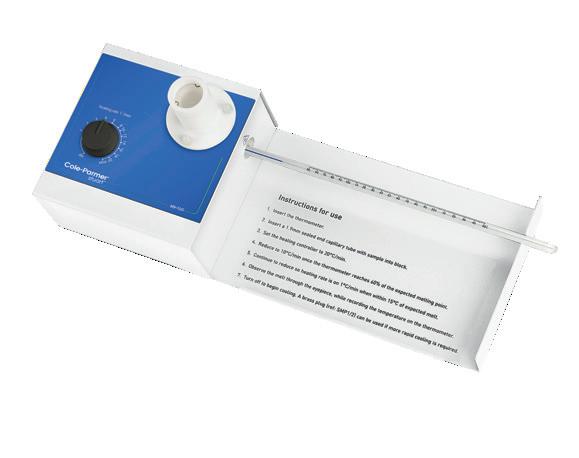
Economy Melting Point Apparatus
An entry level, simple to use melting point apparatus.
To get the sample into the capillary tube, push the open end of the tube into the sample. Tapping the capillary tube (vertically) onto the bench will help the sample travel down to the bottom.
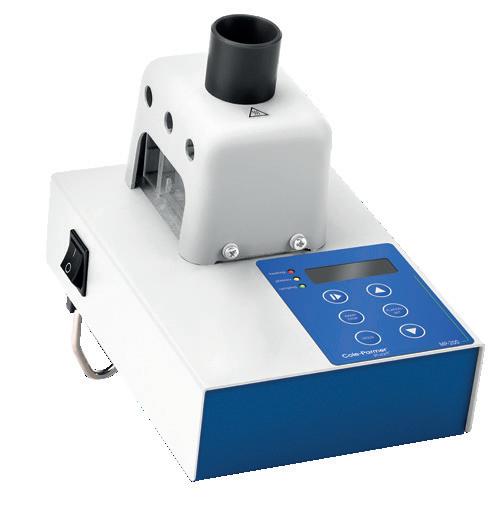
Melting Point Apparatus, Cole-Parmer
Stuart MP-100
The MP-100 measures the melting point of chemicals from ambient to 250°C. The sample and melt process can be viewed via a magnifying lens, which is illuminated by bright LEDs. The melt temperatures can be recorded from the thermometer, positioned horizontal to the samples to allow simultaneous viewing.
ME10351 £600.00
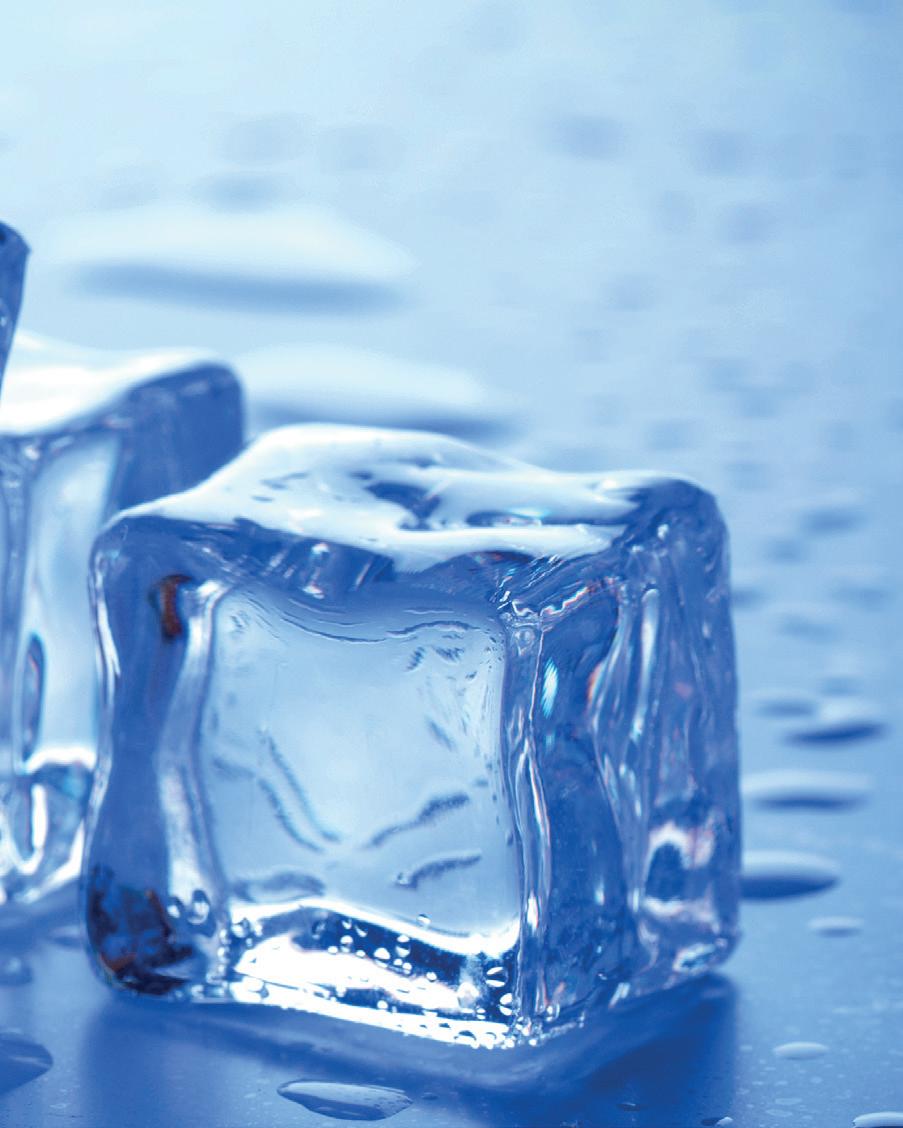
That as the solid sample approaches its melting point it will pull away from the walls of the capillary tube and form a cone shape. This is called sintering.
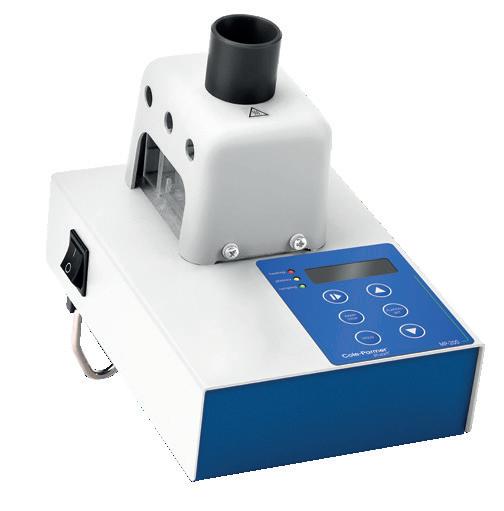
Digital Melting Point Apparatus, Cole-Parmer
Stuart MP-200
Designed with safety and ease of operation in mind making it ideal for use in education. With this product, two samples can be tested simultaneously. It has built-in illumination, a 3-digit LED display and a viewing magnifying lens give clear viewing of samples. The temperature range is from ambient to 300°C.
ME10365 £755.00
Digital Melting Point Apparatus, Cole-Parmer
Stuart MP-200D-HR
Designed for maximum safety and ease of use. Select, measure, and display the temperature digitally, ensuring accuracy and avoiding the need for a glass thermometer. Test two samples simultaneously, viewing the melt via a magnifying lens with built-in illumination.
ME120200
Scan to learn how to use the Thiele tube for the determination of boiling point!
Visit: shop.wf-education.com/science 01743 812 200 customer.support@wf-education.com
| 41
£995.00
ME220000 £235.00
What to do when you receive your electrode and how to maintain it.
When you receive your electrode the sensor zone will be protected by a cover which contains a soaker solution. Before using the electrode, rinse off the soaker solution and leave in deionised water for 15 minutes.
Occasionally during shipment, air bubbles may form in the glass bulb. If this happens, they can be removed by gently shaking the electrode in a downward movement.
Your electrode must be kept wet at all times. For short term storage the electrode may be stored in deionised water but for longer term storage it should be stored in a soaker solution.
** Information kindly supplied by Sentek Limited **
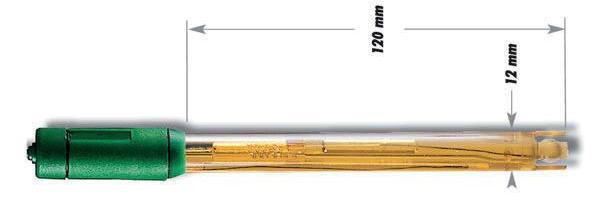
temperature range to 80°C. With free cleaning solution.
PH12192 Combination, plastic bodied
pH Electrode Cleaning Solution
A general purpose cleaning solution for pH electrodes.
PH25000
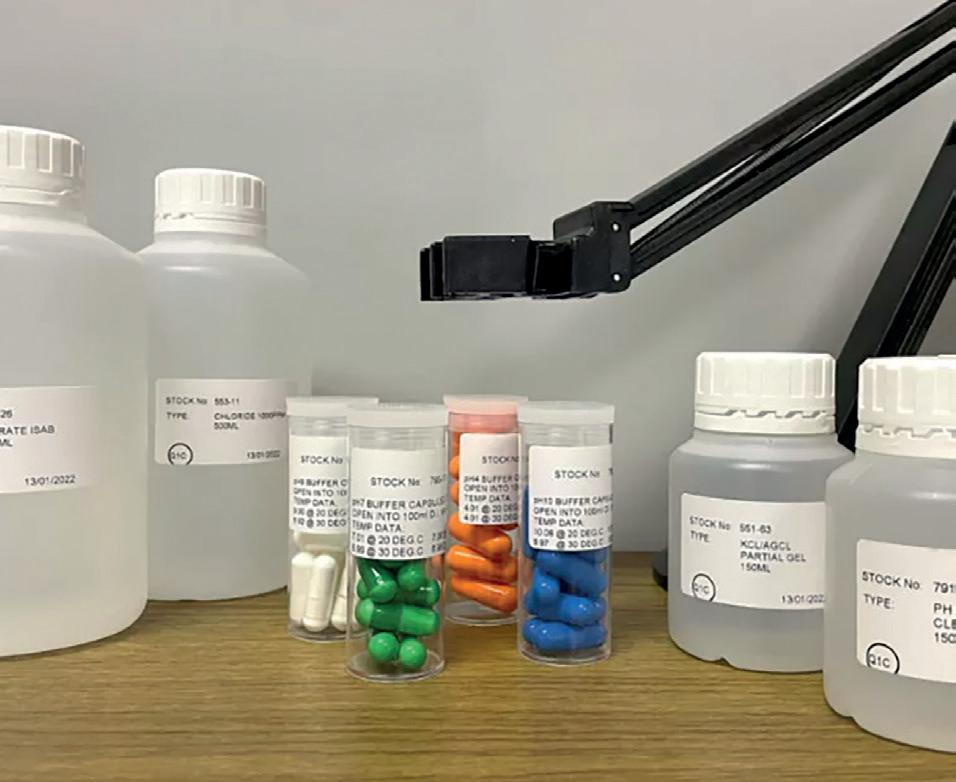
Buffer Solution Capsules
Sentek pH Electrodes
£138.65
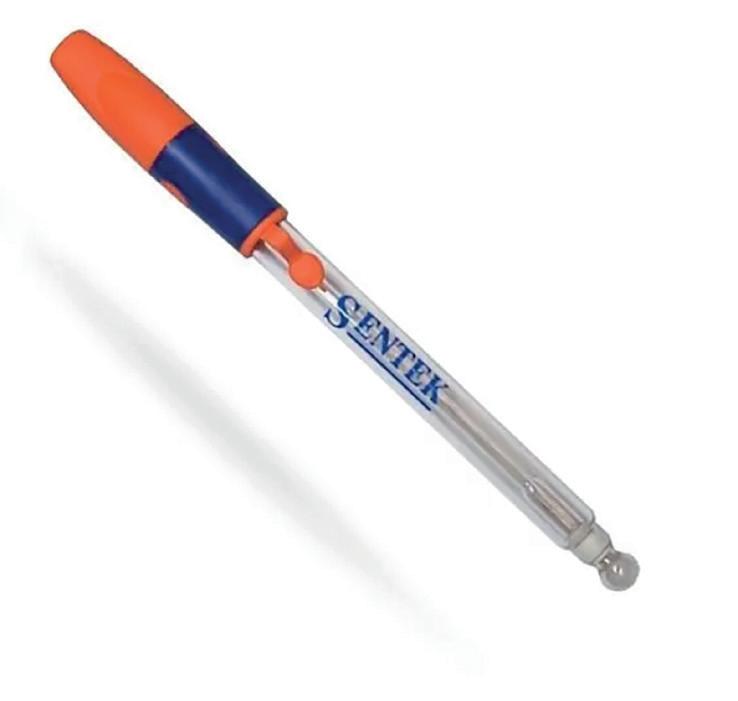
Combination pH electrodes with BNC connector.
PH240100 Epoxy body £54.95
PH240110 Glass body £54.95
pH Electrode Storage Solution
A prepared storage solution to ensure maximum performance of your pH electrodes.
PH25010
£34.95
Simply split the capsule in two and add to 100 mL of deionised/distilled water and mix.
PH120120
PH120125
£32.80
Electrode Storage Bottles
A bottle to store your pH, conductivity and reference electrodes safely. Pack of 3.
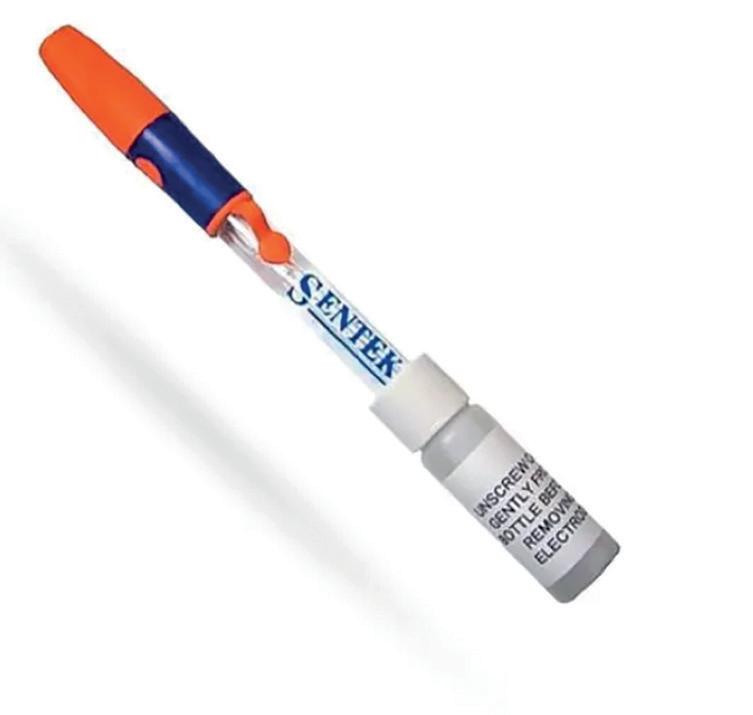
PH240130 £14.45
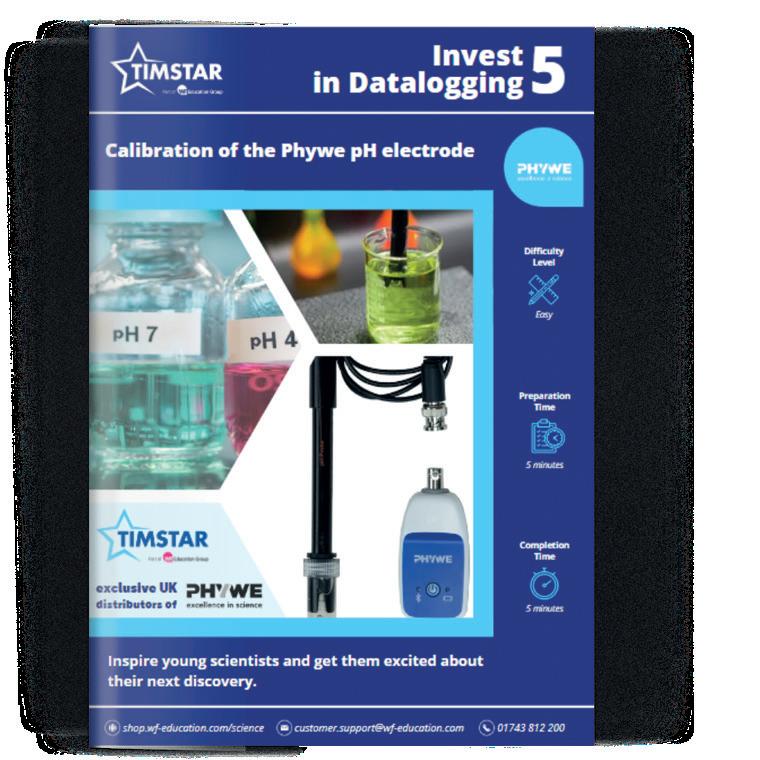
Download the pH electrode calibration worksheet for the Phywe datalogging sensor

Download our pH Best
42 |
Care of your pH electrodes
pH 4 £16.15
pH 7 £16.15
pH 9 £16.15
PH120130
If you use pH meters, calibration is an important aspect of maintenance that helps to keep pH electrodes continually accurate.
Why is calibration important?
Calibration is a fundamental part of pH meter and electrode maintenance. Drift can occur in pH readings over time and through use due to electrode ageing and chemical exposure.
Calibrating takes account of these changes in the pH electrode and realigns the electrode and the pH meter using known reference standards which are known as pH buffer solutions. Regular calibration is important for continued accuracy and repeatability.
How often should you calibrate?
How often you will need to calibrate depends on how often you use your meter, what substance you are testing and how well the electrode is cleaned and stored. For example, if an electrode was being used to test clean water once a day, then monthly calibration would be suitable. An electrode used to test battery acid 20 times a day would require more frequent calibration to remain accurate.
Another factor in determining calibration frequency is the level of accuracy required. Many operators only need to measure pH to 0.1 of a unit and will not need to calibrate as frequently. An operator who requires 3 decimal point accuracy may need to calibrate daily or before each sample is tested. Using calibration solution
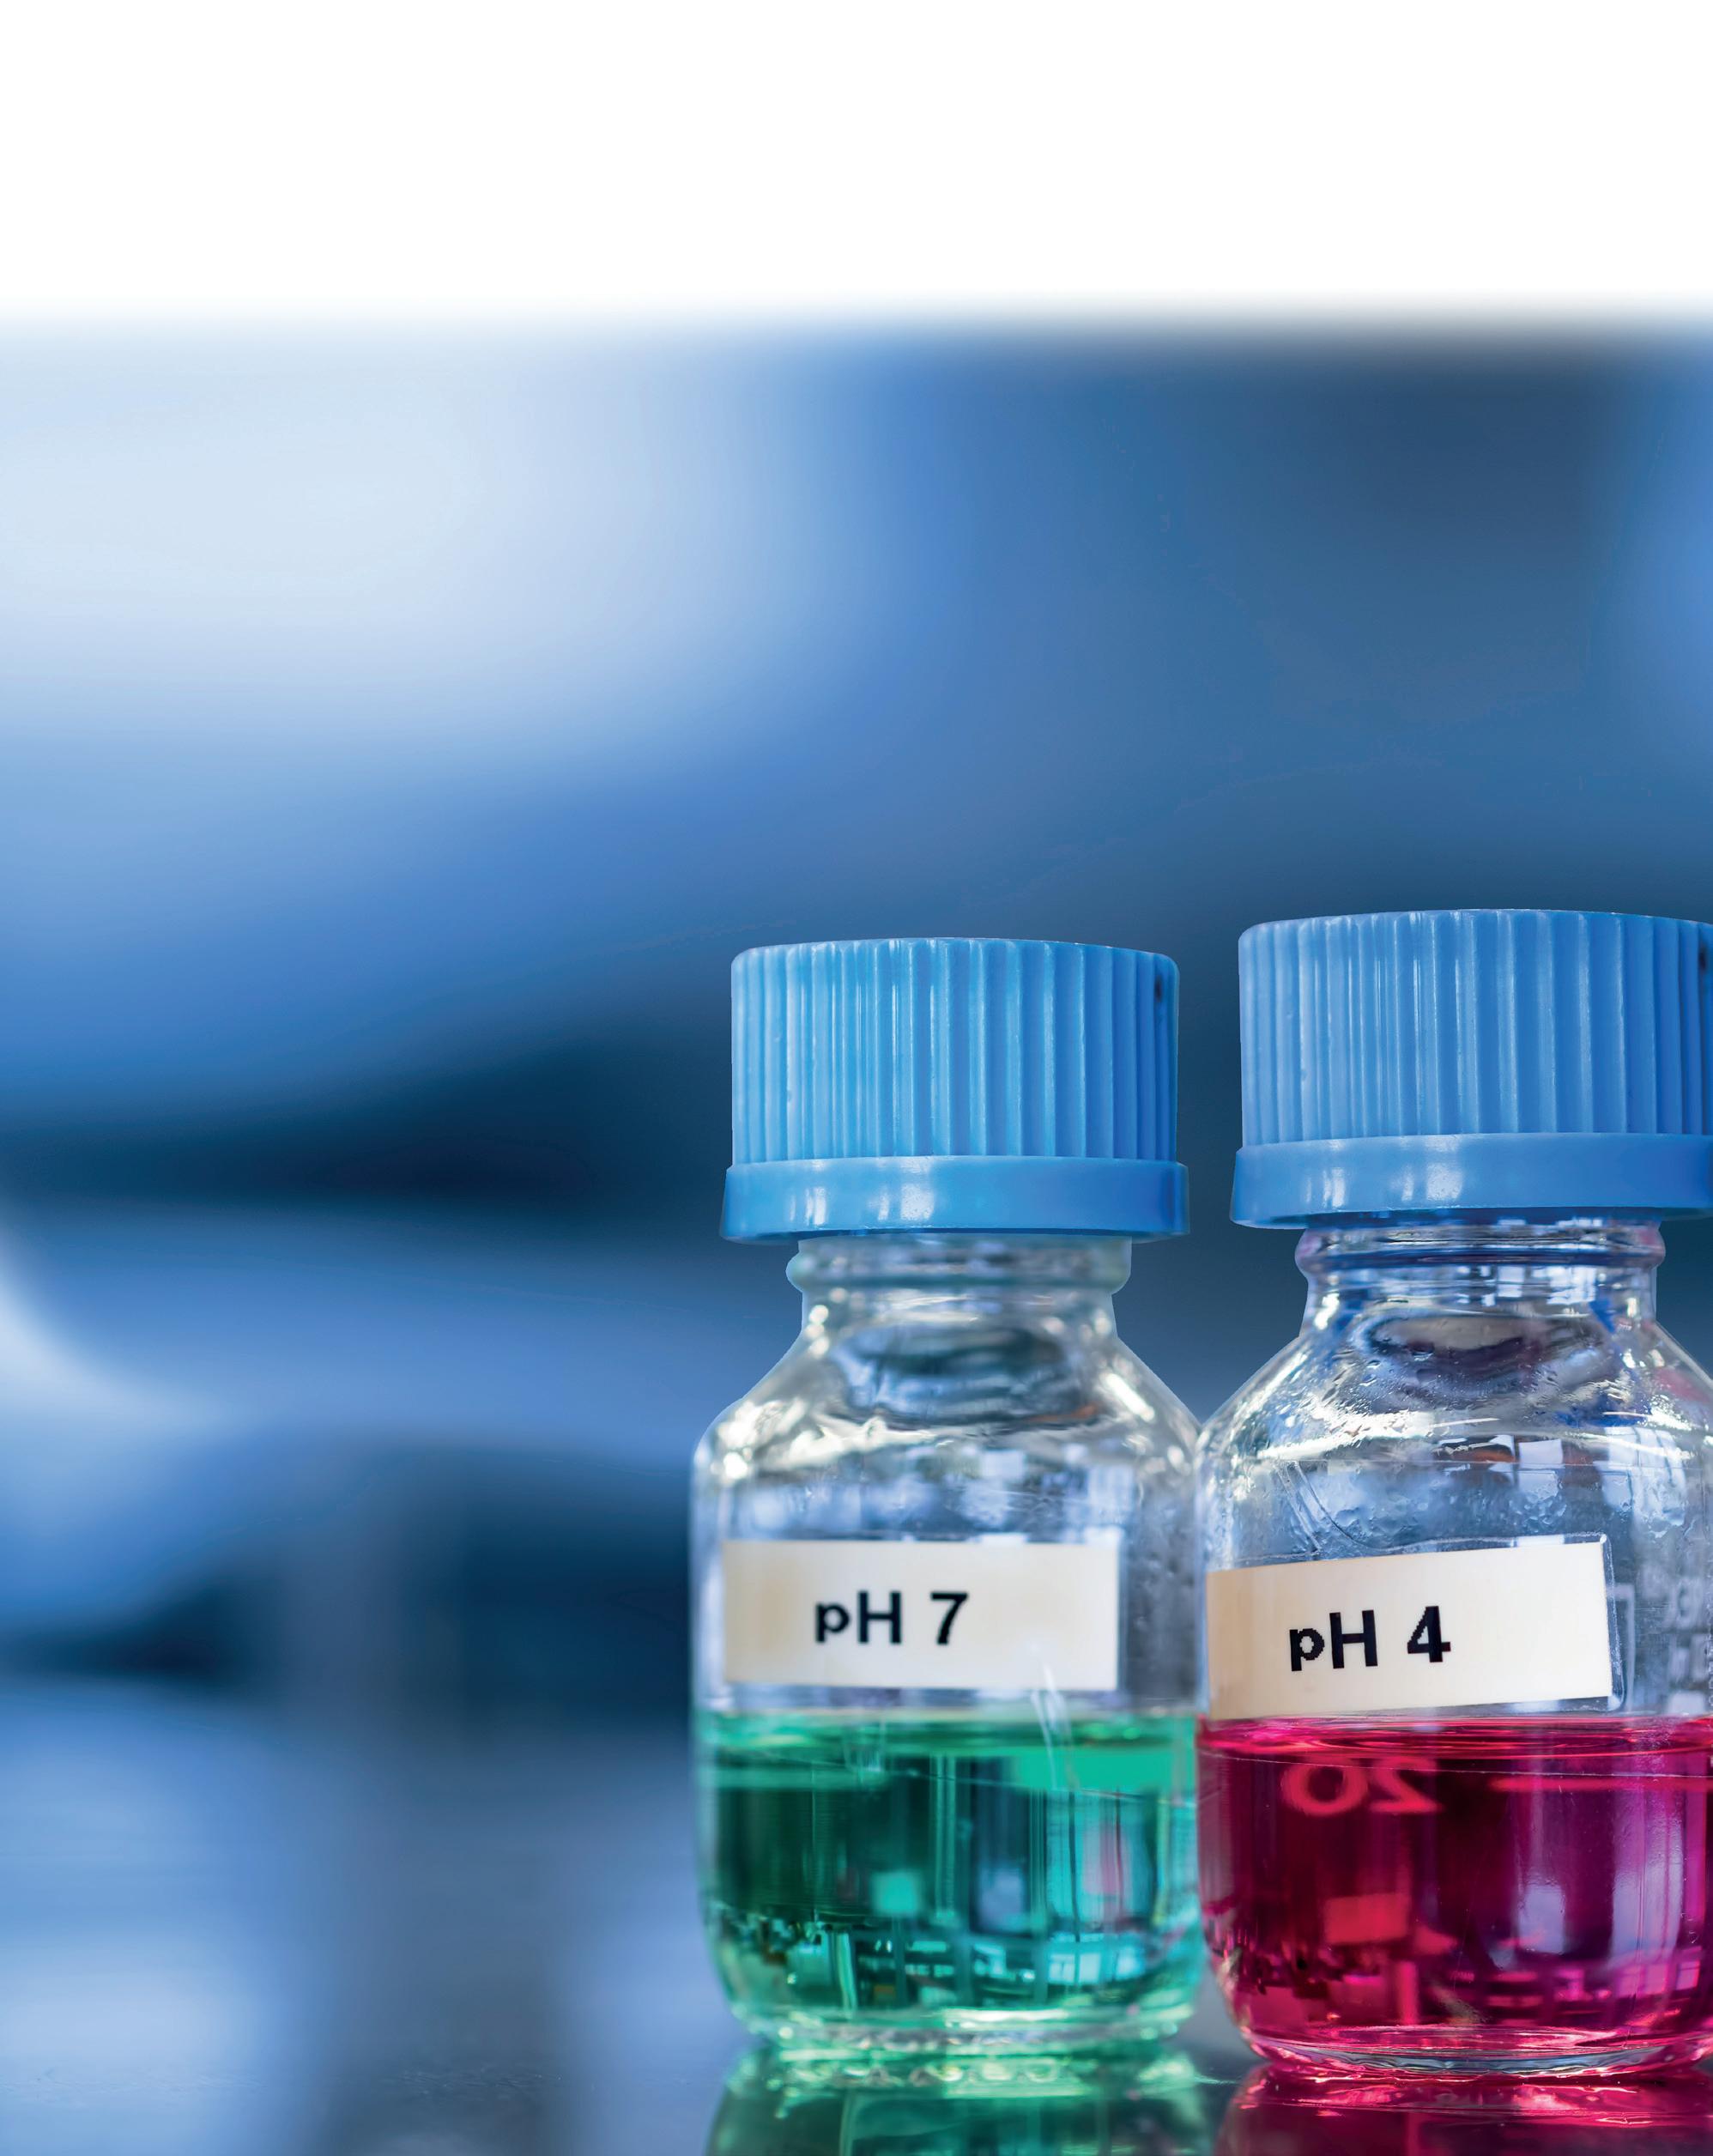
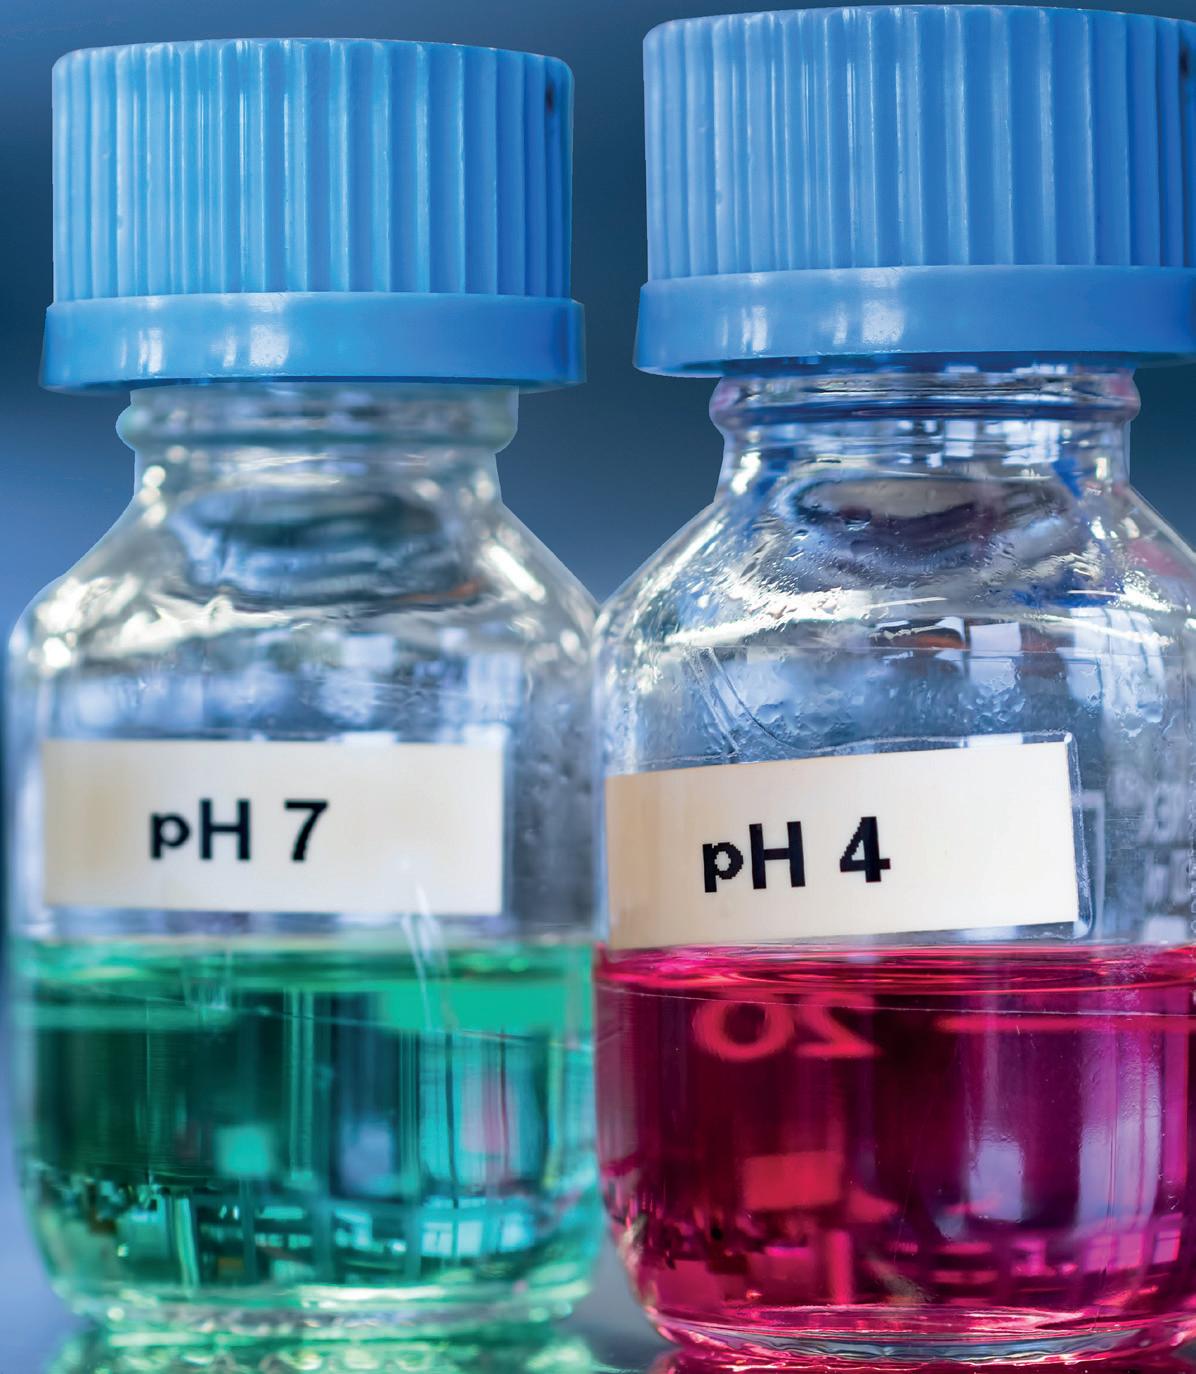
pH calibration solution, also referred to as buffer solution, is supplied ready to use in a range of pH values.
The most used solutions are pH 4 and pH 7, as 7 is the halfway point on the pH scale. Most pH measurements are performed in the acid range, making pH 4 the most suitable second buffer in many cases.
Solutions in other pH values are available for more specialist requirements or when measuring samples in the alkaline range, where it is common to choose a pH 10 buffer in place of pH 4.
Calibrating at pH 4 and pH 7 or pH 7 and pH 10 is known as a two-point calibration and is sufficient for most pH applications and accuracy requirements.
It is important that you use fresh solutions each time, and that you check to ensure your solutions are uncontaminated and in date before use.
** Information kindly supplied by Hanna Instruments UK**
Want to see the full range?

Visit: shop.wf-education.com/science 01743 812 200 customer.support@wf-education.com
Search pH meter | 43
A water bath is a safe way to gently heat samples to your desired temperature and maintain them at it. Thermostatically controlled and suitable for short or long-term practical work they can be set at temperatures from ambient to 100°C.
Timstar stocks a range of analogue and digital water baths in sizes from 4 litres to 22 litres. Do remember that if you are using temperatures above 60°C we advise using a lid to maintain the temperature.
Search Water bath
Search Water bath
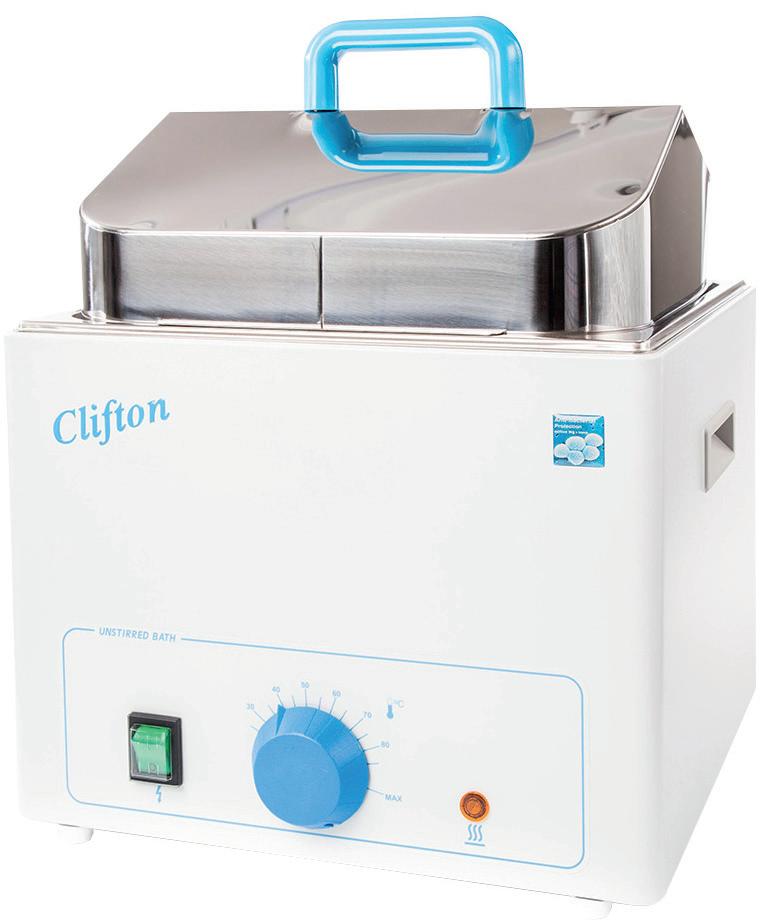
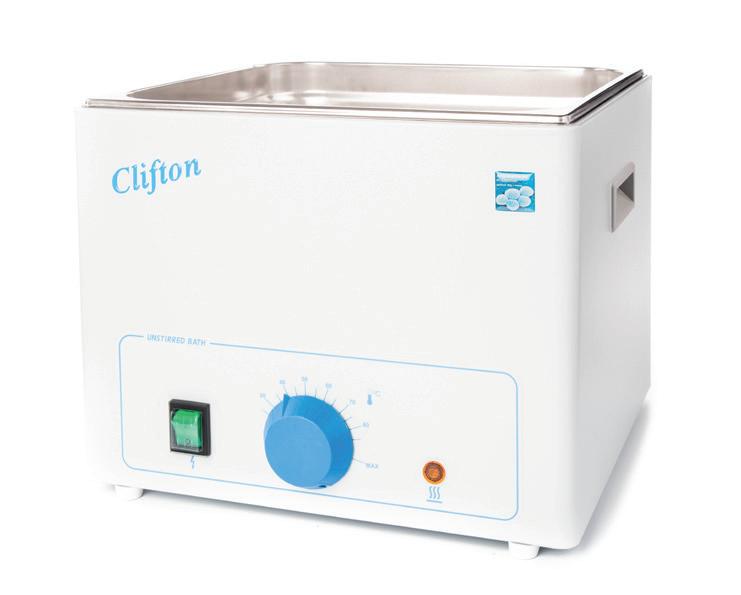
Clifton Unstirred Analogue Water Baths
Designed for general use and economically priced without compromising quality. An easy to use analogue dial pointer allows temperature setting graduated in 5°C divisions.
• Illuminated on/off switch and heater indication lamp
• Complete with a removable, ‘low’ height stainlesssteel perforated shelf
• Painted surfaces feature anti-bacterial finish, hygienic coating which actively inhibits bacterial growth, with good chemical resistance
• Temperature range: Ambient +5°C to 100°C
BA01870 4 litre
BA01871 8 litre
BA01872 14 litre
BA01873 22 litre

£335.00
£375.00
£385.00
£475.00
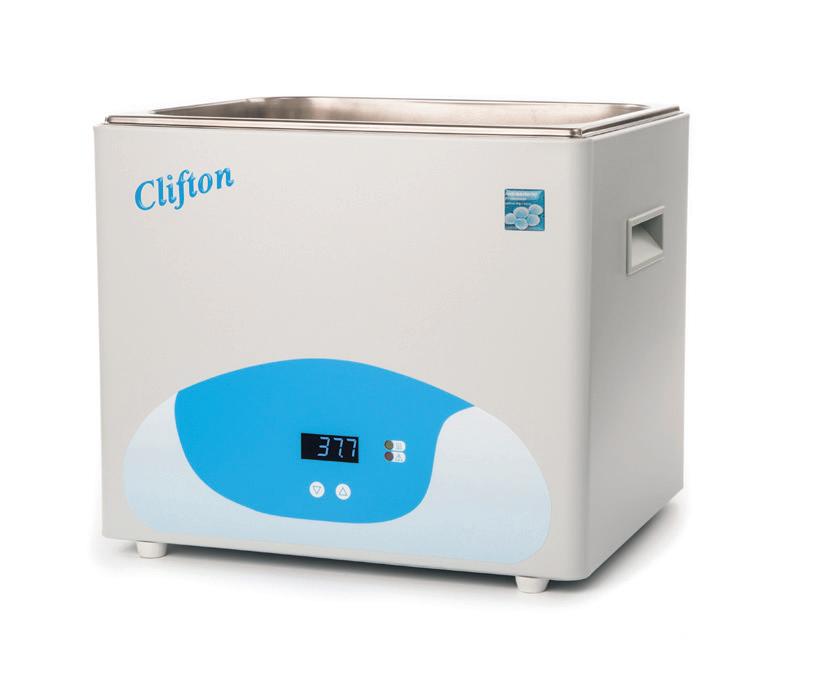
Clifton Unstirred Digital Water Baths
These digital water baths provide a stable temperature environment with a digital PID temperature control for precision. Featuring a bold LED display of measured temperatures in real time, with increments of 0.1°C. The easy to use controls are splash-proof, with touch keypad for setting temperature and indicator for heating and an over temperature alarm.
• Complete with a removable, ‘low’ height stainlesssteel perforated shelf
• Painted surfaces feature anti-bacterial finish, hygienic coating which actively inhibits bacterial growth, with good chemical resistance
• Temperature range: Ambient +5°C to 100°C
BA01876 4 litre
BA01877 8 litre
BA01878 14 litre
BA01879 22 litre
£465.00
£490.00
£515.00
£580.00
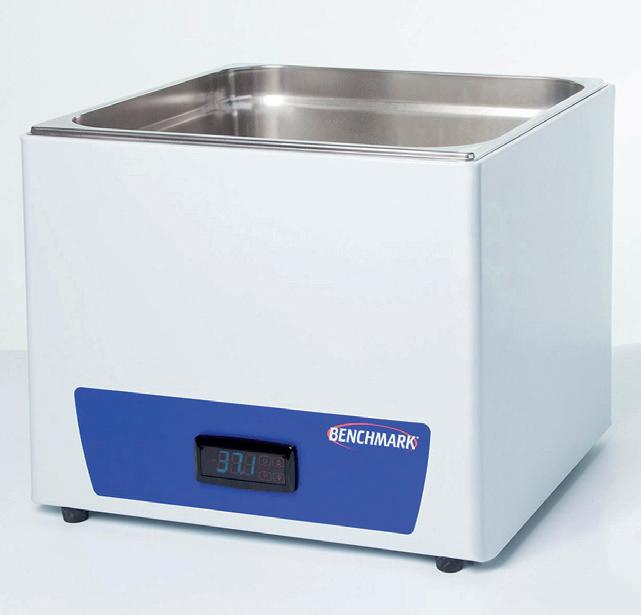
Benchmark™ Digital Water Baths
The Benchmark ™ digital water bath has been specifically designed for use in schools and colleges. UK designed and manufactured with a 304 grade stainless steel tank steel outer casing with antibacterial paint surface.
• Easy to use digital temperature control, from ambient +5°C to 95°C
• Temperature stability @45°C: ±0.25°C
• Temperature display: 1°C, auto-locking of set temperature, preventing inadvertent adjustment in use
• Low water run dry protection: Self resetting cut out
• Gated, large bore drain tap, for convenient bath emptying
• Stainless steel perforated base tray
BA140250 5 litre
BA140255 9 litre
BA140260 13 litre
BA140265 20 litre
£460.00
£485.00
£510.00
£575.00
44 | Water baths
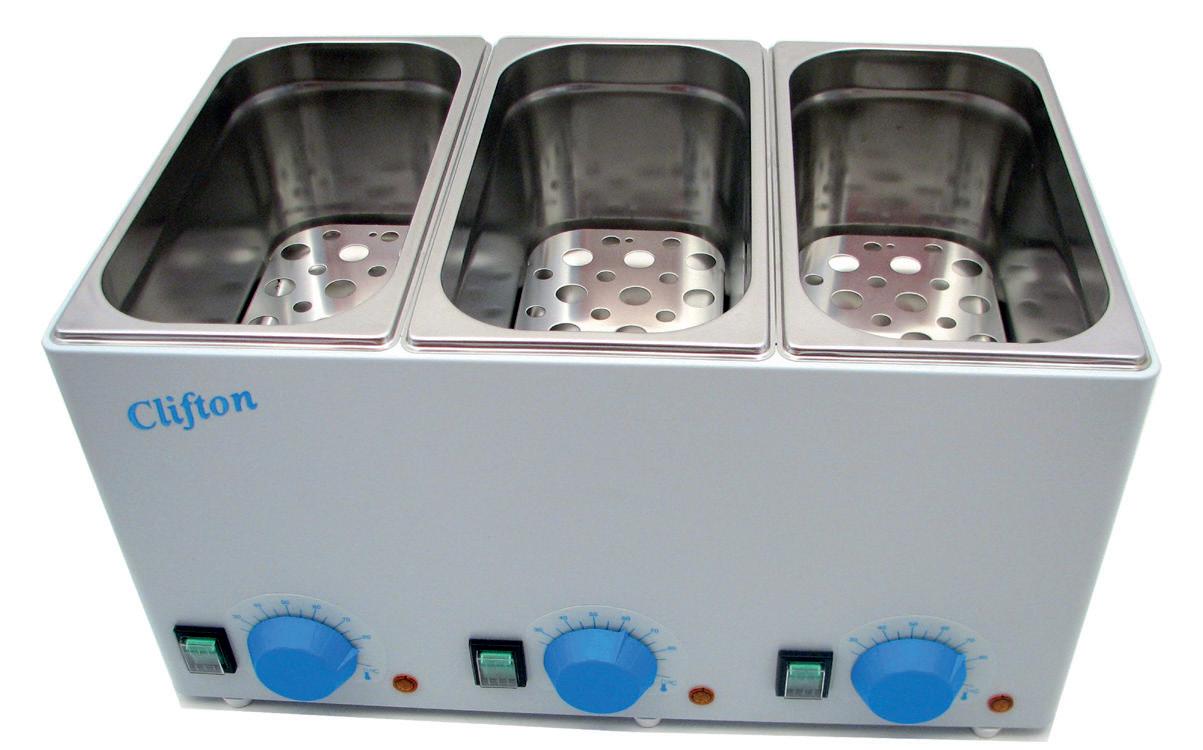
TripleBaths feature three independently controlled, unstirred water baths in one unit.
Clifton Analogue TripleBath™
A triple water bath featuring three independently controlled unstirred stainlesssteel water baths, with individual thermostatic controls, in one unit, allowing each chamber to have a different temperature and water level.
• Illuminated on/off switch and heater indication lamp
• Complete with a removable, ‘low’ height stainless-steel perforated shelf in each tank
• Painted surfaces feature anti-bacterial finish, hygienic coating which actively inhibits bacterial growth, with good chemical resistance
• Temperature range: Ambient +5°C to 99°C
BA150300
NE1-4/4/4 £790.00
Did you know that you should initialise the controllers before using your Clifton Digital TripleBath™?
For temperature accuracy on digital models, it is important to allow the controller to initialise during the startup process before setting the temperature.
Here’s how to do it!
Before commencing, please ensure that all tanks are filled with water.
1. Switch on the GREEN mains switch of TANK 1 ONLY and immediately press and HOLD the P button until SLS is displayed then press the P button = 10.
2. Using the ▲ OR ▼ buttons, adjust the setting to 10.0 then press the P button to confirm the setting.
3. Press and HOLD the U button to return to the ACTUAL TEMPERATURE display.
4. Press the P button = SP.
5. Use the ▲OR ▼ buttons to adjust the SET TEMPERATURE to the required operating temperature then press the P button to confirm the setting.
6. The HEATER indicator should illuminate, and the water bath should begin to heat.
Repeat the steps above for Tank 2 then Tank 3, one at a time.
Once all of the settings are correct, you will be able to use all 3 tanks at the same time.
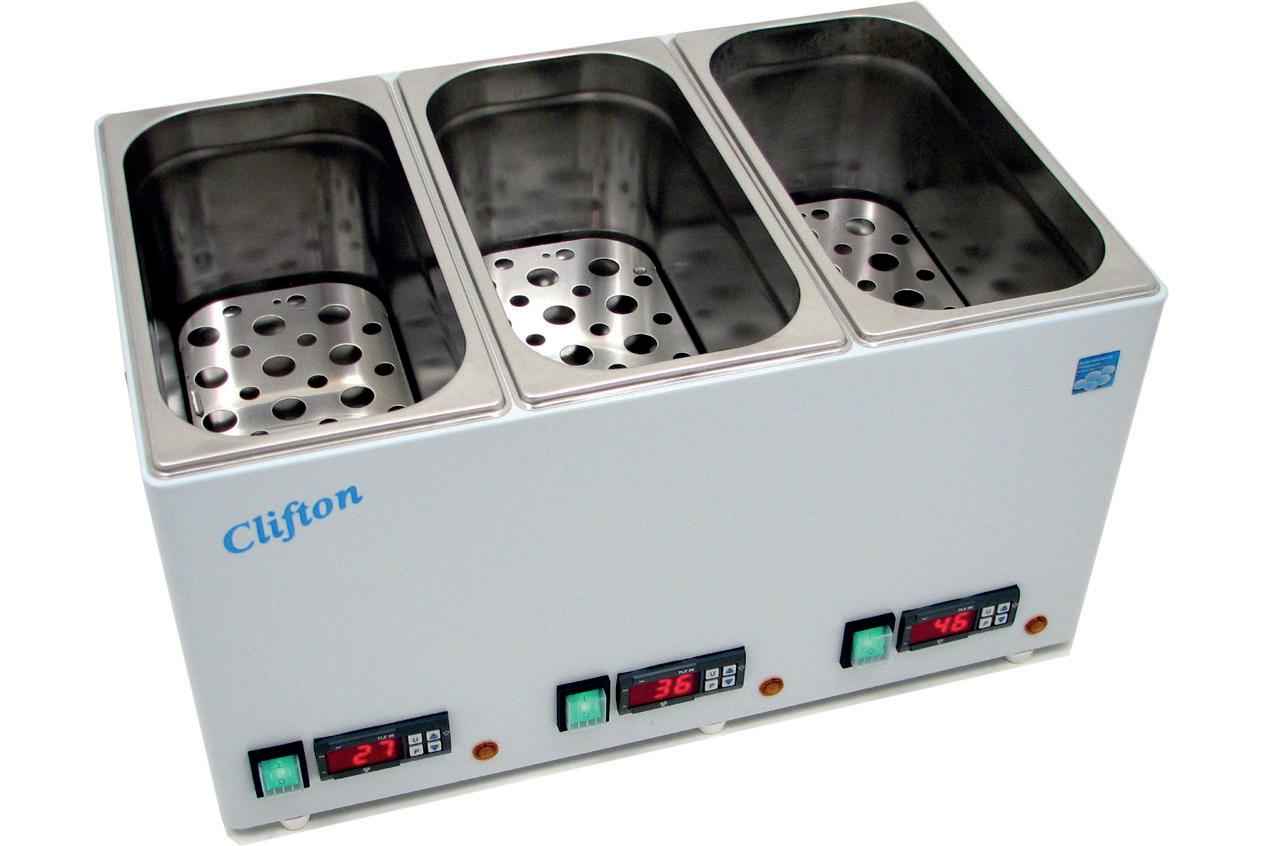
Clifton Digital TripleBath™
A triple water bath featuring three independently controlled unstirred stainlesssteel water baths, with individual digital thermostatic controls, in one unit, allowing each chamber to have a different temperature and water level.
• Easy-to-use digital controls, with up and down key pads, allow temperature setting
• Each tank has an illuminated on/off switch and heater indication lamp
• Complete with a removable, ‘low’ height stainless-steel perforated shelf in each tank
• Painted surfaces feature anti-bacterial finish, hygienic coating which actively inhibits bacterial growth, with good chemical resistance
• Temperature range: Ambient +5°C to 99°C
BA150306
BA150304

NE1D-2/2/2 Digital £820.00
NE1D-4/4/4 Digital £960.00
Visit: shop.wf-education.com/science 01743 812 200 customer.support@wf-education.com
| 45
Our eyes are able to perceive different colours within the visible spectrum of light. White light is made of a mix of many different wavelengths of light, visible to our eyes as different colours (when the white light is split into those wavelengths through a prism).
What happens when light falls on surfaces? Why do we perceive the colours of objects that we do?
This has to do with the absorption and reflection of different wavelengths (colours) of light:
There are two colour palettes that we can see: primary and secondary colours
Primary colours are those that cannot be split any further and these are red, green, and blue
Mixing these colours of light will give white light (the presence of all the wavelengths of light)
Primary colours: green, red, blue


Secondary colours yellow, cyan, magenta
‘White light’ all wavelengths
FUN FACT!
As an object’s temperature increases, the energy it radiates is dominated by the shorter wavelengths of the spectrum. The sun has been measured at roughly 5,500°C and appears yellow. If the temperature increased it would appear bluer (more of the short wavelengths produced). If it lost temperature it would appear redder (longer wavelengths).
46 | The science of colour
When (white) light reaches an object, the object will absorb some wavelengths of light and reflect others. The reflected light is what our eyes perceive.
White light reaches object
White light reaches object
Red light is reflected
Blue & green light is absorbed Red block
Secondary colours
White light reaches object
Blue light is reflected
Red & green light is absorbed Blue block
Green light is reflected

Red & blue light is absorbed Green block
Secondary colours: cyan, yellow, and magenta are made from mixing primary ones.
Blue and green make cyan; red and green make yellow and red and blue make magenta.
White light reaches object
Blue & green light is reflected (making cyan)
Cyan block
Red light is absorbed
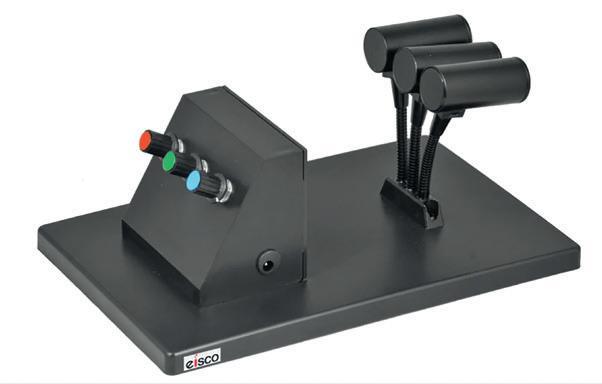
LED Colour Mixing Apparatus
The LEDs can be projected onto a piece of paper or wall depending on whether you are doing a classroom demonstration or student bench top experiments. Each lamp is flexible and is connected to an individual knob that controls the brightness of the lamp
OP230100
£110.00
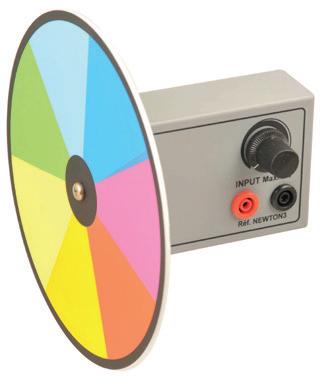
Newton’s Colour Wheel, Motorized
This motorized Newton’s colour wheel is useful for demonstrating that white light is composed of a combination of different spectral colours.
OP74610
£35.75
White light reaches object
Red & green light is reflected (making yellow)
Blue light is absorbed Yellow block
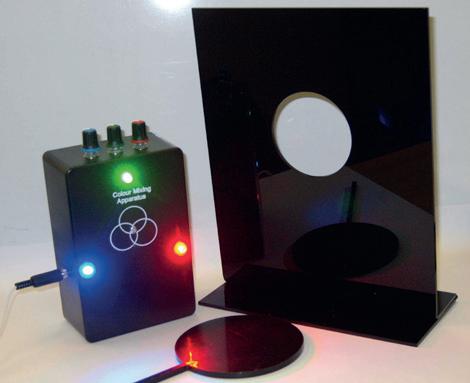
Colour Mixing Apparatus
An upright case contains three, high powered, accurately colour matched LEDs, each of which has adjustable brightness.
OP84760
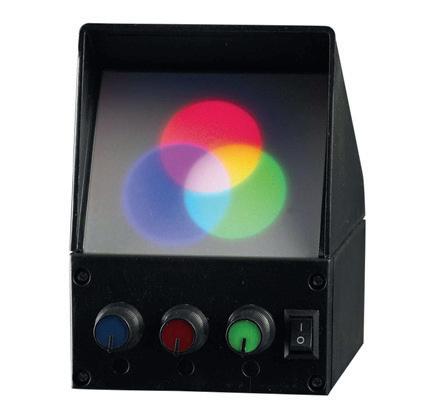
Colour Mixing Box
£92.75
White light reaches object
Red & blue light is reflected (making magenta)
Magenta block
Green light is absorbed
This unit contains three coloured light sources (red, green and blue) projected onto a screen in overlapping circles. The unit is self-contained, meaning no setup is required, and can be used comfortably by 2-3 pupils at time.
OP155050
£21.20
To see what happens when shining a secondary coloured light onto a secondary coloured object, or how coloured filters affect the colour we see and lots more fun colour facts, visit the Resource Hub and search ‘colour’
| 47

Hooke’s law relates the force, mass, and extension of a material. Usually in school we look at spring extension, but it does apply to all materials if the forces and deformations are small and don’t exceed the elastic limit of the material.
Hooke’s Law
The force exerted on a spring is directly proportional to the extension of the spring.
This only applies within the elastic limit of the spring. If a spring is stretched beyond that limit, it will not return to its original shape because it has lost its elasticity, thus further force applied will not be proportional to the extension. To overcome this part of the spring’s nature, a constant - the spring constant, which is different for each spring – is included in the equation: F=kx
Where F = force, x = extension and k = spring constant
Sometimes the equation is written as F= -kx. The minus sign indicates a direction. This is because the force will be in the opposite (-ve) direction to the displacement (extension).
The spring constant is equivalent to the force per unit extension (nm-1), the larger the constant the less elastic (or stiffer) the material will be.
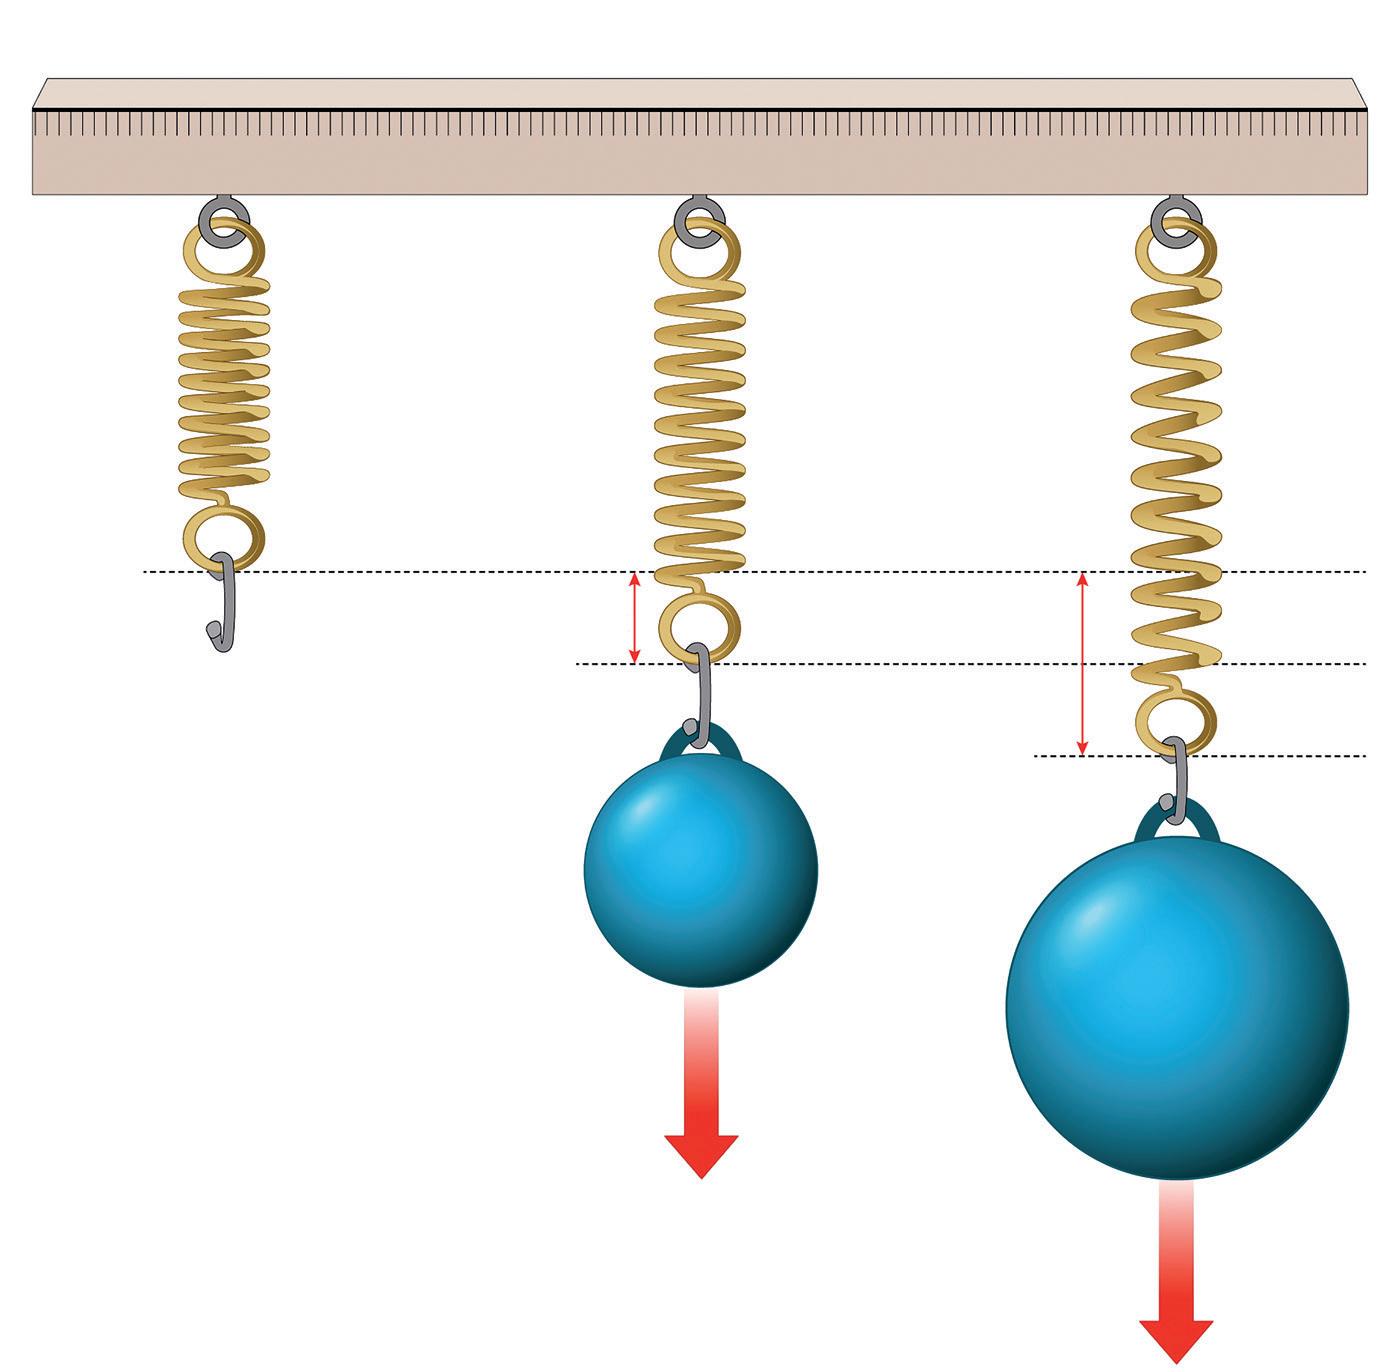
Hooke’s law investigations are present in both the GCSE and A level physics specifications, although sometimes the A level requirement is to test the elasticity of materials other than a spring. They will be identifying the spring constant in each case.
As well as the traditional method of investigating Hooke’s Law, it can also be done using the Phywe Cobra SmartSense force acceleration sensor. The FREE worksheet is included with the MeasureAPP software.
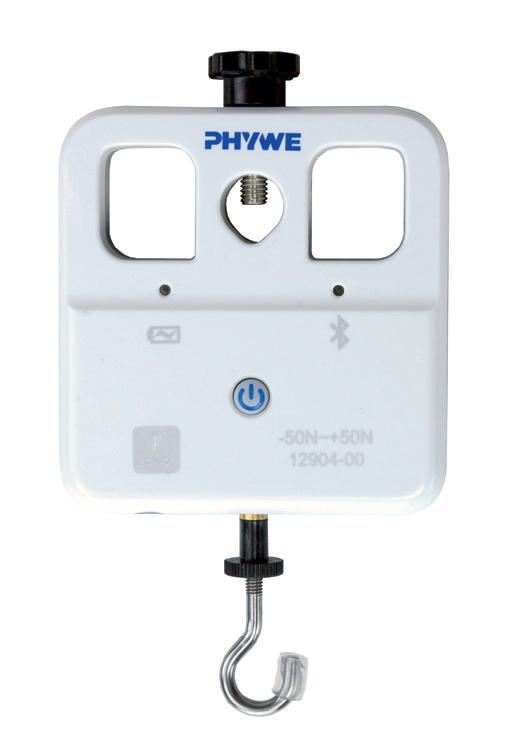
Cobra SMARTsense Force Acceleration Sensor
Ideal for measuring pushes and pulls within the classroom. Perfect for Hooke’s Law, g by freefall and more.Use this Cobra SMARTsense Force Acceleration sensor to measure the acceleration resulting from an external force.
• Quick and easy connection via Bluetooth and the free measureAPP
• Contains a USB-C rechargeable lithium polymer battery
• Up to 50 hours use on one battery charge
• Force:
o Range: ±50
N o Resolution: 30 mN
• Acceleration: o Range: ±16 g
o Resolution: 0.01 g
• Gyroscope:
o Range: ±34.9 rad/s o Resolution:
0.01 rad/s
• Sample rate: 1000 Hz
Want to find out more? Click here for more information about the Hooke’s Law experiment and the development of the spring balance.
O F 2F 2x x
48 |
Hooke’s Law
£175.70
DA220150
How to use the weigh-below-hook on a balance!
Some balances feature an integral weighing hook on the underside of the balance. Useful for weighing items that do not fit particularly well on the top pan. For OHAUS® Scout SKX balances this is where they can be found:
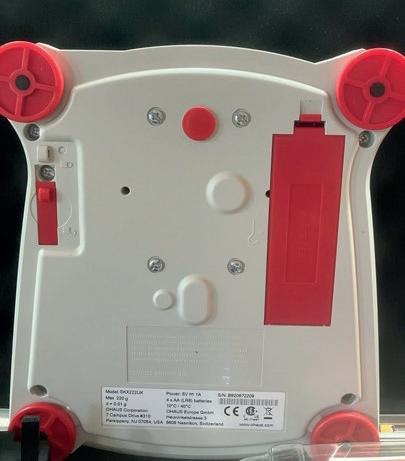
Remove this plug to attach
Weigh hook is under this cover
Look on the underside of the balance and you will see the red rectangular battery housing
Check out the Resource Hub post on calibrating the OHAUS® balance!
Open this and a hook can be found on the underside
Remove this hook and remove the red rubber plug found in the top middle of the underside of the balance. The hook screws into this
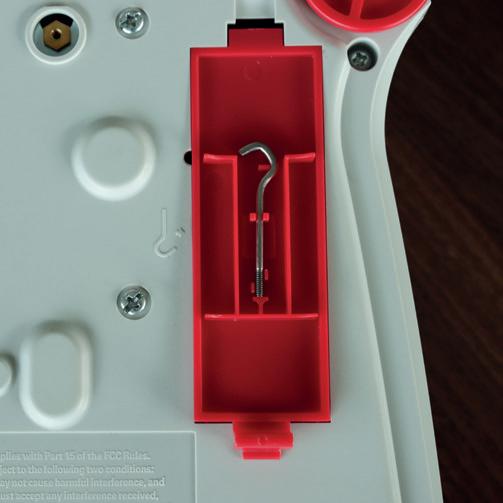
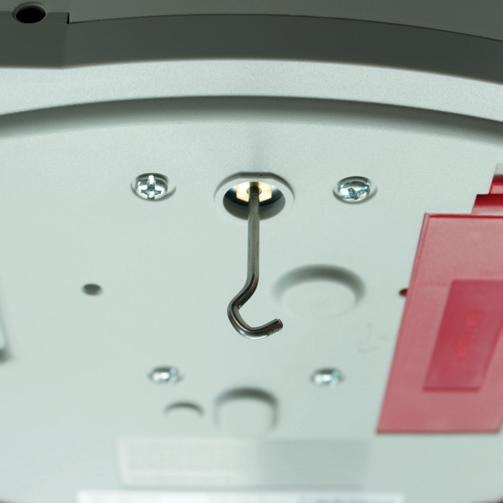
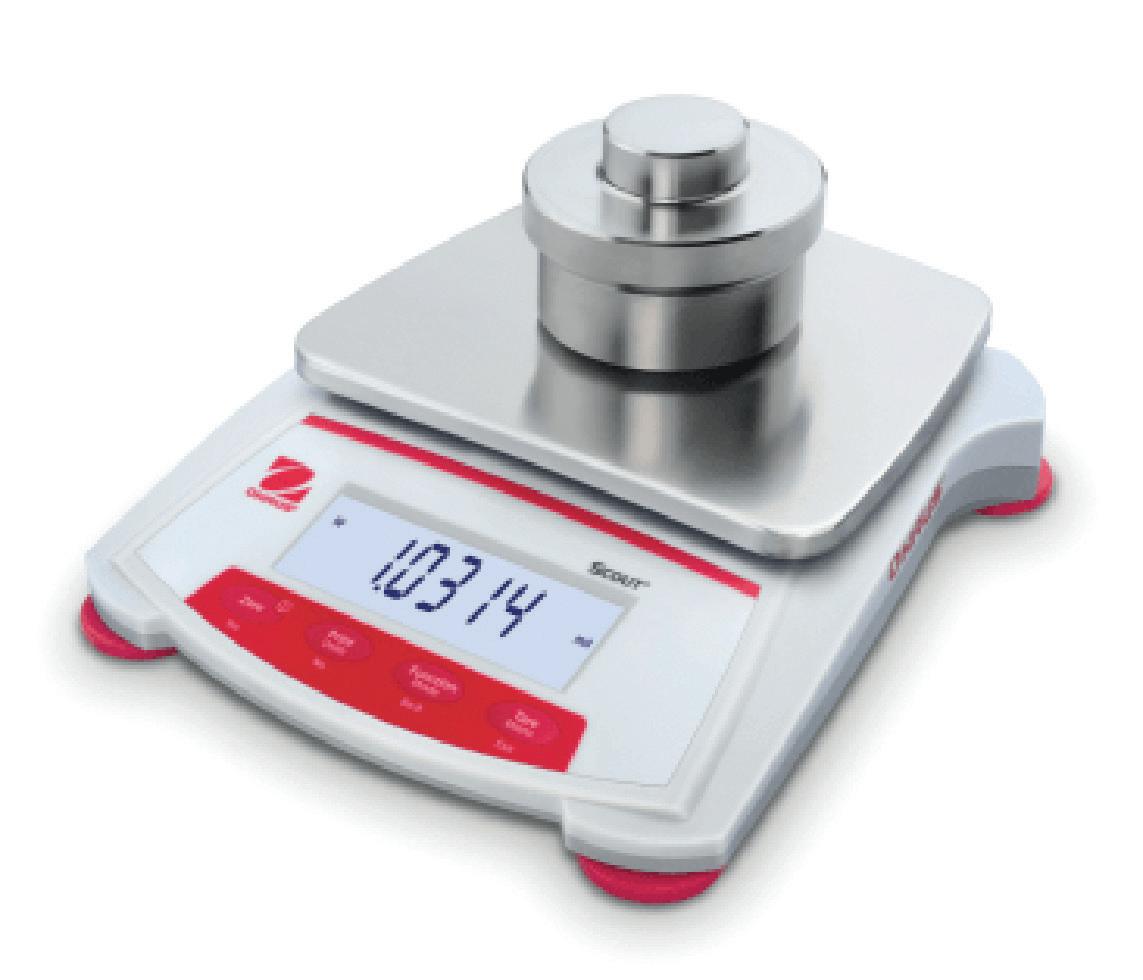
Return the balance to the right way up, allowing space for the hook to hang freely
You can now use the hook to weigh irregular shaped objects
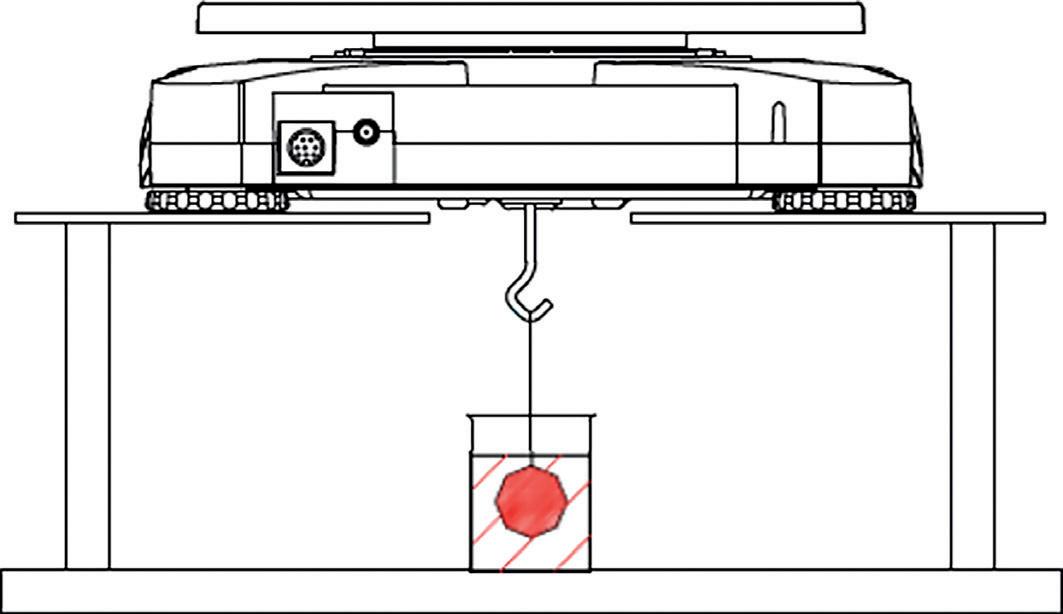
OHAUS® Scout SKX Balances
Designed for education applications, the OHAUS® Scout with large backlit LCD backed by education software and is the ideal balance for your classroom. It is built to endure demanding classroom applications with superior overload protection. Features including: faster stabilization time, increased capacity, multiple connectivity options and stackable design make Scout the best weighing experience for the next generation classroom.
120 g x 0.001 g
Visit: shop.wf-education.com/science 01743 812 200 customer.support@wf-education.com
| 49
SKX123,
£295.00 BA160002 SKX222,
g £159.95 BA160004 SKX422,
x 0.01 g £196.50 BA160008 SKX622,
x 0.01 g £206.80 BA160012 SKX1202,
g x 0.01 g £240.00 BA160014 SKX2202,
x 0.01 g £308.95
BA160000
220 g x 0.01
420 g
620 g
1200
2200 g
Students learn about the importance of resistance in a circuit and how it is related to current, voltage and charge. Here we explain how to choose and use the rheostat (variable resistor) in a circuit.
In science education, resistors are used to show the relationship between resistance, current and voltage (potential difference) in the circuit.
The equation relating these is given as: V=IR
Where:
V = voltage (potential difference), in volts (coming from the power supply)
I = current running through the circuit (amps)
R = resistance (ohms).
With a constant potential difference powering the circuit, resistance is inversely proportional to the current in the circuit: If you increase the resistance, the current will go down (and vice versa).
For a table showing the different types of resistors and their circuit symbols, as well as lots more information about resistors and rheostats visit the Resource Hub.
Resistor colour codes
Most resistors used in school will be 4 or 5 colour banded resistors.
The colours represent the value of the resistor (using significant figures and a multiplier).
To understand how to read the banding on a resistor, search ‘Resistor’ on the Resource Hub
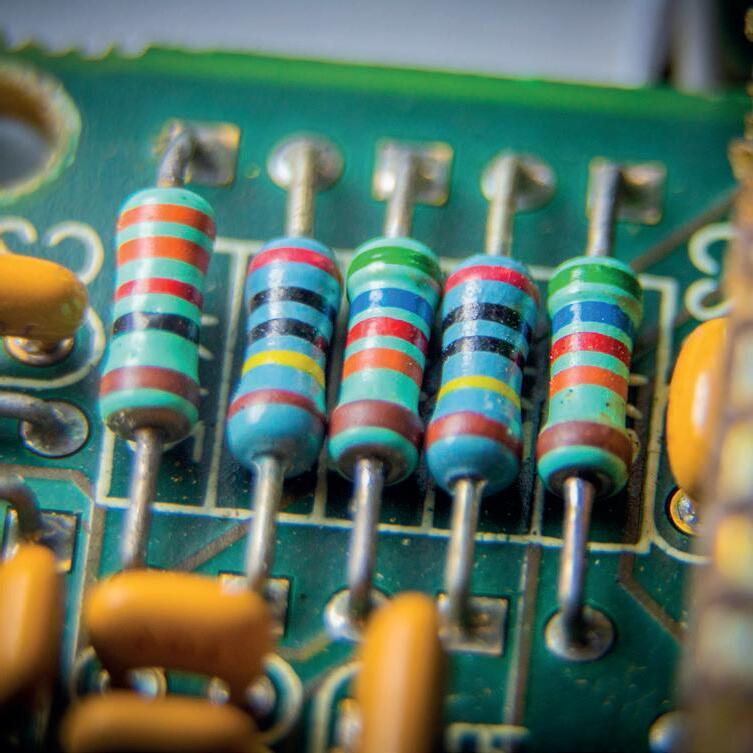
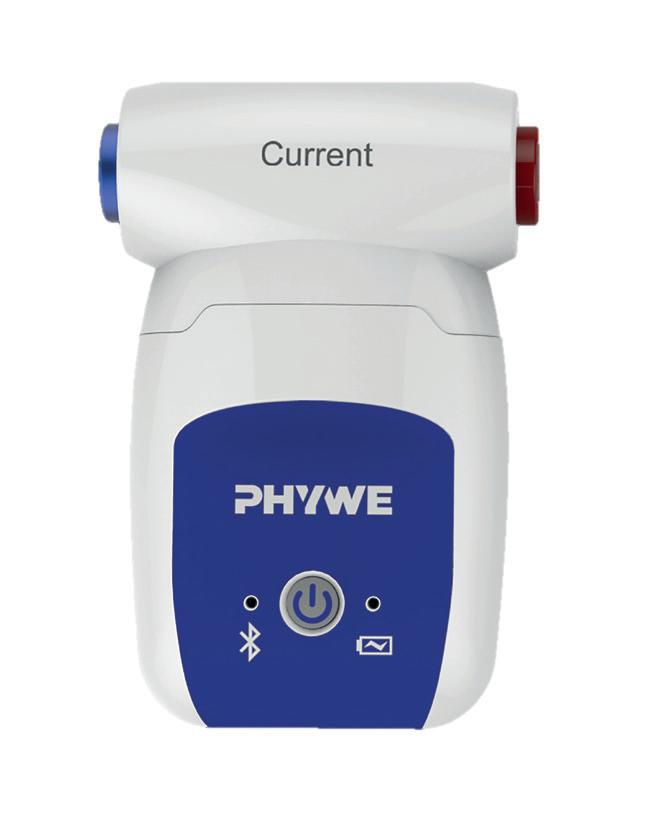
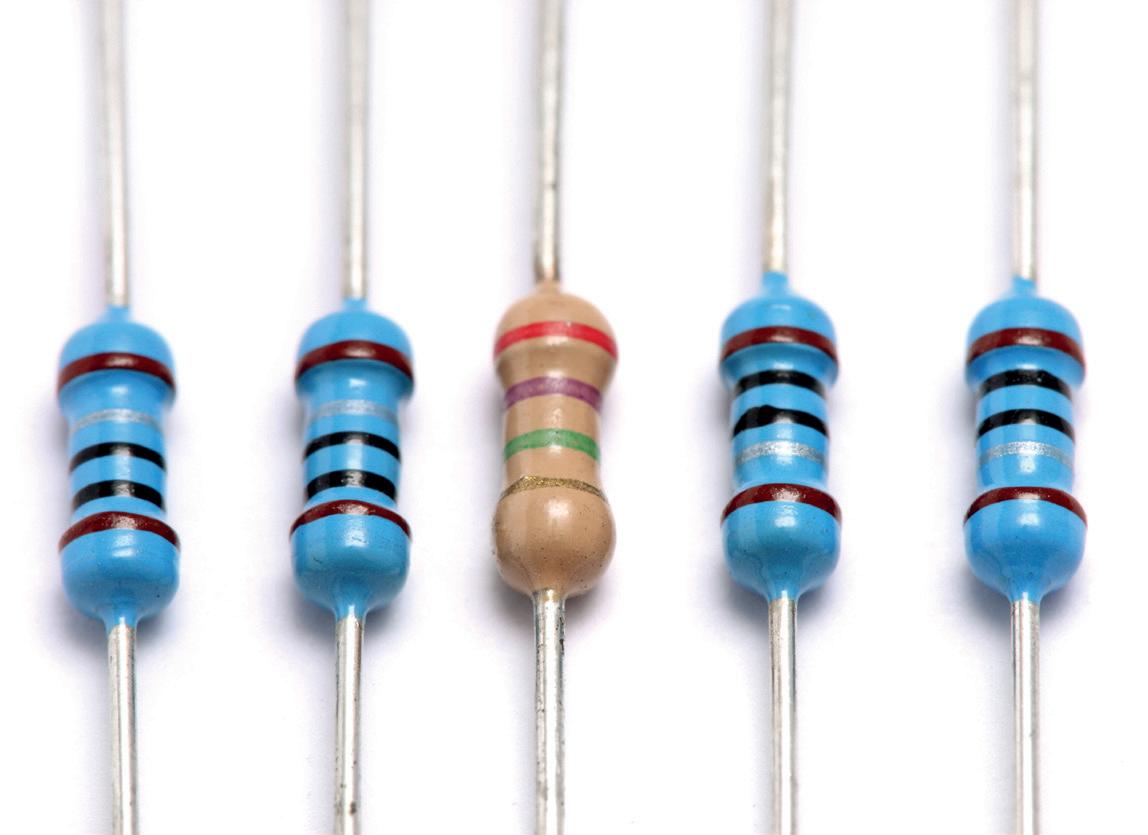
50 | Understanding resistors and rheostats
Cobra SMARTsense Current Sensor
Part of the Phywe range of datalogging sensors, exclusive to Timstar.
DA220020 £120.10
Rheostats, Sliding Contact
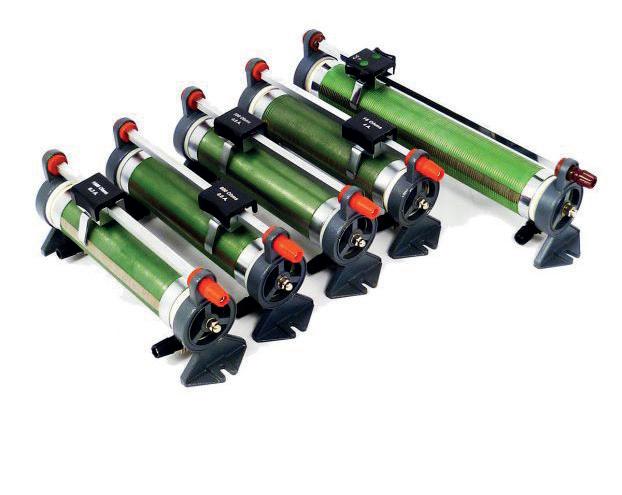
Consisting of heavily oxidised resistance wire wound upon vitreous enamelled steel tube and locked into place with ceramic cement, multi-leaf phosphor bronze heavy duty sliding contact on nickel plated rod. Robust enamelled diecast end stands and 4 mm socket terminals
EL18541 600 Ohm £37.60 EL18546 8.5 Ohm £37.60
EL18542 300 Ohm £29.10 EL18552 125 Ohm £39.90
EL18544 55 Ohm £37.60 EL18553 37 Ohm £44.70
EL18545 16 Ohm £37.60 EL18554 20 Ohm £52.50
What is a rheostat?
The slider is a moving connector. You move this along the coil to change the resistance in the circuit, by effectively changing the length of wire.
If you connect the circuit wires so that the top bar of the rheostat is excluded (so connect bottom left, A, and bottom right, B, terminals) the current will pass through all the coil, and you will have maximum resistance.

School Science Guide for Technicians Book
This handy guide provides a valuable resource for new school laboratory technicians, teachers without technical support and for experienced science technicians. It contains lots more information about resistors.
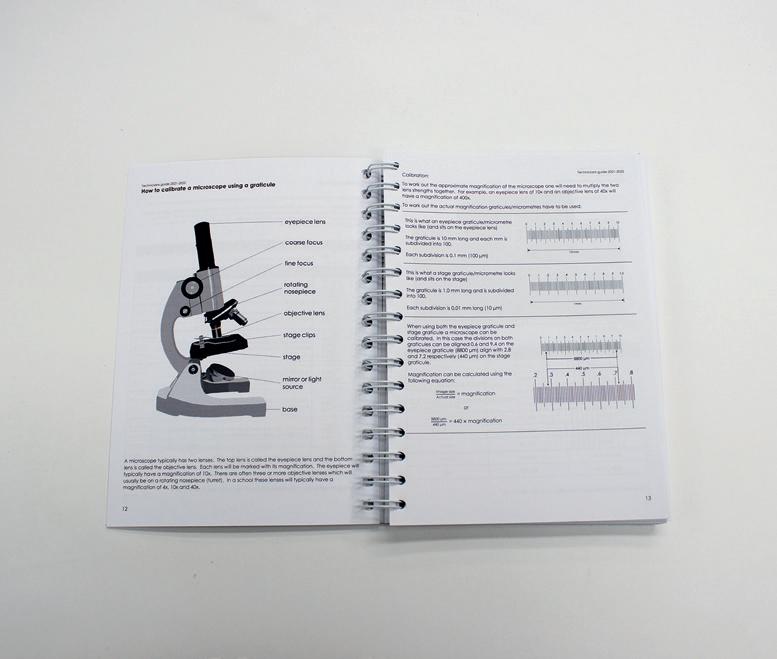
VI210000 £40.00
In its simplest form this is a long piece of wire wrapped around a cylinder, with connectors at either end, and a ‘slider’ on the top.
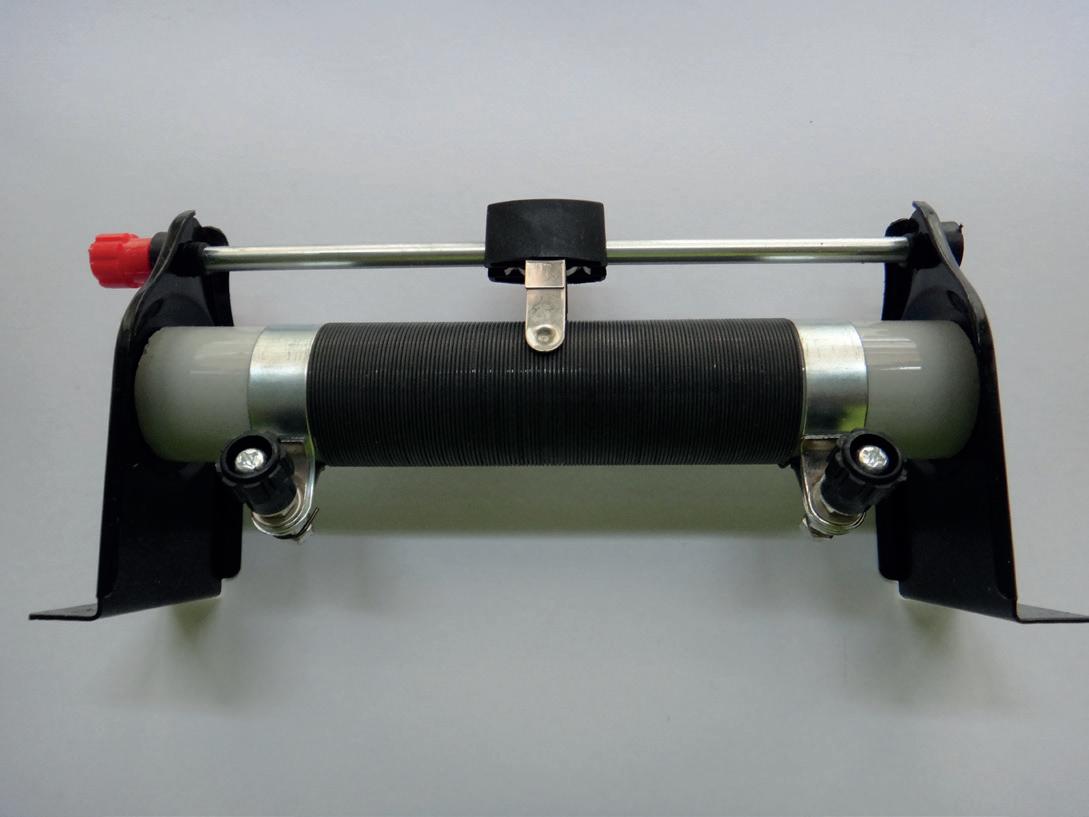
If you connect either end of the rheostat into the circuit (bottom left, A to top right, C) the current will pass through the coil and out at wherever the slider is, and on to the rest of the circuit (via the bar and terminal C). Moving the slider to make the length shorter will decrease the resistance in the circuit, and vice versa.
Note: The rheostat will work either way round. If it’s wired the opposite way then moving the slider along to seemingly increase the length, will actually decrease the turns and thus resistance.
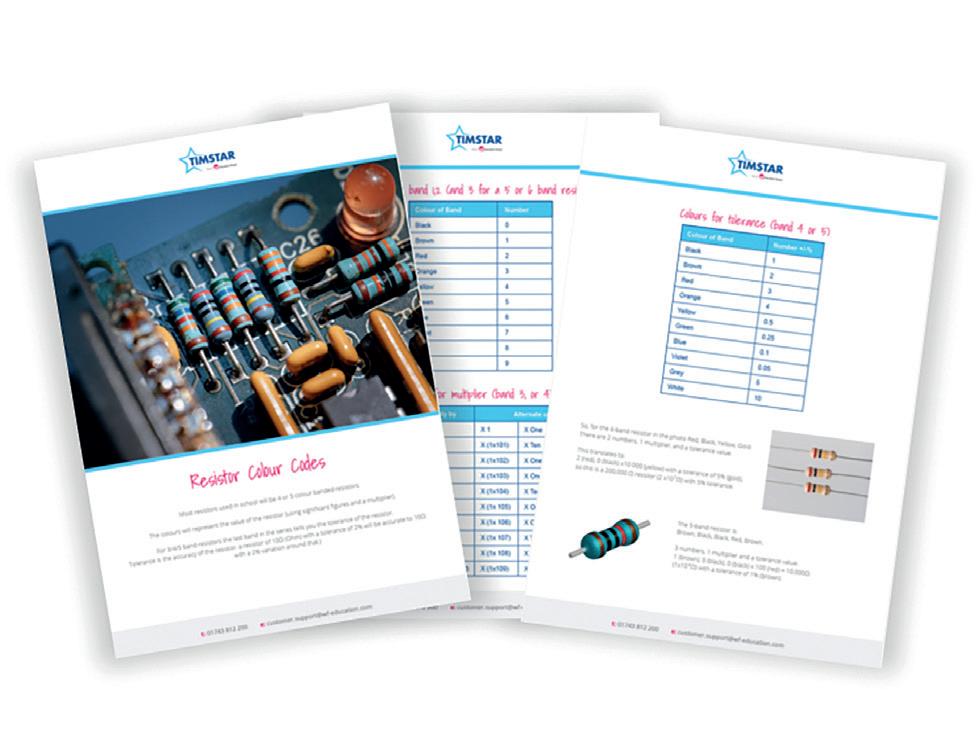
Visit: shop.wf-education.com/science 01743 812 200 customer.support@wf-education.com
guide
codes... | 51
Wire coil Slider (connector) Wire in (A) Wire out (B) Wire out (C) Download the FREE handy
to resistordeciphering
Lascells cloud chamber – key
facts:
Supplied with low activity thoriated tungsten welding rod source
Requires isopropyl alcohol (propan-2-ol)
Peltier-cooled (no need for dry ice!) – tracks visible within minutes
How does it work?
Volatile isopropyl alcohol (propan-2-ol) is dispensed onto a felt bed which evaporates and turns to vapour.
The bottom of the chamber is cooled and as the vapour falls through the chamber it rapidly cools. This pushes the vapour into a supersaturated state which means it will readily condense given something to condense on to.
Charged, radioactive particles pass through the air, ionising air molecules and leaving them positively charged. These ions provide a surface for condensation to occur, and so small liquid droplets are formed around them, tracing out the paths of the radioactive particles.
What can I see?
You can see the paths of where the particles have been. You should be able to see both alpha and beta tracks from the thoriated tungsten rod.
Alpha: Typically thick traces as alphas are highly ionising. Tracks may become increasingly dense further from the source as the particles lose energy and ionise more air molecules. Tracks are usually straight – the relatively massive alpha particles are not easily deflected by collisions with air molecules. Track length can be up to 4-5 cm.
A cloud chamber enabled the discovery of the positron in 1932.
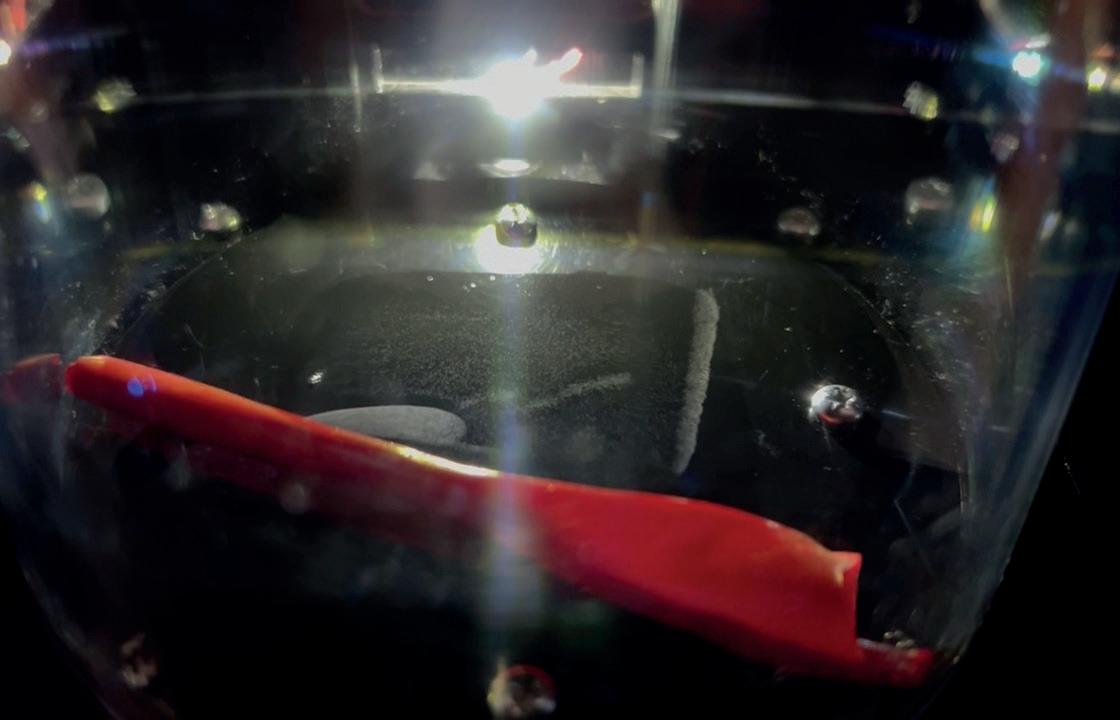
Beta: thin traces – electrons are less ionising. They are also smaller and lighter (easily deflected) and so follow curved paths.
52 | The Lascells
chamber
cloud
What experiments can I do?
Absorption of alpha particles
Roll a thin cylinder of paper and place the thoriated tungsten rod inside. One sheet of paper should be enough to stop the alpha particles, leaving only beta able to pass through.
How radioactive is your physics lab?
Charge up an inflated balloon (rub it on hair/clothes), and stick it to the wall. After 20 minutes, pop the balloon and place it inside the cloud chamber. You should see a lot of alpha emissions. [The charged balloon captures daughter isotopes from the radon decay series, trapped on dust particles in the air].

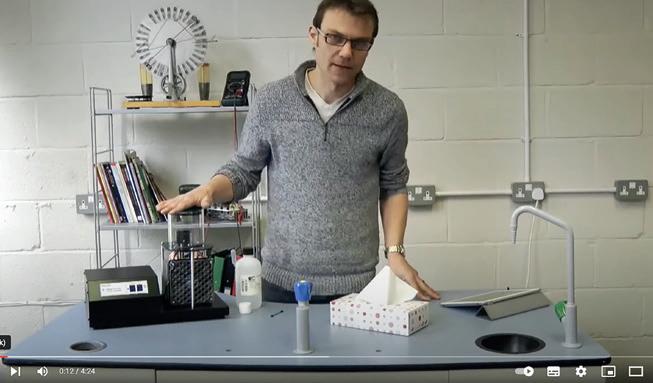

Show us how radioactive your school is by tagging us on X @Lascells.

Kindly written by Dr Nichola Swann
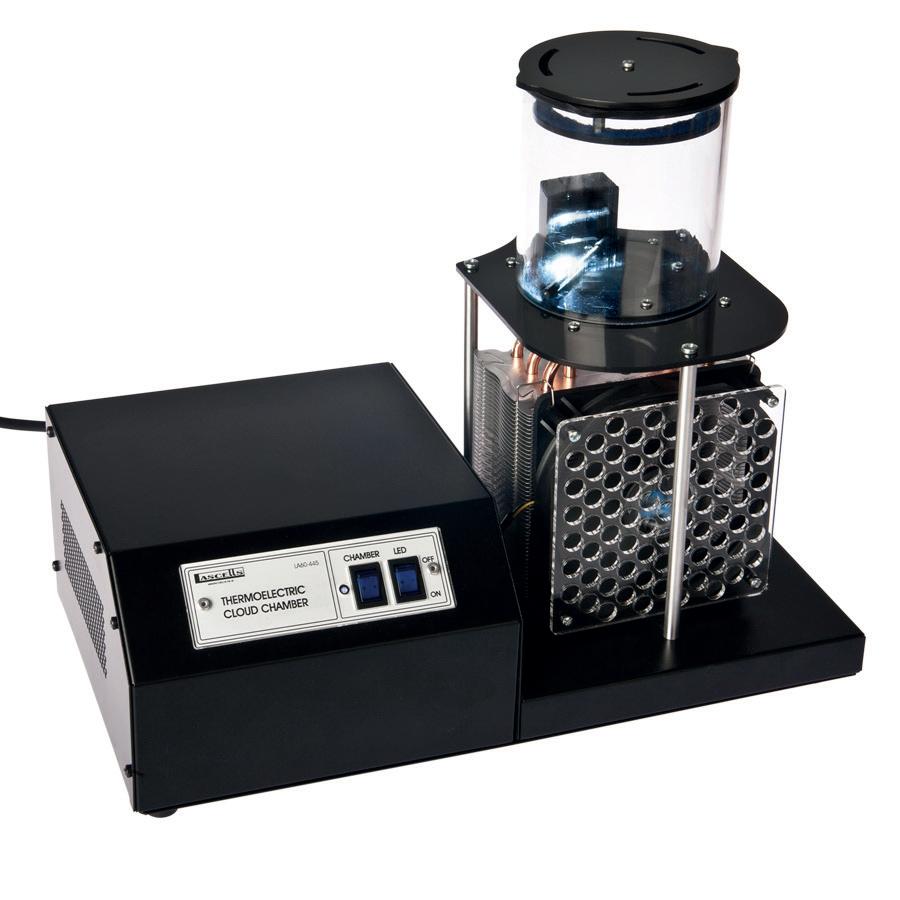
Lascells Cloud Chamber
The Lascells cloud chamber is the perfect alternative to existing unreliable and time consuming dry ice variants. The chamber is self-contained and thermoelectrically cooled. The chamber requires no dry ice or water; the only setup necessary is the addition of isopropyl alcohol and connection to a mains socket.
RA220000
£520.00
Try different levels of the school (especially basements!) – you should see increased activity on lower floors as radon seeps into buildings from the ground.
Top tips for improving track visibility.
Charge the included polystyrene disk and place on top of the chamber. Remove and replace as necessary – this draws old ions away from the sensitive region, allowing fresh vapour to diffuse and restore supersaturation.
Use two thoriated tungsten rod sources to double up tracks – Timstar can help if you require extra sources!
Curriculum
GCSE Physics: Radioactive decay and nuclear radiation
A-Level Physics: Stable and unstable nuclei
Dr Nichola Swann is the Sales and Marketing Manager for Lascells. Her background is in Physics and she holds BSc and PhD degrees from Keele University. She has spent the last decade supporting practical science teaching in schools and universities in the UK.
Visit: shop.wf-education.com/science 01743 812 200 customer.support@wf-education.com
| 53
Have you ditched the dataloggers because they are out of date, complicated to set up and the software costs a fortune?
Well, it’s time to think again!
Phywe dataloggers have the advantage over many in that they are completely ‘stand-alone.’ Buy as many (or as few) as you wish, there is no need to commit to a complete system!
The software is FREE to download on any computer/tablet you have and there is no central ‘box’/interface needed to connect the datalogger - completely wireless (and Bluetooth).
Historically, ticker tape timers were extensively used to calculate the speed (and thus acceleration) of moving objects: usually dynamics trolleys down ramps. However, ticker tape timers were notorious in their ability to not work, with inaccuracy and tape problems being among the issues.
Ticker tape timers are still in use today, especially for younger students, but when you need higher levels of accuracy the light gate has become a much better option for older students, and especially when doing the required practical for Newton’s second law.
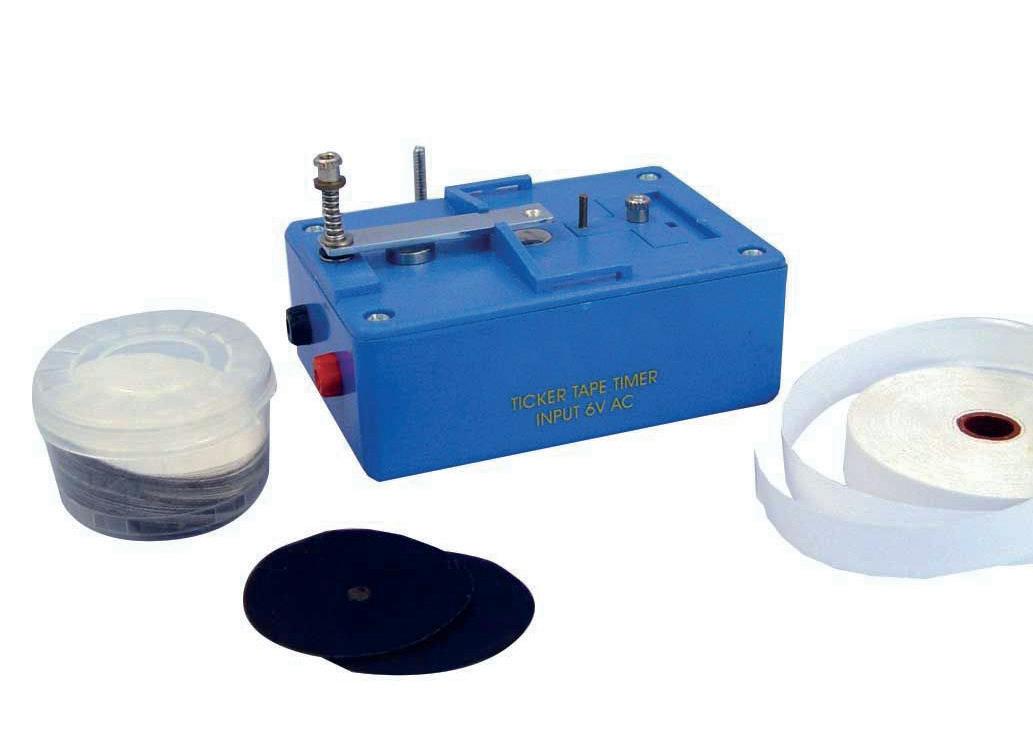
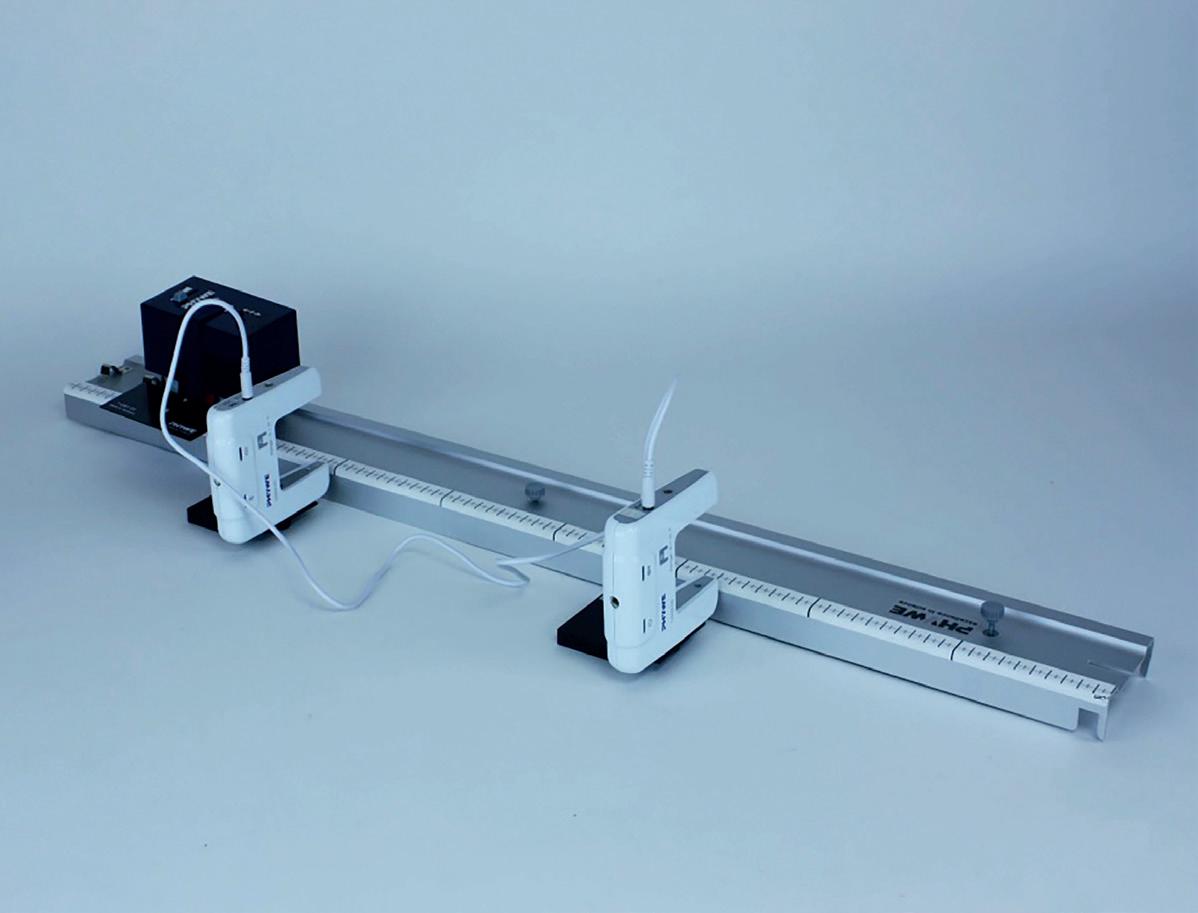
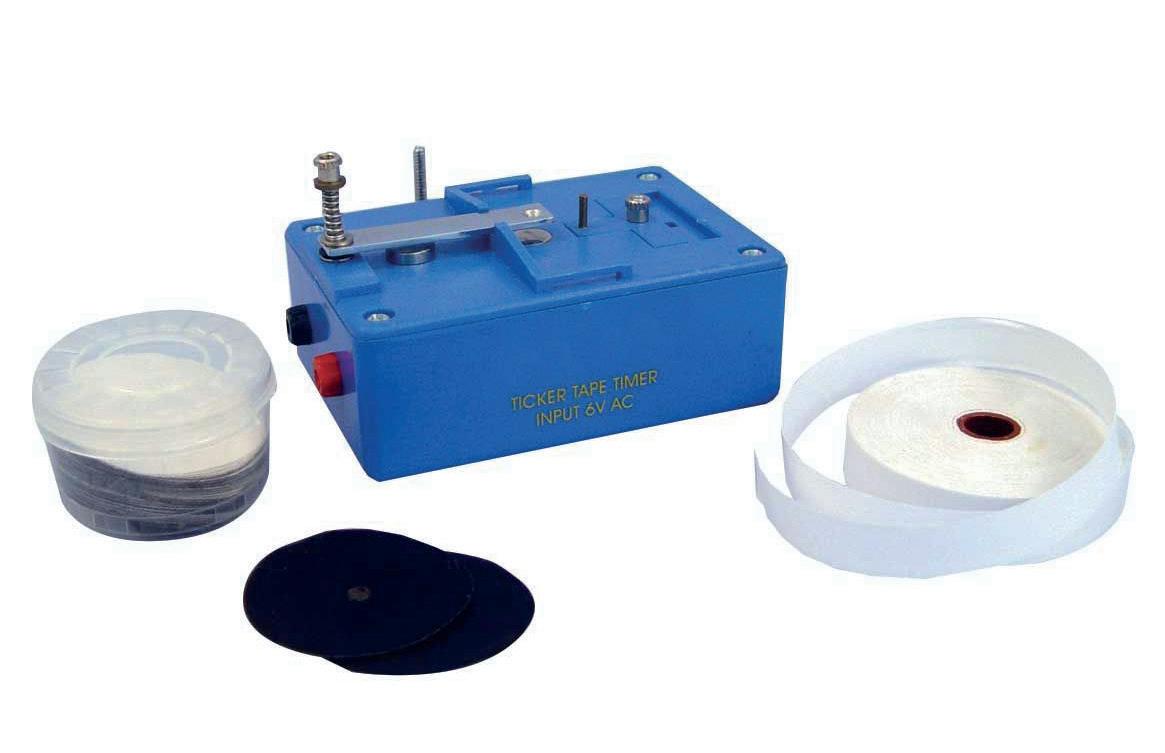
changing mass)
OCR PAG3: Motion (3.1 acceleration of a trolley down a ramp)
EDEXCEL CP1: Investigating force mass and acceleration
our full range of PHYWE dataloggers online 54 | Using the Phywe light gates to measure acceleration
Explore
Want to see our full range of datalogging sensors? Search SmartSense
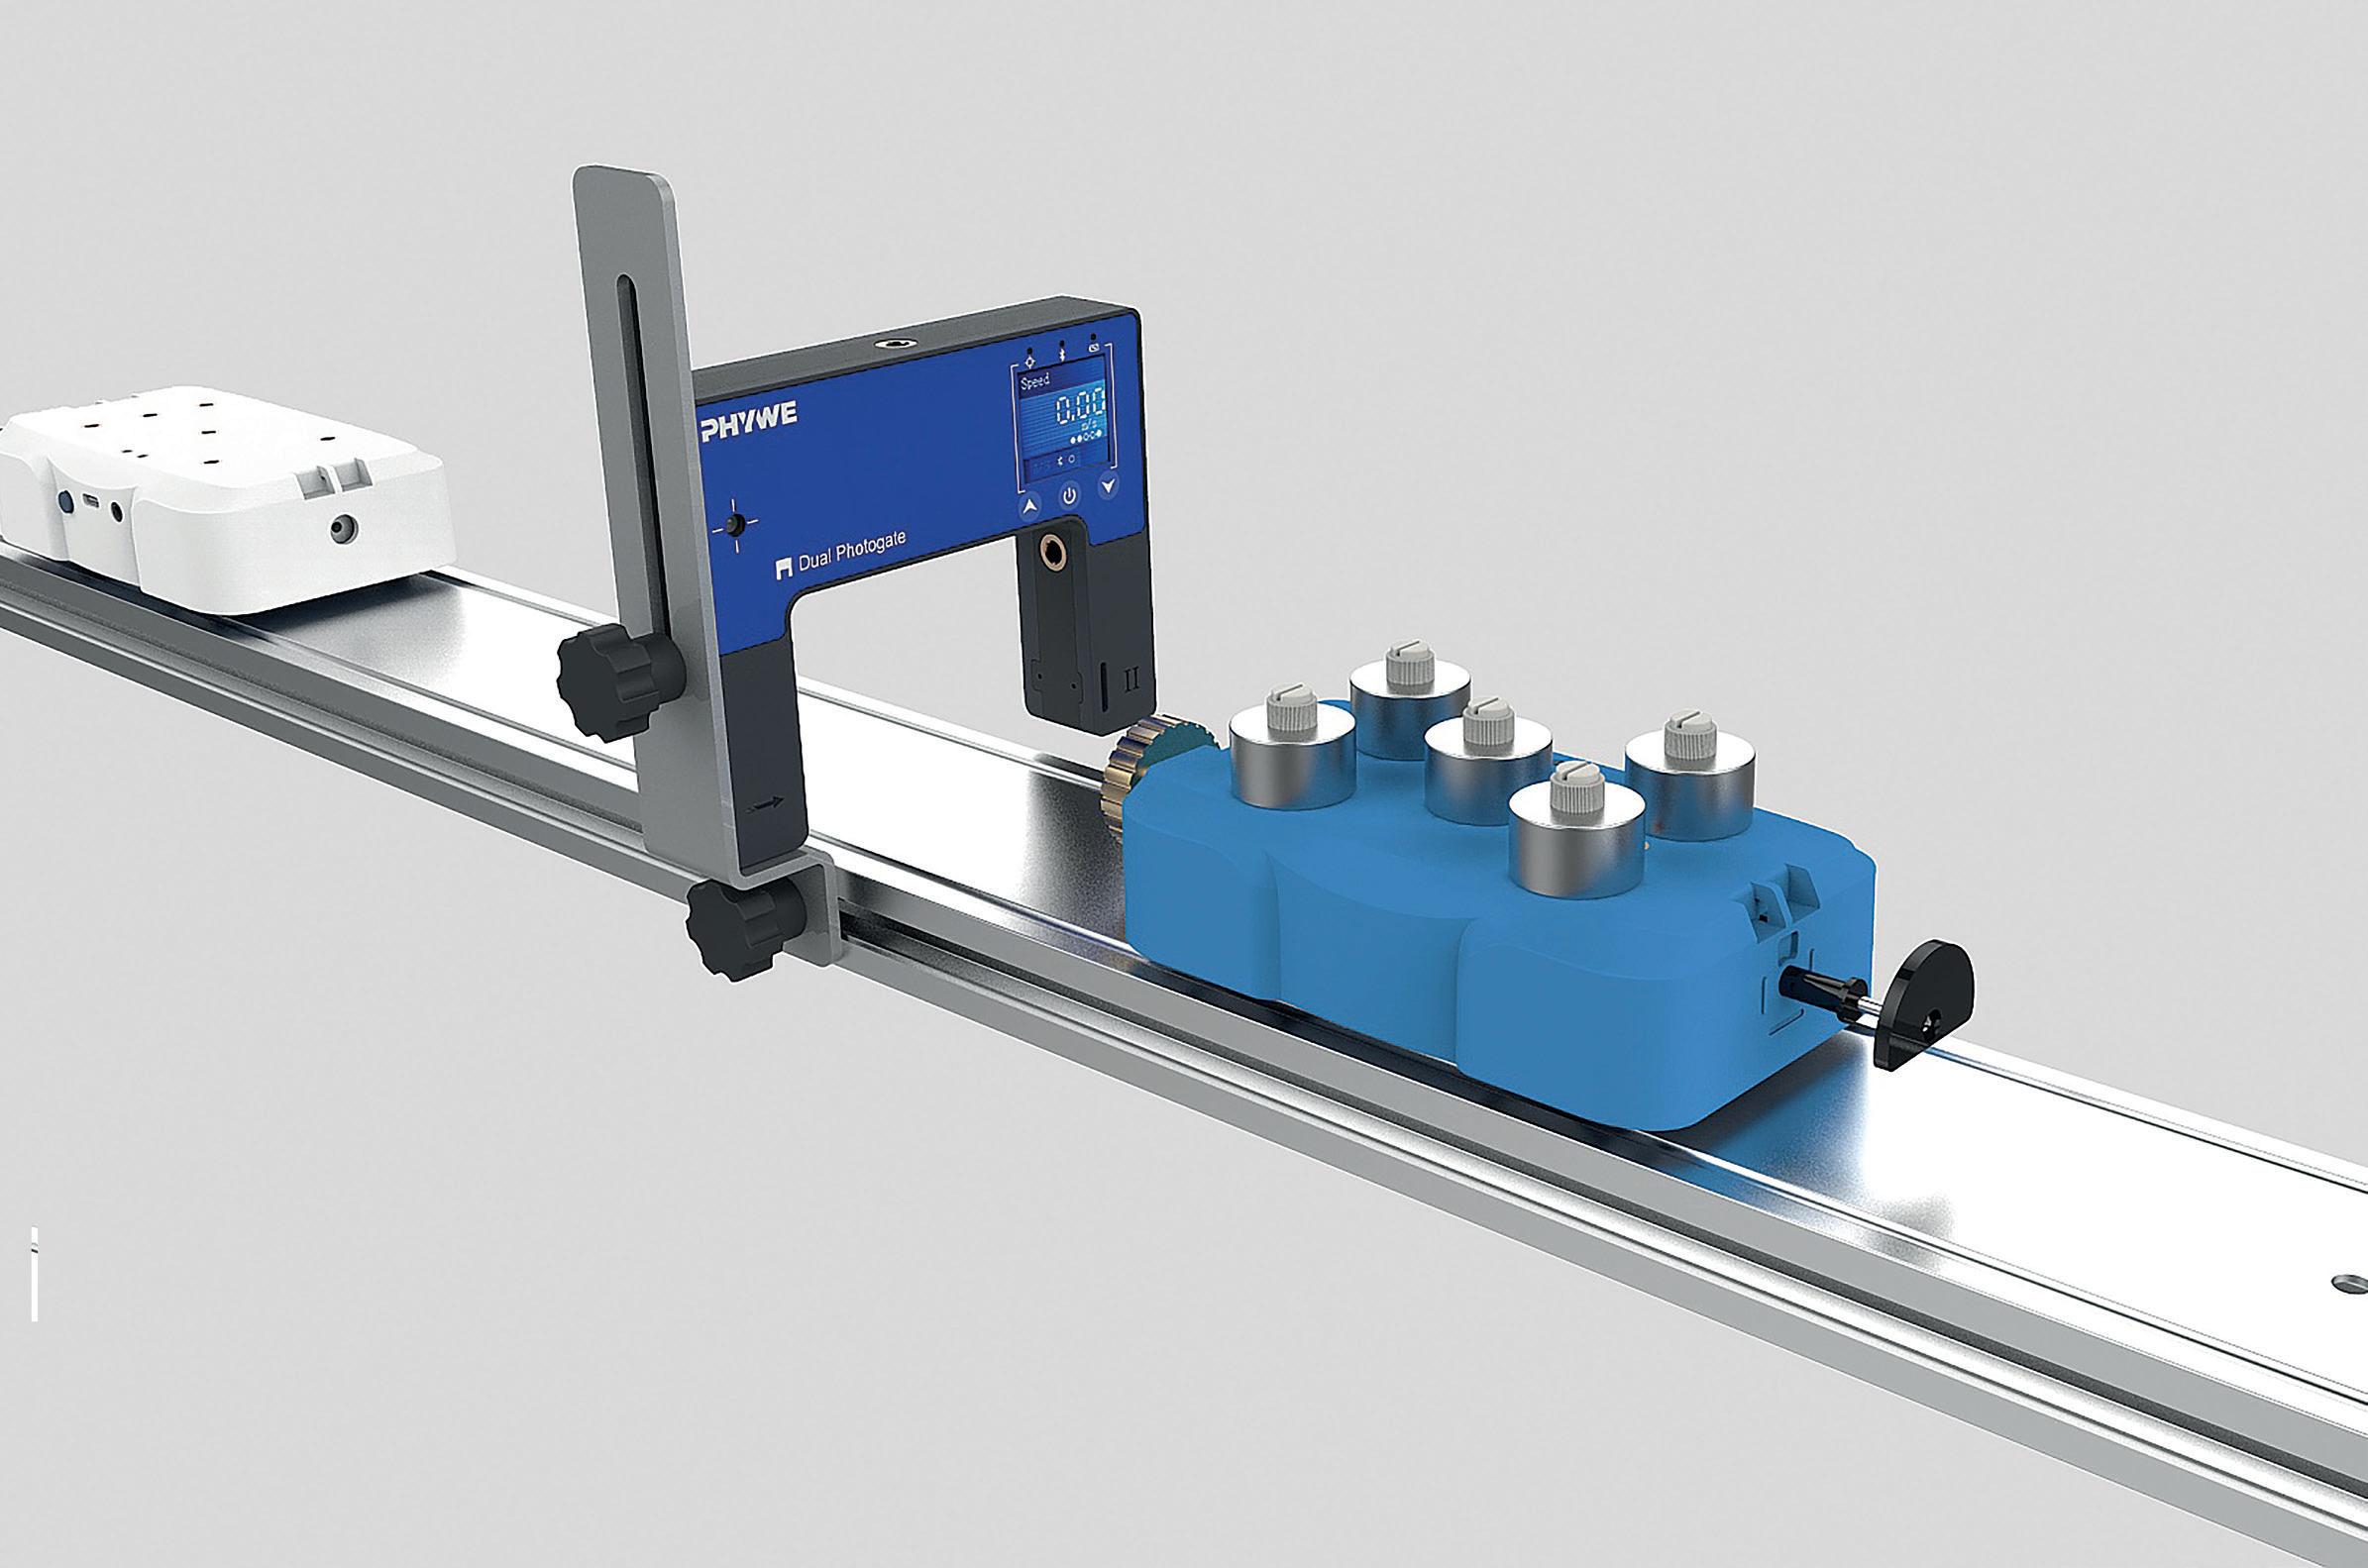
Notes on using the Phywe photo (light) gates:
If using the Phywe photo (light) gates, they both must be in position and the distance between them measured
The dual photogate (DA220330) has an integral speed display and therefore can be used without the tablet/phone connection to the MeasureApp software. Light gates (DA220060) will need to be connected to the software as they do not have this display
There is a FREE worksheet on acceleration and how to perform the investigation using data logging included with the FREE MeasureAPP software
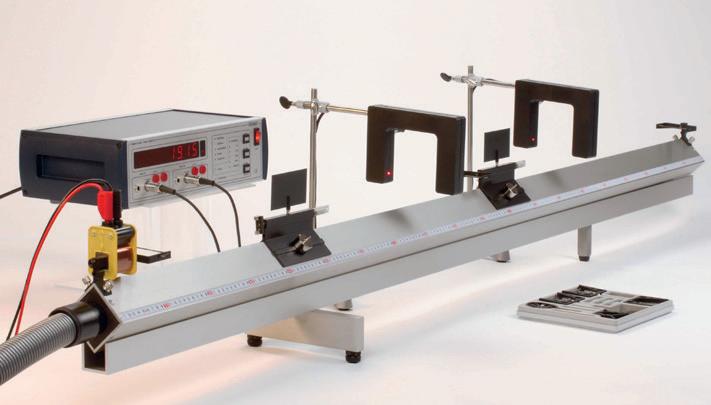
Frederiksen Linear Air Track
A superb quality air track made from square section aluminium extrusion with supporting “U” channel. Linearity is +/- 0.03 mm. Suitable for elastic and inelastic collisions, momentum, speed and acceleration measurement.
TI68740 Air track
FO110105 Air track accessories
TI68742 Air track blower
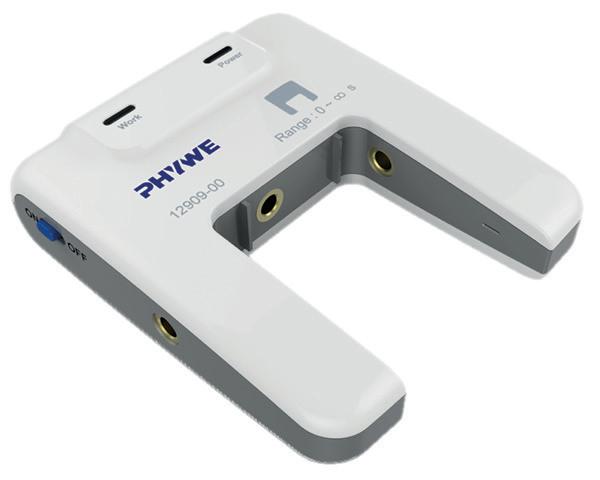
Cobra SMARTsense Photogate Sensor, Pair
This Cobra SMARTsense Photogate sensor pair allows precise time measurement of dynamic processes, including free fall, pendulum investigations and many more.
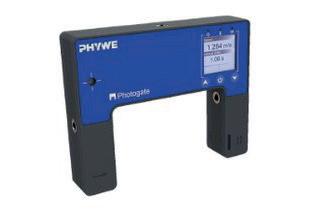
Cobra SMARTsense Dual PhotogateDouble Light Barrier
£550.00
£119.95
£262.50
• Range: 0 - ∞
• Resolution: 0.01 ms
• Sample rate: 1000 Hz
DA220060
This Cobra SMARTsense dual photogate sensor can be used to conveniently measure times, speeds, accelerations, or count events. Ideally suited for pendulum experiments or experiments on dynamics. Thanks to the integrated display, it can also be used stand-alone, without a digital terminal. For the full specification see our website.
DA220330
£225.00
£311.70
Visit: shop.wf-education.com/science 01743 812 200
customer.support@wf-education.com
Search smartsense
| 55
Timstar SuperTech meets 2024

Looking for a great value training day with workshops, a manufacturer’s exhibition, product experts, and networking opportunities?
We are delighted to be running two SuperTech Meets this summer at beautiful Stowe and our new venue, the fantastic Benenden School. Please register for your place as soon as possible. Spaces are limited and will be offered on a first-come, first-served basis.
Enhance your skills, connect with professionals, and explore science workshops at Timstar’s SuperTech Meets 2024! Join us at Stowe or Benenden School for insightful workshops, exclusive exhibitions, networking, and more...
Event Highlights
Insightful workshops: 3 workshops (A range of topics for teachers and technicians from beginners through to experienced).
Engage with suppliers: Discover new products in our marketplace.
Exciting raffle: Win prizes and giveaways.
Hot lunch and refreshments: A chance to chat and refuel!
Networking opportunities: Connect with local colleagues, professionals and suppliers.
Chat with the Timstar team: Connect with us directly.

Stowe School
Stowe, Buckinghamshire, MK18 5EH 2nd July 2024, 9:00 – 15:30
These events are the highlight of our summer! Booking is simple, visit our website for more information.
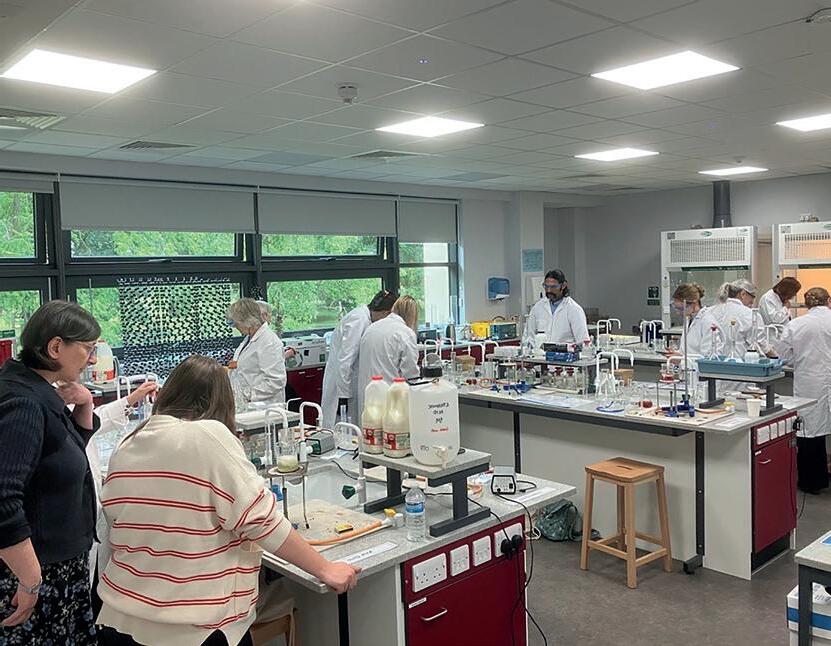

Benenden School
Benenden, TN17 4AA 9th July 2024, 9:00 – 15:30
Scan to book now!
Only £40pp!
56 |

Get ready for spring with FREE KS3 and KS4 downloadable worksheets!
Visit our Resource Hub and download today!
Dive into spring with our captivating practicals! Explore plant biology up close with activities like stomatal peel and leaf disc photosynthesis. Uncover secrets of plant reproduction with flower dissection and discover how plants respond to their environment with geotropism and phototropism.
Plus, NEW FOR 2024: Indulge in the delicious science of chocolate!



| 57 FREE downloadable spring content
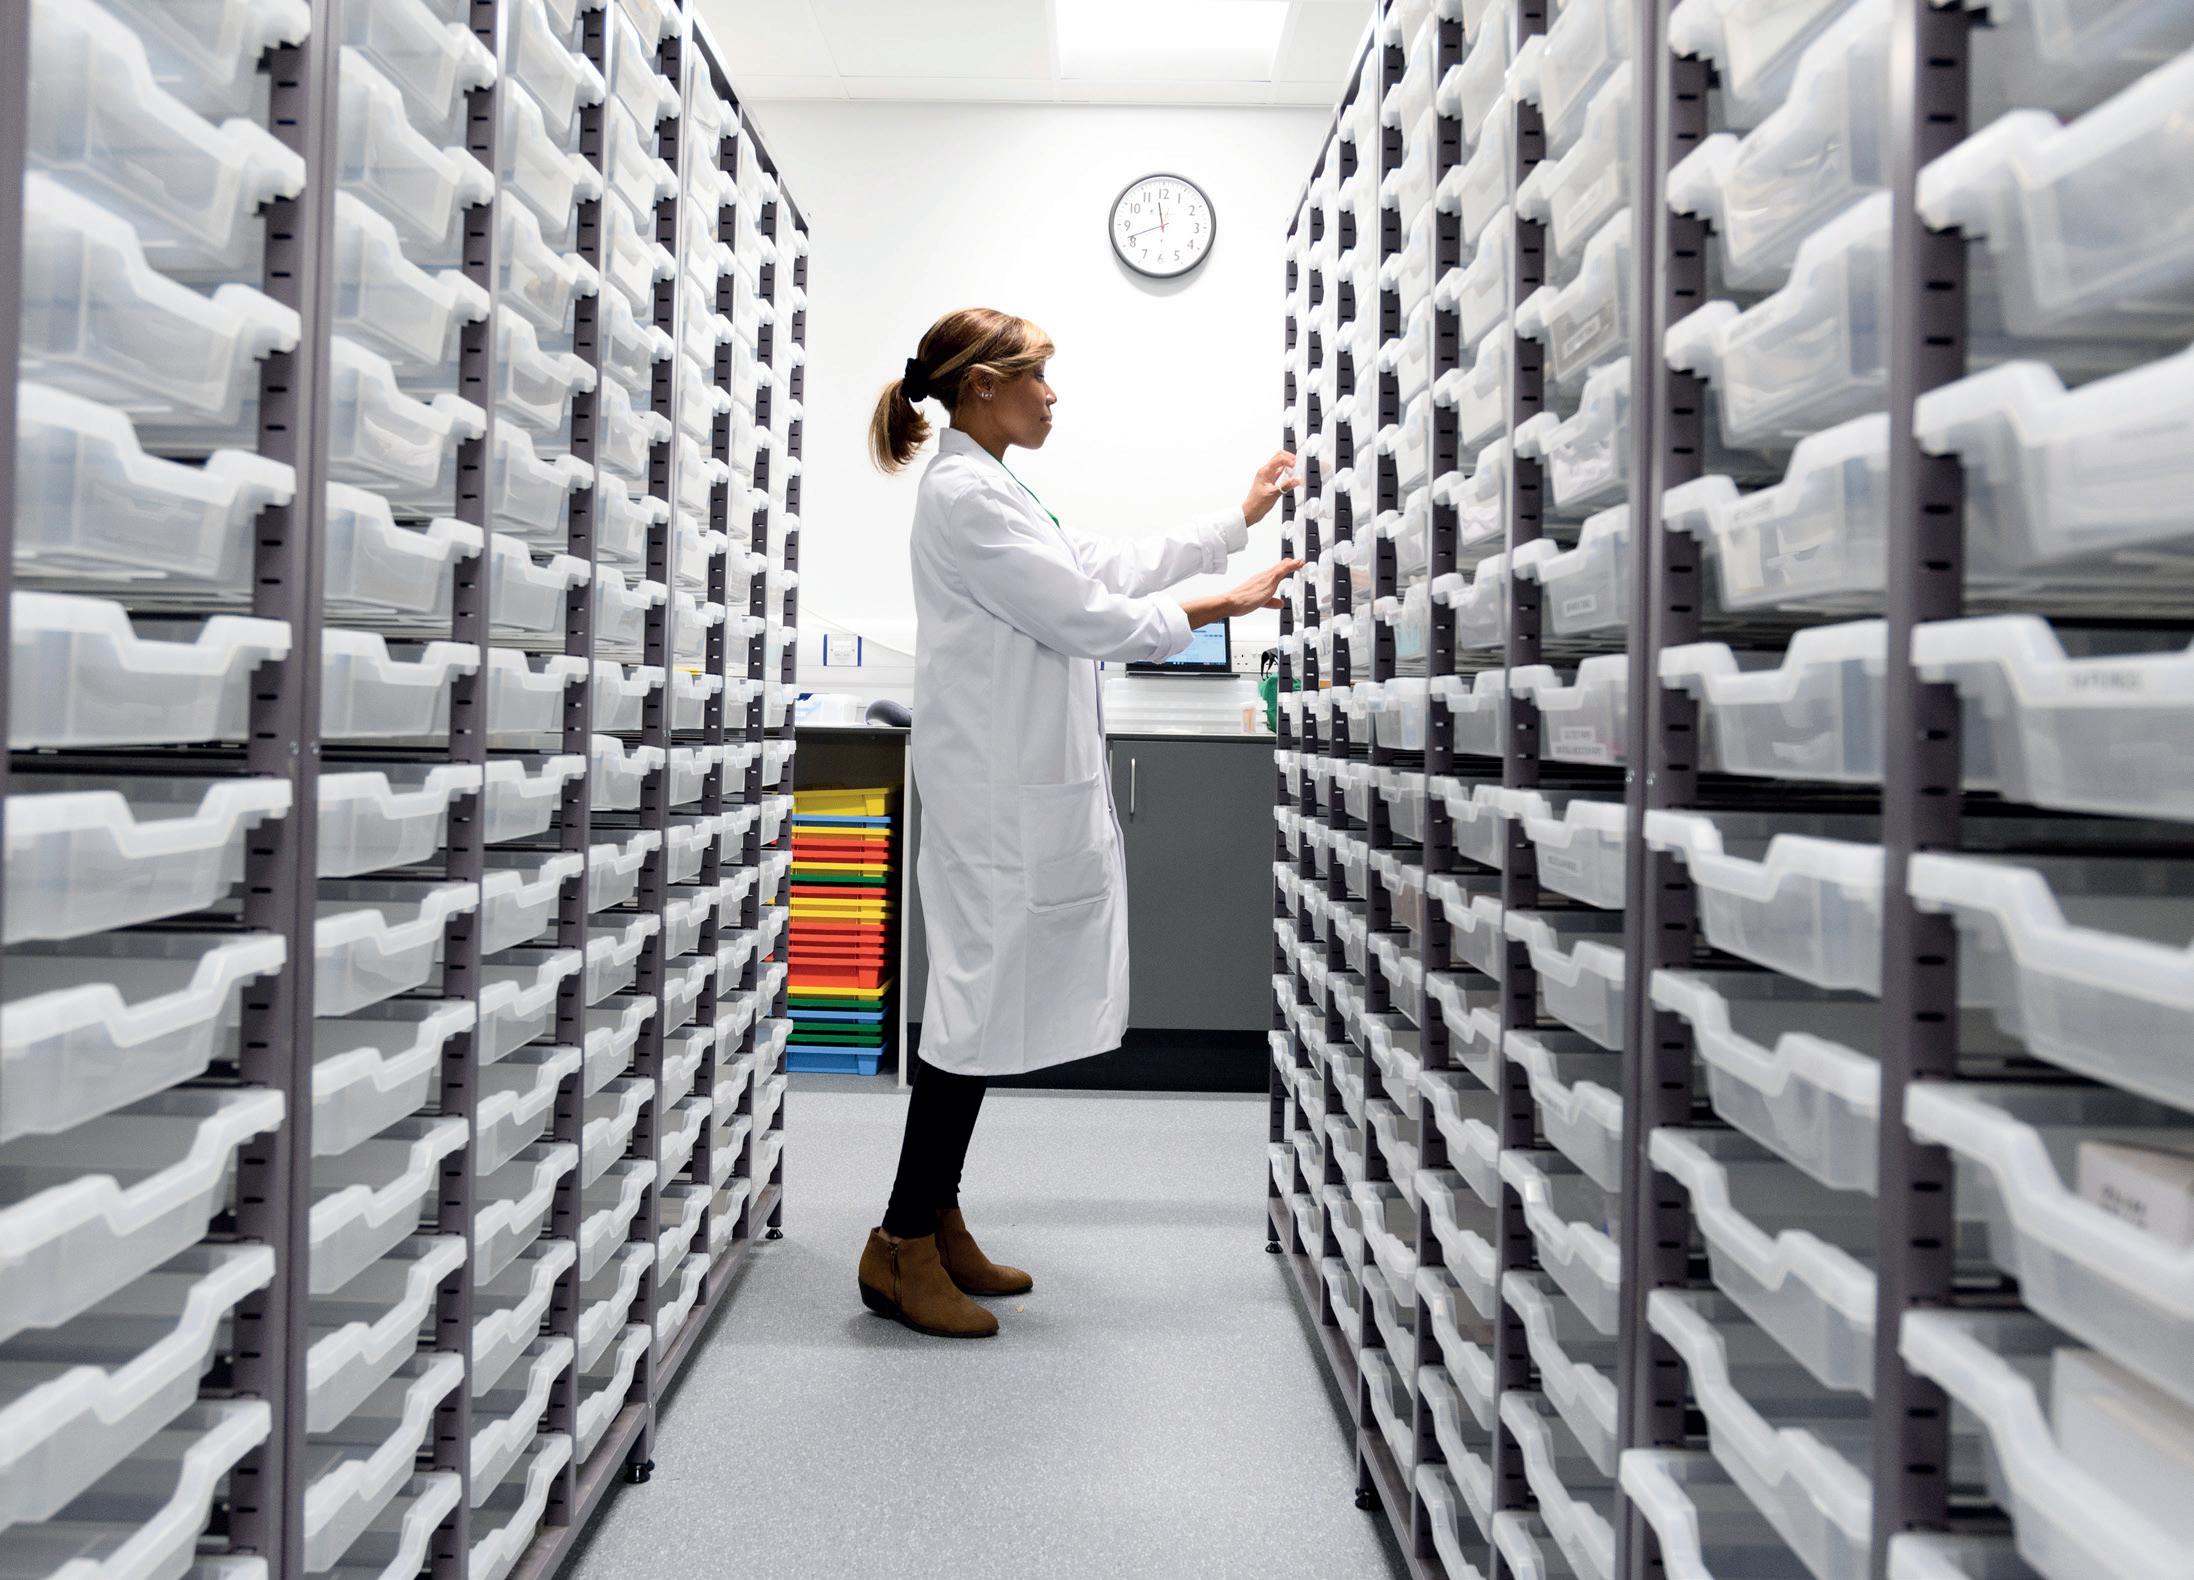
A Air Track 55 B Bacteria Cultures 19 Bacterial Spreader 19 Balances, Scout 49 Baths, Water 44, 45 Biotechnology Kits 15 BMS Cameras 8, 9 BMS Microscopes 6, 7 Book, School Science Guide for Technicians 51 Buffer Solution Capsules 42 C Cameras 8, 9 Clifton Water Baths 44, 45 Cloud Chamber 53 Cobra SMARTsense Datalogging 48, 50, 55 Cole-Parmer Stuart Melting Point Apparatus 41 Colorimeters 25 Colour Mixing Apparatus 47 Condensers, Liebig 36 Cultures, Bacteria 19 Current Sensor 50 D Datalogging Sensors 48, 50, 55 Dishes, Petri 19 Distillation Apparatus, QUICKFIT® 36 DNA Kits 15 Drosophila 17 Dual Photogate Sensor 55 E Edvotek® Kits 15, 31 Eisco Melting Point Apparatus 41 Electrode Storage Bottles 42 Electrodes, pH 42 Electrolysis Cell 34 Enzymes 27 Enzymes Set 26 Erlenmeyer Flasks 37 Extracting Fruit and Vegetable DNA 30 F Flasks, Erlenmeyer 37 Fly Snooze Kit 17 Force Acceleration Sensor 48 Frederiksen Linear Air Track 55 Frozen Lamb’s Kidneys 23 Fruit Flies 17 58 | INDEX
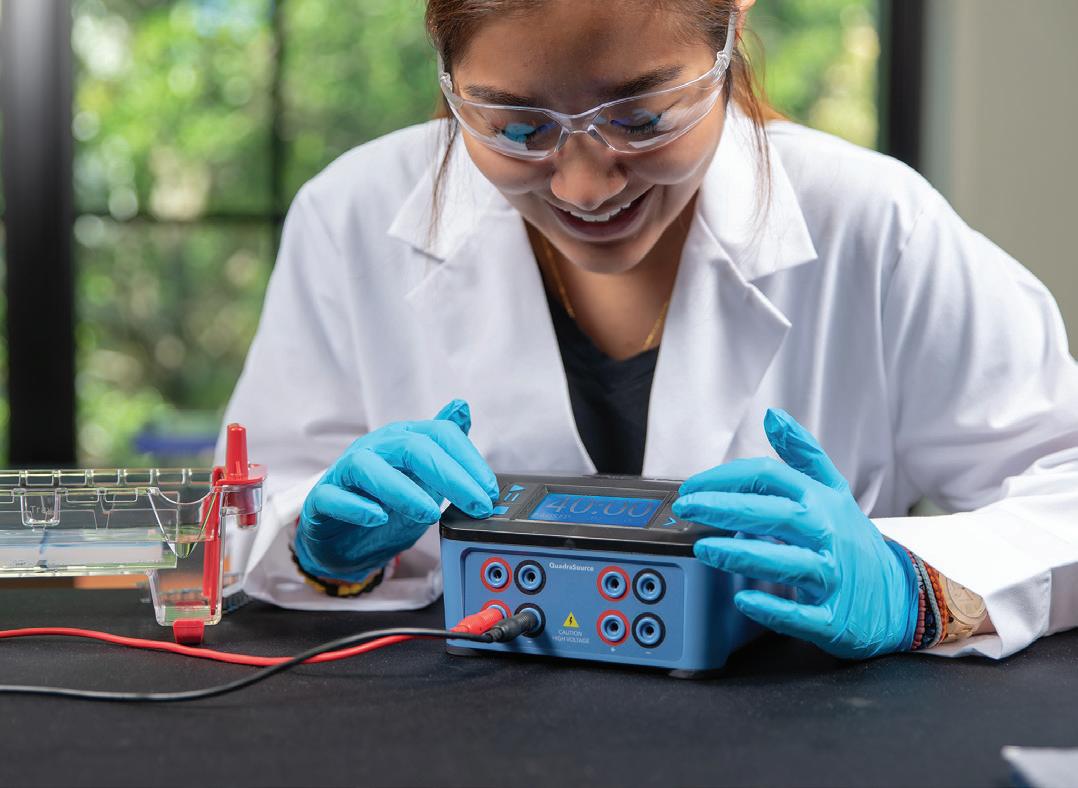
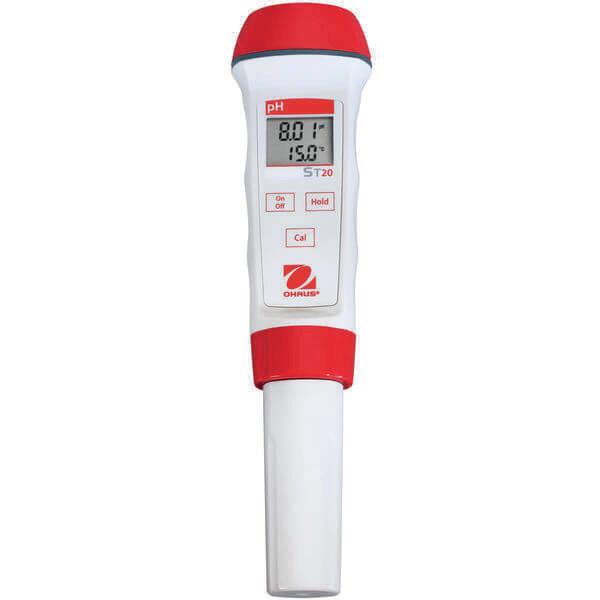
01743 812 200 customer.support@wf-education.com G Gas Voltameter 34 Genes in a Tube Kit 30 H Hanna pH Electrodes 42 Hofmann Voltameter 34 Human Kidney Model 23 I Innoculating Loops 19 K Kidney Model 23 Kidneys Frozen 23 L Lamb’s Kidneys 23 Lascells Cloud Chamber 53 LED Colour Mixing Apparatus 47 Liebig Condensers 36 Linear Air Track 55 M Melting Point Apparatus 41 Microbiology 19 Microscale Organic Chemistry Kit 36 Microscope Cameras 8, 9 Microscopes 6, 7 Mystrica Colorimeter 25 N Needle Holder 19 Newton’s Colour Wheel 47 O P PCR Kits 31 Petri Dishes 19 pH Buffer Solution Capsules 42 pH Electrode Cleaning Solution 42 pH Electrode Storage Solution 42 pH Electrodes 42 pH Pen Meter 33 Photogate Sensor, Pair 55 Phywe Datalogging 48, 50, 55 Potato/Beetroor Chipper 24 Prepared Microscope Slide Sets 11 Q Quick PCR Kit 31 QUICKFIT® 36, 37 Rheostats, Sliding Contact 51 Scenedesmus Quadricauda 29 School Science Guide for Technicians Book 51 Scout Balances 49 Sentek pH Electrodes 42 Slopes, Bacterial 19 Spreader, Bacterial 19 Thiele Tube 40 TripleBath™ 45 Ultrospec 35c Colorimeter 25 USB Cameras 8, 9 29 Voltameter, Hofmann 34 Water Baths 44, 45 What Is PCR and How Does It Work? Kit 31 WiFi Cameras 8, 9 | 59
| Dissectionofamammaliankidney Kidneydissectionisausefultooltohelpunderstandhowtheorganfunctionsinrelationtofilteringwasteproducts fromthebloodandtheformationofurineanditisoftencarriedoutasateacherdemonstrationatGCSElevel.


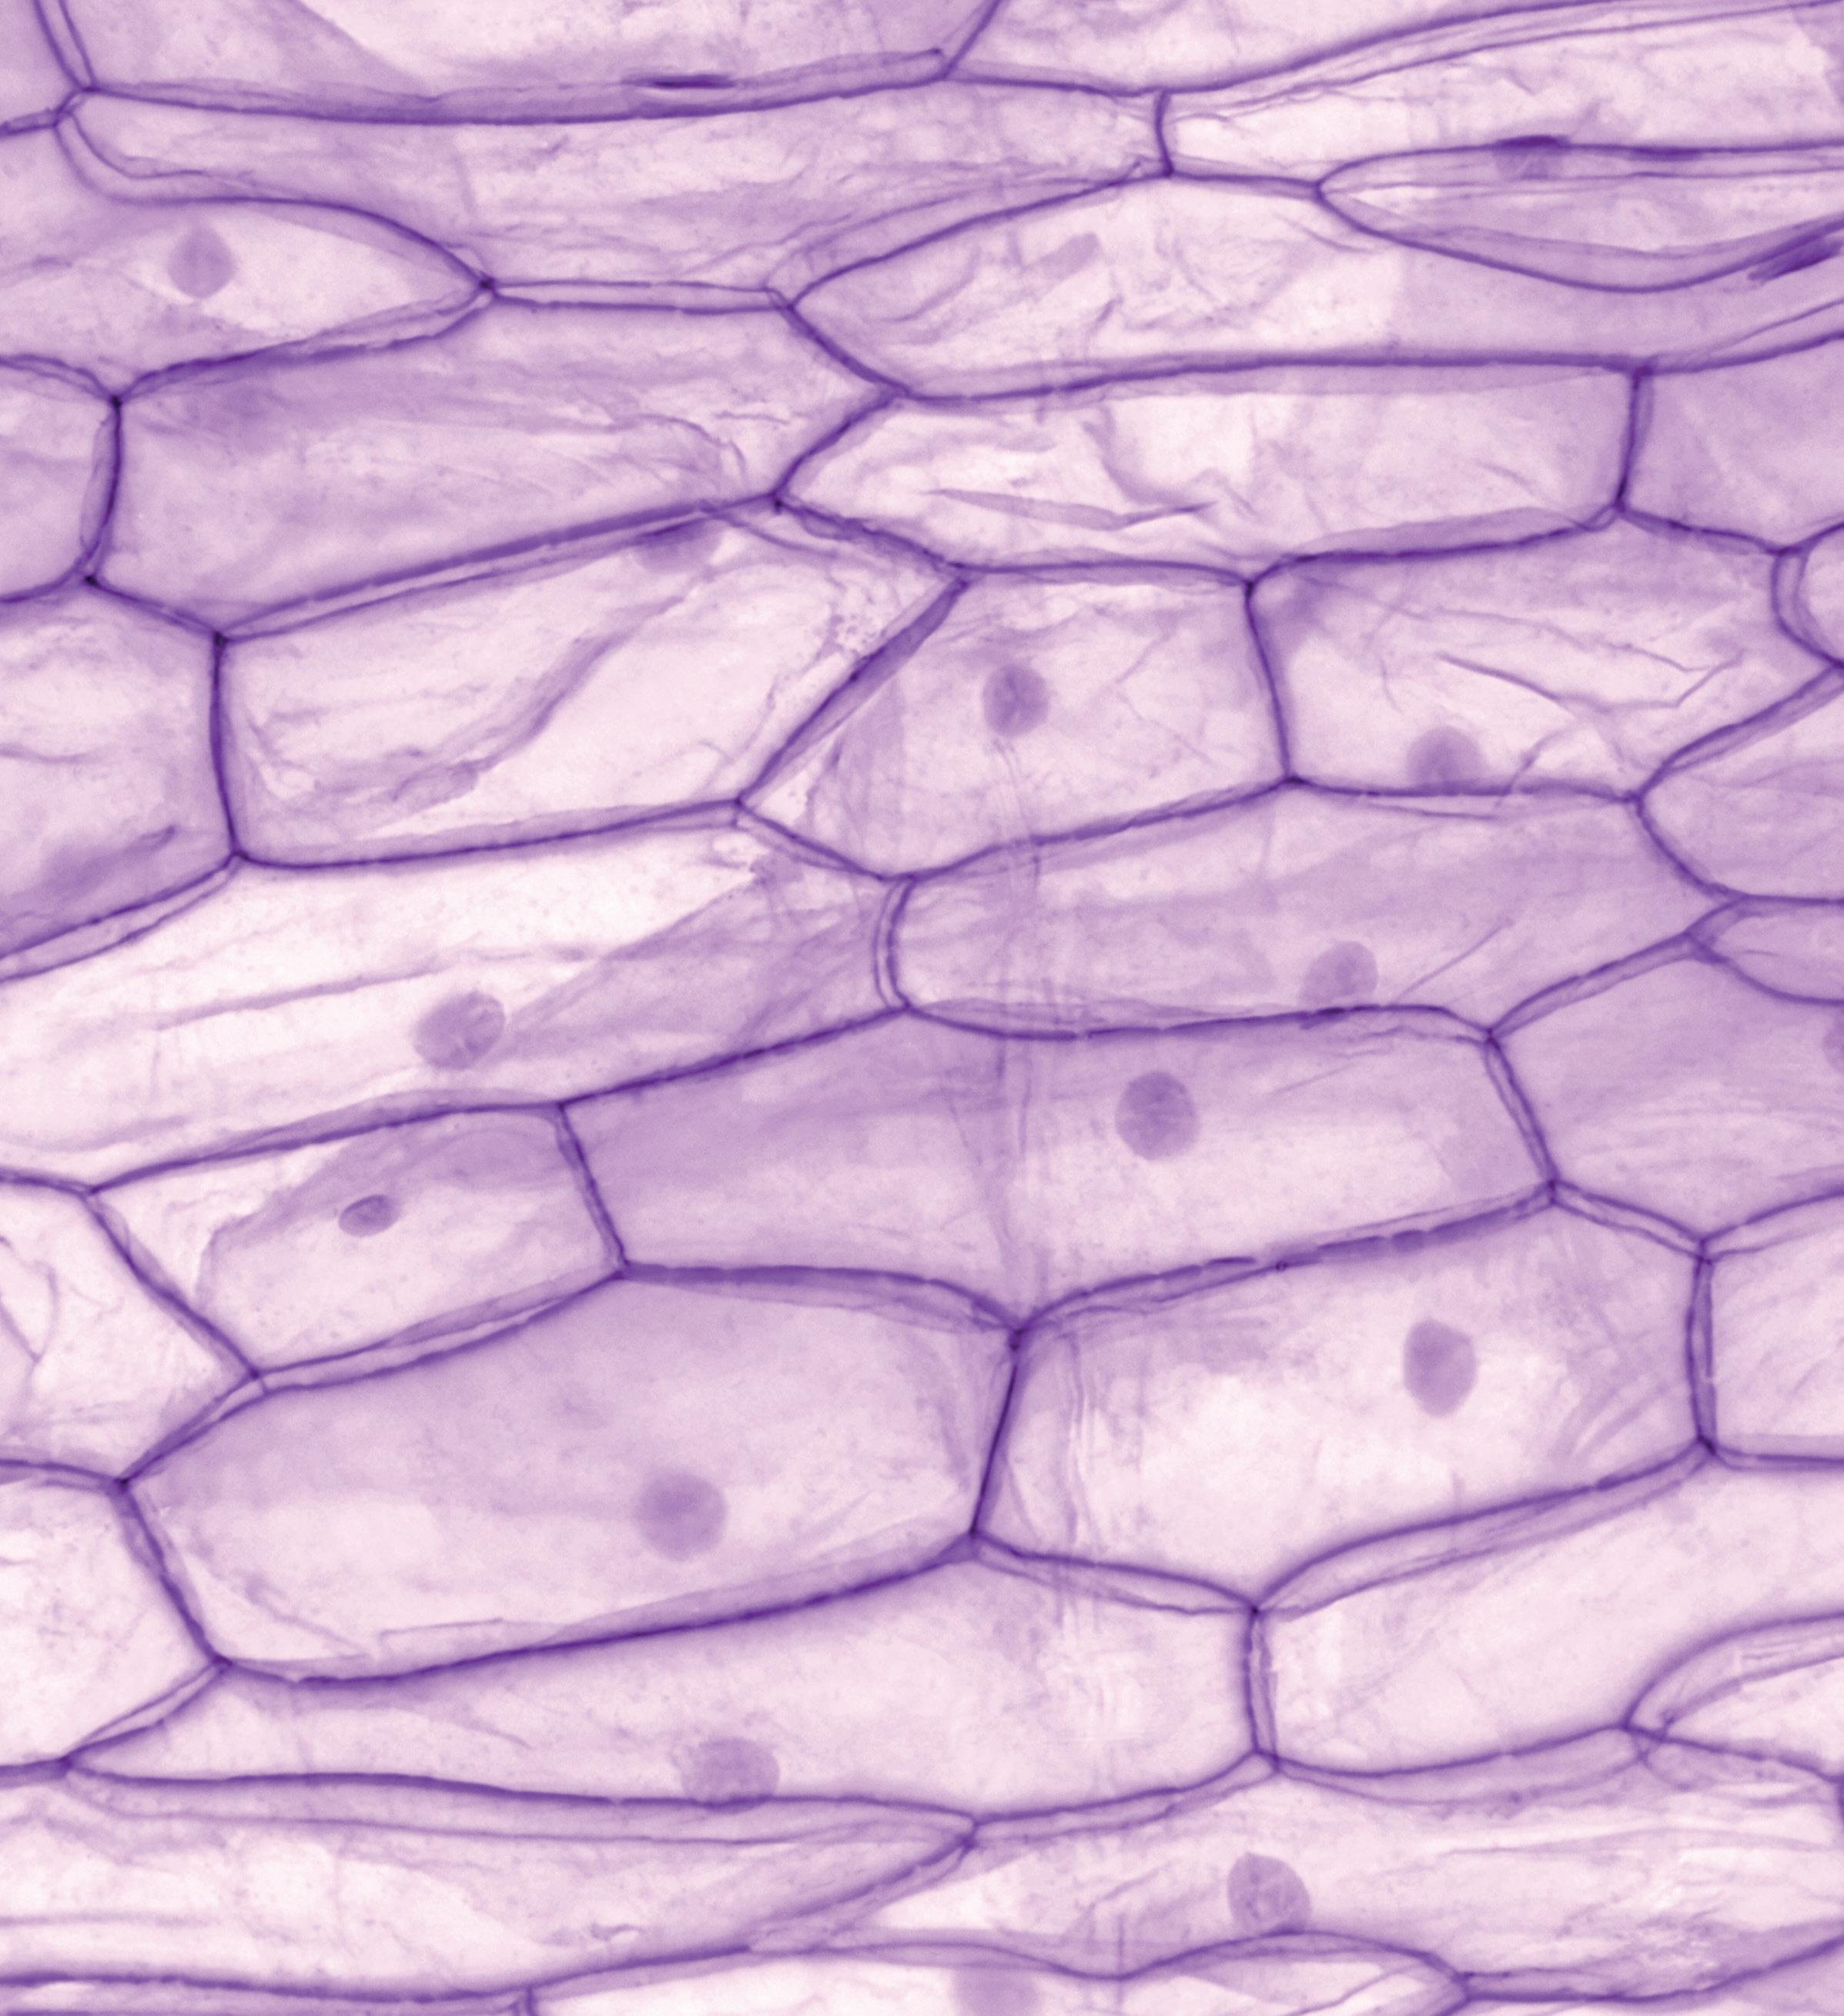
Hooke’s Law
Hooke’s law relates the force, mass, and extension of a material. Usually in school we look at spring extension, but it does apply to all materials if the forces and deformations are small and don’t exceed the elastic limit of the material.


Humans,likeallmammals,havetwokidneys.


The force exerted on a spring is directly proportional to the extension of the spring. This only applies within the elastic limit of the spring. If a spring is stretched beyond that limit, it will not return to its original shape because it has lost its elasticity, thus further force applied will not be proportional to the extension.
O F 2F 2x


KidneydissectionfeaturesintheWJECAlevel specification(practical26inthehomeostasisandthe kidneytopic)anditisexpectedthatthestudentswill dothedissectionthemselves,withsomeguidance. Otherspecificationsfocusonheartdissection.Shapedlikeakidneybean,andaboutthesizeof yourfist,theyaresitedeithersideofthespinejust belowtheribcage. Themainfunctionofthekidneyisasafilter, removingtoxicwasteproductsfromtheblood,but italsoregulatesthesoluteconcentrationofthe blood(osmoregulation). Thekidneycontainsmillionsofnephronstocarry outthisprocessoffiltrationandosmoregulation, allwithagoodbloodsupply.Thestudents willlearnaboutultrafiltrationandselective reabsorptionalongtheloopofHenle,insideeach nephron. Otherfunctionsofthekidneyincludehormone production(reninisproducedwhichhelpsblood pressureregulation),acid-baseregulation,and, alongwiththeliver,glucoseregulation. Kidneystonesarehardmineraldepositsthat accumulatewithinthekidney,andsometimescan blocktheureter(exittube)ofthekidneycausing pain,inflammation,andinfection.Thisisdueto ahighconcentrationofsalts/mineralsandwaste productsinthebloodcomparedtothevolumeof water.

To overcome this part of the spring’s nature, a constant - the spring constant, which is different for each spring – is included in the equation: F=kx
48 | Hooke’s Law Cobra
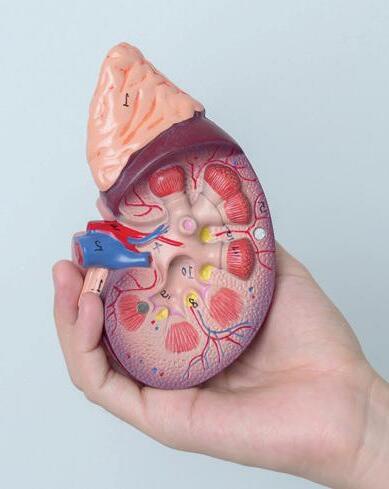
the material will be. Hooke’s law investigations are present in both the GCSE and A level physics specifications, although sometimes the A level requirement is to test the elasticity of materials other than a spring. They will be identifying the spring constant in each case.
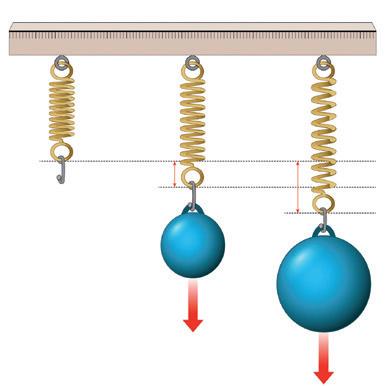
AswellasthetraditionalmethodofinvestigatingHooke’sLaw,itcan alsobedoneusingthePhyweCobraSmartSenseforceacceleration sensor.TheFREEworksheetisincludedwiththeMeasureAPPsoftware.
Want to find out more? Click here for more information about the Hooke’s Law experiment and the development of the spring balance.
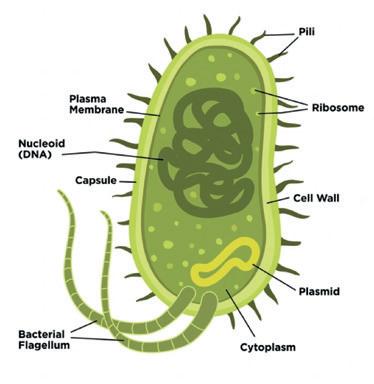
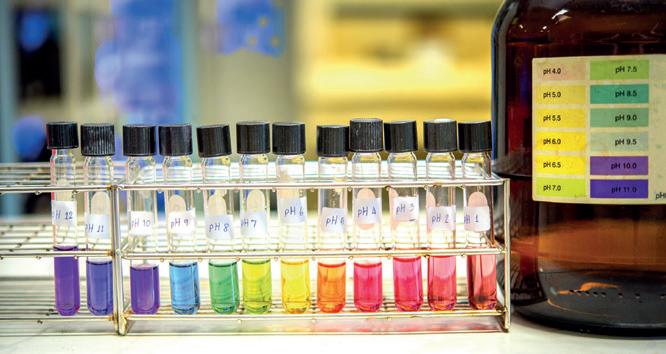



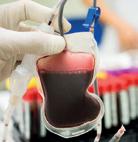


Where F = force, x = extension and k = spring constant Sometimes the equation is written as F= -kx. The minus sign indicates a direction. This is because the force will be in the opposite (-ve) direction to the displacement (extension). The spring constant is equivalent to the force per unit extension (nm ), the larger the constant the less elastic (or stiffer)
SMARTsenseForce AccelerationSensor Idealformeasuringpushesand pullswithintheclassroom.Perfect forHooke’sLaw,gbyfreefalland more.Use this Cobra SMARTsense Force Acceleration sensor to measuretheaccelerationresulting from an external force. • Quick and easyconnectionviaBluetoothand the free measureAPP • Contains aUSB-Crechargeablelithium polymerbattery•Upto50hours useononebatterycharge•Force: oRange:±50NoResolution:30 mN•Acceleration:oRange:±16g oResolution:0.01g•Gyroscope: oRange:±34.9rad/soResolution: 0.01rad/s•Samplerate:1000Hz DA220150 £175.70 STAYED CONNECTED AND FOLLOW US! Using bacterial transformation scientists can produce antibiotic resistant bacteria as well as other things like producing insulin or allowing plants to become disease resistant. Want to find out more? Visit our Resource Hub for lots more information about transforming DNA. Search ‘DNA’. Gene technology is studied in all the A Level Curricula: OCR A: Manipulating genomes AQA: Gene technologies Edexcel A: Gene technology Edexcel B: Microbiology and pathogens WJEC: Variation/ inheritance How does it work? The reason bacteria are such a good model for transformation comes from the way the bacterial cell is designed. The chromosomal (nucleoid) DNA is not bound within a membrane as it is in eukaryotic cells, and bacterial cells also contain plasmids, circular pieces of double stranded DNA containing extra (non-essential) genes. It is these plasmids that are the key to transformation. Search DNA Search DNA 14 | Transforming DNA using Edvotek® kits pH stands for ‘Potential of Hydrogen’: it is a measure of the concentration of hydrogen ions in a solution. The pH scale is logarithmic – each whole number pH increase actually represents a tenfold difference in the acidity or alkalinity. This means that pH 2 is ten times more acidic than pH 3. So even though the difference of 1 pH may sound small it is actually quite sizeable. Lemons are one of the most acidic fruits with a pH of 2. That is a reason why they are often used as cleaning aids. They also have a high vitamin C content. Their zest is used for baking and their leaves can be used in tea. pH buffers are used in many solutions, to maintain them at the correct pH over time. The practical: the Hill reaction (decolourisation of DCPIP by chloroplasts) requires buffered solutions to be made. Blood has a pH of around 7.4. This is controlled by respiration. CO dissociates into carbonic acid in the tissues. So, more CO means more acidic blood. Don’t hold your breath for too long as your blood pH will lower, and you might faint! 2. 3. 4. 5. 1. 32 | Ten interesting facts about pH! CONTACT US EVERYTHING YOU NEED TO TEACH BIOLOGY, CHEMISTRY AND PHYSICS! FIND ALL YOUR SCIENCE ESSENTIALS ON OUR WEBSITE! CHECK OUT THE RESOURCE HUB! Return Address WF Education Group Phoenix House Stafford Drive, Battlefield Enterprise Park Shrewsbury SY1 3FE To unsubscribe from these mailers, please simply email: customer.support@wf-education.com with your full address. shop.wf-education.com/science customer.support@wf-education.com +44 (0) 1743 812 200 These mailers are 100% recyclable Phoenix House Stafford Drive Battlefield Enterprise Park Shrewsbury SY1 3FE


 Cross section of an onion
Longitudinal section of a flower model
Whole mount of a honeybee leg


