3 minute read
DIGITAL FABRICATION - ASTER - A Robotically Woven Pavilion

Advertisement
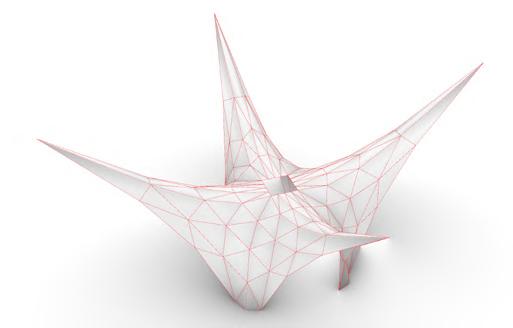
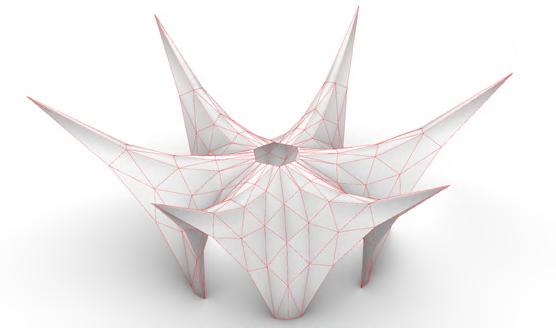
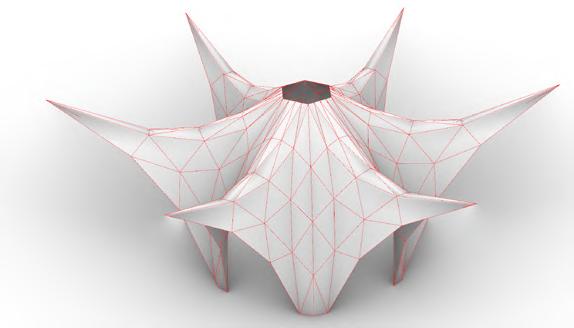
EXPERIMENT - 1 - With cloth as the main material
Draping Hanging
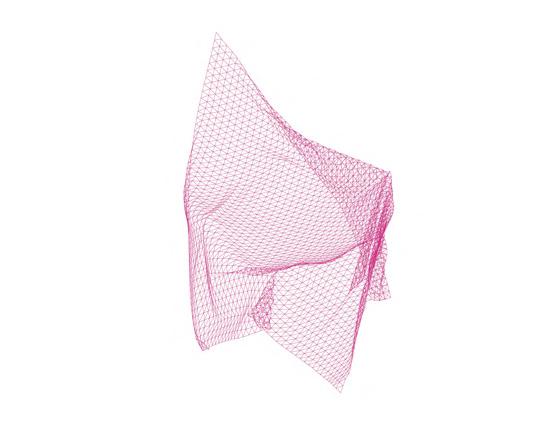
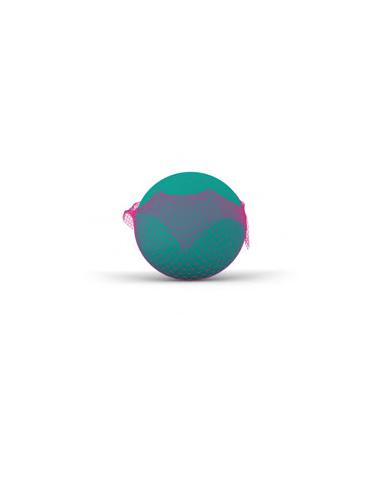
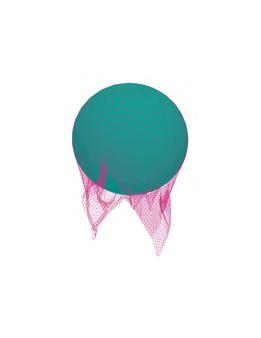
In this form finding experiment, the mesh is considered as cloth & then it is hanged from various anchor points to derive the form of the structure.

CONCLUSION
EXPERIMENT - 2 - Iterations
Gravity - Kangaroo Physics
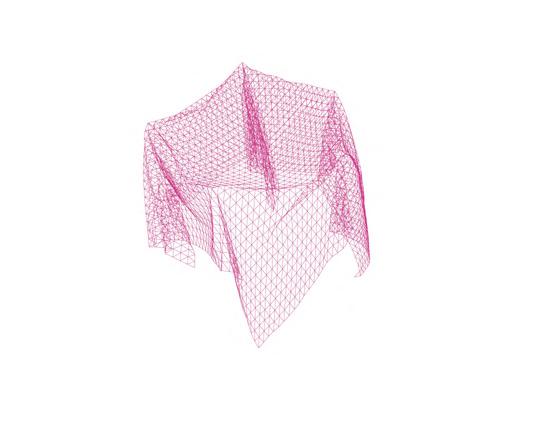
In this form finding experiment, the mesh is considered as cloth & then it is draped on objects to derive the form of the structure.
TRIANGULATED FRAMES - FINAL DESIGN

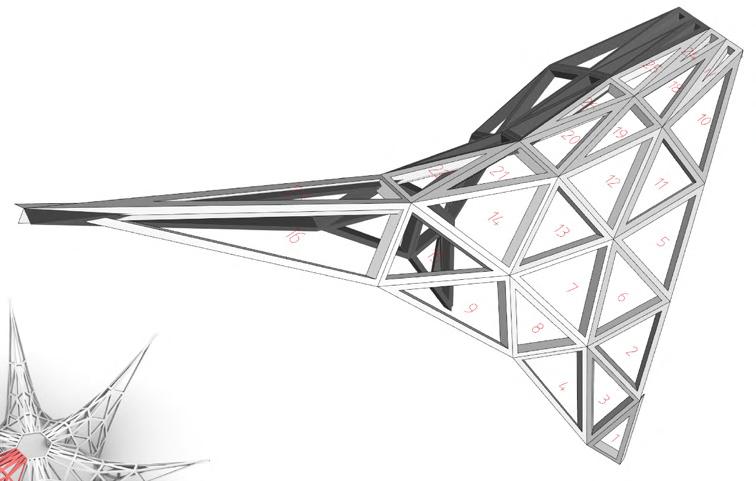
As the objective of this assignment is to design a lightweight woven pavilion, both of these experiments were not carried forward.
Iteration 1 - View
Base polygon radius - 3m

Sides - 12
Bottom anchor points - 6
Top edge anchor point - 6
Top edge anchor point offset - 4m
Top edge anchor point height - 7m
Central anchor points height - 7m
ROBOTIC WEAVING PATTERNS

Iteration 2 - View
Base polygon radius - 4m
Sides - 12
Bottom anchor points - 6
Top edge anchor point - 6
Top edge anchor point offset - 4.5m
Top edge anchor point height - 8m
Central anchor points height - 5m
Iteration 3 - View
Base polygon radius - 4m
Sides - 8
Bottom anchor points - 4
Top edge anchor point - 4
Top edge anchor point offset - 5m
Top edge anchor point height - 10m
Central anchor points height - 5m
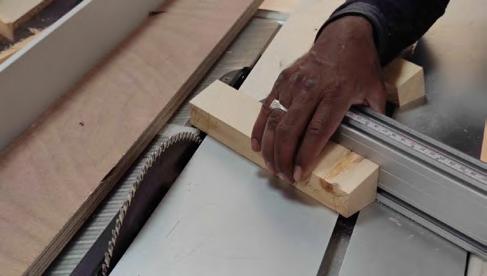
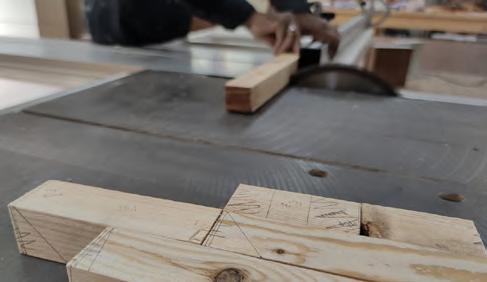
CARPENTRY WORKSHOPfabrication of frames
FABRICATION LAB - Robotic weaving
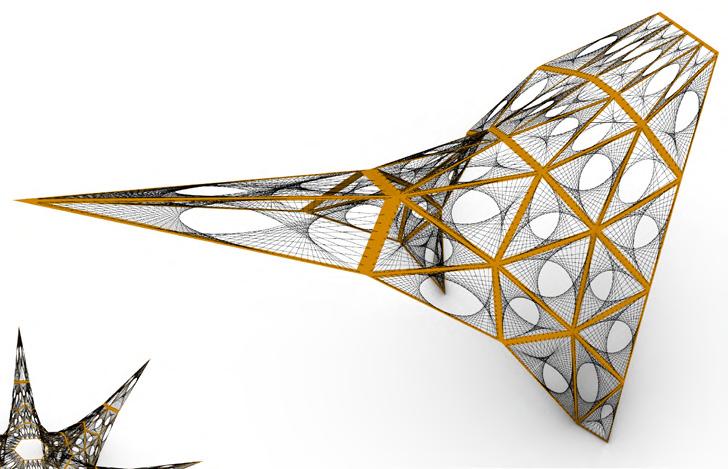
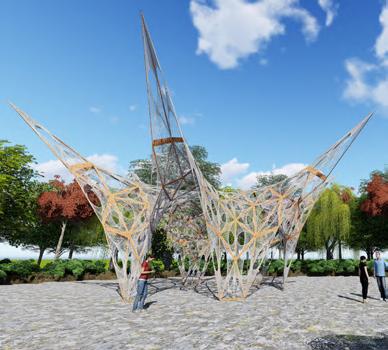
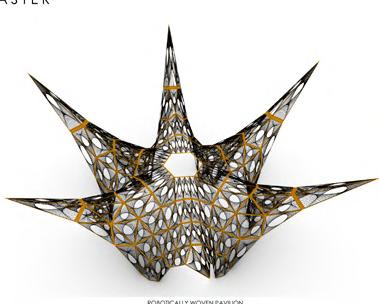
Pavilion View
Fabricated Flange
Total Frames - 48
Scale model of 1: 0.3
Frames - 1 to 21 & 24 - 2 each (Symmetrical on other side)
Frames - 22, 23, 24 & 26 - single each Pavilion View
Fabricated Flange
Total Frames - 48
Scale model of 1: 0.3
Total Weaving thread length794 m
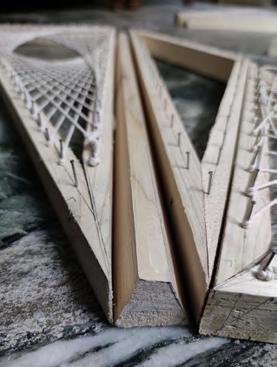
Manual fabrication of frames
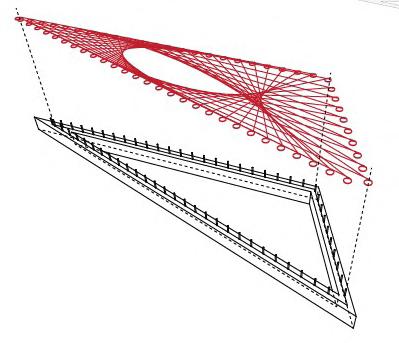
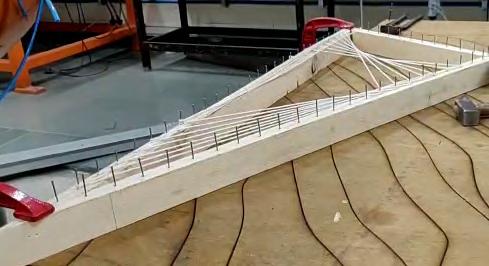
Robotic weaving in process with robotic arm & the weaving tool
Partly weaved frame fixed to the table for weaving purpose
1.245 m X 1.19 m X 0.264 m
- Total number of nails - 81 (30mm c/c)
- Weaving Total Length - 47.932 m
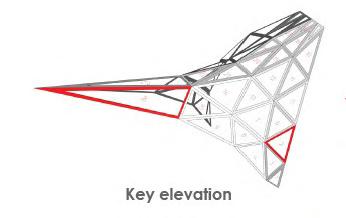
Key elevation Frame 19
Key elevation
- Sides - 0.948 m X 0.756 m X 0.328 m
- Total number of nails - 61 (30mm c/c)
- Weaving Total Length - 29.217 m
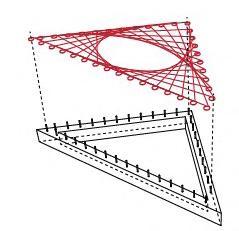
Frames with nailing done at 30mm c/c distance on the centerline of frames
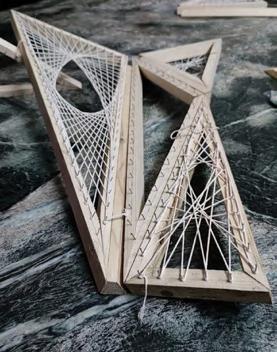
Robotically weaved frames
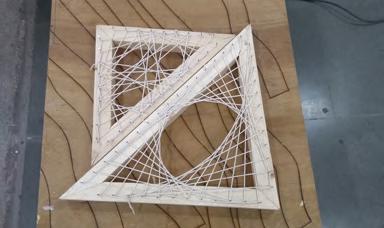
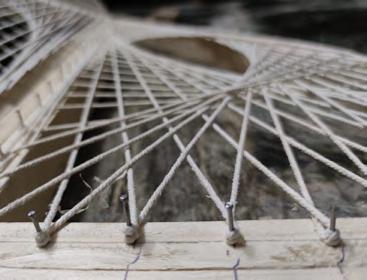
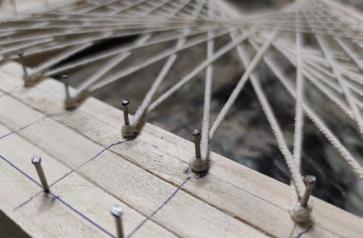
Detail of Knotting around the nails - Each nail has 2 rounds of thread for knotting
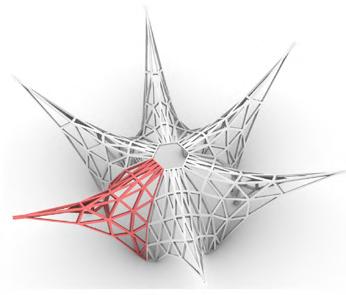
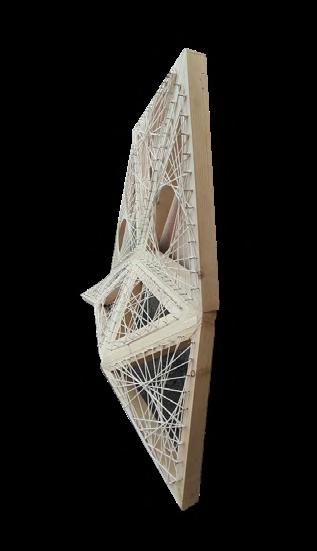
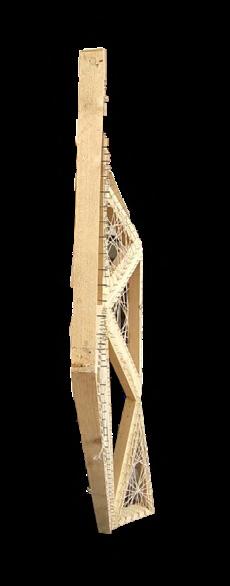
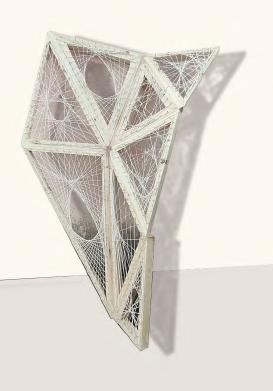
Part fabricated pavilion - 8 parts
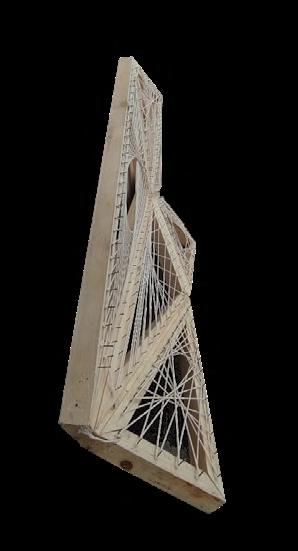
Part pavilion model with 8 frames joined together using wedges


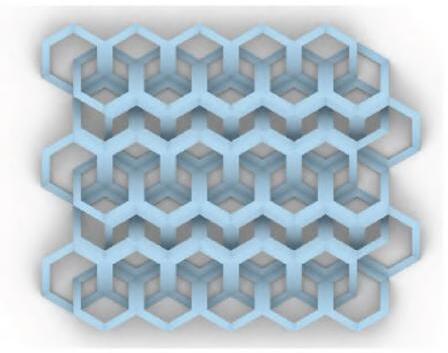
Hexagonal Grid to create the points of the undulated surface and create opening locations to create the weaved pattern
LEARNINGS & FUTURE SCOPE DESIGN
The overall pavilion form is designed as symmetric thus there were less challenges with the structural stability of the structure. Although the form is interesting, a little more exploration with asymmetrical forms could also have been done, where one could understand more about the structural stability of the form.
PANELIZATION & FABRICATION OF FRAMES
In the start, the penalization was explored with non-planner hexagonal frames. But due to fabrication challenges, like how to construct the non-planner hexagonal frames with exact precision & time limitations, later planner triangular frames were taken forward for fabrication. Thus, for future exploration, the non-planner frames can be explored & fabricated.
Robotic Weaving
For planner triangular frames weaving, the robotic weaving was quite easily resolved & the time taken for the actual weaving process was also less. For robotic weaving an observation was made that the precision in the drawings, like frame sizes & nails location is of almost importance, otherwise the weaving tool starts hitting the nails. The nail heights also need to be resolved so that the tool doesn’t get tangled in the weaved threads. For this attempt we explored one or two layers of weaving for each frame, in future more weaving layers or complex weaving patterns can be explored.
Also, for this assignment, the weaving was viewed as mostly covering or infill materials on the frames & it didn’t have any role in the structural stability or strength of the structure like it does in the case study of ICD pavilion. So, one can further work as to how the weaving can also be more of an integrated part of the pavilion in the future works.
In conclusions, there is a lot of future scope to take this project further & rework to resolve the identified problems & to work in the alternate directions mentioned above. The many lessons learned in this project can be very useful for various fabrication projects too, like the stepwise process that needs to be followed & most importantly time management.
Lofted weaved surface Smoothened Mesh
Data for the weaving pattern: The angle between radial vectors from center point each hexagon cell towards the control points and X axis.
Honeycomb like structure formed at the base for support of the actual model

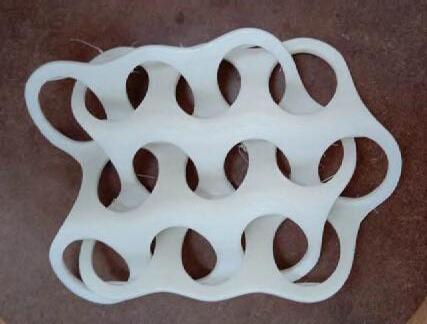
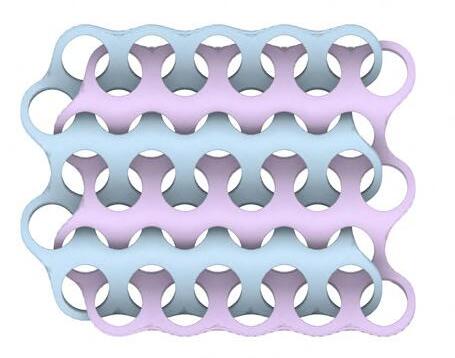
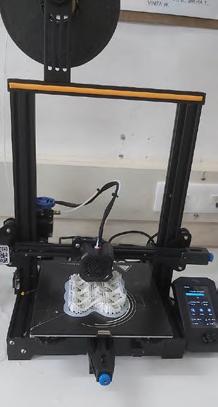
3D printing being done

Dependign upon the angle, points are dispathced on the left and right side.
Final model

Size: 13.6 cm x 10 cm
Thickness: 2.5 mm
Printing time: 5 Hours
Final model after removing the supports
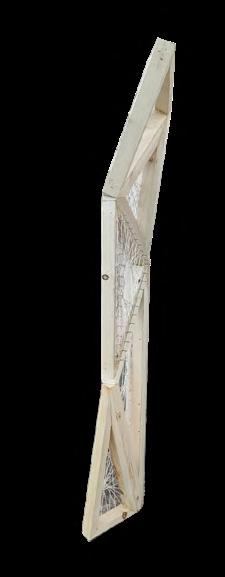
Textures
Finishing:
Before painting
1. surface to make oil-free, dust-free

2. To be painted in several thin coats
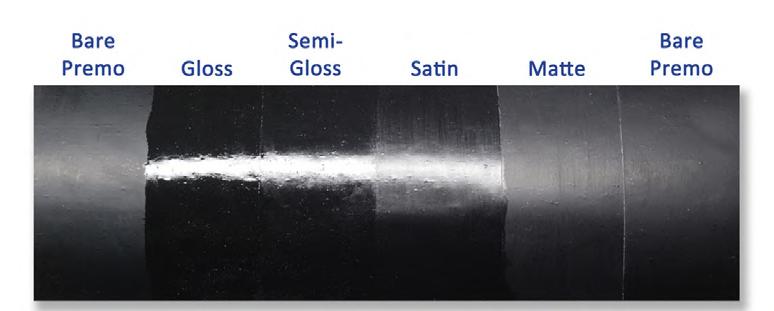
The model to be finished in Navy Blue Matte Acrylic Varnish


