1 minute read
Developing Outcomes – Photoshop

HindAlNasser-GCSEPhotography
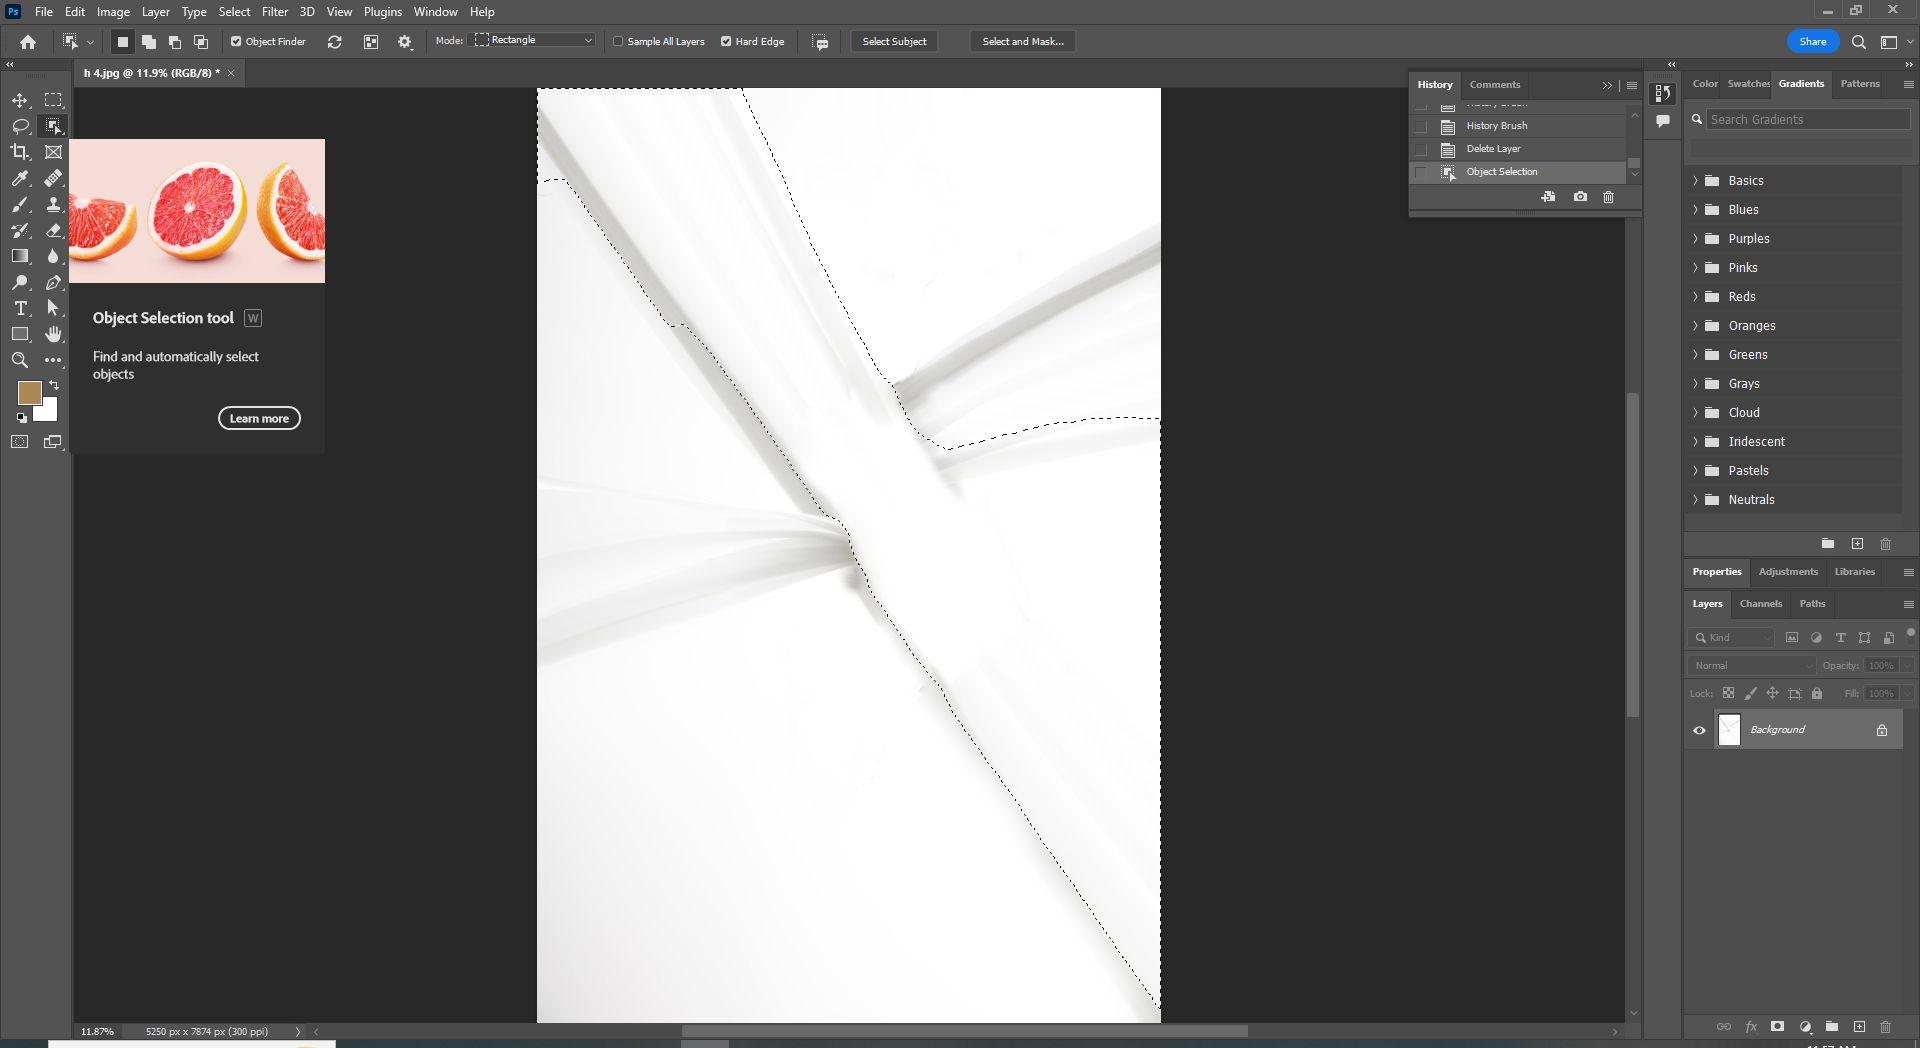
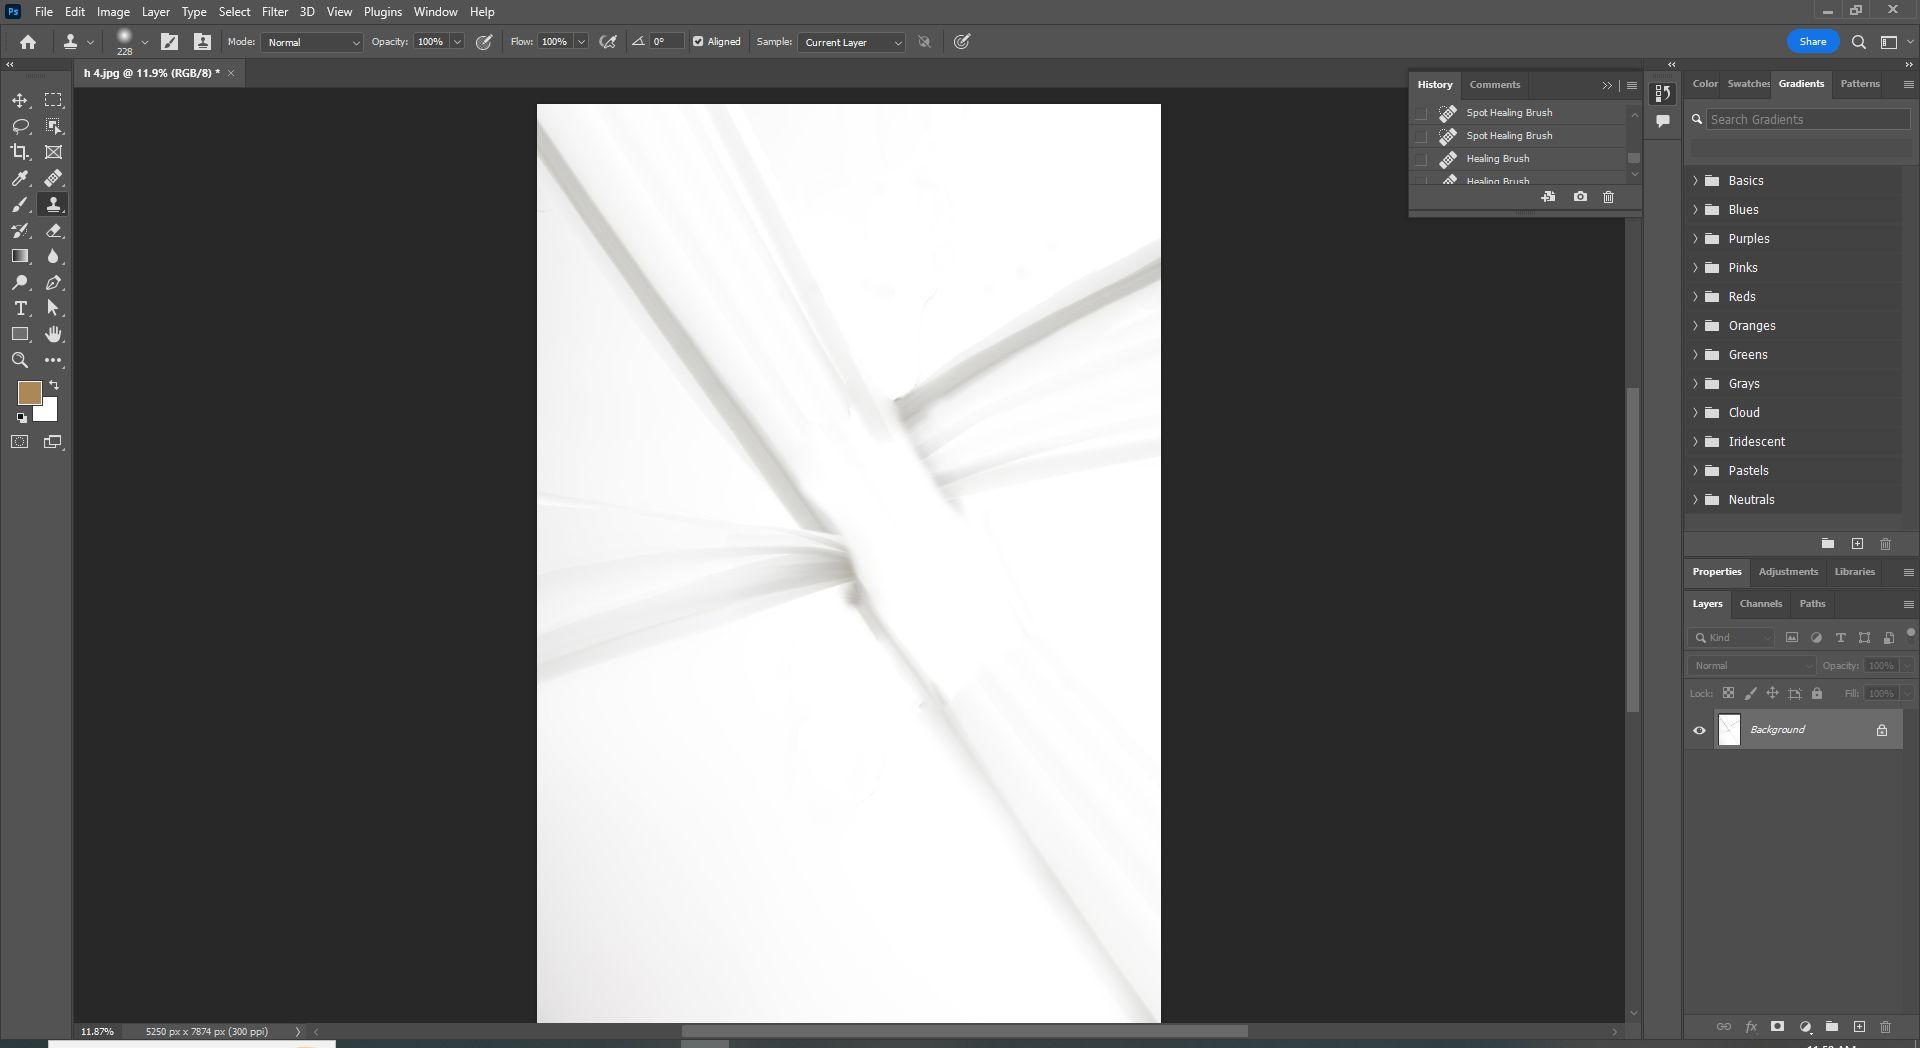
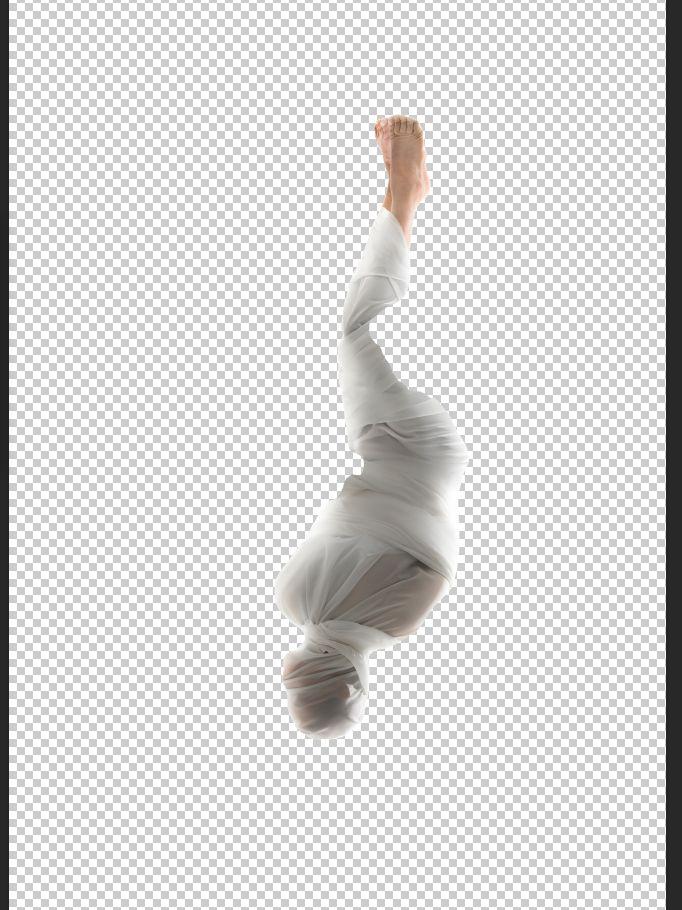
To begin, I used two individual images of just the fabric, and used the object selection tool to copy and paste one one image onto another. I then createdasecondlayerforthebackgroundimage,I used the Healing Brush and Spot Healing Brush to conceal where the fabric interlocks. I then took a separate image of the model, and used the Object Selection again to select her figure, and placed her onto a third layer. I then used the Eraser tool to remove any excess background and refine her silhouette.
I rotated the model until the image looked seamless and refined. I placed her upside down as I think it took a more creative tonefortheoutcome.


