3 minute read
Modules
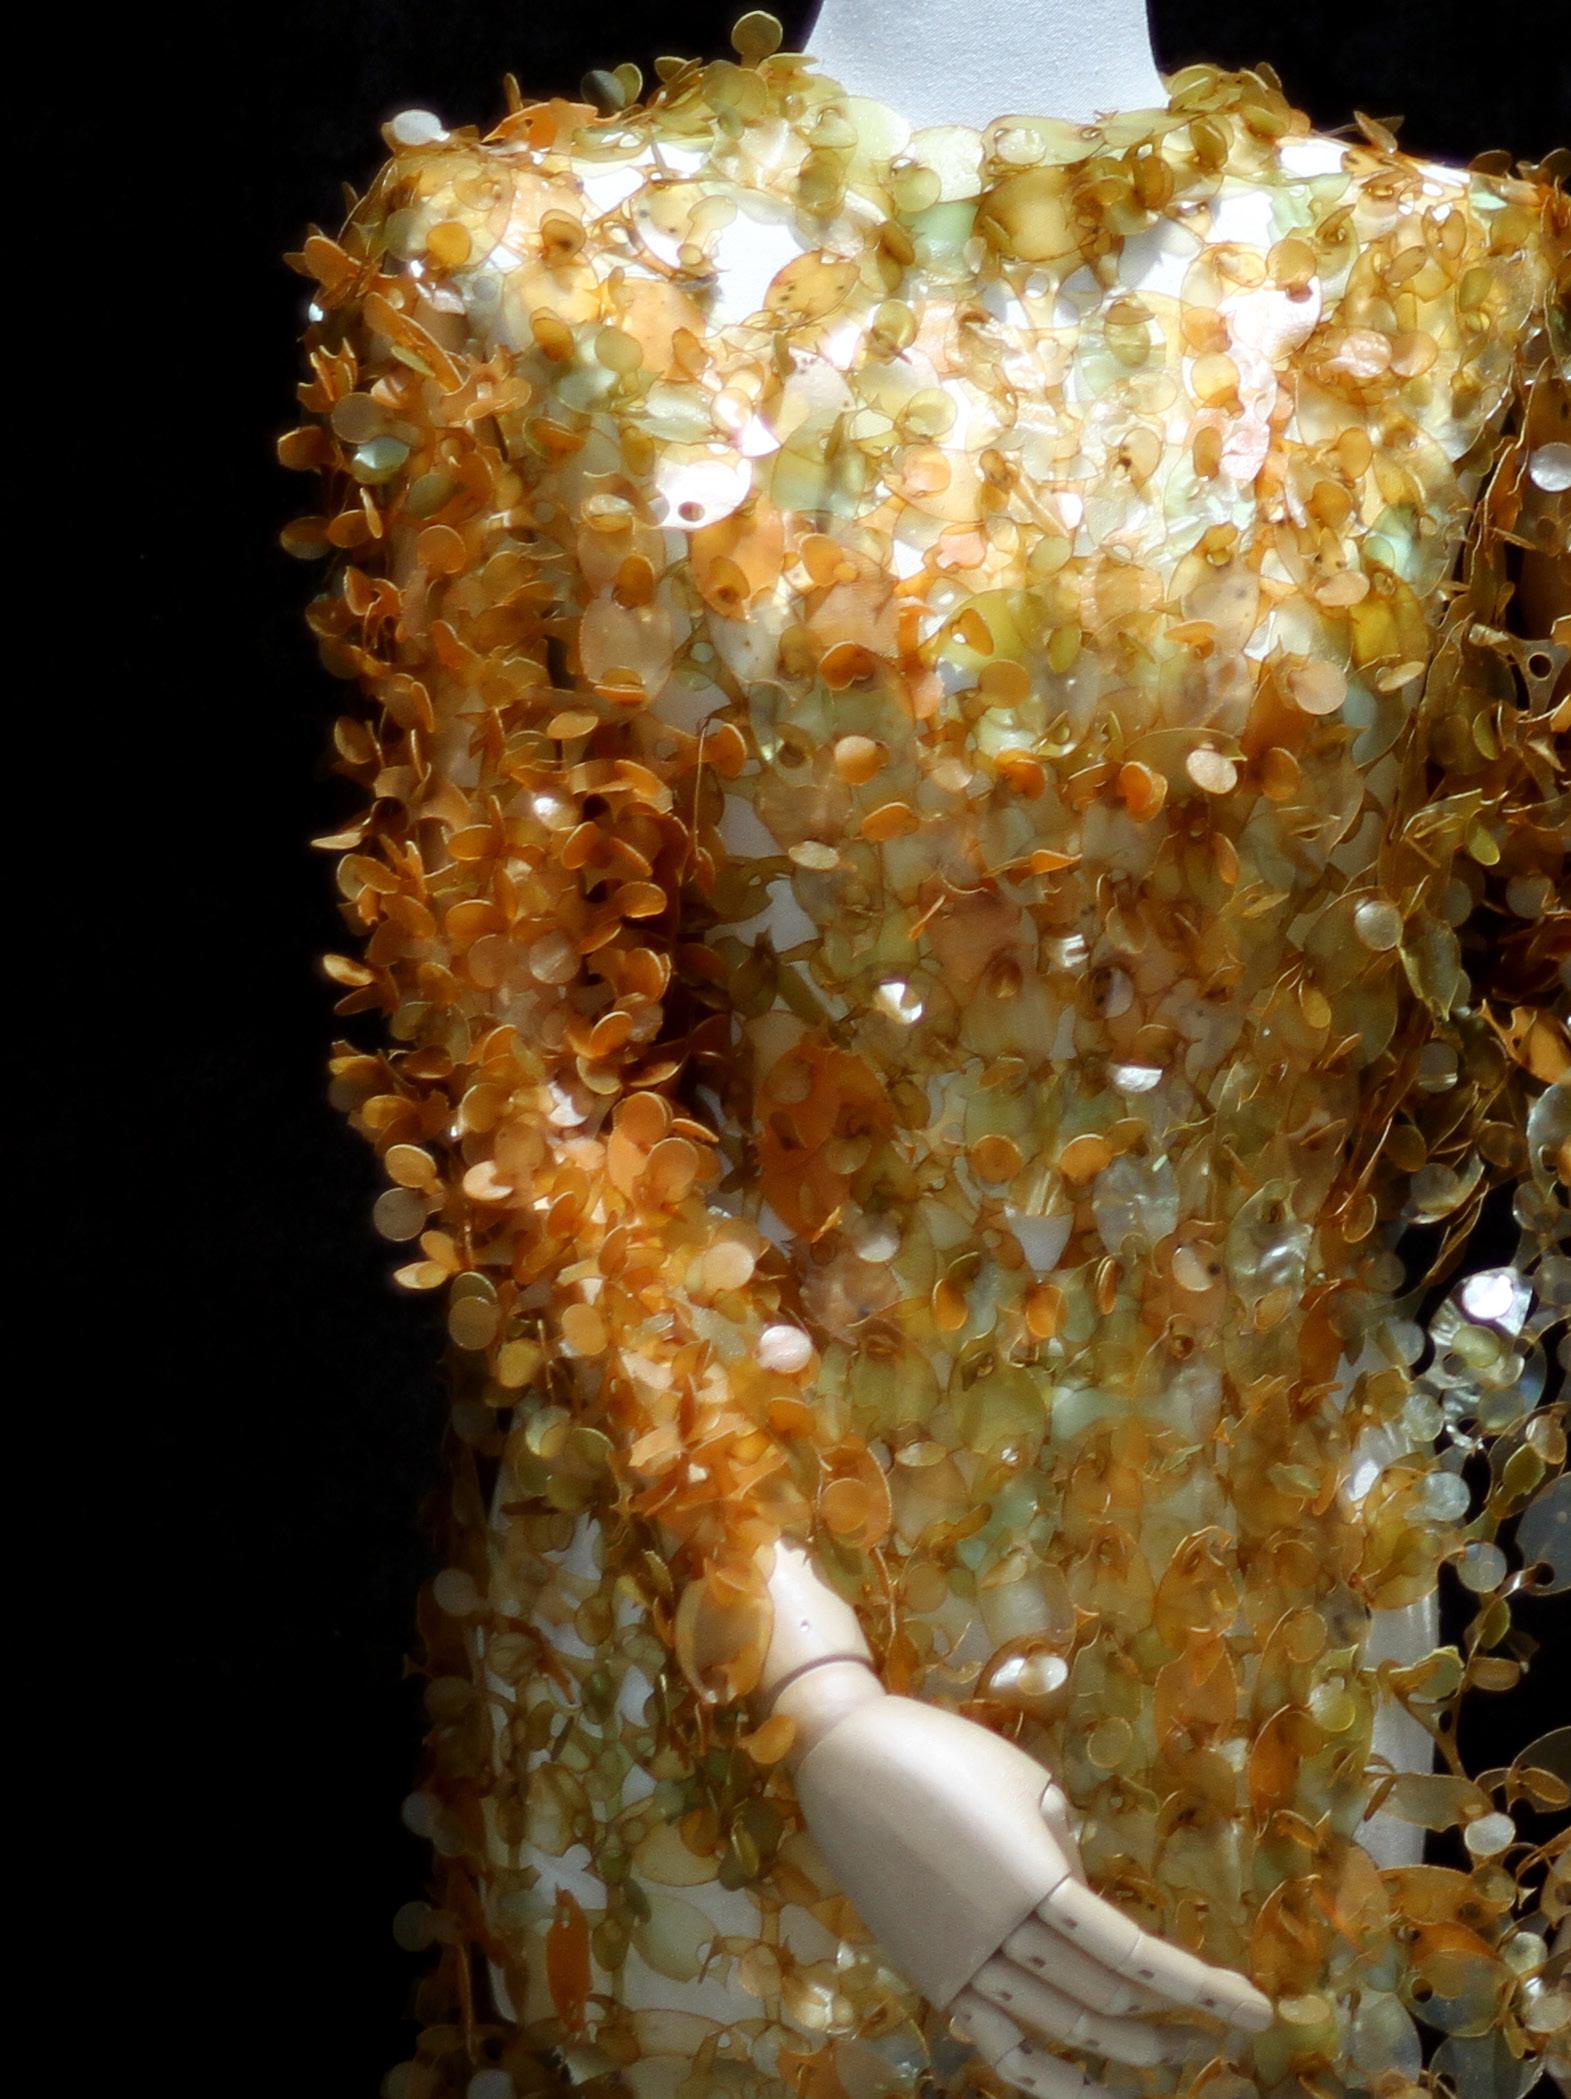
As a great principle of design and sustainable development, exploring the Circular Fashion subject where I have always wanted to design thinking about the 17 SDGs and this program has given me the tools to design in a Zero-waste, regenerative and sustainable way.
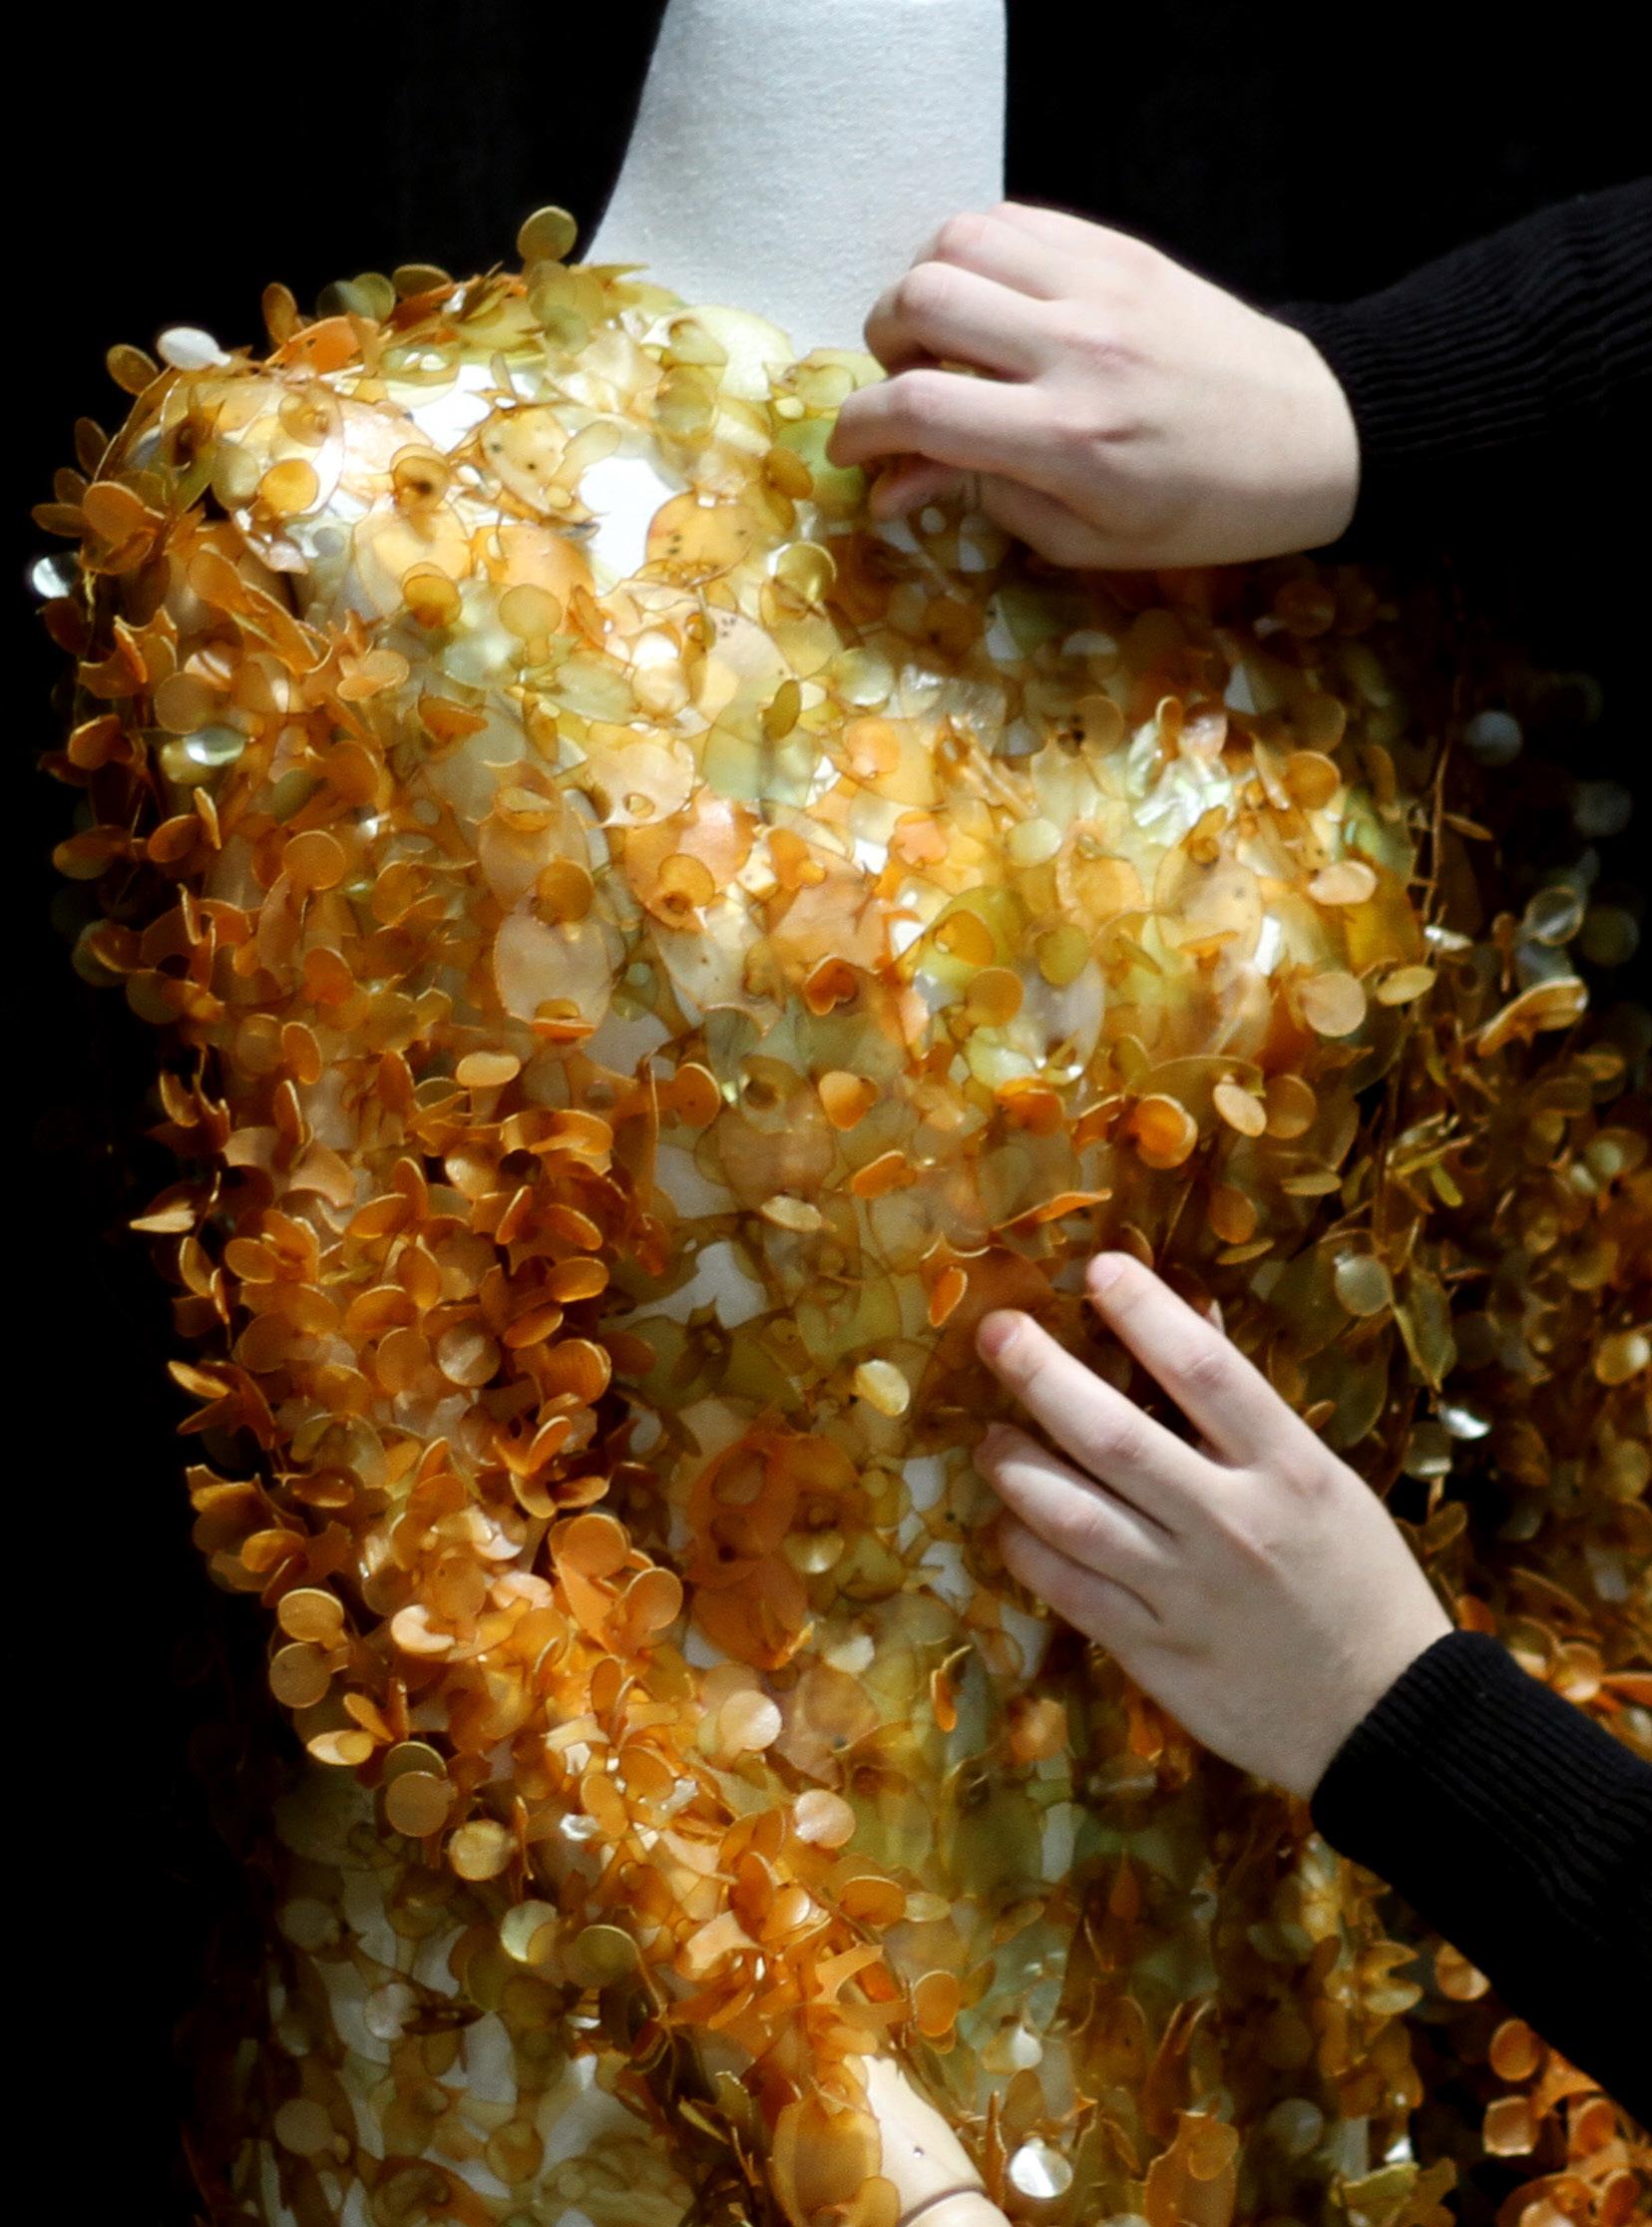
I wanted to make an organic design that can be extended and remade whenever you want. In addition to flowing with the body and with the design that it requires, it can be used not only in fashion but also in furniture, interior design, and even gastronomy.
Advertisement
70 IDEA
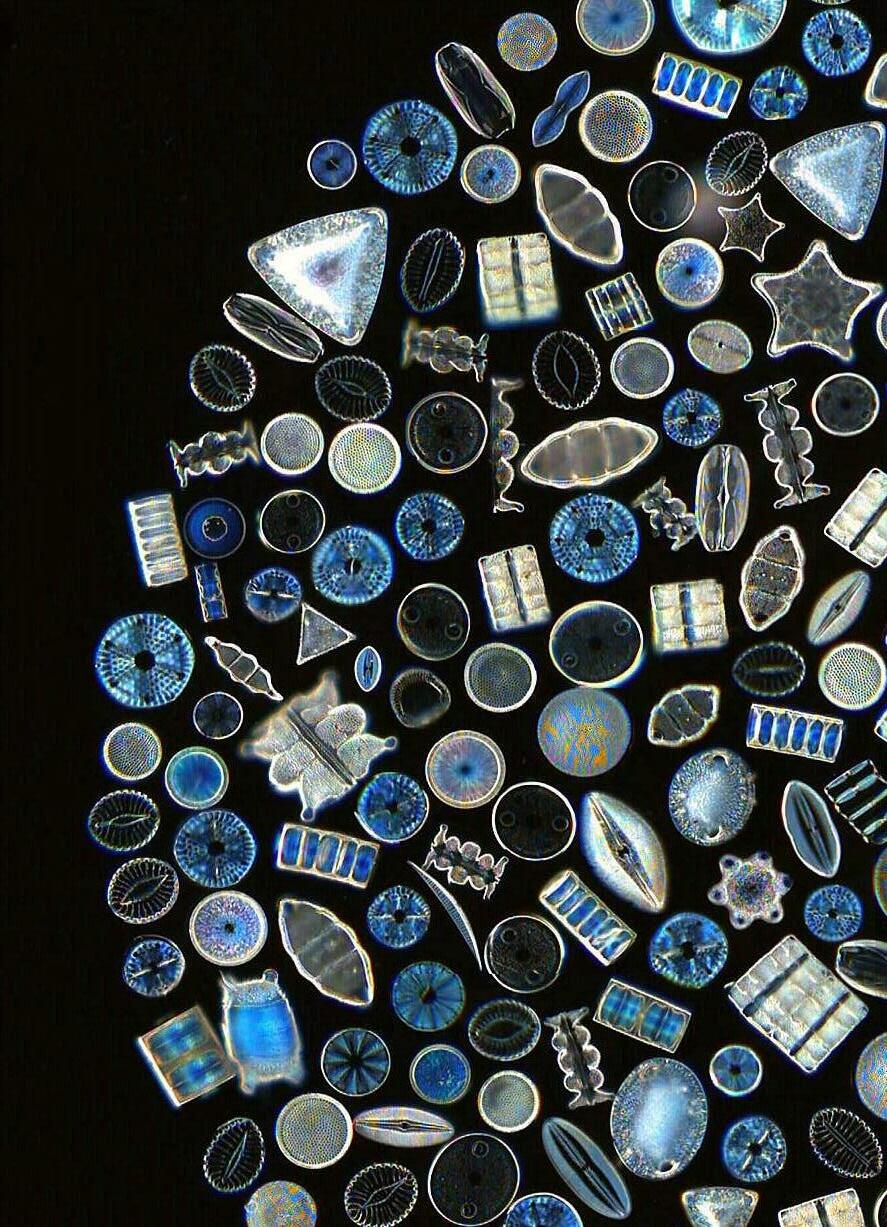
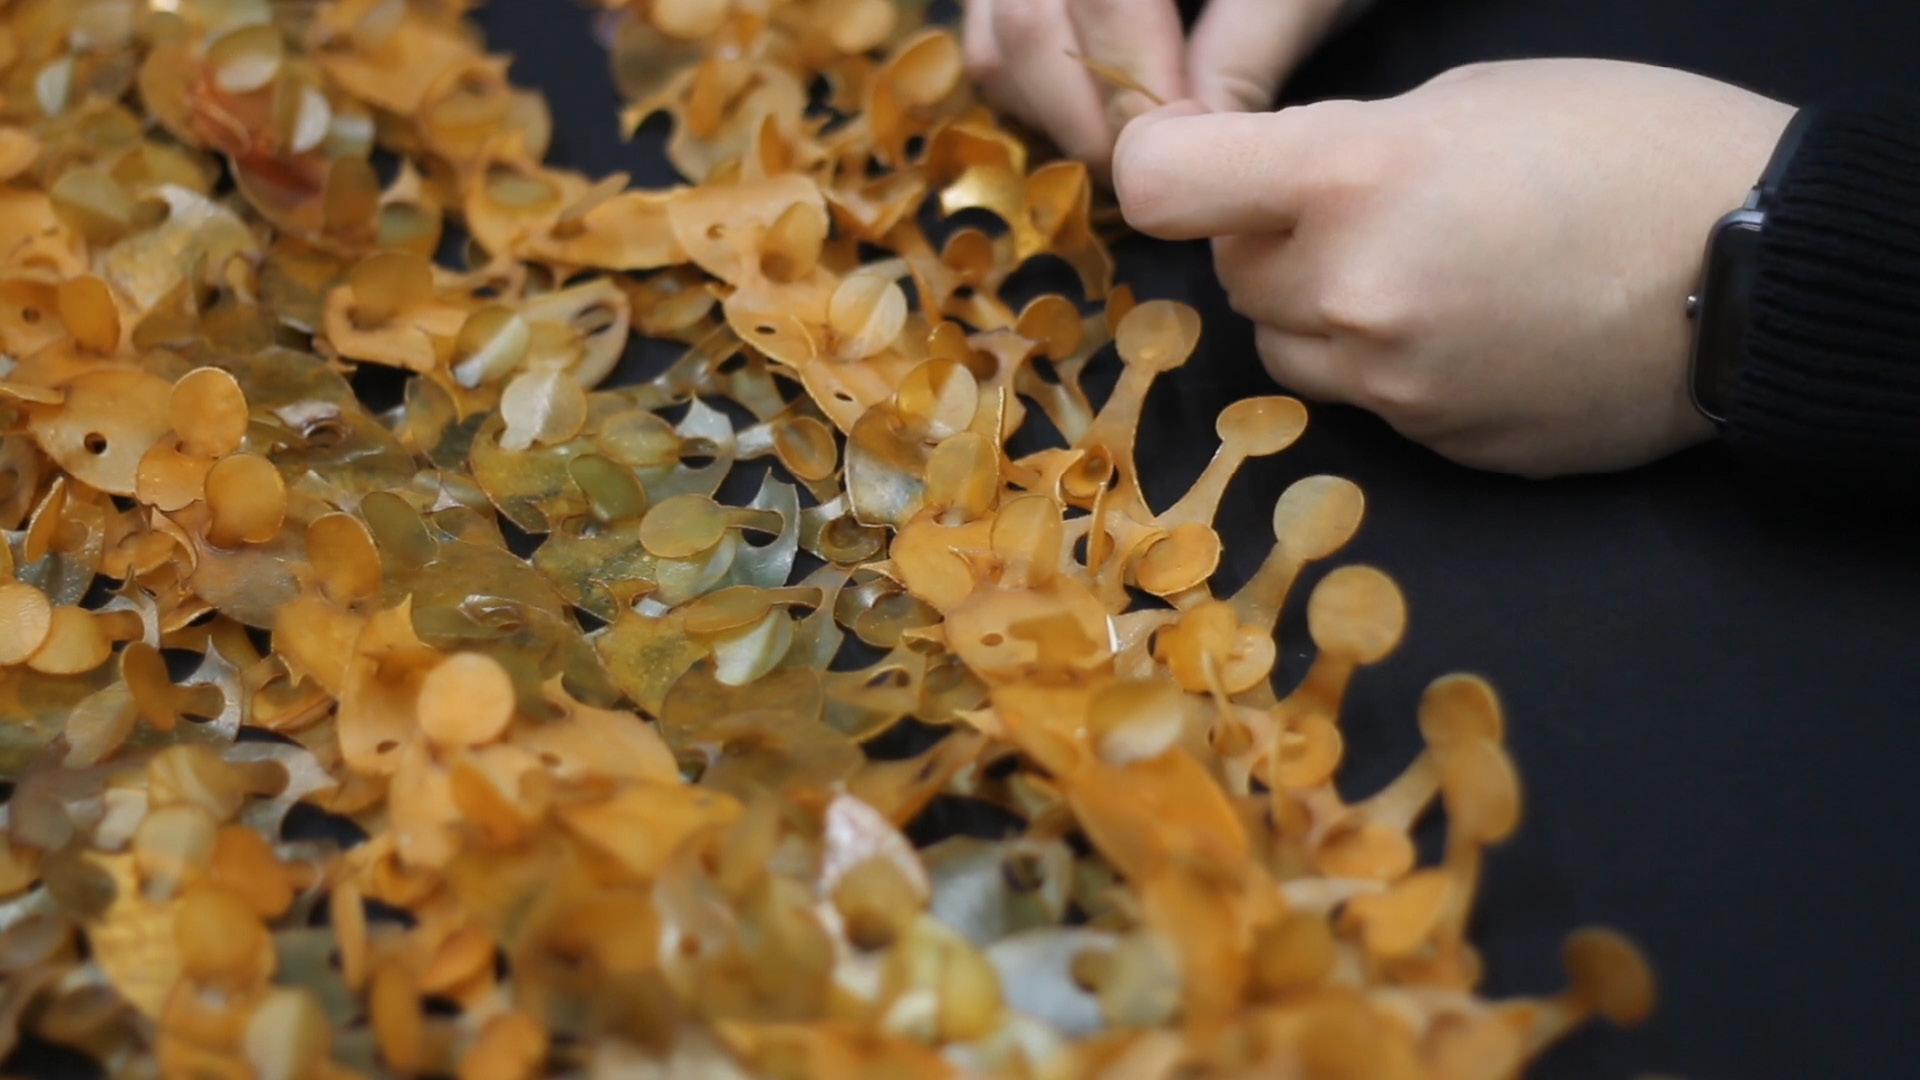
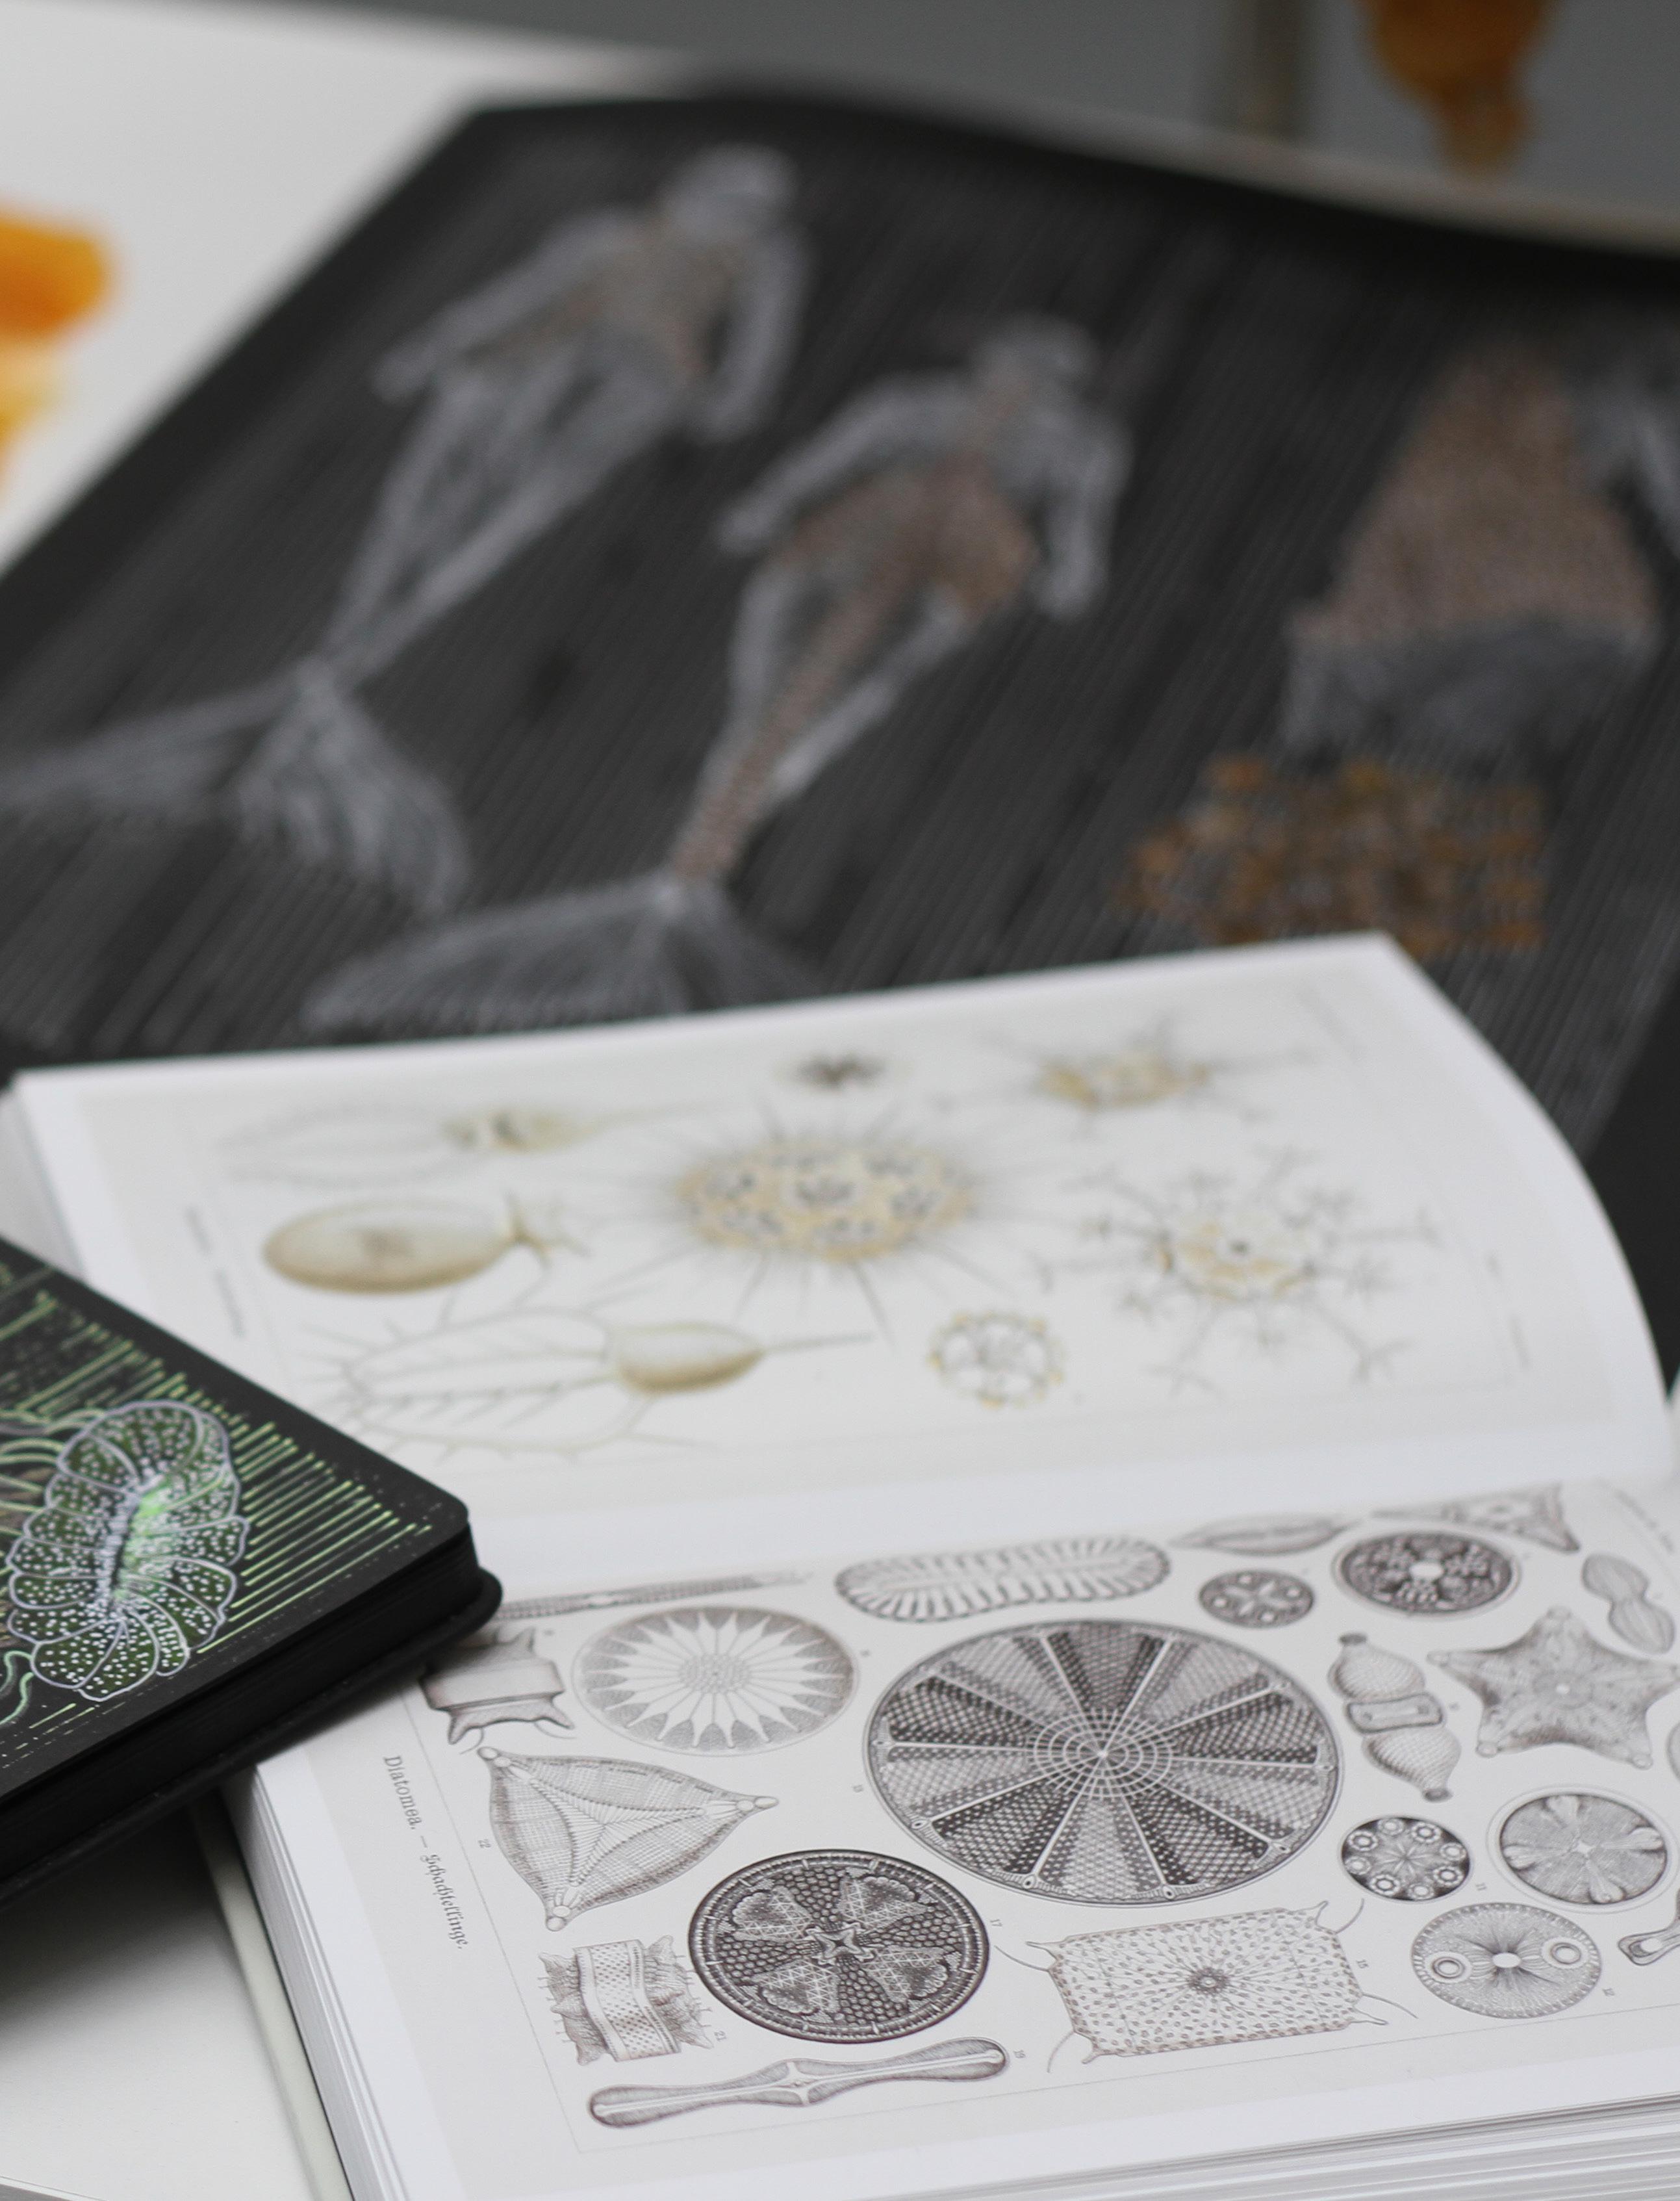
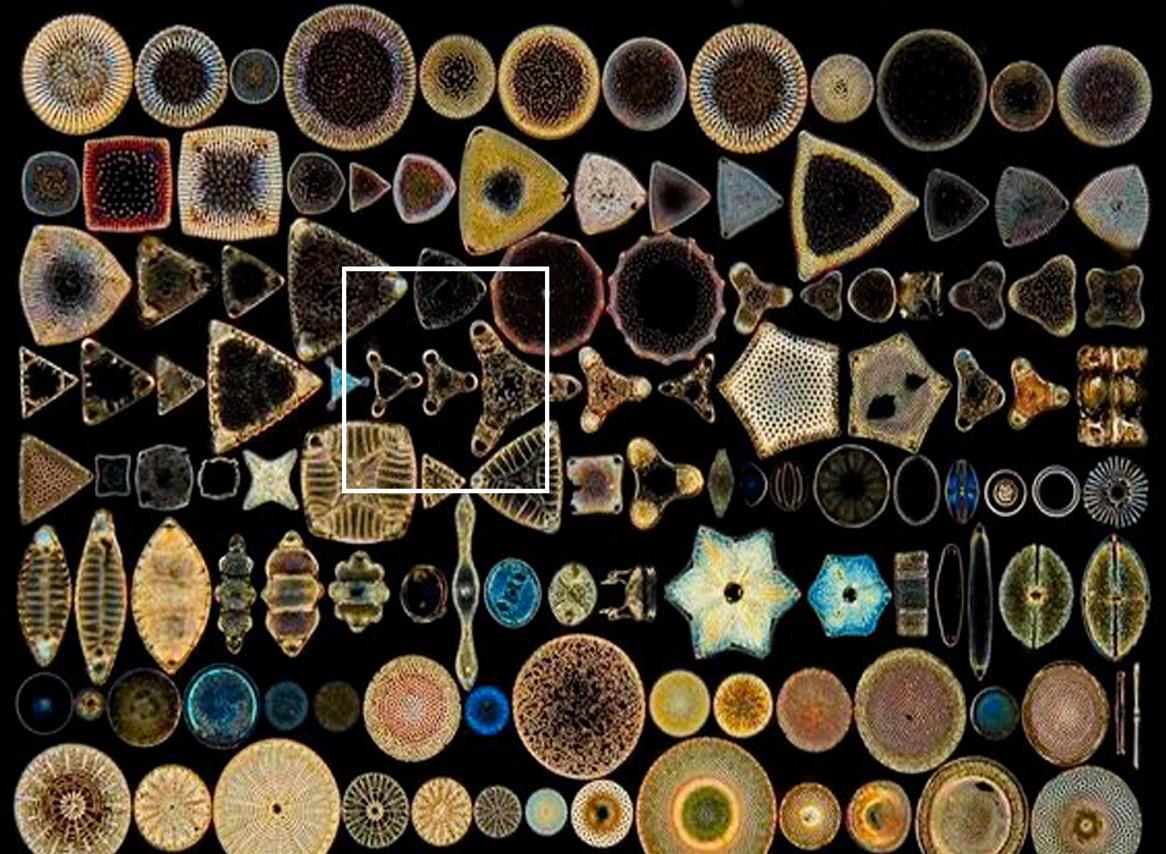
I have always been a great admirer of microscopic life and its forms, that is why I focused on the forms of Diatoms that I discovered in Ernst Haeckel’s book where you could see their forms and their colors, there I was able to take that form as an assembly base. , but I realized that I was getting waste so I used those cut parts and added some holes to turn them into new modules and in the end, I got 5 modules with which I could link in themselves and be able to create completely organic and serial shapes like the fractal designs of nature.
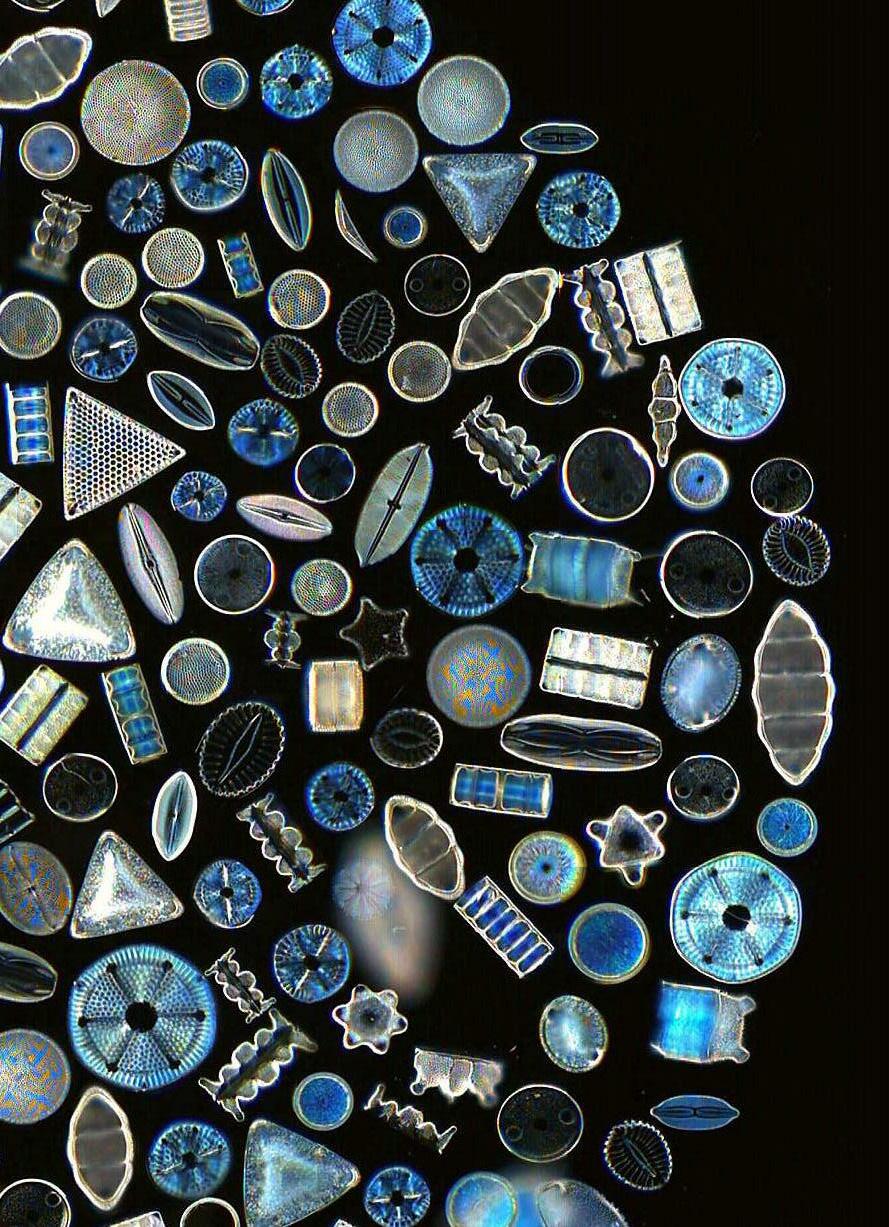
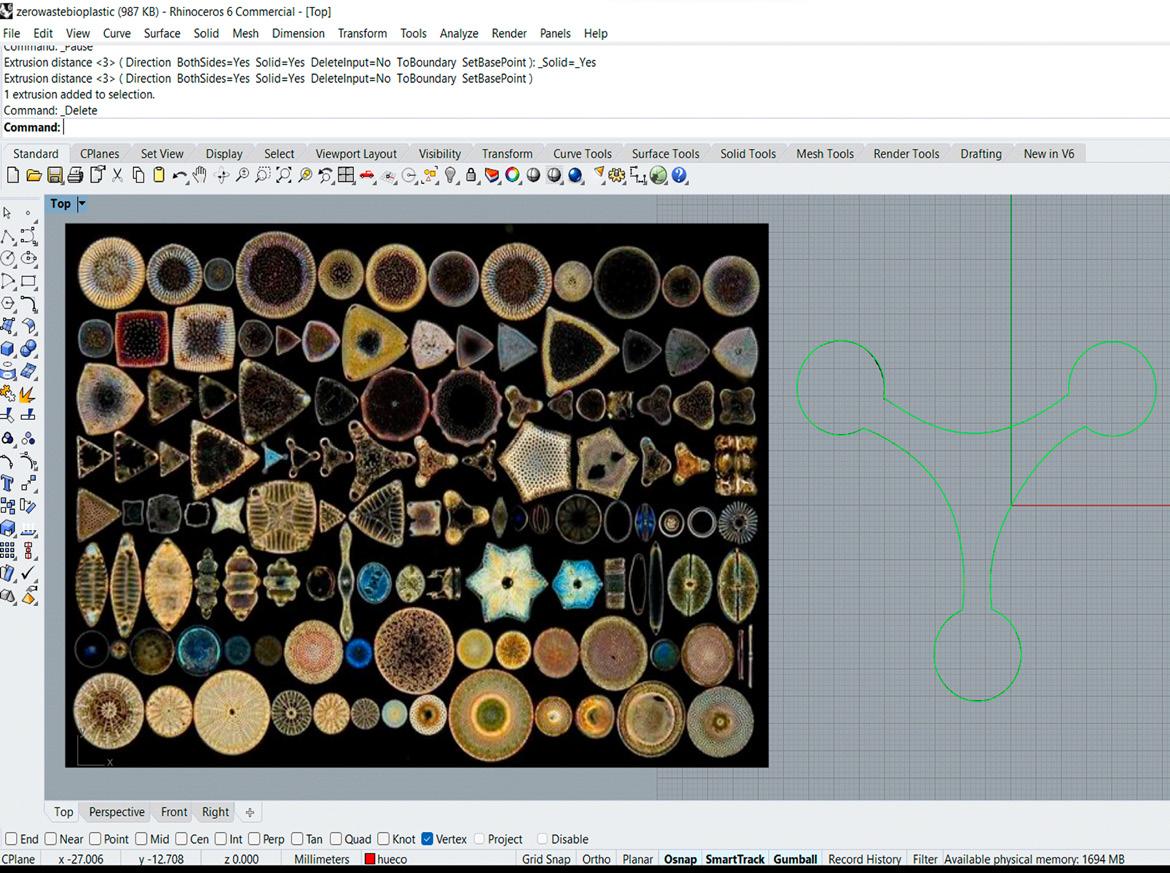
In Rhinoceros I was able to vectorize the drawing and then repeat it. PROCESSWhen I chose the form that I could use as a module I passed that image to Rhinoceros There I realized that I was going to waste material and I solved that by adding those holes in the waste to turn them into a new part of the design and incorporate them into future products.
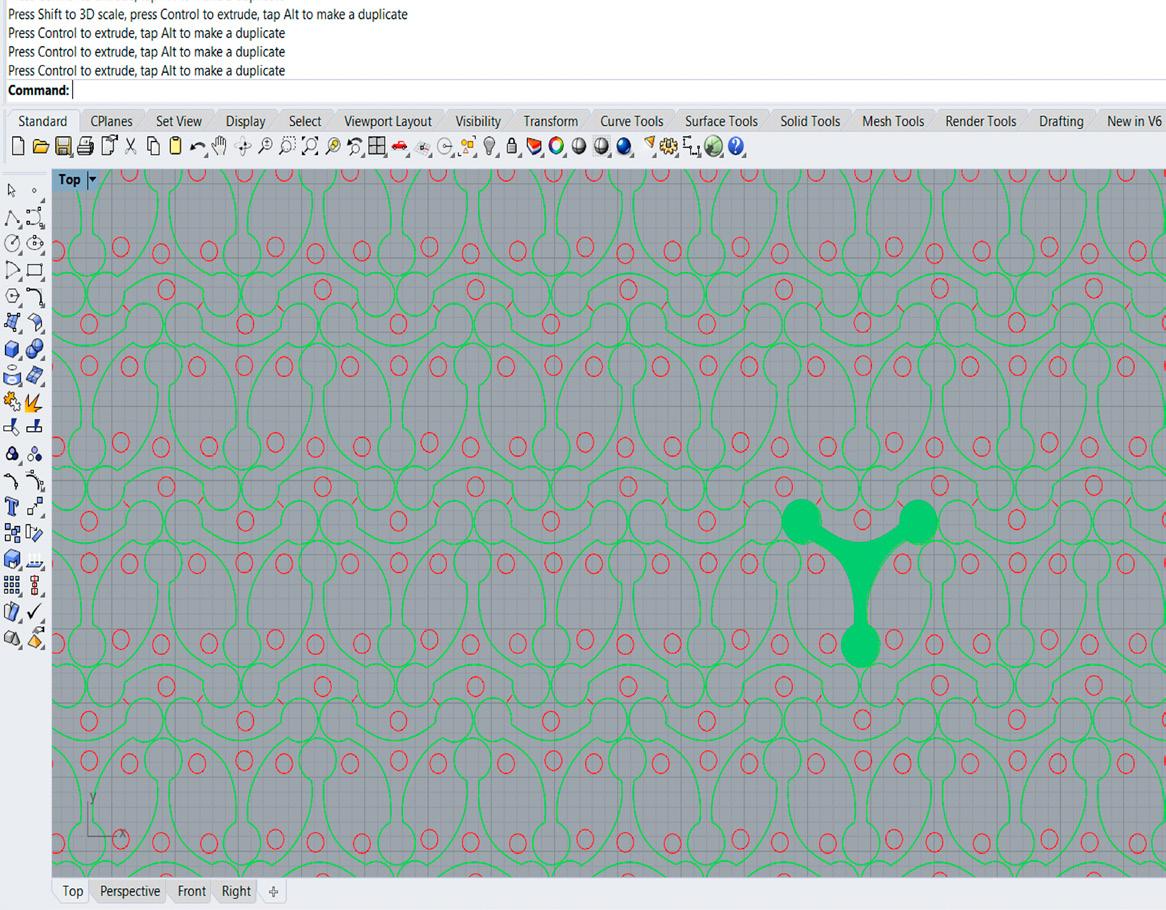
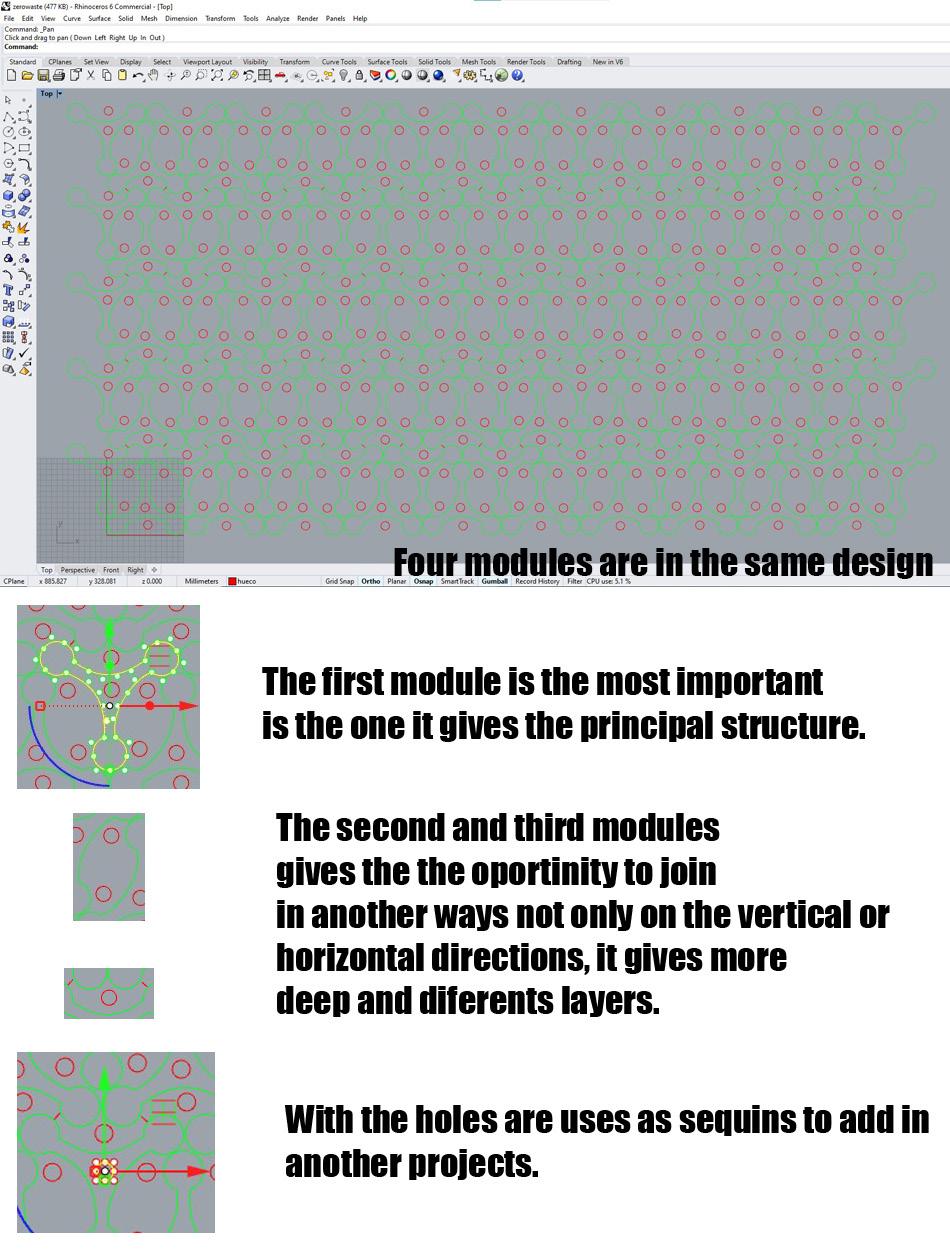
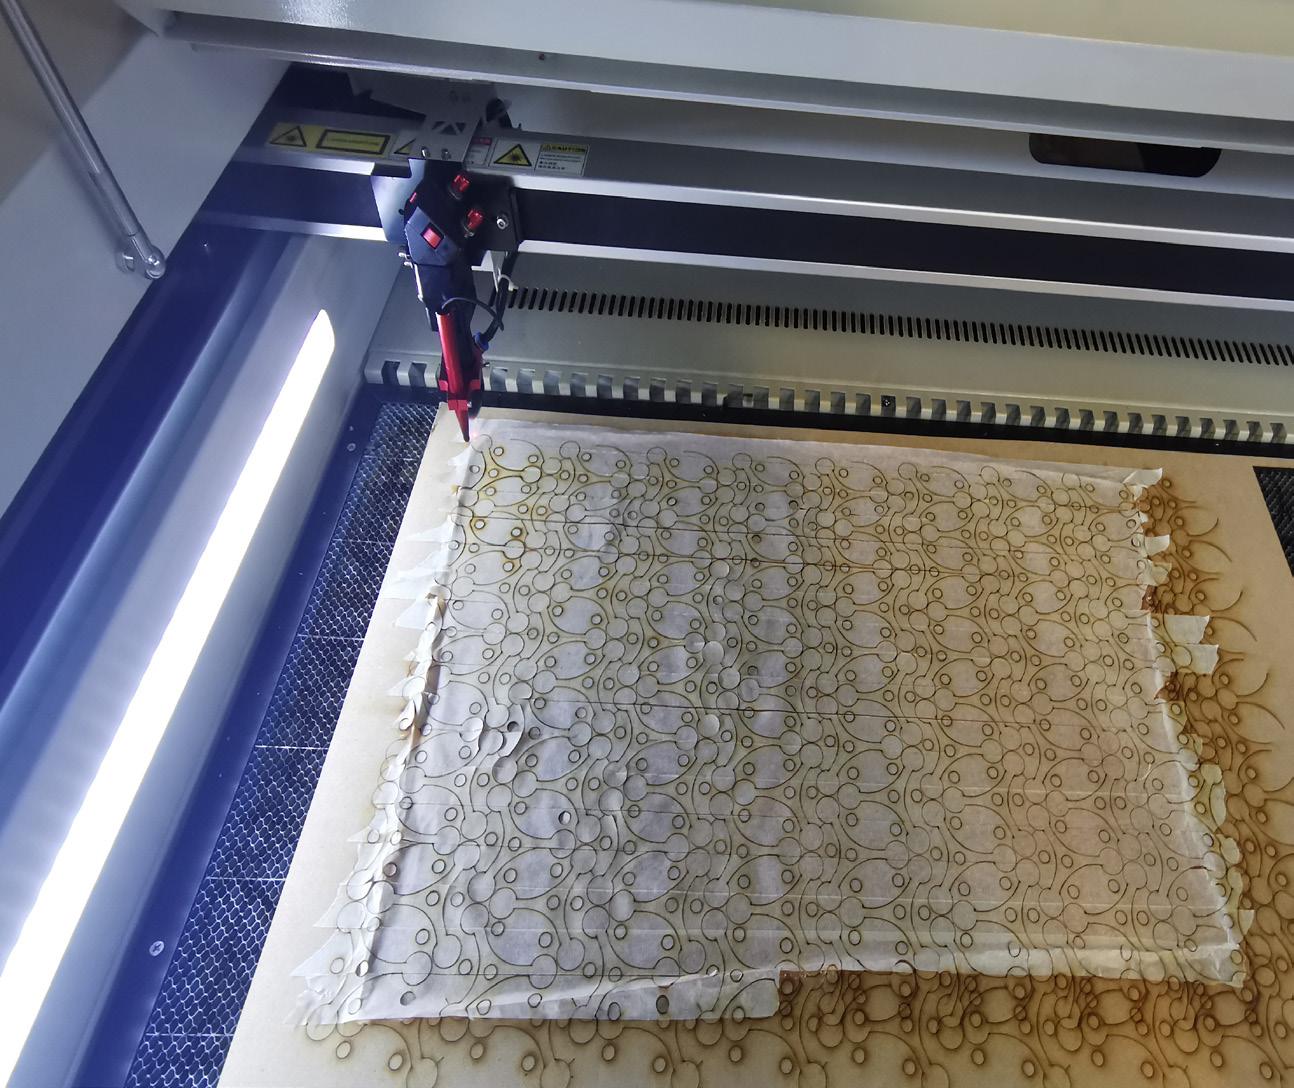
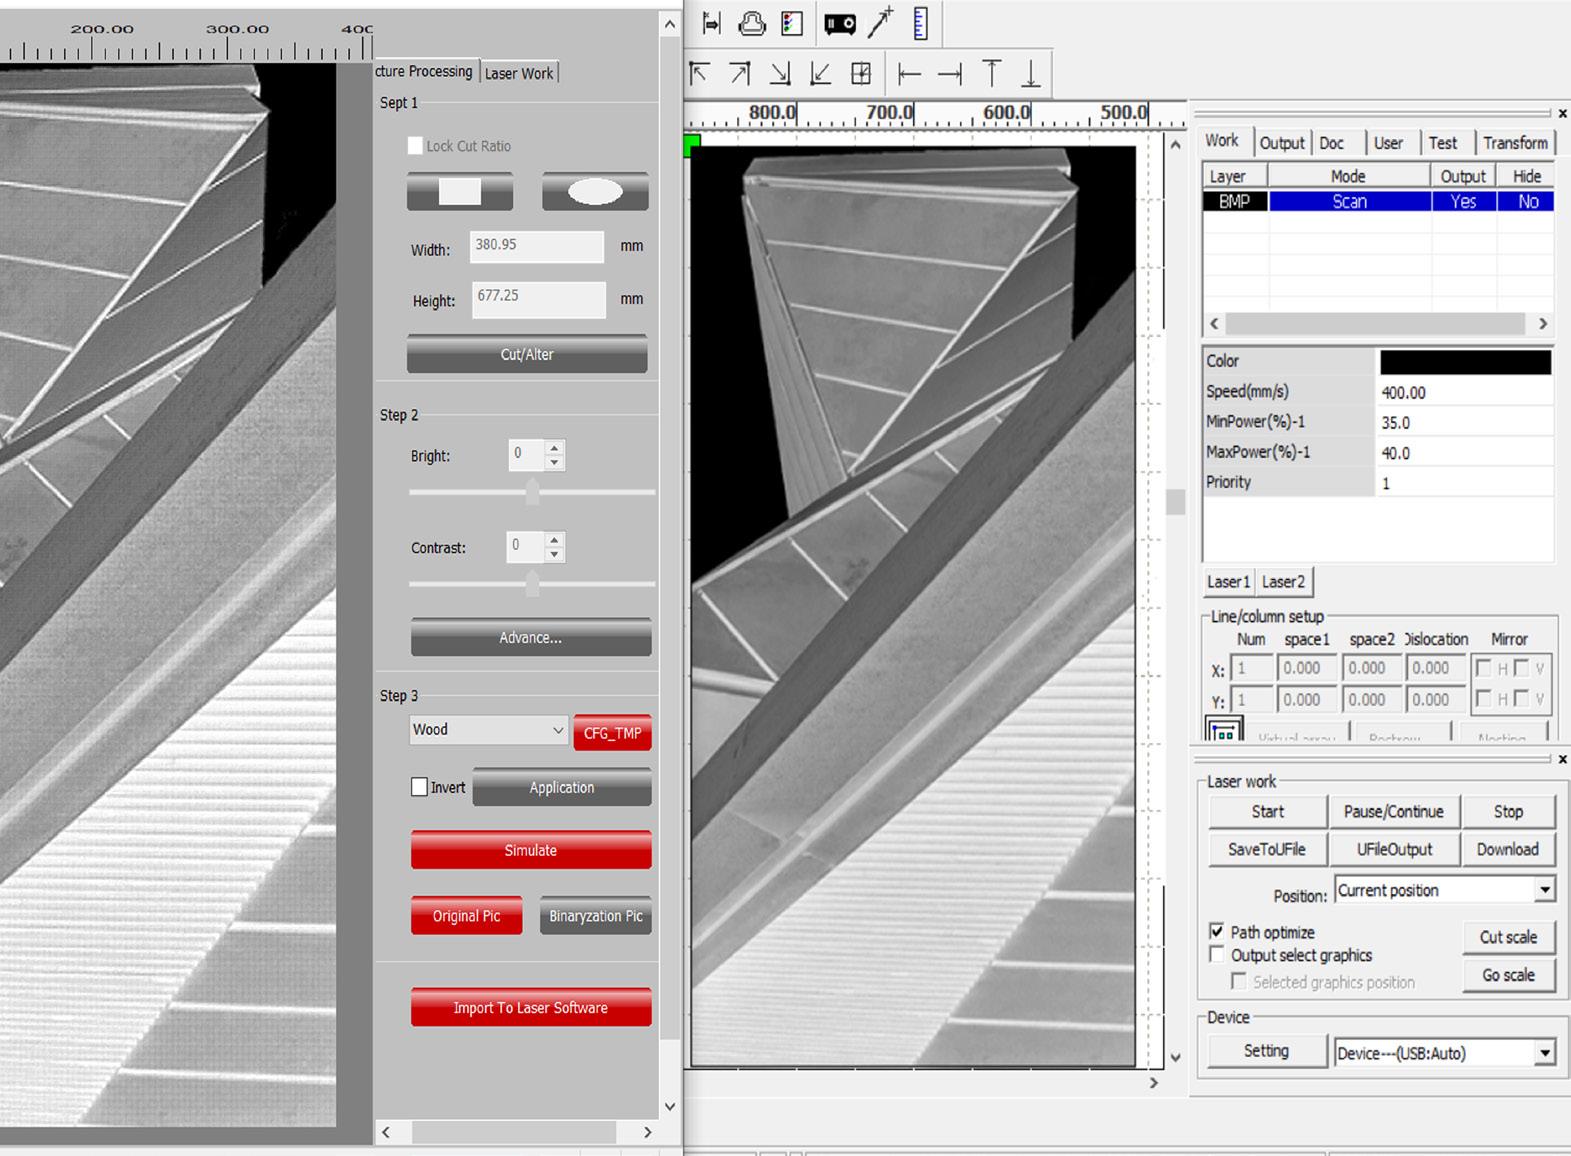
Once you have the cutting lines of the design you have to separate the cuts as the main cutting layer, it is better to put the holes and then the cutting line of the modules. For this, it is necessary to have separate layers in the file in Rhinoceros.
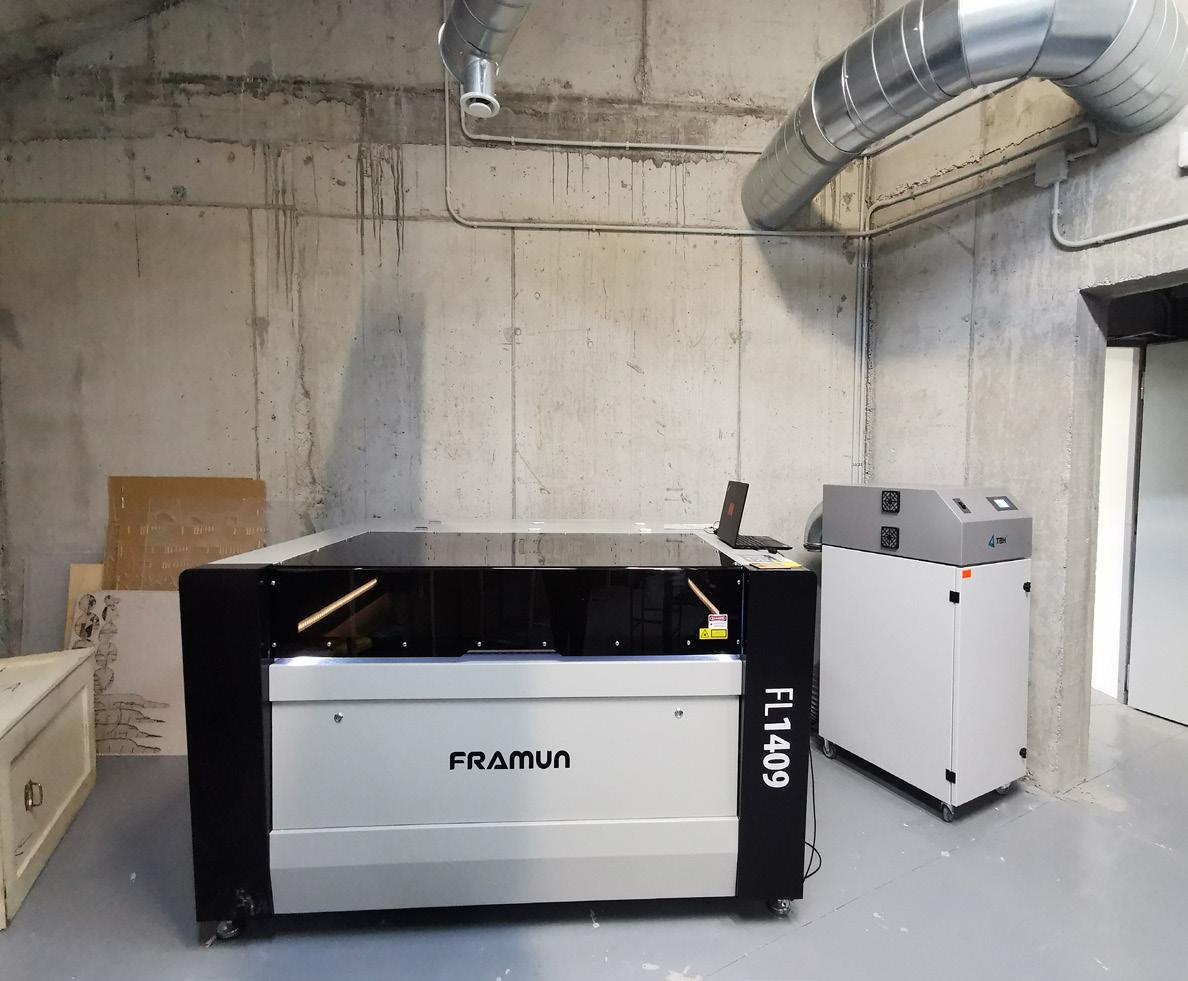
Before you start cutting and uploading the file to the laser cutter, there are a few safety precautions to go over. LASER CUTTINGOne of the most important measures in order and cleanliness because it keeps the machines in perfect condition so that we can continue enjoying the machines for years and years. then some specific measures, such as using a piece of wood to hold the biomaterial and give it better stability.
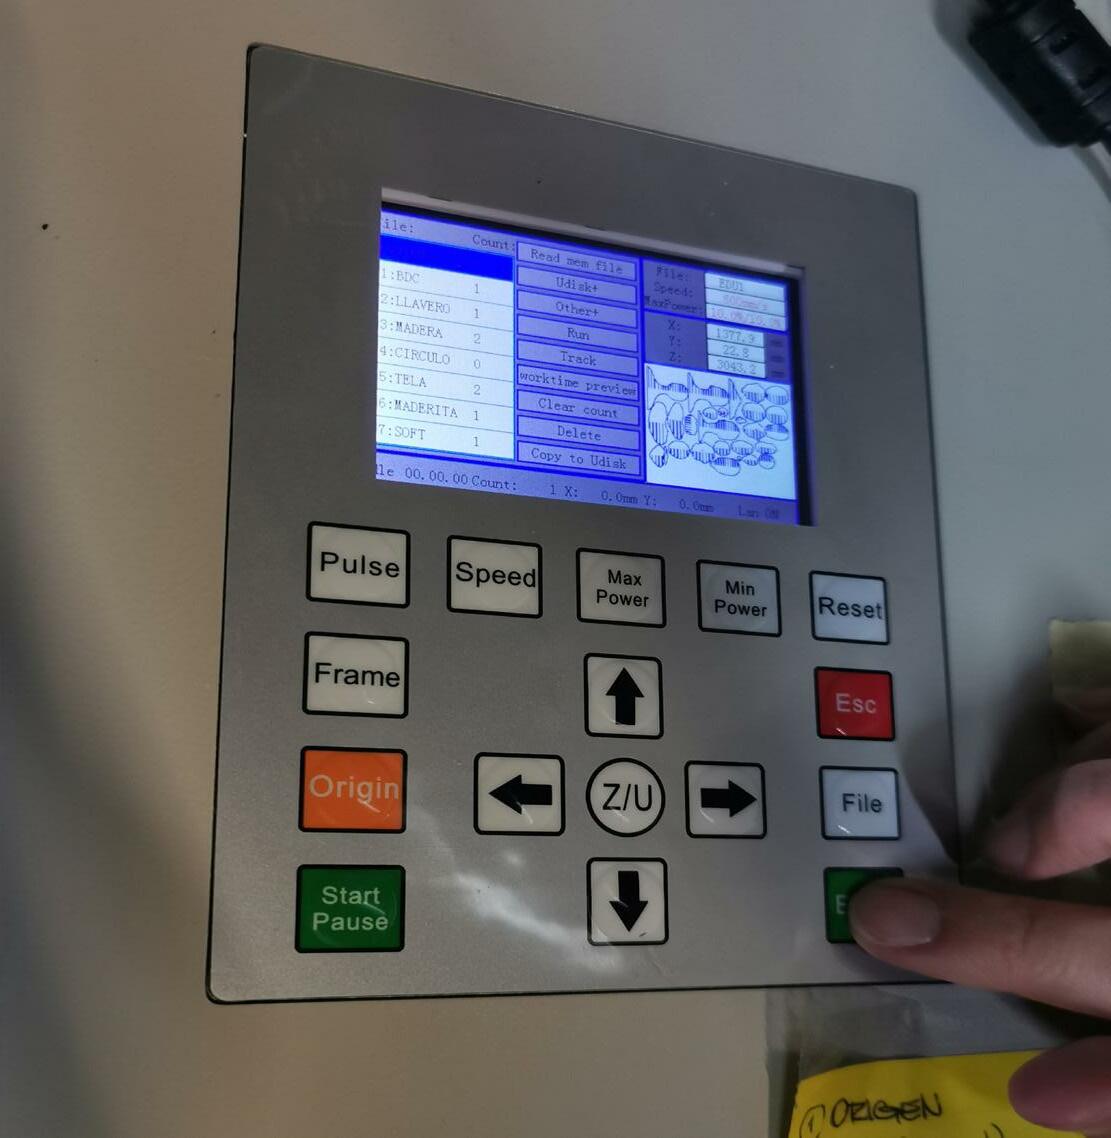
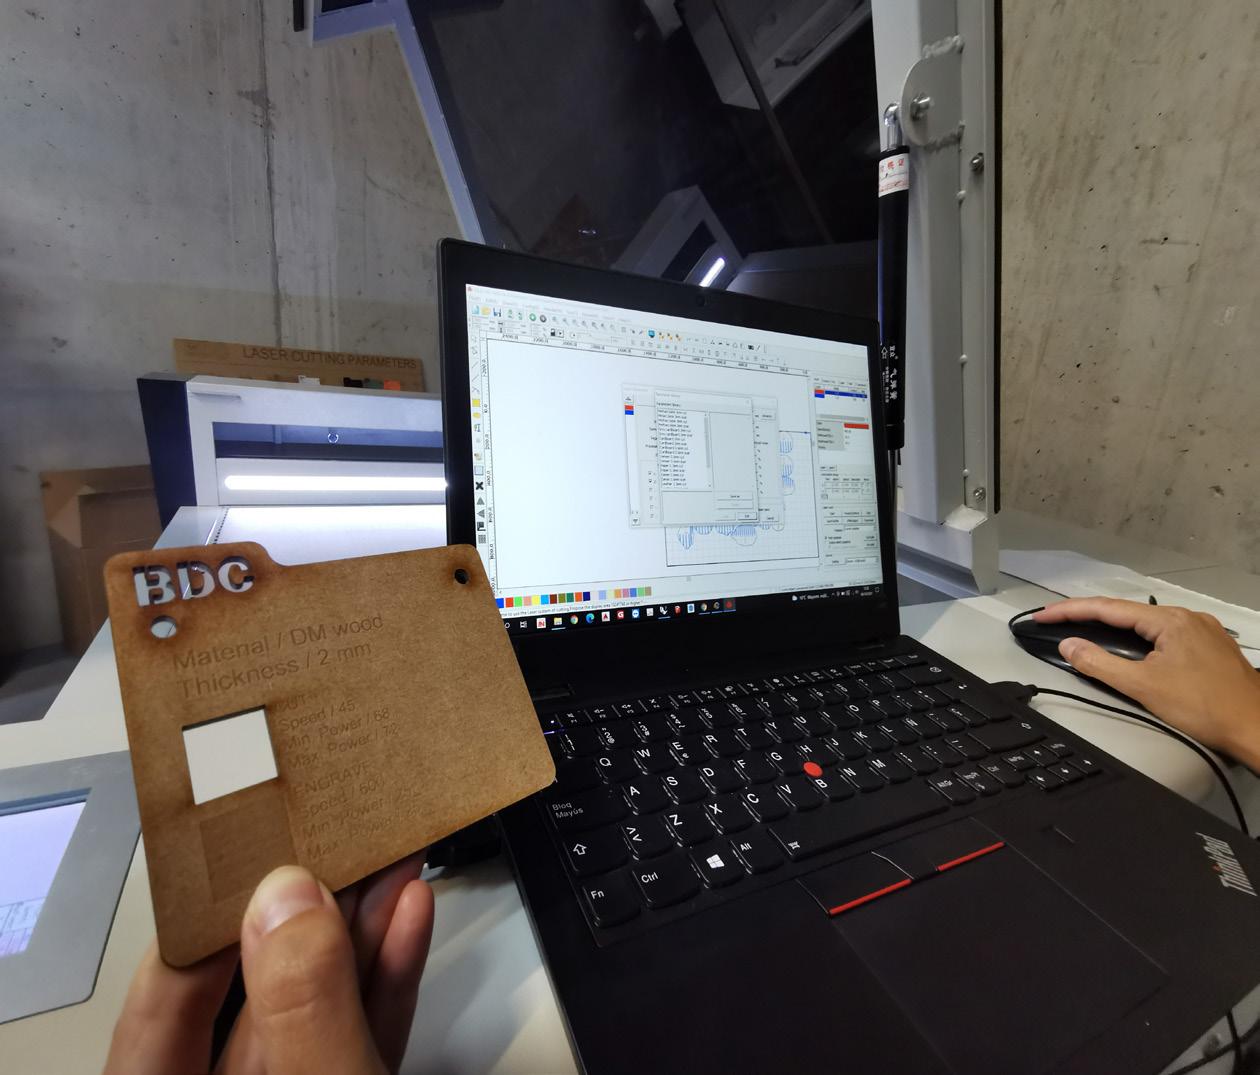
This parameters I regulary used on my biomaterial
Thickness: 3mm
Material: Biomaterial CUT: Speed: 70 Minimum power: 30 Maximum Power: 33 ENGRAVE: Speed: 800 Minimum power: 20 Maximum Power: 25
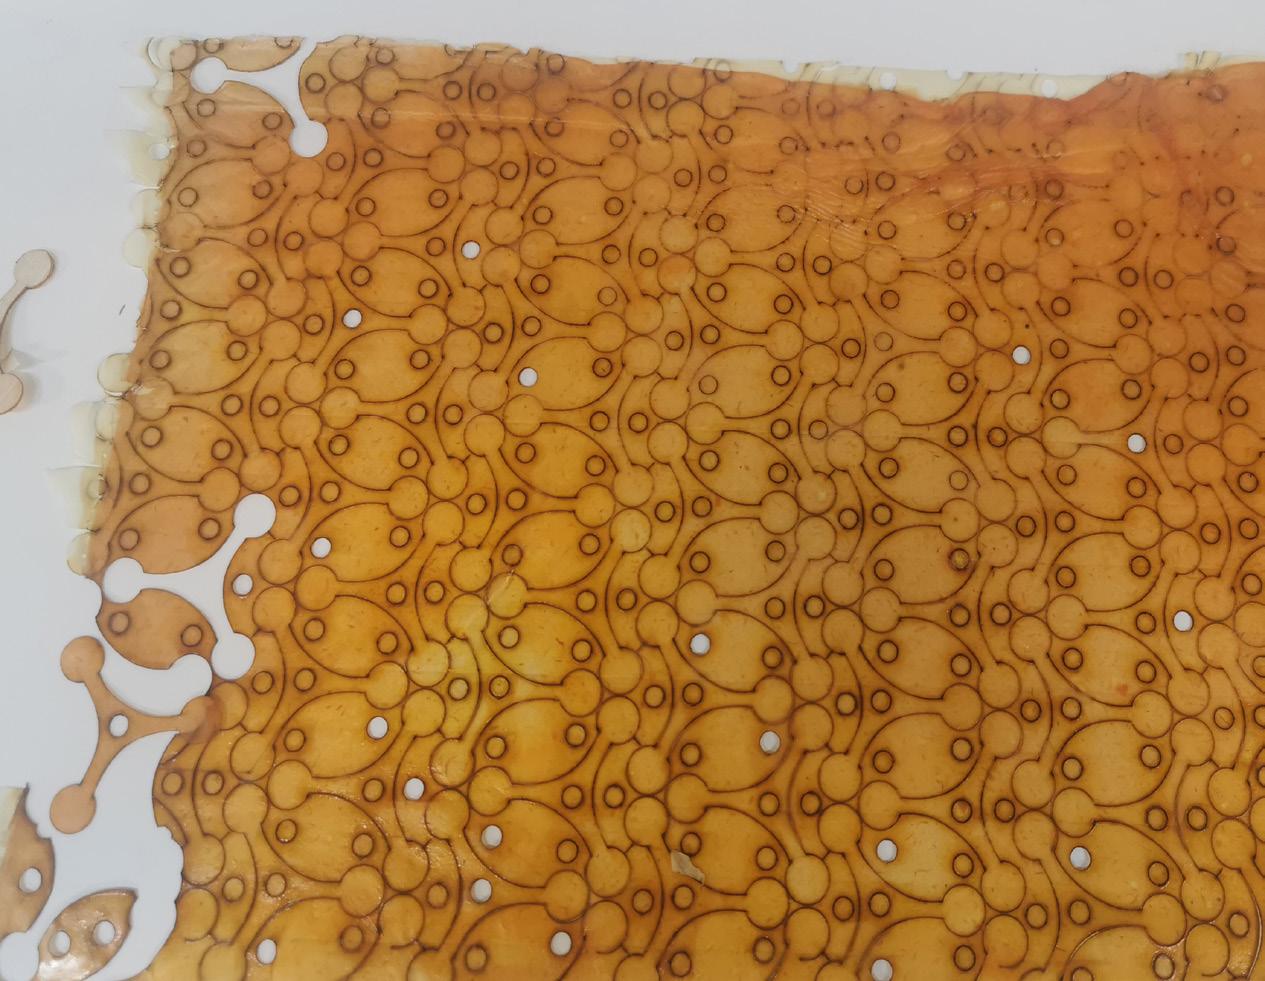
After measuring all the security measures and parameters, you are ready to start it and wait for the machine to finish. I recommend you not to separate from it while it is cutting in case of any unforeseen event.
Especially after cutting biomaterial, it is important to clean the laser nozzle with cotton and alcohol to remove all traces and thus not obstruct the laser pointer.
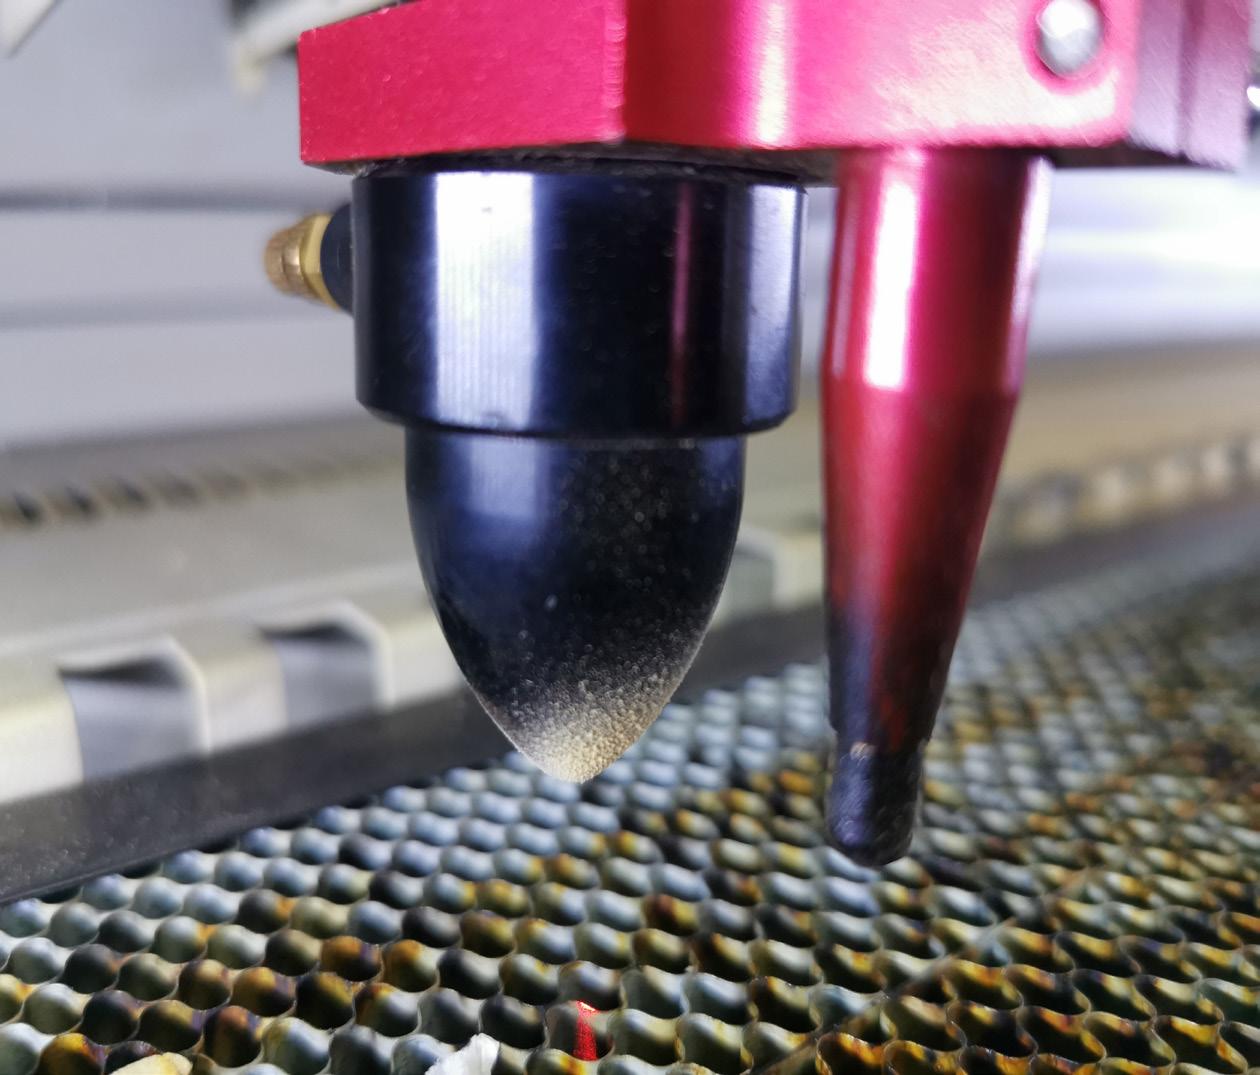
76 Assembling
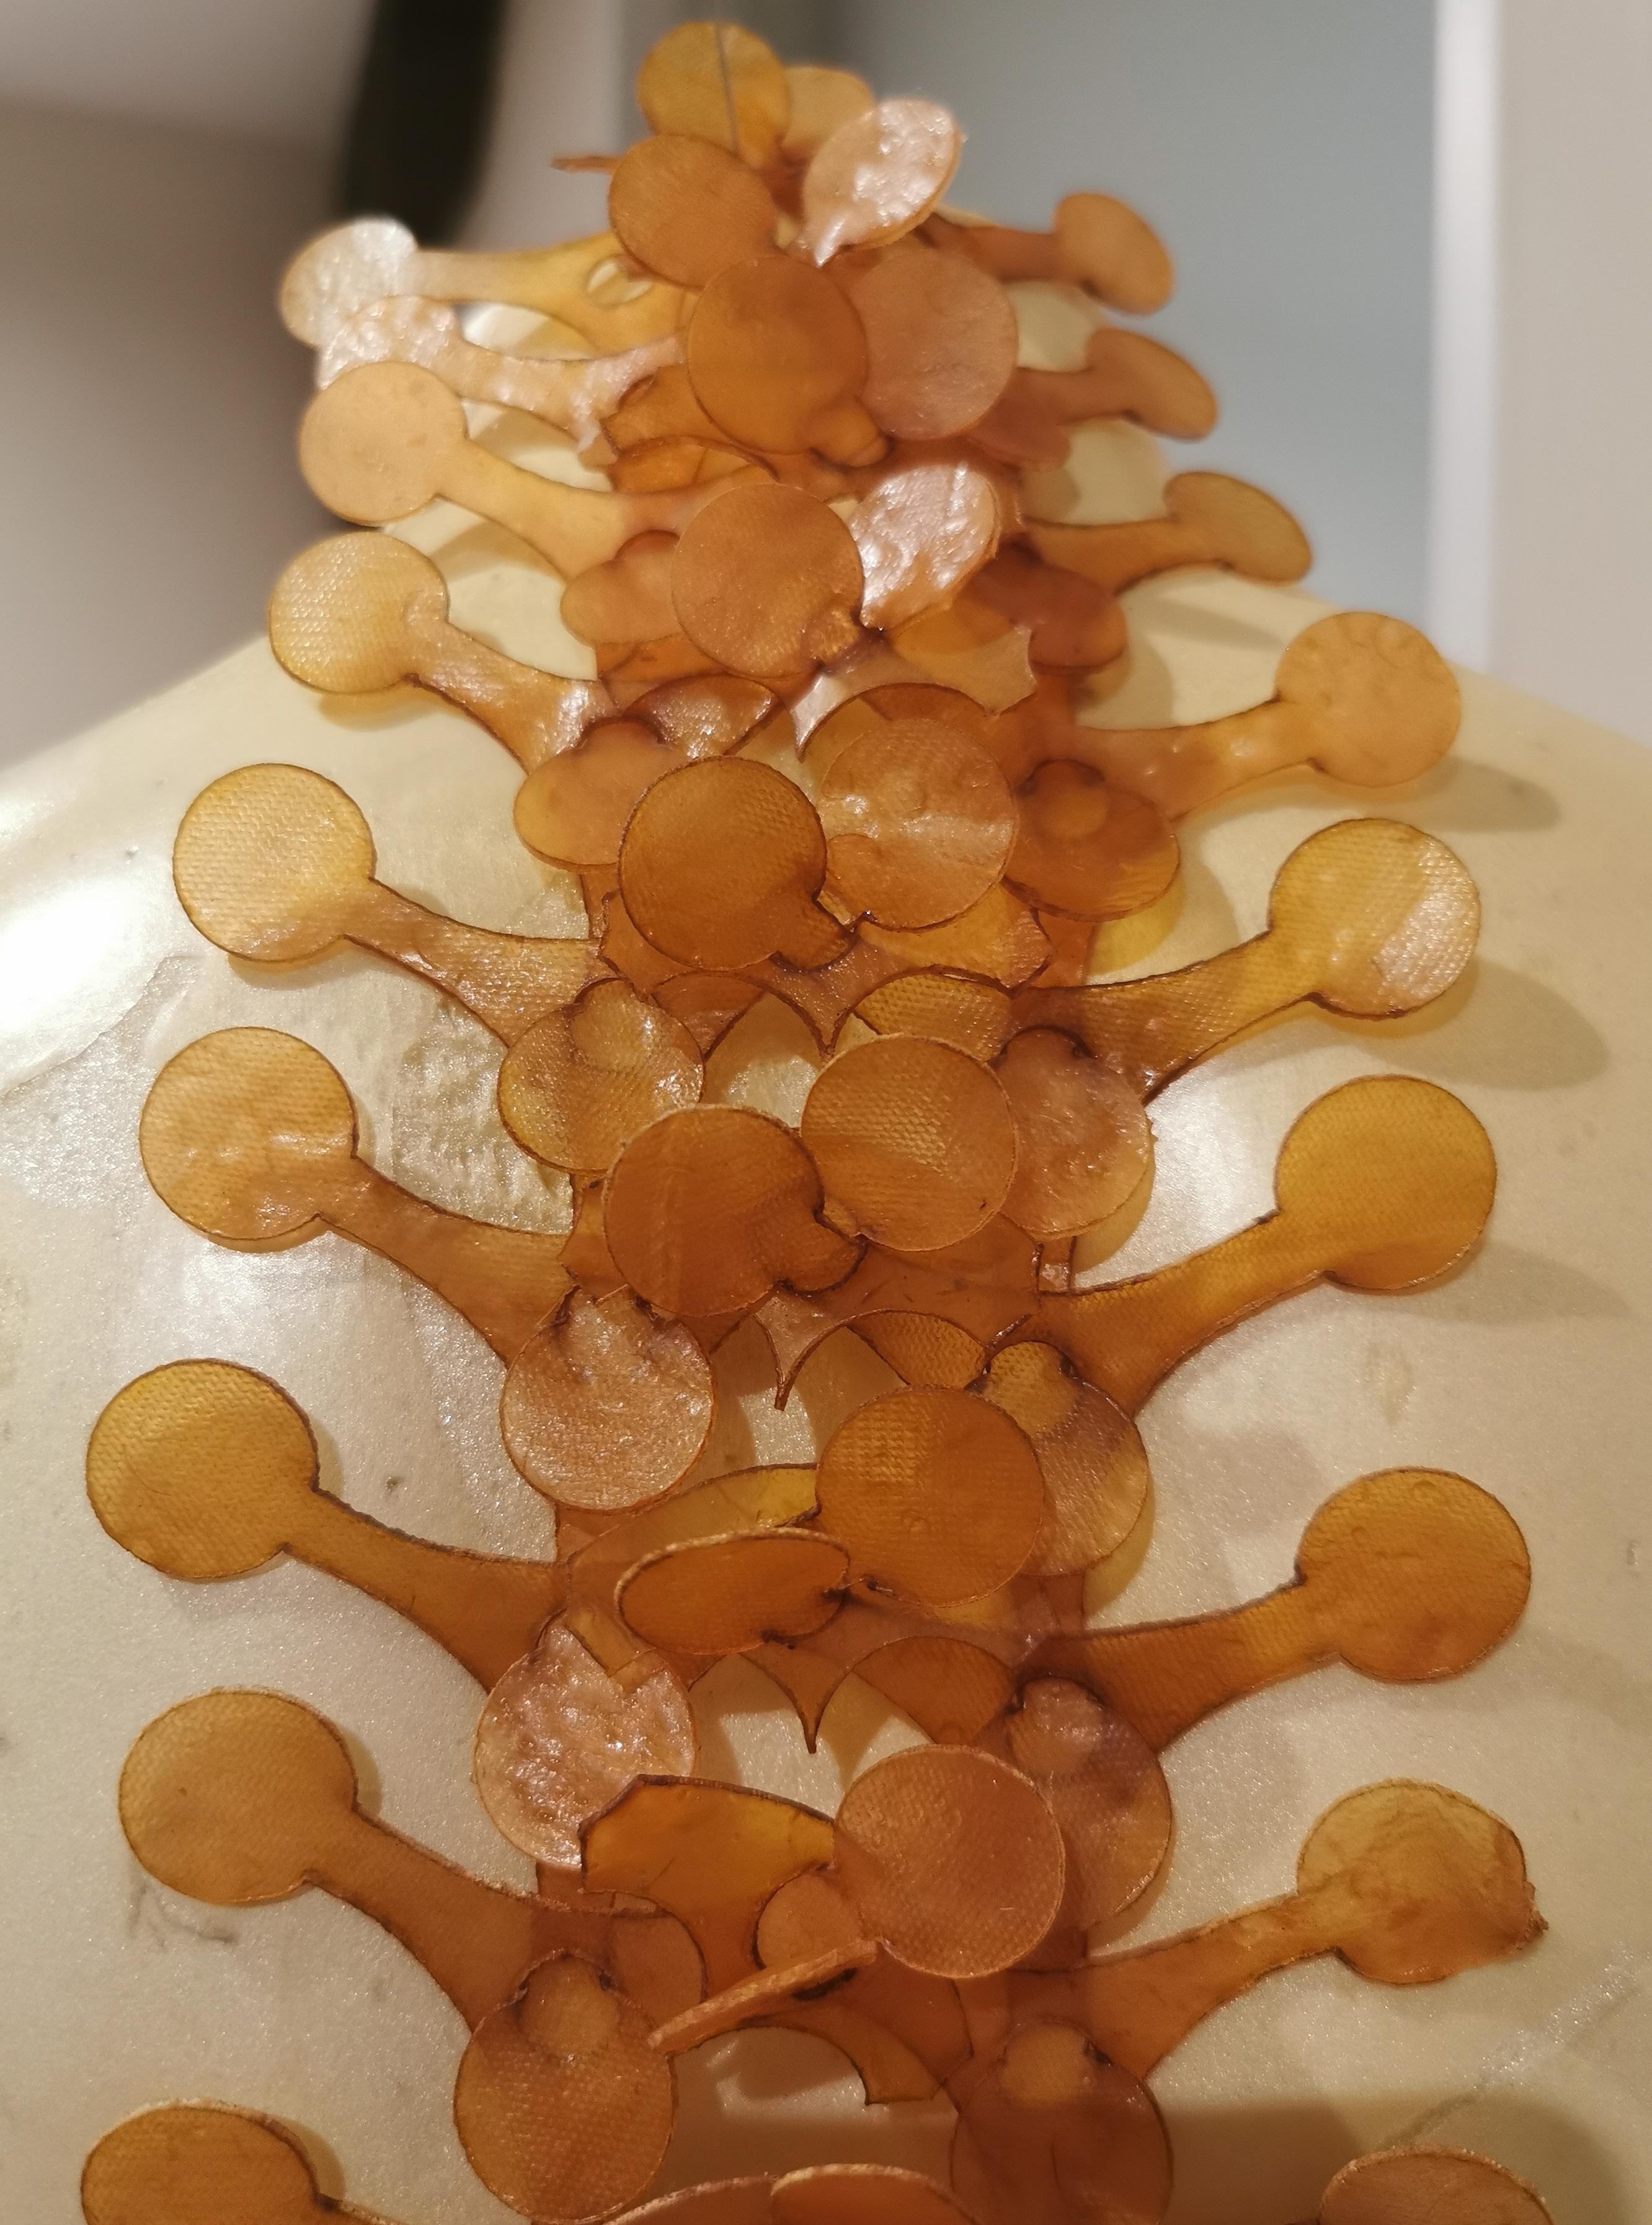
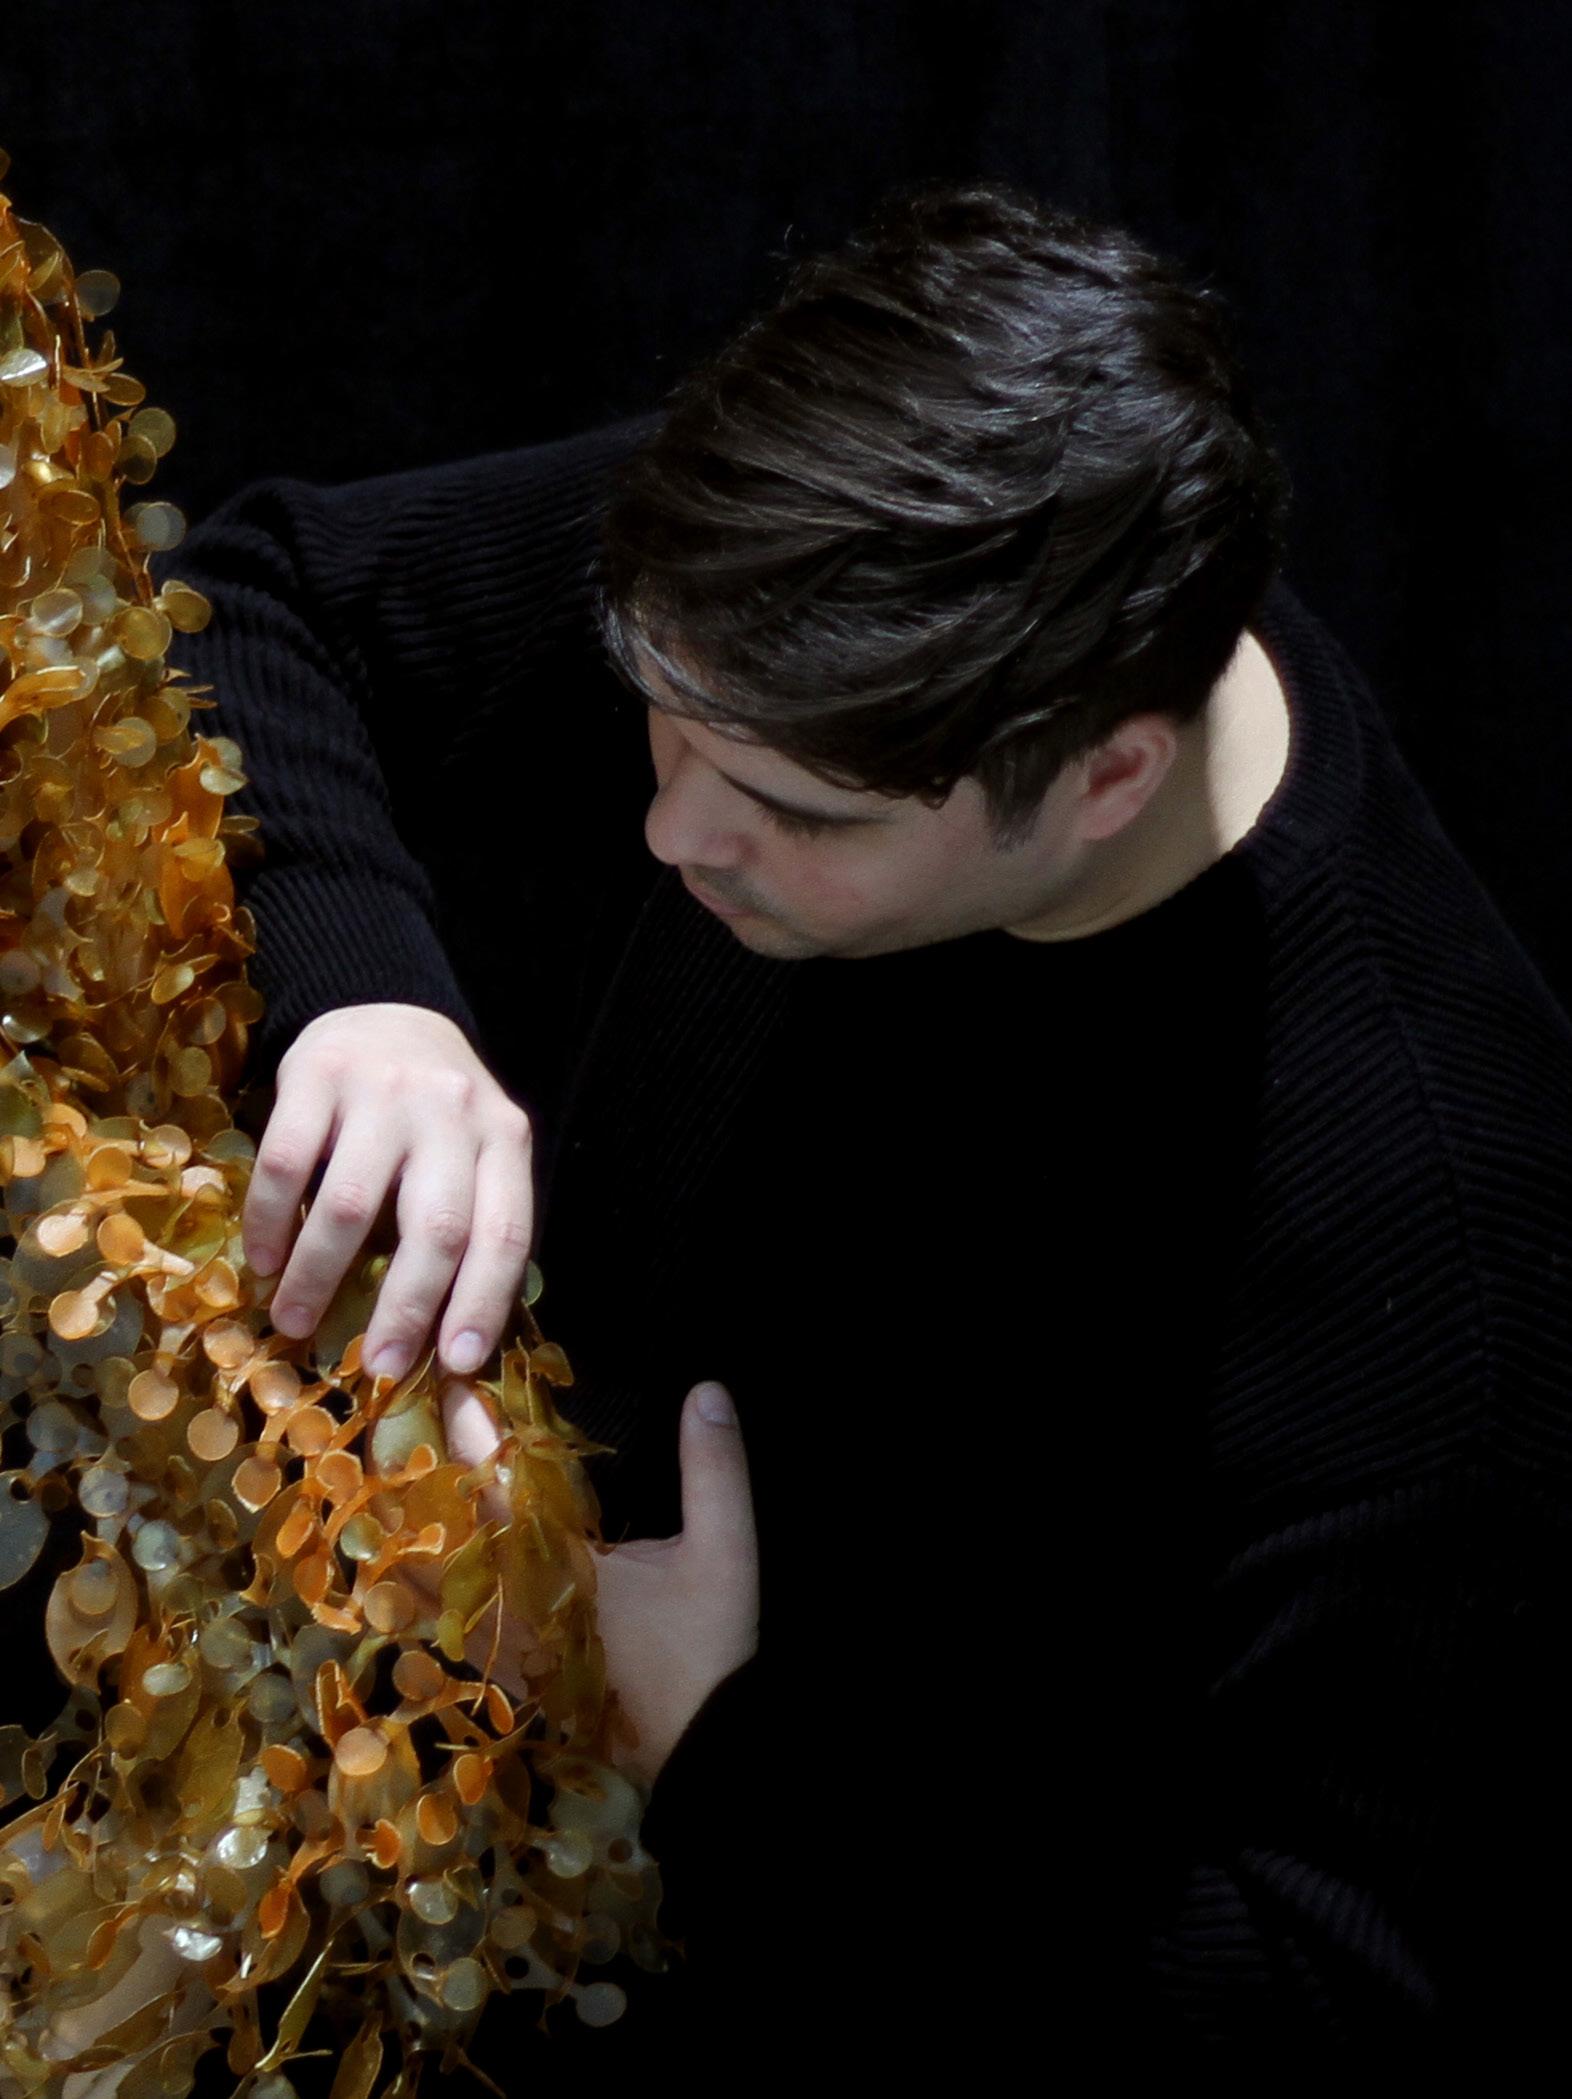
When you already have the modules cut, the next step is the assembly, it is the part of the process that I enjoy the most.
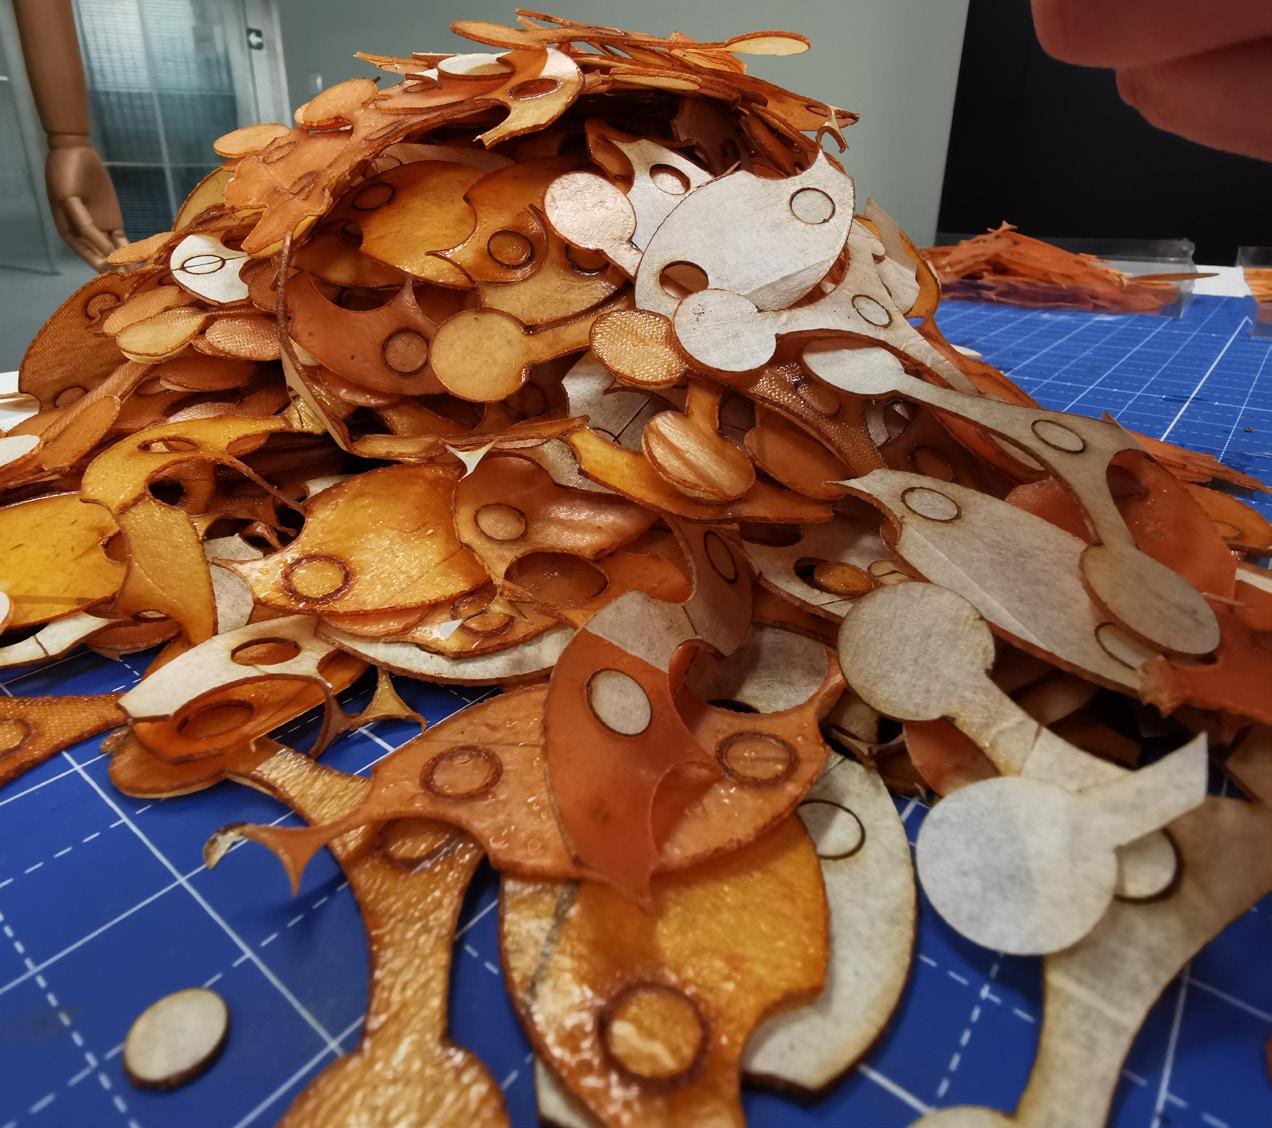
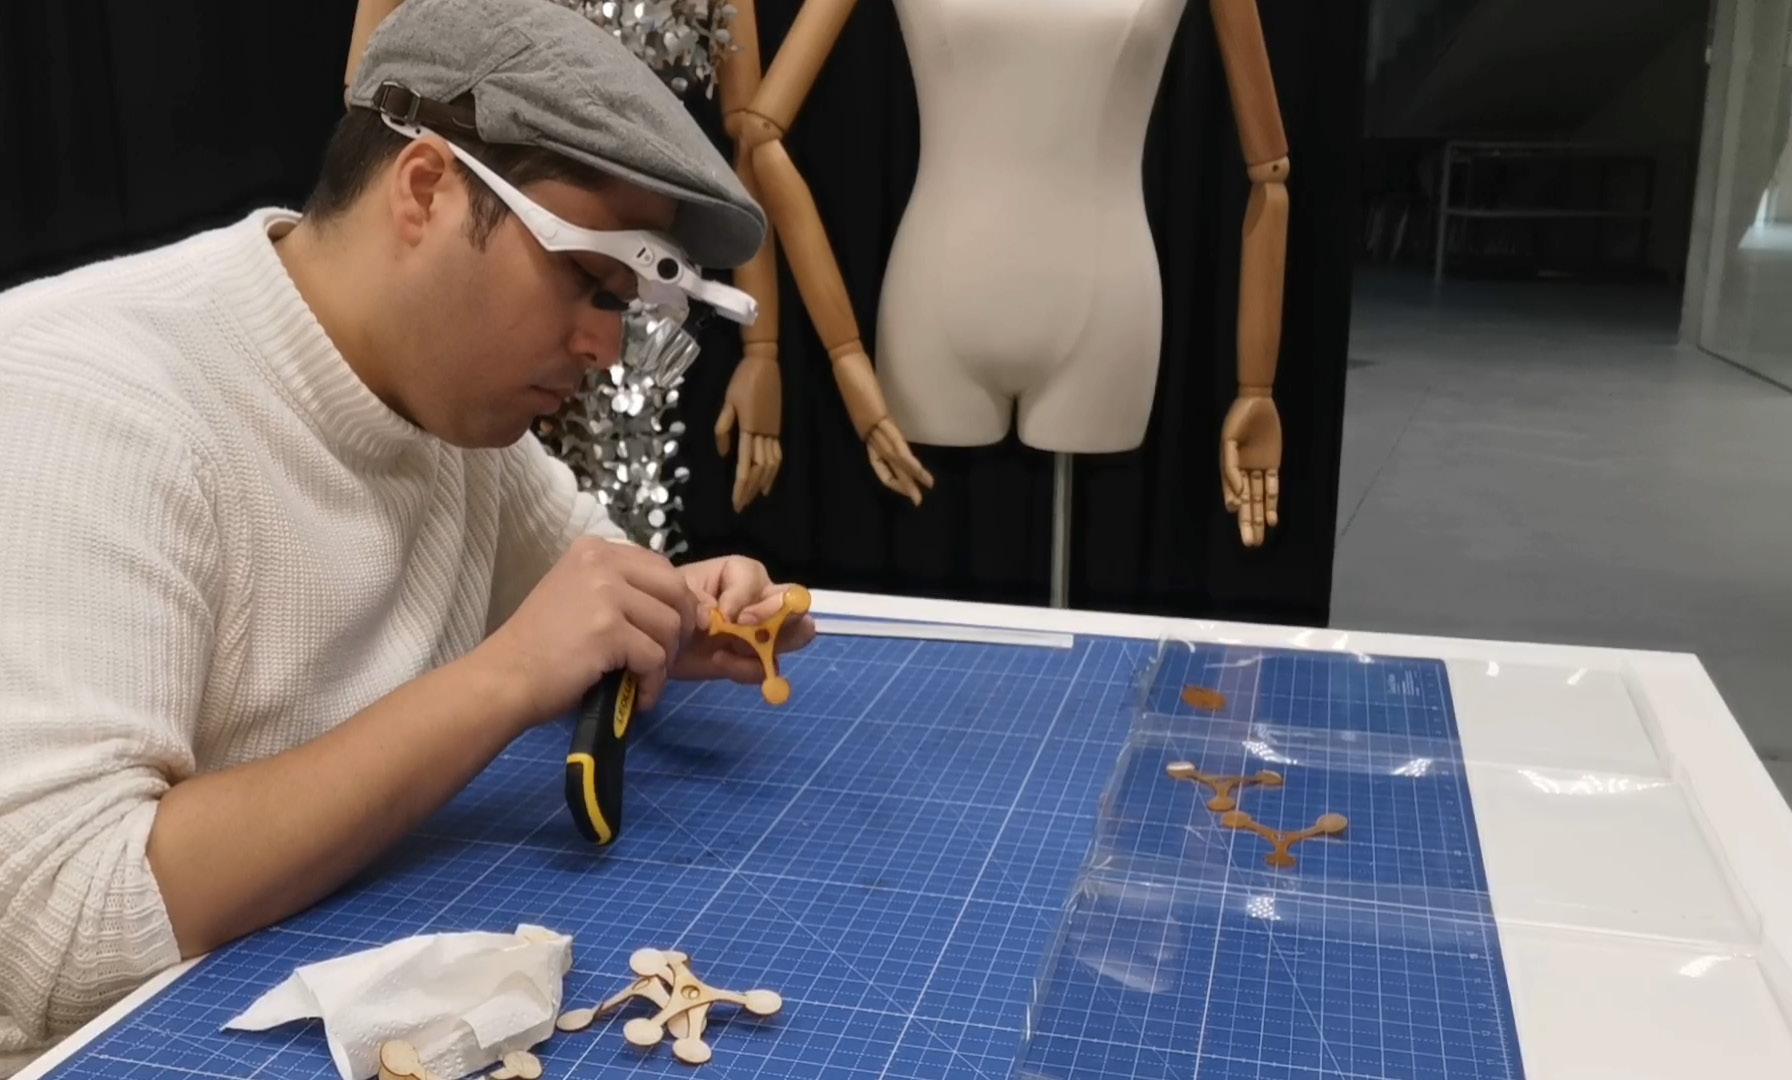
For a better assembly, it is important to clean the modules well, and separate the forms so that you have easier access when building.
Then explore and have fun, the assembly of these modules is easy and intuitive since they all connect with the main module, and the union of them and their combinations are infinite and each time they surprise me.
