5 minute read
ScreenPrinting

SCREEN PRIN TING
My skills as a graphic designer have helped me to experiment in this field since I have been in screen printing workshops and I know what I needed to print and what the ink could give me. Going through experimentation in “In Crescendo” where I started silk-screening the biomaterial with conventional inks and screens with several threads where I wanted to know how long it could give me definition, then when I saw the variety of definitions I was already experimenting with the ink and then I was adding bio-inks, to then change the acramine for bioplastic and although there is still a lot of experimentation left to do, I can conclude and that is that a world with inks without microplastics is possible, inks that we can make at home.
Advertisement
In addition, it could have a very important utility in art and advertising since, for example, in events and congresses these inks could be used to screen print and when finished, the fabric could be washed and used as the beginning, thus recycling the materials.
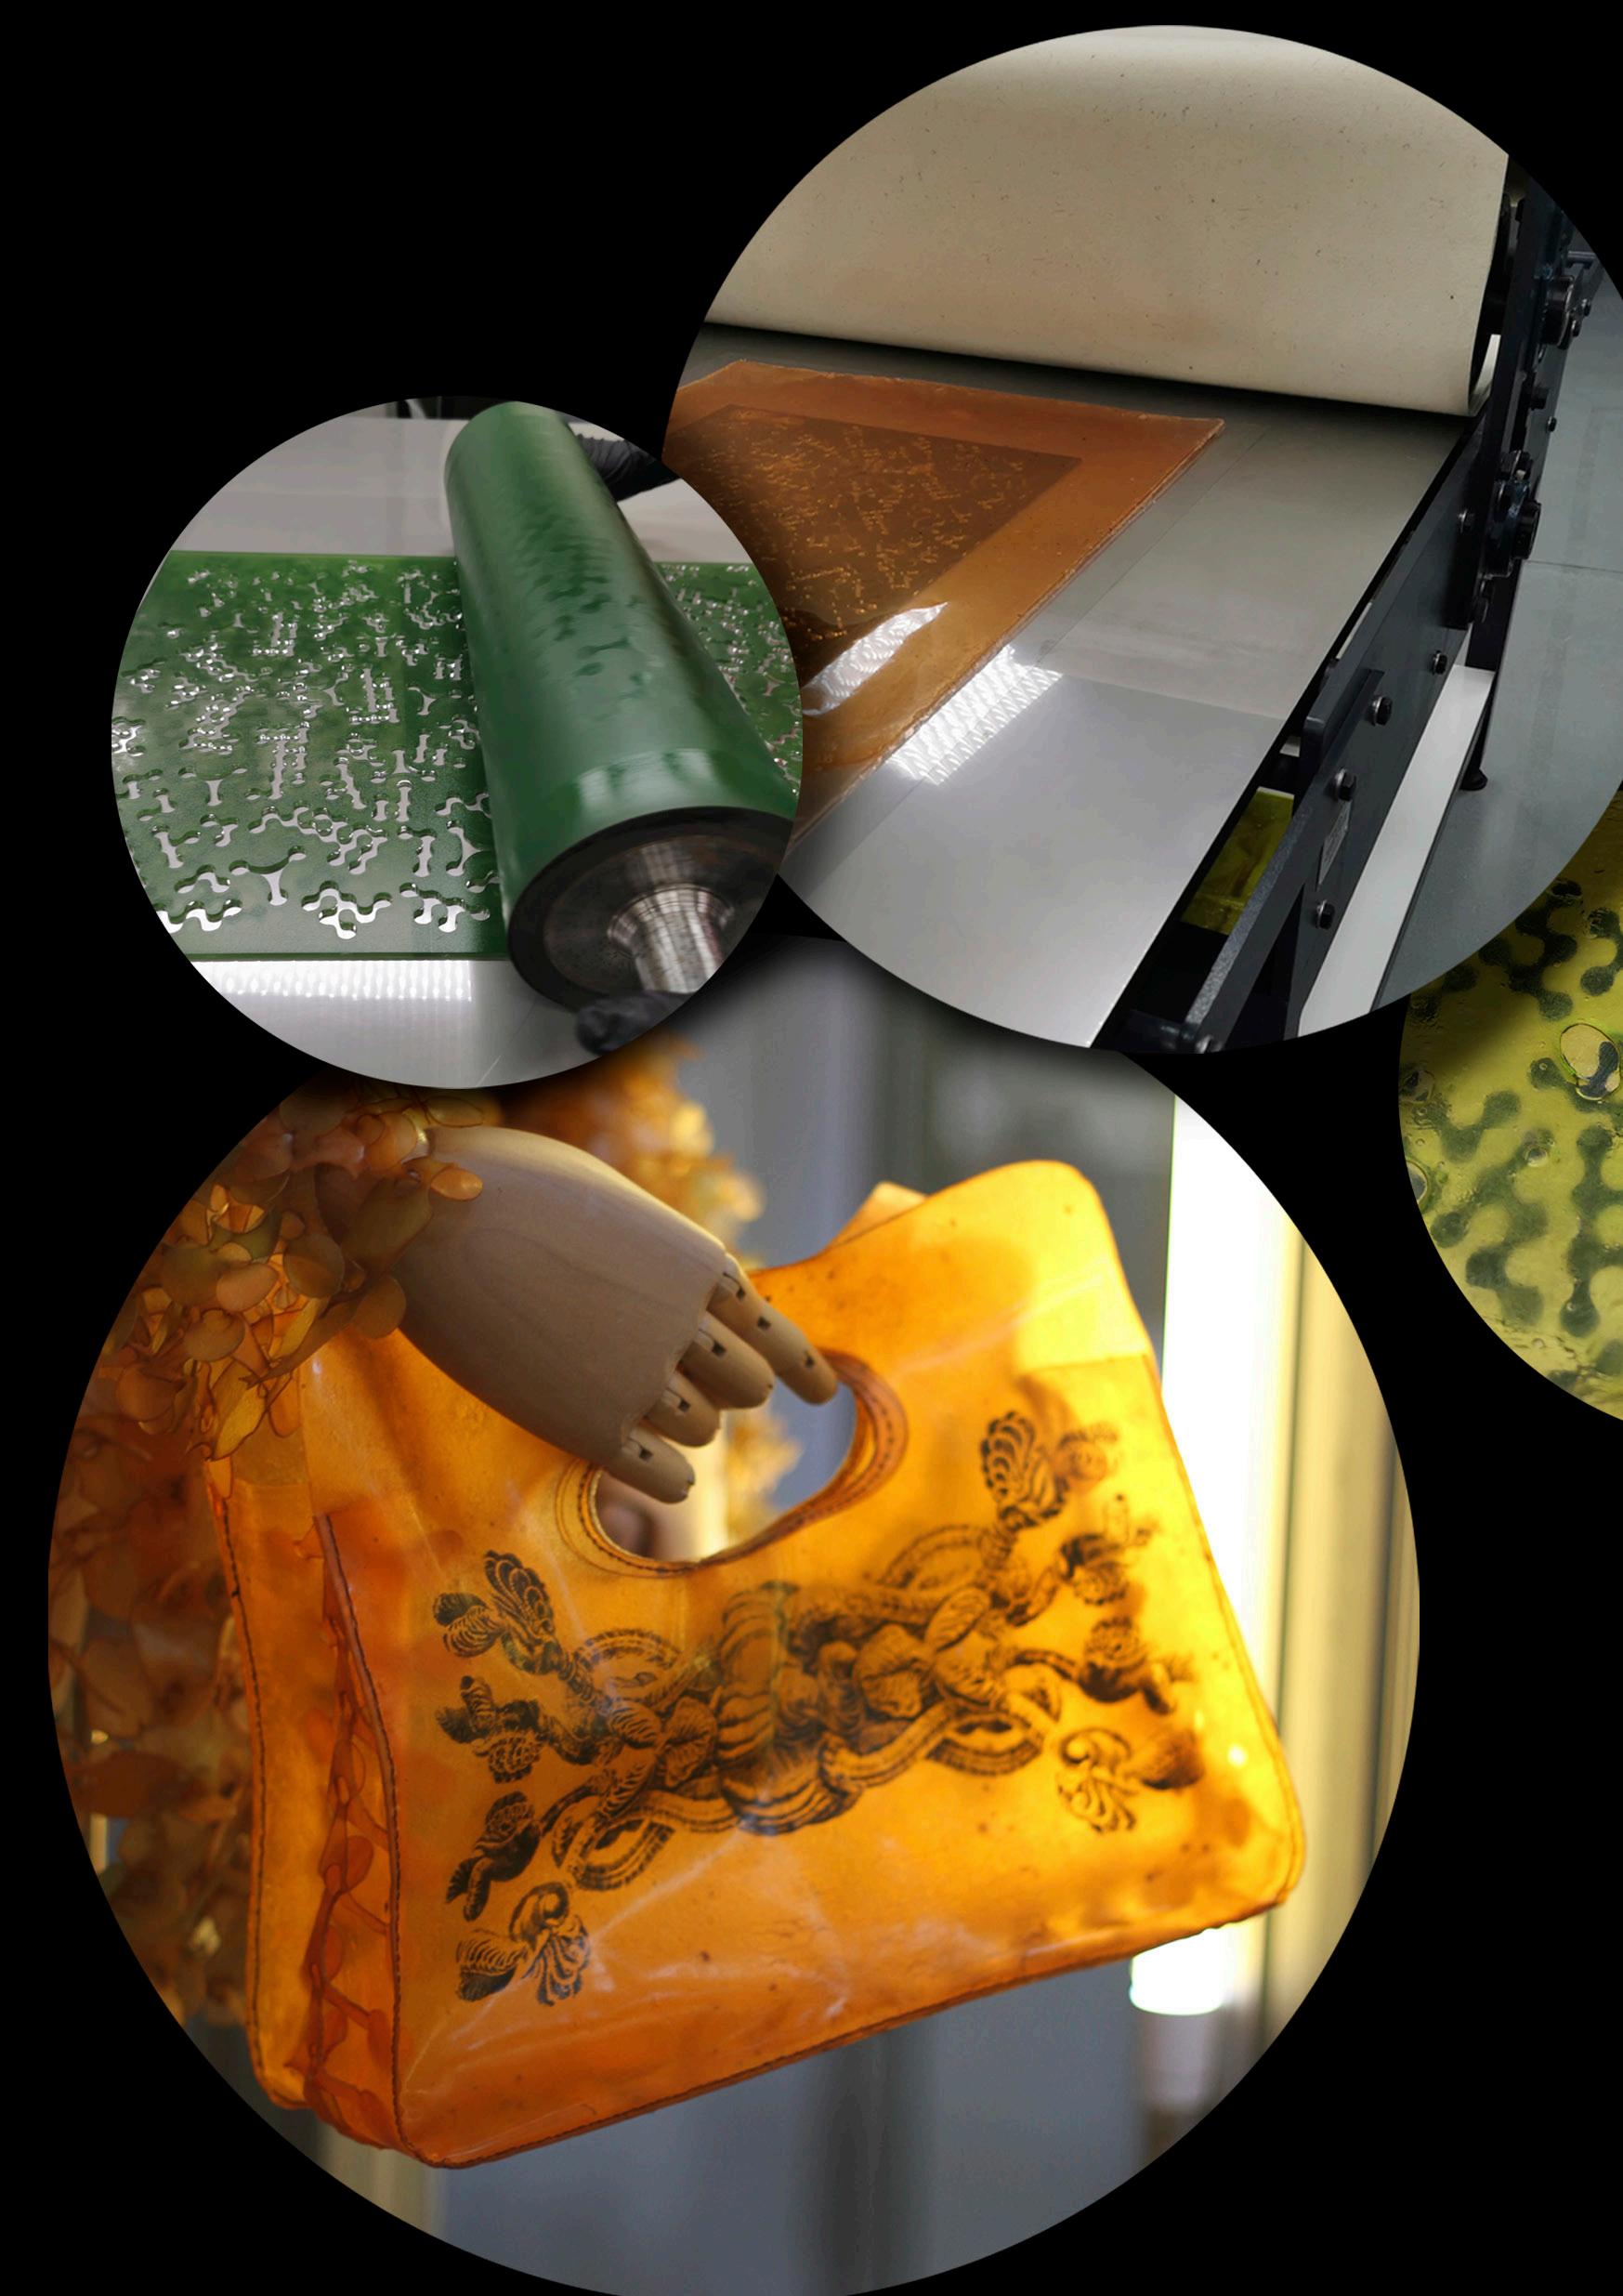
I have created a collage of several Ernst Haeckel illustrations to create photolithography. To create it, I converted it into a bitmap with a suitable dither for the screens I was going to use.
Fill the scoop-coater. Starting from the bottom of the screen on the back, tilt the scoop coater up with the emulsion touches the screen. Pull the scoop coater up with firm pressure to deposit a thin film of the emulsion on the screen.

We have used a ULANO PROCLAIM emulsion preparation whose high resistance to solvents provides superior results with solvent-based or conventional UV inks.


Using an insulator for screen printing, which in the lower part has to dry the screens that on some occasion I have also used to dry biomaterials.
Transparencies are placed on the glass and the screen is positioned on top. A “blender” cord placed over the screen frame helps create a tight suction.


The exposed screen is rinsed in the backlit washout booth.

Place the screen on a stable surface, where you can make some registration marks and check that everything is in the place you want.
Places the ink on one part of the screen and spreads the ink evenly across the screen


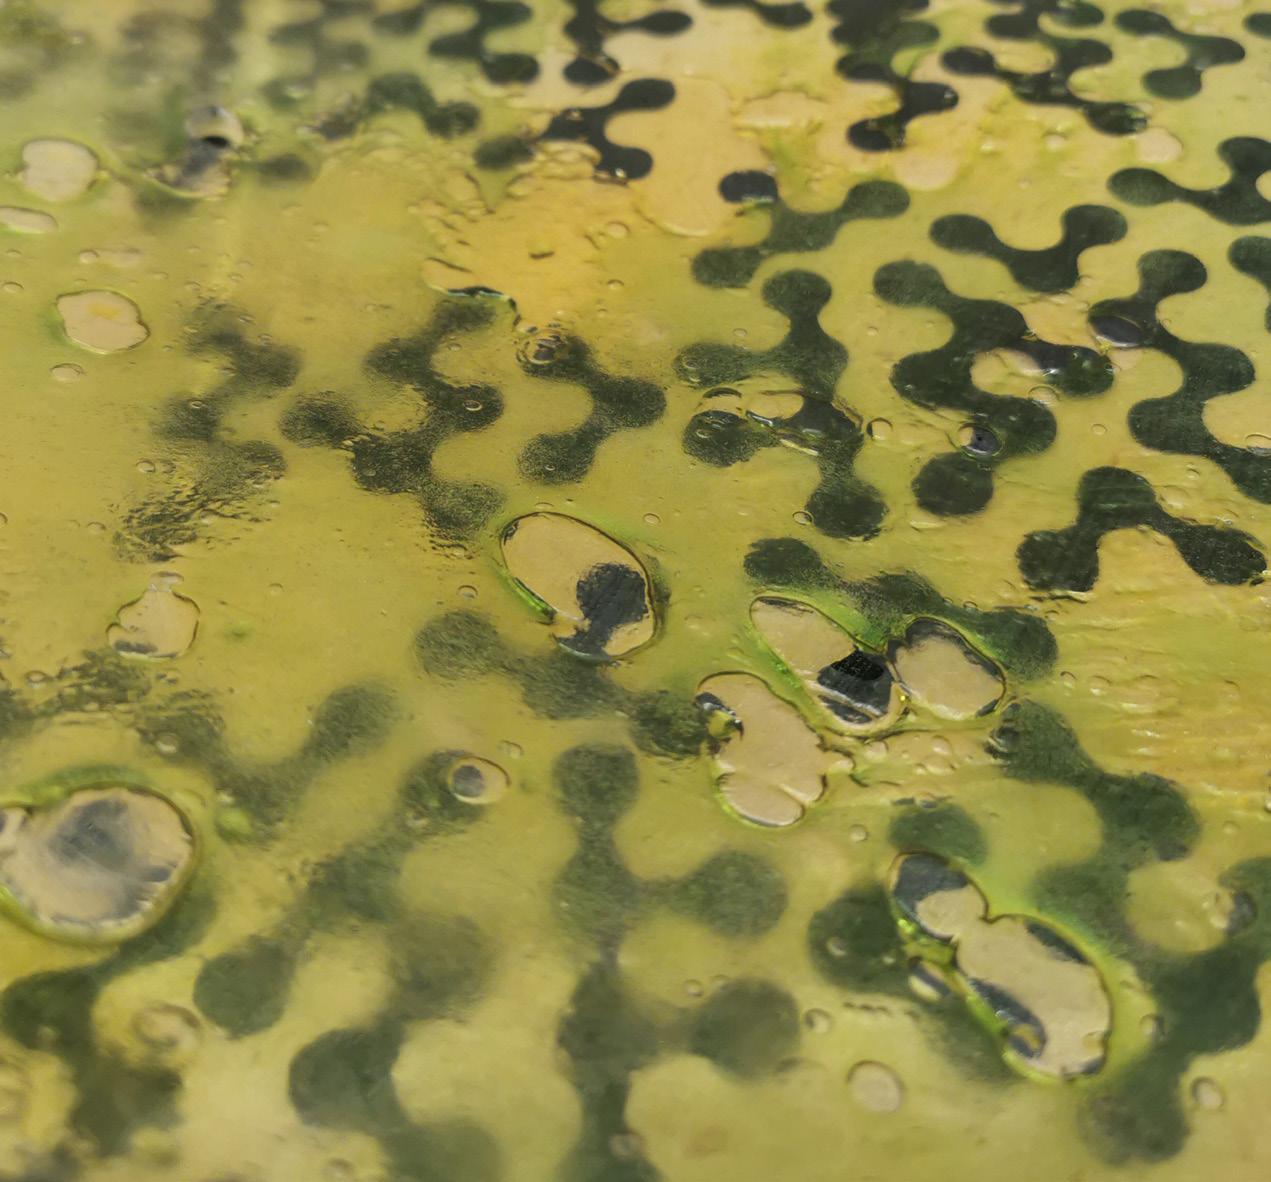
After several attempts, we have seen that the impressions should always be made in the roughest part of the biomaterial, and in the smoothest and brightest part, the image is quite clear and defined.

Just because I wanted definition in the stamping I used conventional acramines. But my goal is also to eliminate these inks and to be able to use bioinks also for more defined images.
For this silkscreen, I used a 77 thread count. Which gives me an acceptable definition could still give me even more definition.


For this silkscreen, I used a 120 thread count. Which gave me great definition and detail. I recommend using this type of screen because it has very good results.


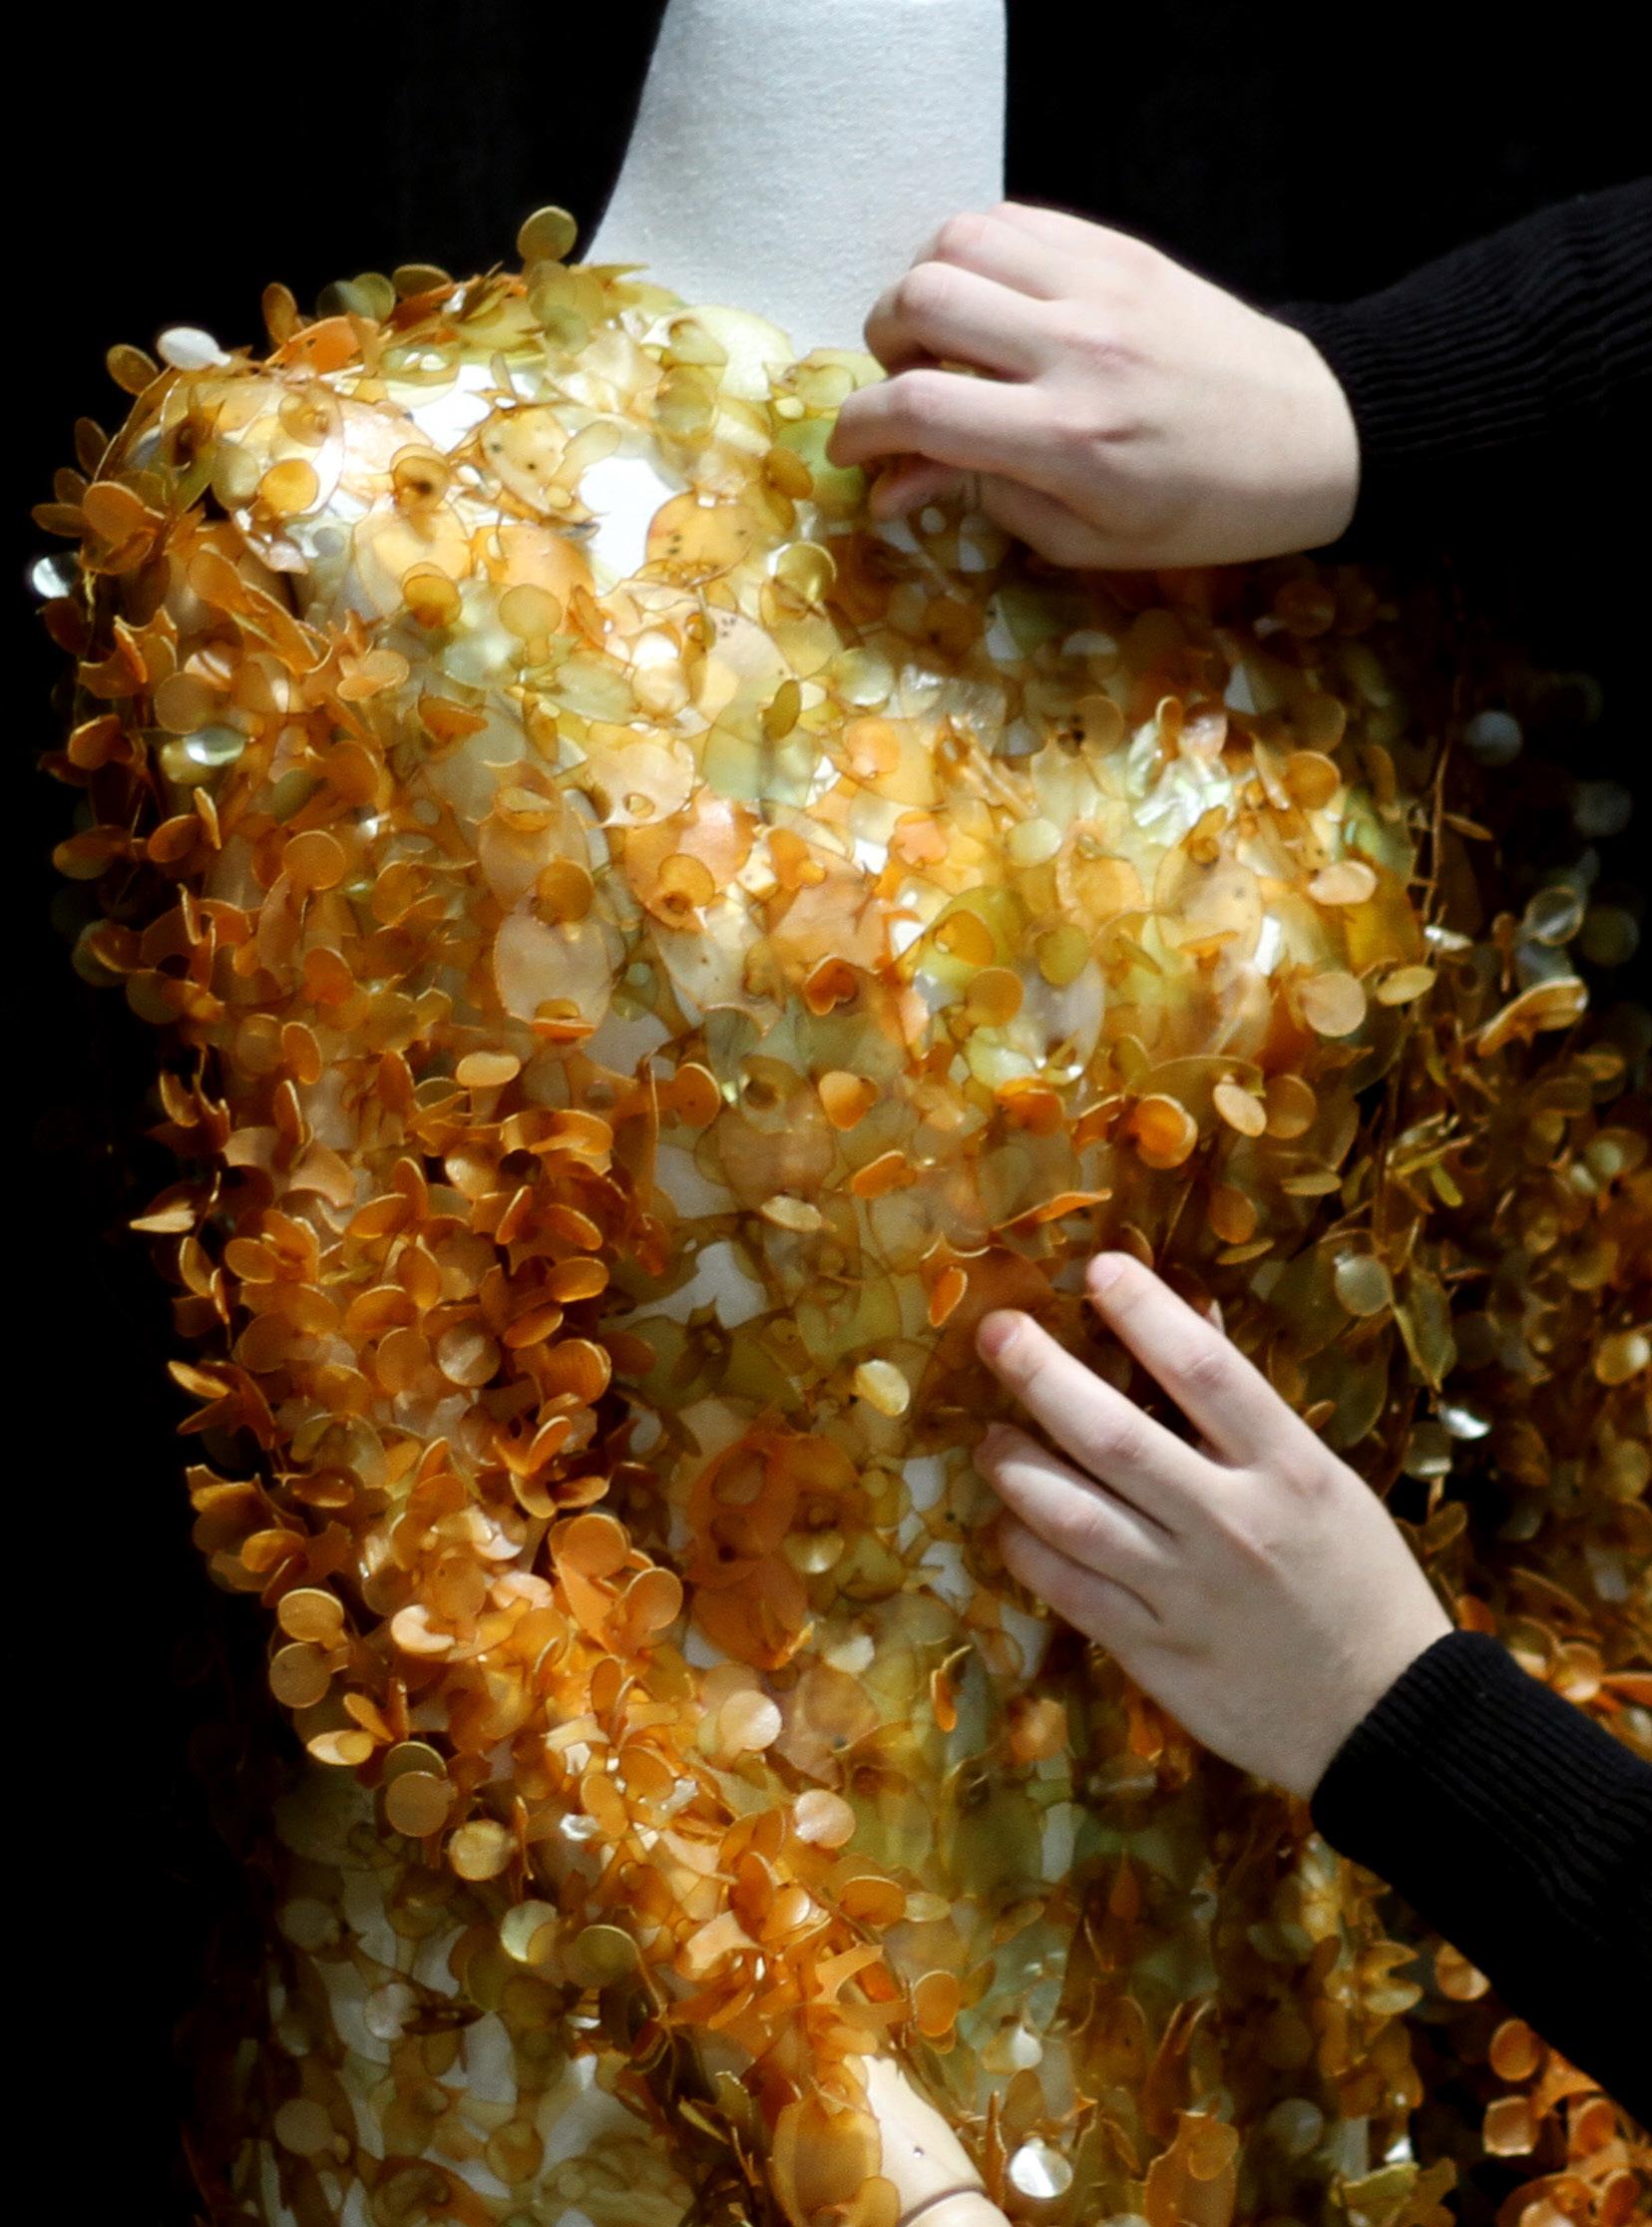
My second experimentation with screen printing has been the implementation of naturally extracted pigments and adding them to a commercially sold organic transparent base that considerably reduces microplastics.

We have set up the tables in a classroom to work more efficiently and quickly because we did not know how these inks would work on the screens, but they dried very slowly, which allowed us to finish all the meters of fabric without washing the screen, which is not enough. frequent and as a tip, we already know that at least Biotinta has served as a retardant.


Although it is very good that the ink does not dry on the screen quickly, that means that the fabric does not dry either, so it takes 3 weeks to dry, a commercial ink takes about 1 hour to dry. It is not a bad thing but it is something to take into account when working and arranging the space.


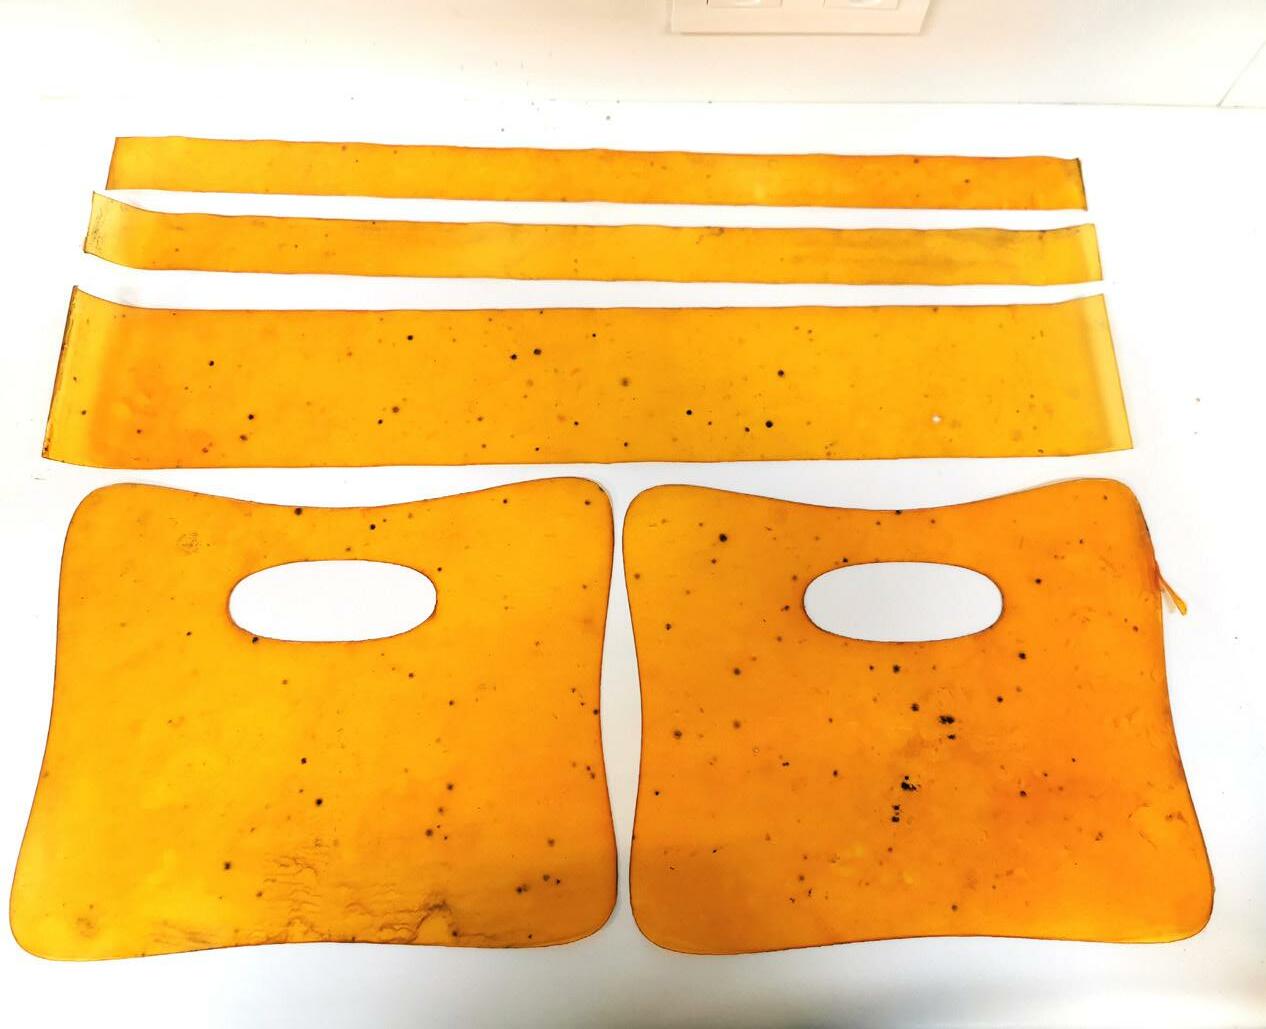
This is experimentation where I was able to incorporate Bioplastic as ink for screen printing, on fabric, paper, and bioplastic itself. As an important note is that following the recipe that I showed you I was able to create a smooth and concise layer that crossed the screen and could be reflected on any surface. At the moment with this ink, you can only use the screen 2 times before washing as it dries almost immediately and clogs the screen.
The texture we are looking for is that of Greek yogurt which is creamy and viscous. At the time of cooking the mixture, once you see that everything is united and ready, lower the heat to the minimum possible and continue until it begins to have the texture without cooling.


With this ink, it is important NOT to refill the ink screen before stamping, but once you add the ink to the screen you stamp directly on the surface.


On any surface it works very well, add a very thin layer of bioplastic. This is achieved by using a silkscreen of 43 thread count.
To make the ink last a little longer and not clog the screen, you can add a little heat with a hairdryer or heat gun. But so far we have achieved 2 and a half prints.
If we put the ink still very liquid this could happen, where it runs down the screen and spreads over the surface.