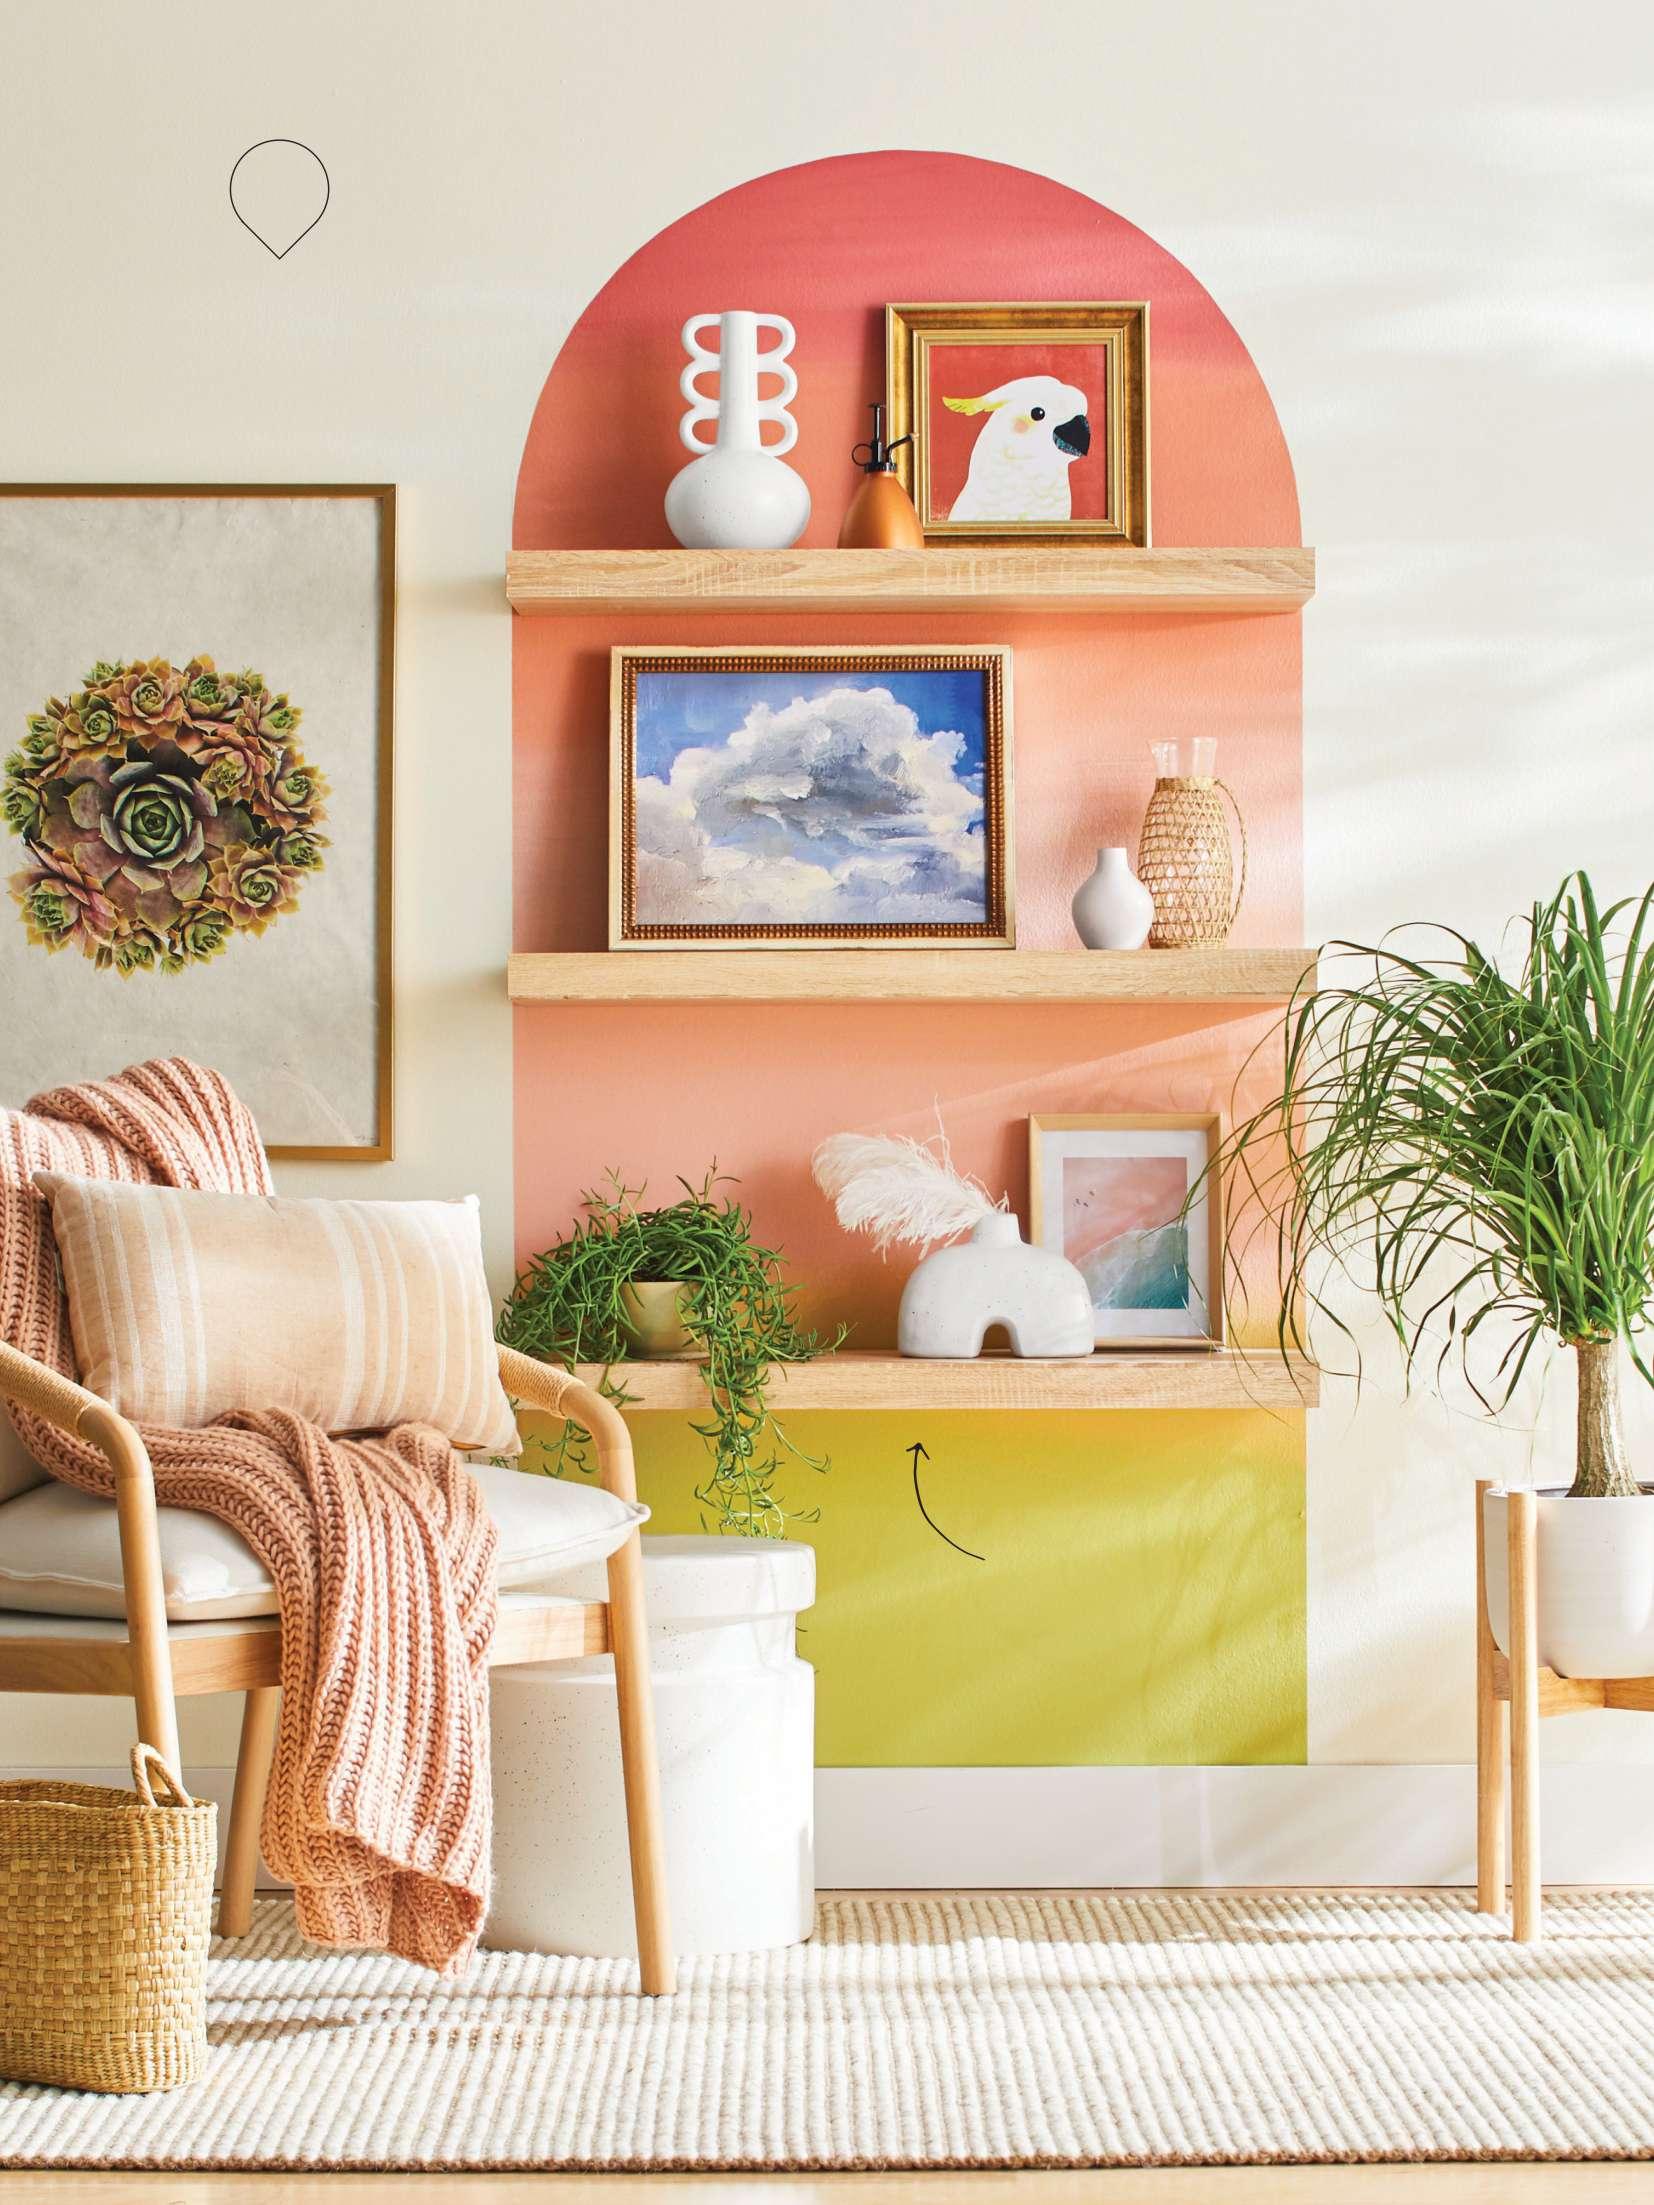
4 minute read
SWIRL PART Y

from Gdgbvgnbvgh

Take advantage of supplies you have on hand—or can pick up at the grocer y store for about $10—to host a paper-marbling party. It’s a perfect project to do indoors or out, plus it’s kid-friendly.
PRODUCER L AUREN RAMIREZ PHOTOGRAPHS BUFF STRICKL AND WORDS BETH ESLINGER
Advertisement
A CRAFT Y BUSINESS Based in Austin, Craft is an open studio for makers (madeatcraft.com). The Creative Ladies Night Troop, this photo, gathers monthly to make something new, including these marbling projects. The studio is a space for baby showers, sewing, and other girlfriend retreats. “We also collaborate with local artists to host workshops so they bring in new art forms,” says Eli Winkelman, Craft founder.

KEEP IT SIMPLE BY PICKING UP TREATS, SUCH AS MERINGUES, AT A BAKERY. ASSEMBLE MOZZARELLA BALLS TOPPED WITH TOMATO JAM AND BASIL, PEACHES TEAMED WITH PROSCIUT TO AND MINT, AND CAMEMBERT DOT TED WITH STRAWBERRY JAM.

EVERYDAY PAINTS Basic crafts paints, above, can be used in this marbling technique. We recommend having six to eight colors in a mix of cool and warm hues. The paints are diluted with water, so they’re easy to mix and apply. Marbling inks are also available at crafts and art stores if you want to dig deeper into the technique. WORK IT Founded by Eli Winkelman, above, Craft houses all the supplies for party projects. “I remember walking through crafts stores thinking that I wanted to use everything without the burden of owning it all,” she says. The benefit of this party, however, is you can use up supplies you already own.
USE ITEMS YOU HAVE ON HAND IN YOUR KITCHEN TO SPREAD THE DILUTED PAINT. SMALL SPOONS, DRINKING STRAWS, AND TOOTHPICKS ARE ALL PERFECT OPTIONS. KITCHEN HELPERS This affordable marbling technique uses crafts paints diluted with water— 2 tablespoons paint to 3 tablespoons water. Plastic party glasses, left, are the ideal size to prepare your colors.

M A K E I T
MARBLED PAPER
MATERIALS • Crafts paint • Disposable cups or glass jars • Two trays (we purchased a two-pack of disposable cake pans for $1) • Liquid starch (about $4 for 64 ounces in the laundry aisle) • Alum (about $1 in the spice aisle) • Tools for swirling paint • Cardstock, construction, or printer paper • Paper towels
Step 1 Protect the work surface with newspaper or a drop cloth. Dilute 2 tablespoons of each paint color with 3 tablespoons water in cups or jars; stir to combine. Create the starch bath by mixing 4 cups liquid starch with 1 teaspoon alum in a tray larger than your paper. Fill second tray with water. Step 2 Apply diluted paint to the starch mixture, limiting the palette to two or three colors. Play with paint drops, combs, and swirls to create patterns. Drag a comb, bamboo skewer, or chopstick through the paint. Try multiple pulls in different directions. piece of paper on top of the painted starch to evenly coat the surface. Avoid submerging paper in the starch mixture so it doesn’t get waterlogged. Peel paper slowly off the surface and rinse in the tray of water. Lay flat to dry. Use a paper towel to mop up pooling water on the paper. Repeat with additional pieces of paper, creating patterns in the paint between applications, until the starch is murky (we could do four pulls). Pour used starch down the drain, running water for a minute after to avoid clogs.
PAT TERN PL AY Lay paint over the solution of liquid starch and alum one color at a time, this photo. Start with small drops and random patterns. Layer additional colors. You don’t need to cover the entire surface with paint. Manipulate the colors by swirling a straw or chopstick through the painted surface. Drip new paint inside other colors to form concentric circles. Tip: Go slowly to let the paint spread organically for the best effects.
STRAWS ARE A GREAT TOOL TO SLOWLY— AND RANDOMLY—DRIP PAINT ONTO THE STARCH SOLUTION.

D O I T B E T T E R

ONCE THE PAPER IS DRY, IRON IT ON THE UNPAINTED SIDE TO GET A SMOOTH SURFACE. HANG THE FINISHED WORKS ON CLOTHESLINE TO CREATE A GALLERY OF YOUR GROUP’S WORK. USE THE FINISHED PROJECTS AS FRAMED ART, ORIGAMI, GIFT WRAP, OR GIFT TAGS.
AN IMPROVISED RAKE IS A GREAT WAY TO CREATE A FEATHERED EFFECT. MAKE ONE BY TAPING TOOTHPICKS ½ INCH APART ON A PIECE OF CARDBOARD. FREE TIME This technique is all about experimentation, so have fun! “With marbling, the process is so fluid and unpredictable that no matter the experience level, the end result is beautifully unique,” says Heather Hale, teacher and Craft creative director. Her secret to success: confidence—jump in and try different techniques. “During a trial run, I had an ingredient off by 1 teaspoon and got a completely different result,” she says.