6 minute read
SHARING THE PASSION

from Gdgbvgnbvgh

MAKE A SPL ASH The Yokotas opted for inexpensive changes to give their kitchen big impact until they can do a major redo, this photo. They went with a wallpaper backsplash and refreshed the formerly dark granite countertops with a durable marble-look contact paper that hasn’t scratched or ripped even though it’s not waterproof.
theSHARING PASSION
Advertisement

This California family took a team approach to making over their ’90s home. They focused on one project at a time and passed along the lessons they learned.
WORDS NATALIE DAY TON PHOTOGRAPHS EDMUND BARR
Follow along on Instagram! @anitayokota
IT’S ALL IN THE FAMILY Anita and Travis Yokota, above, have an all-hands-on-deck mentality when it comes to DIY. They taught their daughters (Rachel, 15; Emily, 12; Natalie, 7) how to use tools and listen to their input on projects.
WHEN IN DOUBT, TRY IT OUT . AT LEAST THAT’S THE THINKING FOR ANITA AND TRAVIS YOKOTA WHEN IT COMES TO UPDATING THEIR IRVINE,
CALIFORNIA, HOME. The Yokotas bought the Mediterranean-style home a little over 12 years ago, seeing beyond its builder-home sameness to all the untapped potential in its 2,100 square feet. “The three items on my must-have checklist were there: a kitchen window to look out into the backyard and watch the kids, a big oval tub in the master bath, and a kitchen island,” Anita says. “This home had all three, so even with the dated aesthetics, I knew we could make it our own.” And make it their own they did—despite their lack of DIY experience. “I’ve always been a crafter, and it just kind of grew from scrapbooking to making over small furniture pieces to bigger projects that Travis and I began to tackle,” she says. As the go-to adviser for friends when it came to paint colors and design advice, Anita finally took the leap and made a blog to record her DIY and design advice at anitayokota.com. From there, the home projects ramped up. Their first big undertaking was the accent wall in the backyard. “Our home is a cookie-cutter California home, and I was sick of looking out at the stucco walls, so we designed the zen, desertlike slatted wall for visual interest,” Anita says. “From there, we were hooked on all-things-home DIY.” Moving indoors, team Yokota started slow with paint, furniture, and wall treatments, then began dabbling with more skill-based projects like woodworking and tiling. The biggest project to date has been a Murphy bed. “For us, every project we do has meaning and has a purpose for our family,” Anita says. “It feels great knowing you can teach yourself to do something and then go out and actually do it.”
D O I T B E T T E R

LOOK THROUGH A ROOM’S WINDOWS TO FIND COLOR AND TEXTURE CLUES FOR FURNISHINGS AND ACCESSORIES. IF YOU LIKE YOUR VIEW, OPT FOR MINIMAL TREATMENTS AND LET THE OUTDOORS DOUBLE AS ARTWORK.
TRAVIS BUILT A SIMPLE OAK MANTEL (IT’S A BOX THAT SLIDES OVER A CLEAT AT TACHED TO THE WALL) AND ADDED A WHITEWASH STAIN TO COORDINATE WITH THE LIGHT COLORS IN THE LIVING ROOM.

NEUTRAL LIVING Originally dark and dated, the living room’s renewal began with paint—and lots of it—to brighten the walls and ceiling, left. Neutral furnishings further open up the space. For the fireplace surround, Anita wanted to add pattern but stay within the room’s neutral palette. This was their first tiling project, and the learning curve included turning to YouTube for measuring and cutting tips. They hired an electrician to wire the sconces. The big mirror propped on the mantel and the glass coffee table reflect light and contribute more brightness.
FOR THE BEGINNER

Becoming a do-it-yourselfer can be overwhelming. Anita Yokota offers tips to help you get started— and stick with it!
SET A BUDGET. “For us, a lot of our DIYs came from not having the budget to purchase or hire out for a similar-looking item or project. We weighed cost against the work it would take us, and in most cases, it was more cost-effective to do it ourselves. Plus, it taught us a new skill and gave us a sense of pride and accomplishment being able to say, ‘I did that.’”
DO RESEARCH. “Our main outlet? YouTube! We had never tiled or done any woodworking before the projects in this house, so when in doubt, we watched tutorials to help teach and educate us on the proper techniques to build and create what we were working on.”
DON’T SWEAT THE SMALL STUFF. “DIY is supposed to be fun—and it is! So don’t get in your head and overthink a project. Do your homework and plan your project, but if something goes wrong, it’s OK! You can always fix it or ask for help. Just don’t let the fear of trying something new keep you from doing it.”
WORK FROM HOME A little reorganization goes a long way—cue the office space, above, where Anita writes and edits her successful design website and DIY blog, anitayokota.com. “We originally had two IKEA desks, a toddler desk on the blank wall, a printer stand ... it was so squished!” To outfit the space for the family’s needs, they hired California Closets to put in new cabinets. A gridded bulletin board displays design inspiration for upcoming projects.
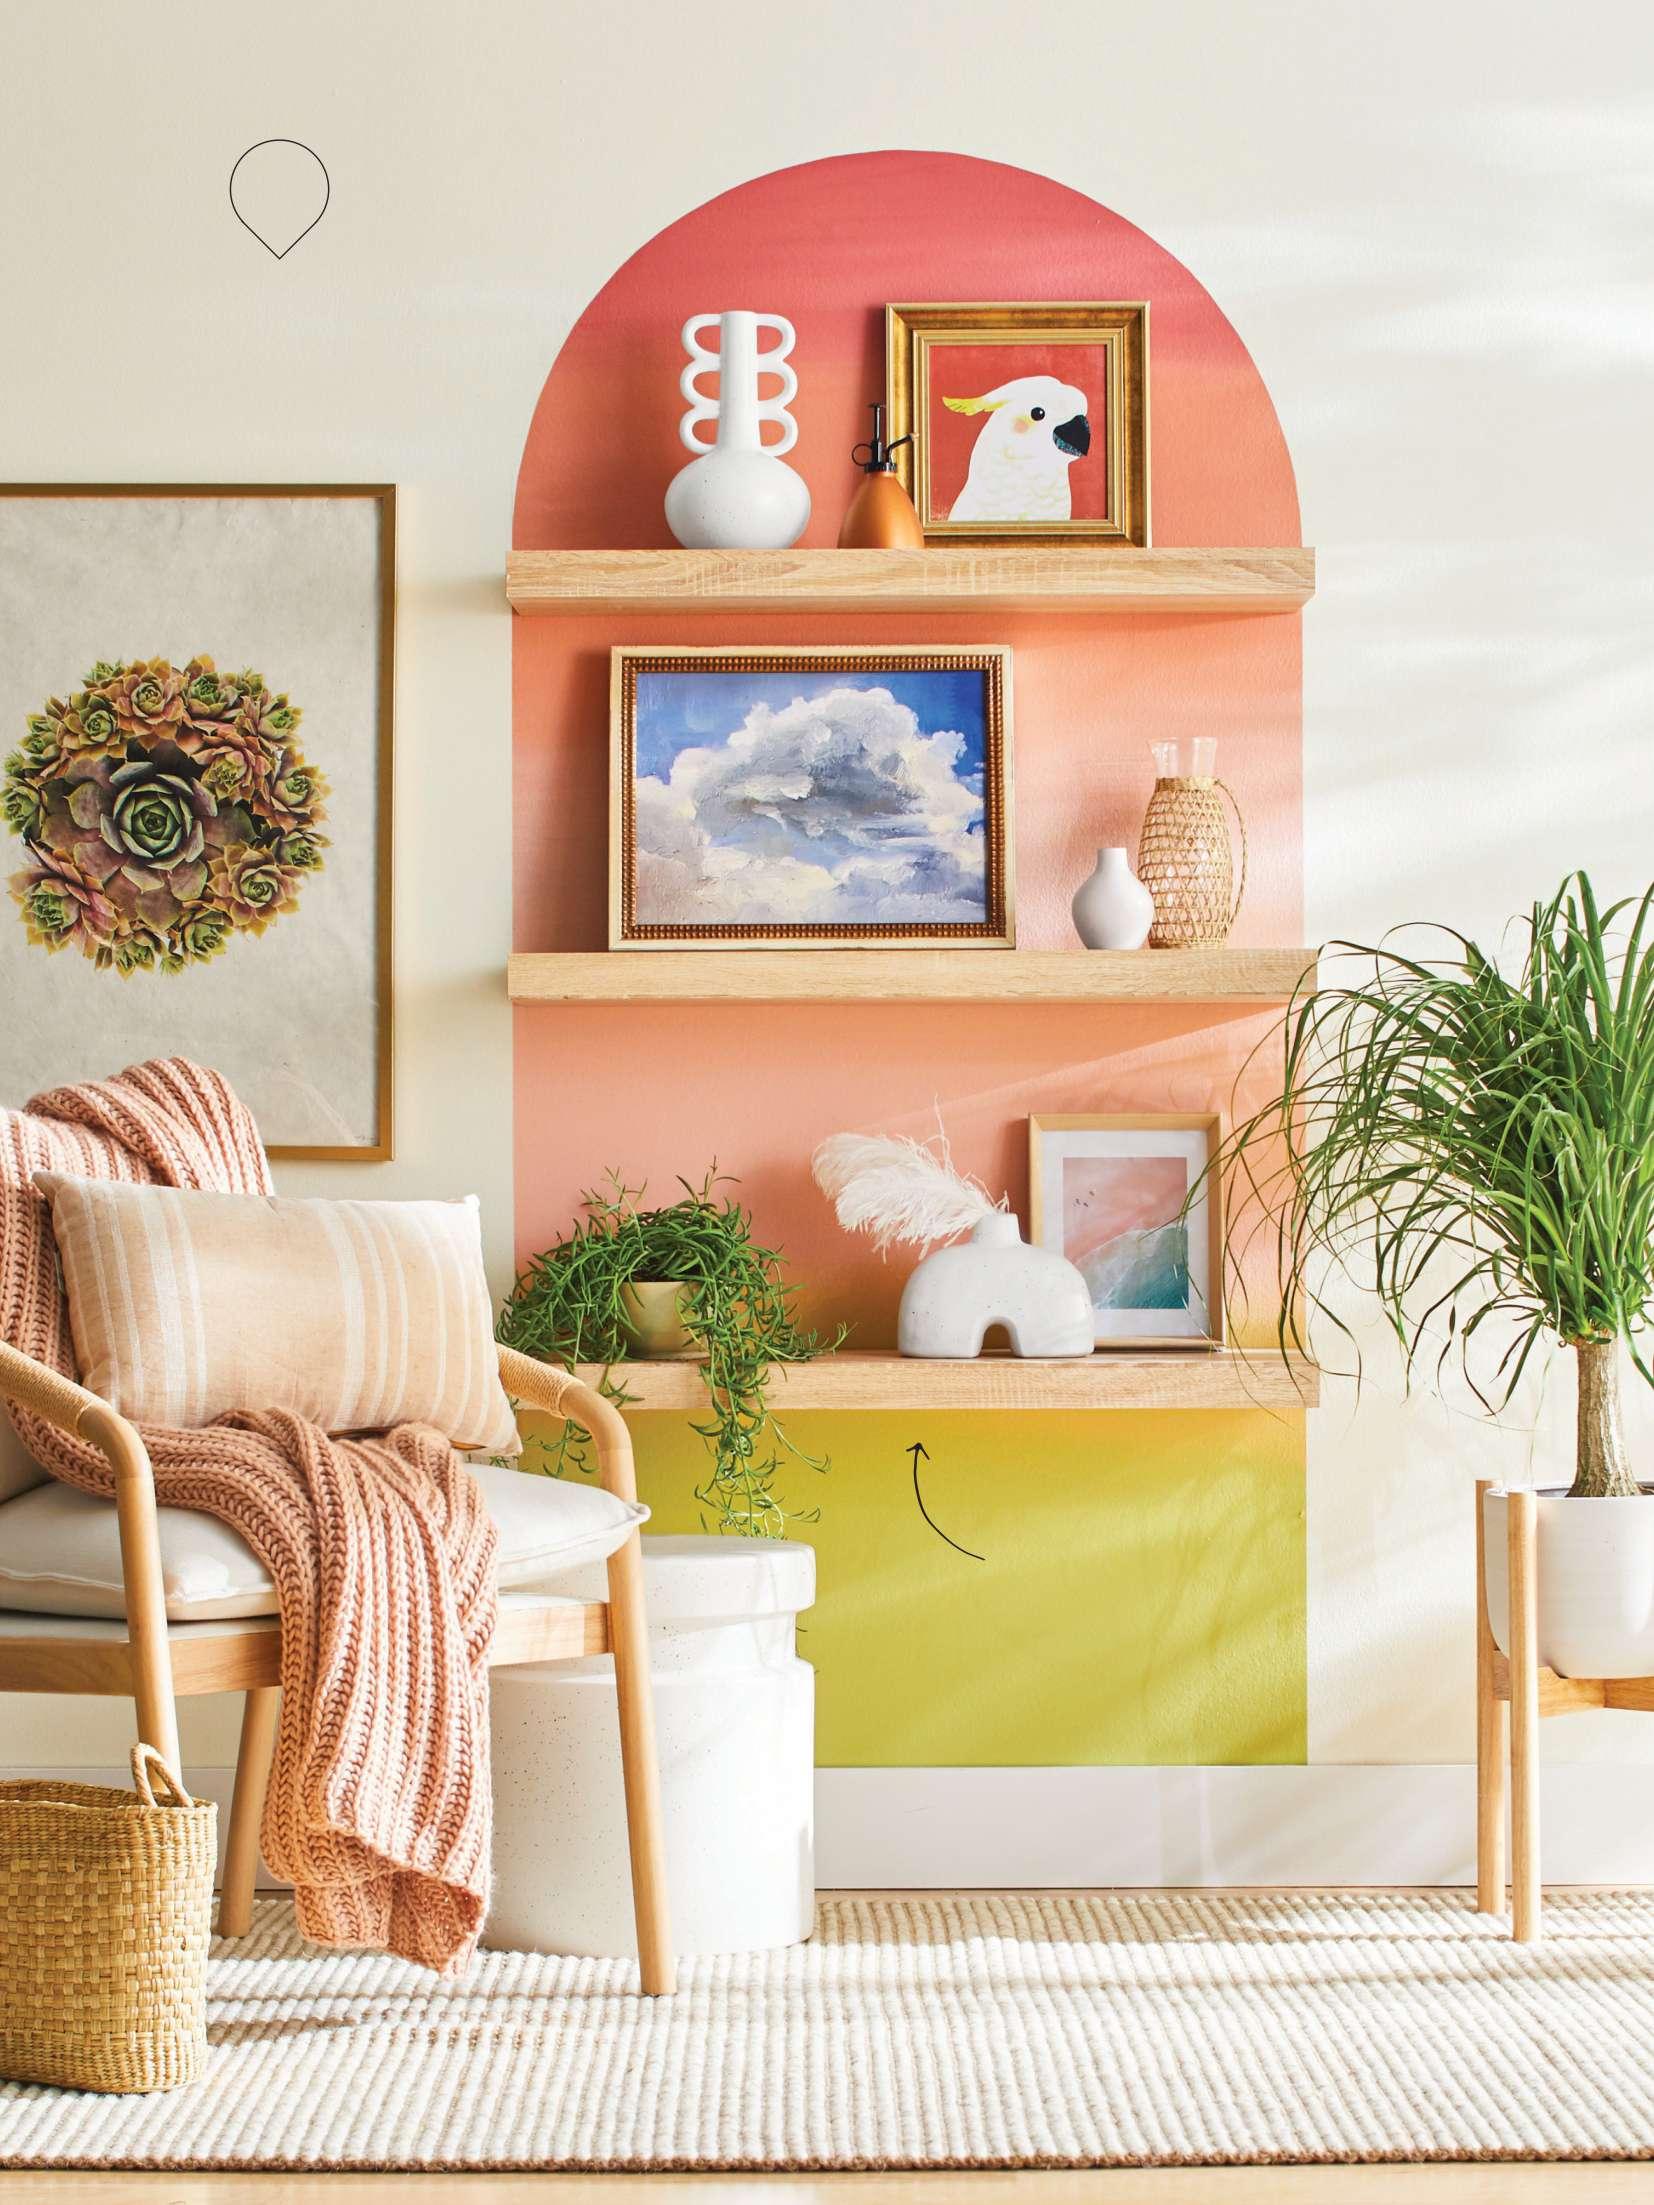
EASY-TO-USE PLANT POCKETS ALLOW FOR DRAINAGE. WALLY PRO POCKETS, $40; WALLYGRO.COM D O I T B E T T E R

WEIGH THE PROS AND CONS OF DIFFERENT WOOD SPECIES BEFORE DECIDING ON YOUR OUTDOOR ACCENT WALL. THE YOKOTAS CHOSE COST-SAVING PINE. CEDAR, REDWOOD, AND OAK, WHILE MORE EXPENSIVE, ARE MORE DURABLE. CONSIDER SEALING WOOD TO PROTECT IT.
D O I T B E T T E R

FOR THE LAUNDRY CABINET DOORS, ANITA CUT SHEETS OF CANING AND PRESSED IT INTO THE RECESSED PANELS THEN USED CONTACT CEMENT TO HOLD THE CANING IN PLACE. PRO TIP: TO MAKE CANING PLIABLE AND EASIER TO WORK WITH, SOAK IN WARM WATER FOR ONE TO TWO HOURS.
CLEAN SPACES In the bathroom and laundry room, the Yokotas found places to save and places to splurge. For the laundry, left, they went all in on a Delta faucet and sink but saved on handmade shelves and an IKEA cabinet. In the master bath, above, they wanted an oasis where they could relax and take in the Orange County sunshine, so they hired a contractor to create exactly what they envisioned. Black accents throughout offer a modern touch.
GREEN WITH ENV Y While Anita leans toward neutrals when decorating, she was drawn to blue-green paint for a colorful accent in the master bedroom, this photo. Using it on the board-and-batten treatment (Travis and Anita’s first big interior project) made the bed wall a stunning focal point. “This was our first time cutting wood for a project, so it was a big deal for us! It got us going on our love for DIY projects,” she says.
U N D E R S E A S
SW 6214 SHERWIN-WILLIAMS.COM

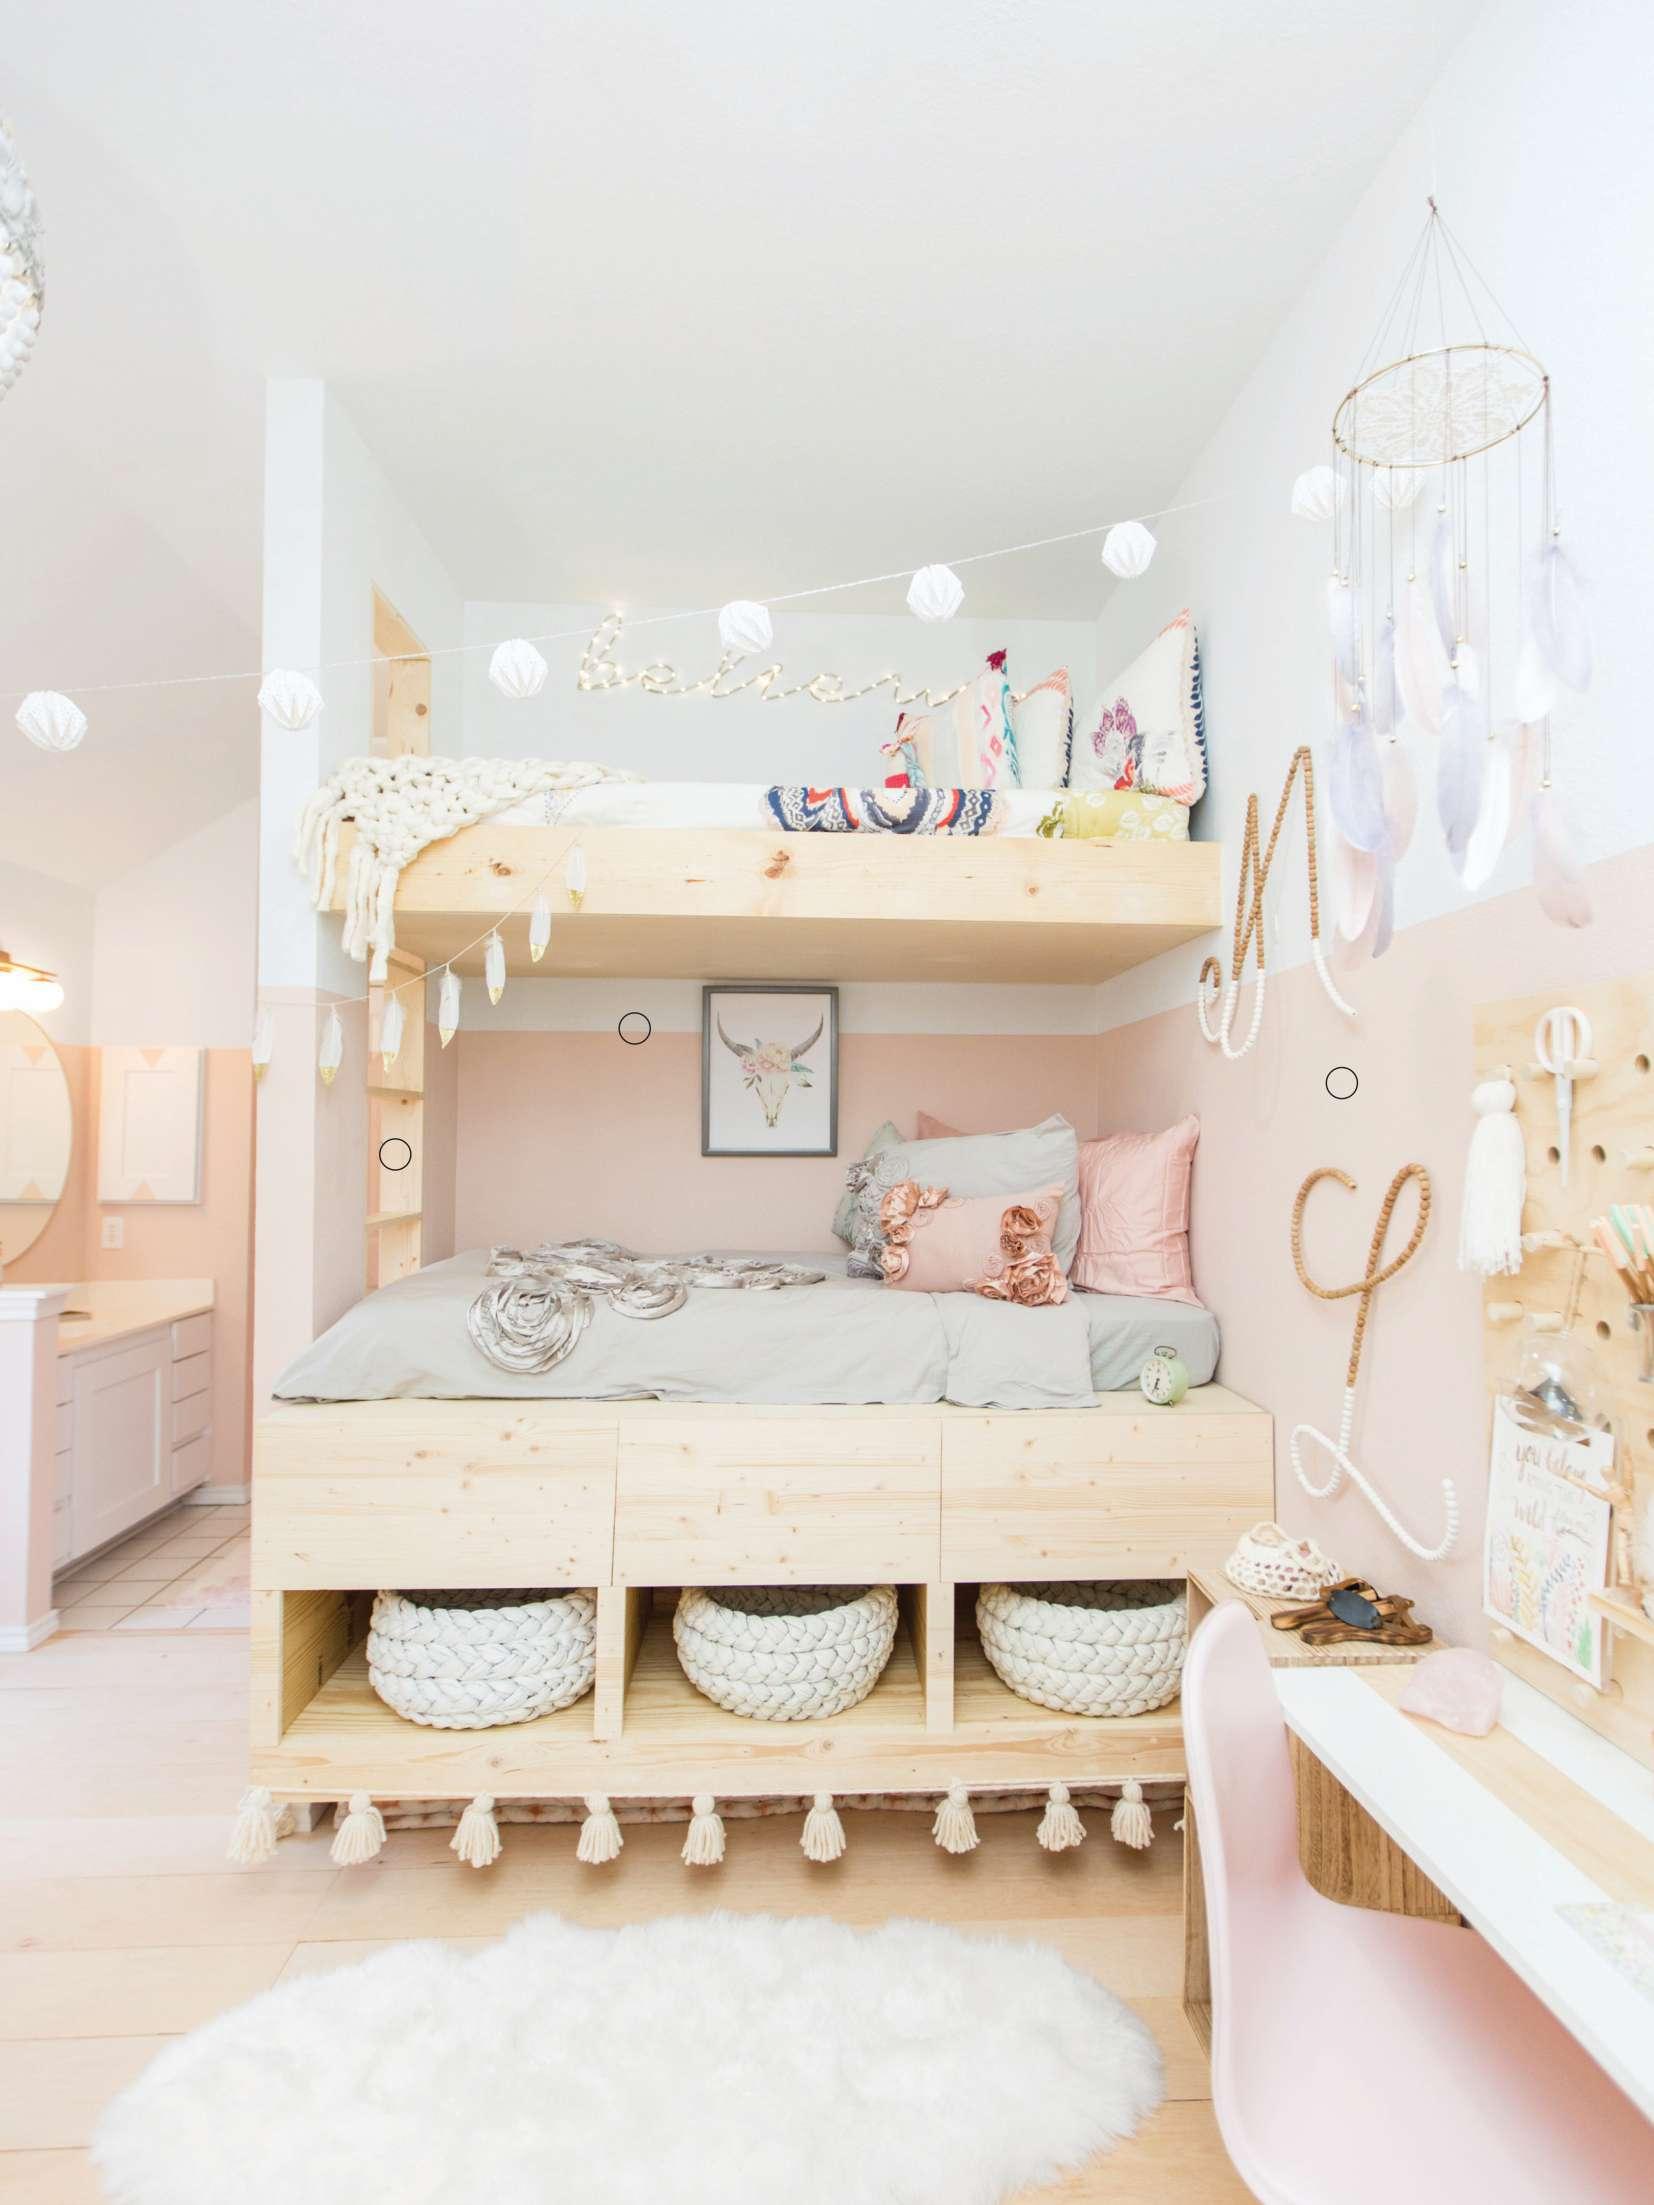
SCONCES AND ART SET INSIDE THE MURPHY BED BOX CREATE A WELCOMING EXPERIENCE WHEN GUESTS COME TO STAY.