
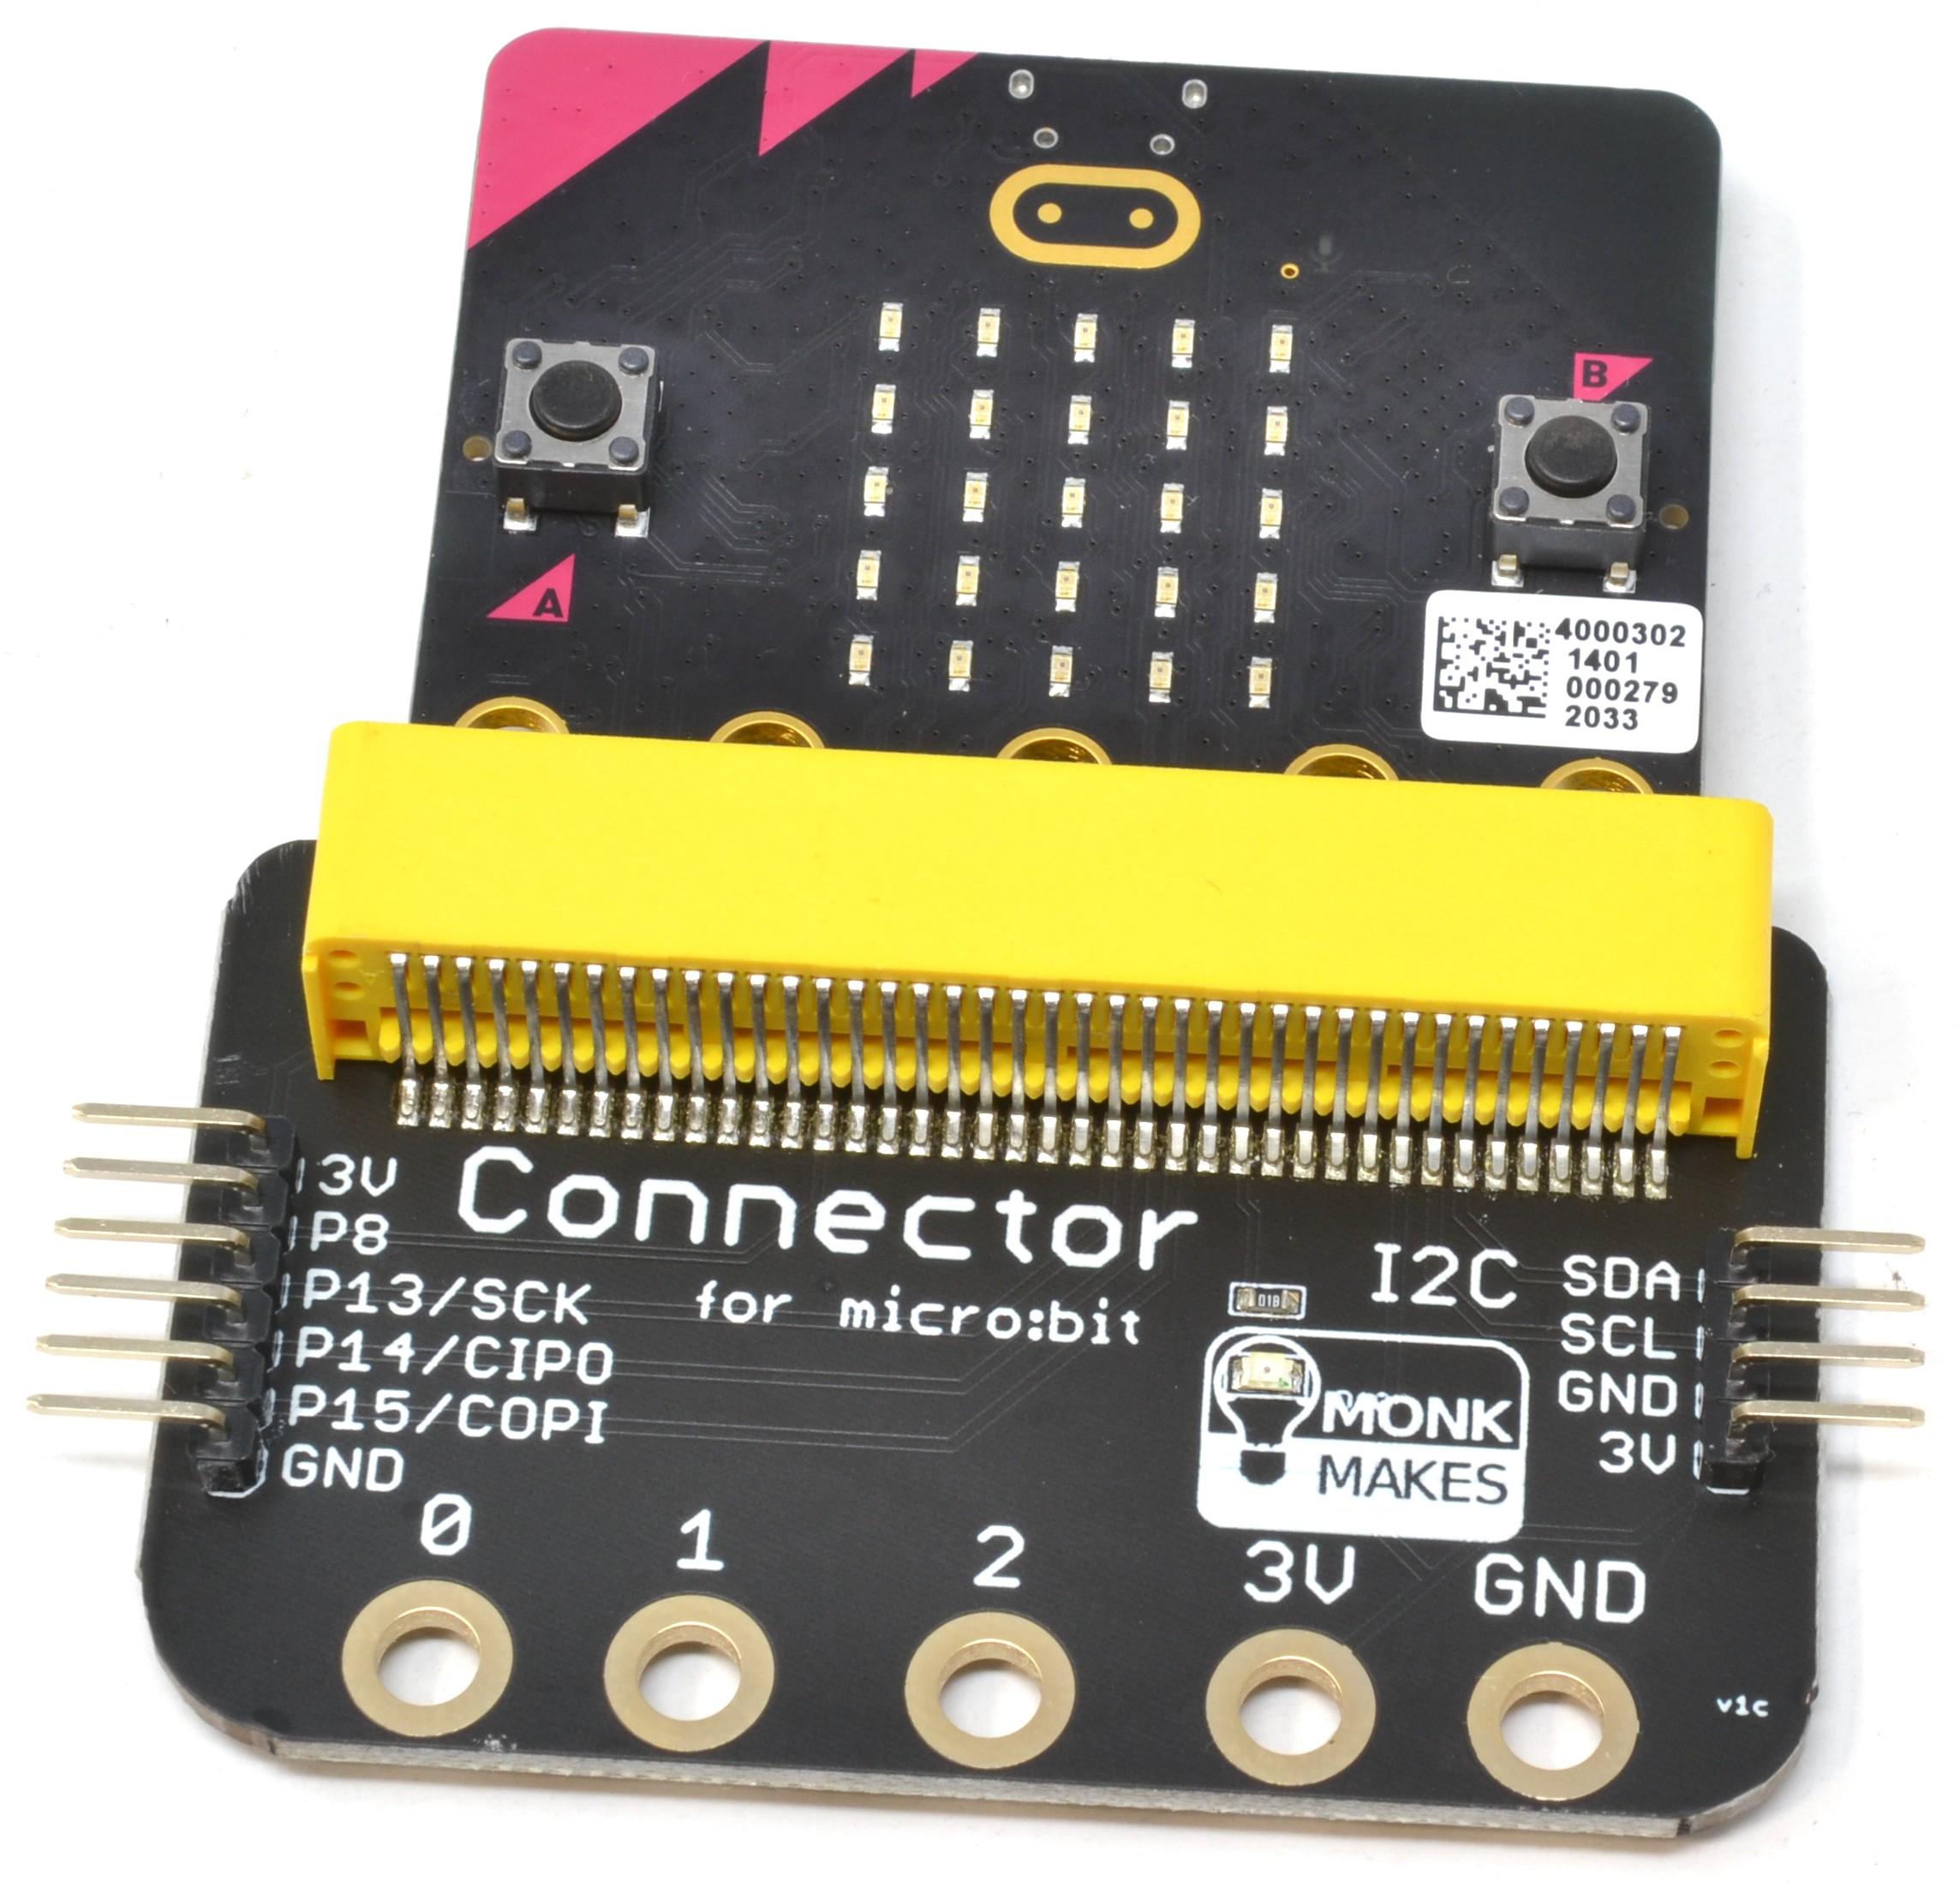
Instructions: CONNECTOR FOR MICRO:BIT V1A


The Connector for micro:bit makes it super-easy to connect I2C, SPI and other devices to your micro:bit without loosing the main connector rings. Unlike other connectors that are designed to break-out all the micro:bit pins, this connector just breaks out the useful ones that are not in use by the micro:bit for other purposes. And most importantly, you don't loose access to the micro:bit's normal connector rings.
TABLE OF CONTENTS Introduction 2 Connecting your micro:bit.........................................................................................3 Using an I2C MonkMakesLearningTroubleshootingDisplay.................................................................................................46.....................................................................................................................7...............................................................................................................8
INTRODUCTION
MonkMakes
Page 2
CONNECTING YOUR MICRO:BIT
Plug your micro:bit (model 1 or model 2) into the connector as shown below. Make sure that it is pushed in as far as it will go. The connection rings will sit slightly outside of the socket.
Page 3
to the micro:bit. You can buy them from various sources, including Adafruit, eBay and Amazon. They operate at 3V using the micro:bit's I2C interface. Two pins are required for power and two pins SDA and SCL are uses as Data and Clock signals for serial communication. Connecting Connect up your I2C display like this, using female to female jumper wires. Connector for micro:bit pin I2C OLED display pin Suggested lead color GND GND Blue or Balck 3V VCC Red SCL SCL (or just C) Yellow SDA SDA (or just D) Orange Page 4
Small addition
USING AN I2C DISPLAY
OLED displays make a great

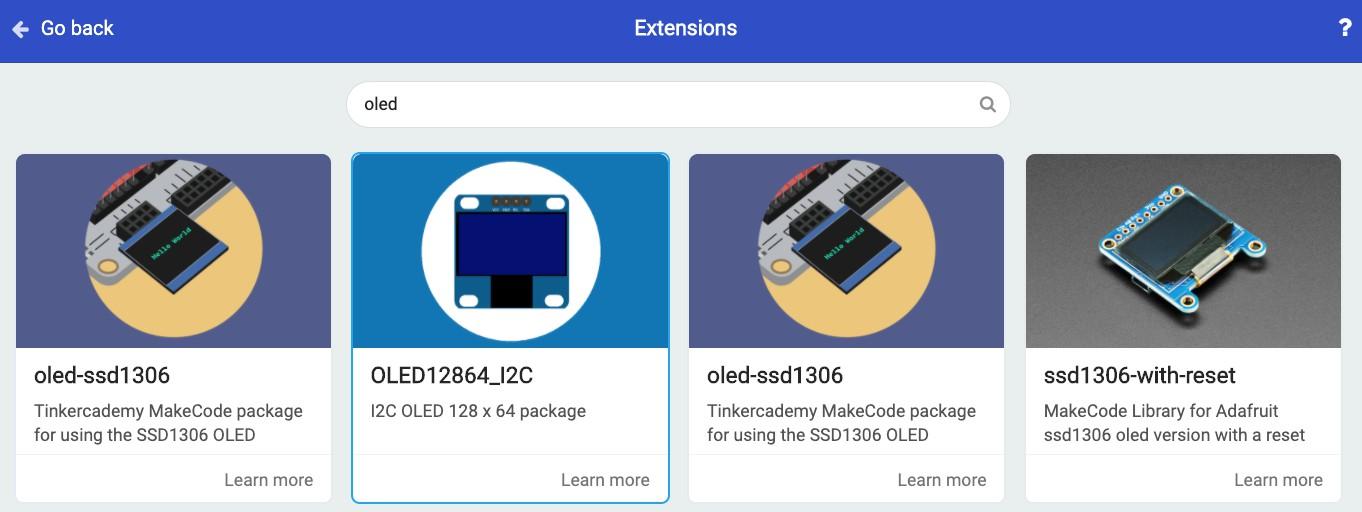
Software There are several Makecode libraries available for I2C OLED displays. To find them, click on the Extensions button at the bottom of the Makecode editor window. And then type OLED in the search box.
The one I used here is the second from the left. Once added, the extension gives you a new set of blocks for controlling the display. Here is a short Makecode block program using this extension.
Page 5

Problem: The power LED does not light
Page 6
TROUBLESHOOTING
Solution: Make sure that your micro:bit is fitted into the connector the correct way around and that the micro:bit itself is powered.
LEARNING
micro:bit Programming
Page 7
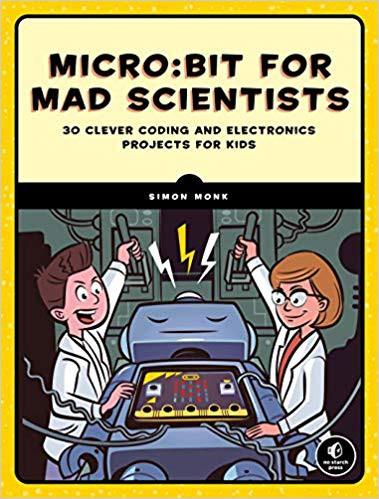
If you want to learn more about programming the micro:bit in MicroPython, then you should consider buying Simon Monk's book 'Programming micro:bit: Getting Started with MicroPython', which is available from all major book sellers. For some interesting project ideas, you might also like micro:bit for the Mad Scientist from NoStarch Press. You can find out more about books by Simon Monk (the designer of this kit) at: http://simonmonk.org or follow him on Twitter where he is @simonmonk2

From left to right: Electronics Starter Kit for micro:bit, Power for micro:bit (AC adapter not included) and 7 Segment for micro:bit. Page 8
For more information on this kit, the product's home page is here: Ashttps://monkmakes.com/mb_sliderwellasthiskit,MonkMakesmakes
MONKMAKES
all sorts of kits and gadgets to help with your maker projects. Find out more, as well as where to buy here: https://monkmakes.com you can also follow MonkMakes on Twitter @monkmakes.


