2 minute read
3.5. Building the User Interface
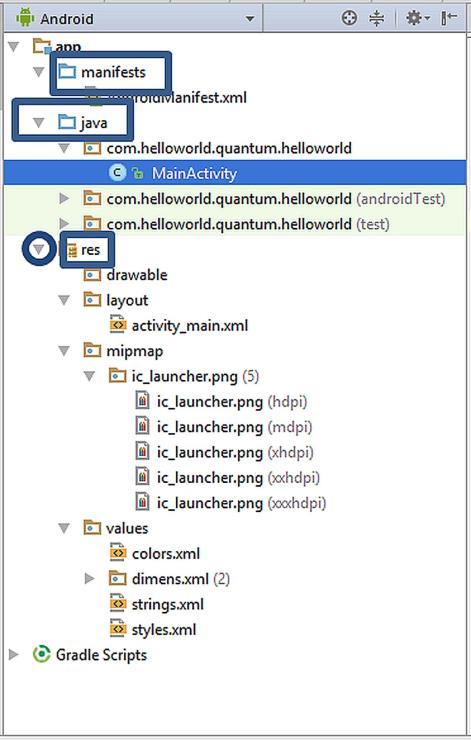
Figure 3.8. Default folder and file structure of an Android project
The media, image and layout files residing in the resources folder are accessed via Java code written in MainActivity.java as we‟ll see in a while.
Advertisement
3.5. Building the User Interface
Android Studio provides an easy way of designing user interfaces. The file named “activity_main.xml” located under the “res/layout” folder contains all the layout information of the current activity.
If we try to open an .xml file outside of Android Studio, it is opened by a text editor or a browser. However, when we open an .xml file in Android Studio, it reads the .xml file and shows the corresponding activity layout with its components. In order to open the activity_main.xml in Android Studio, please double-click on it in the project explorer and the activity layout will be displayed in the middle pane as shown below:

Figure 3.9. Layout of the activity
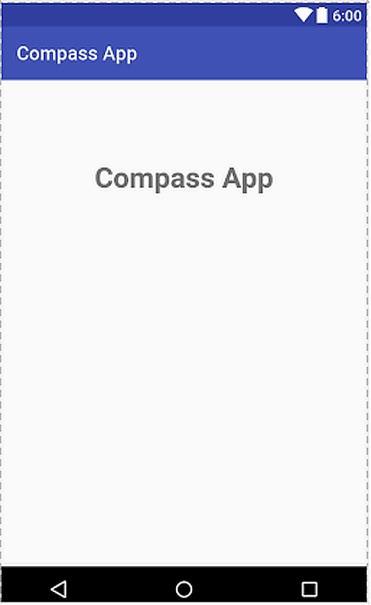
As you can see, the layout of the activity is shown in the middle pane. The name of the app appears at the top of the activity. The default empty activity contains a default text which is shown inside the circle in the above figure. At the left top of the middle pane, there exists a tab called “Palette” indicated inside the rectangle in the figure. When we click on this tab, the palette shown in Figure 3.10 appears from which we can add all possible user interface objects and layout templates to the activity.
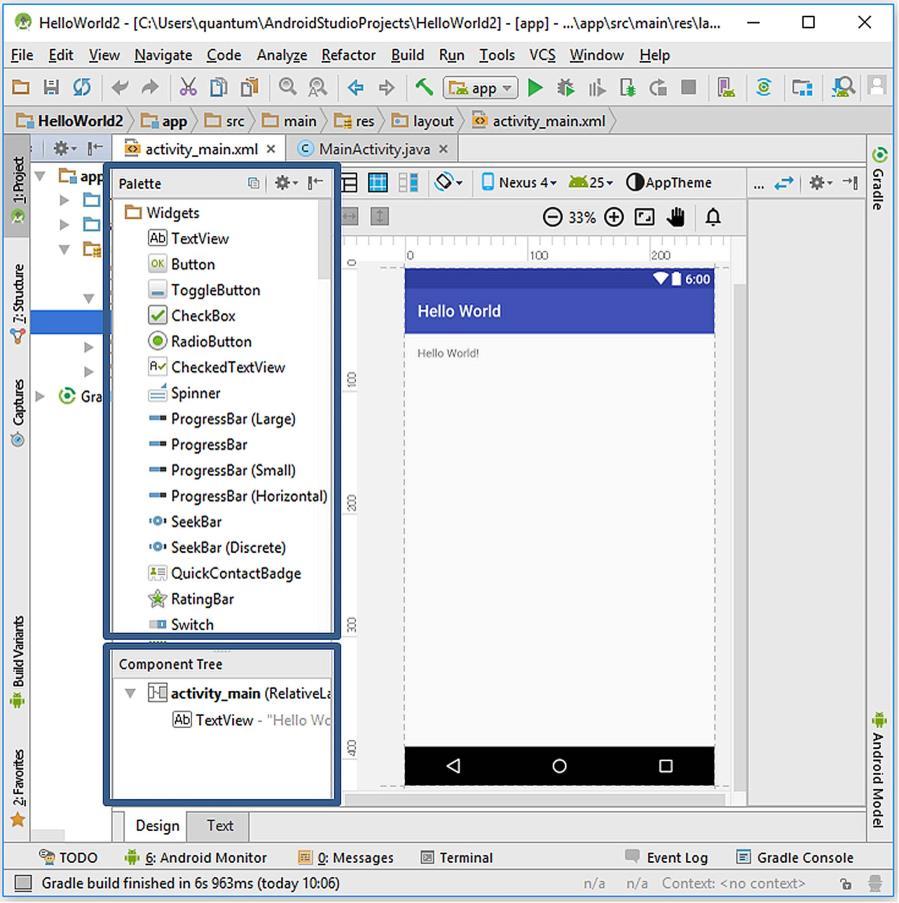
Figure 3.10. The component palette
When the palette tab is clicked, two panes are opened: the Palette shown by the upper rectangle and the Component Tree pane inside the lower rectangle in Figure 3.10.
The Palette contains several groups like Widgets, Text Fields and Layouts. We can easily drag and drop these components to the user interface. On the other hand, the Component Tree lists the activity‟s components in a hierarchical manner. We‟ll see the utilization of these components as we develop complex apps in the following chapters. However, our aim for now is to write a text on the screen. As you can see from Figure 3.10, Android Studio already placed a “Hello World” text at the top left of the view.
Let‟s position this text, comprised of a TextView widget, to the middle of the view. For this, select this TextView and then drag and drop to the middle by the help of the guiding lines as shown below:
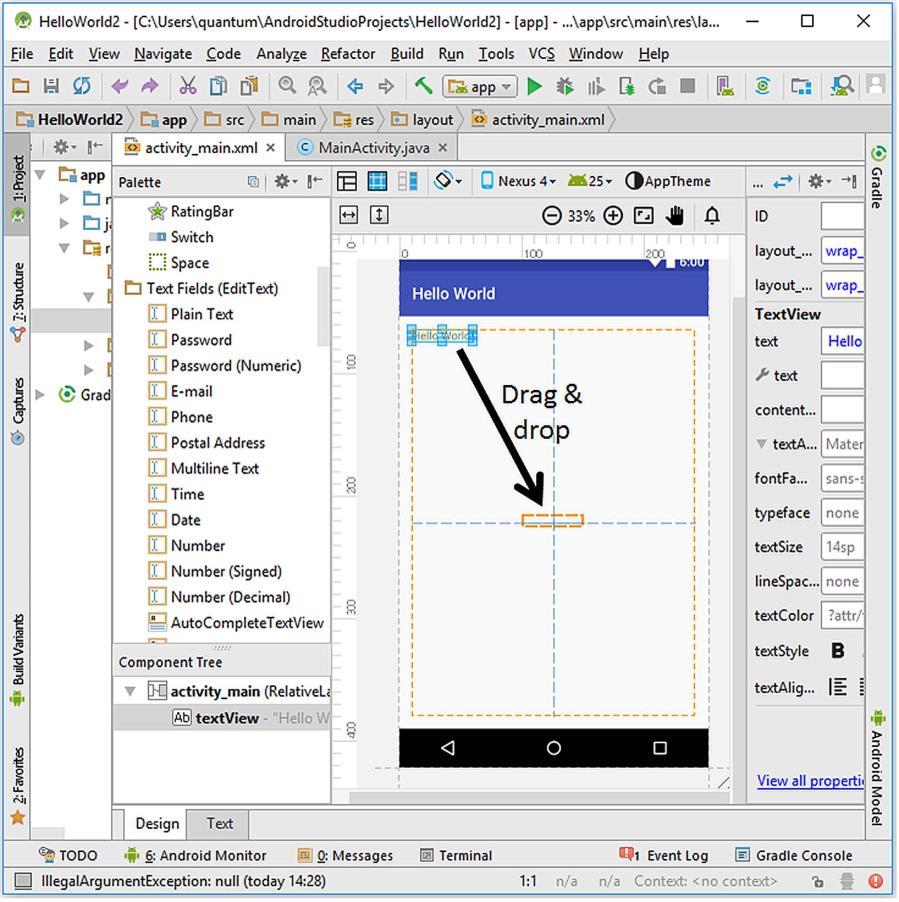
Figure 3.11. Drag and drop operation on the TextView
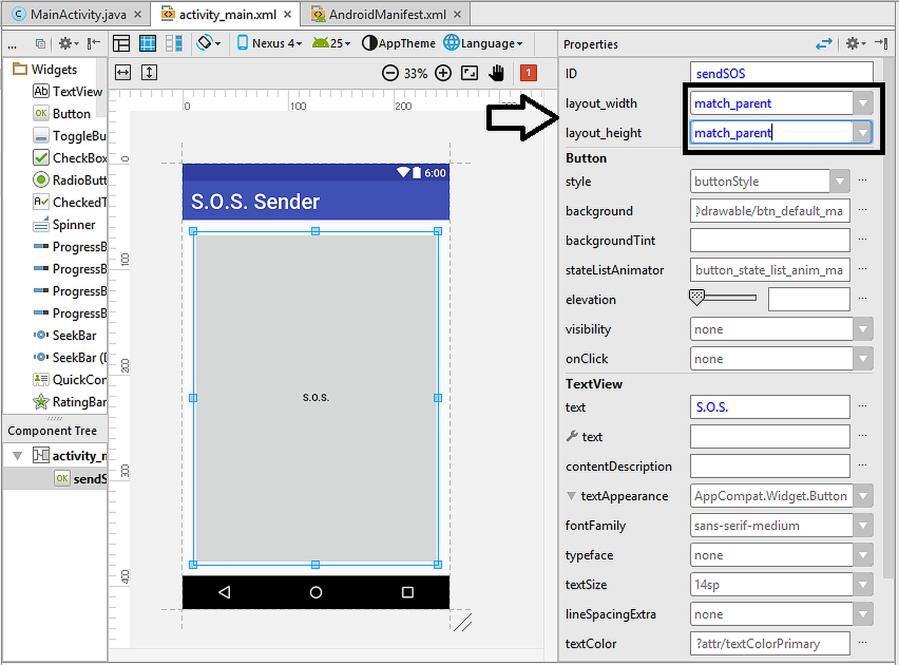
After the drag and drop operation, the TextView will be kept selected. We can now change the properties of the TextView using the Properties pane which is at the right of the Layout view as shown inside the rectangle in Figure 3.12. Please click the arrow shown inside the circle in this figure to open the basic editable properties of the TextView.


