2 minute read
Photoshop Spiderman
from Aug-Sep07.
by Hiba Dweib
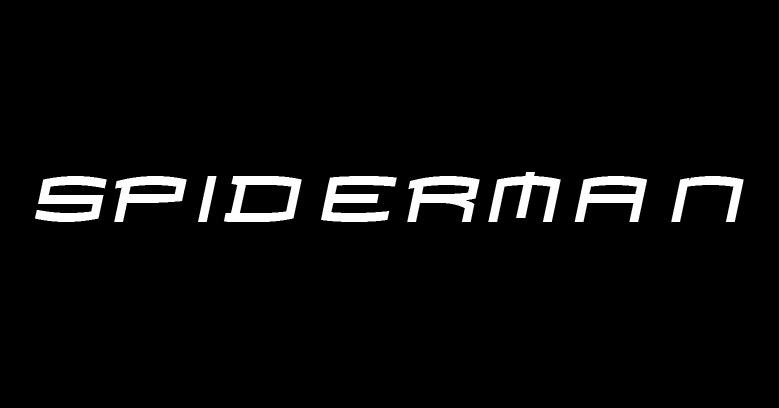
In this Photoshop tutorial we will create a text as seen in 2007 summer blockbuster Spiderman 3. Hope you will like it and send me your creations and suggestions to improve.
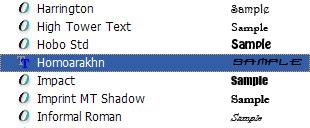
Step 1: First Download the Spiderman font from this address http://www.dafont.com/spiderman.font and install it by copying in the Fonts folder of your Control Panel (Windows). Now run the Photoshop and create an 800 x 600 document in Photoshop and fill the background layer with black.
Advertisement
Step 2: Now select the Spiderman font and create a text of your choice, keep the size little big around 90 and color must be white.


Step 3: Click on the Add Layer Style button and choose Inner Shadow or double click on the side of the text layer for Layer options.
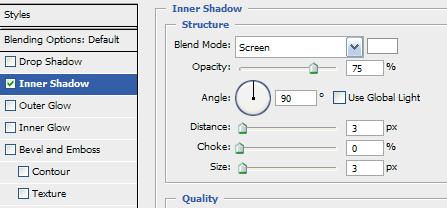
Step 4: Choose (Check) the Inner Shadow option in the left panel and change the following settings in the right panel:
Blend Mode: Screen Color: White Angles: 90 degree (uncheck Use Global Light) Distance: 3 Size: 3

Step 5: After doing the previous step you will notice that nothing happens on the text visually but when you do this step then lot of change you will notice. Check the Gradient Overlay in the left panel and change the following settings.
Opacity: 100% Gradient: Click on Gradient and change the Swatches colors of Left to (C:0,M:0,Y:0,K:80) and Right (C:0,M:0,Y:0,K:20) Check the Reverse checkbox
Step 6: Create a new layer below the text layer. Ctrl + Click on the text layer for making the selection. Then Goto Select > Modify > Expand and enter 5 pixels.


Step 7: Fill the selection with white color (Alt + Backspace) on the newly created layer.
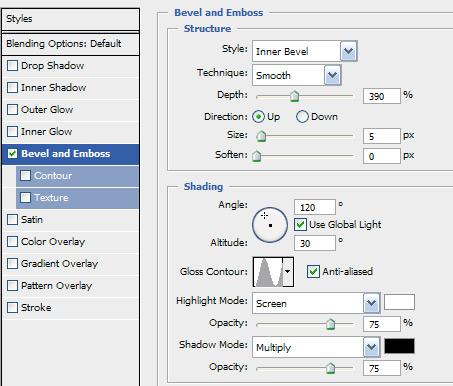
Step 8: Click the Add a layer style icon and Choose “Bevel and Emboss” and choose the following settings…
Enter 390 for depth Check the anti-aliased checkbox Select “Ring” graph under Glass Contour.
Step 9: Choose “Outer Glow” and select color as Black and mode to multiply. Incease the Spread size to 35 and Press OK. Hope you are still selected so Now choose a large soft edge black (C:0,M:0,Y:0,K:90) brush and paint from top to bottom on every character. Deselect and your effect is ready.
- Andy Halls andyhalls123@yahoo.com


