4 minute read
Reader’s profi le
from PSC_-_Issue_17.
by Hiba Dweib

Montages rely on the tools you use and how well you use them. Read on and discover the golden rules to assembling montages and enjoy successful creations time and time again
Advertisement


Photoshop is known for many things, but one of its core tasks is creating montages. The procedure of taking a collection of photos and assembling them into a unifi ed image is one carried out by the whole gamut of Photoshop users. It travels from the mischievous home user placing a friend’s face over another body, and moves right up to the Photoshop pro creating an entire new scene out of separate elements using hundreds of layers and a myriad of techniques.
can create something (or someone) from different photos; use blending modes to produce soft, dreamlike images; or use montages as a presentation method. The list of possibilities is truly infi nite, making this a fantastic art form to explore.
That’s the good news. The bad news is it’s an unforgiving format. It’s easy for a montage to fail because the creator didn’t make sure colours matched or that scale and perspective of objects were true to life. Little things such as drop shadows suddenly become vital.
It’s a good job, then, that Photoshop is teeming with tools to help make sure you get the montage you want!
A successful montage hinges around three key tasks: selection, colour and blending. If one of these falls down, your montage will jar the eye instead of create a seamless blend. There are loads of options within each task, so whatever version of Photoshop you use or skill level you’re at, they’ll be something for you.
Before you begin, though, it’s worth putting in a bit of preparation. Although part of the fun of montages is seeing how they evolve and leaving the way open for ‘happy accidents’, if you have no restrictions you might end up creating nothing. Decide how large you want the fi nal document to be. Have a rough idea of the look or theme you want. You can
also keep another document open with a rough placement of your montage images, or just create a quick sketch to work out where things can go. It might be your plan doesn’t look as you expected, so you have to take a different direction. It doesn’t matter if things need to change, but it’s far easier to alter the course you’re on than start out with no direction at all. A good starting point is deciding on a unifying element. This can be an image that bonds other images together, or it could even be a colour scheme.
But enough talking! Let’s have a closer look at the three golden rules of montages and see what’s involved.
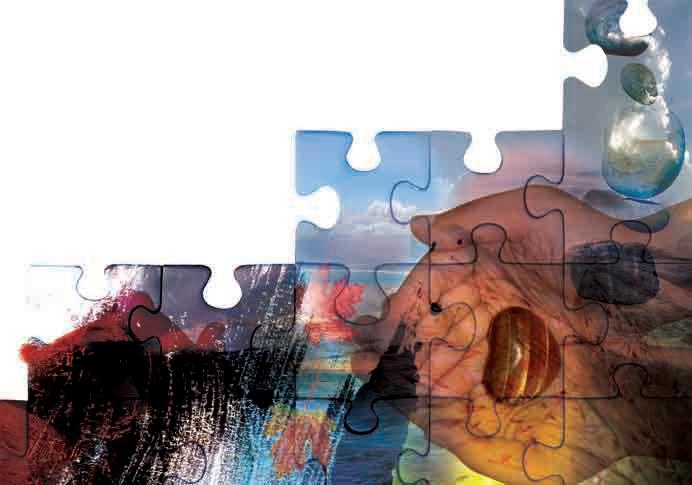
By combining cutouts, colour and blending techniques, you can create fantastic images

Using layers
We can’t talk about montages without mentioning layers. And we can sum them up in five words – make sure you use them! Whenever you add anything to your montage document, place it on a new layer. Not only does this ensure you can delete, duplicate and arrange at will, but it allows you to use delicious tools such as blending modes and layer masks to help merge everything together. You can control pretty much all you need from the palette, although the Layer menu is there if you need it. One word of advice would be to name your layers. A montage can acquire layers really quickly, so you need to tidy as you go. It’s also an idea to label where the object appears in a montage, especially if you have a repeating element. Make sure you dock the Paths palette with the Layers one so you can control your paths as well.
The other bonus of using lots of layers is that you can also change the whole feel of a piece just by moving one of the layers. Blending modes also add to the magic and afford you pretty much limitless creativity.
Using layers also means that you can use elements in other pieces of work. Let’s say you spent ages on a cutout. If you have it on a layer, you can then copy it whenever you like and place into another document. You won’t believe how much time this can save you!
Blending Mode menu Opacity Opacity control control Fill control control
Layer Mask thumbnail thumbnail
Layer set Layer set (or group) (or group)
Add Layer Layer Mask icon
Layer Layer thumbnail thumbnail
New Layer icon


