23 minute read
TOOL TECH

s Resize the boards for disposal by cross-cutting them between two joists.
By Matt Weber The HIR staff has worked on many
decks over many years. We have a few favorite tools for a few different tasks and wanted to share our recommendations with you.
DECK DEMOLITION
When tearing down an elevated deck, leave the guardrail intact as a safety precaution until most of the work is complete. For low-elevation decks, however, it makes sense to begin by disassembling the rail first to gain easy access to the decking. A reciprocating saw can speed up the job by cutting through nail-embedded joints.
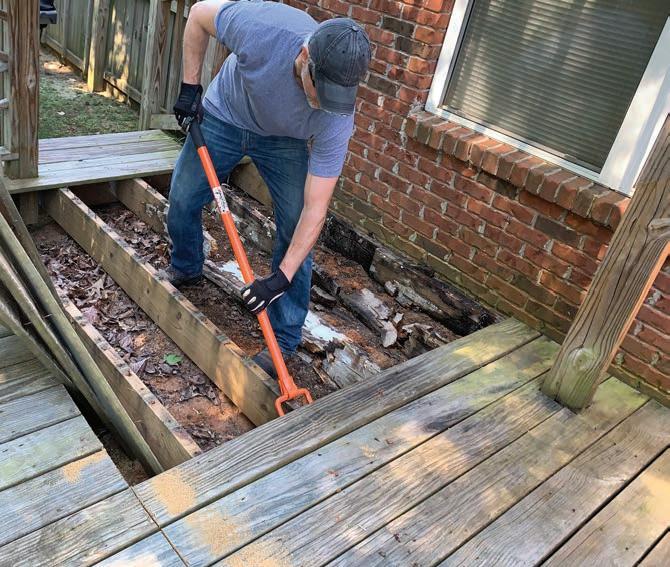
To remove deck boards, begin from the rim or the center of the deck and work toward any surrounding walls. An ideal scenario is to have a crew of helpers pry up the boards fully intact and haul them to the curb for roadside pickup and disposal. When this is not an option, a good strategy for a lone DIY’er is to cut the boards just long enough to fit into a truck, trailer or
WATCH AND LEARN
Click the video image to the left if you are reading our digital magazine at HIRpub.digital.


dumpster for transport to a landfill. Set a circular saw blade slightly deeper than the thickness of the decking and cross-cut the boards between two parallel joists.
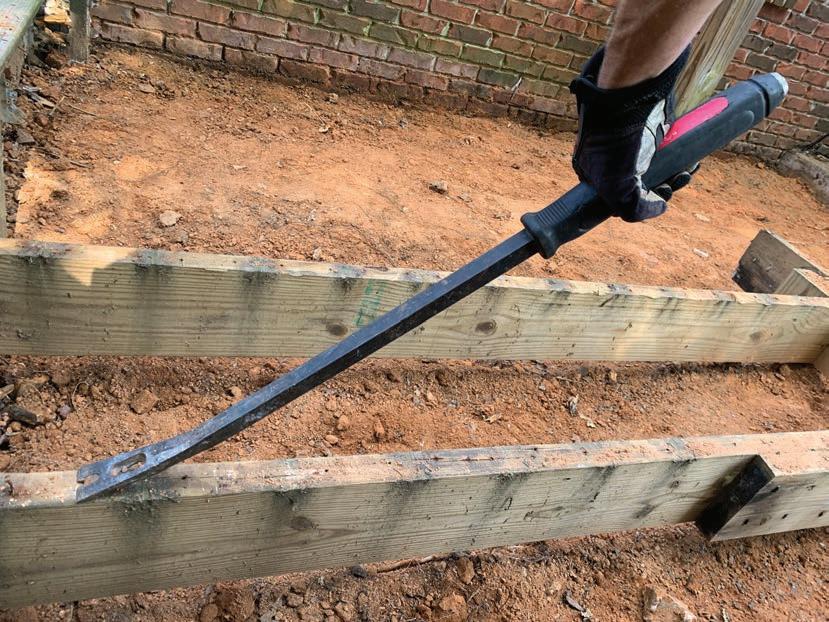
To pry up the first board, I usually begin by lifting a corner with my Dominator pry bar. Available in different sizes from Mayhew Tools, mine is a hefty 30-in. version with a rubber handle and tapered tip to slip between tightly spaced boards. A teardrop nail slot at the end also makes it easy to pull fasteners.
Removing the first board exposes the support framing, so the larger head of a demolition bar can fit beneath the decking to use the joists as leverage when prying out the rest of the boards.
One of my favorite demolition bars is the Gutster (gutstertools.com), which has plenty of reach plus an angled head and handle for maximum leverage when prying. Rather than spending the day hunched over using a claw bar and hammer, the Gutster lets you work from a standing position. The wheels on the head also make it easy to move around hard surfaces for prying up wallboard, flooring and more.
The Mayhew Deck Wrecker (mayhew.com) is also one of our go-to tools. Another long-handled demolition bar, this one features a dual cat's paw with enough clearance between the two prying heads to span across doubled joists and 4X beams.
All the demolition bars feature nail-removal slots that let you pull fasteners while on your feet rather than on your knees. Your body will thank you.
One common frustration with demolition is the resulting broken fasteners. Once the head has snapped off a fastener, a claw-style nail puller has nothing to grab onto. To remove the broken ones, I rely on the Extractor from Jefferson Tool (www.nailextractor.com). This pliers-style tool has a patented design that will not slip or shear. As you roll the tool over its curved head, the auto-locking parallel jaws evenly distribute gripping force up and down the length of the fastener, so pulling headless
s The Gutster demolition bar provides plenty of leverage and reach for prying boards.
s The Mayhew Deck Wrecker features dual cat's paws which can span 4X lumber.

s If you gain leverage at the ends of the boards, you can pop them up to speed the removal process.

Slotted nail pullers on long demo bars such as the Mayhew Dominator make it easy to remove fasteners. s

s Reduce the frustation of removing broken fasteners by using the Extractor from Jefferson Tool, which can easily pull headless nails.

s The Mayhew Tweaker grabs 2X lumber and provides a handle to adjust its position.
s The DeckWise Hardwood Wrench easily straightens bowed boards and can even cam-lock in place if you need to free your hands.

nails are no problem. This design always keeps the minimum gripping force required to prevent slippage, saving lots of time and frustration.
DECK INSTALLATION
When it's necessary to replace or install a new joist, you'll want the snuggest fit possible. That is sometimes easier said than done when dealing with bowed or warped wood. For difficult-to-position lumber, I use the Mayhew Tweaker, which is a large wrench that grips a 2x board and provides a foot-long handle to push, pull, crank and twist the lumber right into the position you want it.
Bowed boards can be a pain to deal with when deck joints won't close--unless you're packing the Hardwood Wrench from our friends at DeckWise. The best board-straightening tool we've ever used, it has a long hardwood handle for dependable strength and ample leverage. It's built with stainless steel and aircraft-grade aluminum to hold deck joists with a rock-solid grip while you wrench bent boards into place and cam-lock the tool to free you hands
WATCH AND LEARN
Click the video image to the left if you are reading our digital magazine at HIRpub.digital.


while you drive the fasteners. With a pushing force of around 1,100 lbs., the Hardwood Wrench can straighten deck boards from both left- or right-hand direction, and the adjustable pins can grip joists up to 3-1/2 inches.
Treated deck boards are often fastened through the top of the board to the joists with decking screws, which tend to have more longterm holding power than smooth-shank nails. Coated screws are available in a range of colors for extra weather protection and to help blend with the decking.
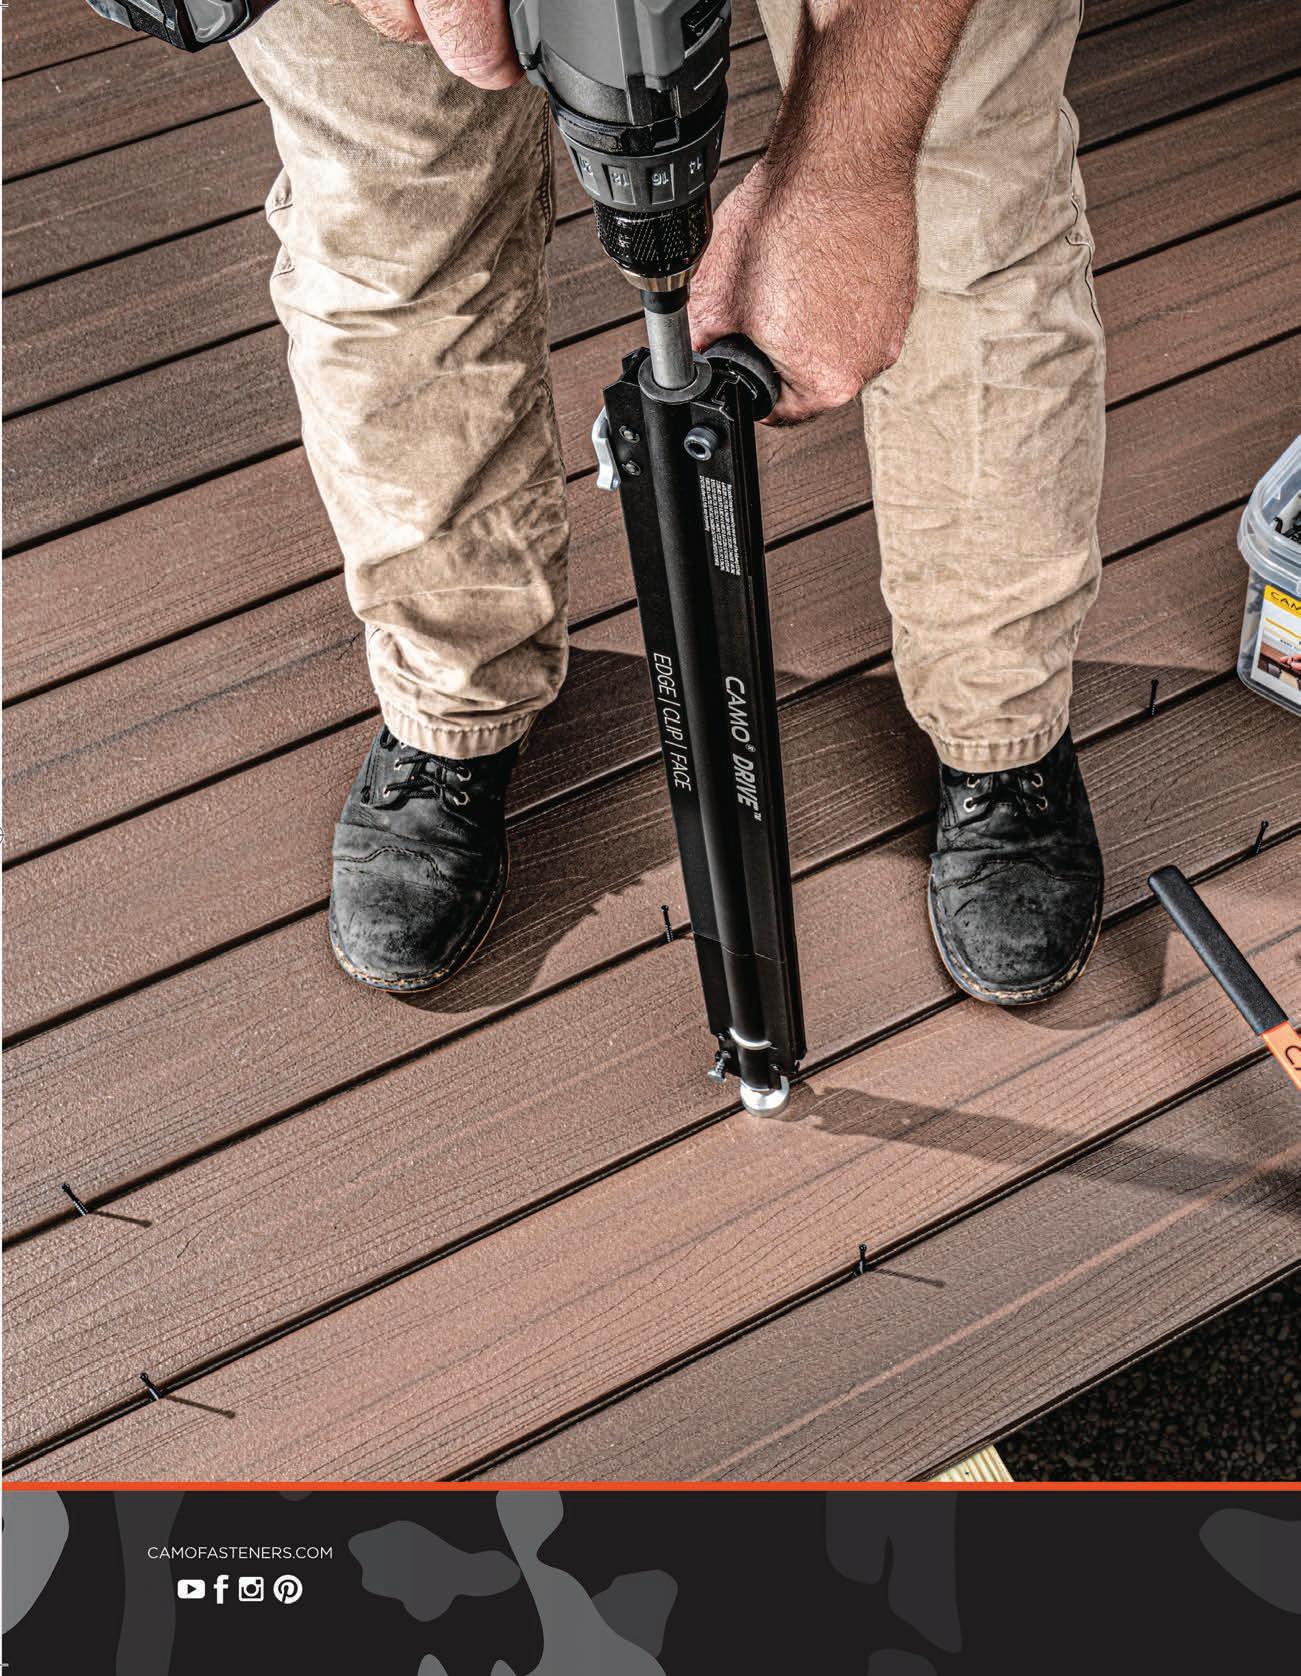
Although the trend in hidden fasteners is often associated with composite decking, National Nail offers the CAMO Drive System that can achieve a fastener-free appearance for treated wood deck boards. The CAMO Drive attaches to your existing cordless drill/driver and uses an angled tip to drive specially engineered screws through the edge of a 1X deck board and into the joists. By driving the screws diagonally through the board edges, the small screw holes are hidden inside the board joints s To install 1X pressure-treated decking with hidden fasteners, the CAMO Drive system attaches to your drill/driver and lets you work five times faster by using collated screws driven from a standing position.

so the deck surface appears to have no fasteners.
I'll give three strong reasons why we recommend this system. First, you can fasten the boards while standing up instead of working on your hands and knees. Second, all the CAMO Drive screws are loaded in collated strips for semi-automatic operation, which really speeds up installation time. Third, the hidden fasteners not only leave a uniform, unblemished appearance on the deck surface, but I figure the tiny fastener holes on the sides of the boards are less likely to absord standing water than when driven through the board face, so this might extend the life of the wood. H
5 DIY TIPS FOR TREATED DECKS
1. Joists—If it's necessary to replace or install a joist, be sure to inspect the board for its crown. Dimensional lumber is rarely perfectly straight, and the "crown" is the board's natural curvature which is visible when looking down the board's narrowest edge. The crown will the give the board a slightly bowed or arc shape, and when used as a deck joist, it's important to orient the high mid-point of the arc at the top to prevent sagging in the deck surface. Avoid toe-nailing deck joists. Attach them to rims and ledgers using metal hangers fastened with codeapproved nails or screws.
DeckWise Hardwood Finishes
Bring out the natural beauty of your hardwood with DeckWise Semi-Transparent hardwood finishes. DeckWise finishes provide superior protection and conditioning while maintaining a completely natural appearance, whether you are looking for an oil-based or water-based hardwood finish.
Ipe Oil Hardwood Deck Finish, an oil-based natural wood finish available in two low-VOC formulas (250 VOC and 100 VOC). Incorporating a semi-transparent light brown tint, Ipe Oil penetrates down deep into the dense, resin-rich fibers of hardwoods to highlight the all-natural woodgrain depth. Ipe Oil provides excellent penetration of even the densest hardwoods with minimal raising of the grain for exceptional results on Ipe, Tigerwood, Cumaru and other exotic hardwoods.
WiseCoat Premium Hardwood Deck, Siding & Fence Sealer is a low-VOC (53 g/l), non-toxic waterproofer sealant designed for use on hardwood decking, siding and fence surfaces. Incorporating an amber semi-transparent tint WiseCoat has a water-based formula which utilizes proprietary nanotechnology to create a long-lasting breathable barrier against caustic conditions and harsh weather. The WiseCoat tint enhances the natural splendor and beauty of hardwoods without drastically changing the color of the wood. WiseCoat is also safe for use around people, pets, and plants and is safe for the environment.


Visit deckwise.com
DECK JOIST TAPE™ ProtectoWrap.com s

2. Flashing Tape—For the best longterm weather protection, cover the tops of joists and framing members with a selfadhering tape used as flashing. These butyl or asphalt tapes protect fastener holes from moisture by acting as a noncorrosive barrier between treated lumber and metal hardware.
3. Decking—Before installing the deck boards, inspect their ends for the tree's growth rings. In general, it's best to install the boards bark-side up to reduce cupping. However, some boards that are cut closer to the core of the tree have a straighter, tighter grain, and therefore less cupping.
4. Shrinkage—A common amateur mistake is spacing treated deck boards when installing them. Treated decking usually contains moisture from the treatment plant which causes the wood to swell. As the wood cures, you can expect the boards to shrink. For this reason, it's best to install the deck boards tightly together and allow the spacing to occur naturally over time. If you pre-space the boards, once the deck cures, the gaps will probably be too large.

5. Notches—Need to cut a notch around a post? First, measure and mark the cut-out on the board. Use a drill with a bit slightly larger than a jigsaw blade to drill pilot holes at the corners of the notch. Then use the jigsaw to cut out the notch. The pilot holes will allow room to make an easy 90-degree turn with the jigsaw blade.

Last-Deck

THE LAST DECK YOU WILL EVER NEED

last-deck requires no staining or sealing, just mild soap and water for cleaning. No warping, splitting, cracking, rotting, molding, lightweight and fire-resistant. LastDeck is available in a multitude of options allowing you to design your own luxury outdoor space.
Manufactured in the Midwest of all American made structuralgrade aluminum – the same as an aircraft; Last-Deck is built with high quality standards from our family to yours. last-deck 300 series
The 300 series is a patented, watertight product that has the ability to be replaced without having to start at one end. Should you receive damage at the mid-way point of your deck, simply pop up 2 joiner strips, replace the bad plank, snap the joiner strips back down, and your repairs are finished!

300 series easily pop up and snap back down!

pat# 9,803,376


www.lastdeck.com
information@lastdeck.com toll free: 866-527-8332
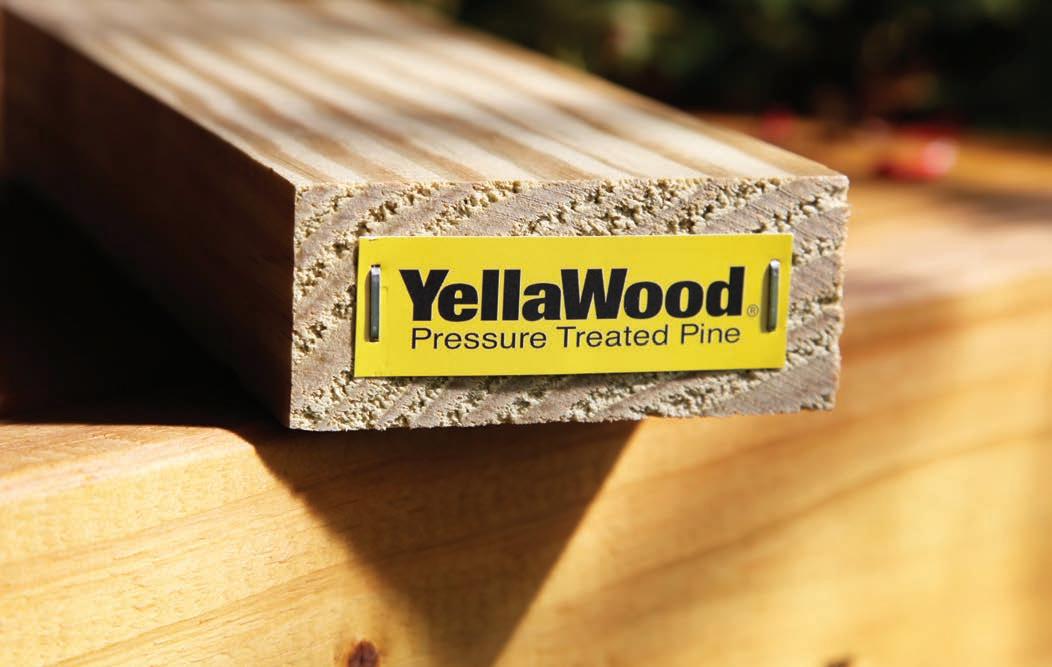
TREATED RIGHT
Rob Pongonis, YellaWood brand manager, offers his expert advice on best practices when working with treated lumber.

Backyard building is big business. For years, this trend in home-improvement has been on the rise, and now that people are spending more time at home, the
trend is exploding. Decks, docks, pergolas, patios, outdoor kitchens and exterior furniture-these are the things than transform a backyard into an enjoyable living space.
One of the most fundamental building materials for outdoor construction remains pressure-treated wood, which has undergone a process that uses high pressure to force a solution of water and preservatives deep into the lumber to extend its lifespan. The active ingredients commonly used in treated wood are alkaline copper quaternary (ACQ), copper azole (CA) or micronized copper azole (MCA), which react with the wood fibers to slow decay and resist termites, fungus, moisture and other harmful elements. This process enables treated fence posts, for example, to withstand years of being buried in soil.
Treated wood is renewable and affordable and usually readily available, although the high demand of recent months might leave your supplier waiting on the next shipment from the mill. According to a July 9, 2020. article from the Wall Street Journal, “Prices for forest products like lumber and plywood have soared because of booming demand from home builders making up for lost time, a DIY explosion sparked by stay-at-home orders, and a race among restaurants and bars to install outdoor seating areas.”


s Even when prices are up, treated wood remains one of the most economical outdoor building materials available.
Demand continues to rise because even when prices are up, treated wood remains one of the most economical outdoor building materials available. One of the leading manufacturers of treated lumber, Great Southern Wood Preserving—the makers of YellaWood brand treated products—is now celebrating its 50th anniversary in business. To get some expert advice on best practices when working with treated lumber, HIR turned to YellaWood brand manager Rob Pongonis to clear up a few questions.
Whether you're a pro builder or a homeowner, here's some "insider" insight on what to consider when planning your next project.
What should builders and homeowners understand about selecting different grades of treated lumber for a project?
As a contractor, when you’re meeting with a homeowner to discuss a deck project, it’s important to listen and to ask as many questions as possible to ensure you understand exactly what they’re looking for from their investment. Most homeowners have a vision for their project that includes functionality and color but they often don’t fully consider the appearance of the deck boards. That’s why talking about grades, especially knots and other beauty factors, early in the process is so important. And many homeowners may not realize they have options when it comes to the appearance of deck boards. While many building supply stores stock a couple of grades, there are more options available through special orders that may better meet the homeowner’s expectations. Using a “Good, Better, Best” approach clarifies the options in an easy-to-follow way.
When talking about deck boards, it is important to remember 5/4 decking is a popular choice and commonly available in
The AWPA recommends using Ground Contact treated products in any applications that are difficult to maintain, repair or replace and critical to the performance and safety of the structure. Photo ©YellaWood s

two grades: Standard and Premium. The 5/4 Standard decking would fit into your “Good” category and will have some large, sound knots and some bark edges, whereas 5/4 Premium decking is a step up and would fall in your “Better” category. These products will have less bark and smaller, more well-spaced knots that appear less frequently than what appears on Standard grade.
What is the latest advice on building applications that require ground-contact lumber?
In 2016, the American Wood Protection Association (AWPA) wanted to address growing concerns around the incorrect usage of treated wood. They released a revised standard which governed the use of Ground Contact treated lumber. This revision required Ground Contact products to be used in some applications where Above Ground products had previously been approved.
Today, the AWPA recommends using Ground Contact treated products in any applications that are difficult to maintain, repair or replace and critical to the performance and safety of the structure. This includes applications such as joists, beams and ledger boards. In addition, they require Ground Contact treated deck boards when placed closer than 6 inches to the ground, have poor air circulation or poor water drainage, or are exposed to frequent wetting like freshwater docks, sprinkler systems, or swimming pools and other such hazards.
The good news is most building supply retailers helped take the guesswork out of this by stocking only Ground Contact treated lumber. However, it’s always a good idea to check the


end tag to make sure it clearly states “End Use: Ground Contact” before beginning construction.

Is it necessary to use peel-andstick flashing when treated wood is used in contact with aluminum products?
YellaWood brand products are treated with a micronized copper preservative which exhibits corrosion rates on metal products similar to other non-corrosive treatments and untreated wood. Aluminum building products may be placed in direct contact with YellaWood brand products without the need of additional flashing as long as there is proper water drainage and the wood isn’t exposed to, or remains in contact with, a continual
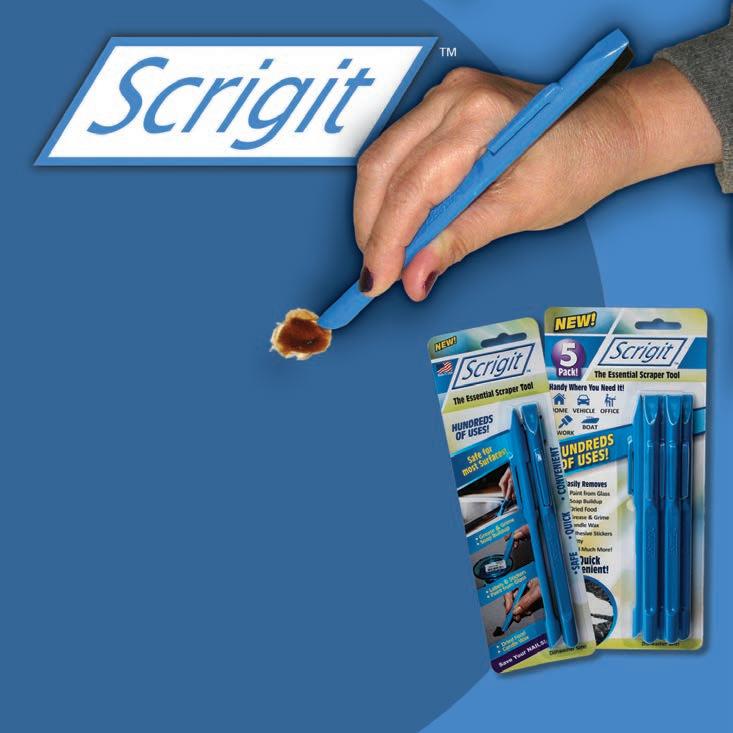
Essential Non-Scratch SCRAPER TOOL!
Available in 2-packs or 5-packs
YUCK!
OUCH! Saves Time and Effort When Cleaning Small Surfaces, Edges & Grooves
• Pen-shaped design easy to keep handy • Unique rounded tip – better
scraper than a fingernail
• Second flat-edged tip – won’t
scratch like a screwdriver
• Remove stickers, tape, caulk, putty, grime & more • Perfect for home improvement projects
Visit us at www.scrigit-scraper.com or purchase directly on Amazon


moisture source, standing water or water immersion.
Editor's note: Not all wood is treated with the the same process, and some different copper-based preservatives used by other brands have been reported to cause corrosion when placed in direct contact with aluminum products, such as ledger-board flashing. This has prompted builders to isolate the aluminum from direct contact with the framing lumber by using a peel-and-stick membrane. Check with the lumber manufacturer for the latest guidelines on your specific product.
What type of fasteners (type and materials) do you recommend for outdoor construction?
When selecting fasteners and hardware, it is important to make sure you are in compliance with the manufacturer’s recommendations and building codes. In exterior applications, fasteners should be either Hot-Dip Galvanized (ASTMA153), Epoxy Coated Carbon Steel (Zinc Plated, AC-257) or Stainless Steel (304, 305 or 316). YellaWood Outdoor Fasteners are star-drive fasteners available in a tan epoxy-coated carbon steel or stainless steel options. They are available in deck screws and trim screws in a variety of lengths.
Explain the best procedure for preserving the treated lumber when it has been cut on the job site.
Sealing field cuts is a great idea to provide extra protection to your project. Preservative products can typically be found on the paint aisle at most home centers. Suggestions can include a copper naphthenate (2% as metal).
How deeply does the preservative treatment penetrate into a lumber product? Are thicker boards such as 4x4 or 6x6 any more susceptible than 2x lumber to rot or water damage by virtue of having more mass (and presumably less chemical absorption at their core)?
There are certainly factors that play into how well the wood takes the treatment like the presence of heartwood and the moisture content, but the treatment process

Cover your Cuts when Building Outdoors
When it comes to sealing fieldcuts in treated lumber, here's what you need to know: The International Code Council recognizes American Wood Protection Association (AWPA) as the authority on treated wood. New AWPA Standards for preserving end-cuts in treated wood are now being referenced by the International Building Code and International Residential Code. This means building codes are changing.
If your local municipality has not already adopted the new end-cut application as a requirement to meet building code, then they may do so in the near future. So, why the changes?
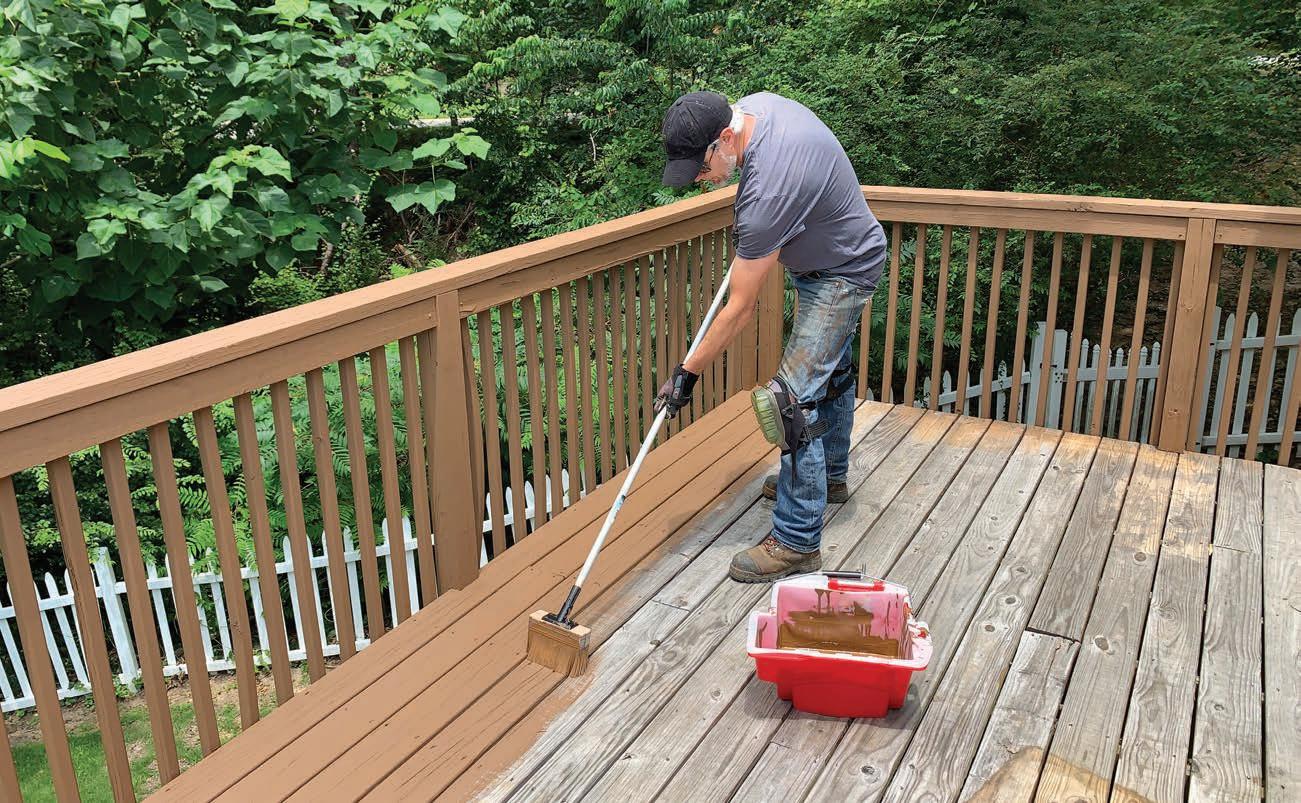
When you trim the end off a piece of pressure-treated lumber, you expose the interior wood fiber to water, fungus and insects that would otherwise be protected against by the pressure treatment. Sealing the end cuts with an approved liquid preservative becomes an important way to protect your investment. The endcut treatment can be applied by sprayer, roller or brush. (HIR recommends back-brushing a sprayed finish to work the product into the wood grain.) The treatment should be liberally applied to dry wood. Allow the treatment to dry, and then apply a second coat.
Sealing exposed ends is a simple process and exhibits quality workmanship, but that's not the only reason to do it. Many customers don’t realise that treated-lumber manufacturers back their warranty
Whether stained or painted, treated wood is a versatile material that can achieve the look you want. Photo © YellaWood

on performance in exterior applications, provided you follow the best practices for handling and installation. And "best practices" now include treating the field cuts with an approved preservative. Check your product warranty and don't be surprised if you find verbage under "Requirements for Coverage" that reads: "Surfaces that have been cut or trimmed and other holes or damage should be treated with a wood preservative end-cut solution in accordance with the label’s directions. Acceptable wood preservatives contain a minimum of 0.675 percent copper as oxine copper (copper-8 or copper-8-quinolinolate) or 1 percent copper as copper naphthenate.”
In other words, if you don’t coat your end cuts with a preservative— and use the correct preservative— then your treated-lumber structure may not be covered by the manufacturer’s warranty.
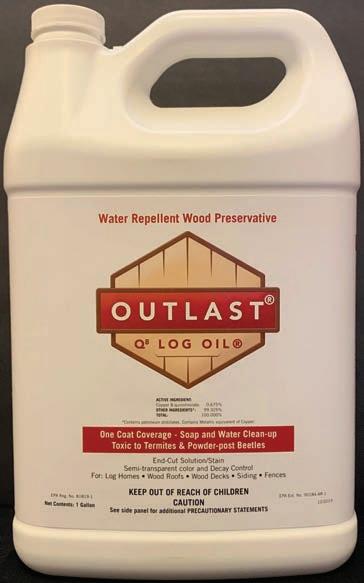
Outlast Q8 Log Oil
Are you waiting months for your pressure-treated deck to dry before staining? Did you know that the International Residential Code (IRC) now mandates during construction that you “heal” any drilled holes, abrasion, or end cuts on pressuretreated lumber? Either 1% Copper Naphthenate or .675% Copper 8 quinolinolate (aka Oxine Copper) will satisfy the new requirements. But Outlast Q8 Log Oil with .675% copper is the only product that addresses the wait time and the new code. With Q8 Log Oil, you can build it and stain it in the same day with no wait time. In fact, Outlast Q8 Log Oil is spelled out by name by many pressuretreaters themselves. Visit outlastproducts.com.
is designed to drive the preservative deep into the cellular structure regardless of thickness. Following treatment, each charge goes through a rigorous quality control test. Core samples are drilled and tested to see both how deep the preservative went and how much of the preservative was retained in the wood. What’s more, we also have a contract with a thirdparty testing service that regularly inspects our products for quality (a service not all treaters subscribe to). And of course, we offer and proudly stand behind our warranty.
What advice do you have for applying stain/sealers to an outdoor wood project?
“When do I stain my deck?” is probably the top question we get from homeowners. The answer is simple: As soon as possible. In application, however, it’s a lot harder to predict. The wood has to be dry enough to accept the stain which can be impacted by factors like local weather patterns. The best way to tell if your boards are ready to be stained is to splash a few drops of water on them. If it beads up, wait several days to test again. If the water absorbs into the wood, you’re good to go. When it comes to application, we recommend following the manufacturer’s instructions and testing the stain on a small area to make sure you’re happy with the color before expanding to the full area.

Anything else you’d like to add?
This year, Great Southern Wood Preserving, Inc. is celebrating its 50th anniversary—and we’re going big. We recently announced a two-year NASCAR partnership during which our YellaWood brand will be the title sponsor of the fall NASCAR Cup Series playoff race held at historic Talladega Superspeedway.
H
Get Good Grades (of Treated Lumber)
Lumber Grades… What are they for? Does your lumber pass or fail?
Lumber grades are assigned at the sawmill where the logs are cut, and they're primarily graded on the strength of the board. For the most part, lumber is available in three tiers of quality: Good, Better, and Best.
Good–Number 1 and Number 2 grades are commonly sold at local lumberyards. They have good strength ratings but also come with imperfections such as large knots, rounded bark edges, and some bowing or twisting. Number 1 will have fewer imperfections than Number 2. These grades are ideal for a costconscious DIY homeowner.
Better–You’ve hit Prime time. The Prime grade of Number 1 and Number 2 lumber features the same strength properties, but are listed as Prime based on appearance (regarding the amount of bark on the edges or the number of knots). This lumber is a bit more expensive, but you get what you pay for.
Best–To guarantee the most beauty for your back yard, choose either C & Better or Select Structural grade products. With these two grades you get the strongest lumber properties and better appearance. Knots will be small, few and farbetween, and there should be no bark on the edges.
These best grades are also available in kiln-dried options, which eliminate the waiting period typically required before painting or staining for “wet” lumber. The KDAT (kiln-dried after treatment) lumber is a high-grade wood product selected for its appearance, providing similar appeal to wood-composite boards while maintaining a genuinely natural look. Typically backed by a lifetime warranty, KDAT lumber offers a number of benefits. Not only is it ready to be painted, stained or sealed immediately, but the kiln-drying process reduces the lumber’s natural tendency to shrink, cup and warp, and it weighs less than freshly treated lumber. KDAT products are easier to handle, cut and install, have greater strength, more stiffness, and increased holding power.
Learn more at YellaWood.com