
3 minute read
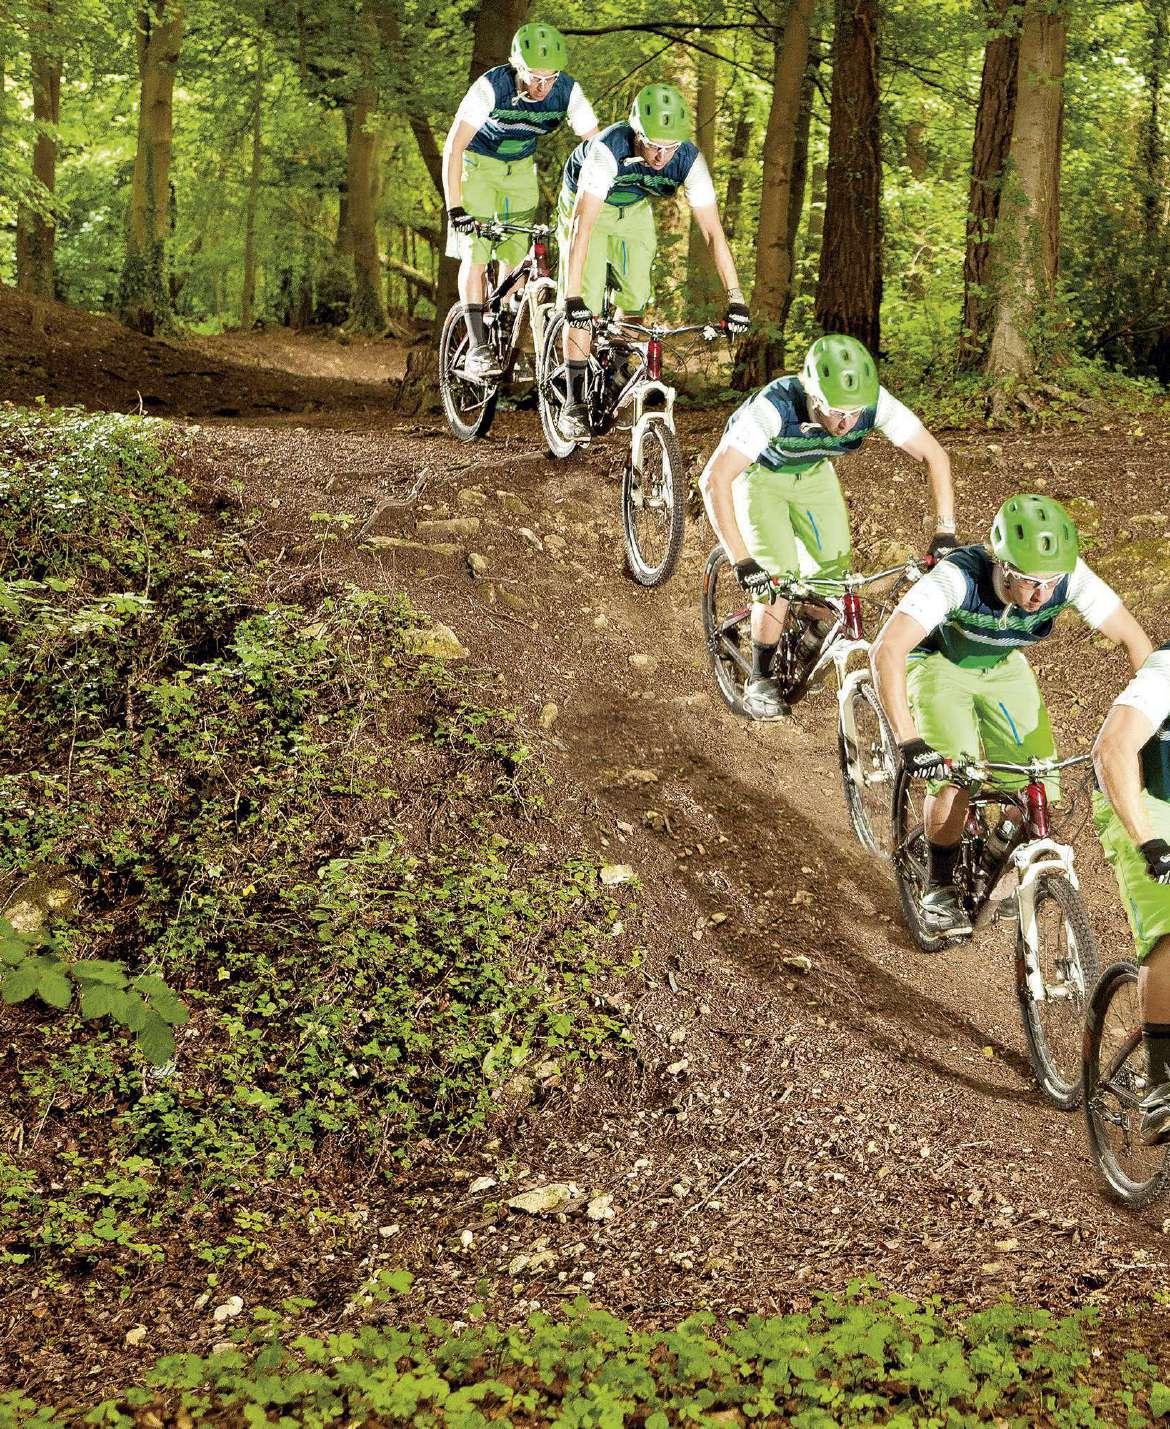
Riding off camber


TIPPING POINT
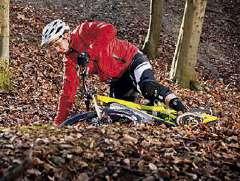
HELPING DAB
If your front wheel does step out, you can rescue it by stomping your inside foot into the ground.
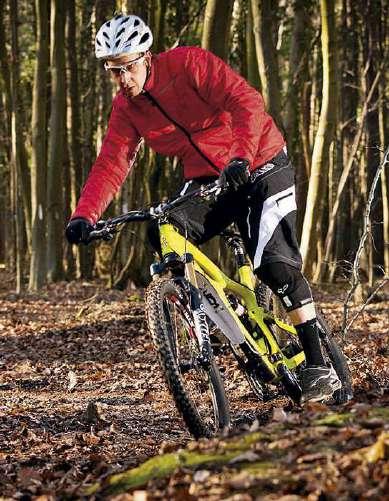
3 REGAIN COMPOSURE As long as your forward momentum is more powerful than your sideways slide, and you keep the front end on track the rear wheel will pull back in line.
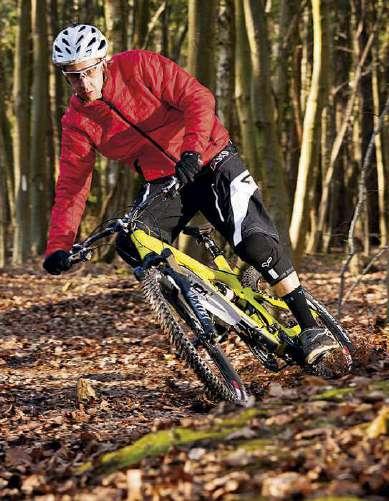
RIDE OFFCAMBER
The tricky thing about riding off-camber terrain is that the hillside wants you to head down the same way it does, but you want to cross its gradient. Stay focussed on where you want to go and commit your weight to the front wheel for grip. It’s all about body position. Make slow, exaggerated movements, and if the rear wheel slides, it’ll usually come back into line again as long as the front end maintains grip. If you feel the front lose traction, you can save it with an inside leg dab.
4 STRAIGHTEN UP As you straighten up, move your weight back slightly to put some weight on the rear wheel. This will make it grip and stop sliding.
DOWN AND OUT
Head out somewhere slippy with some kneepads, and find the limits. You need to slide out and have a tumble to work out how far you can push it.
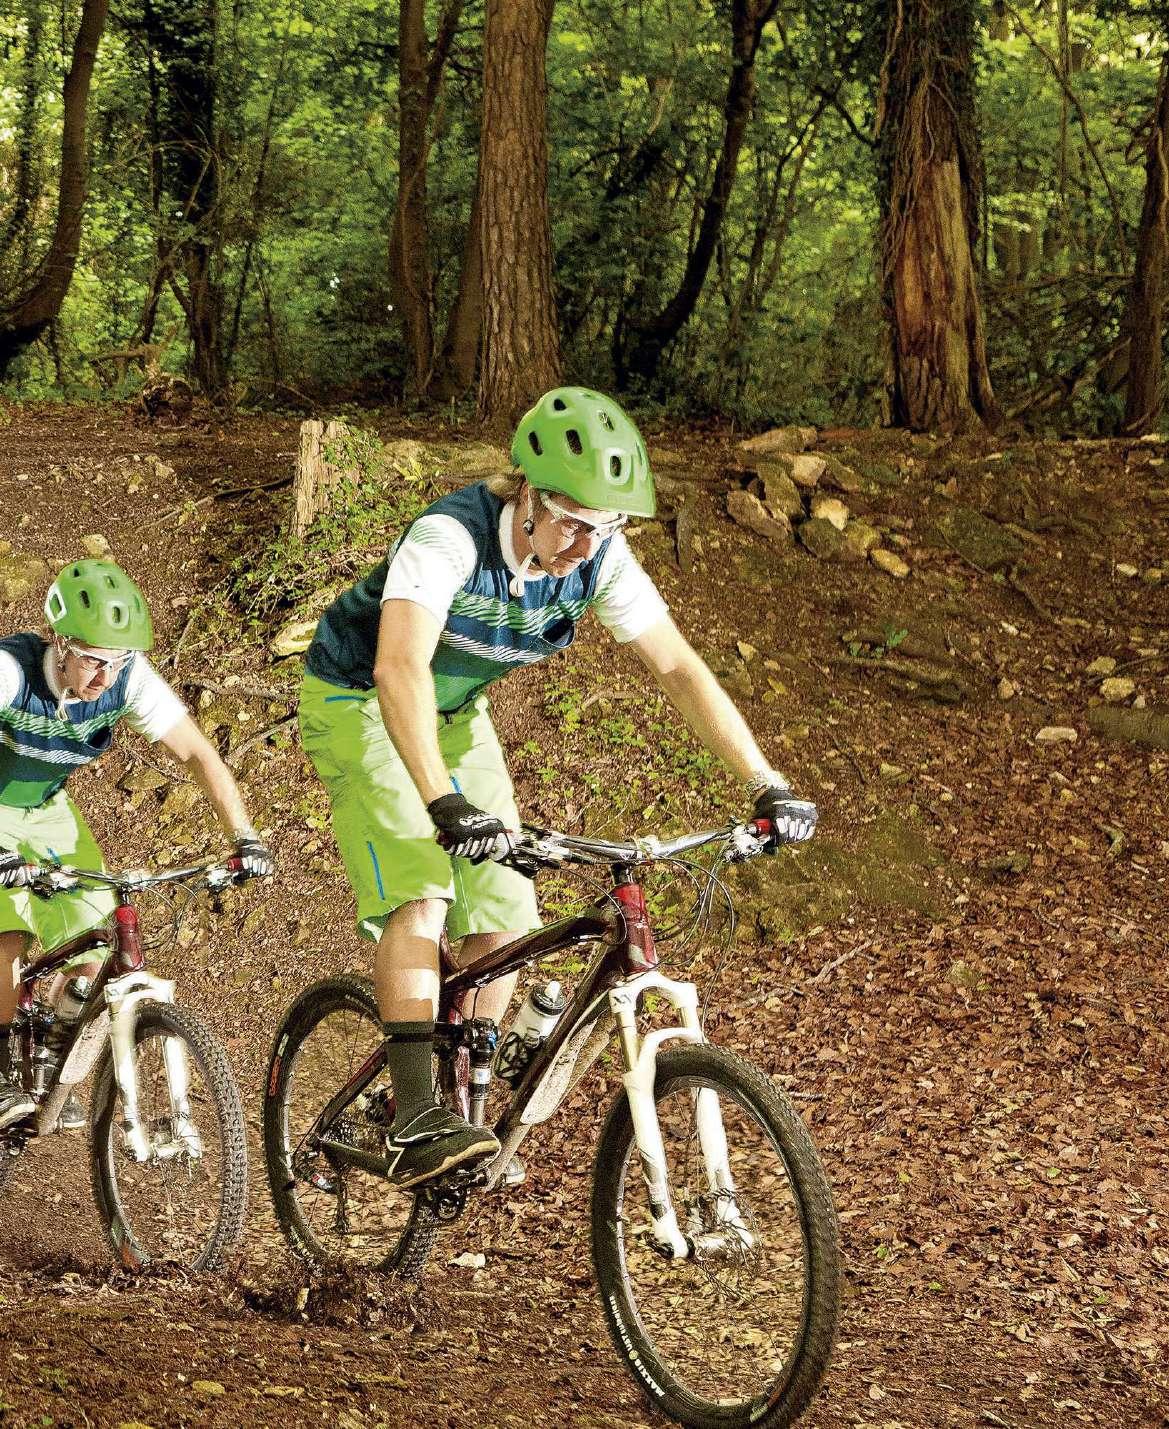
BRAKING
Avoid rear braking – the lack of weight on the back wheel will make it skip sideways. Just use subtle front-wheel braking.
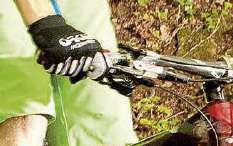
BODY WEIGHT
Keep most of your weight over the front wheel – it’s the wheel that controls your direction so you need to make sure it has traction.
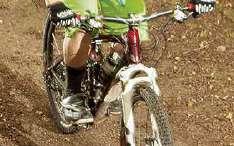
INSIDE LEG DAB
If you feel the front end is going to slide out, you can trail your inside leg out ready to catch yourself.
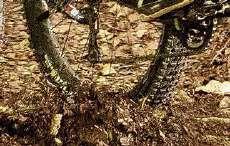
FOOT POSITION
Have your outside foot down with plenty of weight on it – this forces the shoulder of the tyre into the ground for more grip.
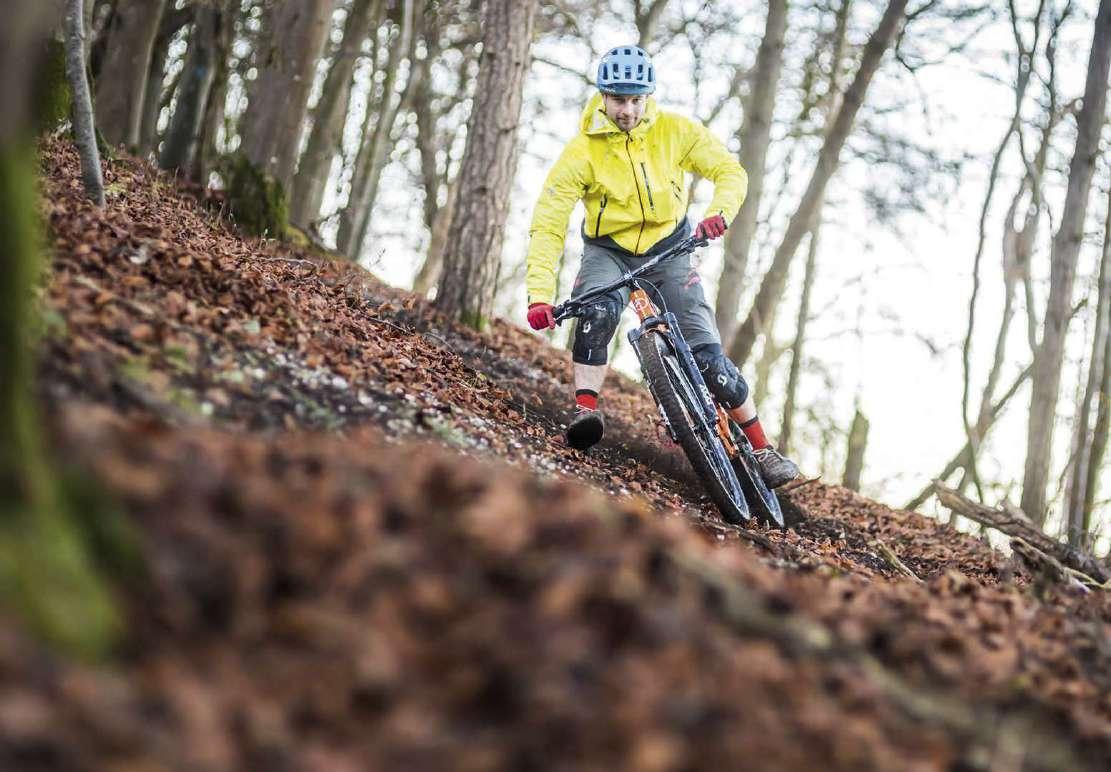
AGGRESSIVE BRAKING
It’s easy to drag your brakes and keep control of your bike at mid-paced speeds, but here and there you will need to brake hard. Your tyres can break loose under hard braking, so it’s important to give them as much grip as possible – this means weighting the bike for maximum effect. Often there’ll be dips and undulations that weight the bike as you ride, but you can simulate this effect by aggressively weighting the bike and braking together. You can use this technique on even ground to good effect, but it will always work best in a dip, following a transition or in a G-out, as your bodyweight will naturally weight the bike.
APPROACH
Spot your braking point, and be ready to unweight the bike.
COMPRESS
Just like pumping the backside of a transition, push your weight through the pedals and handlebars – forcing the tyres in to the ground.
GO LIGHT
Spring up on the bike like you would when unweighting before riding something rough – there’s no need to actually pop off the ground though.
HELPFUL HINTS
Push your heels so your bodyweight moves into the bike as you brake, rather than pitching you forward.
Compress into the bike – your suspension will compress and drive the tyres into the ground.
When braking hard on uneven ground, use one finger, so you can maintain a tight grip on the bars.
Do hard braking when the bike is as weighted as possible, to give your tyres maximum purchase.
POSITION
As you’re applying heavy braking, you need to keep a 60/40 bias in your weight distribution toward the rear of the bike – you don’t need us to spell out that a hard handful of front brake when leaning forwards will send you out the front.
S T A N D STRONG
With your full weight on the bike, brace yourself and pull the brakes hard. If your tyres break loose, release the relevant brake slightly.
WRISTS
When weighting the bike and braking hard, there can be hard rotational forces on your wrists, so be prepared and brace. One-finger braking is often enough so maximise your grip with the rest of your hand.


