
6 minute read
Basic jumps
FAST JUMPS
A good blue trail should be easy enough for novices but also fun and have some options to keep faster riders interested. Jumps – or bumps – on blue trails usually have mellow transitions so they’re no problem to ride over at steady speed and there’ll often be a landing of similar size. Here we’re going to look at ‘squashing’ a small jump to maintain your
speed and flow. The main aim is to squash the takeoff to maintain control and momentum, then pump the downslope to gain extra velocity on the landing. You’ll need a bit of speed for this, but build it up steadily.
ALL IN THE TIMING The stage at which you squash a takeoff will depend on jump size. You can only squash the top of big ones, so time it later. Squash the lip too early or hit it stiff-legged and you’ll be bucked on to the front wheel. Too late and you’ll go upwards or do a ‘dead sailor’.
PUMP BUMPS
Pump bumps are small rollers that can be a single lump or a series of undulations. What makes them different from jumps is that they’re generally on sections of trail that are quite slow, so it’s better to pump them to gain speed rather than try to jump them.
Pumping is a way of generating speed from the trail without pedalling. It’s a simple concept – apply pressure to a downslope and you’ll gain forwards momentum. At steady speeds you can pump small bumps with both wheels on the ground, but at faster speeds it can be better to let the front wheel come off the ground (a move known as a ‘manual’) and pump with the rear wheel only.
APPROACH
Start at a speed you’re comfortable with. Approach in your attack position, glance at the upslope then look over it. As the bike goes up the transition, let it pivot – bend your arms and keep your bodyweight central and over the BB.
SQUASH
As you feel your weight increase into the upslope, push with your feet then quickly unweight, allowing the bike to come up below you. Simultaneously push the bars forward so the seat rises in front of your hips.
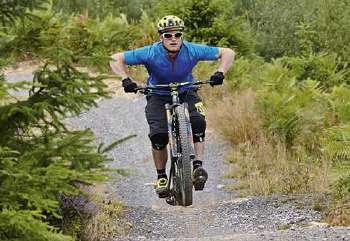
PUMP IT
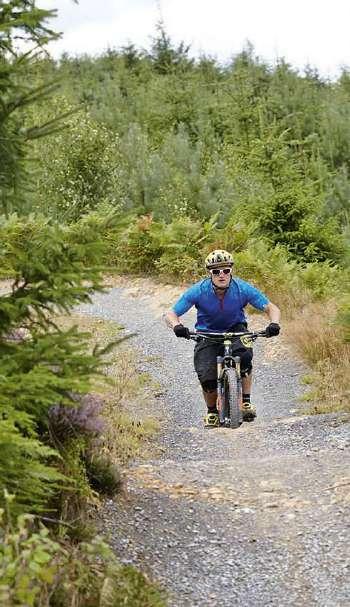
APPROACH You should be in your neutral position, with your weight through your feet and your hands light. A bit of speed will help, but keep it under control. Spot the upslope so you can work out your timing, then look down the trail, covering both brakes.
1 ABSORB Just before the front wheel hits the upslope, compress the bike into the ground and bend your arms and legs so the bike can change angle and is light on the upslope.
MANUAL PUMP IT
1 MANUAL As the front wheel reaches the bottom of the upslope, compress the front of the bike and push it forwards to lift the wheel off the ground. The aim is to avoid the wheel touching the ground until you’re over the top of the bump.
S TAY D O W N
If you’ve timed it right the bike will be unweighted over the top of the jump, so you’ll carry on moving forward rather than up, and the bike will push up underneath you. Stay low and relaxed ready for the landing.
LAND LOW
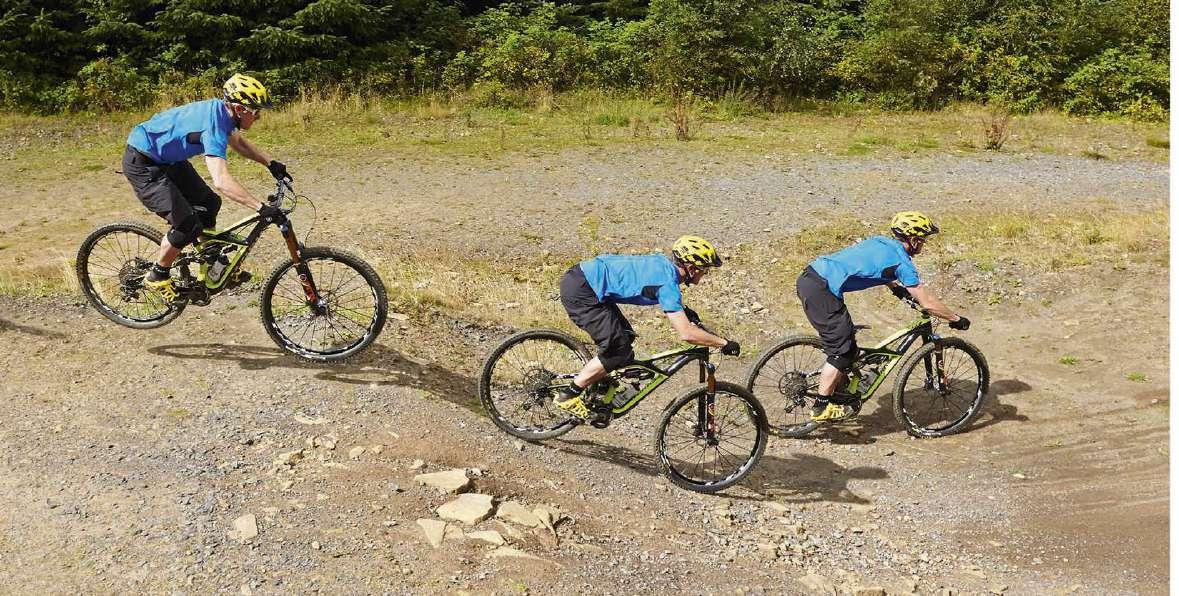
Aim to land in a low position so that you’re compressed and primed to pump the landing for extra speed. Ordinarily you’d be aiming to absorb the landing, but in this case you’re low so the impact forces won’t be that great.
PUMP
Now push hard with your legs as you traverse the downslope in order to increase your weight and generate extra forward momentum, then finally return to your attack position and prepare yourself for the next feature.
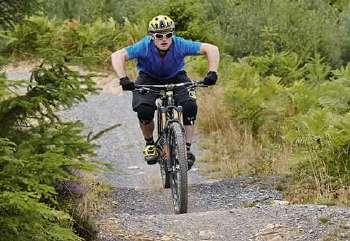
2 PUMP You’ll now be in a compressed position on top of the first bump. Just as your rear wheel clears the upslope, push with your legs to pump the downslope. Timing is essential here.
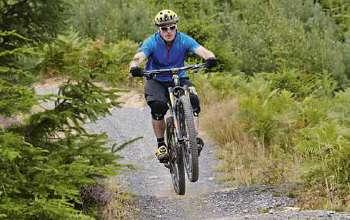
2 ABSORB With the front wheel clear of the upslope and in the air, and your arms extended, you now need to absorb the upslope with the rear wheel. Allow your knees to bend as you feel the rear wheel roll up the upslope.
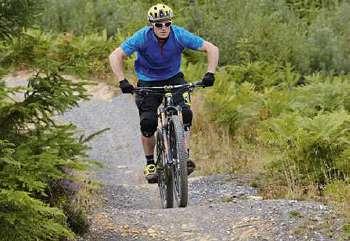
3 ABSORB If you’re tackling a series of bumps, allow your legs and arms to bend again so you can absorb the upslope of the next bump. You’ll know if your timing is out because you’ll lose speed.
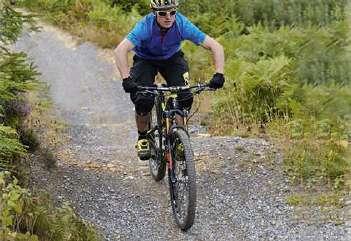
4 PUMP Push hard with your legs into the downslope to generate as much speed as you can. Using your legs as much as possible will help you to generate better power.
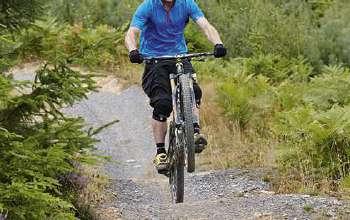
3 PUMP Just as the rear wheel clears the upslope, push down with your feet on to the downslope while still holding the front wheel up. Transferring your weight on to the rear wheel and downslope will increase your speed.
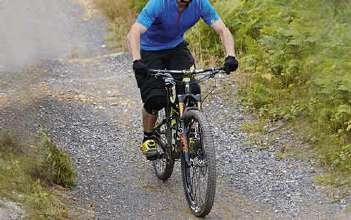
4 ABSORB As the rear wheel reaches the next upslope, allow it to come up between your legs and the bike to level out, then repeat steps 2-4. When you reach the final downslope, let the front wheel drop and, if there’s space, pump for extra speed.
SKILLS RED TRAIL
Time to step it up and attack those red runs
RAIL RUTS
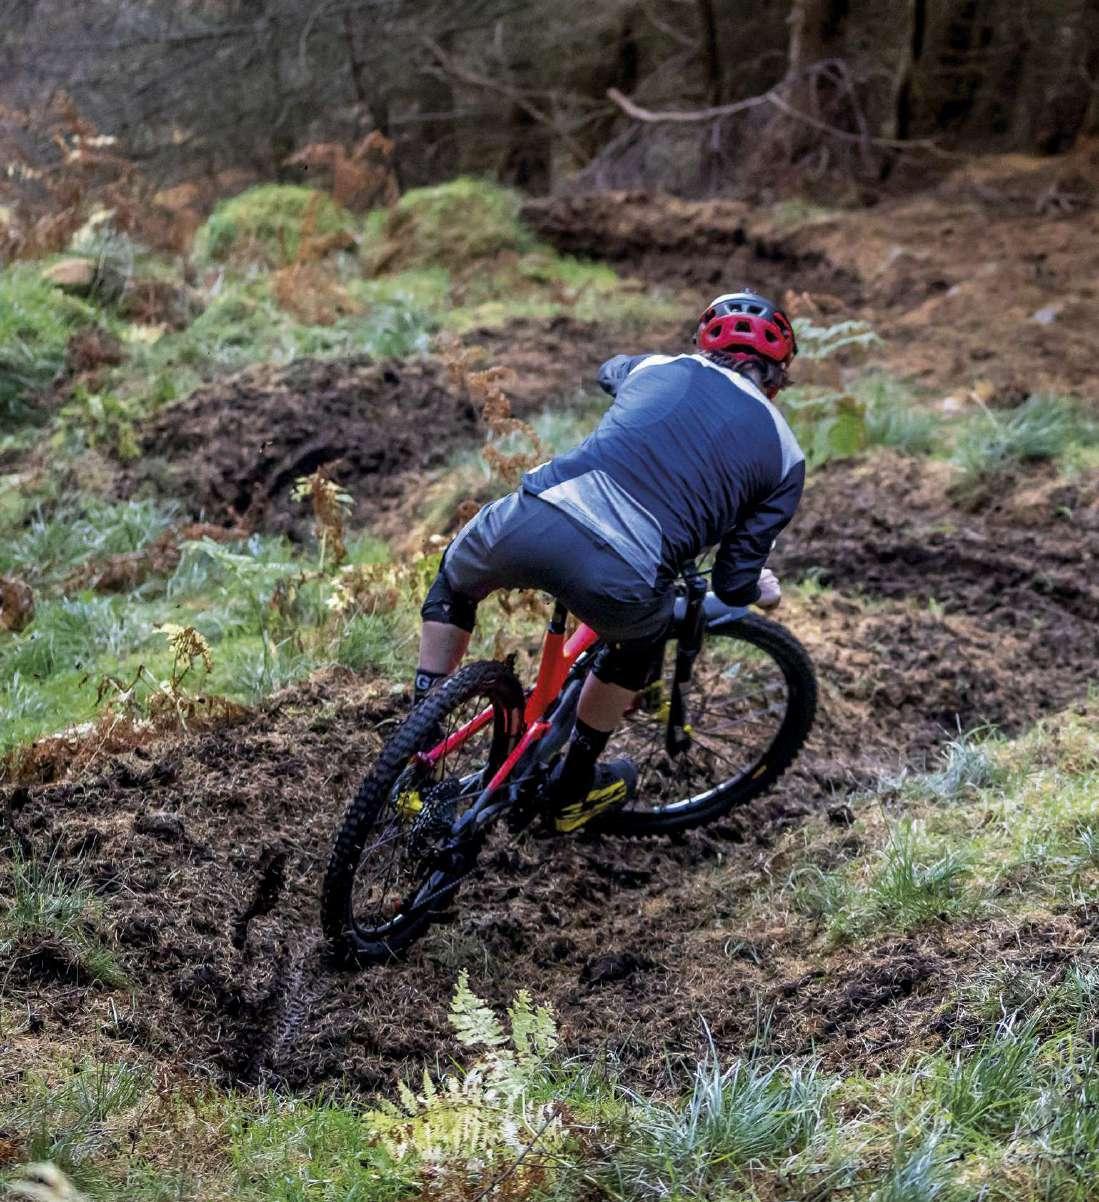
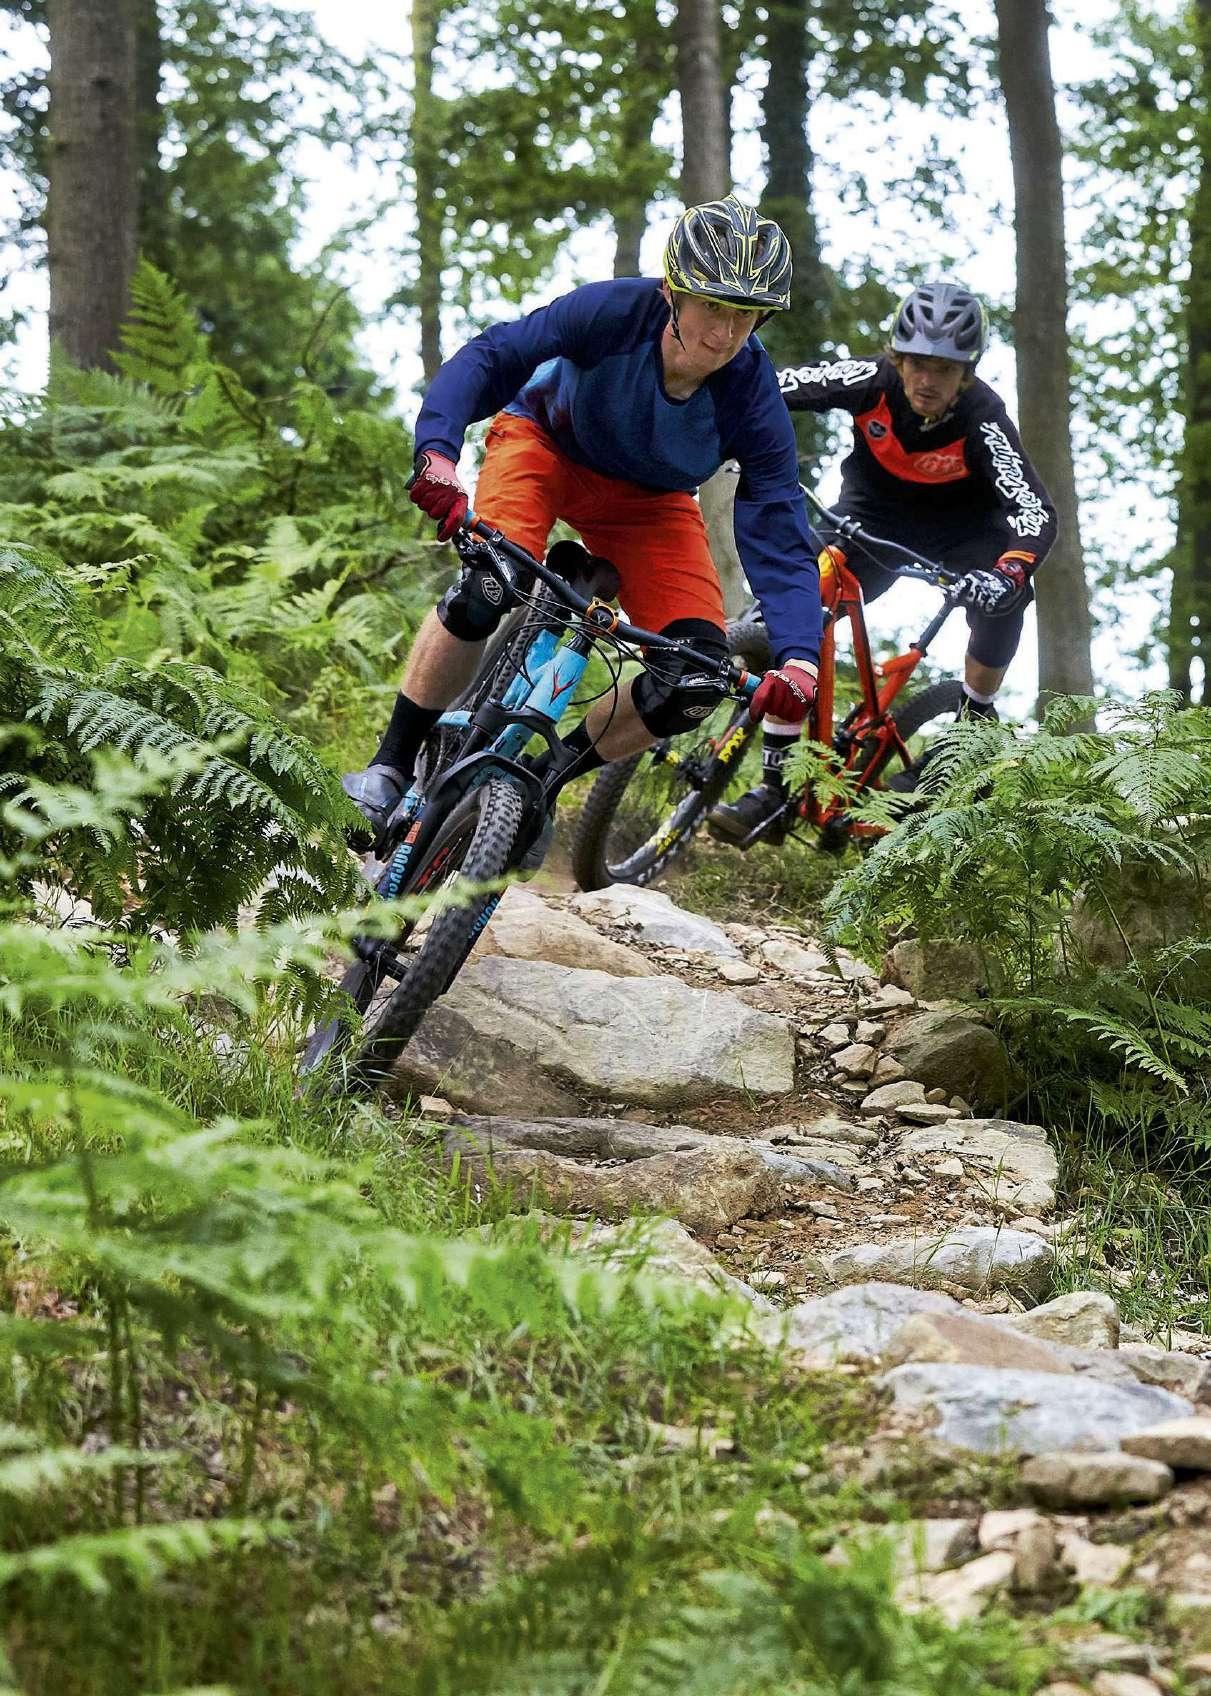
Ruts are one natural trail feature that can turn even the best bike handler into a panicked and out-of- balance novice. Follow this advice from Scotland’s best rut rider Joe Barnes and you’ll soon be flowing down them easier than the water that helped create them!
STAY LOOSE Let the bike move around beneath you. Unlike normal riding, where you try to ride with a solid position on the bike, in ruts you need to constantly move and balance with the bike. If the bike moves left, then you move to the right to keep it upright. 1
2 PEDALS LEVEL It’s important to ride with your feet fairly level. This gives you space to dip from side to side more easily and stops your feet hitting the edges of the ruts.
EASY ANCHORS No sudden braking. Hard braking will cause the bike to get dragged into the edge of the rut and you’ll lose balance. Use a bit more rear than front brake and feather them as you go to keep control and balance. A handy tip for this is to run your brakes with more lever travel so they’re less grabby. 3
LOOK AHEAD Keep your head up and look where you’re going. Although rut riding can be slower than trail centre trails, it’s still important to keep your eyes up to help with balance and predicting what’s coming ahead. 4
GO FOR GLORY Finally, when you get yourself set, don’t forget to properly hoof it! 5


