7 minute read
Nailing berms


POWER OUT OF BERMS
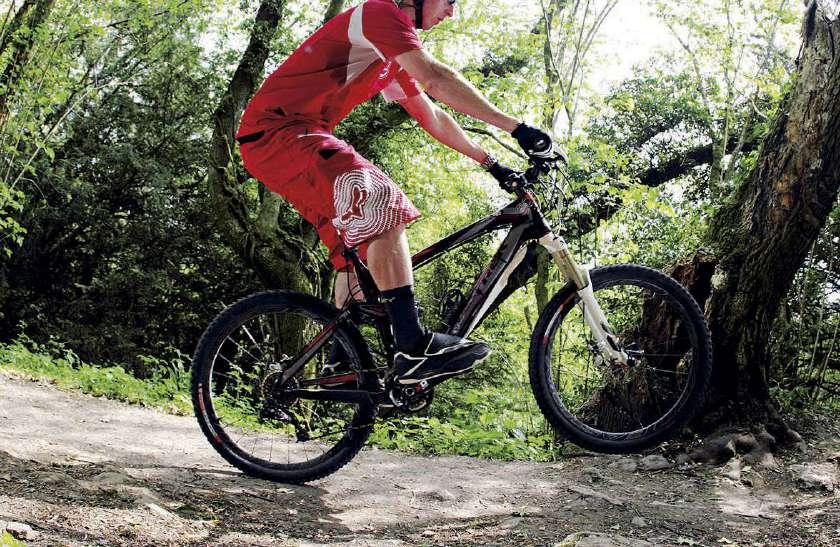
Exit speed in corners is an easy place to gain or lose time in a race. The way pros link berms into straights is seamless – they appear to come out faster than they went in. A lot of this is down to identifying the correct braking point and pumping, but hitting the pedals at the right time and getting max power down makes a big difference too. Wheelieing as you exit a turn means you can get your legs straighter and put full power through the pedals. It also overcomes the risk of stalling as you exit, without needing to shift down a gear. This technique requires you to be able to pump berms and wheelie, so get comfy doing both those things first.
EYES UP
When powering out of a turn, it’s easy to oversteer by pulling the handlebar round too far. The key to preventing this is to keep your eyes up and look straight down the trail at where you want to go.
MANUAL
While not a useful technique for going fast, manualling out of turns does look pretty cool. Follow the first two steps, but instead of pedalling to keep the front wheel up, shift your weight back and try to find the balance point. It’ll take some practice, but once you’ve nailed it, you’ll look like a boss!
Manualing out
Pulling a manual as you exit a berm looks cool and feels pretty damn great
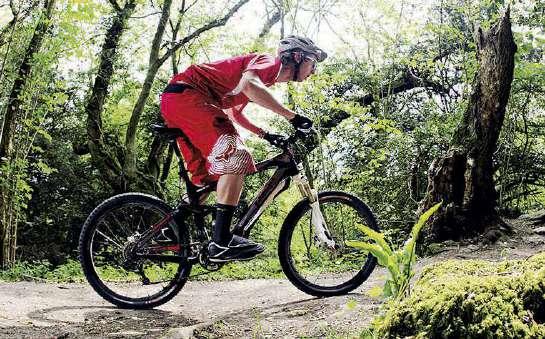
1. HIT THE APEX Enter the berm as you would any other corner – central on the bike and balanced. Powering out of a turn is about generating forward momentum, and you get that by springing out of the apex – the point where the G-force is sucking you in and the bike wants to compress. Feel where that is and exaggerate its effects by pushing down on the pedals and handlebar.
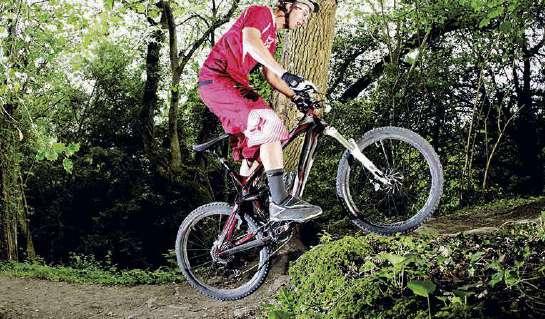
2. LEAN BACK As the suspension rebounds, the bike will want to accelerate forward. Accentuate that motion by pushing your hips forward and simultaneously pulling back on the bar, like you would to manual. At this point you should be keeping the cranks level and your heels dipped, to help tip the bike onto its back wheel.
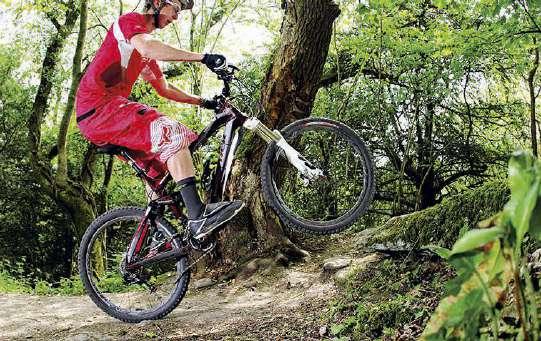
3. POWER DOWN As you feel the back wheel rise, put some strong power strokes through the pedals while still pulling back on the bar. You’ll probably find that, after a couple of rotations, your gearing is too easy, but that’s OK. The aim of this technique is to get you back up to speed and prevent a stallout, from being in too hard a gear.
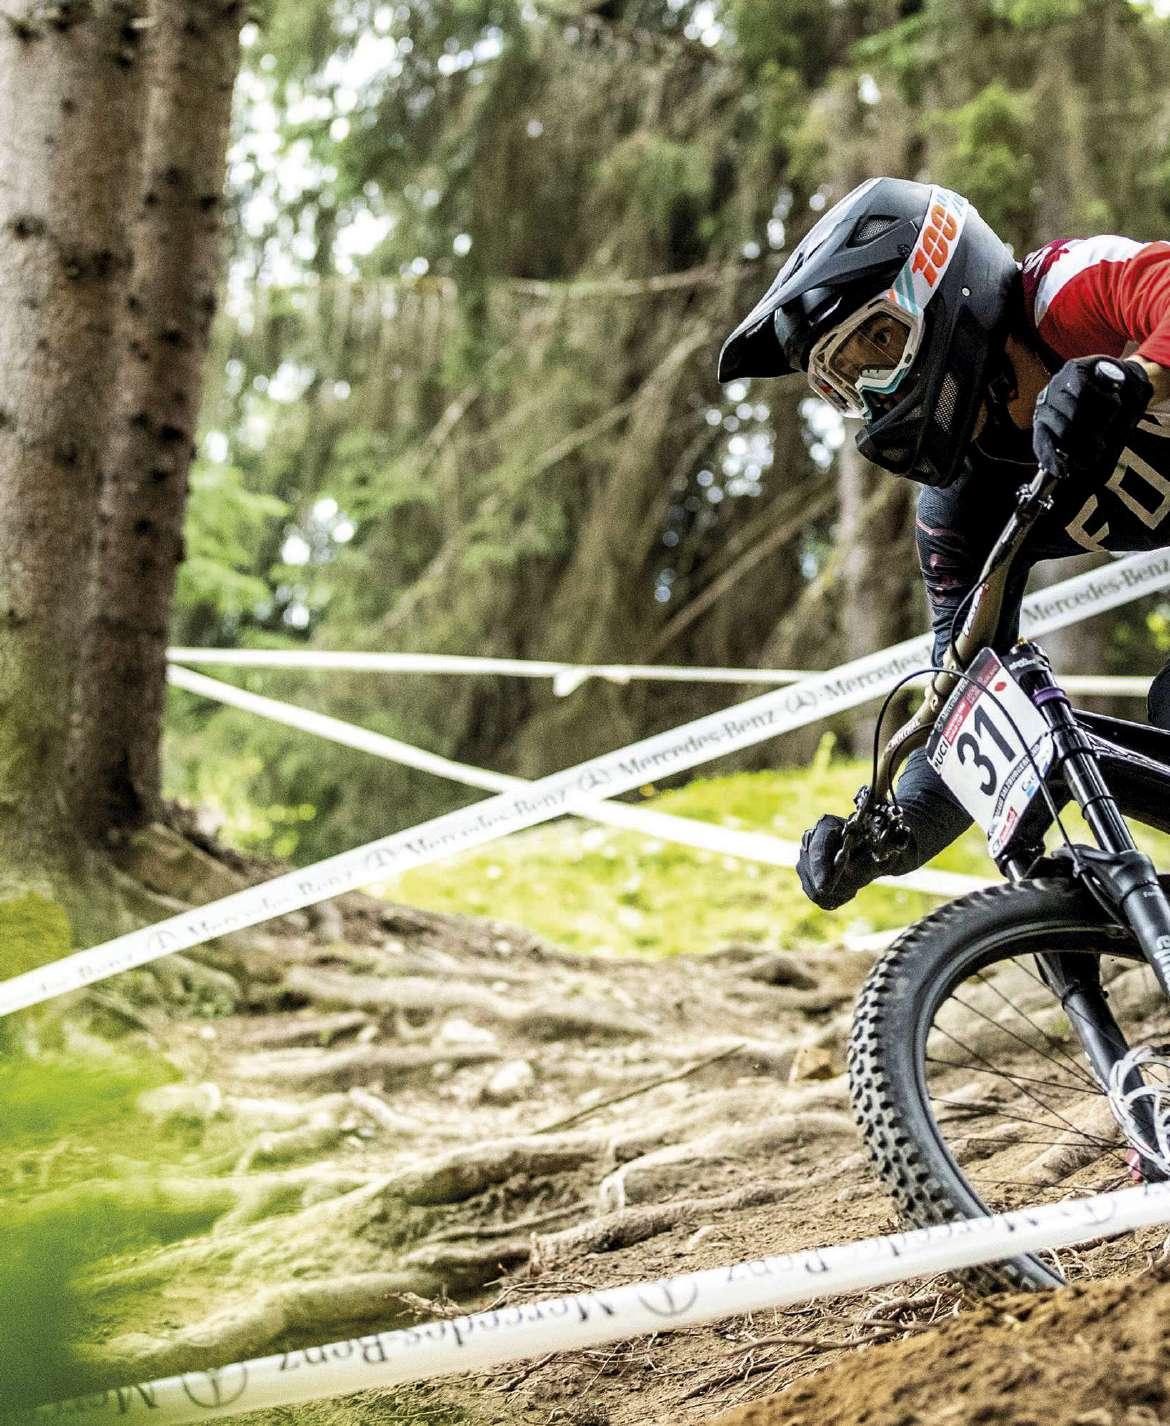
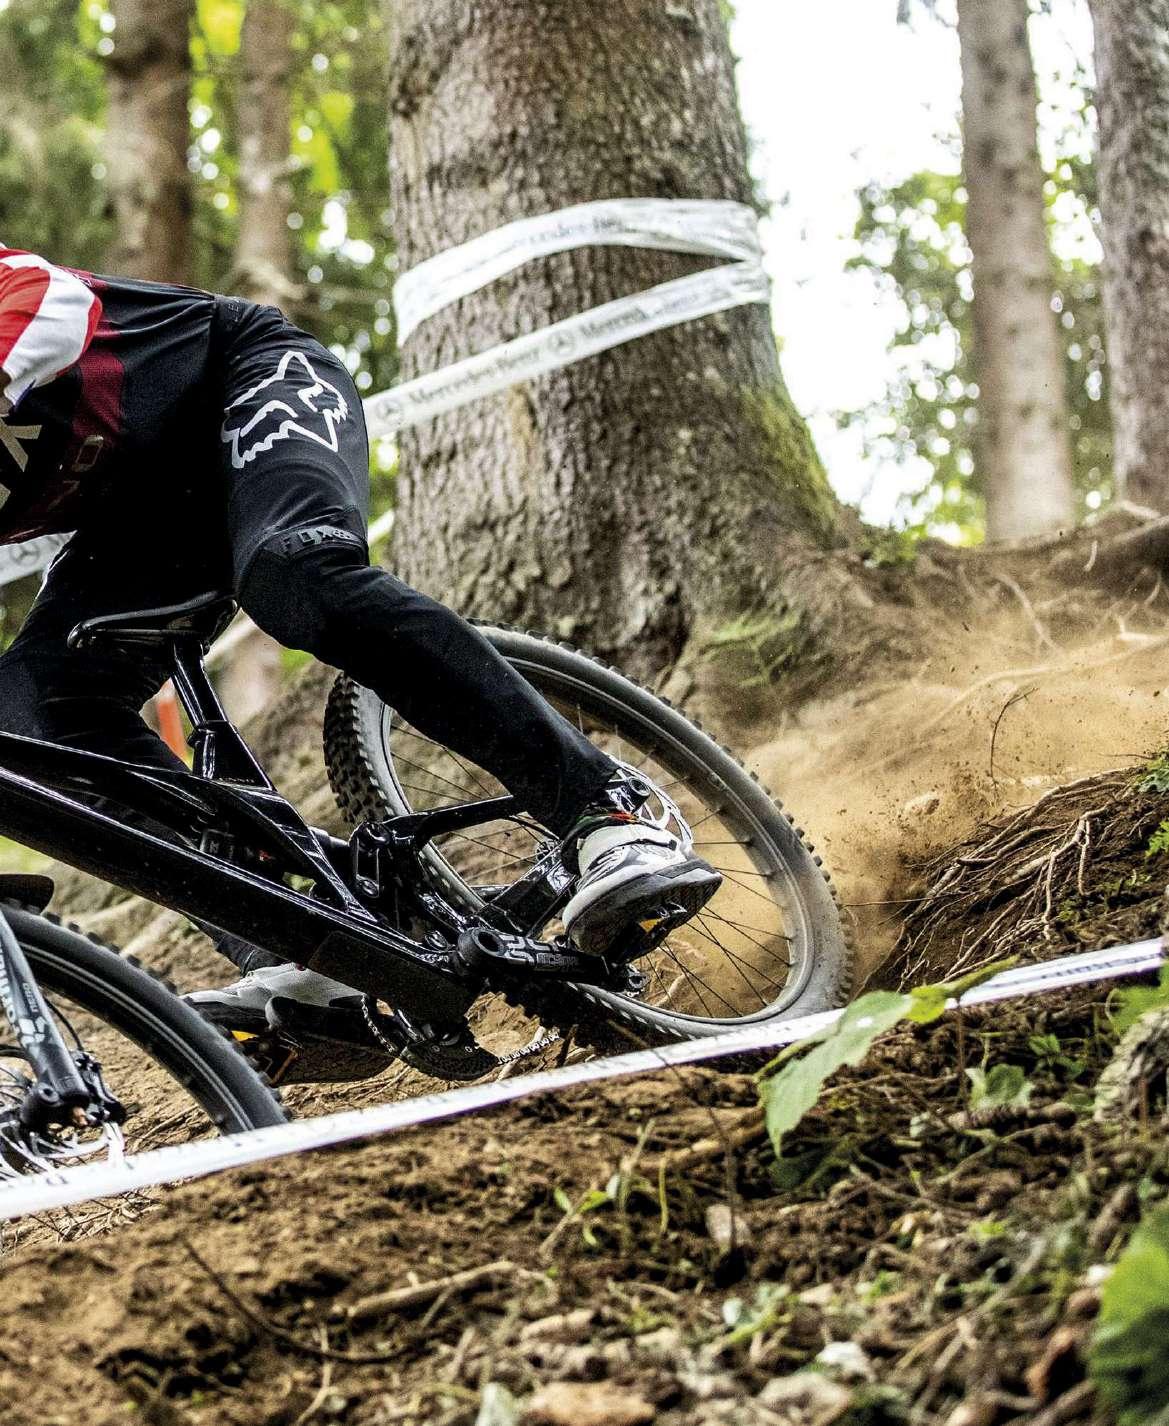
RAIL TURNS
Consistent cornering means faster times for UNNO Factory Racing rider Greg Williamson, but also more speed, flow and fun for you on the trail. Follow these tips and you’ll be flying round the turns in no time!
SET U P
Cornering is all about ‘VPD’ – vision, position and direction. Your vision allows you to set your position on the trail, which decides your direction. From entry to exit, rolling into any type of turn at any speed requires you to keep your head up and eyes to the front. This allows you to choose the right cornering technique to apply at the right time.
BRAKING
No matter the type of turn or the entry speed required, getting all of your braking done before you hit the sweet spot, or apex, is a must. This keeps your bike balanced and allows you to get maximum grip from your suspension and tyres.
FOCUS
My number one tip for consistent railing of turns is to not focus on what you’re doing with your body. Instead, think about what you’re doing to the trail – pushing berms away from you, or drilling your tyres into the floor with hand pressure. External focus equals gains!
A P P LY I N G PRESSURE
Your contact points with the bike – your feet and hands – are the key to railing turns successfully. The sharper the turn (whether bermed or not), the more pressure you need to apply through the bar and pedals. Bermed or banked turns require more pressure from your lower body. Flat or off-camber turns require more even pressure applied through your upper and lower body, with your inside hand being key to front wheel grip.
corner types
How Greg Williamson builds on these basics to tackle every turn
BERMS Greg does all his braking before entering the turn. He spots the sweet spot for applying pressure early and, coming in relaxed and balanced on the bike, ‘punches’ it with the perfect amount of pressure needed, depending on how tight the corner is. He rides with his feet level in most berms, and shifts his vision to the exit of the turn very early.
FLAT TURNS The trail surface (grip and obstacles) dictates how Greg handles a flat turn. He leans more in tight bends and uses more finesse in open corners. As always, he brakes early and, as soon as he sees the corner, he’s looking for the best place to put his tyres, to avoid obstacles that’ll affect the bike’s lean angle.
SWITCHBACKS Riding linked turns is all about linking up the basic techniques. Greg gives himself room to move by setting up early and entering the first turn as high/wide as possible. This is a breadand-butter technique, and allows him to shift his eyes to the second turn earlier and, as a result, pick the best set-up and entry point for that corner, too.
SAIL OVER WET ROOTS
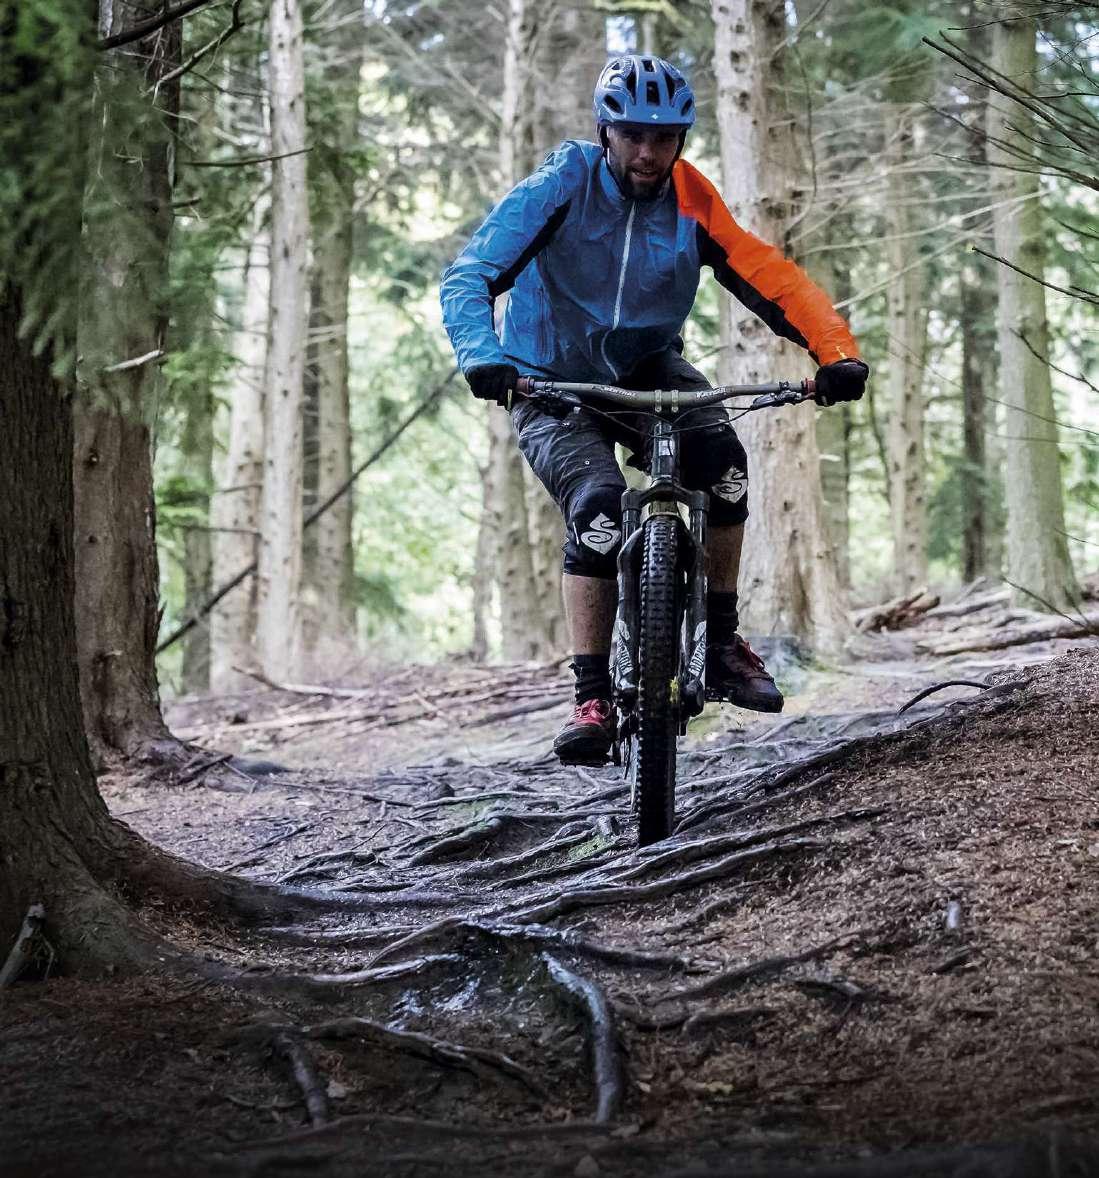
Riding wet roots can sometimes seem like the mountain bike equivalent of Russian roulette – you feel like it’s not a matter of if, but when, you’re going to hit the deck. Fortunately, good line choice, commitment and proper technique will help you clean them rubber side down.
VISION Choose a straight line and aim your front wheel so it’s perpendicular to the biggest roots (ie. hits them head on). Try to avoid large diagonal roots, which will direct your tyres off the trail. 1 2 MOMENTUM Once you’re happy with your basic technique, try hitting root sections a touch faster. Slowing down may help your confidence but it’s a bad idea because it means your tyres will be in contact with the slippery roots for longer.
HEAD UP Have confidence in your line choice and speed, then get your chin up and look over the roots at the trail ahead to help your balance. 3
PRESSURE CONTROL Ride root sections more smoothly by unweighting your wheels individually as they hit large roots. Do this by popping very small manuals and rear wheel lifts. 4
BALANCE From a perfectly balanced body position it’s easier to recover a slip and your suspension will work better. Support your weight with your legs, get your heels down and don’t hang back off your handlebar or lean back. Stay loose and relaxed, otherwise you’ll ping off the roots rather than absorb them. 5
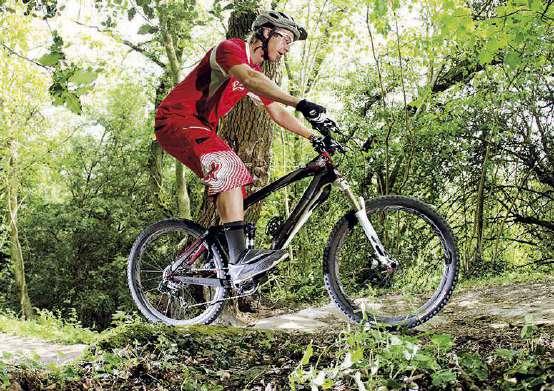
FRONT WHEEL LIFT
You’ll often need to lift your front wheel up when riding off-road – particularly when climbing – because once roots and small rocks get in your way, you can quickly lose much of your momentum.
Once you’ve learned the basics, you’ll be able to apply the skill to more technical trails. Being able to lift the front wheel ultimately means you can spend more of your time riding, and less of it pushing.
APPROACH
You first need to know when to lift your wheel. Generally the bigger the obstacle and the faster you’re going, the earlier this needs to be.
D I STA N C E
For an obstacle as high as your axle, you’ll need to pull up about two wheel lengths from the step. Too early and you risk dropping the wheel before you’ve reached the obstacle. Too late and you may hit the obstacle head on.
COMPRESS Before you pull up, compress your arms, storing energy to release as you pop up.
2
PULL UP As you spring up, pull up and back with your arms to get the front wheel on to the obstacle.