12 minute read
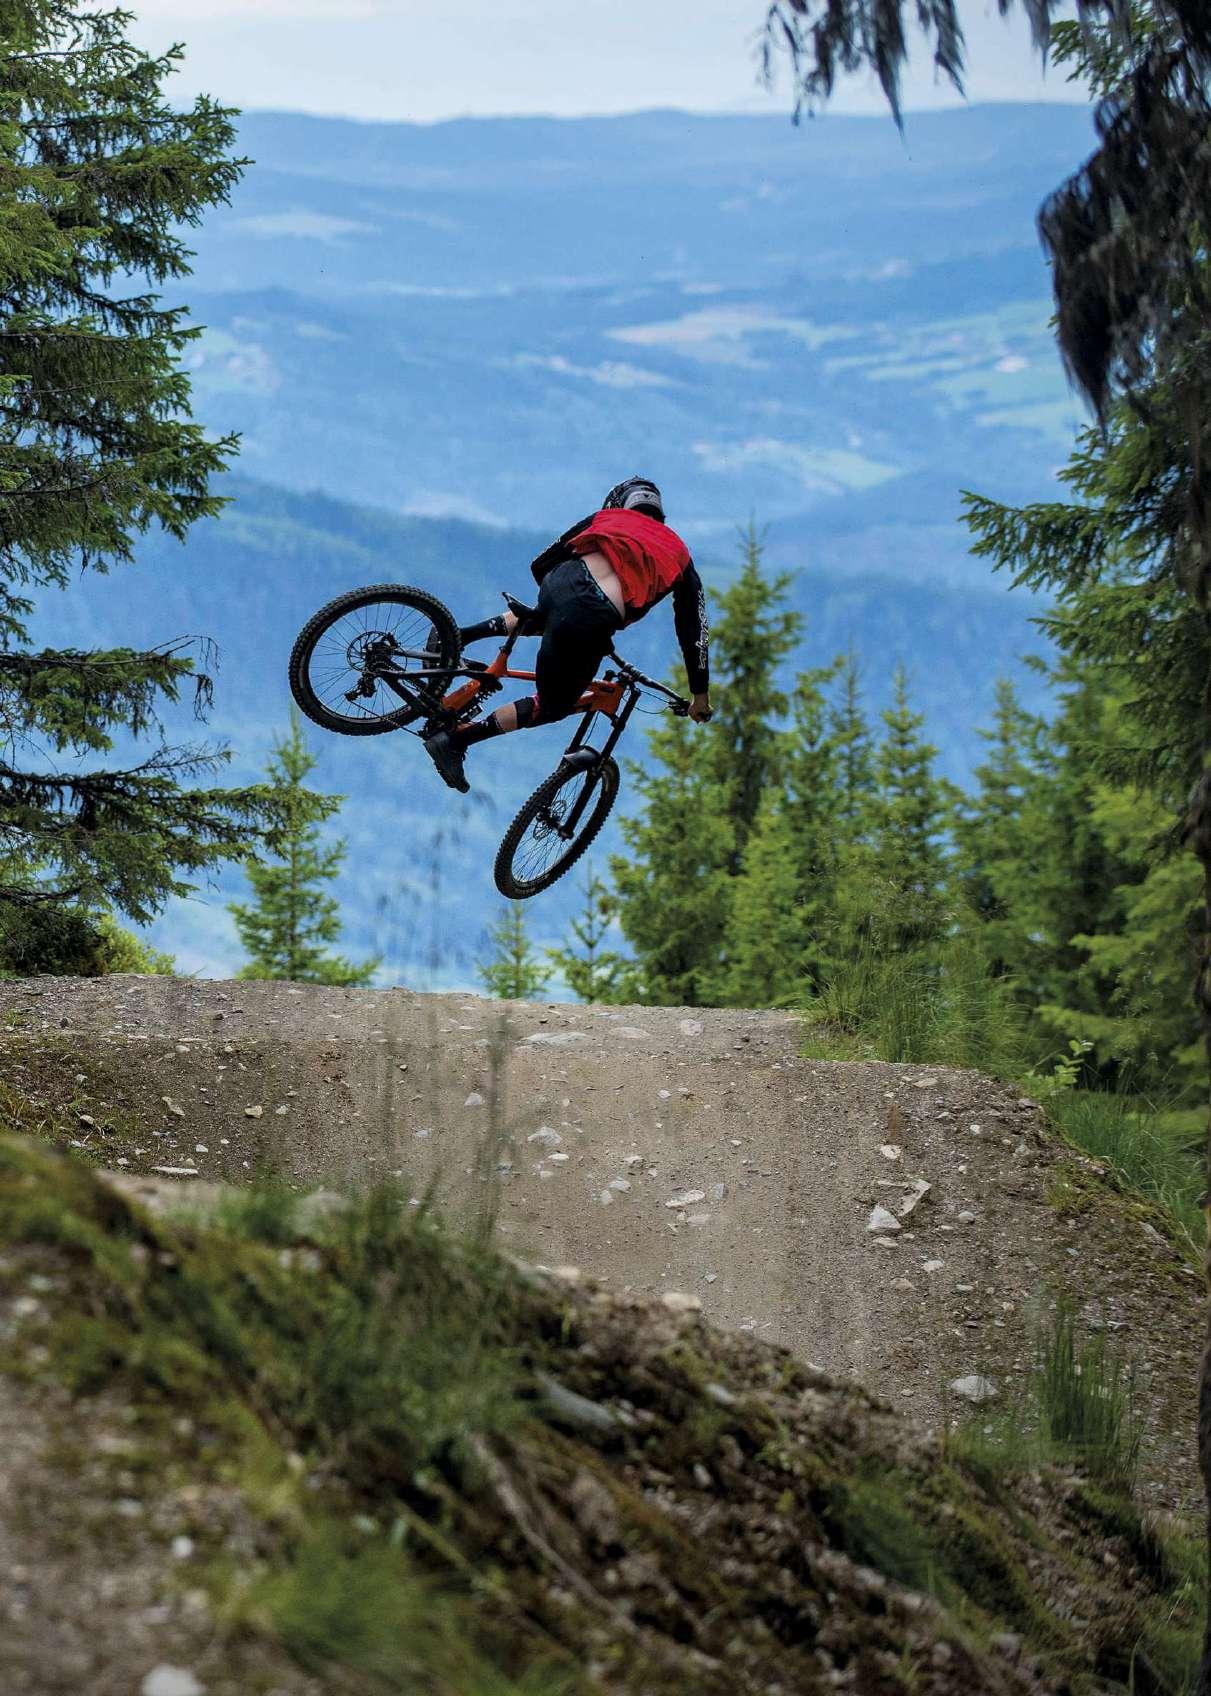
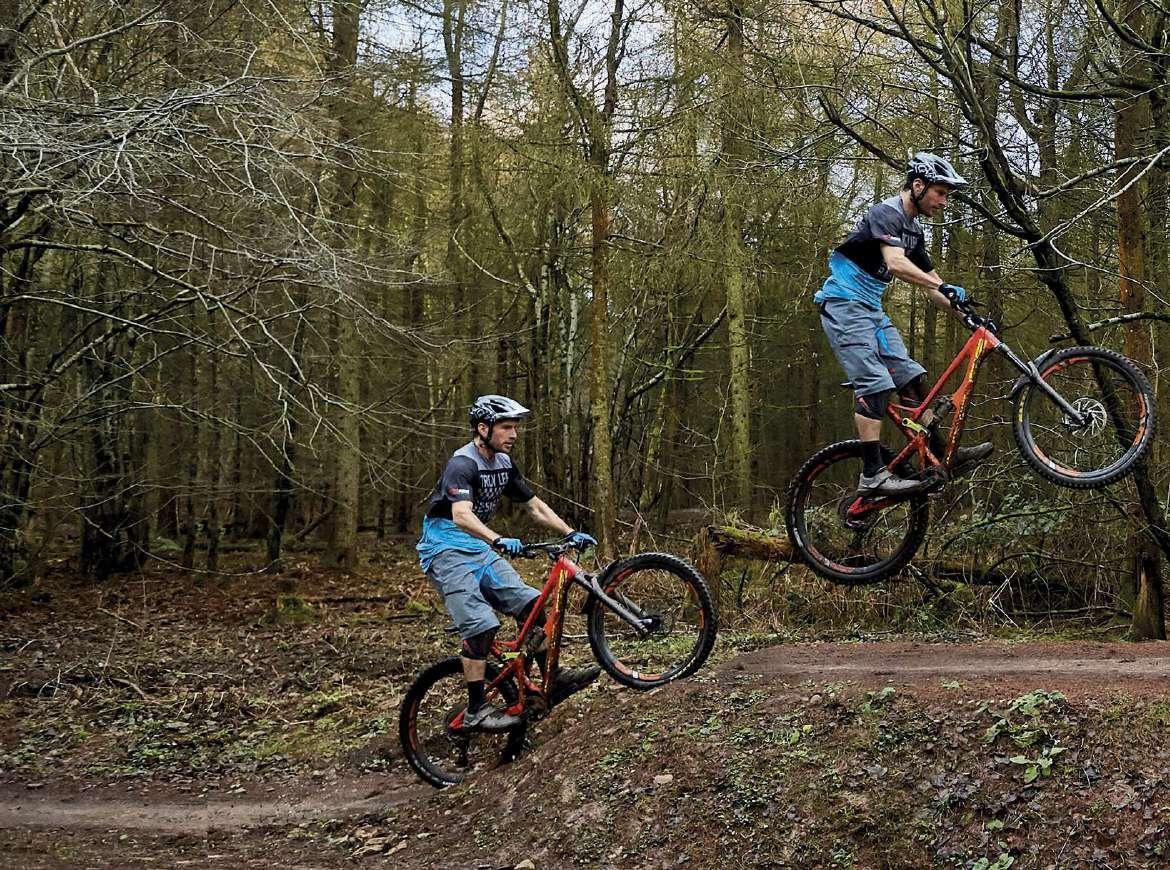
Jump obstacles


Ever wondered how to ride over an obstacle? Maybe the best approach is to jump it…
LANDING PAD
Now that you’ve hit the ground, wheels first, you should be looking up and ahead and focusing on the next section of trail, and the jump should be just a distant memory!
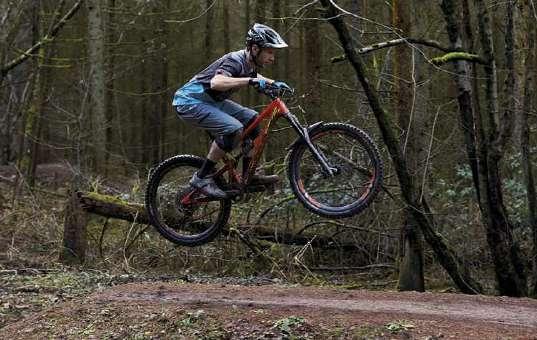
B R A C E , B R A C E
Assuming you’ve spotted your landing earlier, before taking off, you should know where you want to touch down. As you come in for landing, you’ll naturally extend your arms and brace your legs to absorb the impact as you approach the end of your flight.
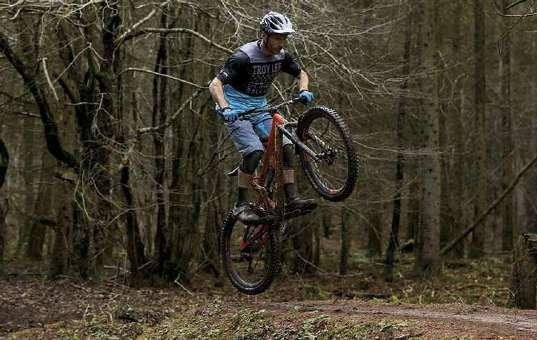
FLIGHT TIME
Relax in the air and level your bike out. This is the moment to enjoy as the clatter from you bike stops.
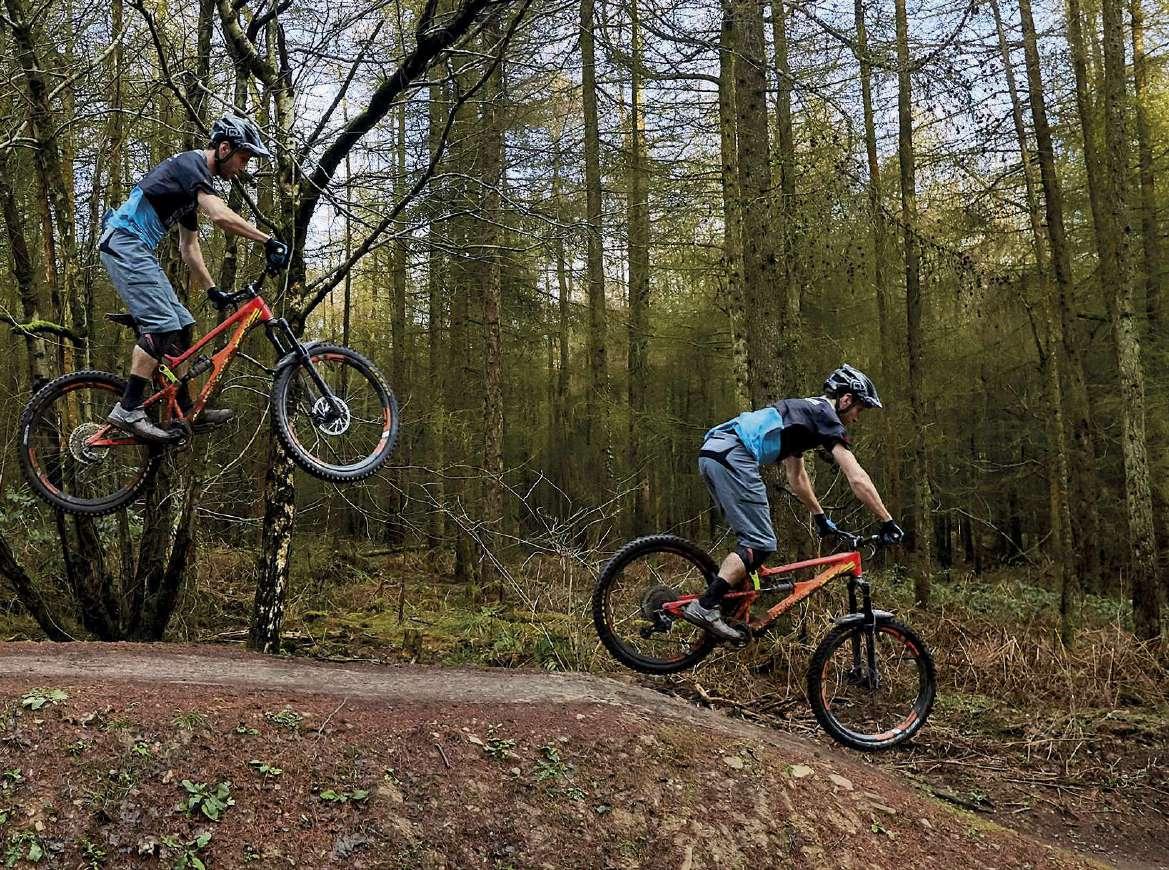
PULL UP
The type of take-off will determine how hard you need to hoick on the bars for maximum lift. If it’s a ramped take-off, treat the jump like a normal double, but if there’s nothing to kick the wheels up off, like when clearing a tree stump, then you’ll have to use more of a bunnyhop technique.
TA K E O F F
As you approach the feature, spot your take-off and landing. You’ll know whether you’ve got enough speed to clear the obstacle, so now is the time to commit! If you decide to bail it, make sure you scrub enough speed to avoid piling into whatever it is you’re planning to jump!
tips for success
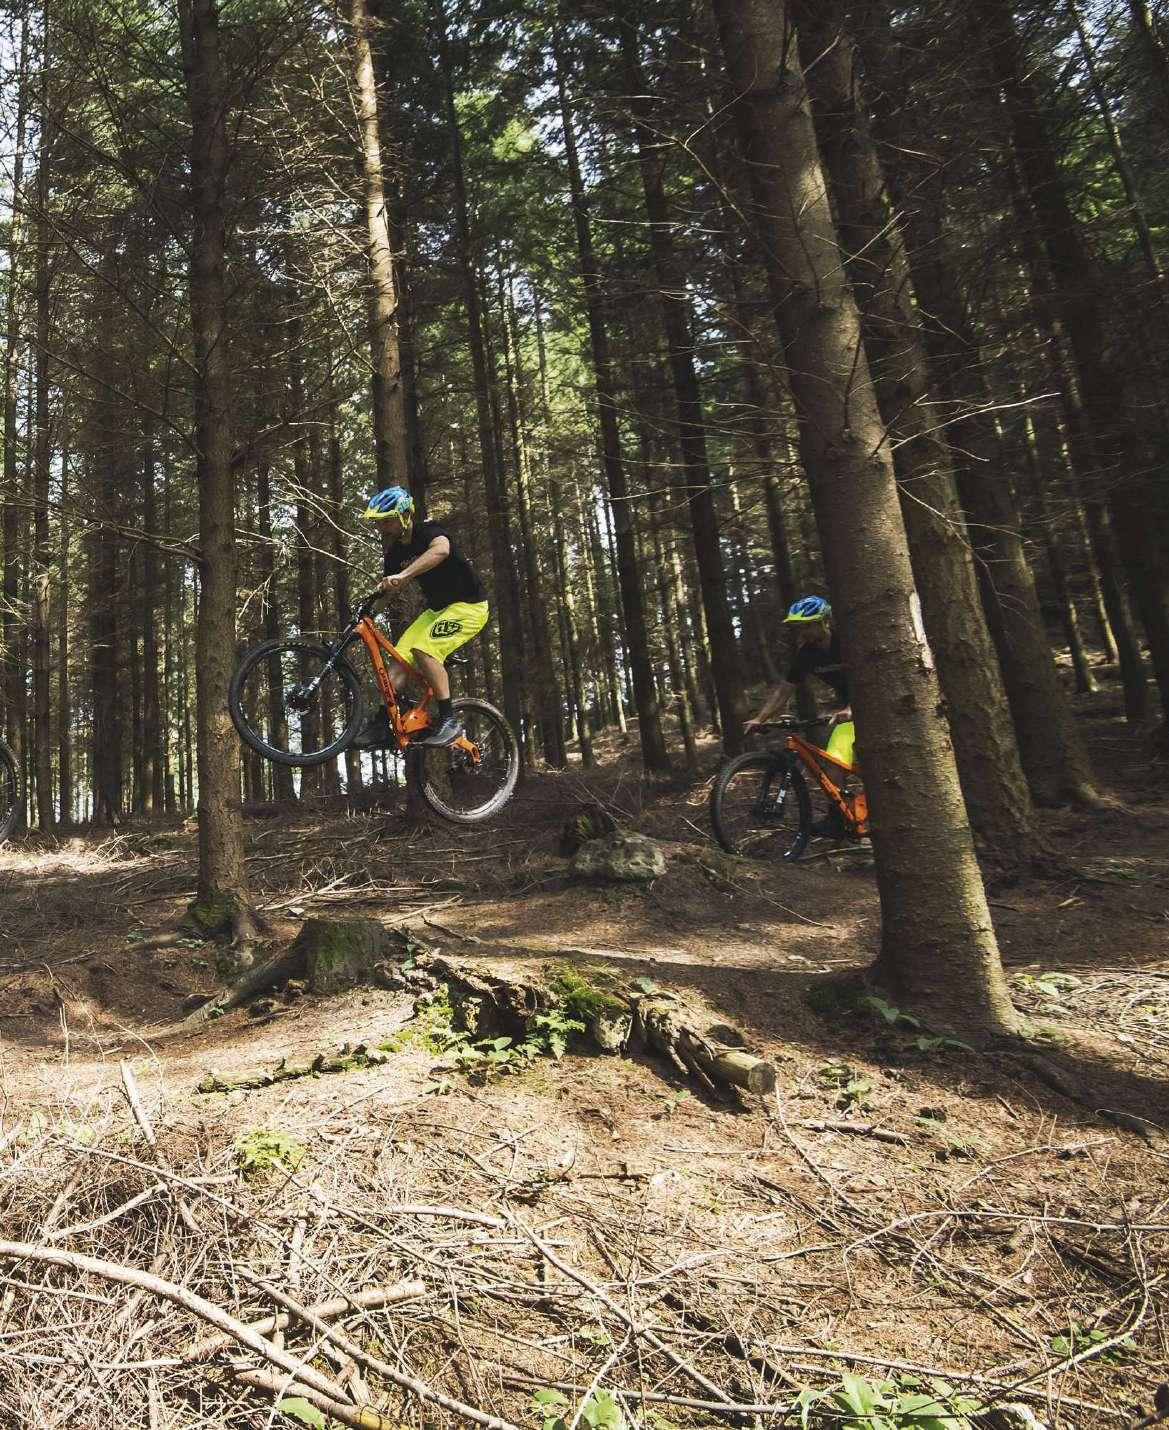
STEPPING UP YOUR GAME Don’t expect to jump like Evel Knievel right away – you’ll want to up your game in steps. Pick a single jump that you’re used to hitting and place a rock or small branch on the ground after it. Practise jumping over it and clearing it, slowly extending the distance you need to clear. Before long you’ll be jumping further than you imagined.
TRANSFERRING THE SKILLS You’ll want to take this newfound skill to the trails to help you ride faster, smoother lines. Normally, there’ll be sections of trail that you can double, clearing a hole, some roots, rocks or other gnarliness. Once you’ve mastered and identified where and what the best things are to gap, you’ll notice you’ll be riding much smoother and quicker.
SUCK IT UP Now that you’re riding faster and hitting lines harder with your new skills, it might be worth considering setting up your bike to tackle bigger hits, by increasing your fork and shock’s compression damping and slowing the rebound down. If you’ve got firm suspension you can use that to help you pop off lips and obstacles.
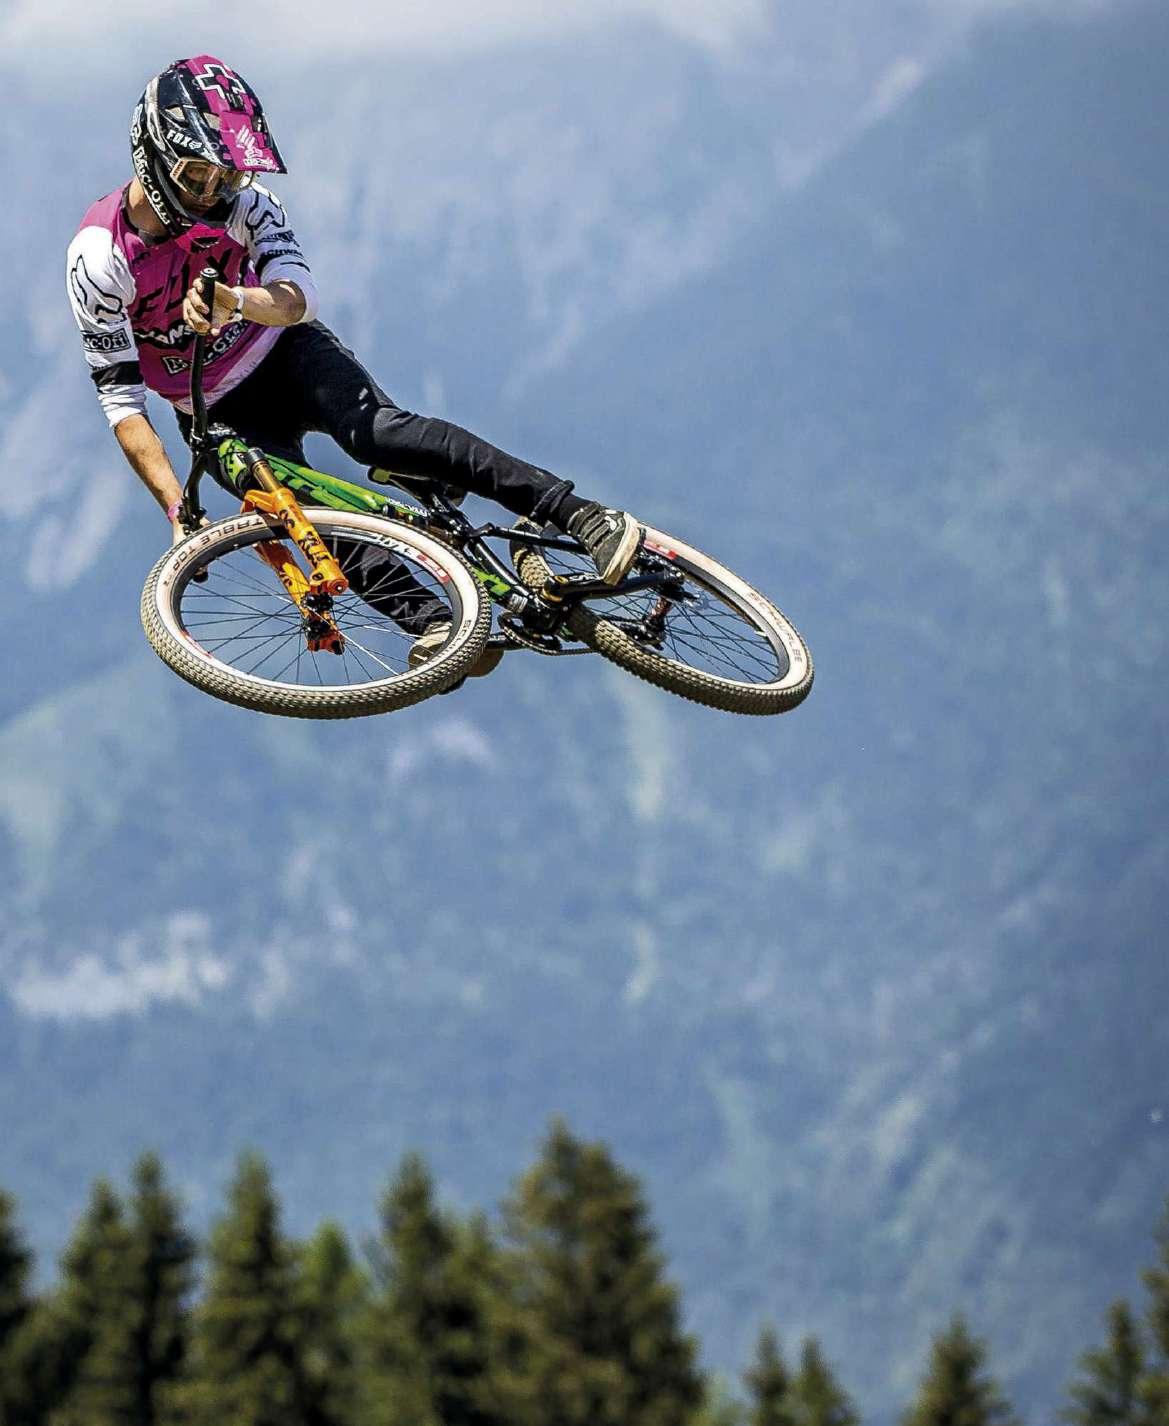
BOOST JUMPS
He may be Tahnée Seagrave’s little brother, but there’s nothing small about the way Kaos rides his bike. ‘Skywards and sideways’ is the only way for him, and this is the secret to how he does it.
1.APPROACH
Chilled, relaxed, calm or cool – use the adjective of your choice to help you roll into the take-off with all you need for a successful flight. Just like baking a cake, having all the ingredients weighed out before you start makes success much more likely. Approach with enough speed to clear the jump, but not so much that the time needed to press into the lip is too short. As with all MTB skills, keep your vision forward, fingers over the brakes, and aim to choose the smoothest, straightest line to your take-off point.
2.POSTURE
Stand relaxed and supple on your bike. Successful jumping is all about using your limbs as natural springs, allowing them to store and release energy, and doing so across multiple joints is much more effective. To make this happen, staying tall and chilled in the last few metres before the jump’s transition is essential.
4.PROGRESSION
Start with bunnyhopping – this dynamic weight shift is the core of jump timing. From there, find progressively different take-offs to practise on, from long and flat to short and steep. The more vertical distance you have, the better. Starting with small lips to natural long-landing hills and then progressing to table-tops, step-downs and doubles is best for your confidence and learning. Variety is king!
3. TIMING
Pause, push then pop! Wait until you feel the transition between flat ground and the start of the lip, then push into the upslope – to store up that valuable energy in your bike and body – and finally, pop for take-off. The timing of this process is the difference between smooth jumping with good height and the dreaded ‘dead sailor’. The only way to solidify it is practice. The number one tip? Both wheels should use the take-off for lift. Imagine your front wheel knocking a can over as you pop, then your back wheel finishing the job and crushing it.
Top tIPS from kaos
RELAX As you approach the jump, you want to be confident and comfortable on your bike. Stand in a natural position – centred on your bike, with weight distributed evenly between hands and legs. This is the first step to a confident take-off, so you don’t loop out or go over the bars.
SPEED You always need the right speed for the jump, so if you’re taking it on for the first time, a couple of test runs are a good idea. When you’re finally confident enough with your speed, you can go for it.
WHIP IT! It’s the best feeling in the world! Practising and learning to whip takes time – a lot of time. But even a little bit of ‘shape’ in the air makes it a lot more fun, and in certain situations it’s a lot safer than going stiff and dead mid-flight. Always start by coming into the take-off at a slight angle, using that space to push off the lip to start moving the rear of the bike to that side as you ‘pop’!
FIX COMMON JUMPING FAULTS
Jumping is, without a doubt, the most popular course any MTB coaching company can deliver. This may be because more jump lines are cropping up at trail centres and getting airborne is super-fun – though really hurts when it goes wrong! Speed and the jump’s trajectory will get you airborne, but not necessarily in a safe or efficient manner. Here are four common mistakes people make and how to overcome them.

1 JUMPING TOO EARLY As with anything in life, timing is everything! Many riders try to take off too early, and this can cause issues, especially if you’re new to jumping. Firstly, you won’t actually jump that far, but it can also be unsafe and may even throw you over the bars if the back wheel gets bucked. You should be aiming to jump when YOU get close to the top of the lip, not when you think your front wheel is there.
2 PULLING UP ‘Pulling up’ is a term often used in relation to jumping, but you shouldn’t rely on tugging on the handlebar to get airborne. This requires you to have equal strength through both arms, and if one is stronger than the other, you can end up pulling up more on that side of the bike, which can lead to a ‘dead sailor’ – that moment we’ve all had when you’re flying slightly sideways and can’t do anything to fix it. Instead, always jump through your legs. As you’re moving upwards, allow your arms to straighten and pretty much lock out. This will help the bike move into the air in a straight line.
3 BENDING YOUR LEGS Ever wondered why your mate always goes higher than you on jumps? It could be because you’re not actually jumping! If you take off and bend your legs, allowing the bike to come to you, you’re ‘squashing’ the jump rather than sending it. Instead, aim to get your hips high and extend your legs so that they’re straight. Higher hips will mean your torso will be higher, so the bike can fly higher. To jump a bike you must actually ‘jump’. Bent legs can also cause problems when you land, so be quite positive with them and don’t fold down too low.
4 UNEVEN WEIGHT DISTRIBUTION This is a common mistake many riders make during general riding, but particularly rears its head on jumps. Not jumping with even weight going through both legs/feet can cause you to dead sailor. To stop this happening, try to imagine that both pedals come straight out of the bike’s bottom bracket. This can encourage you to push through both feet when taking off. Stay balanced over the centre of the bike in midair and don’t move your weight too far back on landing or you’ll lose front wheel grip.
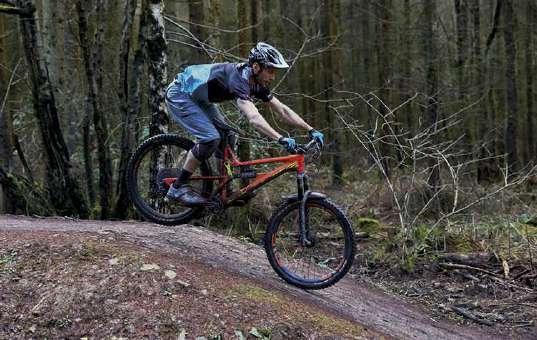
RIDE FLAT OUT
The secrets to hitting your favourite trails faster than ever before
D O N ’ T WAV E R
You must be 100 per cent confident in your own ability to ride the section and not hesitate. It helps a little if you know the trail, allowing you to push that bit harder.
S TAY CENTRED
Stand up on the pedals. Bend your legs slightly but keep them firm and drop your heels. Try to keep your weight distribution pretty even between the front and back wheels. If you lean too far back at high speed, your front wheel will get really light and you’ll lose the feeling for what’s happening between the wheel and ground.
LOOK UP THE TRAIL
Keep your head up and look ahead. You can’t go fast if you’re looking down at your front wheel. The faster you go, the further up the trail you need to look. Always look where you want to go, not where you don’t want to go.
DON’T DROP YOUR ARMS
Keep your elbows out and arms up. That way you can absorb bumps and hits better. If you drop your elbows, your ability to absorb bumps at high speeds will be poor and it’ll be sketchy to go fast.
CHILL OUT
It’s essential to stay relaxed, no matter how fast you’re going. You can’t fight the bike. Have good composure and let it flow beneath you.
STEEP CLIMBS
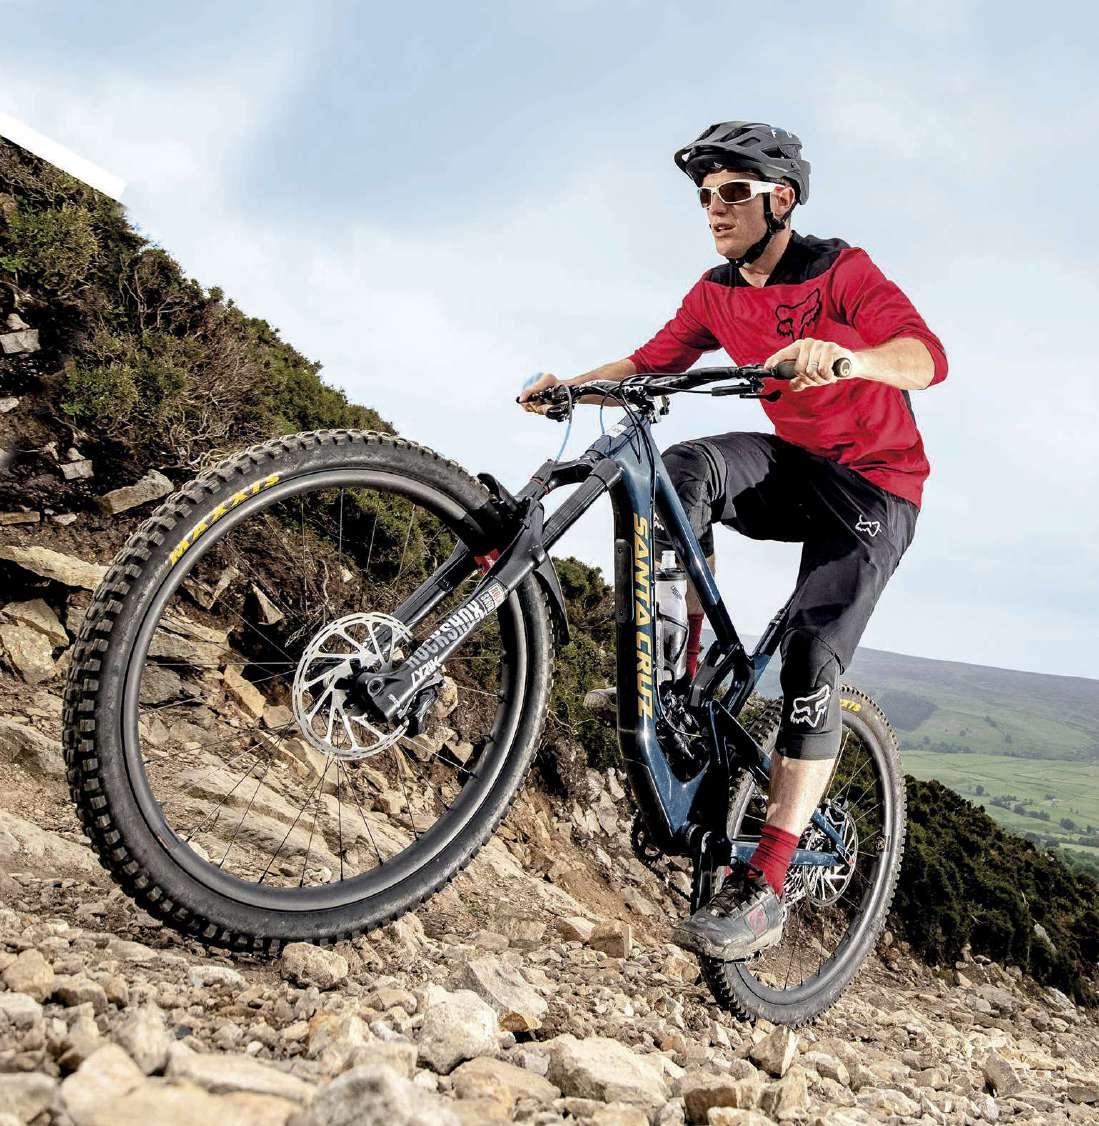

No matter how fit you are, long and steep climbs – like those found at Yorkshire’s ’Ard Rock Enduro – can sap your energy quickly if you go too hard. Focusing on efficiency will help you to last longer and feel fresher for the fun bits. Here are our top tips to help you reach the top without blowing a gasket.
SPIN Select an easy gear that allows you to spin your pedals at a relatively high cadence. Aim for around 60rpm (one pedal revolution per second) rather than cranking a hard gear. 1
2 STAY
HYDRATED You’re going to be working hard, which means you’ll also be sweating a lot – so it’s essential that you stay hydrated. Keep sipping on water or an isotonic sports drink and aim to drink at least 500ml per hour to replace lost fluids.
PACE YOURSELF Ride at your own pace and don’t try to keep up with faster riders. Pushing yourself into the red zone, even for a short while, will deplete your energy much quicker. 3
STAY SEATED Where possible, stay seated and get into a good pedalling rhythm that you feel comfortable with. Save standing up for really steep sections. 4
GET LOW Lower your chest and tuck your elbows in to get your weight low for a better climbing position. 5
TILT YOUR SADDLE Most riders have a level saddle, which is great if you ride on level terrain. At enduro races, where most of the pedalling is uphill, tilting the nose of your saddle down can give you a better climbing position. 6
DESCEND AT SPEED
When you want to get to the bottom of the hill as fast as possible – whether you’re racing the ’Ard Rock or trying to beat your mates – just riding as hard as you can won’t cut it. To consistently post good times, you need to ride safe (to avoid crashes) and maintain your flow. Here’s how to go super-fast, safely.
P R O T E C T YOUR EYES
At high speeds, the air flowing past your face can cause you to squint, making it harder to see upcoming obstacles. Glasses or goggles will prevent this, as well as protecting your eyes from bugs, dust and trail debris.
LOOK UP

This seems like an obvious tip, but it’s often the hardest skill to conquer when the trail gets rough. Looking up helps your balance, allows you to spot lines and tricky sections, and gives you more time to react.
P U M P AND PEDAL
To gain and maintain speed on rough or fast sections of trail, it’s safer to pump than try to pedal. Make yourself heavy on downslopes, by pushing your body weight through the bike and into the ground, to gain extra speed. When the trail levels out or becomes smooth, get in a good gear and crank hard if you want to post a good time.
S TAY S M O O T H
Don’t pinball from rock to rock or corner to corner – you’ll end up breaking yourself or your bike. Enter tight corners or tricky sections at a manageable pace, then let off the brakes and exit fast. Look for smooth and straight lines that you know you can ride safely.
H AV E F U N
Be confident and enjoy yourself. Letting your nerves get the better of you is almost guaranteed to make your ride worse, as will overthinking. Relax your grip on the bar and focus on having fun.
K E E P HEELS LOW
Drop your heels and focus on carrying your body weight with your legs. This puts your centre of mass around the bottom bracket, where it’s low, safe and stable. When you brake, your weight will shift forward, so drop your heels even more so you don’t end up leaning on the bar.
SKILLS BLACK TRAIL
Okay, so you’re ready to mix it up on the black trails. Read on for the skills you’ll need…