1 minute read
Editing submasters

by Jim Logan

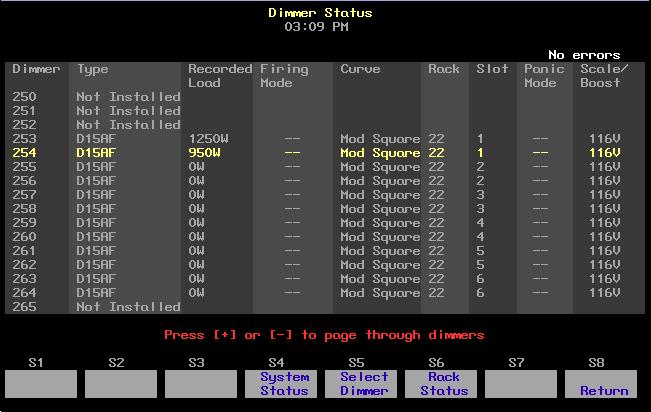
Note the following with regard to defaults in the Submaster List display: • Pile-on is the default type for a newly defined submaster. • Bump status does not display unless changed from the default, which is “enabled.” • Dwell time defaults to “manual.” • Rate does not display unless changed from the default, which is 100.
Navigation and Feedback - Submaster List 4 7 5 6 8 9 [S] ± 1 2 3
Advertisement
Select a submaster
X X X
Select a field X X White row selected submaster Yellow field selected field
Editing submasters
Changes made to a submaster in the Submaster List are immediately recorded. Edit in the Submaster List as follows.11
Keystrokes: Actions:
1. Press [Blind]. Selects Blind display 2. Press[Sub] [S2], Sub List. Displays Submaster List
Select submaster number(s)
3. Press [1][3] [Enter]. Selects submaster 13. Prompt reads:
Select bump status and press ENTER (1=enabled, 2=disabled, 3=solo)
4. Press [2] [Enter]. Disables bump status for the submaster and prints a “D” in the column. Prompt reads:
Enter upfade time
5. Press [5] [Enter]. Specifies 5 second upfade time Prompt reads:
Enter dwell time (For hold or manual operation, press CLEAR until desired setting appears)
6. Press [1][5] [Enter]. Specifies 15 seconds dwell time Prompt reads:
Enter downfade time
11. Alternatively, you may press [Type] or [Time] keys to reach the field you want.