


Đorđu, Strahinji, Kseniji i Emiliji

% " #
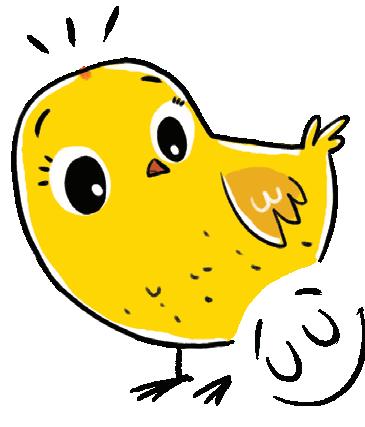
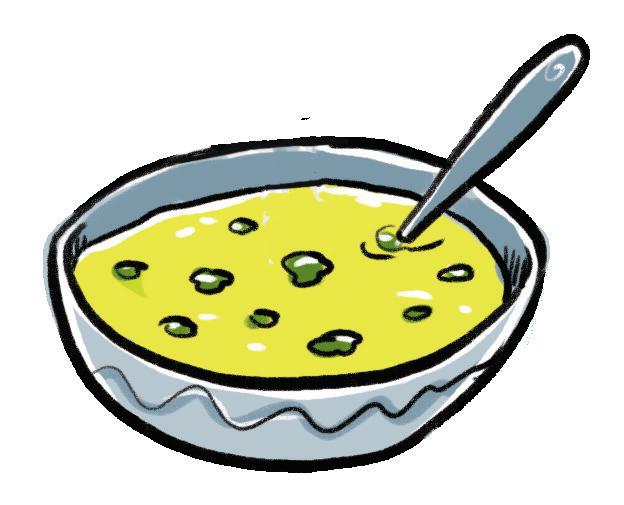
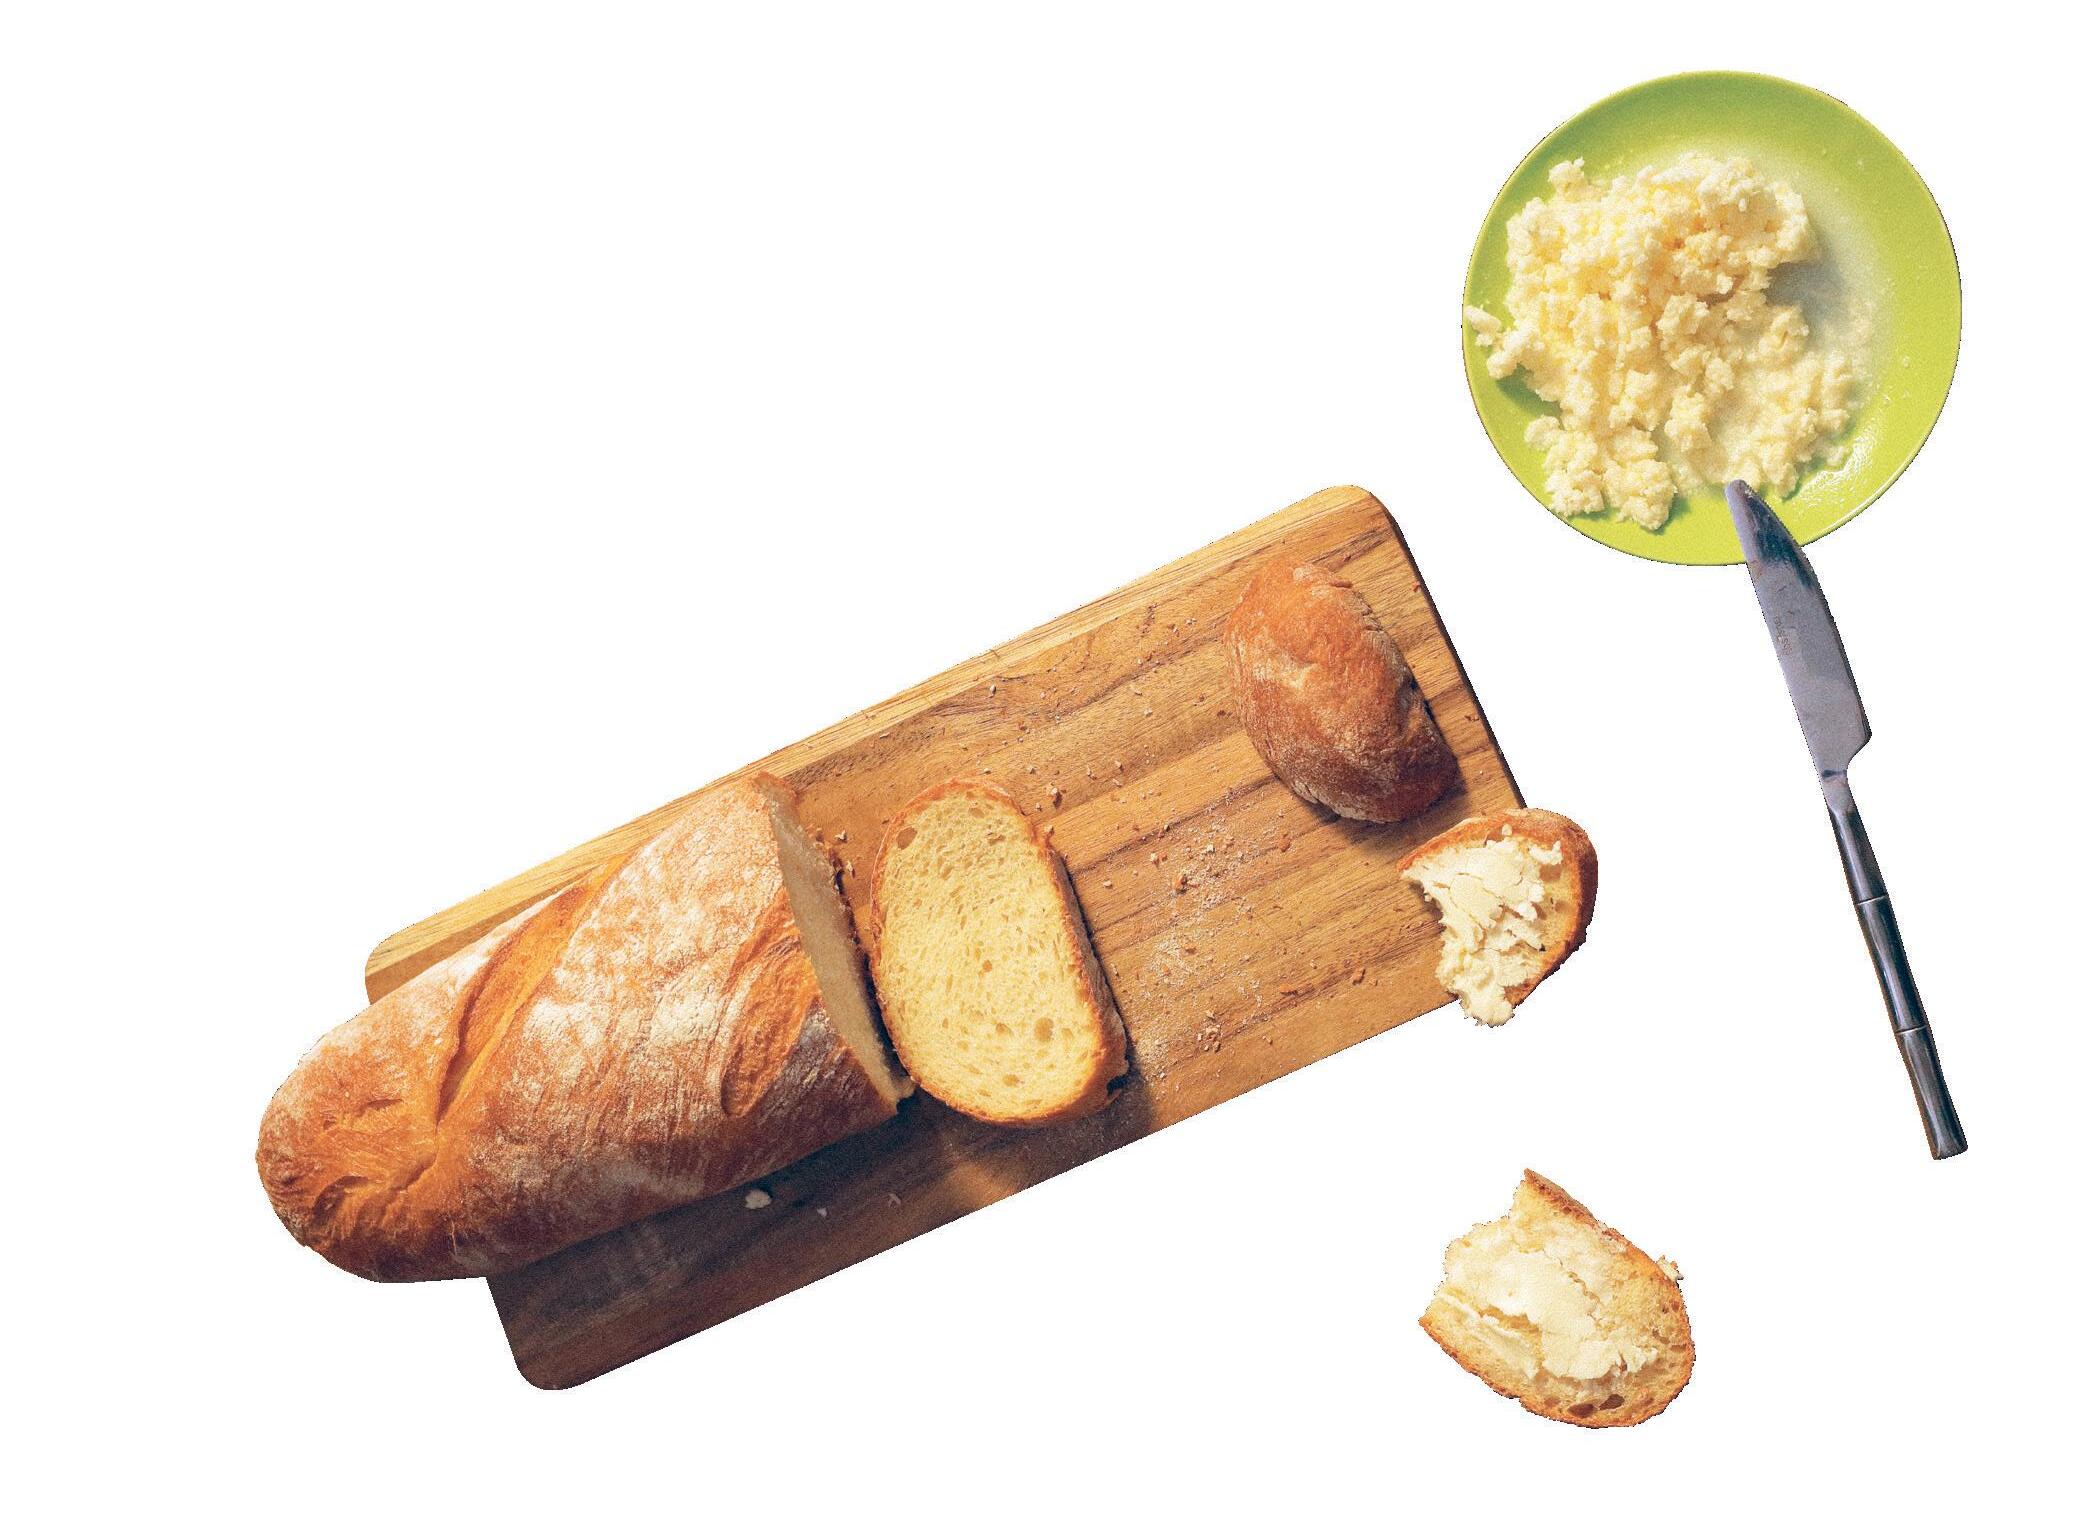
Make it and taste it
• A pot
• Four spoons of sugar
• 1 dl of cooking cream
• 30 g of butter
Result
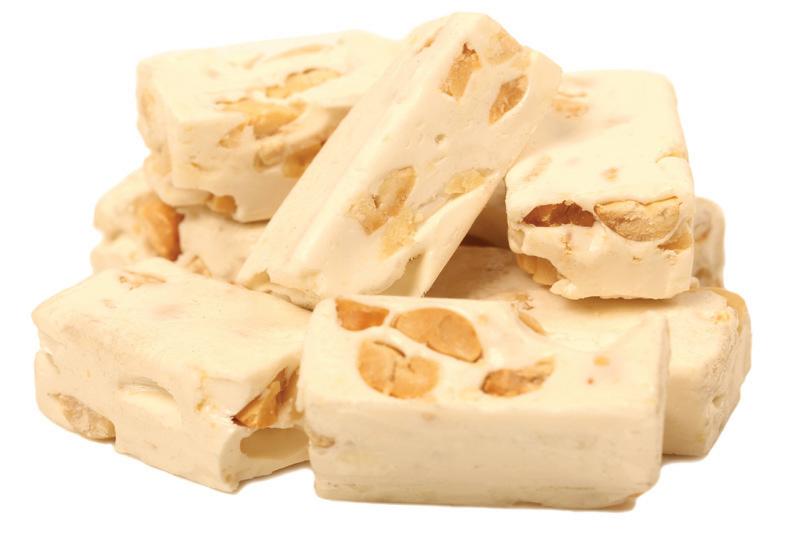
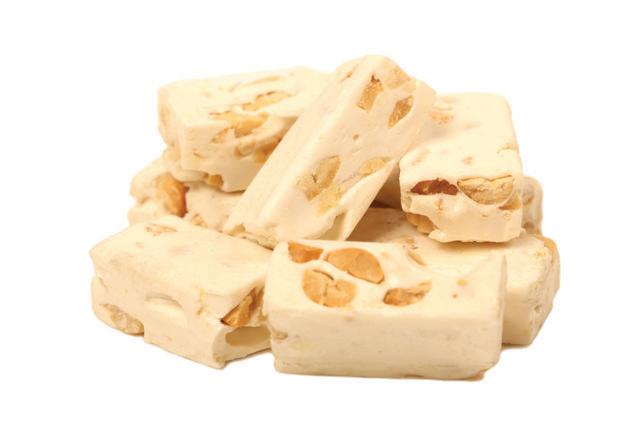
Heating up sugar causes it to change. First it melted, then it started turning yellow, and then it turned brown. After adding cream and butter, we got real toffee.
What you need to do:
! Heat up sugar and observe the changes.
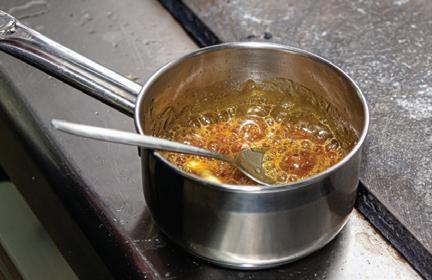
" When it turns brown, add cream and leave it to boil. Then, quickly remove it from the stove, add butter and mix until it melts.
# Quickly pour the mixture onto a board.
$ When it cools down, cut it into cubes and taste it.
• This activity motivates exploration.
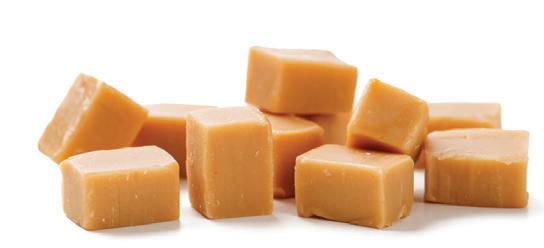
During the heating process, complex molecules break down into simple sugars. The simple sugars then start to lose water and change colour. At first, they are liquid, but then they start to thicken. That mixture turns into hard candy. Now there’s another great idea! By adding cream and butter, the mix will retain the softness of caramel.
Note
If you were to continue heating the mixture, a new change would happen.

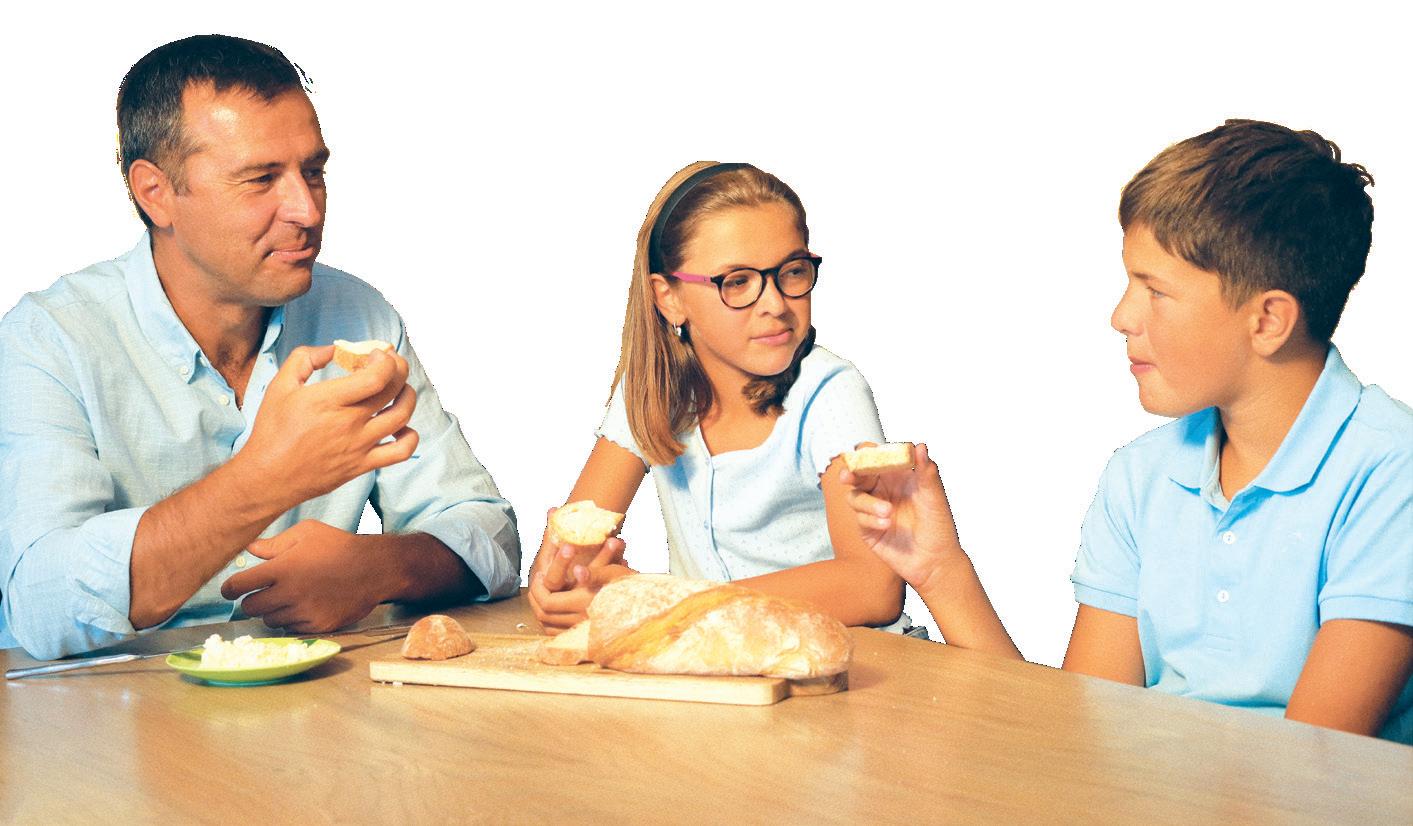
Get ready for family cooking! This is an activity that will turn your kitchen into a lab and create a great atmosphere at home. Along the way, the child will learn the importance of planning and also learn to observe the entire process, starting with the time it takes to shop for ingredients to the duration of each cooking phase. They’ll
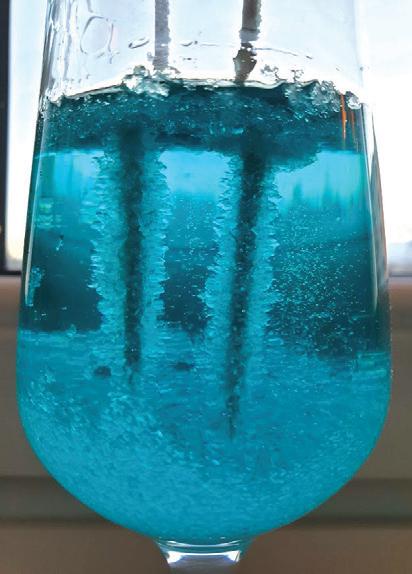
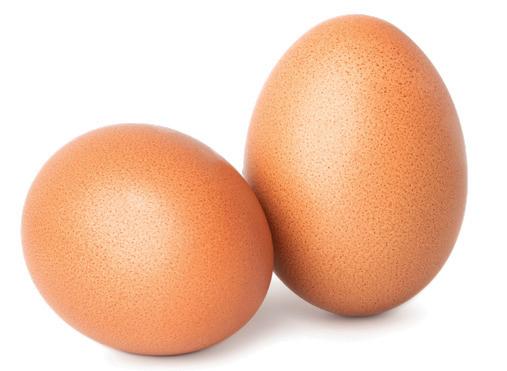
Sugar dissolves in water easily, but not every solution is the same. Dissolve a teaspoon of sugar in one glass, and dissolve five teaspoons in another. Taste both solutions, and you’ll notice that the second one is much sweeter. Now, in a third glass, try to dissolve as much sugar as possible. Record how many teaspoons dissolved before the last teaspoon, the one that didn’t fully dissolve. The solution that has absorbed as much sugar as it can is called a saturated solution.
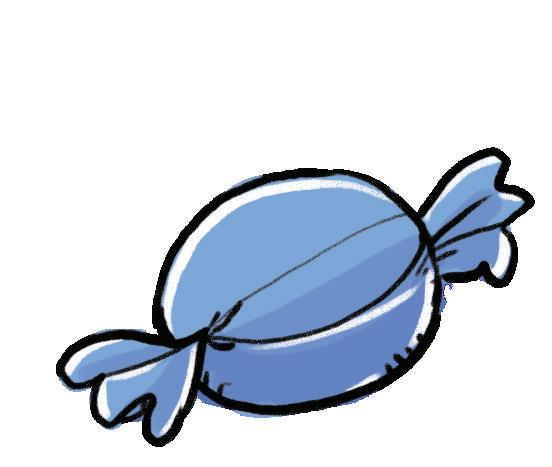
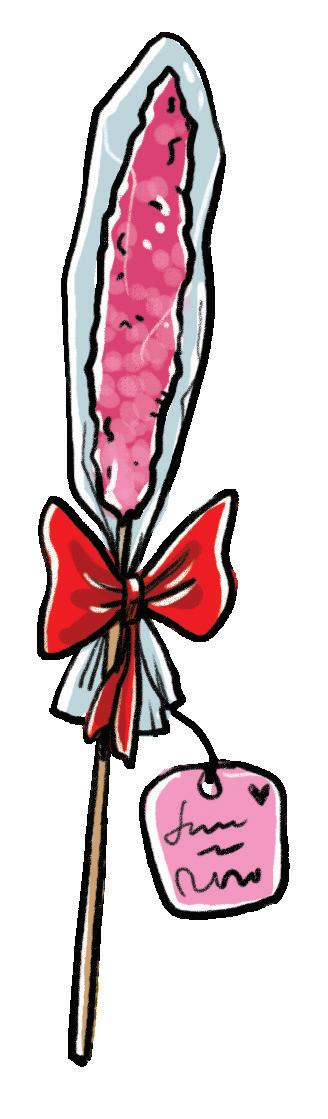
Dissolved sugar can return to its crystalline form. Let’s test this by making crystal lollipops. That is a fantastic activity!

learn to check expiration dates and analyse the composition of food. This will be a great topic for a conversation about a healthy diet. In the end, you will enjoy the results and clean up the lab together. Open the kitchen up to kids, let them explore every element, and don’t fear creative chaos. That is actually the foundation of good fun. . / : -


What you need:
• 1 l of water
napraviti su jestivi. To će
• 2 bags of black tea
pravcate lizalice. Možda neke
• 80 g of sugar
zapakuješ u celofan, staviš mašnice poklone za svoje drugare. pokloni uz neku prijateljsku najomiljeniji.
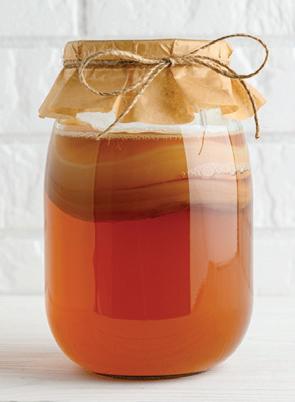
• A kombucha colony in 2 dl of kombucha drink
• A large jar (1.5 l)
What you need to do:
! Heat up water until it boils, pour it into a jar and add tea bags.
! Grownup help. This means that a grownup has to participate.
• A pitcher with a lid
• Gauze
• A bowl to pour the kombucha in
Good idea!
Sooner or later, you will see a new thick layer on the sur- face of the kombucha. It is made through the activity of the kombucha culture and it is called a scoby. That is a baby kombucha! Gently se- parate it and place it into a new jar, then add 2 dl of the kombucha drink. This will be a lovely gift for someone who has tried kombucha at your place and liked it. With the jar, you can add a recipe for some magical combinati- on with the kombucha.

" After ten minutes, take out the bags, add sugar, mix and leave to cool down completely.
# Add the kombucha and 2 dl of the kombucha drink.
$ Cover the jar with gauze, fasten it with a rubber band and leave it at room temperature for 10-14 days.
% Transfer the kombucha colony into a bowl to serve as the starter for a new drink.

Keep the potion in the fridge. At first, kombucha tastes a bit sweet, but if you keep it for longer, it turns slightly sour and frizzier. 15 minutes

& Strain the rest of the liquid into the pitcher and taste it. How do you like it?
' Feed fresh tea to the kombucha right away and add 2 dl of liquid, which is a starter for the next potion.
Useful tip
The activities are imagined in such a way so as to:
• develop focus and encourage critical thinking
• encourage creativity and curiosity
• develop an exploratory view of reality
• offer scientific explanations of the phenomena from real life
• encourage studying and implementation of new skills
• have a positive influence on the development of independence and confidence
• motivate to team work
• impact the development of fine motor skills
• offer a good theoretical basis on healthy and sustainable diet
" Make it and taste it. This means that it is a recipe.
# Top 10. This includes 10 recipes everyone loves.
$ Result. This shows what happened during work.
% The topic of the chapter.
& What you need. This is a list of what you need to gather before work.
' Name of recipes and experiments.
( The colour determines the type of what is being prepared.
) Time for work. This shows how long the process lasts.
* Scientific experiment. This means that the process includes experimenting.
+ Growing. This means that you need to grow something used in recipes.
, Do the following. This lists the procedure.
- Parents’ corner. This is where parents can get information on the benefits of proposed activities.
. Explanation. This text explains the occurrence studied in the experiment.
/ Note. This provides additional information on the experiment.
: Story about… This is where you learn more about the origin of the ingredients and their qualities.
; Good idea! A suggestion to use something as a gift.
< Useful tip. This is a suggestion on how to do something more easily, and it is also a reminder of what else can be done. ; <

You don’t even realise what research opportunities hide in your fridge and on the shelves in your kitchen! Flour, sugar, salt, oil, honey, vinegar, spices, semolina, milk, eggs, water, and much more. Many delicious treats are made from these basic ingredients. The plan is to start using these ingredients as experimental materials! And while we experiment, we learn and understand aspects of science and biotechnology, creating a variety of tasty dishes and desserts.
! Think about the experiment.
" Check what dishes and utensils you need to do the experiment or prepare the recipe. If you are missing something, ask your parents for help.
# Check what ingredients you need for the recipe or experiment. If you are missing something, talk to your parents and plan a shopping trip together. Take a canvas bag for shopping (we don’t want to buy plastic bags and pollute nature).
$ Talk with your family and decide on the time when you can work on a recipe or experiment together. That is an important part of planning.
% If you are working with something that might splash, make sure to use protective glasses.
& Carry out the experiment.
' Analyse the results.
( Change something in the steps, improve the experiment and observe what will happen to the results.

• These activities offer a good theoretical and practical basis for acquiring knowledge about the significance of the hygiene of the space we live in.
You can get very different answers to this question. If you ask parents, hygiene is detailed cleaning of the home; if you ask a microbiologist, it’s the battle against pathogenic microorganisms (those are the ones that can harm our health); if you ask a historian, they will tell you that hygiene was once equated with human health. Today, hygiene has become something personal, and is often taken for granted. But is it the same everywhere? Consider how challenging it is to maintain hygiene in parts of the world where there is a lack of running water.
Maintaining hygiene is crucial for staying healthy and avoiding diseases. Pathogenic microorganisms are all around us, always looking for a suitable place to settle, feed, and multiply quickly. Cleaning the kitchen of food residues actually helps us prevent the development and spread of these microorganisms.
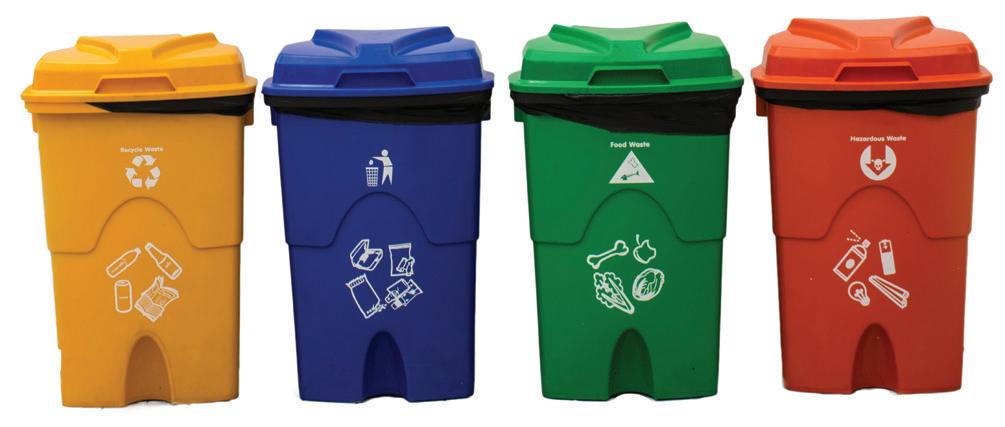
Sort the packaging of used ma teri als by type (plastic, card board, glass, metal) and prepare them for recycling. Dispose of organic waste in a separate bin.

When the experiment is done, take a look around. What do you notice? A pile of dirty dishes and cutlery, puddles of what was spilled, and heaps of various used ingredients. This needs to be cleaned up!
To make your lab look tidy again and ready for the next experiment, put the used dishes in the dishwasher or wash them in the sink. Then, use a cloth to wipe up any liquid and other ingredient residue. If you need cleaning products, use non-toxic ones. The benefits of such products over strong chemical cleaners are numerous.
! 1. We reduce the amount of toxic and harmful substances in our home, and also protect the environment. All cleaning products from our drains go to rivers and other bodies of water, and impact plants, animals, land and water in a negative way.
" 2. We are safe while we clean.
# 3. We save money.
$ 4. We learn, experiment, and have fun.


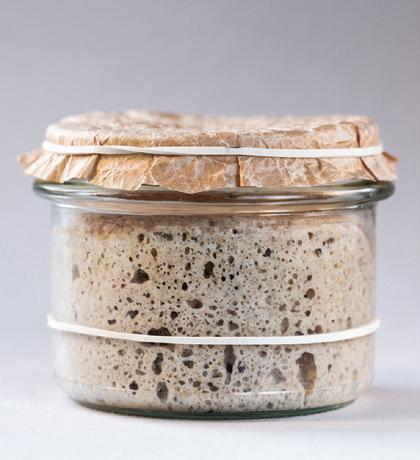
6 days Growing Scientific experiment
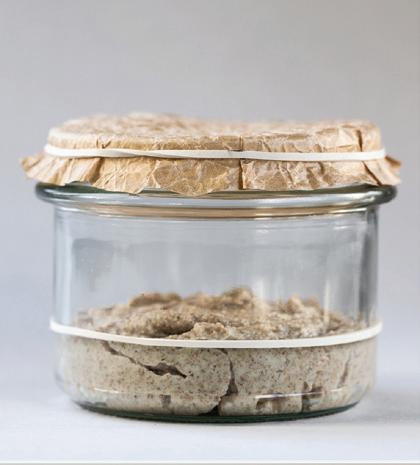
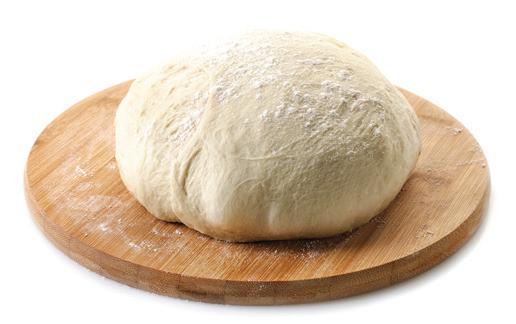
When we keep flour and lukewarm water in a loosely covered jar for long enough, certain processes begin to occur. A colony of living microorganisms – yeasts –forms inside the jar. In the dough, yeast is responsible for producing carbon dioxide gas (which makes your bread airy and full of holes) and lactic acid (which helps the bread become nutritious and also protects it from “bad” bacteria).
• A clean glass jar with a lid and a sticker with the date of when the experiment started

Try to make yeast at home by using only two ingredients – flour and water. This is a serious and lengthy experiment which takes 6 days. During that time, you will learn something about yeast, but also that carefully following instructions and patience are necessary for the experiment to succeed.
The first important step in this experiment is choosing the type of flour, because your yeast will have a different appearance and give the bread a different taste depending on whether it is made from wheat flour (regular or whole grain) or, for example, rye flour. It is time to try this out through the experiment.
Throughout the entire experiment, observe what happens in the jar – how the mixture looks, what colour it is, how it smells, and whether bubbles appear. Record your observations.

• Flour; you can try two parallel experiments by growing yeast in one jar while using wheat flour, and using rye flour in another jar
• A scale
• Water
• A spoon

Day 1 Place 30 grams of flour in a jar and add 1 dl of lukewarm water. Mix the mixture well, smell it, and record in your lab journal what it smells like. Then loosely close the jar with a lid. It’s important to allow air to enter the jar. The yeast spores, which are everywhere around us, will enter your jar this way to settle, eat, and reproduce. Keep the jar in a war mer spot in your kitchen.
Day 2 Open the jar, smell it and observe what happened. Do you notice changes in the colour or smell of the mixture? Then, add 30 g of flour and 1 dl of water. Mix it well and cover it loosely with a lid.
Day 3 Do the same as on day 2.
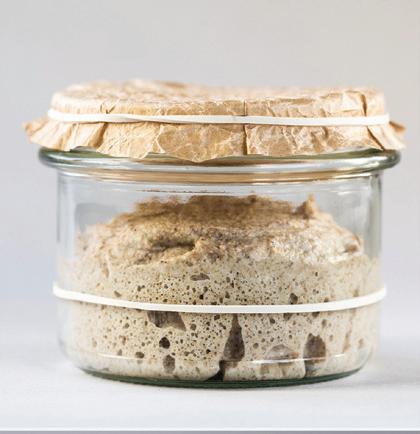
Day 4, morning Add 1 dl of lukewarm water and 90g of flour and mix it. Record the changes.
Day 4, evening Record the changes. Pour out half of the mixture, and add 1 dl of warm water and 60 g of flour in the rest, then mix it.
Day 5, morning Pour out everything except 1 dl of the mixture, then add 1 dl of lu kewarm water and 60 g of flour in there, mix it and leave it.
Day 6, evening Record the appearance of the mixture.
Yeast enters the jar along with the air and begins feeding on the complex sugars (carbohydrates) from the flour. It breaks these sugars down into simple sugars, releasing carbon dioxide, which you can see as bubbles on the surface of the mixture, and lactic acid, which gives the mixture its sourness and protects the yeast from “bad” bacteria. In the jar, you have real yeast and a fermentation process, with the carbon dioxide bubbles serving as proof.
During the first two days, there are no changes in the jar. On the third day, the smell becomes slightly sour, and bubbles appear on the surface of the mixture. This is solid experimental proof that yeast is alive in the jar. On the morning of the fourth day, the mixture will look like a slightly thicker dough. The sour smell and bubbles are now even more prominent. By the evening of the fourth day, the fermentation process has begun, and you will notice the dough starting to rise slightly. On the fifth day, the dough’s growth continues. On the sixth day, it is apparent that the dough has doubled in size, indicating that your yeast is growing and multiplying.
Make homemade bread with the yeast you grew yourself. Use only a half of the mixture from the jar, feeding the remaining half by adding 1 dl of lukewarm water and 60 g of flour. Mix the mixture well after every feeding. Keep the jar in the fridge and in 7 days, make bread out of a half, and feed the other half. Do the smell or colour change?


• 250-300 ml of water
• 150 g of yeast from your jar
• 500 g of flour (white wheat, wholewheat or rye)
12 hours Grownup help Make it and taste it
• 1.5 teaspoons of salt
• A bowl
• A wooden spoon
• A baking tray
• Aluminium foil
• A clock
! Put all the ingredients in the bowl and mix them with the wooden spoon. Leave the mixture to rest overnight.
" In the morning, place the dough on a floured surface, knead it and leave it to rise for another 2 hours.
# Preheat the oven to 220°C. Bake the dough for 30 minutes covered with foil, and then remove the foil for another 15 minutes.

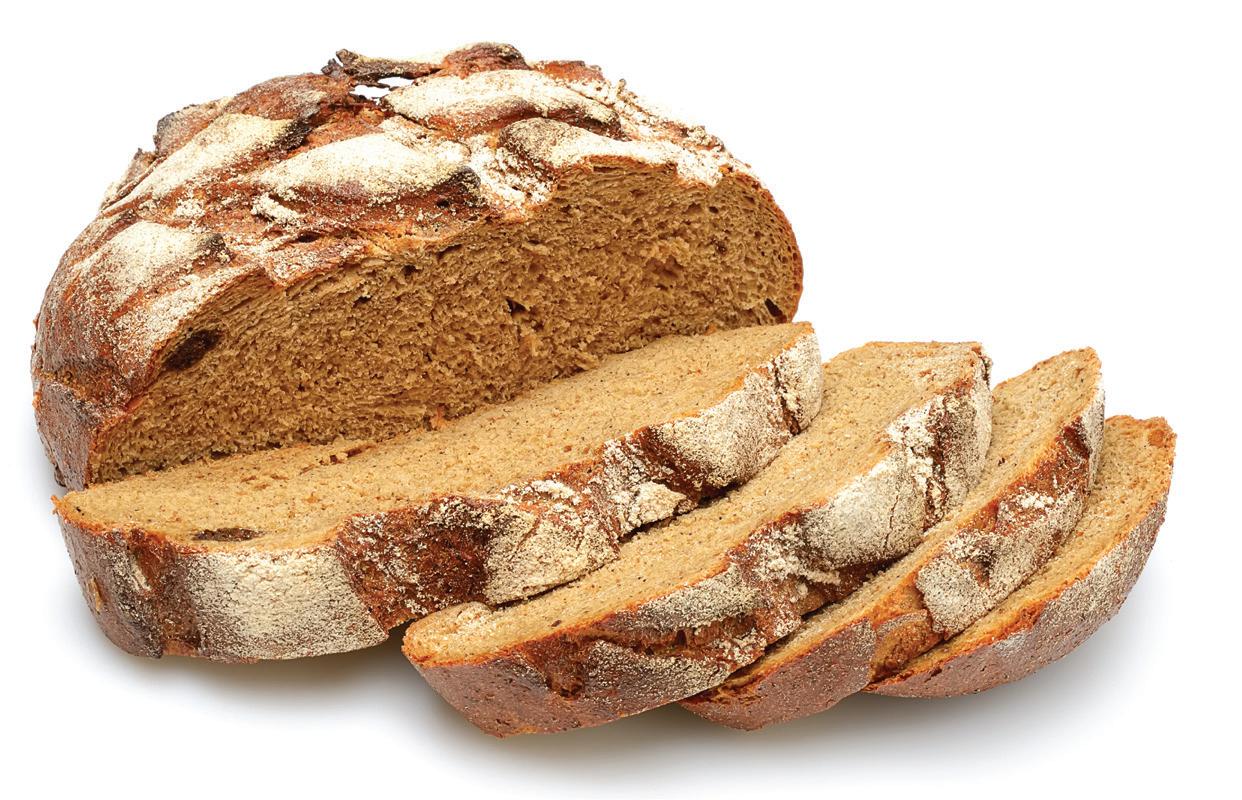
$ Cover the baked bread with a cloth. Once it’s cooled down a bit, cut a few slices and taste it. You can decide if your bread tastes better than the one from the store.
% Record the results in your lab journal.

In case you have two different types of yeast (for instance, with wheat and rye flour), you can make two types of bread and compare their tastes.
Butteris an ingredient that is used in many ways – we spread it on bread to make a sandwich tastier or we mix it with other ingredients while we bake. Can you imagine, the first butter was created by accident, more than 8,000 years ago! In Africa, shepherds who watched over herds of sheep crossed great distances carrying freshly milked milk in containers. Once they opened their containers, they discovered that the milk turned into butter.
Since butter was made with “magic”, it was believed that it had magical properties. During the Romans, it was used for cosmetic purposes, and as a balm for healing wounds.
With the start of organised production, butter became a widely consumed commodity, and its “magic” faded.
Learn about the process of making butter. Introduce creativity into the kitchen, and learn something about fats dissolved in water and healthy eating.
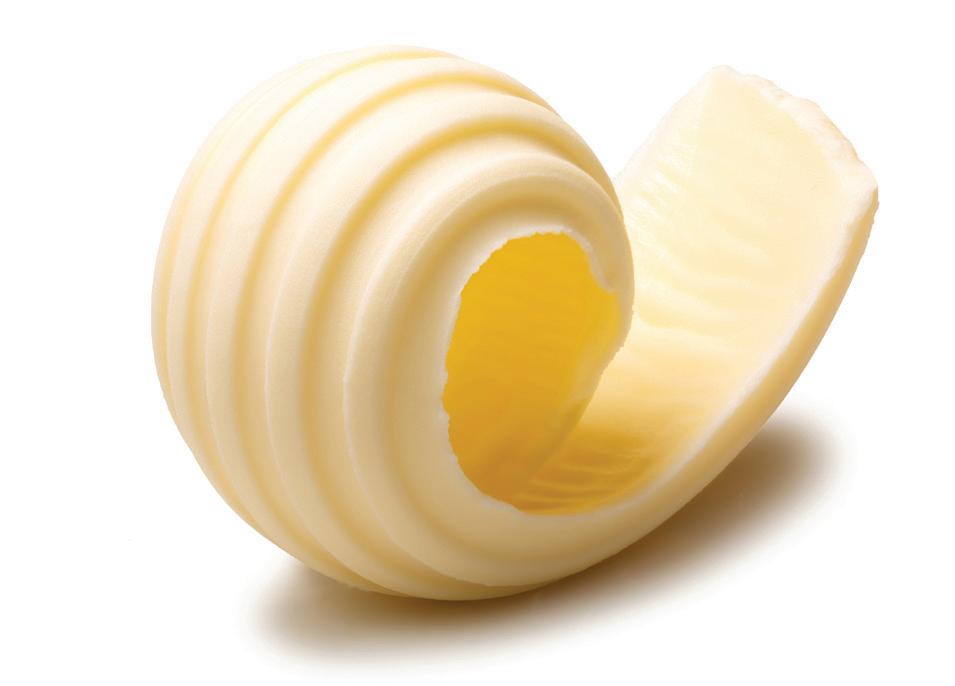
We’re making homemade butter, exercising our muscles and discovering science. This is a lovely family activity with a tasty result.
you need:
• A clean jar with a lid (800 g)
• 100 ml of whipping cream (with 36% fat)
•A bit of salt
•A piece of bread
•A small knife for spreading
! Pour the whipping cream into a jar and, what is most important, seal it tightly. You can add a little salt if you want your butter to be salted.
" Shake the jar as vigorously as you can. Give the jar to your parents, your brothers and sisters. Shake it! It’s not easy, but don’t give up.
# O pen the jar and peek inside. You will see a ball of butter swimming in liquid.
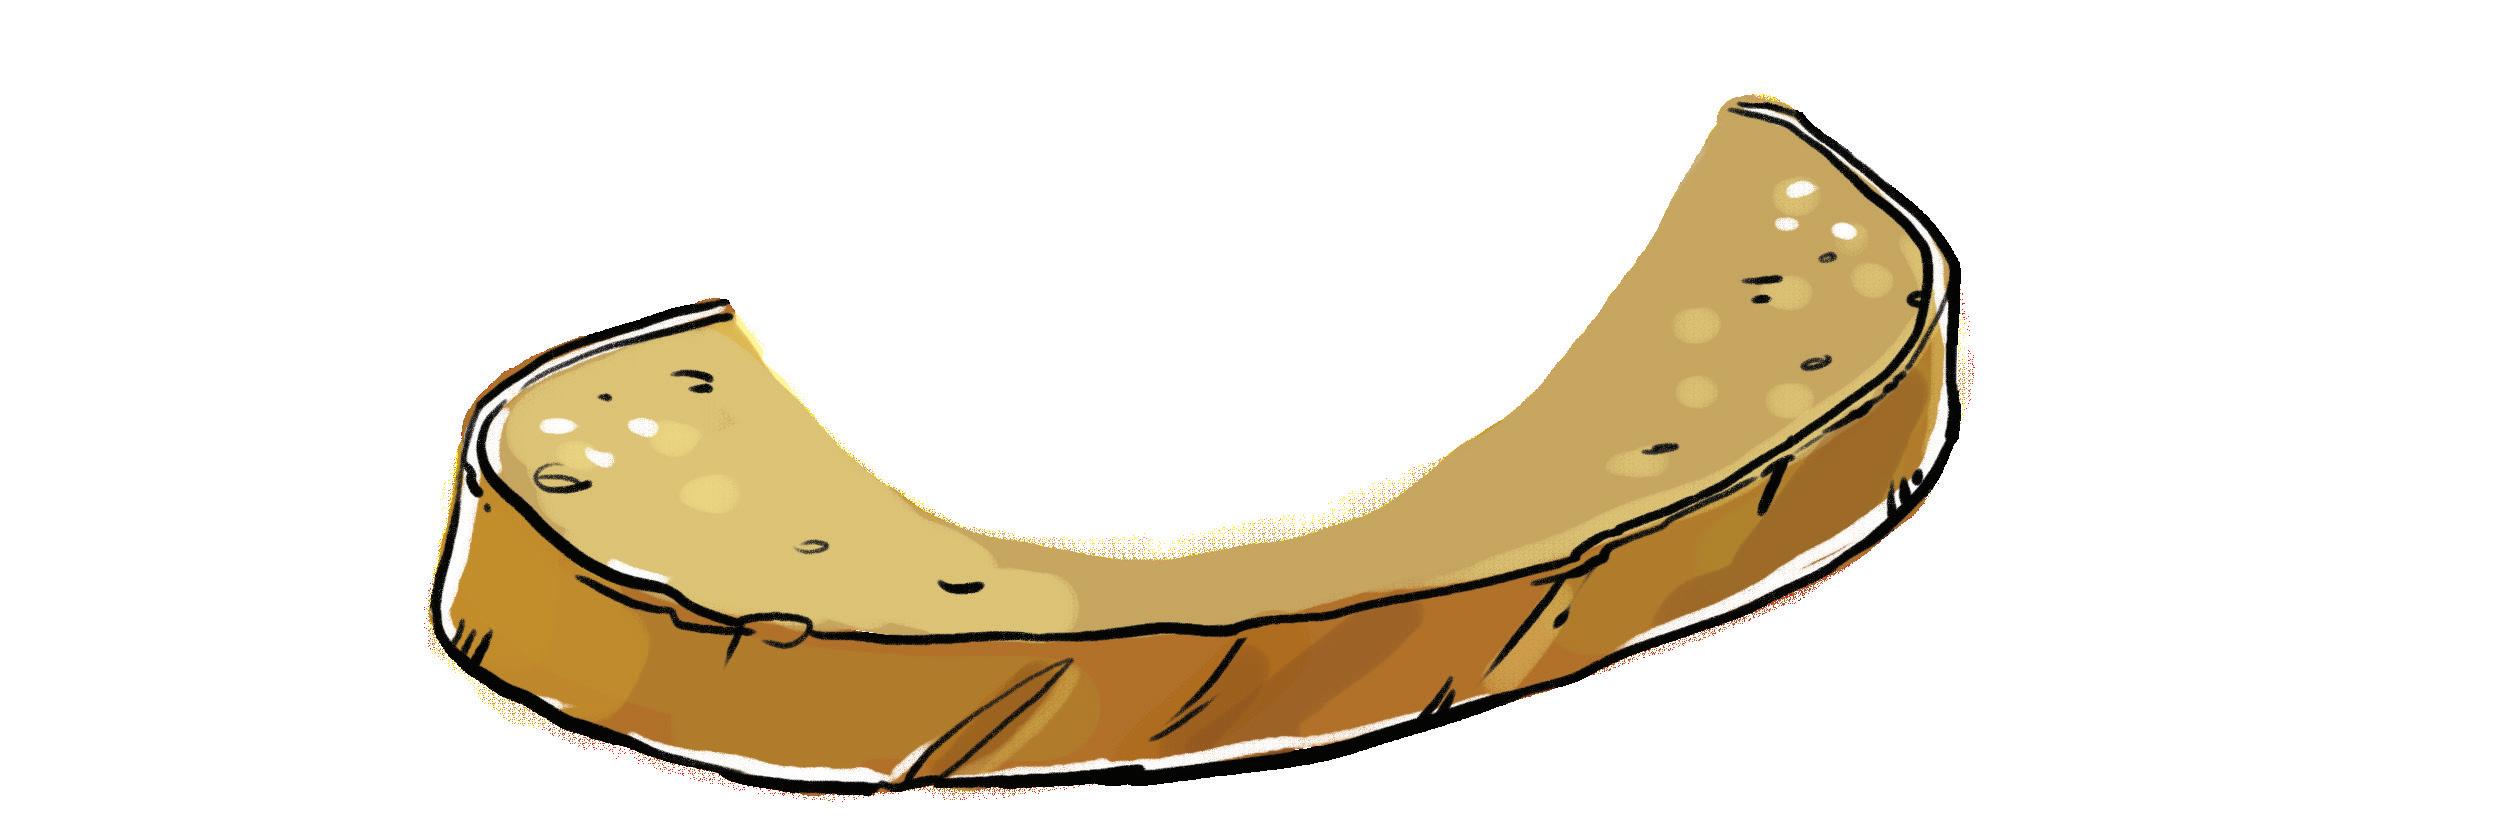
$ Spread the butter onto bread, cut the bread into cubes and have a taste.
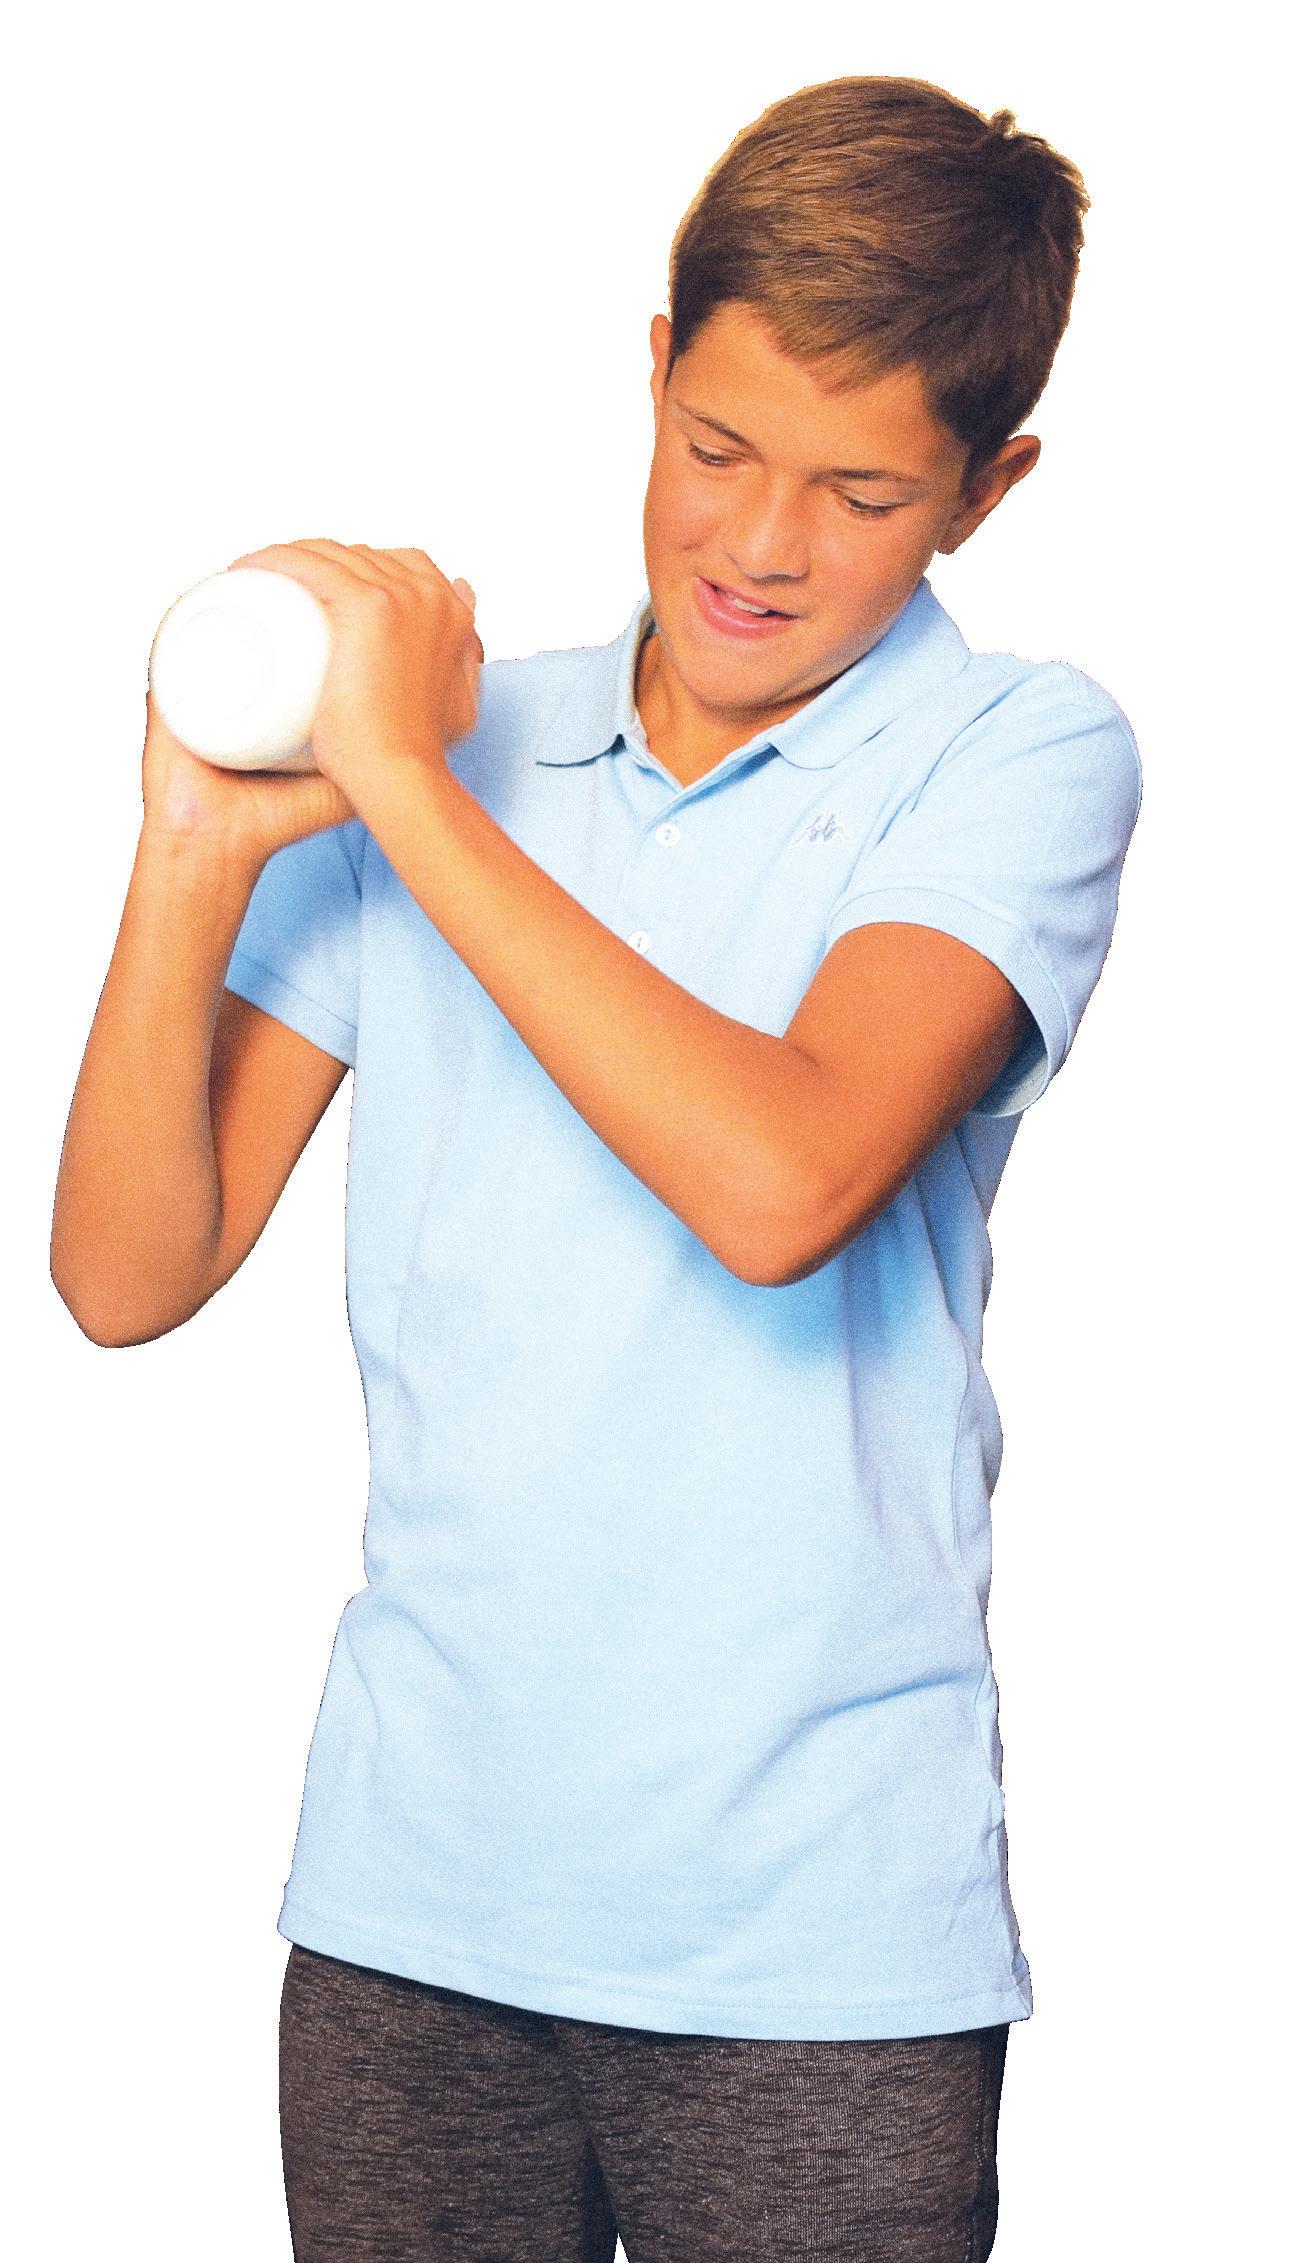
After 5 minutes of shaking, you will notice that the jar no longer contains liquid but a whipped creamlike mass. After 12 minutes of shaking, you will hear the butter ball clinking around inside the jar. When you taste the butter, you will see that it is very delicious.
Note
Milk, whipping cream and butter are products that contain fat, water, proteins, minerals and milk sugars.
What happened to our whipping cream during shaking? Whipping cream has a large number of fat droplets dispersed in water. By shaking vigorously, we altered the physical properties of the fat droplets in it. We made the droplets touch and stick together, forming butter, and released the excess water, which is now in the form of so-called buttermilk. Don’t throw away this liquid – it can be added to pancake batter.
minutes
Make it and taste it
• A pot
• Four spoons of sugar
• 1 dl of cooking cream
• 30 g of butter
What you need to do:
! Heat up sugar and observe the changes.

" When it turns brown, add cream and leave it to boil. Then, quickly remove it from the stove, add butter and mix until it melts.
# Quickly pour the mixture onto a board.
$ When it cools down, cut it into cubes and taste it.
Parents’ corner
• This activity motivates exploration.
Grownup help
Scientific experiment Make it and taste it
Heating up sugar causes it to change. First it melted, then it started turning yellow, and then it turned brown. After adding cream and butter, we got real toffee.
During the heating process, complex molecules break down into simple sugars. The simple sugars then start to lose water and change colour. At first, they are liquid, but then they start to thicken. That mixture turns into hard candy. Now there’s another great idea! By adding cream and butter, the mix will retain the softness of caramel.
If you were to continue heating the mixture, a new change would happen. The sugar would start to smoke, that is,


Sugardissolves in water easily, but not every solution is the same. Dissolve a teaspoon of sugar in one glass, and dissolve five teaspoons in another. Taste both solutions, and you’ll notice that the second one is much sweeter. Now, in a third glass, try to dissolve as much sugar as possible. Record how many teaspoons dissolved before the last teaspoon, the one that didn’t fully dissolve. The solution that has absorbed as much sugar as it can is called a saturated solution.
Dissolved sugar can return to its crystalline form. Let’s test this by making crystal lollipops. That is a fantastic activity!
Dobra ideja!
Kristali koje ćeš napraviti su jestivi. To će biti prave pravcate lizalice. Možda neke
možeš da zapakuješ u celofan, staviš mašnice i pripremiš lepe poklone za svoje drugare.
Ručno izrađeni pokloni uz neku prijateljsku poruku uvek su najomiljeniji.


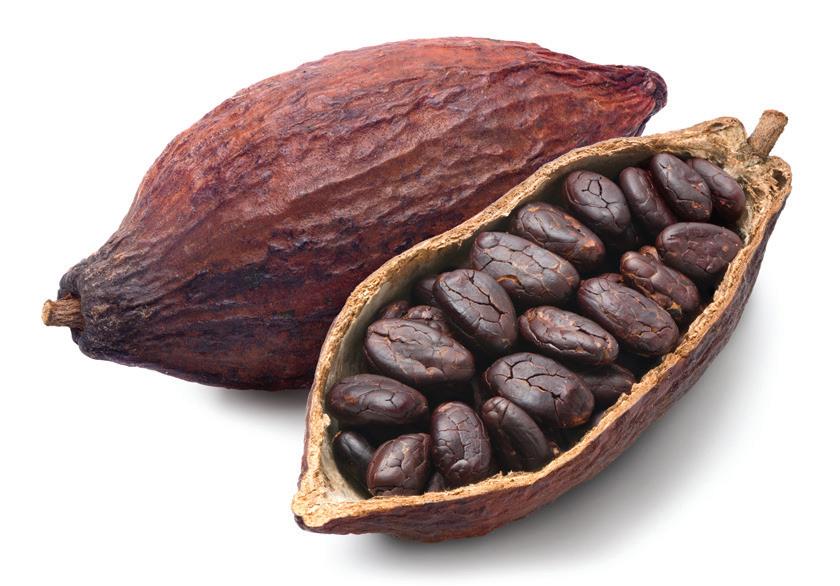
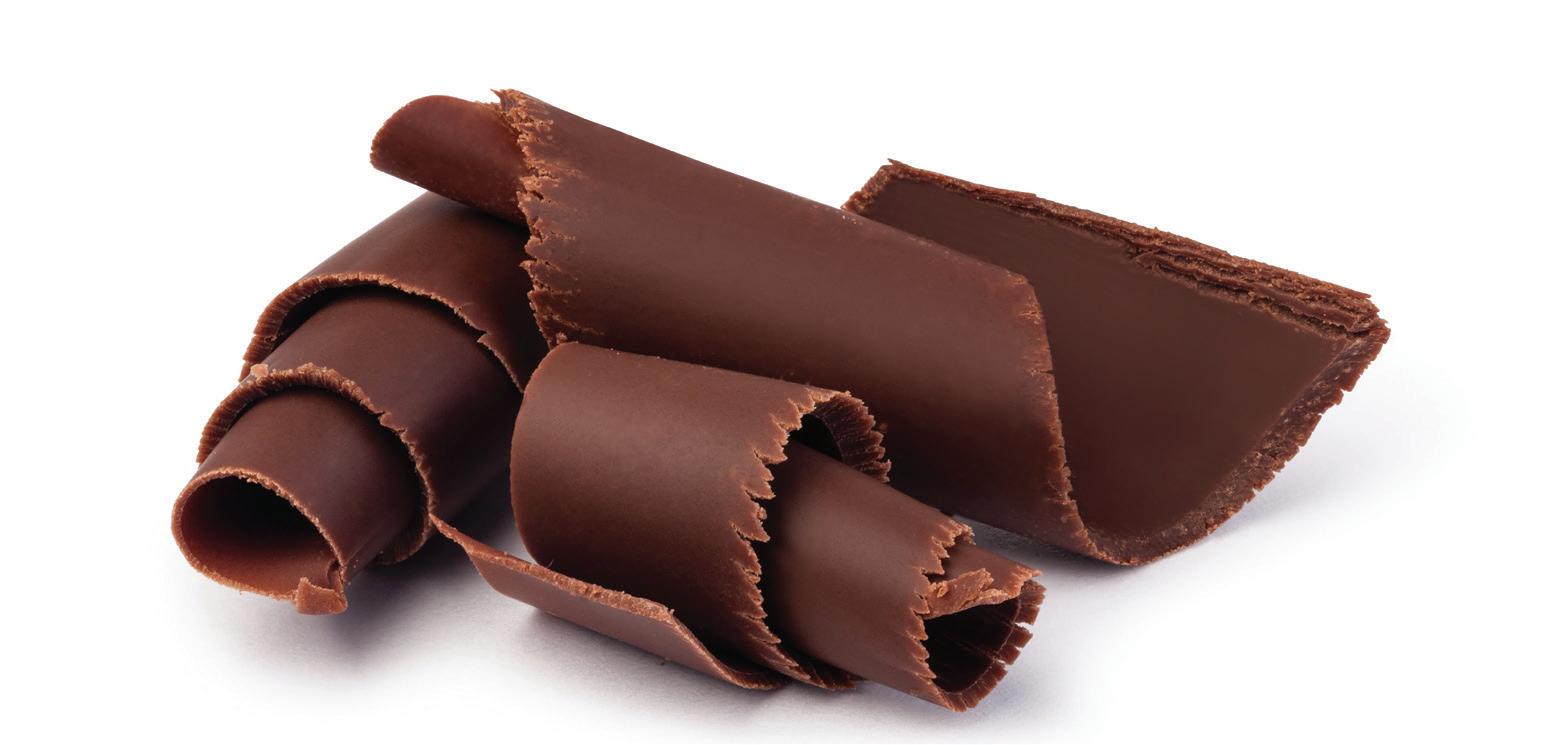
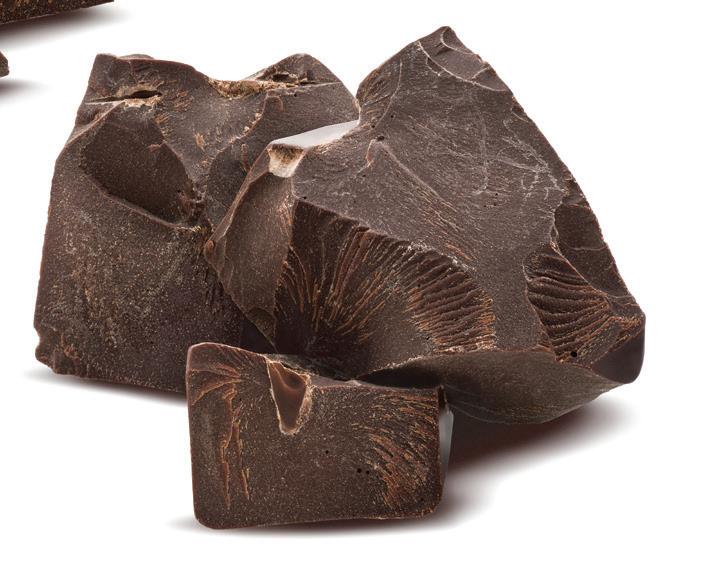
Themain ingredient of chocolate is cocoa. It is obtained from the tropical cacao tree. The ripe cacao pods are yellowish-orange, but they darken when dried. They weigh around 250 grams. They are picked by hand to prevent damage, and each pod contains 30–45 beans, from which cocoa is extracted through a specific process.
Check how the cocoa feels under your fingers, and then taste it. Is it bitter? Cocoa has a bitter taste due to a substance found in its beans. The same bitter substance can also be found in the leaves of green and black tea.
The first historical evidence of chocolate use dates back to ancient civilizations in Mexico (the Maya, the Aztecs, the Toltecs) around 1500 BCE. However, chocolate back then was nothing like the one we use today. Chocolate was originally prepared as a hot and cold drink with a bitter taste. It was used daily, and during important celebrations, the cocoa drink was combined with chili peppers, honey, and even pepper. Try it yourself! How does it taste?
Chocolate arrived in Europe in the 16th century. However, Europeans did not like the bitter taste of cocoa, so they experimented by adding sugar, cinnamon, and other spices. This led to the creation of hot chocolate as we know it today.
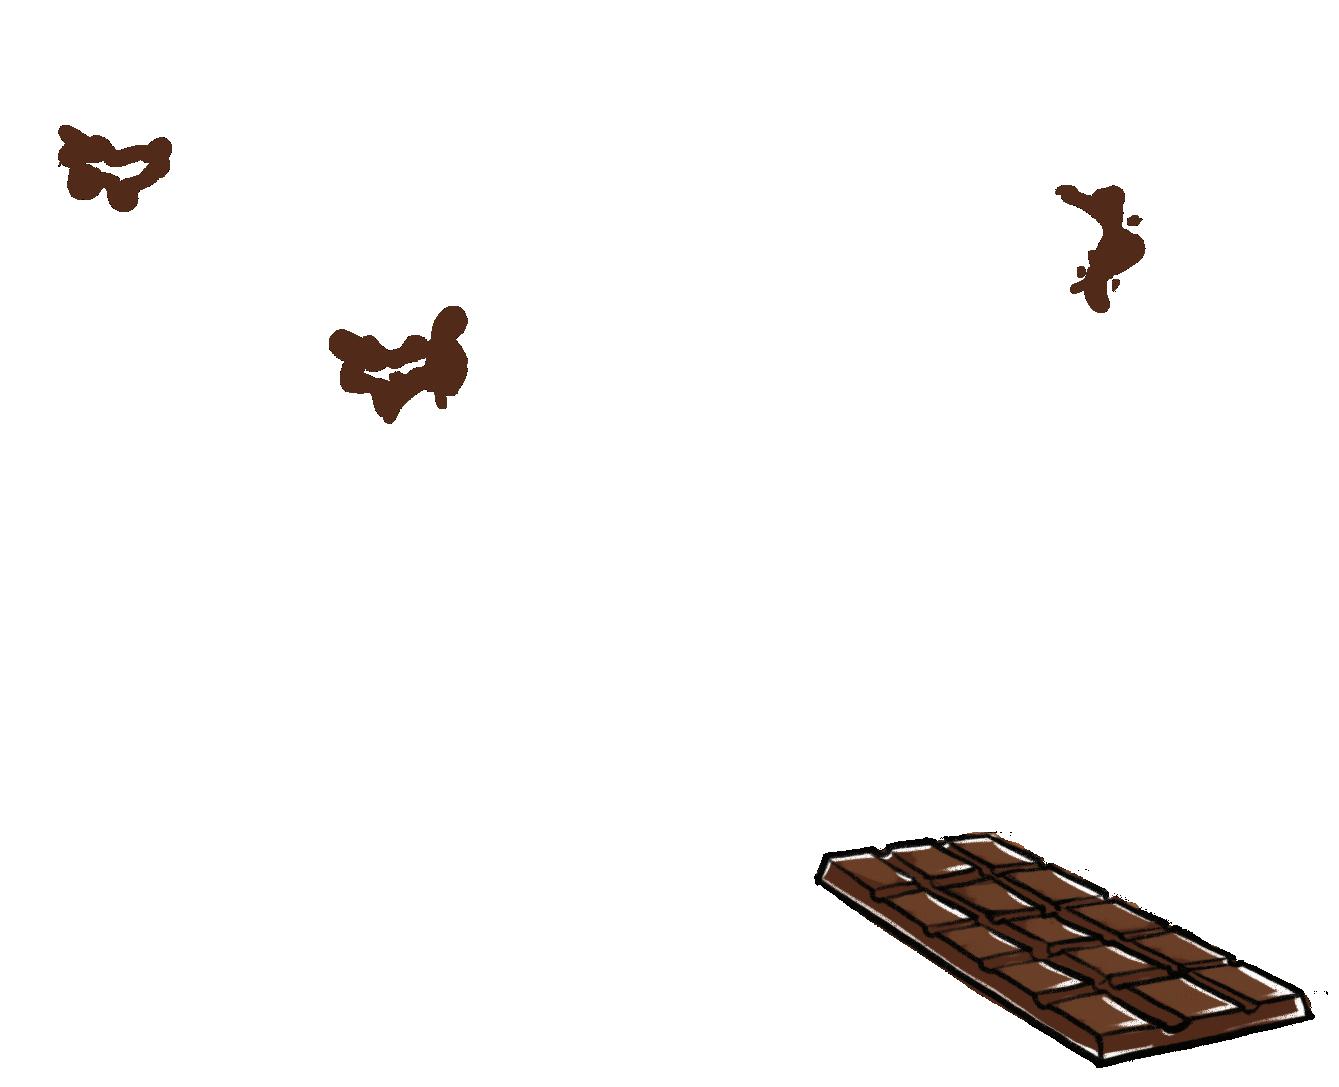
The first chocolate bar was created in the mid-19th century, when chocolate began to be made in solid form. After that, mass production of milk chocolate started, and to this day, new ingredients are experimented with to create interesting flavours.

45 minutes Grownup help Make it and taste it Scientific experiment
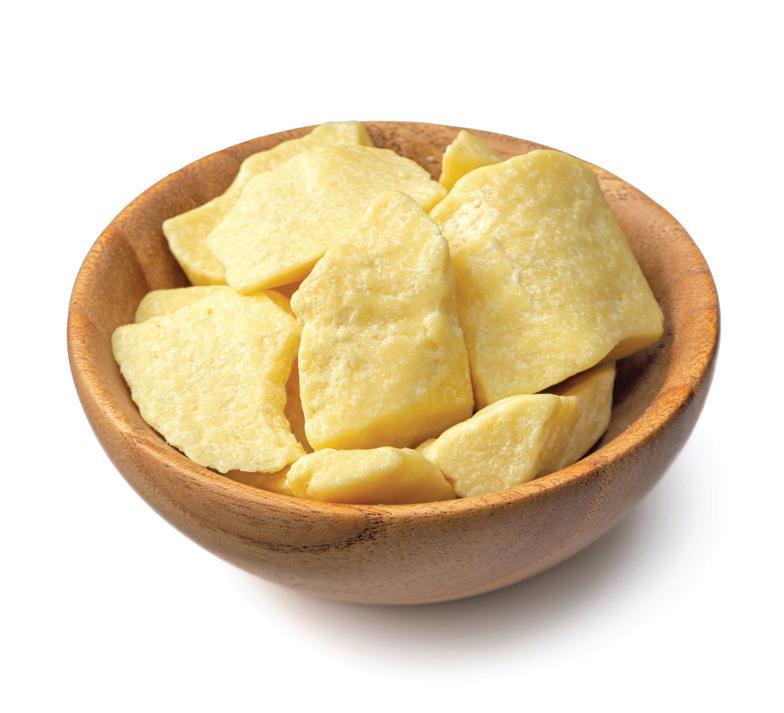
• 100 g of cocoa butter; instead of cocoa butter, you can use coconut oil
• 4 spoons of cocoa powder
• 6 spoons of powdered sugar
• 4 spoons of powdered milk
• A bit of salt
• Silicon moulds for chocolate or regular ice trays (you can also use muffin cups)
• 3 bowls for mixing the ingredients
• Several spoons
• Several teaspoons
• A pot for melting cocoa butter or coconut oil
• A silicone spatula
• Dried fruit, hazelnuts or almonds
Let’s experiment by making our own chocolate! We’ll make dark, milk, and white chocolate!
! Put the cocoa butter (or coconut oil) into the pot and melt at a lower temperature on the stove. You’ll get about 15 spoons of liquid oil.
" Take three smaller bowls and pour 5 spoons of melted cocoa butter in each.
# Dark chocolate – in the first bowl with cocoa butter, add the following:
– 2 spoons of cocoa-powder
– 2 spoons of powdered sugar
– a pinch of salt.
Mix all the ingredients well, until there are no more lumps.


$ Milk chocolate – into the second bowl, add the following:
– 1.5 spoon of cocoa powder
– 2 spoons of powdered sugar
– 1 spoon of powdered milk
– a pinch of salt.
Mix all the ingredients well, until there are no more lumps.
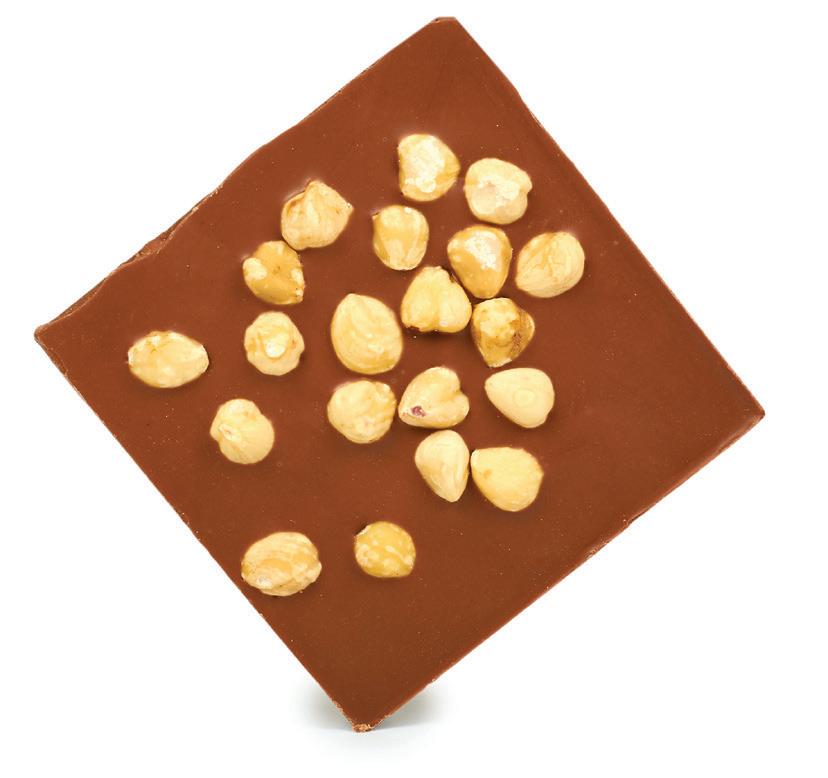

& All three chocolate mixtures are liquid and you can easily pour them into moulds. Here, you can play and add chopped dried fruit, hazelnuts, or even chili powder. Try to create the most delightful chocolate combination.
% White chocolate – into the third bowl, add the following:
– 2 spoons of powdered sugar
– 3 spoons of powdered milk
– a pinch of salt.
Mix all the ingredients well, until there are no more lumps.

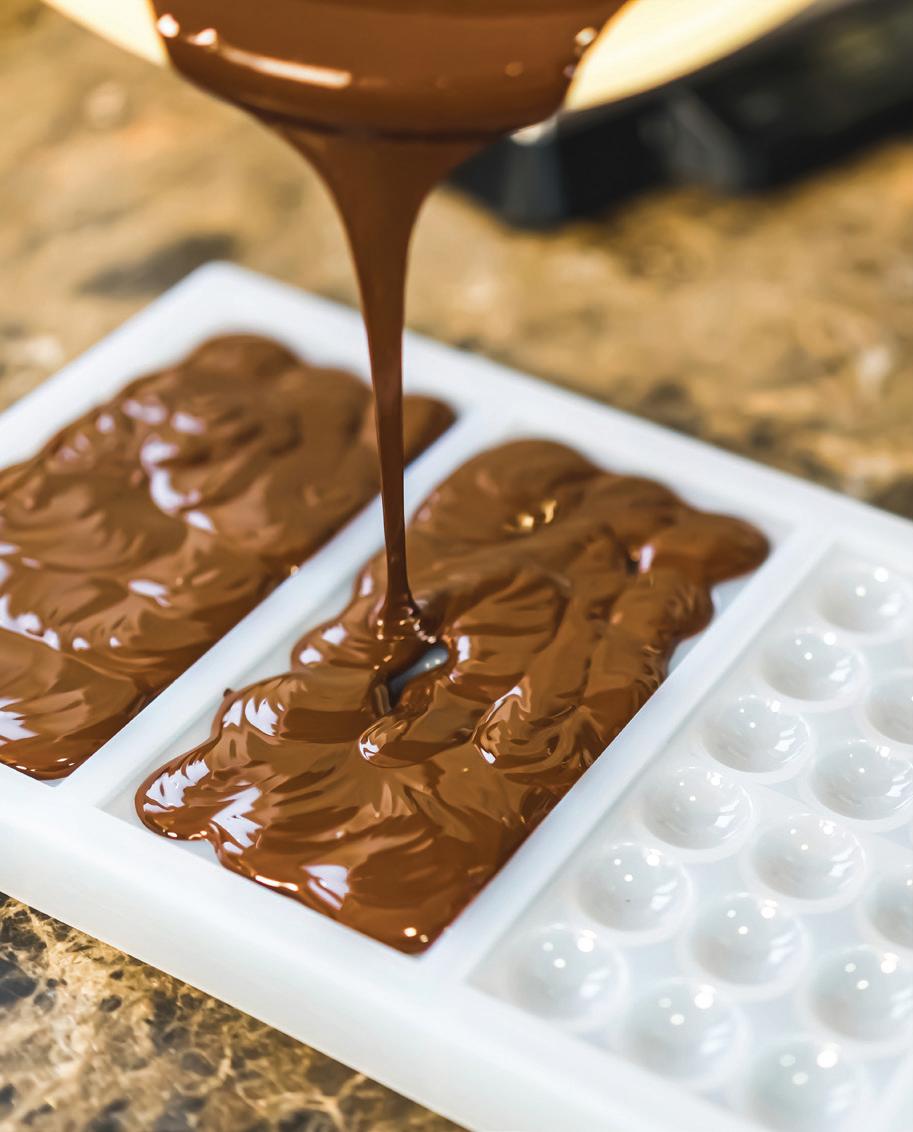
' Place the moulds into the fridge for about 20 minutes, so the mixtures can harden and turn into real chocolate.
( Don’t forget to lick the bowls after you pour it into moulds. That is also an important part of the experiment!
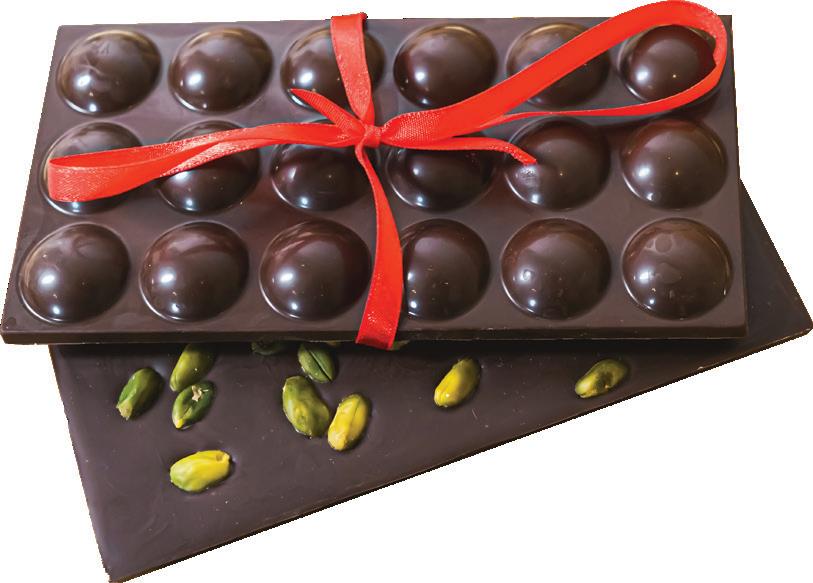
) After 20 minutes, open the fridge and take the chocolate out of the moulds. Taste it and record the results into your lab journal.
Your chocolate can be a fantastic present for your friends. Break a few bars of all three kinds of chocolate, wrap them and decorate with a bow. Write a nice note to show that this person is special to you.

Fats and oils are made up of fatty acids. There are several types of fatty acids. Some, when combined, form solid fats and butters (such as cocoa butter), while others form oils (such as olive oil).
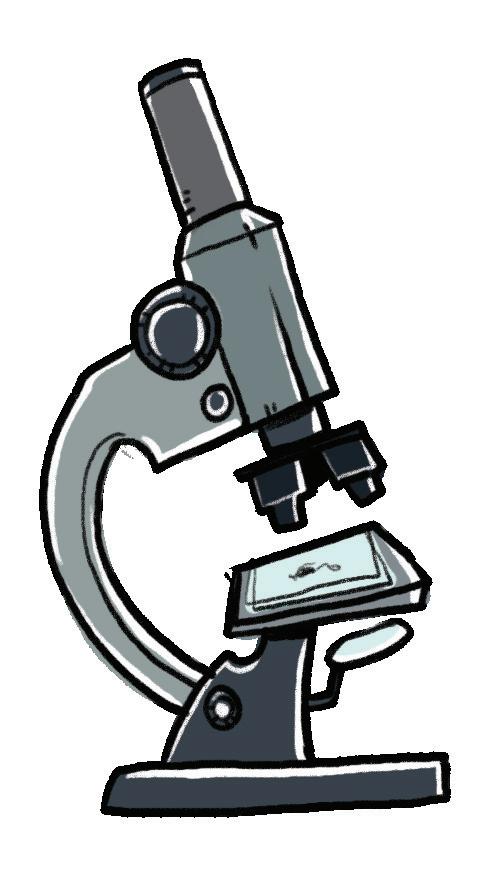
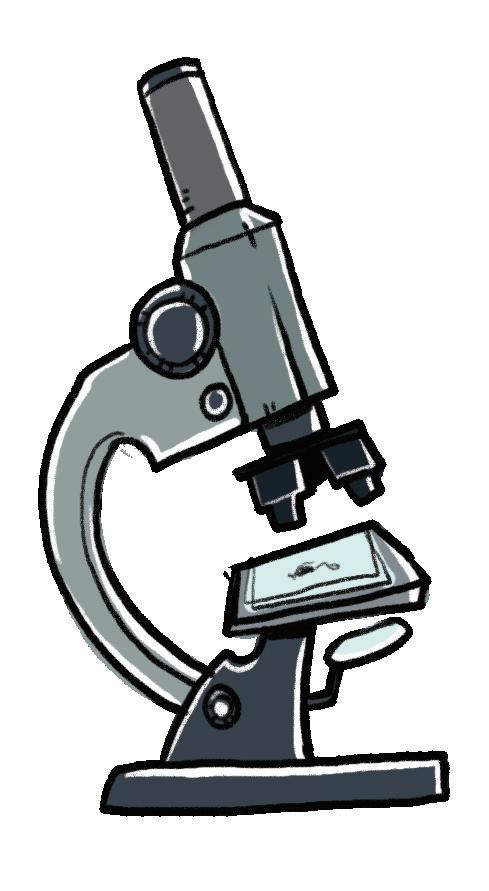
Cocoa butter consists of three types of fatty acids, which together create fantastic crystalline structures. Oh, how nice it would be to view these structures under a microscope! Chocolate manufacturers adjust the proportion of these three fatty acids to achieve the ideal product, which simply melts in your mouth.


The Scientific Cookbook is taking you on a magical adventure! The kitchen will turn into a scientific laboratory, and you’ll become real scientists!
In this book, you will find recipes for very tasty dishes and instructions for examining scientific occurrences that you might encounter in the kitchen. As you’ll see, science is all around us!
Get ready for scientific cooking! Roll up your sleeves and let’s have a great time!