1. On your web browser, navigate to http://azprint:9191/User
2. Login using your Lakeland College credentials.
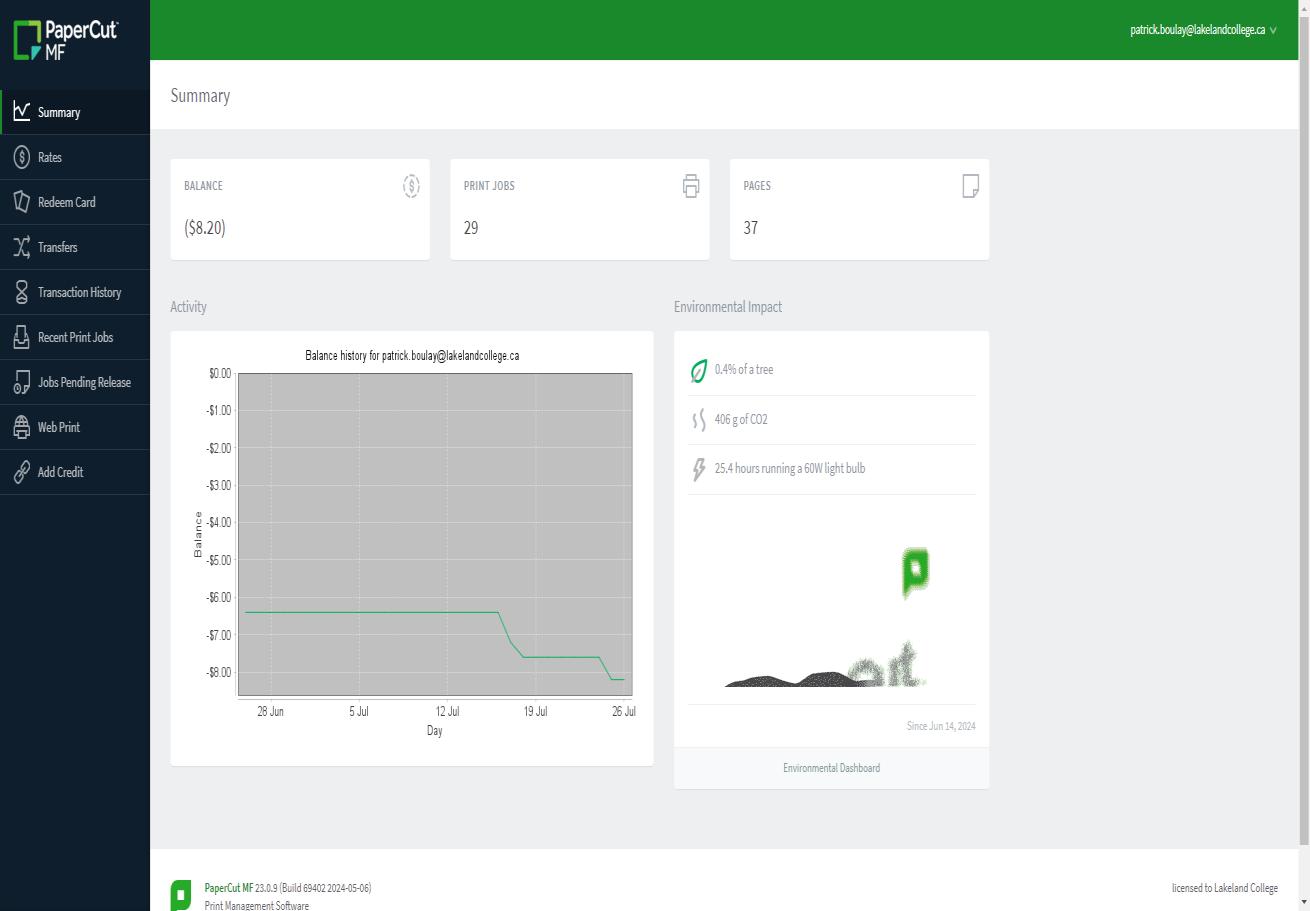
3. Once logged in you will see many options on the left side and a summary of your account.
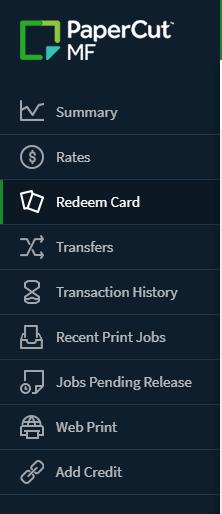
Options include:
• Transfers - allows you to transfer credits to another user.
• Transaction history – shows you a list of transactions for your account.
• Recent print jobs – shows a list of print jobs.
• Jobs pending release – shows jobs that are waiting to be printed.
• Redeem card - redeem a $10 print card from the bookstore
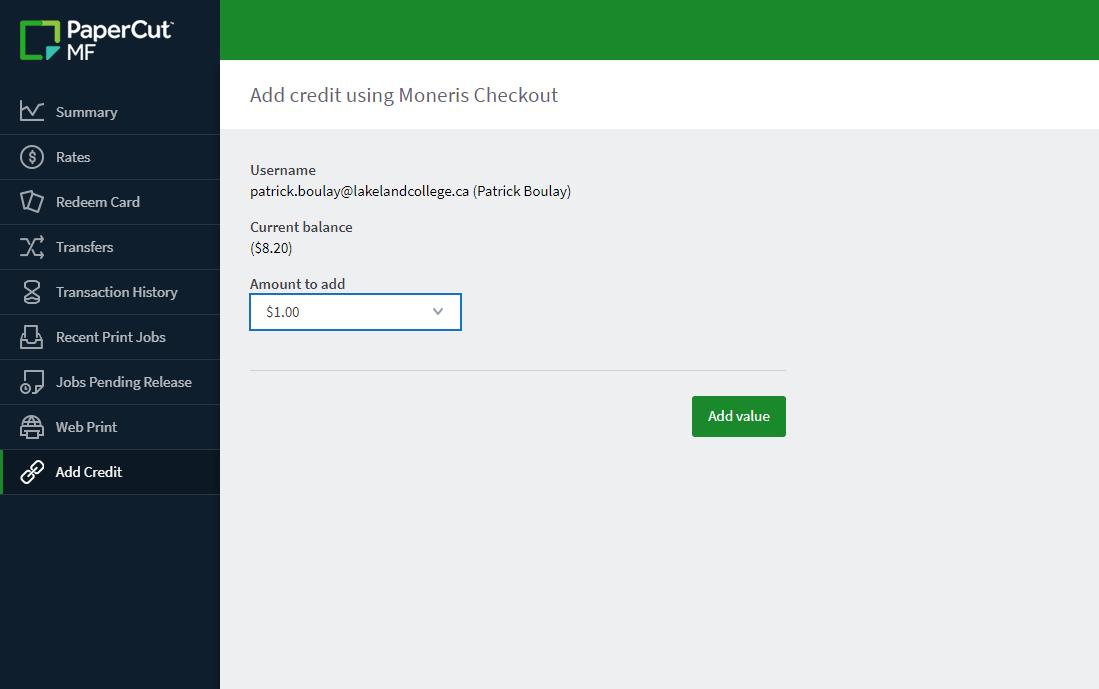
• Add credit – allows you to purchase $1, $3 or $5 in print credients
• Rates – the current cost of printing
• Web print – set up cloud print so you can send documents from your computer to be printed.
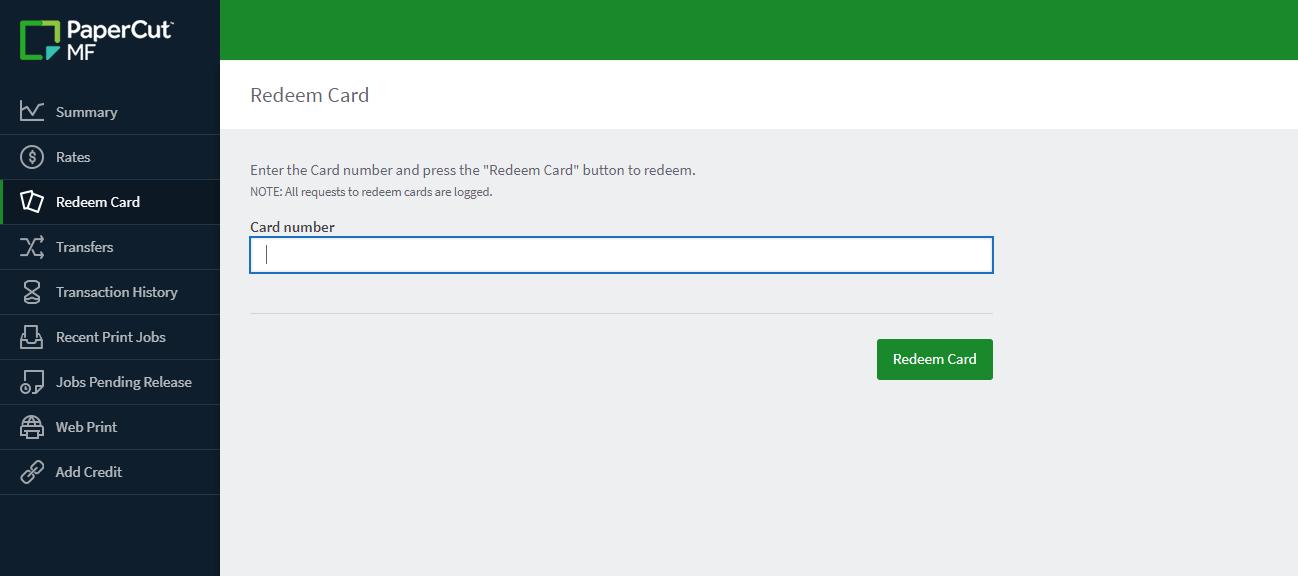
To redeem a card. Click on redeem card. Enter the code and click redeem.
To add credits using your credit card click on add credit. Choose the amount to add and click add value. You will be redirected to Moneris to enter the info to pay for the credits.
Step-by-step instructions for using multifunction printers
Associate your student ID card
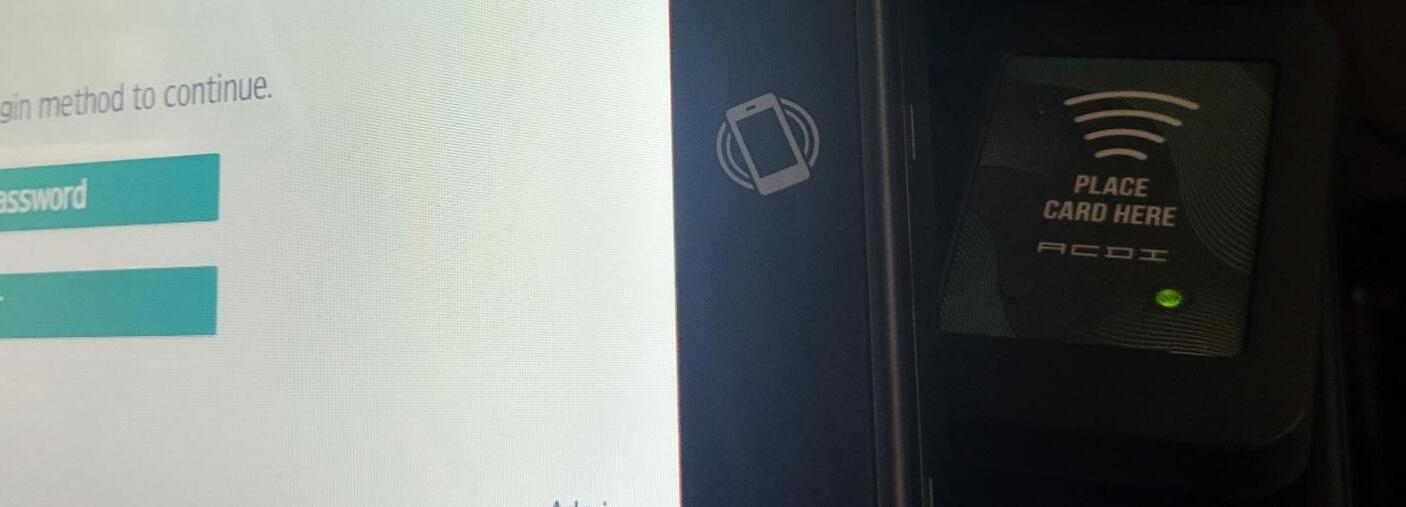
1. To start association process, tap your ID fob on card reader, located to right of the control panel
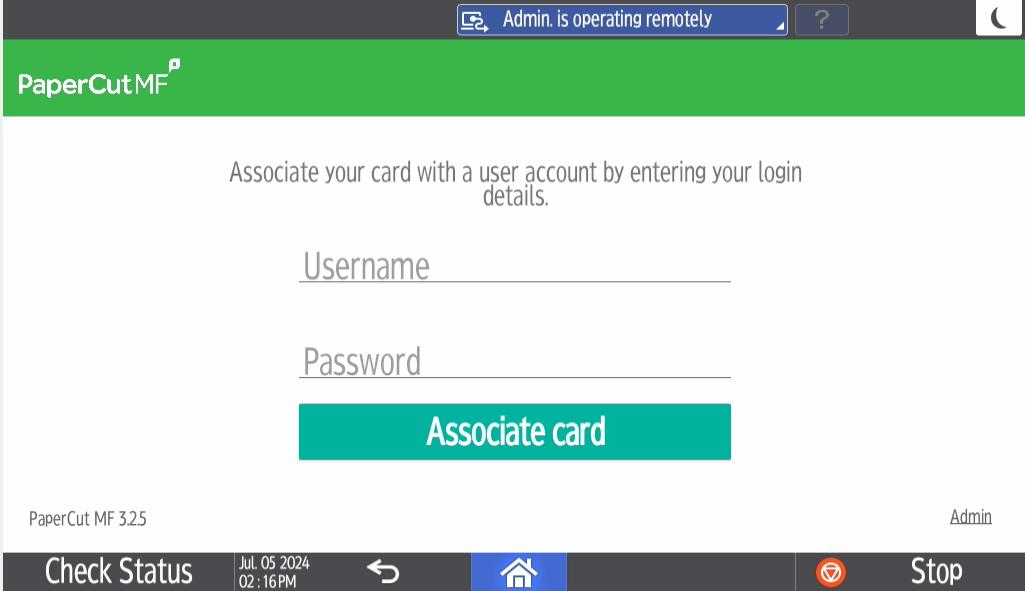
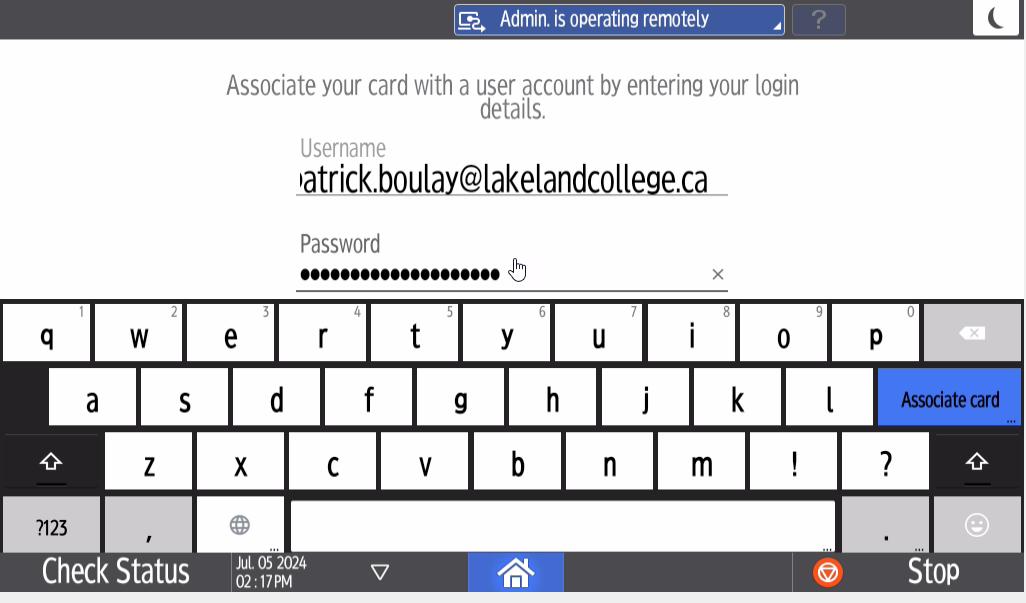
2. You will see a login screen for a username and password. This will be your Lakeland College email and password that you use to log in to your computer.
3. Type in your username and password. You will only have to do the association once. Note: if you lose your fob you may have to associate the new fob.
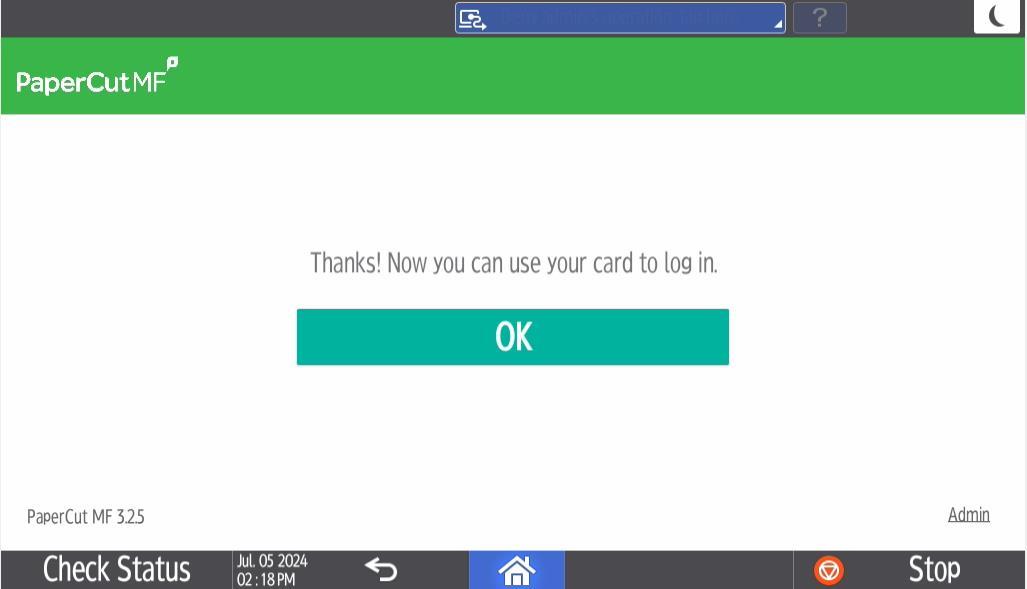
4. After you’ve associated your card, you’ll see a message saying you can now use your card to login.
Press OK. You’ll go back to the login screen.
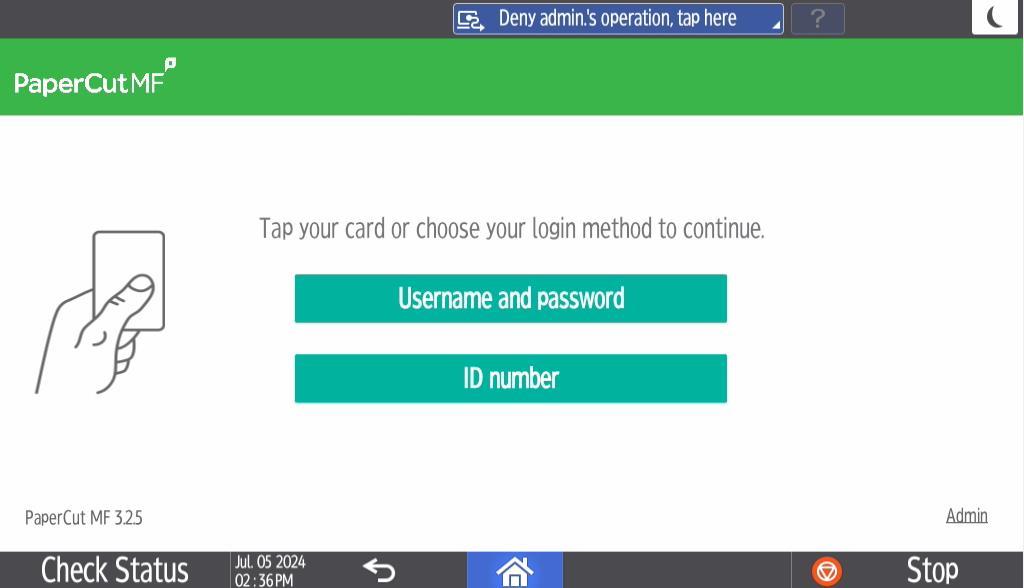
5. You can now log in using either your FOB, ID number that was emailed to you or Lakeland college login info.
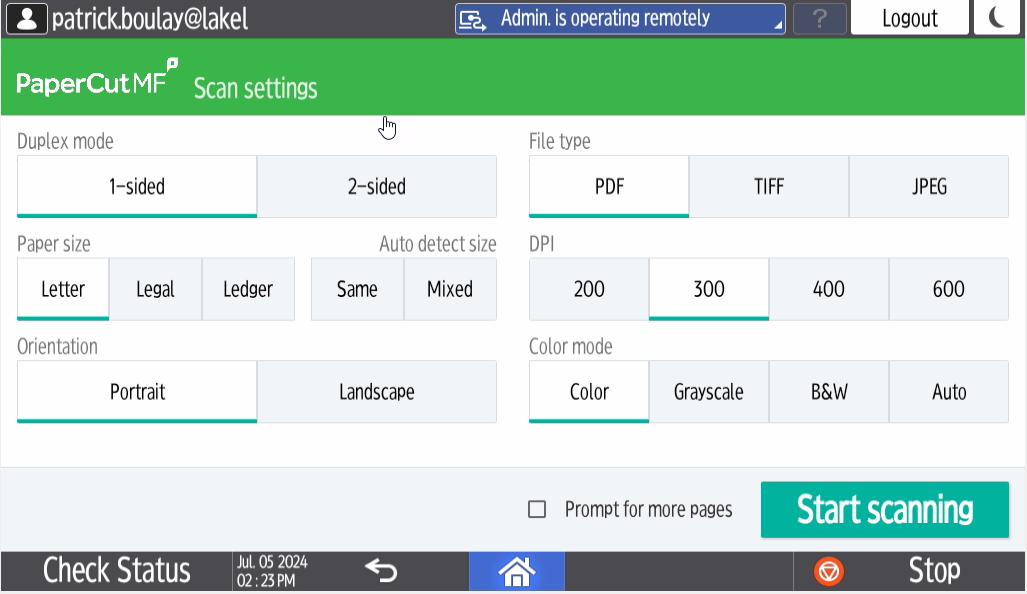
Device Functions: Scanning
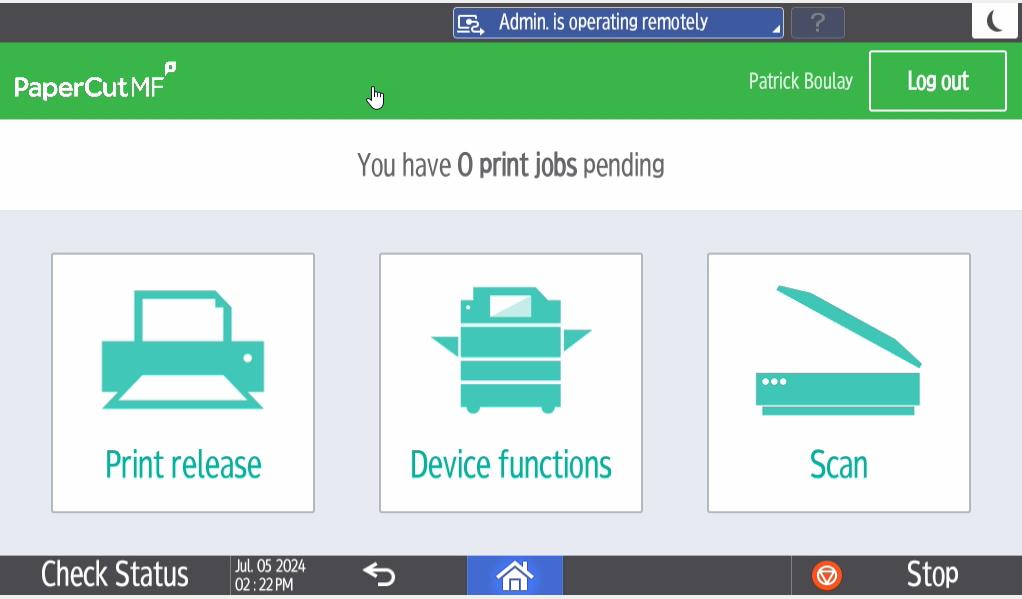
1. Log in by tapping your fob.
2. Select scan from the main screen
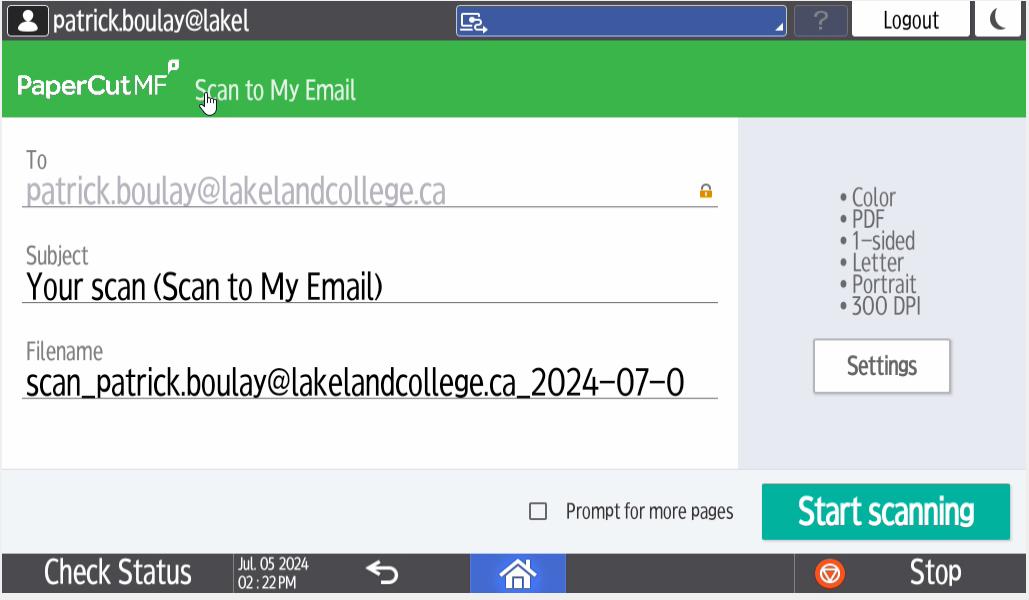
3. This will scan to your email. The file will be named scan_your user name-date
4. You can change settings from the defaults by simply pressing the settings button.
5. After making your changes just press start scanning.
6. Once complete hit logout in the top corner or swipe your fob again.
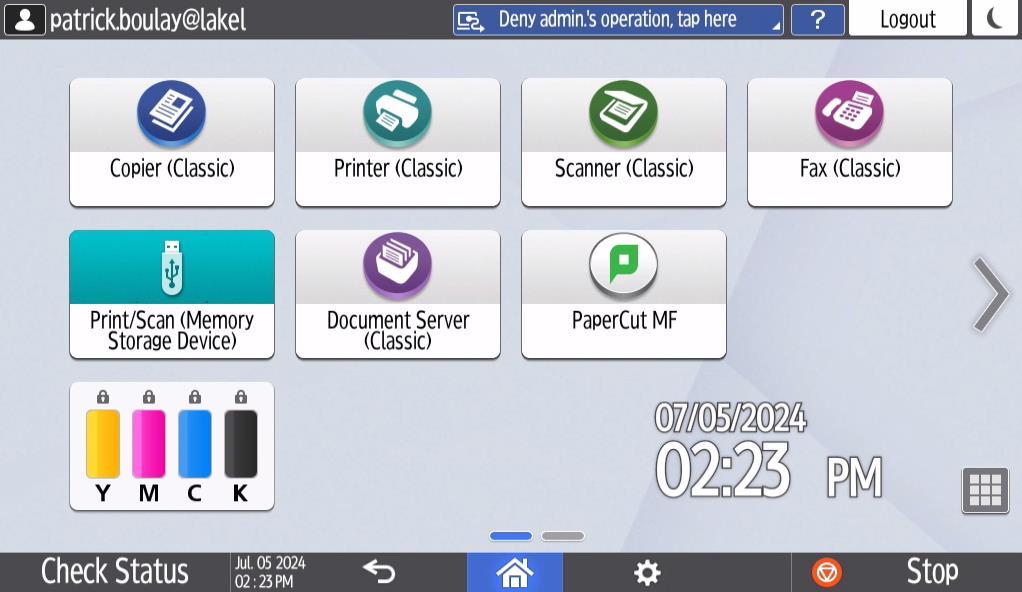
Device Functions - Copying
1. Login by tapping fob or using your pin number.
2. Choose device functions
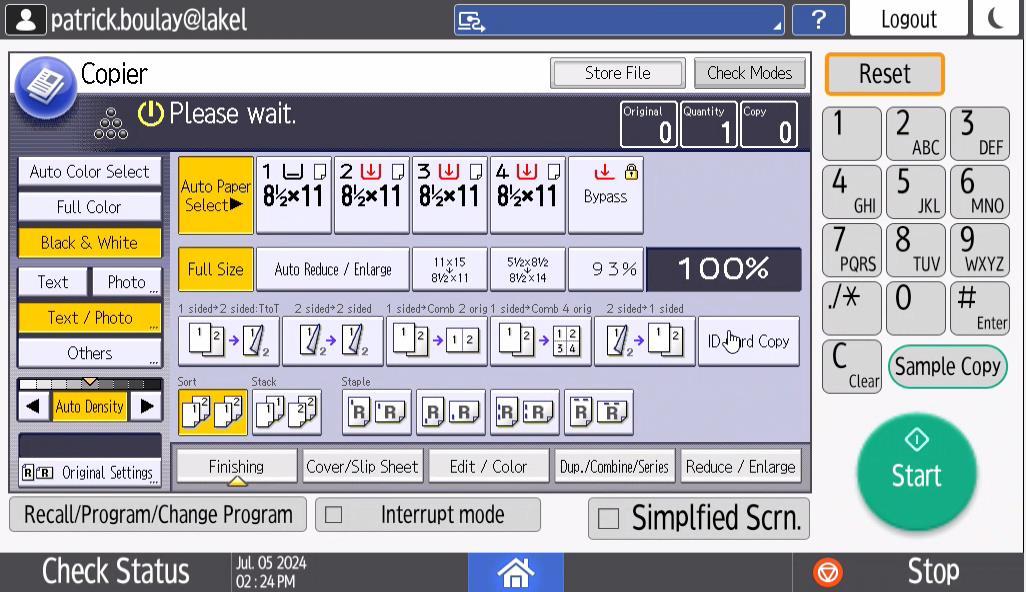
3. This takes you to the device home screen. From here choose copy. Please note: Faxing isn’t available to students.
4. In the Copier screen – choose quantity, duplex or single sided, staple
5. When you’ve finished copying, remember to log out by either tapping log out or swiping your fob again
Printing from a lab computer
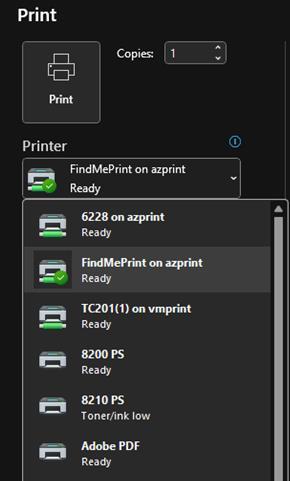
1. Select the file you want to print and choose print, or use or Ctrl-P
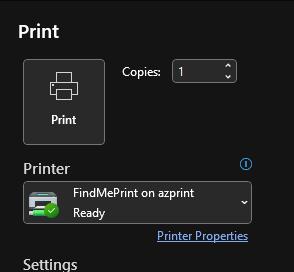
2. Select FindMePrint from the list of printers.
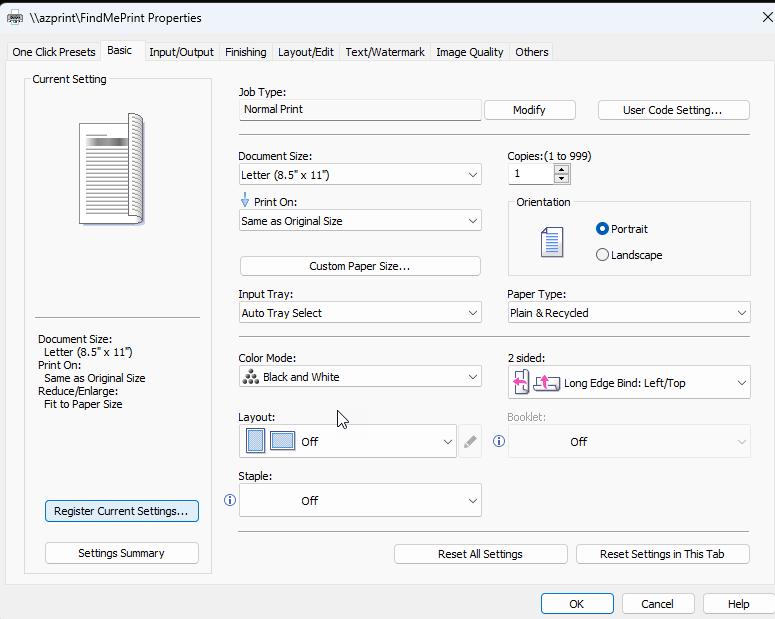
3. Select printer properties to change any settings such as tray, paper type, stapling and press ok.
4. Hit print and the job will be sent to the hold queue
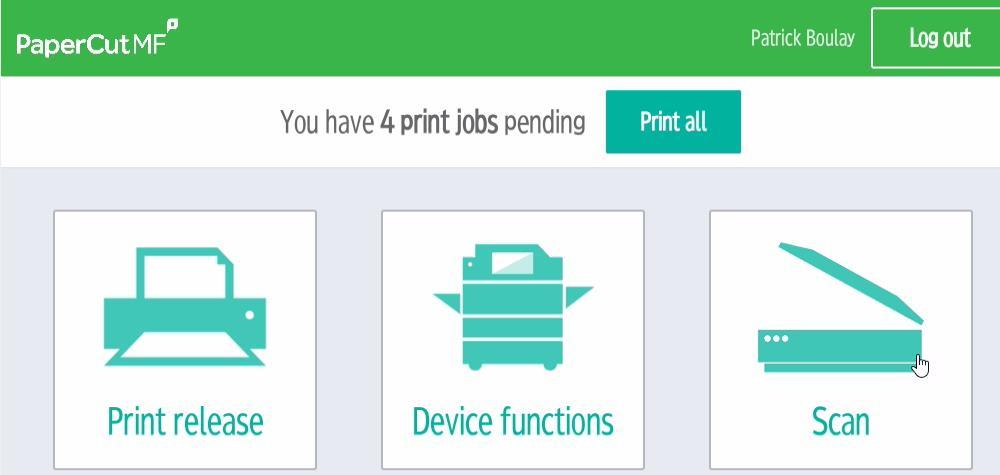
5. Now you need to release your document to print. Go to one of the printers and log in. 6. You’ll see if you have any print jobs pending.
7. If you know you want to print all of those documents, you can choose print all here 8. If you want to choose what to print, choose the print release button.
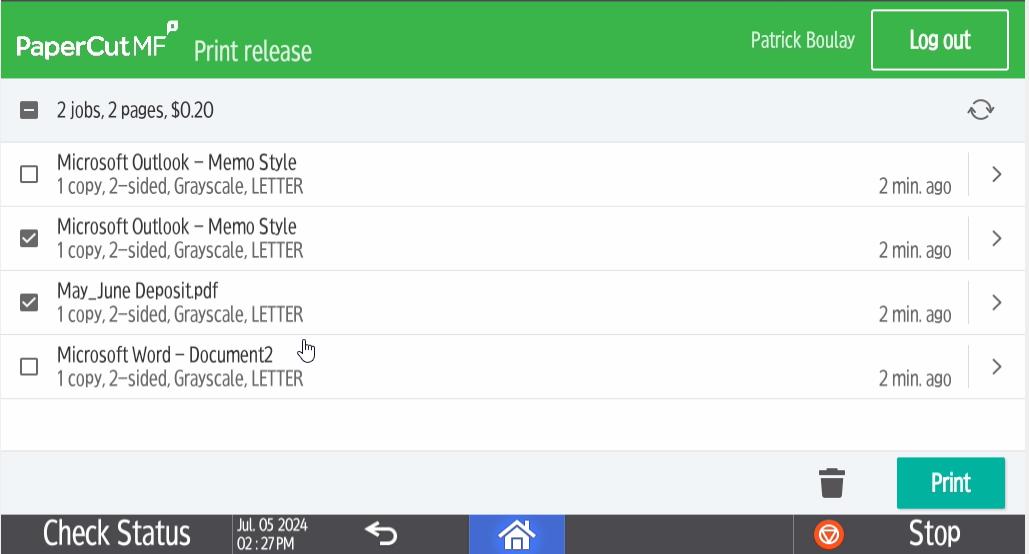
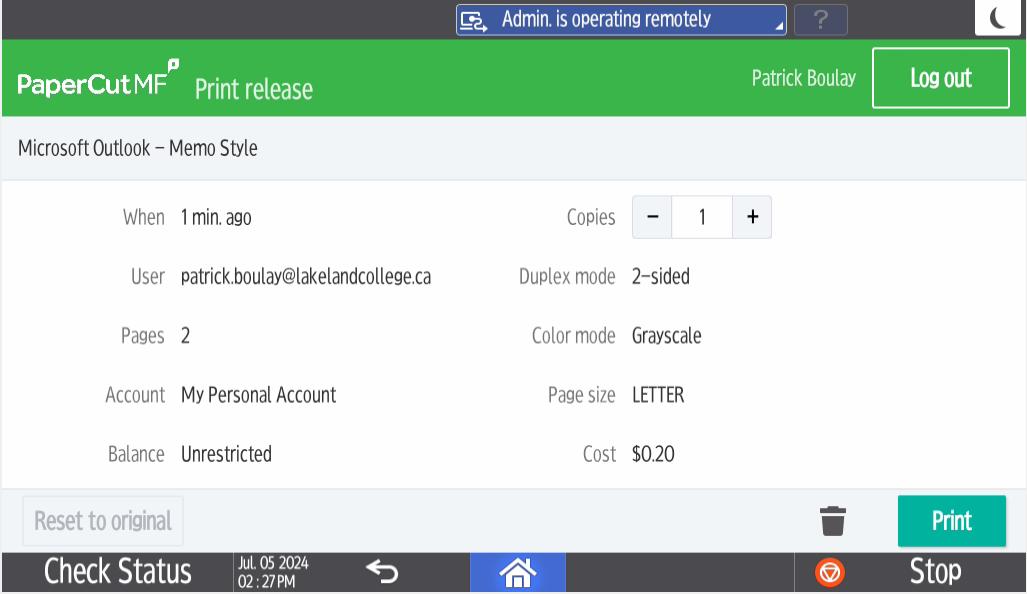
9. Here you’ll see a list of your print jobs. You can select one, or more, of the jobs. In the example below, 2 jobs are chosen.
After you choose the jobs you want to print, you can choose grayscale (or colour) and duplex (or note) if you didn’t already select when you set up printed properties.
This is also where you can delete a job. Select that job and use the trashcan in the bottom right.
10.Hit the arrow next to the job to see job specifics. This is also where you can change the number of copies.
11.Select Print or the back arrow to go back to the list.
12.Remember to log out after you finish printing
Device Locations
Cloud Print setup
1. Click the link http://azprint:9191/user
2. Log in to your PaperCut account.
3. Choose Web print from the options on the left side of the screen.
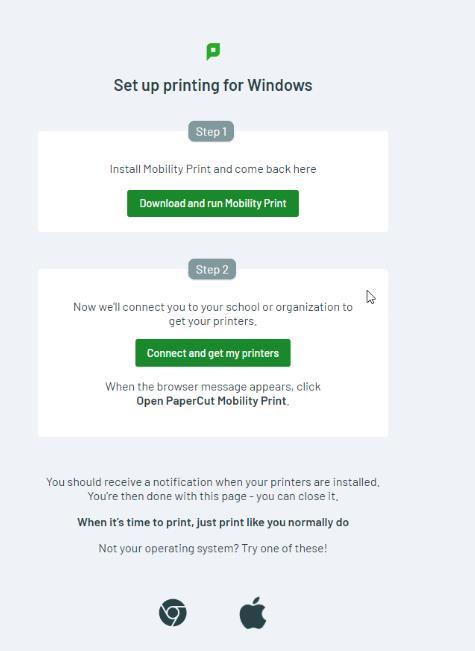
4. You’ll be redirected to a website where you’ll download a printer driver.
5. Click download and run mobility print. If the program doesn’t start installing automatically just navigate to downloads on your desk or laptop computer and double click the icon. You’ll see a file like the one in the graphic below.
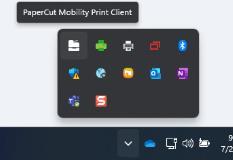
6. Follow the instructions to install the software. Once installed, you’ll see a new icon in your system tray.
7. After installation is complete, navigate back to the webpage http://azprint:9191/user Click refresh.
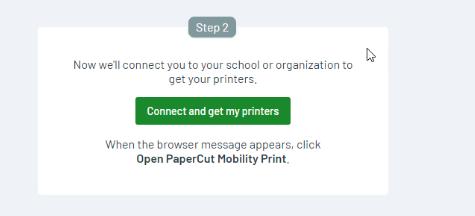
8. Go to Step 2 connect and get my printers This step will work in the background.
9. After giving it a couple of minutes you should get notified on the bottom right that the software is fetching the printers and that it is installing the printer.
10.You can confirm this works by going to your printers and scanners in settings and looking for a printer named FindMePrint.
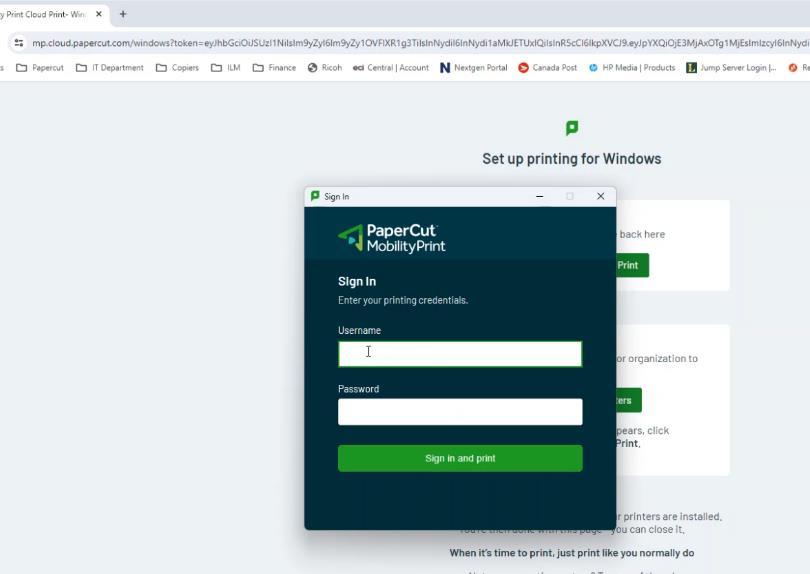
11.To print, select the FindMePrint printer. When you click on print, a PaperCut login screen will appear.
12.Login using your Lakeland College credentials. You won’t need to log in every time, but might have to periodically.
13.Now you can retrieve your print job at any of the multifunction devices in the labs or Commons where Papercut is installed.