2 minute read
ACRYLIC Melody Thornton, CMB Acrylic
and Color Dreams: Sublimating Acrylic
people have with sublimating on acrylic is warping when you remove it from the heat. Cutting your acrylic, and sublimating a smaller piece(s) usually lessens the possibilities of warping. Generally with sublimation, you’ll want to use a heat safe tape to keep the paper design from sliding around. However, you’ll have to be careful with your application so you don’t wind up with tape marks on the back of your acrylic. One way to mitigate this is to apply the tape on the image, and then to a piece of paper under your acrylic (and not directly on the acrylic itself). The added benefit of a piece of paper under your acrylic is it offers an easy way to slide your pieces directly onto a harder surface for cooling down!
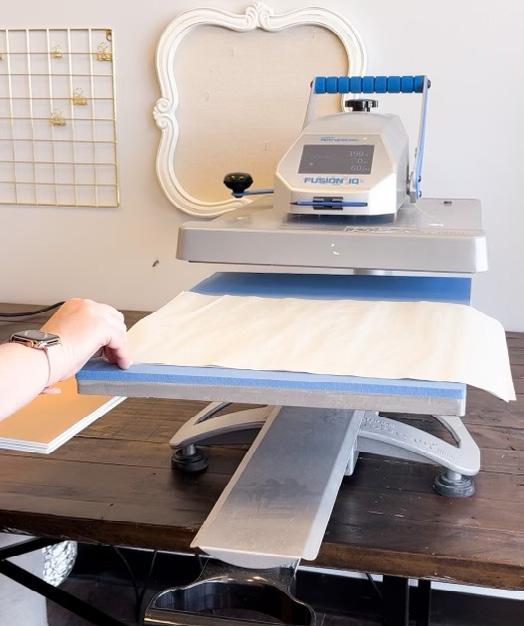
Generally you’ll apply a piece of parchment paper over the sublimation sheet, and press your image for 4560 seconds (again, lots of trial and error for best timing). Once the timer is up, immediately slide your pieces onto a hard surface, and apply something heavy on top of them. This is going to help it cool down nice and flat without warping.
After 15+ minutes you can remove the heavy pieces and take a peek at your product! Once you remove the tape and sublimation paper do me a favor and DON’T PANIC if there’s a lot of residue- a baby wipe or damp cloth will scrub it right off!

One of the perks of sublimation over other mediums is that once the ink is in there, there is nothing that will remove it. It won’t scratch, it won’t be damaged by harsh chemicals, it won’t rub off over time- it is SET. Of course the disadvantage is that this process is a bit arduous and time consuming, and the warping problem can be hard to scale on a level for higher manufacturing.
NOW- Go have fun!
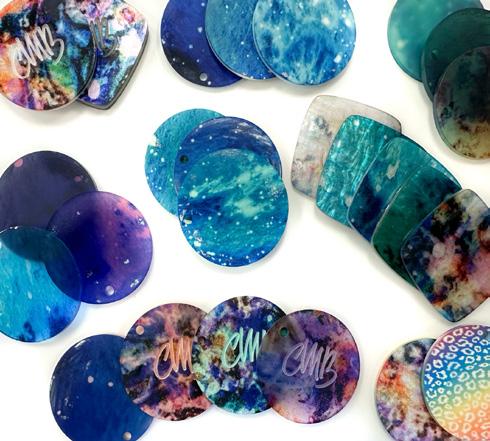
I’ve sublimated on pastels, mattes, marbles, pearls, and more! Experiment with what you have and you’ll be able to create some truly unique pieces!
Melody Thornton started her acrylic obsession with a Glowforge which quickly spiraled into an acrylic purchasing problem. To combat it, she started CMB Acrylic, supplying the highest quality acrylic sheets to the Laser Community. In addition she runs the Acrylic Obsessed-Laser Edition Facebook group, dedicated to all things acrylic and the CMB Facebook group.

Cutting boards are an essential tool in every kitchen and can be a very profitable part of your business! They require proper conditioning and care for best presentation and longevity. Here’s the process of conditioning that I use, why I use it, and how I educate my customers to do so, which makes me more competitive in the crowded marketplace.
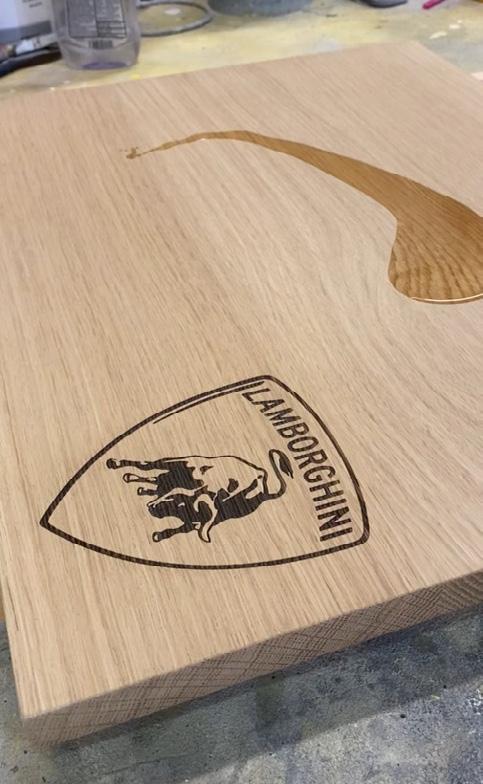
While condition ing is an ongoing process it only needs to start after you engrave the board. If you condition your wood before you engrave, it doesn’t make the oil embed further or deeper into the wood; it causes the oils to burn out of the wood, which could leave the engraved area with a lip or raised-up outline. This is not something anybody wants for their cutting board - be it a gift or for personal use. That lip can be sanded out but requires more sanding than normal after-engraving sand, making your cutting board thinner than you would like it to be. Also, sanding the cutting board requires that you condition it again. So as you will always condition after an engraving, you save time and effort by working with untreated wood.


First, look over your cutting board and find the best section with the fewest imperfections, then mask off the area, engrave the cutting board, and remove the masking. By


