Future Forward K-12 Facilities: A Design Toolkit K12 | LS3P
Design for Project Success: Starting a School Construction Project

Future Forward K-12 Facilities: A Design Toolkit K12 | LS3P
Design for Project Success: Starting a School Construction Project
In the world of K-12 school construction, every school is unique. The requirements may vary between elementary, middle, and high school facilities, but the same fundamental building blocks of design and construction will apply. Understanding these fundamentals is key to initiating any K-12 project, and will set your project up for success.
These fundamental steps are not strictly linear but essential to grasp before any project, helping your district to maintain constant awareness for strategic planning and execution.
Every single space is a learning opportunity with our new building.
Bradley Tarrance Principal of Robert Smalls Leadership Academy

In your day-to-day job, you may be responsible for maintaining aging school buildings…or perhaps you oversee a large, rapidly growing school district. At some point you may be required to oversee a major school facility project, and many factors will infl uence the decision-making process.
Student population growth and overcrowding
Aging facilities
Health & safety deficiencies
Diversity & inclusion
Redistricting due to population shifts (growth or decline)
For districts without a current facility plan, a good fi rst step is to embark on an in-depth assessment of existing school facilities.
Most school districts maintain long-range facility plans which document conditions of existing facilities and forecast their future facility needs. Many states require that these plans be updated on a five-year basis. A district may have an extensive list of priorities for specific construction projects including major renovations, new additions, or completely new school campuses. Whatever the scale of the needs, careful planning will help inform smart choices with taxpayer dollars and prepare for long-range needs.
Districts that already have an up-to-date facility plan have a strong starting point to launch school construction projects with confidence. For districts without a current facility plan, a good first step is to embark on an in-depth assessment of existing school facilities. A district-wide facilities assessment will document the life expectancy of a district’s existing buildings including mechanical, electrical, and plumbing systems; roofing; interiors; exterior walls; lighting; accessibility; and more. This assessment will provide a better understanding of the individual educational spaces and their ability to support the district’s educational goals.
This district-wide facility assessment is most effective when paired with a demographic study to provide a solid basis for decision making. This work not only provides documentation of the condition of individual school buildings, but also offers a comprehensive approach to describing and ranking their needs relative to each other. For example, school “A” might need to be demolished because it was built in the 1940s, but school “B” might just need some minor additions and renovations based on growth or programmatic needs. Integrating demographic data helps inform a holistic approach to facilities planning rooted in student enrollment, district-wide goals, ongoing maintenance needs, and operational budgets.
The result of this early-stage documentation is often a prioritized list of goals or projects for immediate or future development. This list could include a phased plan for building or renovating buildings on a single campus, or across an entire district, possibly in graphic form.
Space Utilization and Circulation
Exterior Building Conditions
Windows
Roof
Exterior Facade
Site
Tra
ffic Analysis
Athletic Facilities
Play Areas
Drainage
Site Access & Fencing
Sidewalks & Asphalt
Seating & Site Furniture
Interior Building Assessment
Interior Materials
Condition of Paint, Floor, Ceiling
Lighting
Storage
Acoustics
Building Systems
Structural
Mechanical
Plumbing
Electrical
Life Safety Analysis
Fire Safety/Sprinklers
Exiting
ADA Compliance
Current Building Codes
Safety and Security
While a district-wide facilities assessment determines what is needed, a feasibility study creates a road map on how to achieve the district’s goals. The prioritized project list will help a district determine where to start.
The architects will work with the district and other team members such as cost estimators and engineering consultants to explore various scenarios, including:
A new school on a new site
Additions/renovations to existing buildings
A new school on an existing school site:
• On-site replacement school with temporary campus (least complex)
• On-site replacement school adjacent to existing
• On-site replacement school constructed in phases (most complex)
Closing and/or consolidating obsolete schools
As part of this process, the design team will create a series of conceptual designs to test options, and these designs may provide a basis for initial cost estimates that will provide valuable information in determining next steps.
When the first project has been identified, a feasibility study – typically focused on a single campus at a time – can assess options for meeting the district’s goals and how much capital and time may be needed to achieve these goals.
For public school projects, each state typically has a regulated process for the selection of an architectural design team, which often includes a Request for Qualifications (RFQ) or a Request for Proposals (RFP) as well as an in-person interview of short-listed firms. Either approach is valid; an RFQ is usually more limited in scope and focuses on an architectural firm’s experience and similar work, while an RFP requests more detailed information on the firm’s proposed design process and course of action. In most cases, the procurement process prohibits fee-based selection; firms are selected based on qualifications and then the owner and selected designers negotiate fees.
The RFP/RFQ selection process helps districts to thoroughly vet an architectural firm’s credentials and suitability for the project at hand. In selecting a designer, districts should consider a variety of factors: firm reputation and longevity, successful experience with similar projects, ability to demonstrate success with schedule and budget adherence, solid relationships with consultants and local code authorities, references from previous clients, and a commitment to stakeholder engagement.
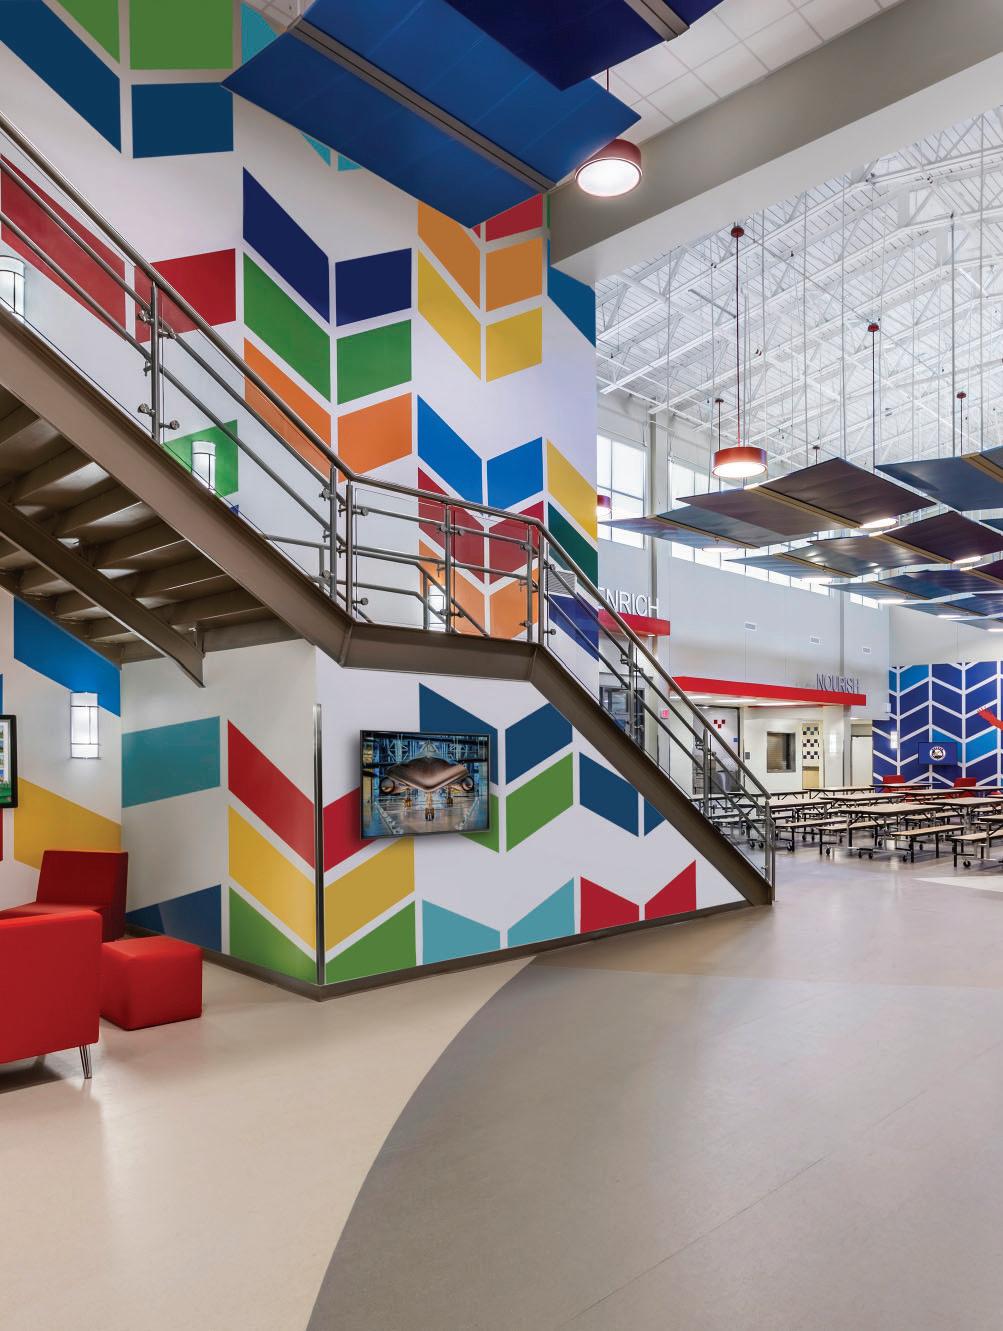
At the beginning of the project, the designers will work with district representatives to understand their goals, create a vision, and establish a program for the project. The visioning process may take place during one or more interactive workshops with the design team, the owners, and selected project stakeholders. Bene fi ts of visioning include:
Clarity: Visioning creates clearly articulated, easily understood project goals to align individuals across an organization and provide an ongoing basis for decision making.
Direction: Visioning provides a “north star” to help everyone involved in the project navigate successfully.
Focus: Visioning helps develop key project priorities by identifying the “big picture” of the project.
Aspiration: A visioning session should challenge participants to create stretch goals, set high standards, and be open to new possibilities.
Culture: Visioning helps unite a school community around its unique identity, making the school a point of pride for the district, staff, students, and families.
Inspiration: The result of the visioning process should be excitement about the project and its impact on those who will inhabit it. Visioning appeals to hearts and minds and encourages people to be a part of the process.
The visioning process can include districtspecific conversations about teaching philosophies, curriculum objectives, safety and security, technology integration, sustainability, innovation, or anything else the district would like to explore or incorporate as part of the project.
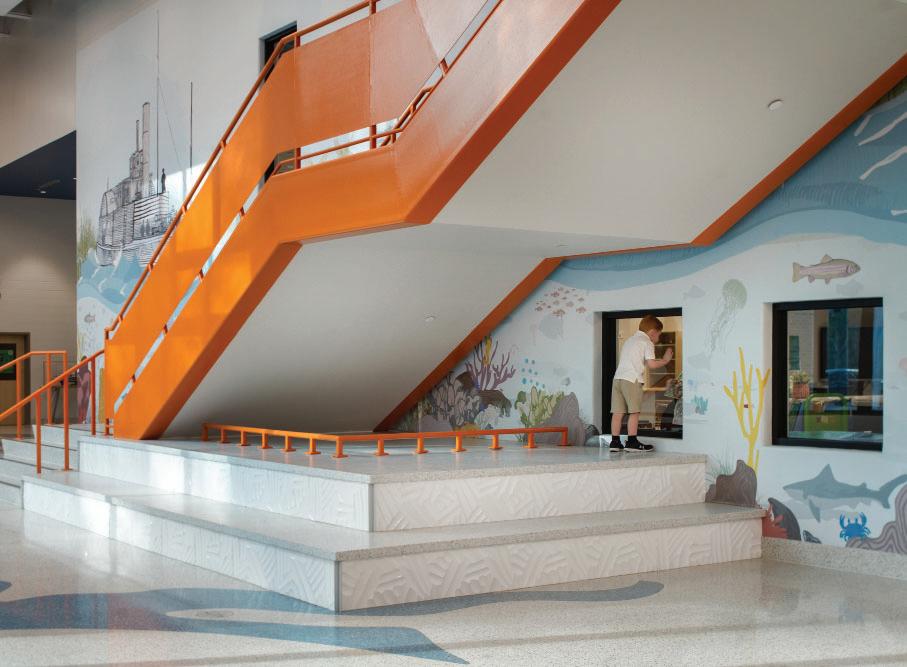
The programming phase is critical to developing an efficient, effective design that meets the needs of staff and students. Programming will synthesize all the information provided by the district including current and future demographic needs, space standards, desired program areas, and other data. The design team will work with the district to better understand space needs and required adjacencies which may vary across grade levels or departments. This interactive process often reveals subtleties and possibilities which inform the design. The programming process will result in a detailed list of each anticipated space along with estimated square footages; this data can begin to inform blocking diagrams and help owners prioritize must-haves and nice-to-haves which can be adjusted with respect to cost estimates and budgets as the project develops. Existing programming resources such as sample program spreadsheets provided by the North Carolina Department of Public Instruction (NC DPI) may be tailored to particular grade levels and can serve as a helpful starting point.
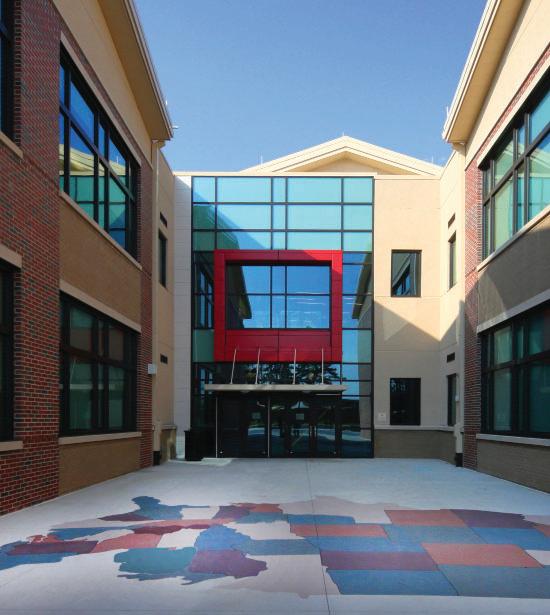
The site selection process will vary greatly with each individual project. Some districts may have land purchased and allocated for par ticular facilities; others may be weighing the costs of building on a greenfi eld site vs. replacing a school on an existing site. Urban districts may face challenges in land acquisition due to both availability and expense. Schools with a rich history may prioritize rebuilding on an existing site to maintain an important community anchor. Requirements may also vary by state or county; for example, South Carolina requires districts to secure Offi ce of School Facilities (OSF) approval for each project, and the South Carolina Department of Transportation (SC DOT) may also be required to participate in an early feasibility assessment.
In all cases, the potential project site will need to be evaluated for:
Acreage: Is the site suitable for the needs of the program? High schools will require more acreage than elementary schools, and program needs might include substantial space for athletic fields, bus parking, or other spaces outside of the school building.
Zoning: Is the site zoned for a school, or will it require need re-zoning as part of the project?
Shape: If the amount of land is adequate, is the footprint suitable for an efficient layout of facilities, required outdoor spaces, and safe site circulation?
Location: Is the site located near the targeted student population?
Topography & Drainage: Is the site relatively flat and elevated above flood zones?
Utilities: Does the site have easy access to public utilities, or will the cost of connecting to water, sewer, and power add substantial expense?
Habitat: Does the footprint allow for green space and biodiversity?
Security & Safety: On any site, the safety and security of anyone entering will be a top priority. What principles of Crime Prevention Through Environmental Design (CPTED) could be applied to the site (such as natural access control, natural surveillance, territoriality, maintenance, and strategies to support activity)?
Accessibility & Traffic: Does the site provide easy access from major thoroughfares? Can the site accommodate enough linear footage for car stacking requirements by state? Can the site accommodate separate bus and car drop off and parking areas? Do you need to park buses on site?
Soil Conditions & Plant Life: Is the soil suitable for building? Will the site accommodate green space and landscaping? Are there historic specimen trees that must be preserved?
Noise Levels: Is the site buffered from distracting noises such as traffic or industrial activity?
Costs: Is the site affordable? Will it require additional costs to be buildable?
Historical/Archaeological: Is the site in a sensitive area that might be impacted by historic preservation requirements or ecological issues?
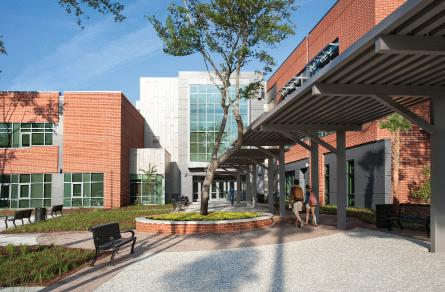

Several delivery methods exist for selecting a contractor to build any project.
Depending on the context and the type of construction contract, the builder might be referred to as the contractor, general contractor, construction manager, or bidder. These are all the same entity.
The three most frequently utilized project delivery methods are Design-Bid-Build, Design-Build (both contractor-led and designerled), Construction Manager as Constructor (Construction Manager at Risk or CM@R).
Each comes with pros and cons, and all can work quite well for the right situation if all team members are aware of the inherent challenges and opportunities.
Design-Bid-Build
Often referred to as “competitive bidding,” the Design-Bid-Build delivery method is organized into three discrete phases: the design phase, the bidding or procurement phase, and the construction phase.
The owner selects an architect based on qualifications through an RFP/RFQ process. At the end of the design process when construction documents are complete, the owner advertises to all prospective bidders (contractors) the opportunity to submit a bid, at a predetermined time and location, to construct the project. The project is awarded to the lowest responsible bidder. The architect will be an owner’s representative during the construction phase and will administer the contract for construction between owner and contractor. For large or complex projects, owners may choose from a list of pre-qualified bidders with experience in projects of a similar scale. For example, in South Carolina, the Office of School Facilities (OSF) defers to Office of State Engineer (OSE) guidelines for requiring and establishing pre-qualified bidders, which may be triggered by any project over a certain size.
In the Design-Build model, the architect and contractor work as a single entity to deliver the project.
The owner holds a single contract with the design/build team, rather than two separate contracts with an architect and a contractor.
Construction Manager at Risk, also known as CM@R or CMAR, involves a construction manager hired by the owner to act as the owner’s representative at every stage of the project.
The owner holds one contract with the architect, and one contract with the construction manager; the construction manager holds all other contracts related to construction.
• Owner is intimately involved in design and construction decisions
• Clear chain of command streamlines communications
• Architecture team works directly for the client and is heavily involved in design through construction
• Owner has one construction contract with one entity to deal with for the entire project
• Construction cost is a fixed sum at contract award
• Process encourages low bid cost with maximum competition, and is perceived as the most “competitive” means for selecting a contractor (note: this does not guarantee the lowest total cost for a project)
• Linear process makes planning and scheduling straightforward
• Owner risk is high
• Process requires significant owner expertise
• Communication issues can arise between architects and contractor due to separate contracts with owner
• Contractor selection is based on cost, not qualifications – see note above
• Cost submitted on bid day is starting cost, but frequently not final cost
• Process may require value engineering and redesign if lowest responsible bid exceeds owner’s budget
• Change orders are to be expected with this delivery method
• Linear process can lead to delays if any step of the process is off schedule
• Potential for longer schedule exists
• Contractor involvement begins at bidding, and contractor does not offer advice on constructability during design
• Pressure to achieve a low bid may encourage economy over quality
• Contractor may be required to work with unfamiliar subcontractors based on lowest cost model
• Design and construction are integrated from the beginning of the process, which can improve coordination
• Design-Build can accelerate the project schedule and shorten the bidding process
• Process may reduce meetings and coordination time
• Structure simplifies communication
• Process is collaborative, as designers and contractors must work together for project success
• Having one team manage both design and construction means that a separate party is not overseeing the quality of the construction; this reduces opportunities for checks and balances
• Some jurisdictions prohibit design/build for public projects
• Architect’s primary responsibility is to the contractor, not the owner, in this contractual relationship
• Owner should be prepared to make quick design decisions; construction may begin as soon as a decision is made, as opposed to the design/bid/build method which allows the owners to change their minds with lower cost impacts until bidding is complete. (This can be considered a pro and a con.)
• The design-builder has majority control over decision-making and methods of keeping projects in budget and on time. (This can also be a pro and a con.)
• Owner’s risk is low, as the construction manager provides a Guaranteed Maximum Price (GMP) for the project and the owner’s cost will not exceed that number, unless the owner approves a change order to the GMP
• Owners can hand responsibility over to an expert, removing much of the burden of project management
• Relationships are simplified, with owner holding a single contract with the construction manager
• Process can be appropriate for fast-track projects, as design and construction can happen in parallel
• Architect’s responsibility is to the owner, not the contractor
• Construction manager may help with coordination, constructability, early procurement of materials or long lead items, and quality control reviews to minimize errors, omissions, and change orders
• Construction manager is incentivized to deliver project on schedule and under budget
• Process encourages cost estimating and alignment at each phase of design and construction
• A construction manager is an additional project cost
• The construction manager bears significant responsibility and must be thoroughly vetted
• Fast-track projects may encounter coordination challenges since design and construction may be concurrent
• Cost overruns at some stages may result in lower quality work in other places as the construction manager seeks to balance costs
The architect will work with the owner to build the project budget. Regardless of the construction delivery method, it is advisable for the architect to hire a third-party cost estimator to help align the contractor’s budget with standard regional construction costs for the project. The budget should account for both hard costs (materials and labor cost, equipment, etc.) and soft costs (design fees, legal fees, land surveys, etc.) and should include a contingency to accommodate unforeseen expenses.
• Building Cost
• Site Cost
• Demolition Cost (if applicable)
• Construction Contingency (Owner’s)
• Design Contingency
• CM Contingency (if applicable)
• CM Preconstruction Services (if applicable)
Consultant/Vendor/Misc. Costs
• Design Team Fees
• Design Consultant Reimbursables
• Land Surveying
• Geotechnical
• Wetlands Delineation & Submittals (if applicable)
• Special Inspectors Fees
• Permit Fees
• Misc. Reproduction/Printing
• Attorney’s Fees (if applicable for land acquisition)
• Materials Testing
• Asbestos/Environmental
• Security & Telephone (if separate)
• Moving Costs (if applicable)
Furniture, Fixtures and Equipment Costs (FF&E)
• Furniture (including freestanding media furniture)
• Media Center Equipment
• Custodial Equipment
• Operational & Program Equipment
• Playground equipment (if applicable)
• Technology
• Security Equipment (cameras, access control, intrusion detection; sometimes included in hard costs, sometimes not)
• Child Nutrition and/or Kitchen Equipment (sometimes included in hard costs, sometimes not)
• Library Books
Districts may use a combination of funding mechanisms to pay for the cost of a school facilities project.
These may include:
Bond Issue: When paying for construction in cash is not an option, most systems borrow money to pay for capital projects- often in the form of school bonds. A bond allows a district to borrow money in the form of a long-term debt; the principal and interest are paid back over time, usually through a local property tax. A bond referendum is the public vote to approve or deny the bond. A bond referendum is often included on a ballot along with elections for local, state, or national candidates or at a time selected by the governing body.
Certificate of Participation (COP) Funding: This option is available in some states, such as North Carolina. Much like a bank loan, a school district or county government can apply to the State Treasurer for a Certificate of Participation. Unlike a bond referendum, this funding mechanism does not require voter approval but typically results in a slightly higher interest rate (versus bond funding). 1
Pay As You Go/Capital Outlay: When cash flow allows, projects can be funded in part or in full by cash reserves. When funding is predictable, some districts may choose to phase projects to align with annual budget cycles.
Grant/State Funding: Options vary by state, but state funding may be available to supplement county funds for public school projects.
USDA Loans: The U.S. Department of Agriculture provides assistance in the form of grants and low-interest, long term loans for facilities benefiting the public good, particularly for rural areas. Eligibility and requirements may vary by state.
As public schools are funded by taxpayer resources, building consensus among key stakeholders will be critical to navigating funding options. School board members, county commissioners, students and families, and the broader community – even people who do not have children in the public school system – can all be powerful advocates supporting the school construction process.
At the beginning of a project, the school construction process may feel daunting. Data gathering, scheduling, budgeting, navigating funding opportunities, and engaging community stakeholders require time and investment long before the design and construction phases begin. However, with experienced partners and a solid plan, school construction projects are also inspiring, energizing, and enjoyable; this rewarding work will benefit the entire community for generations to come.