Magento 2 Image Optimizer
Magento 2 Image Optimizer optimizes website images by reducing the image size without losing its quality. Optimizing images helps in improving page load speed and user experience.

1. Configuration
Once the extension is installed successfully, go to Stores > Configuration to configure the extension for use.

Image Optimizer: Enable and disable the extension from here.
Custom Quality Percentage: Admin will need to add the image quality percentage here.
Included Directories: Add the directory path of your media storage that you want to include.
Excluded Directories: Add the directory path of your media storage that you want to exclude.
Cron: Set to enable running cron and optimize images automatically.
2. Backend Image Manager
Click on the scan images button for scanning all the images
All images are scanned successfully on the backend of your store.

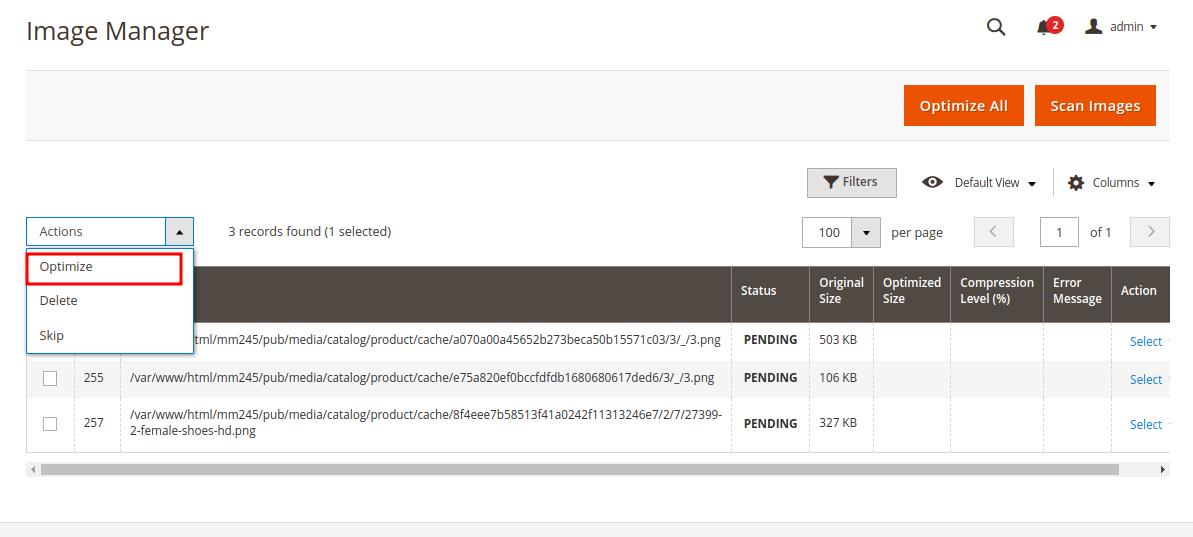
Select the images you want to optimize and from the actions dropdown select the optimize action for skipping the selected images to optimize. Or you can click on Optimize all button for optimizing all the images at a time.

Image optimization successful.


Select the images you want to skip and from the actions dropdown select the skip action for skipping the selected images to optimize.
Successfully skipped the selected images.
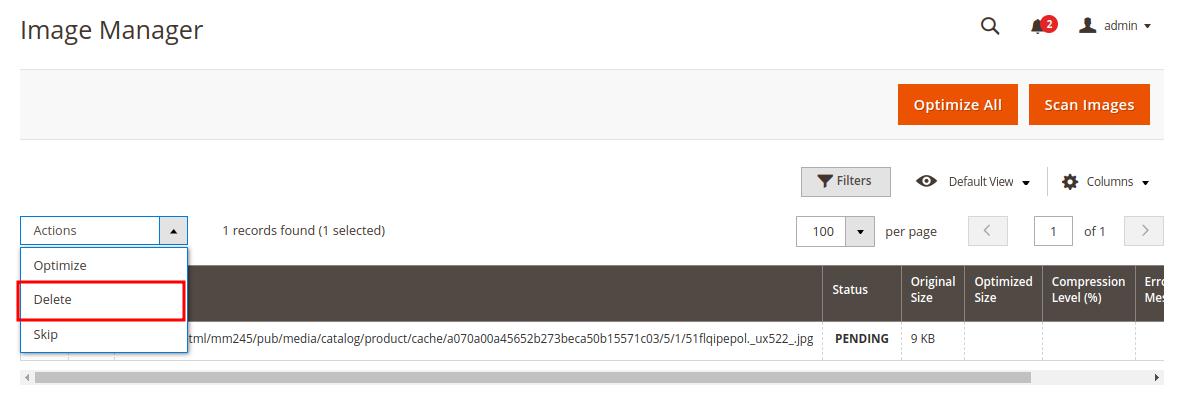
Select the images you want to delete and from the actions dropdown select the delete action for deleting the selected images.
Successfully deleted the selected images.


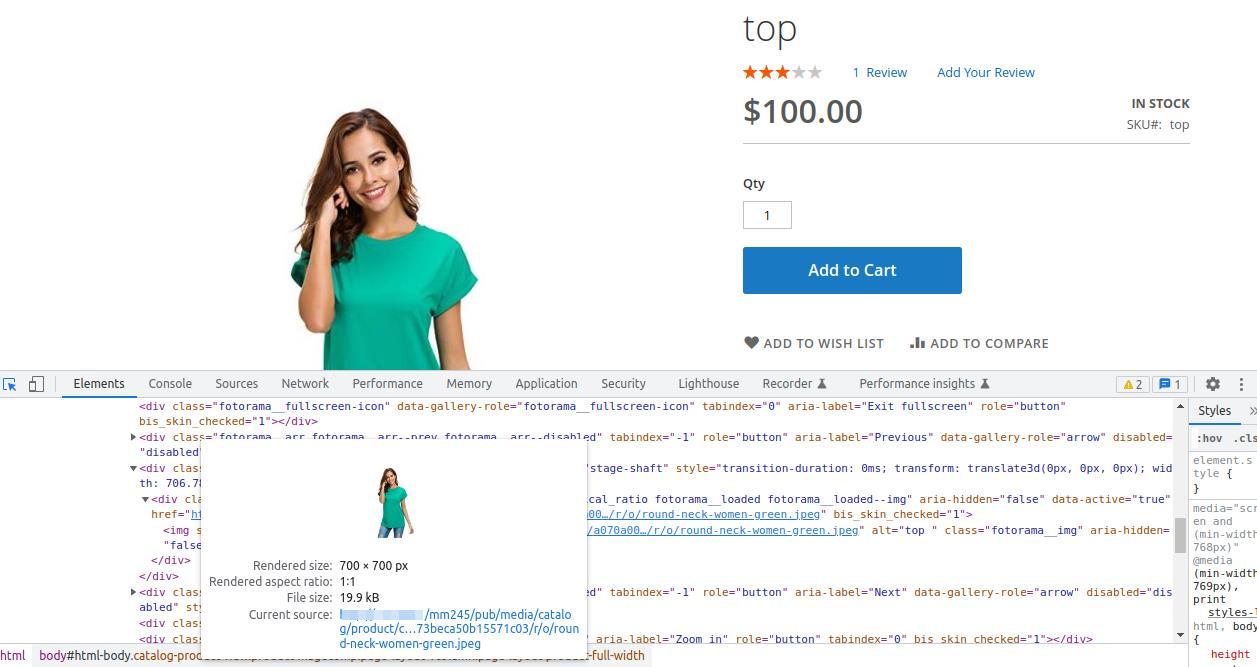
3. Frontend Display of Magento 2 Image Optimizer Image before optimization

Image After Optimization

If anything goes wrong, please contact us at support@magecomp.com

