Magento 2 Product Designer
Magento 2 Product Designer Extension provides a user-friendly design tool with incredible features to add text, images, and styling options in order to easily create a customized design for products like t-shirts, mugs, hats, books, bags, phone cases, and more.
Table of Content
1. Configuration
2. Backend Customize Product Design
3. Backend Display of Product Designer
4. Frontend Customize Product Design
5. Frontend Display of Product Designer

1. Configuration
Once the extension is installed successfully, go to Stores > Configuration to configure the extension for use.
Configuration
Enabled - Enable the extension from here.
Frontend
Enable for All Products - Set it to Yes to Enable Product Designer functionality for all products.
Google Fonts to Load - Add google fonts to allow customers to change the text fonts for the product's custom design.
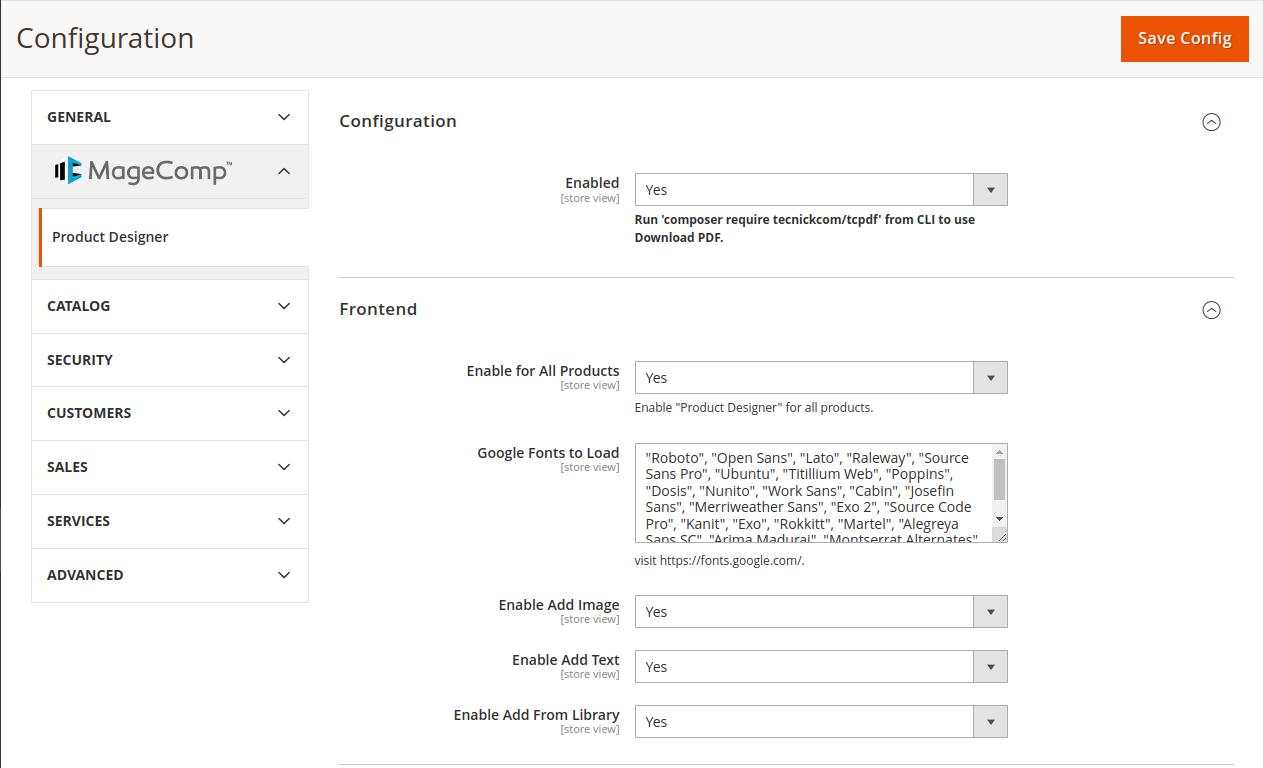
Enable Add Image - Set it to Yes to allow customers to add images for the product's custom design.
Enable Add Text - Set it to Yes to allow customers to add texts for the product's custom design.
Enable Add From Library - Set it to Yes to allow customers to add images from the library for the product's custom design.
Prices
Layer Image Price - Set the additional cost to add an image in the custom design.
Layer Text Price - Set the additional cost to add text in the custom design.
Help Configuration

Customize button block ID - Show a help message for customize button on the product page.
Designer help 1 block - Show help message for design tools.

Designer help 2 block - Show help message for download, print, view and clear.
Designer help 3 block - Show help message for save and close.
Designer help switch Images block - Show help message for switch image option.
Social Configuration
● Enable Facebook Share - Set it to Yes to allow customers to share the custom designs through Facebook.
● Enable Twitter Share - Set it to Yes to allow customers to share the custom designs through Twitter.
● Enable Pinterest Share - Set it to Yes to allow customers to share custom designs through Pinterest.
2. Backend Customize Product Design
Admin can customize the product design and control the editing options from the backend.
From the Admin Panel, go to Catalog > Products. Open your desired product in Edit mode. You will find a Product Designer tab. Expand it. It shows the main product image by default. If you want another image, click on Configure Images.
You can select the image you want to customize or configure.

Here it provides an option to add, edit, clear, or cancel. You can also customize or configure options for product editing.


Image Info
It shows detailed information about the product image.
Layer Mask
It allows you to add or edit the layer mask.


Images
It allows you to add images from the system or library.
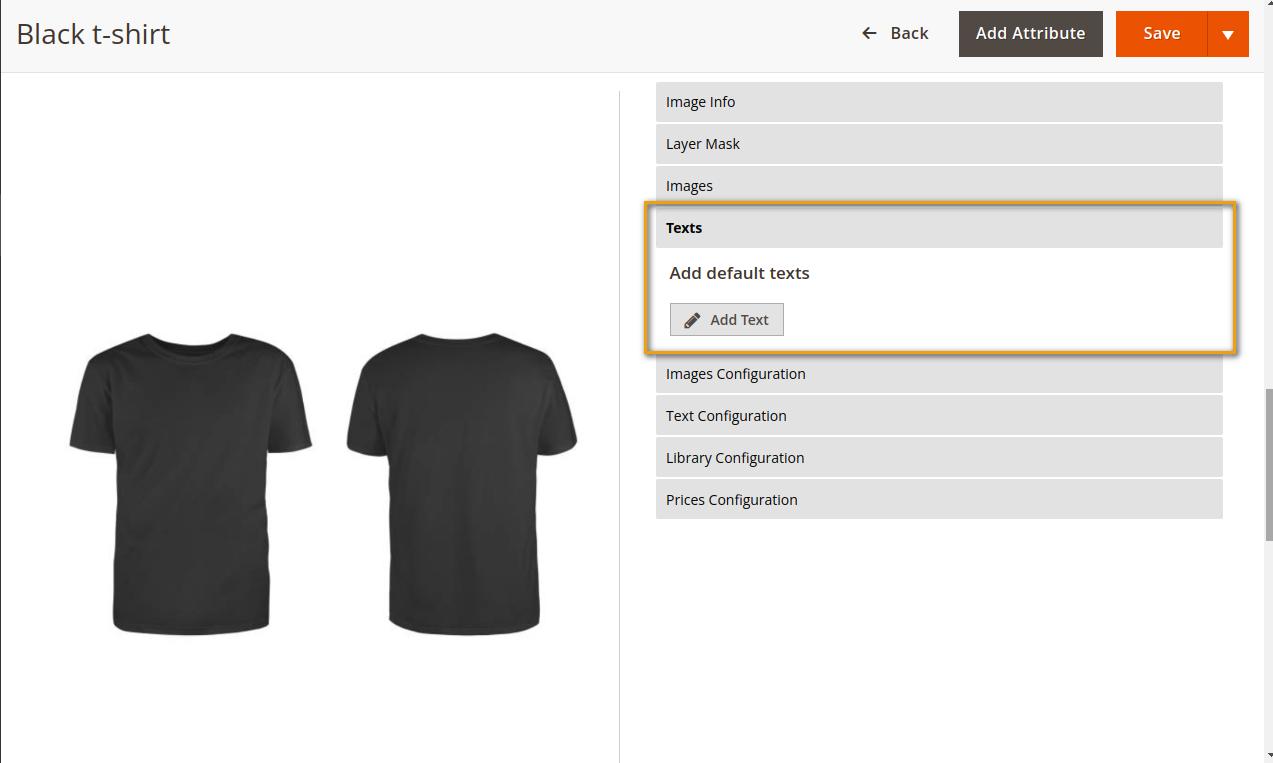
Texts
It allows you to add custom text.

Images Configuration
Configure image editing options from here

● Enable Photos Button - This will show the Add Image button on the frontend product customization.

● Disable Resize - This will not allow customers to resize the images.
● Disable Rotate - This will not allow customers to rotate the images.
Text Configuration
Configure text editing options from here
● Enable Texts Button - This will show Add Text button on the frontend product customization.
● Disable Resize - This will not allow customers to resize the text.
● Disable Rotate - This will not allow customers to rotate the text.
● Disable background color selector - This will not allow customers to change the background color of the text.
● Disable text color selector - This will not allow customers to change the font color of the text.
● Maximum Character - Set the maximum number of characters to be added to a custom product design. By default, it allows customers to add an unlimited number of characters.
● Fonts - Select the fonts you want to show in the front end. By default, it allows all fonts.
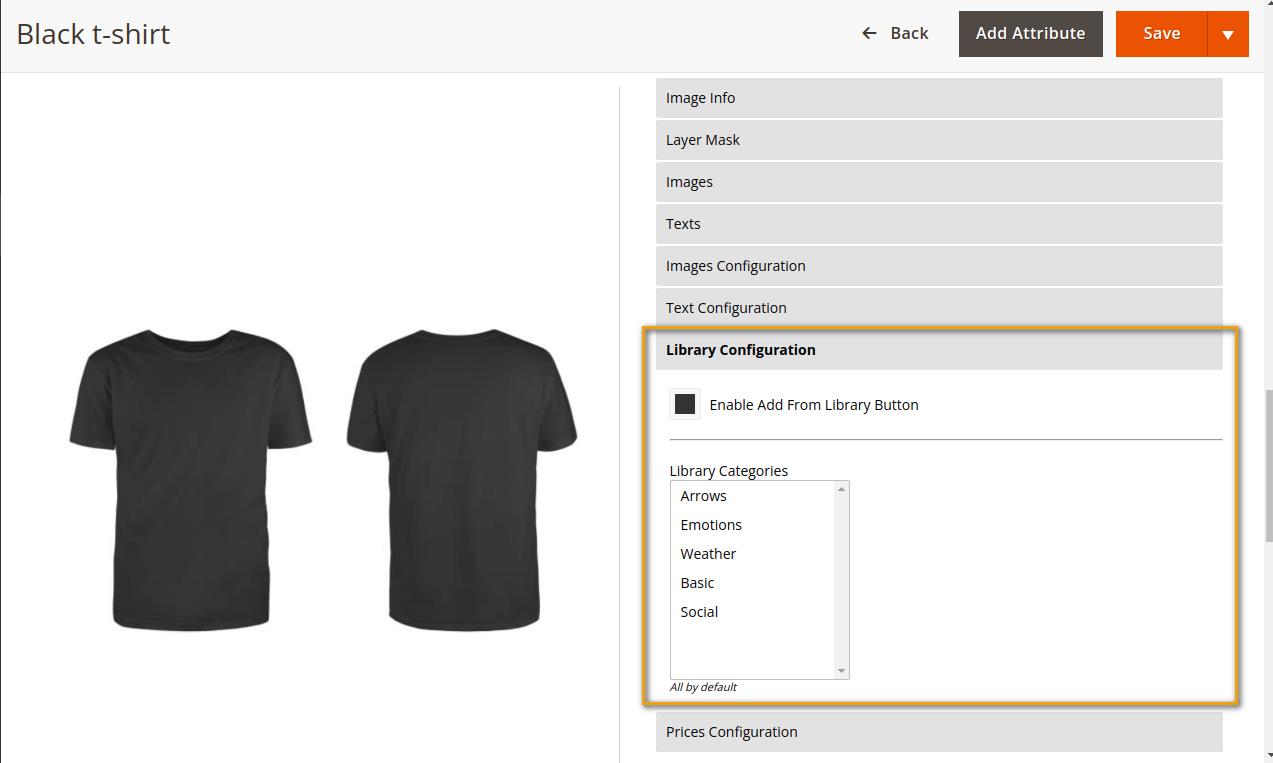
Library Configuration
Configure library options from here
● Enable Add From Library Button - This will allow customers to add images from the library.
● Library Categories - Select categories you want to show in the front end. By default, it allows all library categories.
Prices Configuration
Configure pricing options from here
● Image Price - Set an additional price to be charged for the image.
● Text Price - Set an additional price to be charged for the text.
3. Backend Display of Product Designer
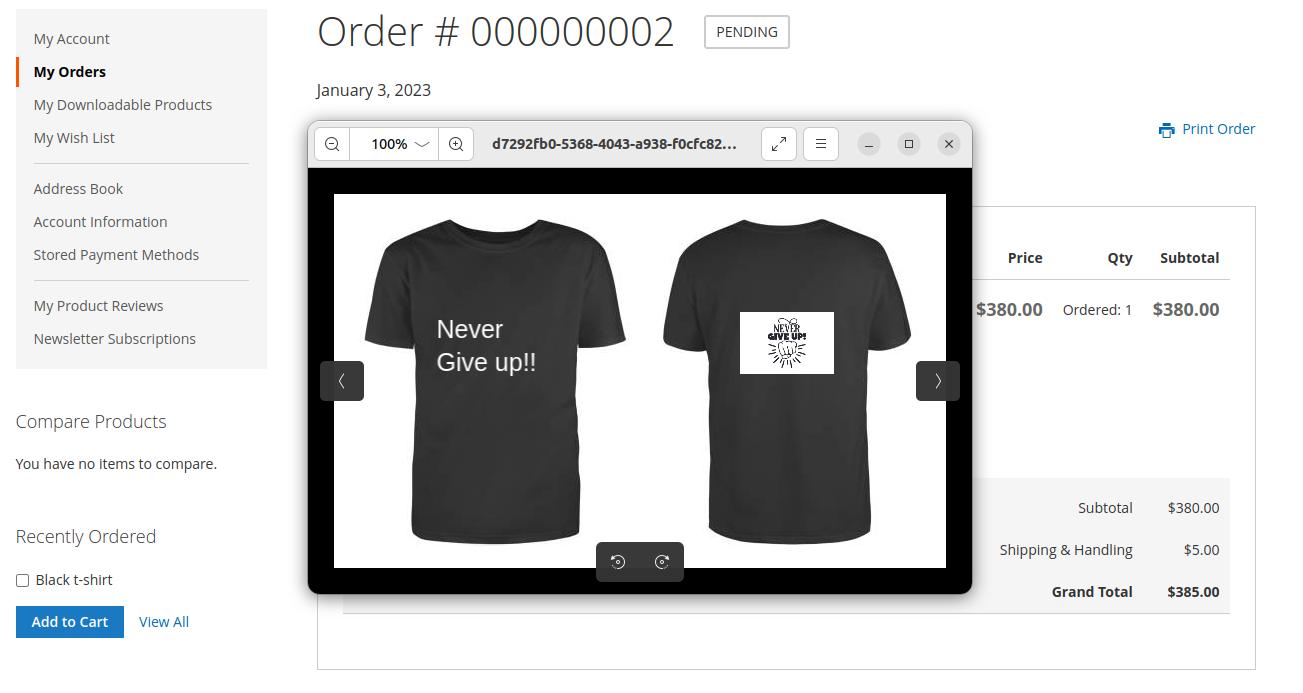
The custom product is displayed on the backend order view with the print and download option.

The admin can print the custom product design.

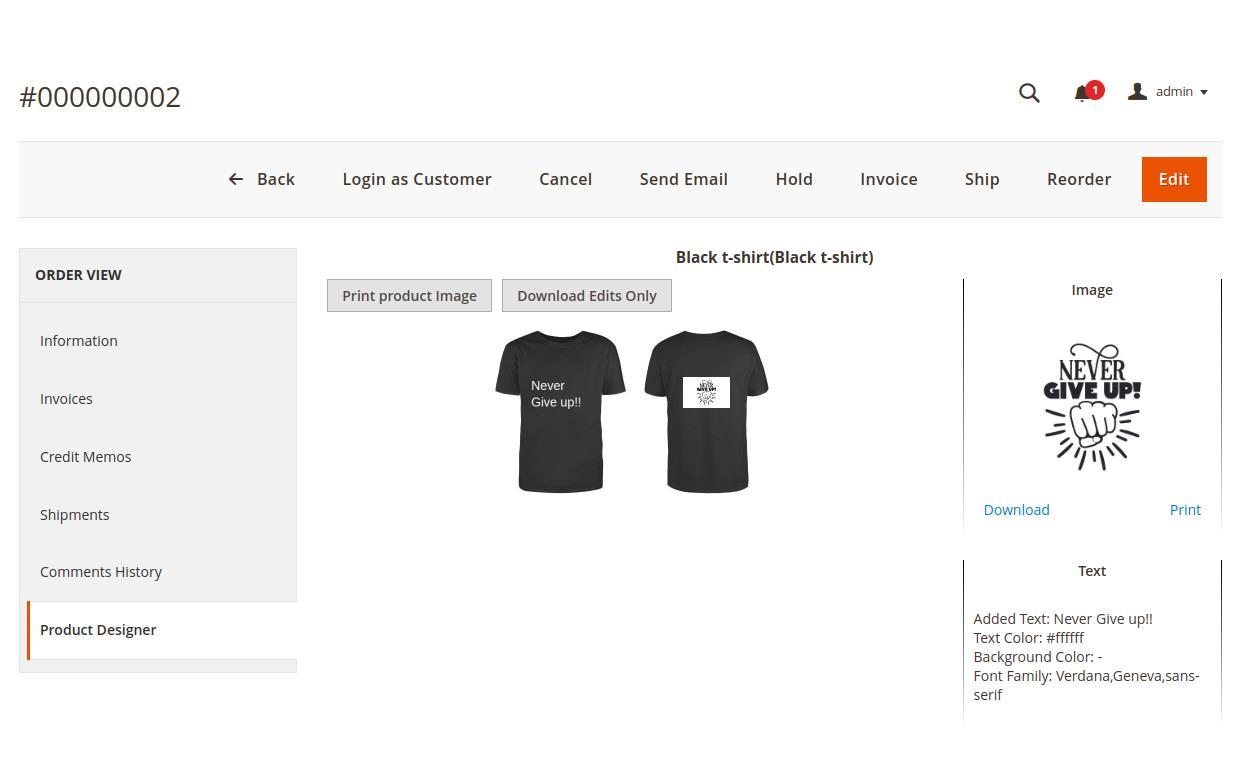
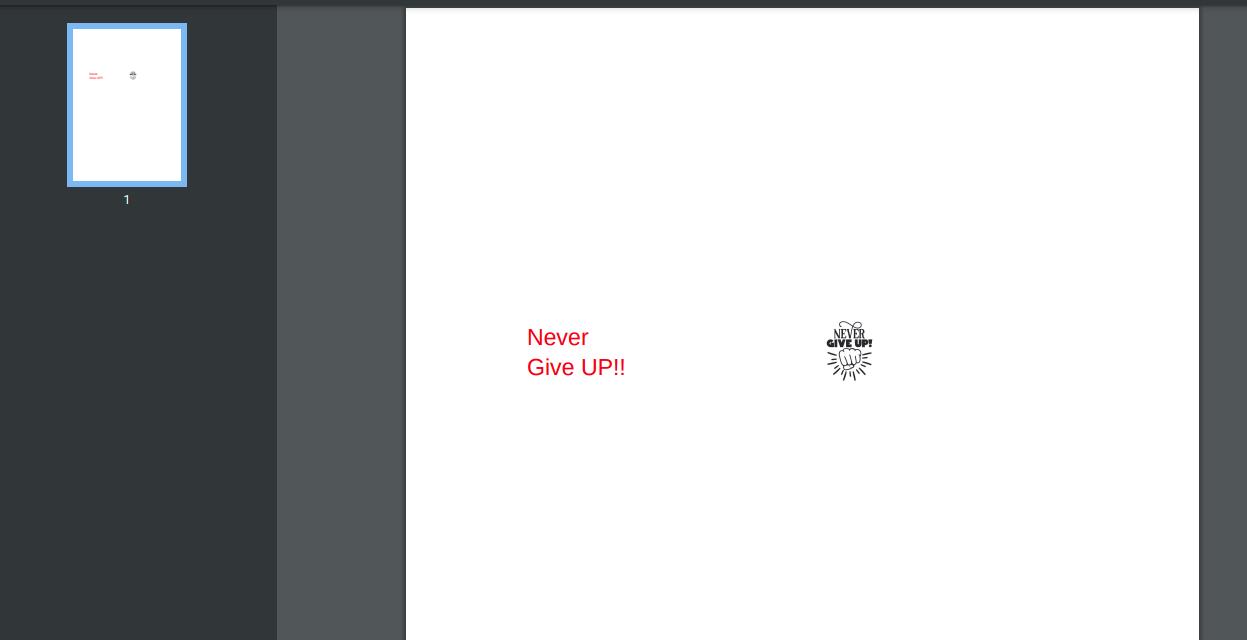
The admin can download only the edits of the product.
4. Frontend Customize Product Design
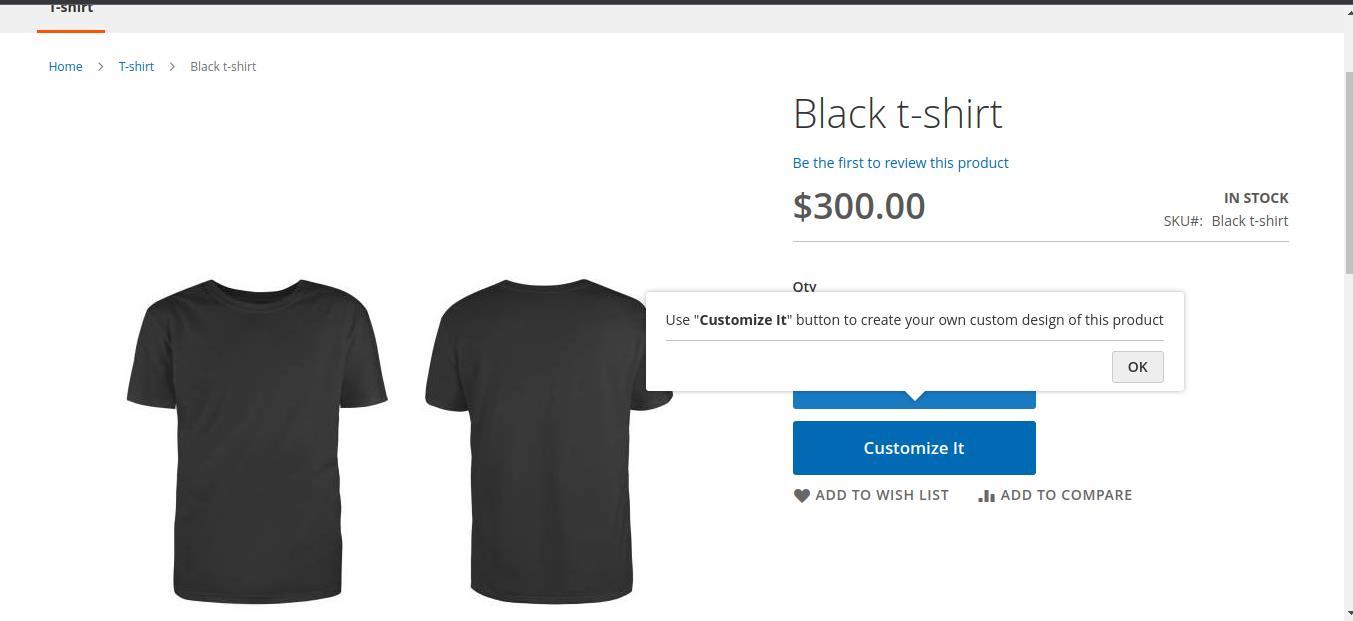
To customize a product, click the “Customize it” button on the product page at the front end.
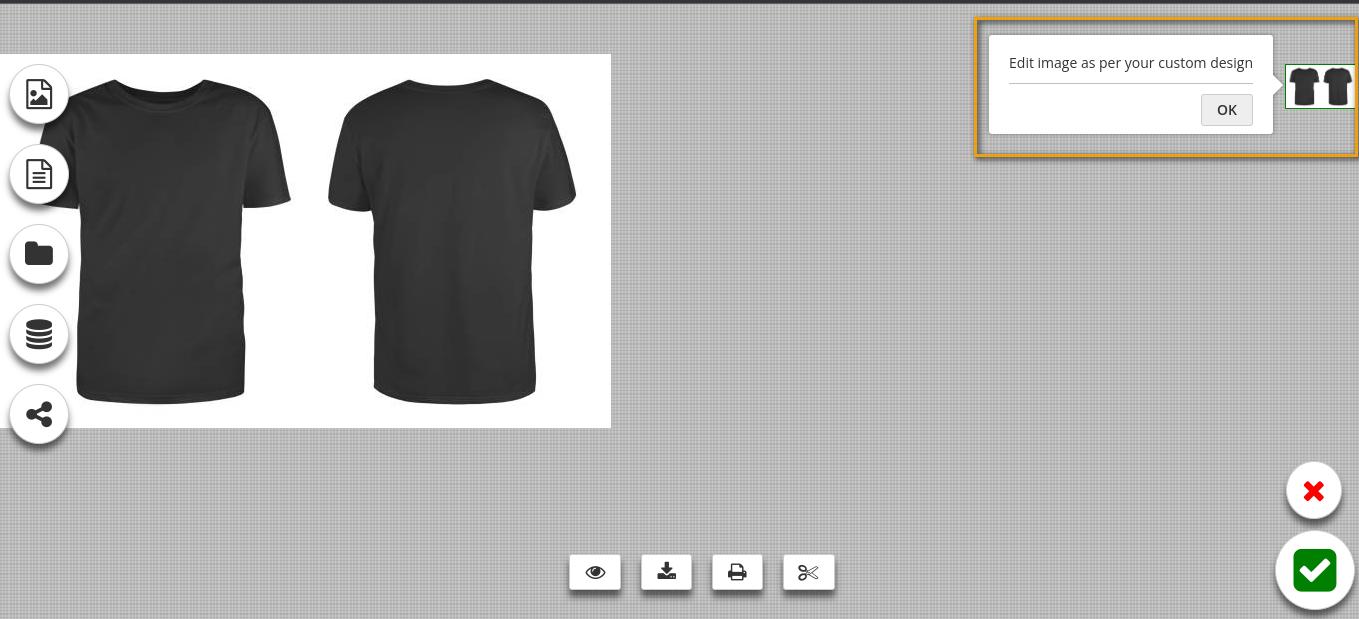
You can change the product image from here.
Add Image
To add images to the product, use the option shown in the below image.

Add Text
To add text to the product, use the option shown in the below image.
After you enter your text, you can change its position, edit it, delete it, and even add styling options.
You can change the text color, background color, and font style.


Add Image from Library
To add ready-made images from the library, use the option shown in the below image. You can choose from a wide variety of categories.
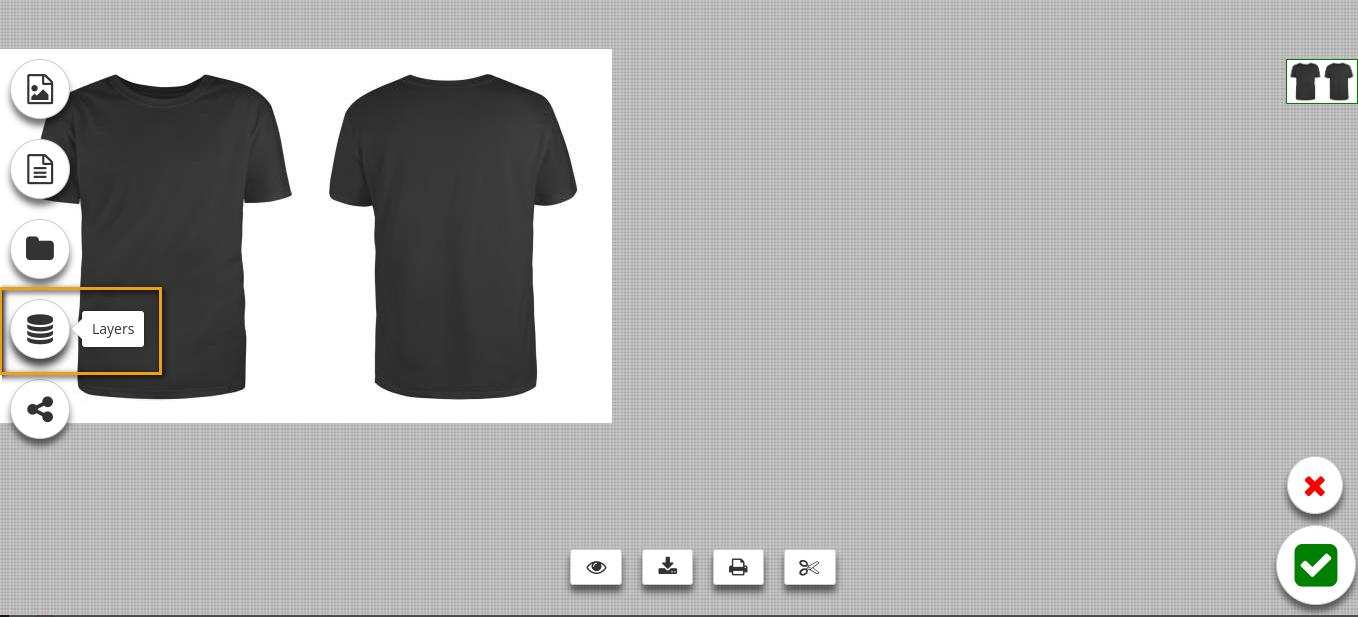
Layers
You can manage the product editing with layers.


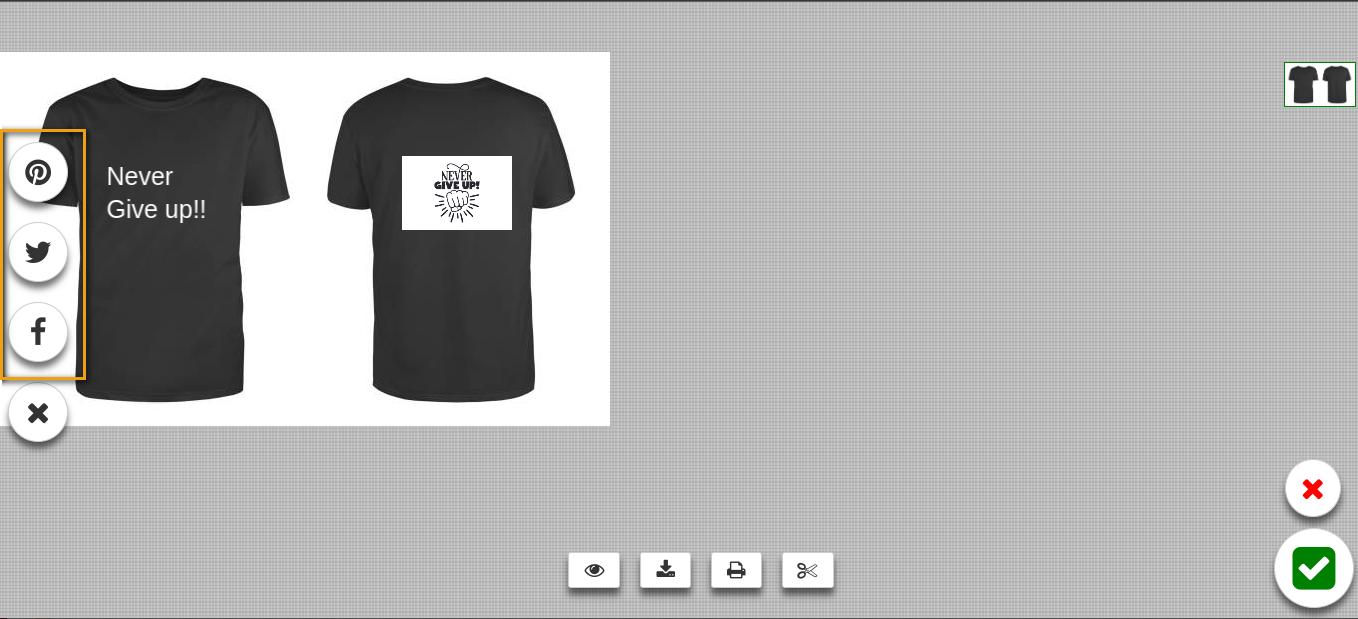
Social Share
To share the custom image, use the option shown in the below image.

It provides options like Pinterest, Twitter, and Facebook.
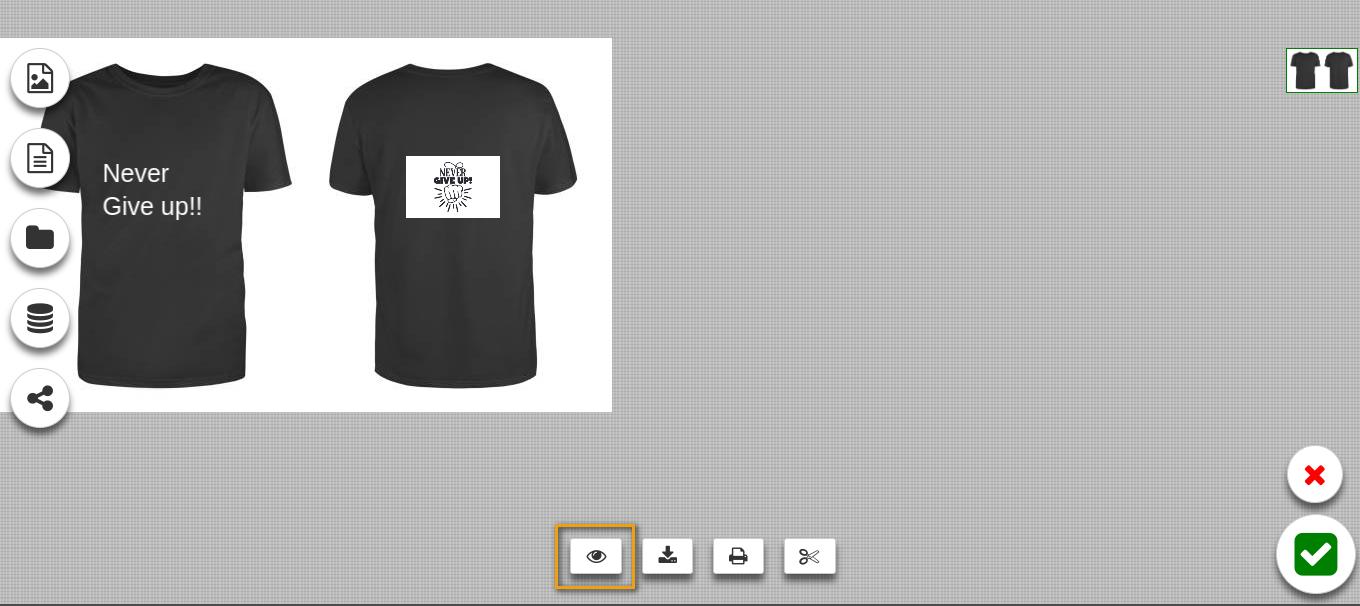
Preview
To preview your custom image design, use the option shown in the below image.
Download
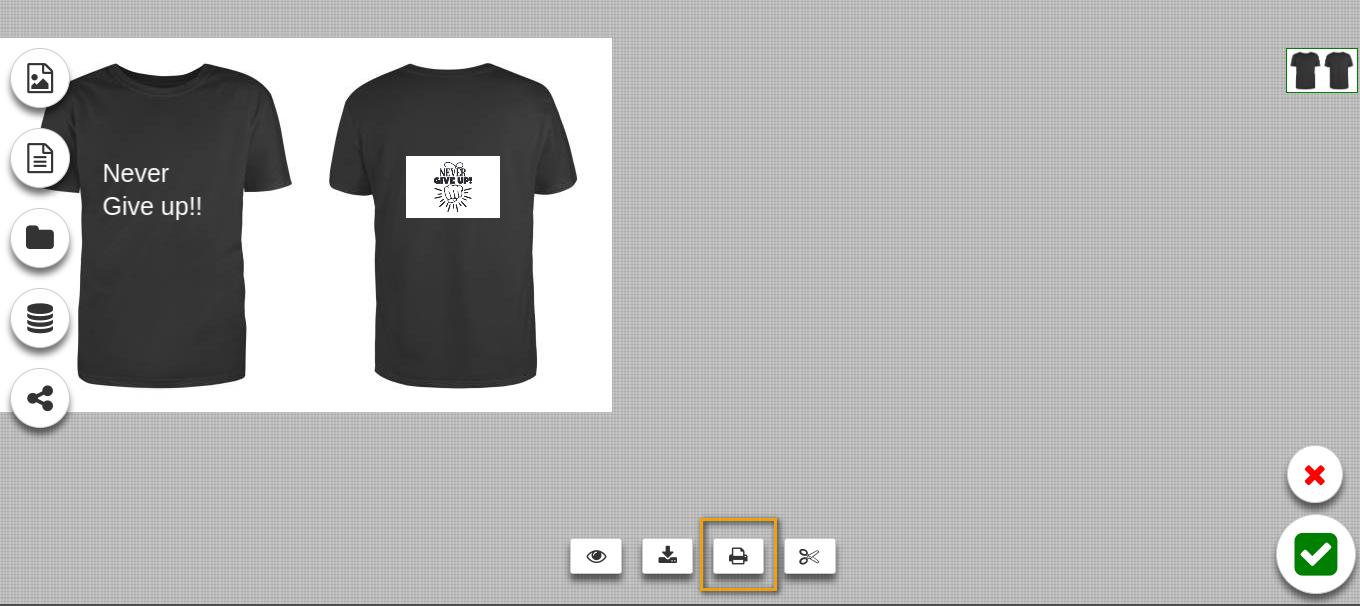
To download your custom image, use the option shown in the below image.
To print your custom image, use the option shown in the below image.
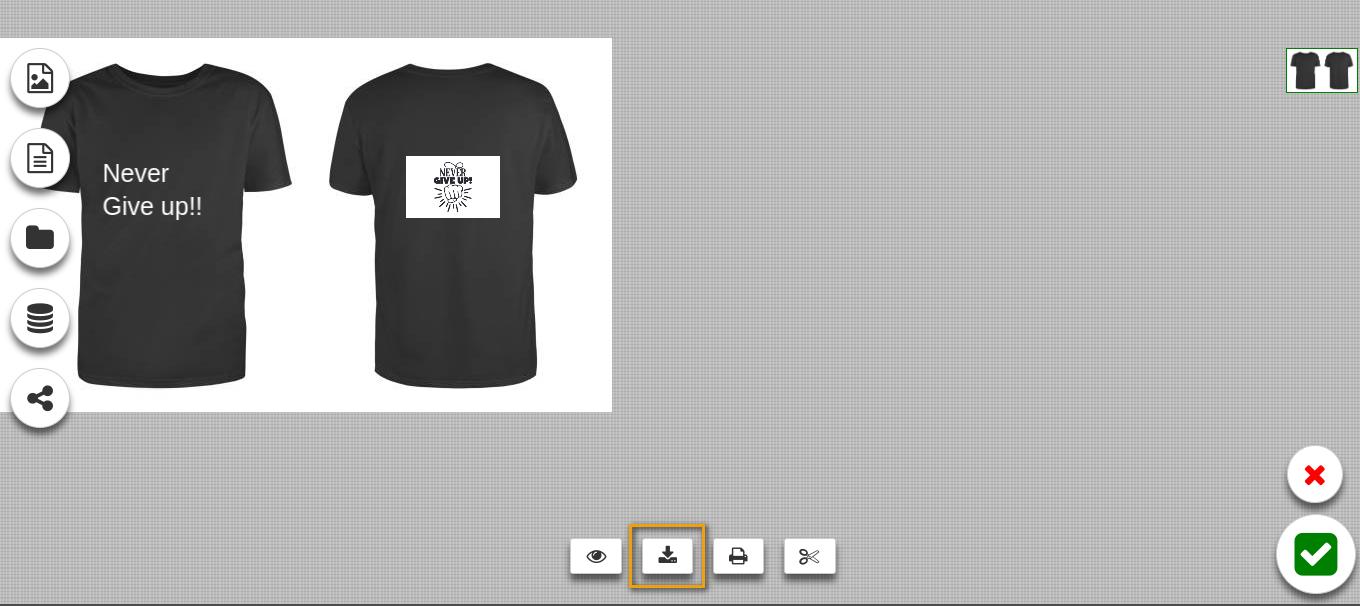
Clear All
To clear the product editing altogether, use the option shown in the below image.


5. Frontend Display of Product Designer
The custom product design will be displayed on the shopping cart.

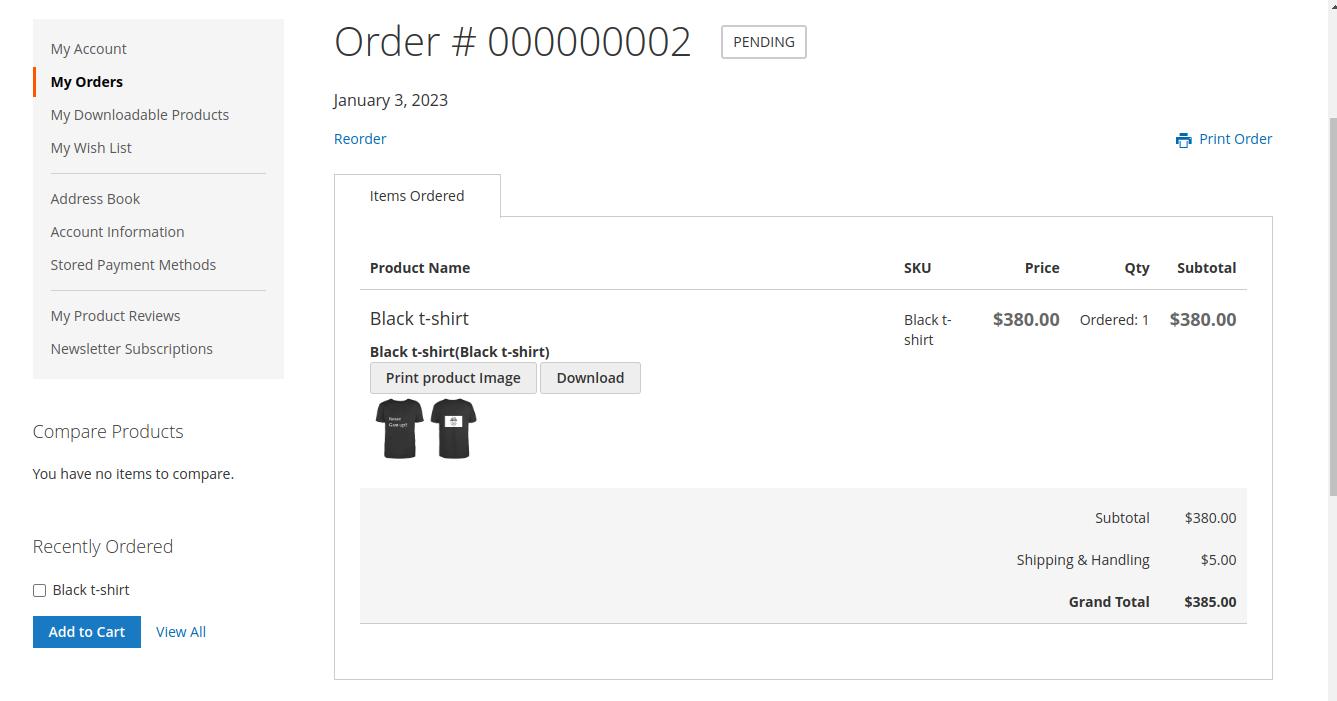
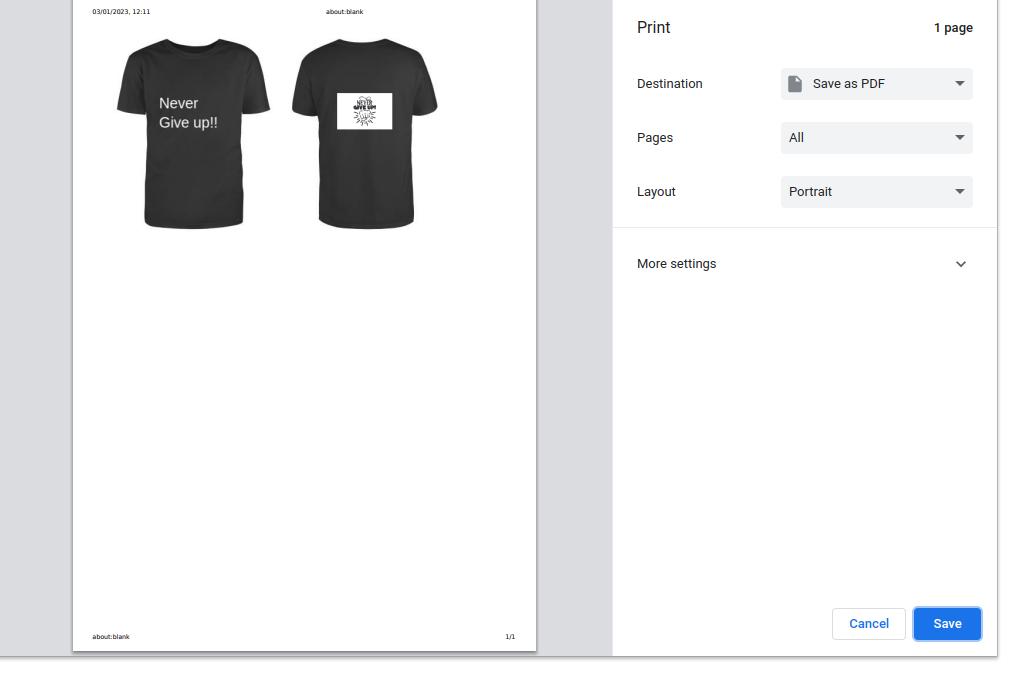
The custom product design will be displayed on the customer My Orders. From here, customers can also Print and Download the custom product image.

If anything goes wrong, please contact us at support@magecomp.com
