

1. Configuration
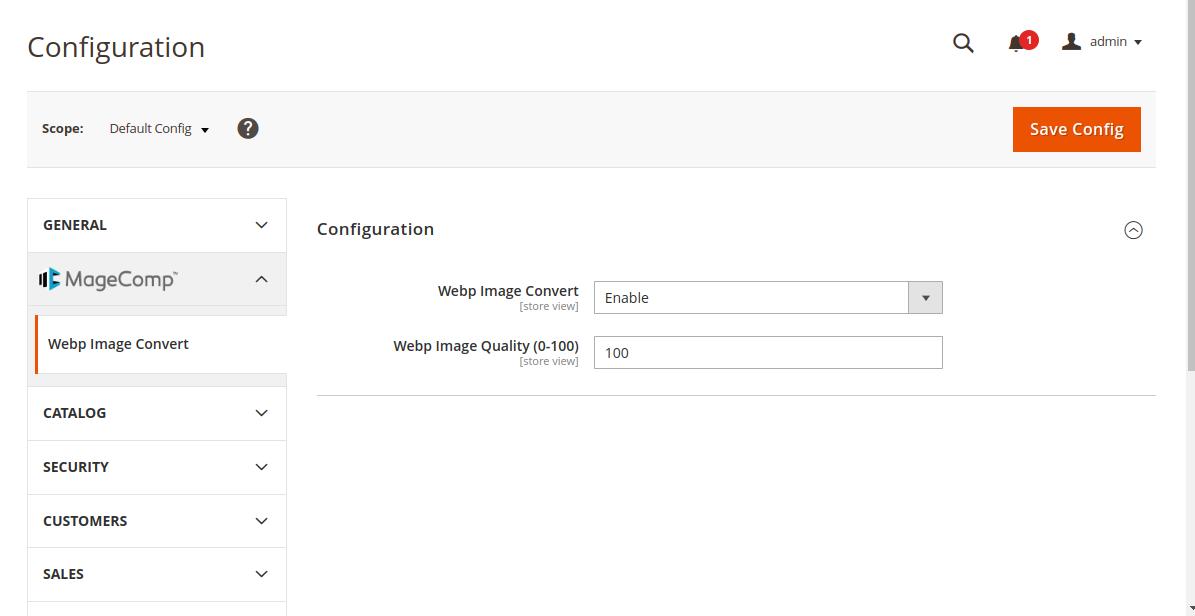
Once the extension is installed successfully, go to Stores > Configuration to configure the extension for use.

Webp Image Convert: Enable and disable the extension from here.
Webp Image Quality (0-100) - Admin will need to set the webp image quality for the converted images
2. Frontend display of Magento 2 WebP Image Converter
Display of webp image on the category page on the frontend of your store.
Display of webp image on the product page on the frontend of your store.
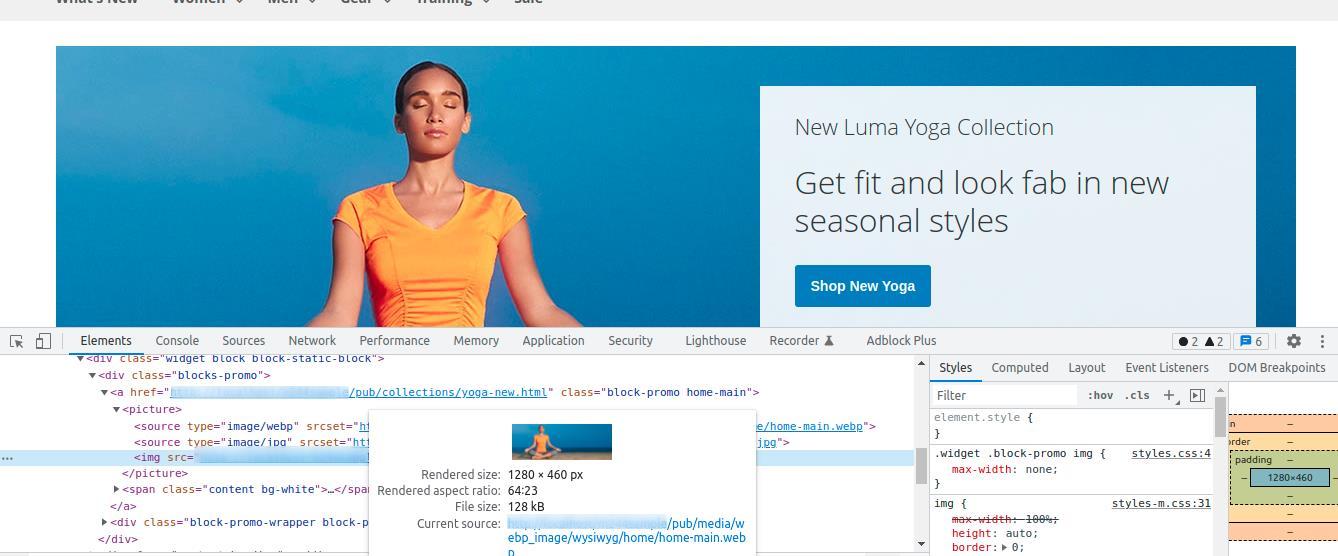
Display of webp image on the home page on the frontend of your store.

3. Disable the Extension:
Webp Image Convert: Select the disable option to disable the extension

Delete Webp Images: Save the configuration and click on delete webp images for deleting all the webp images.
If anything goes wrong, please contact us at support@magecomp.com