• Brighten up your bedroom • How to paint a feature wall • New seasonal trends and inspo

Ask an expert
Spruce up your exteriors
Easy outdoor makeovers


• Brighten up your bedroom • How to paint a feature wall • New seasonal trends and inspo

Ask an expert
Spruce up your exteriors
Easy outdoor makeovers


Finally, spring has sprung! The cold and dreary days are now behind us, meaning the weather is much more favourable to get started on both indoor and outdoor paint projects. Check out these quick, budget-friendly ideas to try over a weekend.
Is your old steel shed creating an eyesore? Give it a refresh to ensure your garden looks its best in spring. You’ll be amazed at the difference Resene cleaning and painting products can make. First, give your shed a good scrub with Resene
Get rid of any built-up gunk from winter with Resene Timber and Deck Wash. This is also the first step you should complete if you’re planning to refresh your deck or fence with paint or stain. Mix with water according to the instructions and saturate the timber surface. Leave wet for 10-15 minutes, then scrub vigorously and rinse with clean water.

3 So fresh so clean
It’s time to get rid of all the dirt and grime that can accumulate over winter. Doing this now will mean your house and outdoor areas will be primed and ready for al fresco entertaining and enjoyment in the warmer weather. Apply Resene Paint Prep and Housewash and give surfaces a good scrub. For any mould, apply Resene Moss & Mould Killer and wait for it to work its magic.
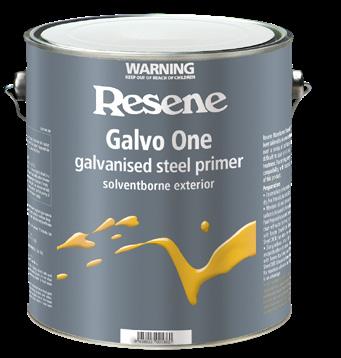
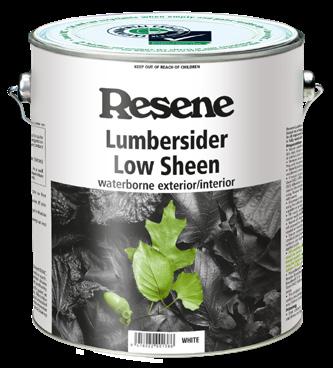
Roof and Metal Wash, then apply Resene Galvo One galvanised steel primer, which is specially developed for direct application to new and weathered galvanised steel. Finish with two coats of Resene Lumbersider Low Sheen – use a Resene CoolColour formula for dark colours.
5 2

4
Keen to make a spectacular statement with minimal effort?
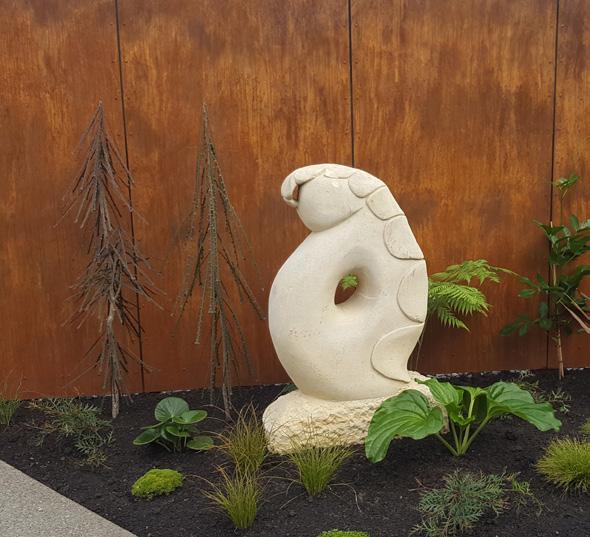
Enter Resene FX Faux Rust Effect, which creates a weathered steel look in just a matter of hours. It’s a waterborne coating that can be used on both exterior and interior surfaces, and the rust effect will continue to develop over time. The colour intensity and depth of the effect depends on the application and technique – the more activator you apply, and the sooner it is applied after the basecoat is touch dry, the more impressive the rust effect is.
Painting your timber gate can really elevate the look of your outdoor area and significantly enhance the street appeal of your property, as well as protect the timber against the elements. Give it a good sand first, then prime with Resene Quick Dry. Once dry, paint it in the Resene colour of your choice.
6
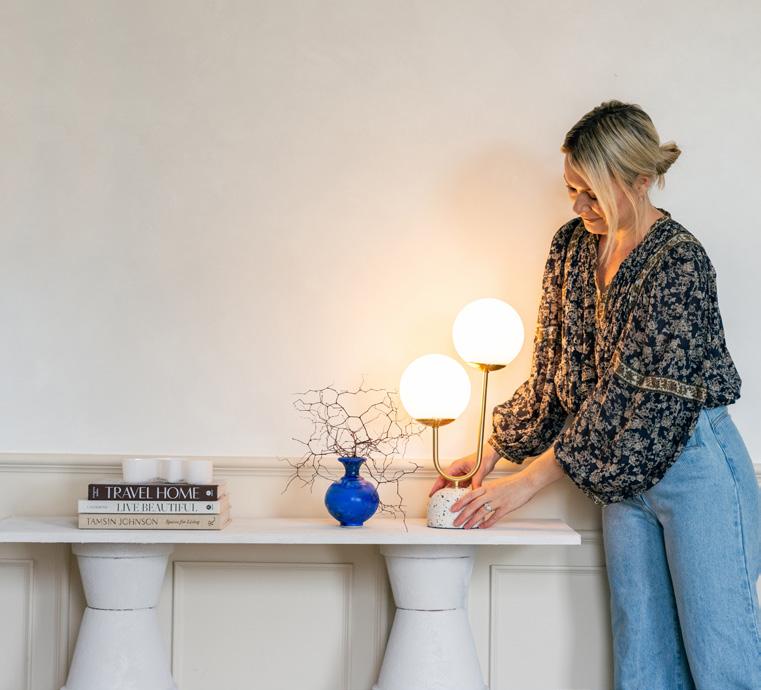
Breathe new life into some old terracotta pots and a piece of timber by repurposing them into a chic console table. A coating of Resene Sandtex Mediterranean effect gives them a gorgeous Greek or Italian vibe. Resene Sandtex is a unique product that creates a textured finish which brings out the depth of your chosen Resene colour and has the ability to recreate the look and feel of natural sandstone.
This guide has general information for a range of projects – check with Resene ColorShop or reseller staff for advice for your project. Colours shown are a representation only. Please refer to the actual paint or product sample before making your final choice.

Plywood wall and coffee table finished in two coats of Resene Aquaclear Satin with Resene Colour Enhance Japan Black, flooring finished in three coats of Resene Qristal ClearFloor 1K with Resene Colour Enhance Japan Black, tray (one coat), large spoon (two coats) and small spoon (three coats) finished in Resene Aquaclear Satin with Resene Colour Enhance Japan Black and wooden bowl in Resene Aquaclear Satin with Resene Colour Enhance Red Brown. Wooden vase from Public Record.
Bring the beauty of nature into your bedroom with this Resene Living Yvia duvet cover. Designed with Resene paint colours as inspiration, it makes a bold statement with a selection of rich tropical flora and fauna against a contrasting black base. Available from Briscoes.

Get inspired by these new and trending Resene products to transform both the inside and outside of your home.
There’s a luxe new kid on the block in the Resene Colour
Enhance collection inspired by the Land of the Rising Sun. Resene Japan Black is an homage to the iconic lacquered finish of Japanese furniture and uses the same pigment as Resene Blackest Black. This means you can achieve the jettest tone on your interior timber. Resene Colour Enhance is designed to be added to waterborne clears – Resene Aquaclear and Resene Qristal ClearFloor 1K – and will colour the clear finish. It can also be added to Resene Colorwood interior stains and clear concrete finishes such as Resene Concrete Clear and Resene Concrete Wax. Available from Resene ColorShops and selected resellers.
Up your gardening game with a stylish new Resene Grow watering can. Available in five uplifting, nature-inspired Resene colours – including Resene Cupid – they have a long thin spout which makes watering your plants easier than ever.

an expert Resene Paint Expert Patrick Katoa shares his advice on getting ready for warmer weather at home.
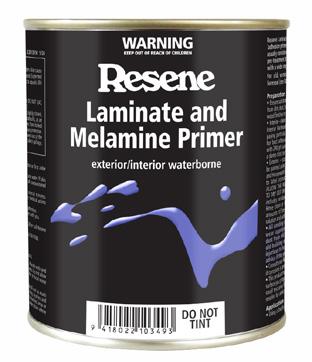
Thought you were stuck with your dated bathroom and kitchen cabinetry until a full renovation? Think again! All you need is a lick of Resene paint in an on-trend hue after priming the surface with Resene Laminate and Melamine Primer. It’s now available in a handy 500ml pack for those smaller jobs. Available from Resene ColorShops and resellers.
Reader’s Digest has announced its Most Trusted paint brand, and for the 13th year in a row the winner is – drum roll please –Resene! We thank you for your ongoing support and always welcome any constructive feedback to help us improve.
Simply email us at update@resene.co.nz or fill out the contact form on our website.

For those who prefer their gumboots full height, the Resene Buckle boots are back. They’re lightweight and come in two colours inspired by fun springfriendly hues: Resene Aqua and Resene Glamour Puss. Available at selected Mitre 10 stores.
Available exclusively at Mitre 10, Nichol’s and respected garden centres.

Unify Wallpaper Collection E313508.

Bring your interior spaces together with the Resene Unify Wallpaper Collection. Choose from subtle textures and colourways in weathered, soft and inviting designs. These wallpapers are ideal if you want to add a little something extra and a touch of texture to your walls.
Available from Resene ColorShops and selected resellers.
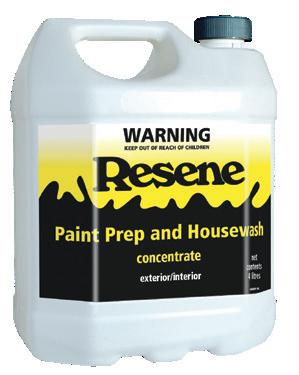
What can we do to prepare our home for spring? It’s a great opportunity to do a bit of cleaning. We have a handy range of cleaning products, including Resene Paint Prep and Housewash. Dilute and apply with a soft broom, then rinse the surface with fresh water. Treat any mould with Resene Moss & Mould Killer. Again, dilute and allow 48 hours to achieve full kill.
What’s your best painting tip?
Using the recommended brushes and roller sleeves is crucial to achieving a great finish. Pop into your nearest Resene ColorShop or reseller where staff will recommend the correct equipment and materials. What do we need to consider when painting outside in spring? Exterior paint is best applied in the morning. Substrates can get hot in the afternoon which can have an impact on the paint performance. Add Resene Hot Weather Additive to your waterborne paint to help slow down the dry time.

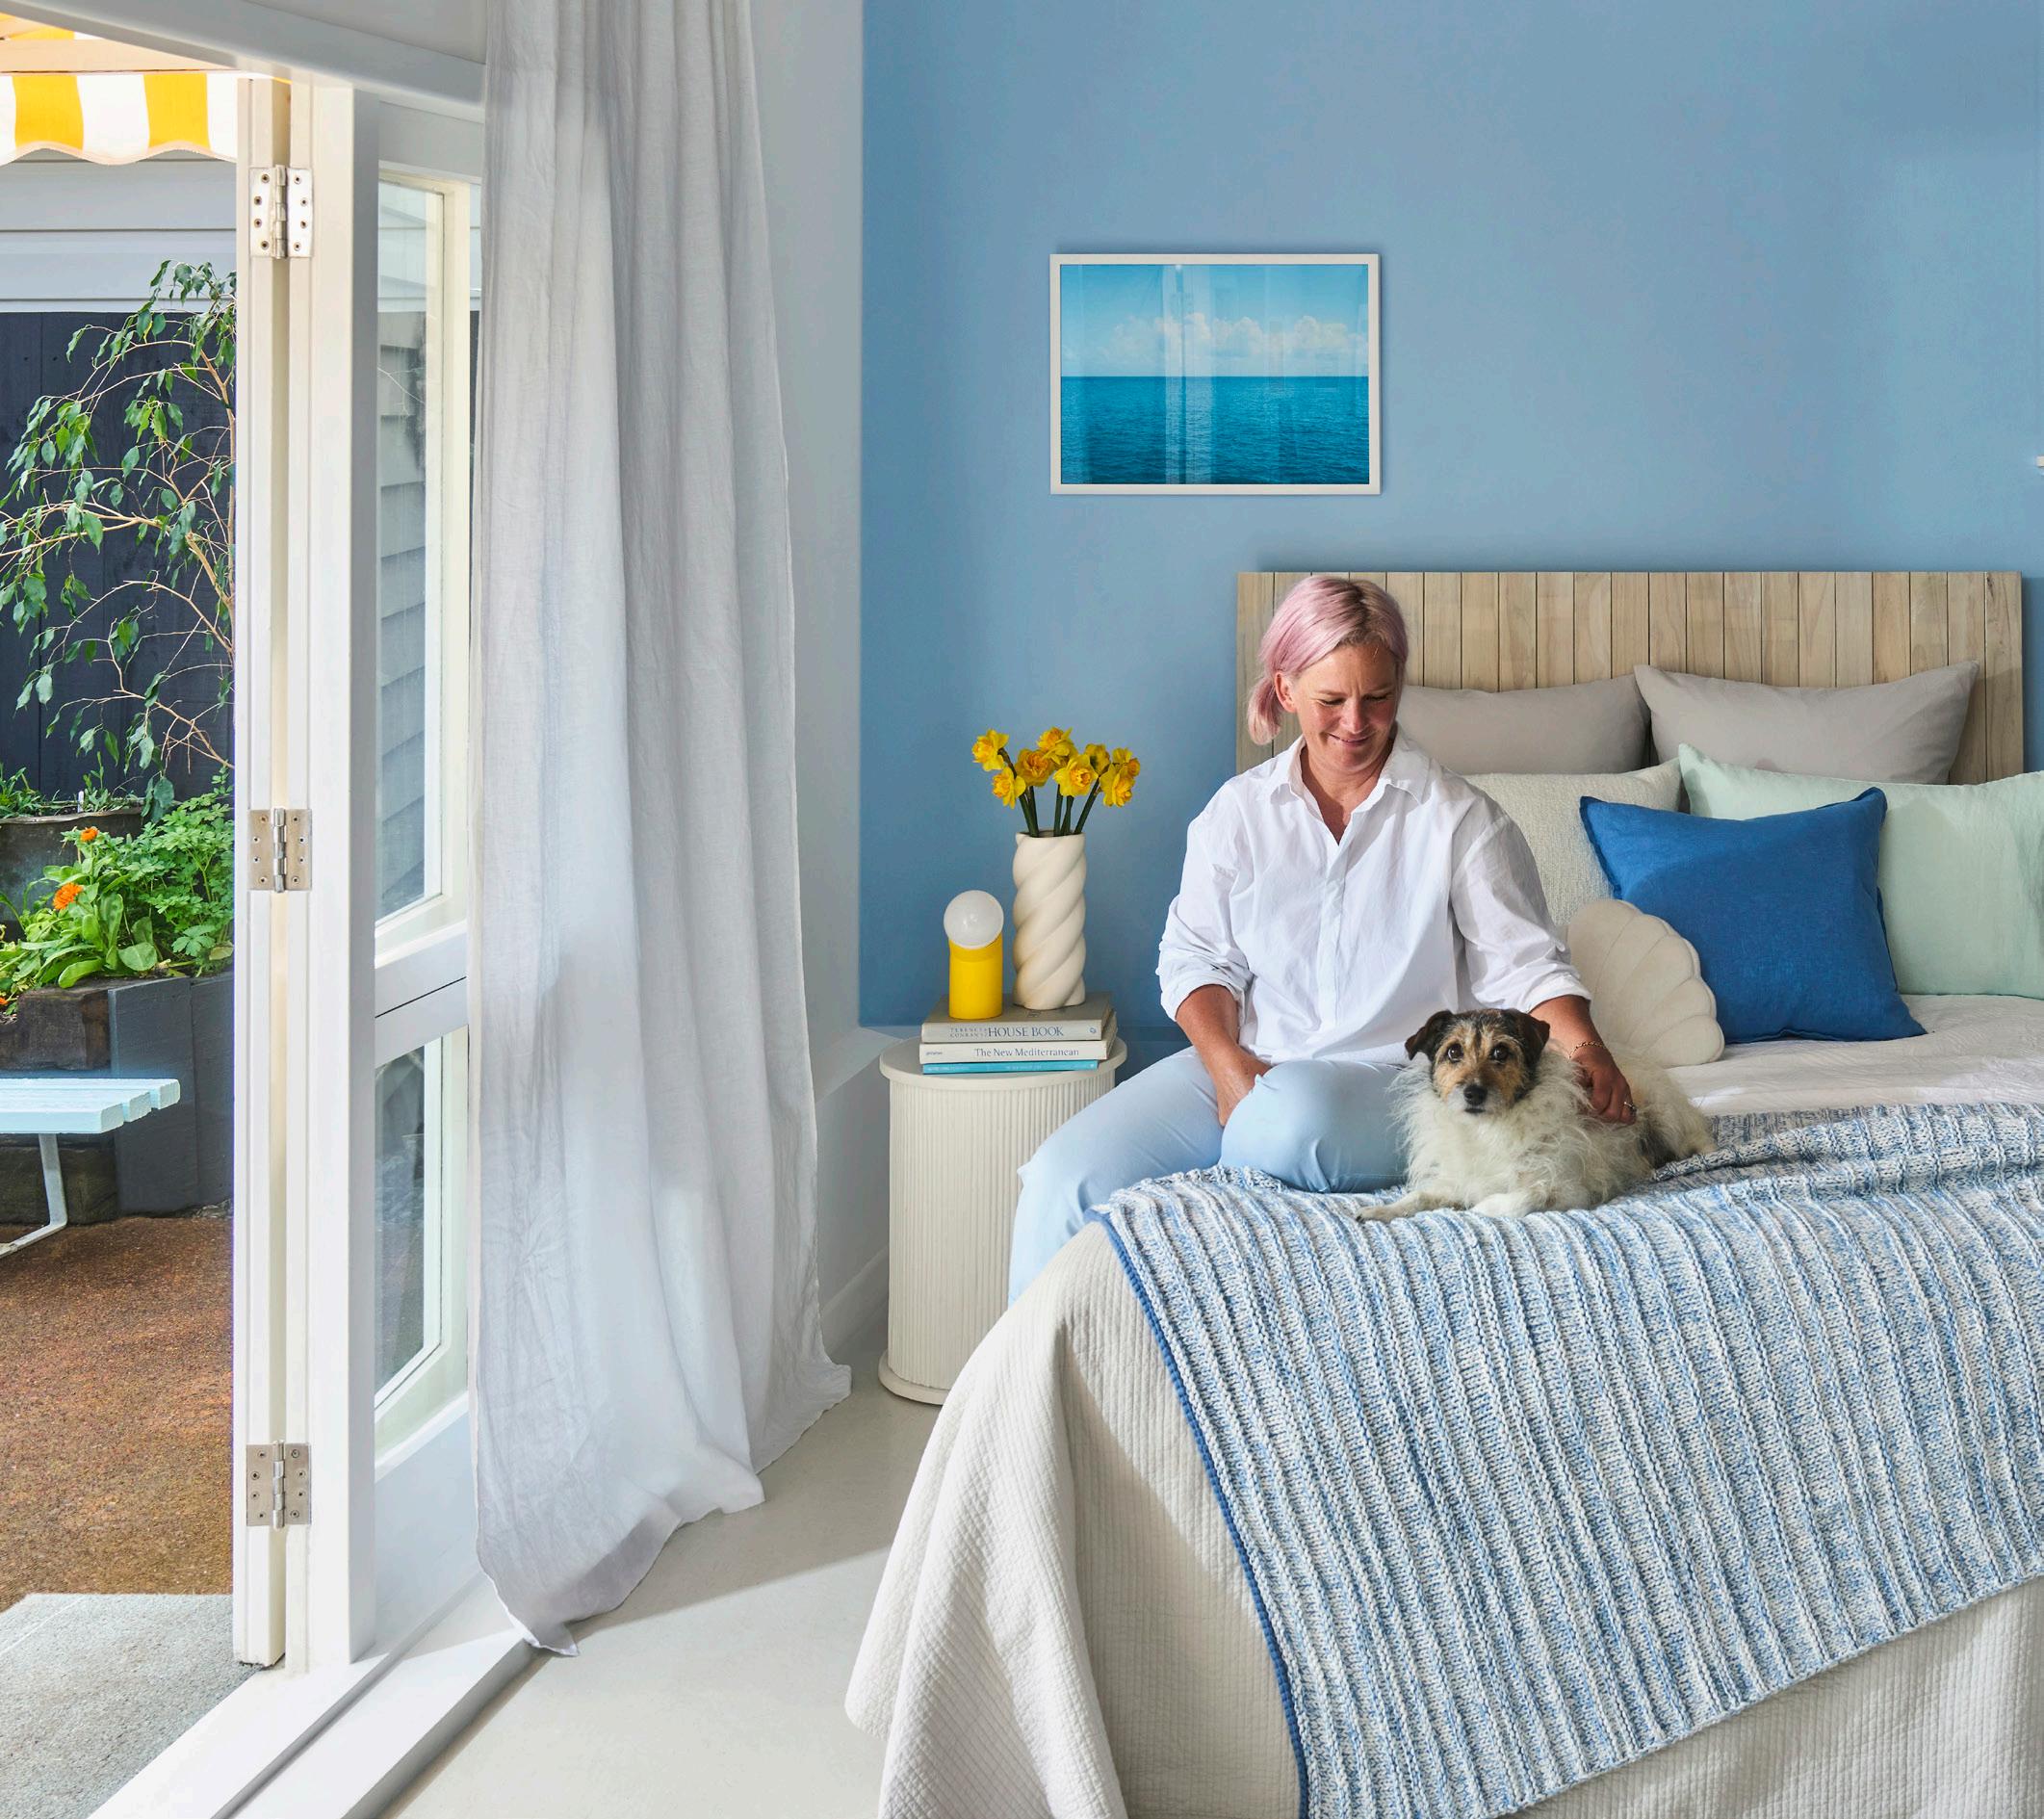
Looking for a simple, striking and cost-effective way to transform your space this spring? Creating a feature wall using Resene paint is just the ticket.
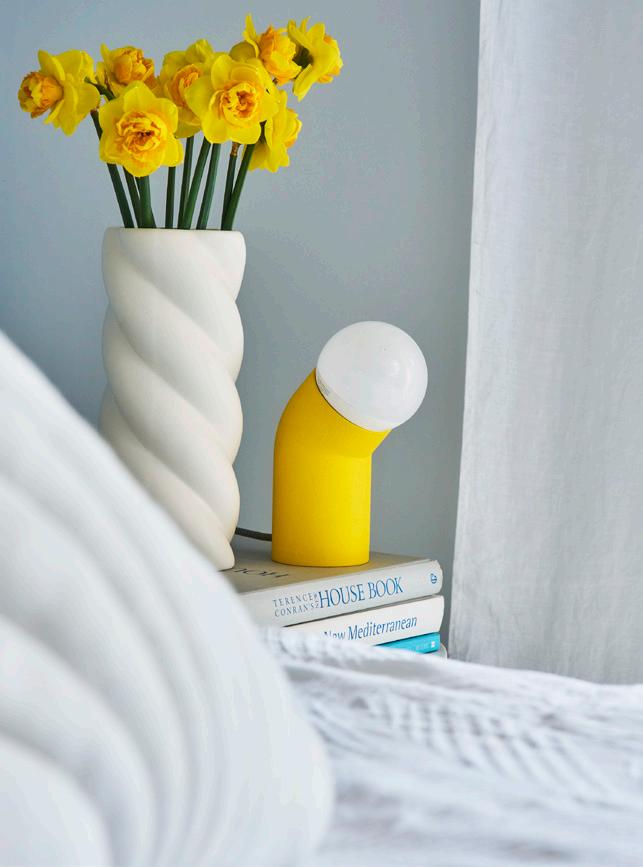
Choosing to paint a wall in a feature colour is one of the most low-cost, high-impact ways you can make a change to your home. It’s an ideal spring project as the weather is getting warmer, making painting conditions more favourable – plus you can throw open the doors and windows for ventilation and to speed up your drying time. As always, proper preparation is key to getting the best, mostprofessional looking results. In terms of colour, remember that it is your home so you can be as bold and daring as you like. The beauty of a feature wall is that an impactful colour won’t completely overwhelm the space. Specific colours can create a different vibe and ambiance to a room. We’ve painted this bedroom in Resene Dream Big, a restful sky blue.


You will need:
• Drop cloth
• Painter’s tape
• Safety gear
• Resene Interior Paintwork Cleaner
• Microfibre cloth
• Resene EzyFill Quick

Blue is one of the most popular choices for bedrooms. It’s associated with feelings of calm and serenity and research shows that it can reduce the heart rate, which is helpful when it comes to drifting off to sleep.
• Scraper
• 100 grit sandpaper
• Dusting brush
• Resene Quick Dry waterborne primer undercoat
• Paintbrushes
• Resene Acrylic Undercoat (optional, depending on how much your colour is changing)
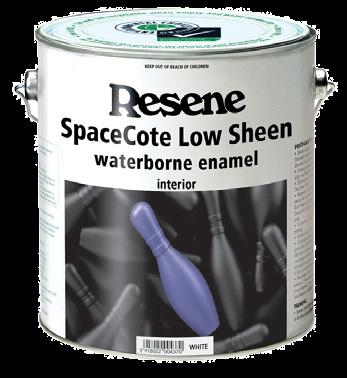
• Resene SpaceCote Low Sheen in your chosen colour (we used Resene Dream Big)
• Resene #7 Smooth Surfaces roller sleeve
• Paint roller tray
• Extendable roller pole
Step-by-step

1 Protect Move your furniture as far away from the wall as you can to ensure you have enough room to work, as well as keeping it away from paint splatters. Place a drop cloth down and secure it with painter’s tape for extra peace of mind. Use painter’s tape to mask off the areas you don't want to get paint on.

2 Clean, fill, sand Spray the wall with Resene Interior Paintwork Cleaner and wipe it down with a microfibre cloth. Use Resene EzyFill Quick to fill any holes in the wall and wait for it to dry, then sand with 100 grit sandpaper. Wipe or brush away sanding dust with a dusting brush or microfibre cloth.
3 Prime For the areas that were filled, spot prime with Resene
Step-by-step

Top tip: Available as a concentrate or in a handy ready-to-use pack, Resene Interior Paintwork Cleaner is your secret weapon for cleaning interior painted surfaces as it won’t form a film and doesn’t need to be rinsed off afterwards.
Quick Dry. Then on the entirety of the wall, apply Resene Acrylic Undercoat – we’ve used this because the colour is going from dark to light.
4 Paint Give your Resene SpaceCote Low Sheen a good stir then decant into your paint tray and apply the first coat using a roller and extension pole. Wait the recommended drying time before applying your second coat. Remove the painter’s tape and you're done!
Brighten your bedside table with this super cool PVC pipe lamp. The bold colour and quirky design are a nod to the Memphis style. Thanks to the maximalism trend, the Memphis style is having a resurgence, and this colour – Resene Turbo – is a perfect example of the punchy hues Memphis is famous for.
For more detailed instructions and to watch the full how-to video, visit, www.masterstrokebyresene.com/ pvc-pipe-lamp

a rustic timber headboard
Elevate your space even further and enhance the beachy bach vibe by making your own timber headboard and staining it with Resene Colorwood Whitewash. For a 160cm square headboard, we used 21 palings and two battens. Once assembled, apply Resene Colorwood Whitewash using a paintbrush or speedbrush. Finish with Resene Aquaclear to enhance and protect the timber.
For more detailed instructions and to watch the full how-to video, visit, www.masterstrokebyresene.com/ headboard
Step-by-step

Top tip: To get the best finish, make sure you load your paint roller with enough paint – it should resemble a hot dog dipped in batter.

Transform your home’s dated furnishings into stylish features with some clever craftsmanship and Resene paint.
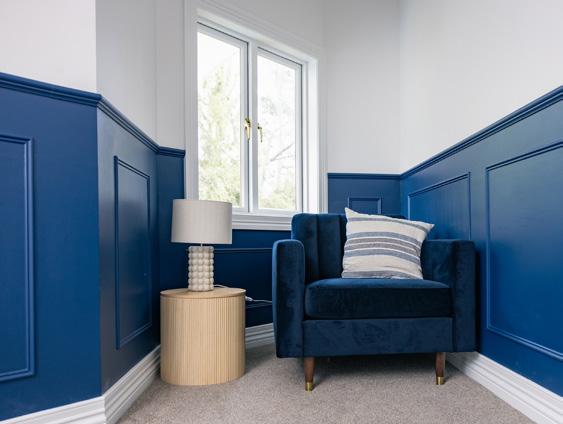
A fantastic way to add character is to install custom wainscoting. This traditional detailing is found in many classic houses and adding your own can give your home a timeless feel. Often placed on the lower parts of walls, it’s created by cutting box trim to size and attaching it to the wall to create a really nice feature. It takes a little time to do but the effect is well worth it, and it also helps to hide less than perfect surfaces.
Start by marking squares on the wall, then cut the timber at 45degree angles before gluing to the wall piece by piece to create the squares. Prime with Resene Quick Dry then apply two coats of your chosen Resene colour.

Keen to spruce up your bathroom or ensuite without ripping out all the fittings and starting again? Paint is one of the best ways to update your bathroom with an impressive new look.

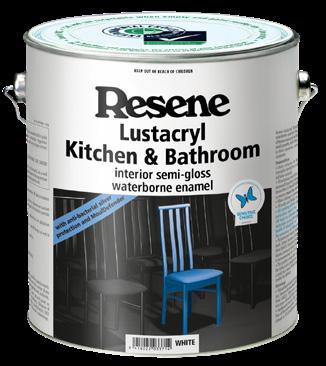
Top tip: The Resene Kitchen & Bathroom range has been specifically formulated for wet areas and has an extra mould inhibitor in it to help protect against high moisture rooms. Try Resene Lustacryl Kitchen & Bathroom on trims, Resene SpaceCote Low Sheen Kitchen & Bathroom on walls and for ceilings use Resene SpaceCote Flat Kitchen & Bathroom.
What you’ll need to prepare for painting your bathroom:
• Resene drop cloth
• Paint roller
• Paint tray
• Paint pots
• Safety gear
• Painter’s tape
• Assorted paintbrushes
• Resene Waterborne Sureseal pigmented sealer

• Resene SpaceCote Low Sheen Kitchen & Bathroom
• Resene Lustacryl Kitchen & Bathroom
• Resene SpaceCote Flat Kitchen & Bathroom
It’s amazing how using a deeper colour on the ceiling can create a moody, dramatic atmosphere – plus, it also makes a welcome change from the usual white. Flat or low sheen finishes are best for ceilings as they help to hide imperfections, so the Resene SpaceCote Kitchen & Bathroom range or Resene SpaceCote Flat are great options. Resene Anaglypta Wallpaper Collection is another great way to add interest to ceilings. These embossed wallpapers bring texture to a room and can be painted over in your choice of Resene colour.
Top tip: If there is mould present on your ceiling, treat it with Resene Moss & Mould Killer before you begin. If you paint over mould, it can grow through the new paint.
Choosing an uplifting or soothing Resene paint colour for the walls can enhance your bathroom space and create a certain ambiance – like a relaxing spa retreat. You could also go one step further and add a textured effect using the Resene FX range. Mixing Resene FX Paint Effects Medium with your favourite Resene paint colour creates a colourwashed or limewashed look. If you’re opting for a lighter colour like white or off-white, use Resene SpaceCote Low Sheen Kitchen & Bathroom, which helps provide extra protection against mould and bacteria.

There’s no need to remove your wall or floor tiles if you decide to upgrade –you can simply paint over them (but not those lining your shower). If your tiles

are quite glossy, lightly sand them first to help your paint adhere better. If they have a lower sheen you can skip this. Apply Resene Waterborne Sureseal pigmented sealer and wait for it to dry, then apply two coats of Resene SpaceCote Low Sheen on walls and Resene Walk-on and Resene Concrete Wax on your floor.
It’s best to wait at least a week before you have any hot, steamy showers. Wipe down the walls after your first few showers so the moisture is not left on the surface. Use Resene Interior Paintwork Cleaner and a lint-free cloth and be gentle, especially on ceilings, when the paint is still new.
Top tip: Need extra colour inspiration? Check out habitat and Resene’s exciting podcast If these walls could talk.
For more colour advice visit your local Resene ColorShop or reseller, or visit www.masterstrokebyresene.com/bathroom-colours
• Consider colour psychology. Warm tones like sunny yellow, honey and beige create a welcoming and cosy atmosphere, like Resene Weathered Yellow or Resene Quarter Sorrell Brown. Cooler tones such as light greens and blues evoke a tranquil, airy oasis, like Resene Transcend and Resene Relax.
• Spatial perception is essential. Light colours can make a room appear larger, while dark colours can create a more intimate feel. The layout, natural light and the placement of fixtures can also impact your Resene colour choices.
• Be brave and go bold! Rich jewel tones like Resene Aquamarine and Resene Maestro can make a feature wall pop, or you can choose a patterned Resene wallpaper.

Transform your powder room into a whimsical wonderland.
While a powder room or guest bathroom may not be the largest or busiest area of your home, when it comes to decorating, you can be as adventurous and bold as you like. In fact, many Resene colour experts recommend this as a low-risk starting point and a great way to build confidence in your skills before moving on to more significant renovations. You can also gain a better understanding of the prep and products, as well as fine-tune the style and aesthetic you’d like for the rest of your home.
Powder rooms can be small, dark and narrow, and usually only

budget and are able to work with what you already have in place, without any major structural changes. It’s an ideal weekend project any time of year.
contain a toilet and basin – and a window if you’re lucky! There are many ways you can brighten the space and add pops of fun Resene colour and texture, with a little design inspiration. These changes can also be done on a
Wallpapering is easy once you know what you’re doing. Here’s a brief summary of the key steps involved:
• Always start on the side of the wall that is most visible and has the most amount of light, and work across until you reach the least conspicuous area.
• Measure the vertical length of the wall, then measure your first piece of
Top tip: If your bathroom doesn’t have a window, invite light in with a pop of bright patterned Resene wallpaper. Large-scale prints will open up your space.
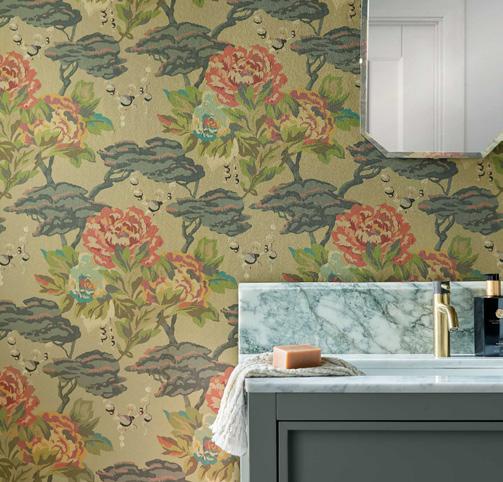
all-out in your powder room and choose a design that might be too intense for other rooms in your home. Resene has thousands of wallpaper options to look through, and new paste-the-wall papers make hanging it yourself easier than ever. Remove any old paper first, and if you’re planning to paint your trims and ceilings, do that first with Resene Lustacryl.
Wallpaper is making a major comeback, and it’s easy to see why once you take a look at the stunning designs available at Resene ColorShops. You can go
If you’re going bright and bold on the walls, keep the flooring simple. Tiled floors can often make a powder room feel narrow but painting the floor with Resene Walk-on can make the space feel less enclosed. For a modern take, stain timber flooring in Resene Colorwood and protect with Resene Qristal ClearFloor 1K.

wallpaper to this length, allowing an overhang of at least 10cm.
• Using a pencil and a plumb line, mark the width of the wallpaper roll on the wall. This will help you to hang the first piece of wallpaper straight.
• Use a roller to apply the wallpaper paste to the wall – aim to get it about 2mm thick.
• Smooth the paste-the-wall wallpaper
onto the wall and use a rubber roller to remove any bubbles.
• Use a straight edge tool and a sharp knife to trim the excess paper at the top and bottom of the wall.
• Remember to take your time and be patient. Wallpaper is much more forgiving than you think.


Building a planter box is the DIY project that keeps on giving. With the cost of groceries at an all-time high, get outdoors and keep busy by growing your own fruit, vegetables and flowers. This is the perfect spring weekend project – nothing tastes quite as good as something you’ve grown yourself!
The key to making this planter box successfully is to use Resene Water Lockout watertight membrane on the timber before you build the box, then again once it’s assembled and in place. Applied in multiple thick coats, this product acts much like a plug to block water seepage. Remember to wear your gloves!

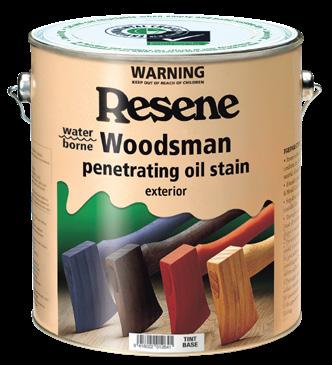
Then you can paint or stain the exterior of your planter box whatever Resene Lumbersider Low Sheen or Resene Waterborne Woodsman shade you like. Ours is stained with Resene Waterborne Woodsman in the colour Resene Uluru.

Raised garden beds like this make gardening easy and are a fantastic starting point for your green-fingered journey. You’re
able to grow a wide range of plants, including deep rooting ones, and they’re an ideal option for when the soil in your backyard isn’t great. As you're not standing on the soil when you’re tending plants in a raised bed, the soil will stay aerated which is excellent for growing and drainage. When it comes to selecting the best spot in your garden, choose somewhere that’s sunny (usually north-facing), sheltered from the wind and easy-to-access. Having it close to your kitchen will be helpful if you’re growing veges and herbs.

Stain supreme
It’s easy to enhance your home’s street appeal by staining your timber gate or fence. Treat with Resene Moss & Mould Killer then clean with Resene Timber and Deck Wash. Once dry, stain with your preferred shade of Resene Waterborne Woodsman.
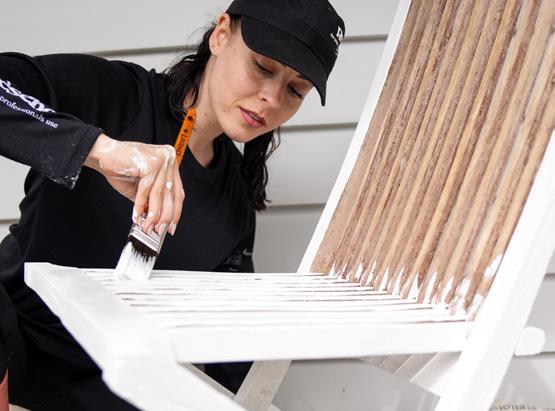
Revive old outdoor chairs with a lick of Resene paint. Doing this not only tranvsforms their look, but will add a layer of protection from the elements. As with all outdoor timber surfaces, blitz mould with Resene Moss & Mould Killer and scrub well with Resene Timber and Deck Wash. After sanding any rough edges, prime with Resene Quick Dry then paint with your favourite Resene colour.



Go potty
Add colour to your garden by painting terracotta plant pots. Clean them first and let them dry, then apply Resene Aquapel & Terracotta Sealer inside and out. Finish with your chosen Resene colours. Top tip: Use Resene testpots to paint or stencil some designs onto your pots.
