4 minute read
PiCar-V Kit V2.0
SPECS
ELECTRONICS:
Advertisement
Robot HAT with PCF8591 ADC chip, PCA9685 PWM driver, TRA9118A motor driver
POWER:
18650 battery holder
MOTORS:
SF006C servo motors, F130SA11200-38 V DC gear motors
The kit contains a huge array of components to assemble SunFounder
magpi.cc/picarv
£100 / $115
This detailed robot car build will put your assembly skills to the test. By Lucy Hattersley
We love a good robot here at The MagPi magazine, and we’ve tested out
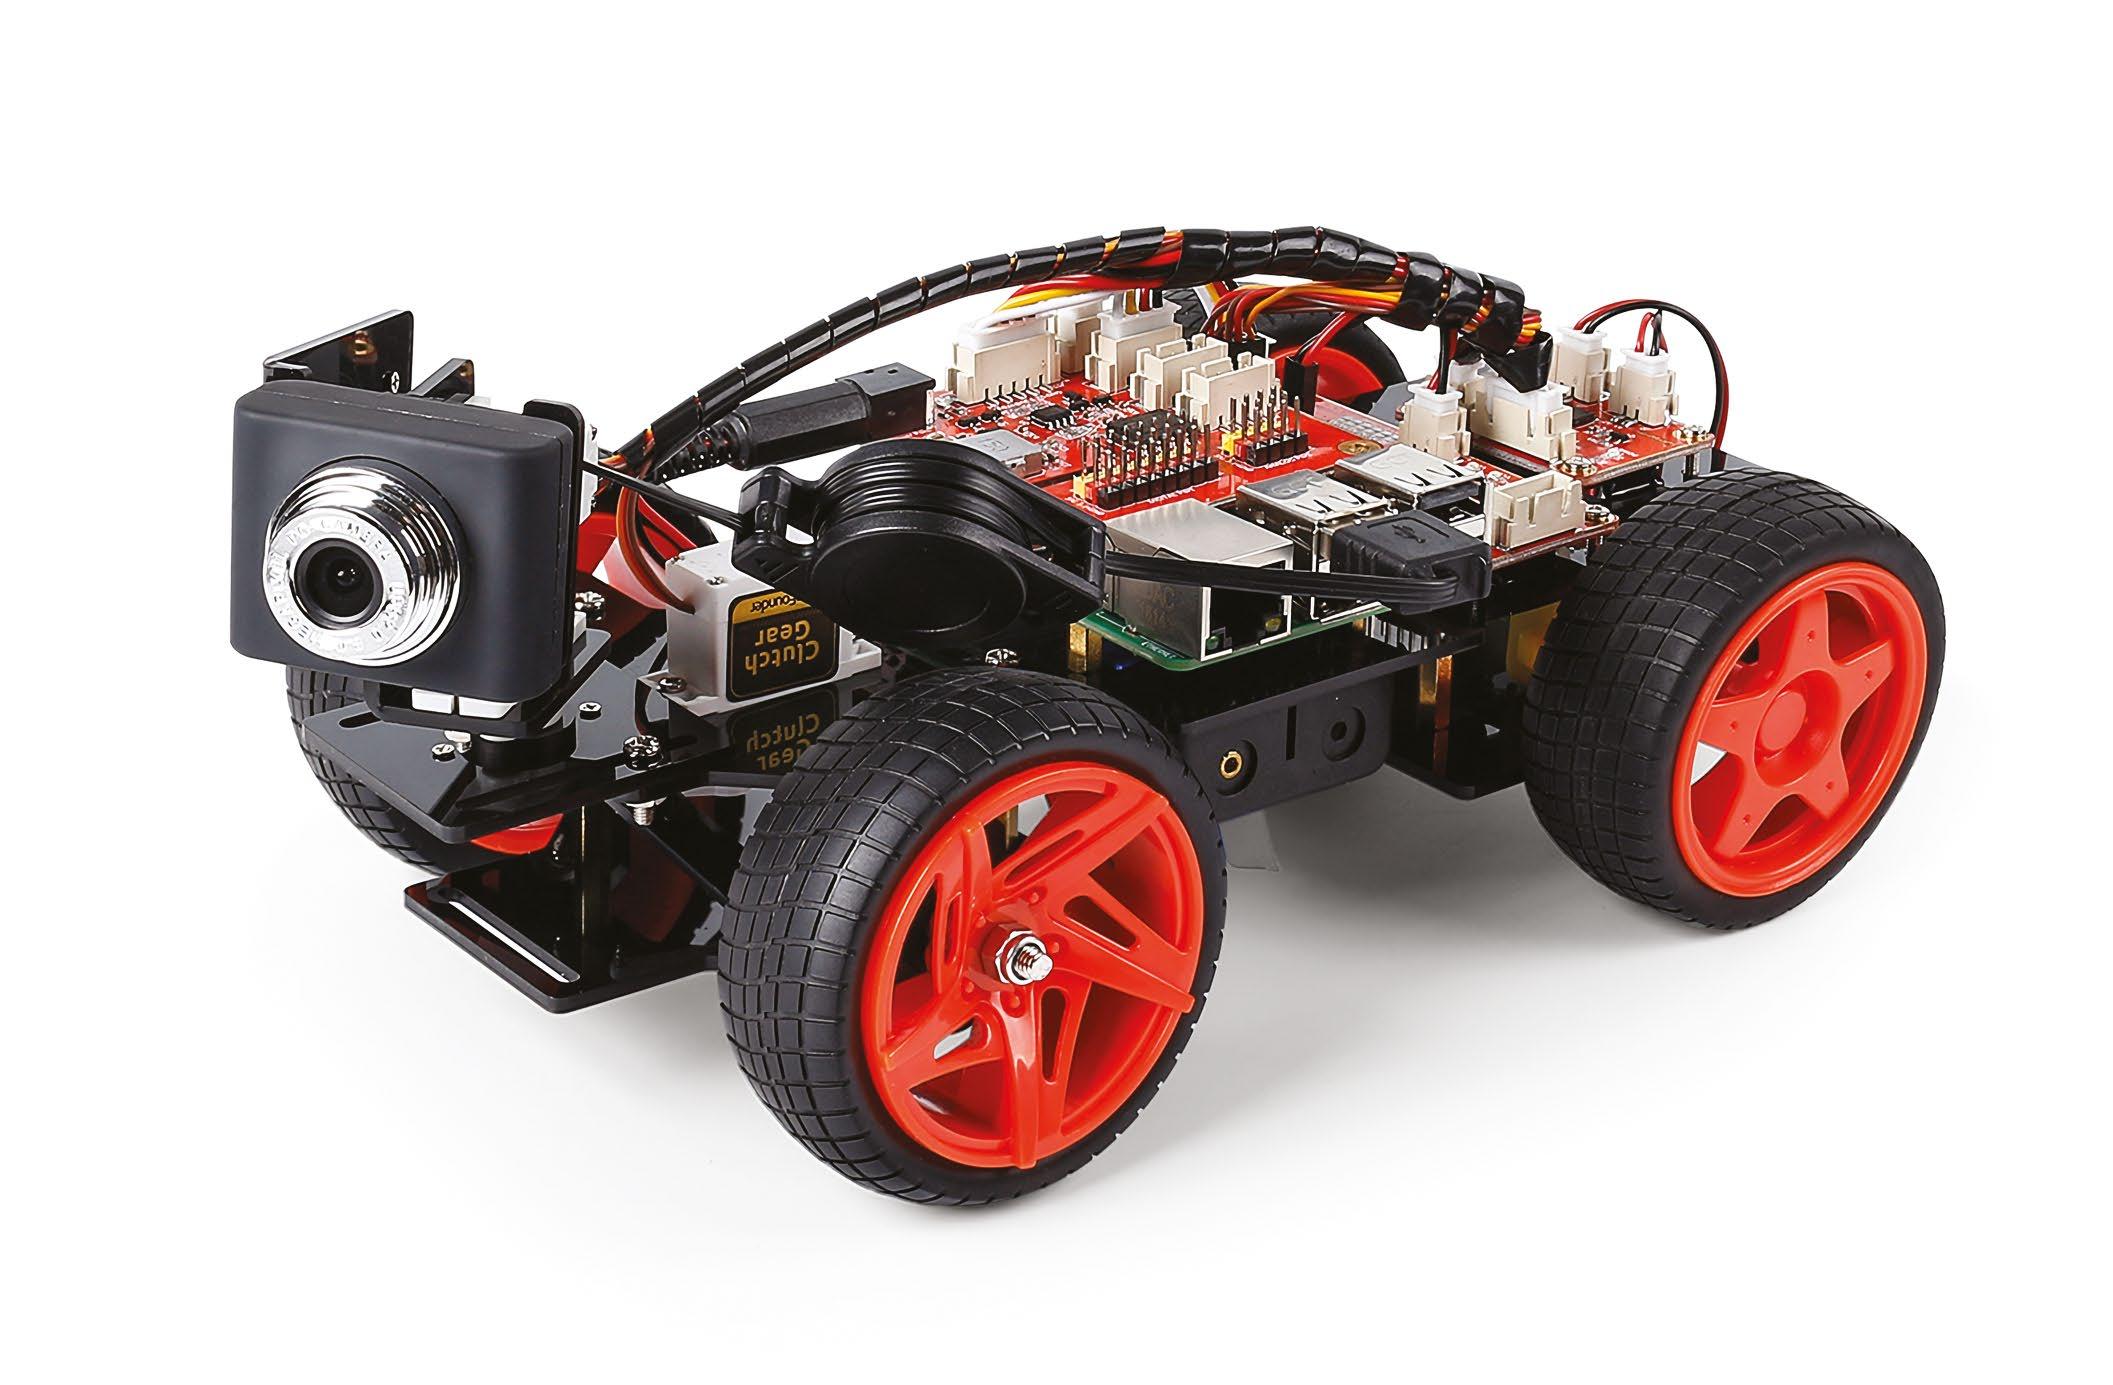
dozens of builds. With its smart looks, front-steering mechanism, and camera mount, SunFounder’s PiCar-V grabbed our attention. We just had to review it.
It comes in at a reasonable price, too. It seems that the £100/$115 mark is a good entry point for a bring-your-own Raspberry Pi robot kit. This build offers a lot of components for the money.
Many robots use the two wheels of a DC motor to provide tank-like steering. PiCar-V 2.0 takes things up a gear with an additional servo motor to steer the front wheels via a rack mechanism (called the Servo Linkage Plate).
A further two servos provide a pan-and-tilt mechanism for the included USB webcam (not an official Raspberry Pi Camera Module, unfortunately).
You have to bring your own Raspberry Pi board and microSD card to the table, plus two 18650 rechargeable Li-ion batteries (3.7V) and a charger. Even so, there’s a lot here for your money.
Days to build
Oh, my days, there are so many items in the box. By our count, there are 128 separate components, including four wheels, three servos, two DC motors, the chassis, battery back, three HAT boards, and a wild amount of screws, standoffs, and nuts.
The very first step for each front wheel involves the wheel, a flange bearing, three connector plates, three more hex fixing plates, an M4×25 screw, and an M4 self-locking nut.
Everything you need is in the box, including a screwdriver, socket wrench, and two small wrenches. Fortunately, there’s an 88-page full-colour booklet to walk you through the build and usage.
Even so. This is a taxing build. The assembly guide is available online as a PDF (magpi.cc/picarmanpdf), so why not take a good look through it to gauge your comfort factor with the build process before buying?

The final robot is good-looking, with a range of useful features to experiment with
Once it’s assembled, you can extend the PiCar-V V2.0 with additional sensors

We found the build straightforward, if fiddly. The two exceptions being attaching the front wheels to the steering mechanism, and screwing on the plates to the rotating servo mechanism (without rotating the servos themselves).
It’s mostly time-consuming. Like jigsaws, Lego, and Meccano kits, there’s a lot of fun to be had in long and detailed builds.
The setup regarding Raspberry Pi OS is a little outdated (recommending NOOBS or Balena Etcher, while Raspberry Pi now recommends the purposebuilt Raspberry Pi Imager (magpi.cc/imager) tool. But the steps still work, and it walks you through setting up Raspberry Pi OS, enabling SSH (magpi.cc/ssh), and connecting to the PiCar-V robot over your local network.
Bring it together
The result is a good-looking car, if imperfect. The design prevents access to the HDMI port once PiCar-V V2.0 is assembled, so you can’t attach a screen to debug Raspberry Pi OS if you lose the SSH connection. The design also means that the physical build is interrupted halfway as you set up the software on Raspberry Pi.
Once complete, the frame is bendy and, in truth, we’d prefer the Upper Plate to have a little more heft. We didn’t encounter any problems in use, however.
There’s also a nest of wires between the boards, and the USB camera cable extends over the frontleft wheel. Some cable ties will come in handy.
Software support is extensive and everything is available on the GitHub repo (magpi.cc/picargit). You’ll need to install Python and use pip to install PyQt5 and the requests library on Raspberry Pi.
When all is set up, you can run the server on Raspberry Pi and run the client software on your PC. The client software displays the webcam view, and you control the rover with W, A, S, D and the camera pan and tilt with the arrow keys. Android and iOS apps are available.
There is an example Python program that uses OpenCV to track a red ball. SunFounder has also provided a tutorial for programming the robot with Dragit (a Snap-based visual programming tool). You can read this, and lots of other documentation on the SunFounder Learn site (magpi.cc/picarlearn). When everything is finished and you’re done with the example code, there are eight digital and four analogue channels on the Robot HAT, plus two spare I 2 C ports. Plenty of space for expansion with extra sensors.
Verdict
We like this kit, but it has its flaws. You get a lot of components and some pieces of kit should be of a higher quality. It requires patience, but the supporting documentation is excellent. A nice robot car with potential for expansion. 8 / 10


