Cooking & Cocktail Series
PRESENTS
THE ART OF SUSHI & SAKE


WITH PATRICK SCULLY, YOUR NATIONAL DIRECTOR OF FOOD, BEVERAGE & CULINARY EXPERIENCE


WITH PATRICK SCULLY, YOUR NATIONAL DIRECTOR OF FOOD, BEVERAGE & CULINARY EXPERIENCE

Recipe from Greatest Ever Sushi and Japanese Recipes
Written by Emi Kazuko and Yazuko FukuokaTIME
» 1 hour and 20 minutes (including washing rice, making the rice, adding seasoned rice vinegar and cooling).
» 2 cups of uncooked short grain rice makes approximately 5 cups of cooked sushi rice, which yields enough rice for 15 sushi rolls.
» Rice (Short Grain Sushi Rice) = 2 ¼ cups
» Cold Water = 2 ¼ cups
» Japanese Rice Vinegar (unseasoned) = 1/3 cup
» Sugar = 3 tablespoons
» Salt = 1 ½ teaspoon
» Kombu (OPTIONAL) = 2 to 3 inches square piece
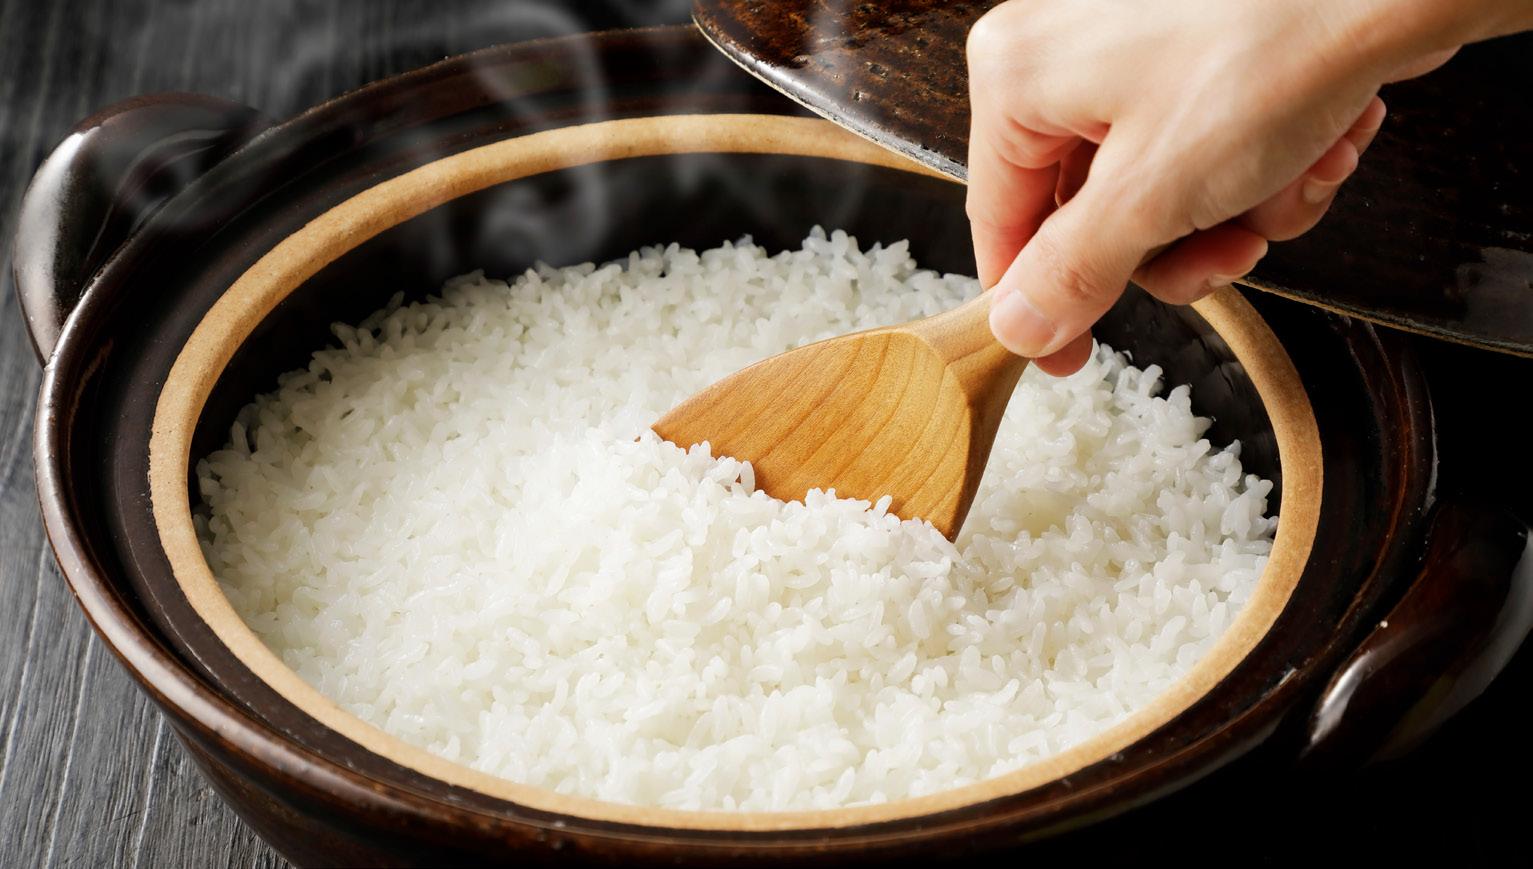
1. Wash the rice thoroughly in cold water, changing the water several times until the water runs clear, then let the rice sit in cold water for 30 minutes. After 30 minutes have passed, drain the rice with a fine mesh strainer.

2. Put the rice in the cooking vessel (deep pan or medium size pot) and and add the cold water to the rice. Sushi rice can also be made with an electric rice cooker. Please follow the manufacturer’s cooking directions when preparing sushi rice.
3. Cover the pan with a tight-fitting lid, place over a high heat and bring to a boil (this may take 5 minutes). Turn the heat to the lowest setting and leave to simmer gently for 10 to 12 minutes, or until
all the water has been absorbed.
4. While cooking the rice, heat a separate small sauce pot to medium heat and add the rice vinegar, salt and sugar. When the sugar and salt have dissolved, remove mixture from heat and let it cool to room temperature.
5. Once the rice is ready, remove the pan from the heat and set aside, still covered with the lid, for about 10 to 15 minutes.
6. Transfer the cooked rice to a wooden sushi rice tub or sheet pan and carefully spread the rice out.

7. Sprinkle the vinegar mixture evenly over the rice using a sushi rice spatula (Shamoji).
8. Once the vinegar is spread evenly over the rice, use the spatula to cut through the rice and fold the rice to distribute the vinegar mixture throughout (do not stir the rice, fold the rice).
9. Then fan the seasoned rice with a hand fan or an electric fan for approximately 15 minutes.
10. Cover and leave at room temperature until ready to use.
Always ensure to cover after each use to avoid it drying out. It is recommended to use the rice within hours of preparation.
If for some reason you have leftover rice, you can refrigerate it; however, you will need to rehydrate your rice before use. One way you can reheat and re-hydrate the sushi rice is using a stove-top, pot, and a bamboo rolling mat. Simply put the rice on the bamboo mat and place the mat on top of a pot with boiling water for 10 minutes (on low heat). This should bring new life to the rice. For best results try to close the ends of the bamboo mat around the rice pile, where possible.
TIME: 2 hours and 5 minutes (including prep, making the rice, and assembly).
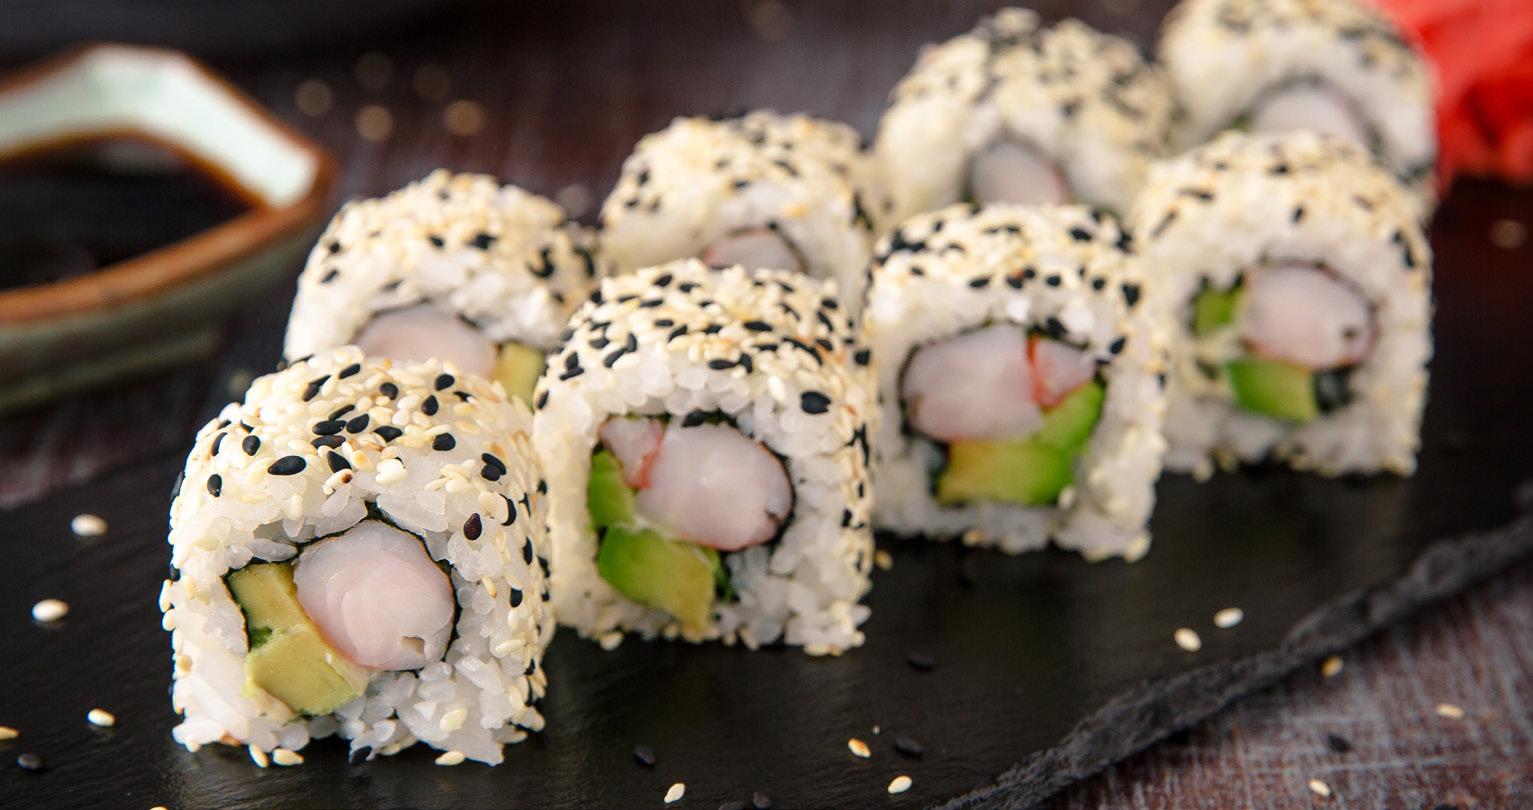
YIELDS: 8 sushi rolls (6 pieces each roll).
The origins of the California Roll are debated, but this popular sushi roll spread from California throughout the U.S. in the 1980s and is highly contributed to sushi’s growing popularity in the United States. Diners soon started exploring more exotic sushi options, but the California Roll remains popular all over the world – including Japan.
» Juice of ½ lemon
» 1 medium avocado, peeled, pitted and sliced into ¼-inch thick pieces
» 4 sheets nori
» Cooked sushi rice (each roll will use about ½ cup)

» 1/3 cup sesame seeds, toasted
» 1 small cucumber, peeled, seeded and cut into matchstick-size pieces
» 4 crabsticks, torn in half lengthways
» Pickled ginger, for serving
» Wasabi, for serving
» Soy sauce, for serving
1. Squeeze the lemon juice over the avocado to prevent browning.
2. Cover a bamboo rolling mat with plastic wrap.
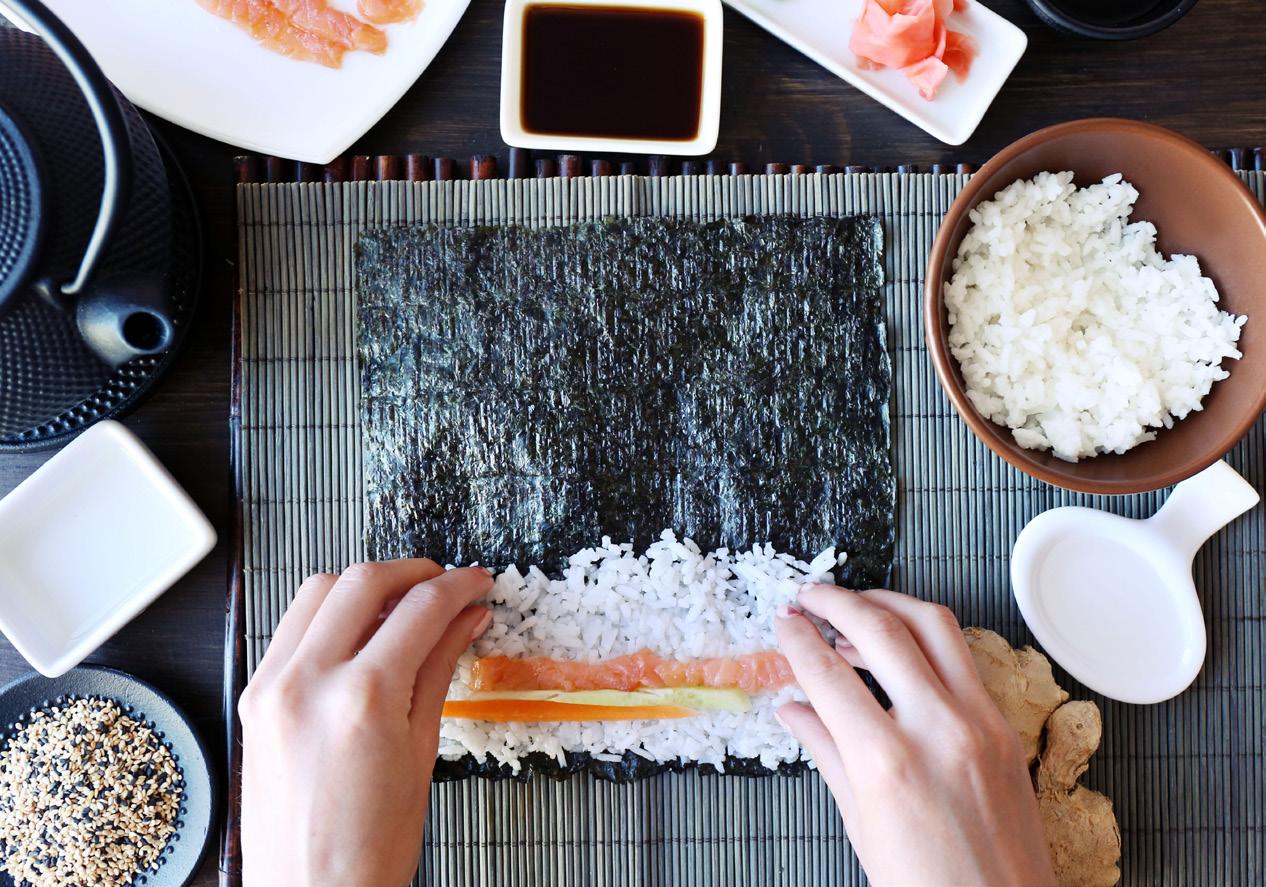
3. Cut nori sheets in half crosswise. Lay 1 sheet of
nori, shiny side down, on the plastic covered mat.
4. Wet your fingers with water and spread about ½ cup of the rice evenly onto the nori.
5. Sprinkle the rice with sesame seeds.
6. Turn the sheet of nori over so that the rice side is down.
7. Place 1/8 of the cucumber, avocado and crab sticks in the center of the sheet. Grab the edge of the mat closest to you, keeping the fillings in place with your fingers, and roll it into a tight cylinder, using the mat to shape the cylinder.
8. Cut each roll into 6 pieces.
If making multiple rolls, cover the already made rolls with a damp cloth until all rolls are made and you are ready to consume. Serve with pickled ginger, wasabi and soy sauce. Visit FoodNetwork.com and search California Roll recipe for more information!
1) CHEFS KNIFE: SUSHI KNIFE SUGGESTION
A sharp knife is vital to sushi-making: You’ll use it to portion raw fish, precisely cut other filling ingredients, and slice the finished roll into pieces.
2) ROLLING MAT: SUSHI ROLLING MAT SUGGESTION
Rolling mats are necessary to make maki rolls and other types of sushi rolls, and there are a few different types. Please be aware that the bamboo ones go bad quickly, so I suggest using a plastic mat as they are antibacterial and don’t go bad.
3) CUTTING BOARD: CUTTING BOARD SUGGESTION
A rubber cutting board is scratch- and stain-resistant, and it’s regarded as the industry standard for sushi chefs. This synthetic material is relatively soft and gentle on sharp knives, helping them maintain their edge. It also repels water and is easier to clean, making it a great option for working with raw fish.
4) RICE COOKER: RICE COOKER SUGGESTION
With a rice cooker, you can make the process more convenient. However, for the best experience, you are supposed to use a quality, sizable and versatile rice cooker that can serve different roles in the kitchen.
5) THE RICE: SUSHI RICE SUGGESTION
Sushi is only ever as good as its rice, so buying the best grains you can—and cooking them to perfection is key. We recommend using short grain rice, but you can use medium grain rice as well if needed.
There are many different types of Rice Vinegar. Some come pre-seasoned and others are not so you need to add the sugar and salt to season it yourself.
Because people’s rice preferences may vary in taste, I recommend buying the unseasoned variety and season it yourself.
7)
Don’t be afraid of buying in bulk, either at your local Japanese market or online—if kept in a sealed container, nori can last up to year at room temperature.
8) RICE PADDLE: RICE PADDLE SUGGESTION
To cook your delicacy and give it the best taste, the rice needs to be seasoned. That is why you will need a rice paddle. It lets you mix vinegar into the rice, and you can also add sweeteners like sugar and salt. Unless you have a rice paddle, you will find it hard to handle the sushi. To mix the vinegar uniformly into the rice, you want to use a quality rice paddle.
9) BOWL OF WATER
When rolling the rice on a bamboo mat, your hands are likely to get sticky, making it hard to work on the sushi you are trying to prepare. Your kitchen counter should have a clean bowl of water that you will use to clean your hands after touching the rice. Many people try to add some detergents to the water, which is not suitable for your health; just keep the water in the bowl pure. It is also a good way to maximize kitchen hygiene.
10) AVOCADO CUTTER: AVOCADO SLICER SUGGESTION
You need an avocado to best make your rolls, and they are supposed to be chopped into smaller pieces. An avocado cutter can help you do that easily.
WANT TO LEARN MORE? CHECK OUT THESE RECOMMENDED LINKS!
» Sake 101: A Complete Guide to Sake for Beginners (sakehub.com)
» Sushi: How to Eat, History & Cost | japan-guide. com - YouTube
» How To Roll Sushi with The Sushi Man - YouTube