6 minute read
Contrast


The human eye simultaneously registers a wide range of light intensity. Due to their limited latitude image sensors are unable to do this. The difference in the level of light falling on or being reflected by a subject is called contrast. When harsh directional light strikes a subject the overall contrast increases. The highlights continue to reflect high percentages of the increased level of illumination whilst the shadows reflect little extra. Without contrast photographic images can appear dull and flat. It is contrast within the image that gives dimension, shape and form. Awareness and the ability to understand and control contrast is essential to work successfully in the varied and complex situations arising in photography. ~ Subject contrast ~ Lighting contrast ~ Brightness range.
Subject contrast
Advertisement
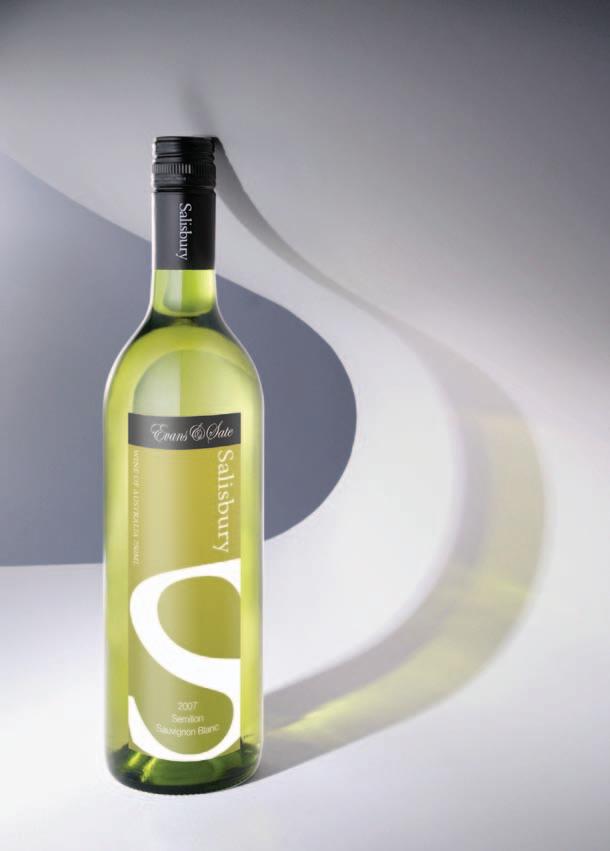
Different surfaces reflect different amounts of light. A white shirt reflects more light than black jeans. The greater the difference in the amount of light reflected the greater the subject contrast or ‘reflectance range’. Reflectance range is best measured when the subject is evenly lit. The difference between the lightest and darkest tones can be measured in stops. If the difference between the white shirt and the black jeans is three stops then eight times more light is being reflected by the shirt than by the jeans (a reflectance range of 8:1).
One stop = 2:1, two stops = 4:1, three stops = 8:1, four stops = 16:1
A ‘high-contrast’ image is where the ratio between the lightest and darkest elements is 32:1 or greater. A ‘low-contrast’ image is where the ratio between the lightest and darkest elements is less than 16:1.
Paul Allister Mark Galer

When harsh directional light strikes a subject the overall contrast increases. The highlights continue to reflect high percentages of the increased level of illumination whilst the shadows reflect little extra.
Overall image contrast therefore is determined by the combined effects of subject contrast or reflectance range and the ‘lighting contrast’.
Lighting contrast describes the difference in the level of illumination between the main directional light (key light) and any light falling on the shadows (fill light). The difference can be measured in stops and recorded as a ‘lighting ratio’. If the difference between the light illuminating the highlights and the light illuminating the shadows is two stops, the lighting ratio is given as 4:1, i.e. four times more light strikes the tones facing the light as the same tones in the shadows. This is easily measured by taking an incident light meter reading in the light and then in the shadows.
On location - when there is cloud covering the sun the light is diffused or softened. The difference between a tone placed in the diffused light and open shade (away from structures and large objects) may be less than one stop, giving a lighting ratio of less than 2:1. The lighting may be described as being flat and the lighting contrast as low. When direct sunlight strikes the subject the difference between a tone placed in the sun and the same tone placed in covered shade may increase beyond two stops or 4:1. This directional light creating highlights and shadows is described as high contrast. In the studio - lighting contrast is controlled by the photographer. The direction, intensity, degree of diffusion and amount of fill light will all be deciding factors in creating a lighting ratio suitable for the desired lighting contrast range.

Rodrick Bond
Stops difference
²⁄³ 1 1¹⁄³ 1²⁄³
Light ratio
1.6:1 2:1 2.5:1 3:1
Stops difference
2 2¹⁄³ 2²⁄³ 3
Light ratio
4:1 5:1 6:1 8:1
Light is reflected unevenly off surfaces, light tones reflecting more light than dark tones. Each subject framed by the photographer will include a range of tones. The broader the range of tones the greater the contrast. When harsh directional light such as sunlight strikes a subject the overall contrast of the scene increases. The tones facing the light source continue to reflect high percentages of the increased level of illumination whilst the shadows may reflect little extra. The overall contrast of the framed subject is called the SBR or ‘subject brightness range’.
The SBR can be measured by taking a meter reading of the lightest and darkest tones. If the lightest tone reads f16 @ 1/125 second and the darkest tone reads f4 @ 1/125 second the difference is four stops or 16:1.

SBR of approximately five stops (32:1) SBR of approximately three stops (8:1)

Shadow tones Mid-tones
High SBR in flat light
Extreme SBR in harsh directional light Highlights
Latitude of most JPEG images and positive film
Latitude of digital images and negative film (DSLR Camera Raw format)
Increased exposure to capture shadow detail
Decreased exposure to capture highlight detail
A subject with a high or extreme brightness range can exceed the latitude of the image sensor
Image sensors are capable of recording a limited tonal range or brightness range. A subject photographed in high-contrast lighting may exceed this recordable or ‘dynamic range’. The ability for the image sensor to accommodate a brightness range is referred to as its ‘latitude’. Digital image sensors capturing JPEG images typically capture a brightness range of only 32:1 or five stops. It is essential for digital photographers to understand that when capturing JPEG images with directional sunlight, shadow and highlight detail may be lost. The photographer capturing Raw files has increased flexibility to capture a broader range of tones, and with careful exposure, post-production processing and printing techniques they can extend this range dramatically.

Previsualization
SBR exceeding the latitude of the image sensor
Awareness of the subject brightness range and the capability of the photographic medium to capture this range of tones allows the photographer to previsualize or predict the outcome of the final image. When the brightness range exceeds the sensor’s capabilities the photographer has the option to increase or decrease exposure to protect shadow or highlight detail that would otherwise not record or switch to Raw capture when using a DSLR. These scenes are described as ‘extreme contrast’.
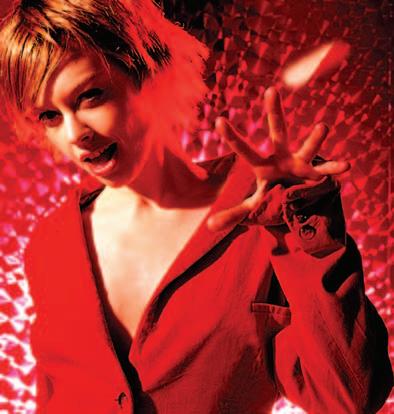
In an attempt to previsualize the final outcome of a scene with a high brightness range, many photographers use the technique of squinting or narrowing the eyes to view the scene. This technique removes detail from shadows and makes the highlights stand out from the general scene. In this way the photographer is able to predict the contrast of the resulting image. If the photographer fails to take into account the image sensor’s limited capabilities both shadow detail and highlight detail can be lost. It is usual for photographers to protect the highlight detail in the exposure and fill the shadow detail with additional lighting .
In many instances when the photographer is expected to work quickly it is all the photographer can do to notice the extreme brightness range and make quick judgements from experience to alter the exposure. The least appropriate exposure in extreme contrast situations is often the exposure indicated by a camera’s TTL meter. This average exposure may not be suitable if the subject or detail is located in the deep shadows or bright highlights. In these instances the photographer must override the exposure indicated by the meter and either open up (increase exposure) if shadow detail is required, or stop down (decrease exposure) if highlight detail is required. In the photograph above the lighting contrast between the noon sun and the shadows was too great to record using the JPEG format. Increased exposure over the indicated meter reading was required to capture the shadow detail.

Mark Galer
Activity 1
Create an image where the tonal range of the subject will exceed the tonal range that can be recorded onto the image sensor. Indicate whether the exposure has been increased or decreased from the TTL meter-indicated exposure.