1 minute read
Diffusion and bounce


If the subject is close or the output of the flash unit is high, the photographer has the option of diffusing or bouncing the flash. This technique will soften the quality of the light but lower the maximum working distance.
Diffusion
Advertisement
Diffusion is affected by placing tissue, frosted plastic or a handkerchief over the flash head. Intensity of light is lowered but the quality of light is improved. The flash can be further diffused by directing the flash towards a large, white piece of card attached to the flash head. Purpose-built attachments can be purchased.
Bounce flash
A LumiQuest MidiBouncer
The most subtle use of flash is achieved by directing the flash to a much larger, white reflective surface such as a ceiling for overhead lighting, or nearby wall for side lighting. This is called bouncing the flash. To obtain this effect the flash unit must have the ability to tilt or swivel its flash head. If this is not possible the flash can be removed from the hot shoe and connected to the camera via a sync lead. If an automatic flash is being used the photographer must ensure that the photocell is facing the subject when the flash is fired.

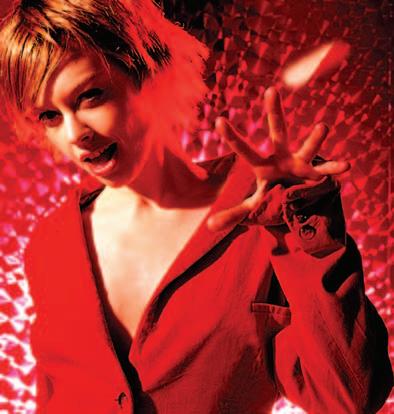
Activity 4
Create an image of a person using either diffused flash or bounce flash. For the bounce flash technique direct the flash towards a white ceiling or white reflector positioned to one side of the subject. Vary the distances of the reflector to the subject. Discuss and compare the quality of the light in your resulting image or images.