5 minute read
High dynamic range


Contrary to popular opinion - what you see is not what you always get. You may be able to see the detail in those dark shadows and bright highlights when the sun is shining - but can your film or image sensor? Contrast in a scene is often a photographer’s worst enemy. Contrast is a sneak thief that steals away the detail in the highlights or shadows (sometimes both). A wedding photographer will deal with the problem by using fill flash to lower the subject contrast; commercial photographers diffuse their own light source or use additional fill lighting and check for missing detail using the ‘Histogram’ when shooting with a digital camera.
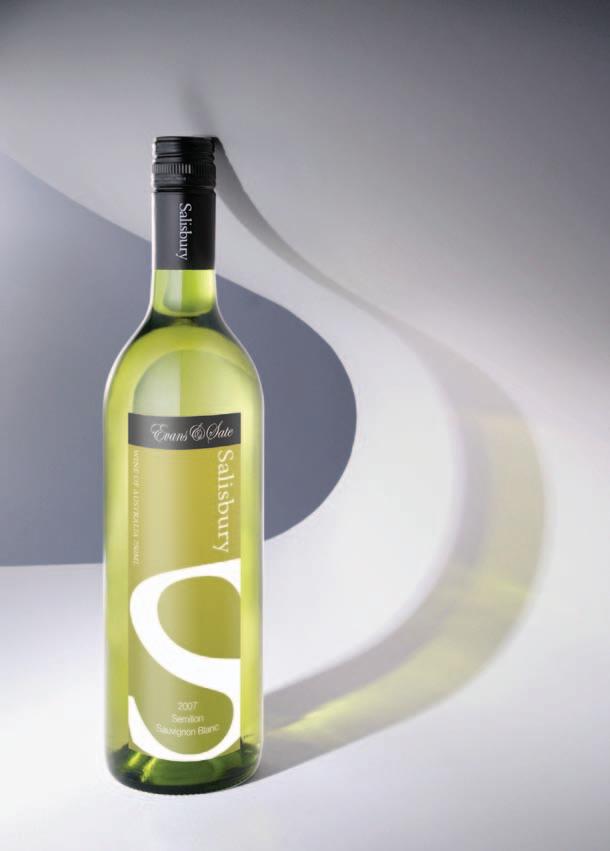
Combination of two exposures merged manully - Upper Yarra River by Mark Galer
Advertisement
Landscape photographers, however, have drawn the short straw when it comes to solving the contrast problem. For the landscape photographer there is no ‘quick fix’. A reflector that can fill the shadows of the Grand Canyon has yet to be made and diffusing the sun’s light is only going to happen if the clouds are prepared to play ball. Ansel Adams (the famous landscape photographer) developed ‘The Zone System’ to deal with the high-contrast vistas he encountered in California. By careful exposure and processing he found he could extend the film’s ability to record high-contrast landscapes and create a black and white print with full detail. Unlike film, however, the latitude of a digital imaging sensor (its ability to record a subject brightness range) is fixed. In this respect the sensor is a straitjacket for our aims to create tonally rich images when the sun is shining - or is it?
Note > To exploit the full dynamic range that your image sensor is capable of, it is recommended that you capture in Raw mode. JPEG or TIFF processing in-camera may clip the shadow and highlight detail (see Adobe Camera Raw).


A single exposure in a high-contrast environment could result in a loss of detail in both the shadows and highlights, as can be seen by the tall spikes at Level 0 and Level 255 in the histogram of the image
If we can’t fit all the goodies in one exposure, then we’ll just have to take two or more. The idea is to montage, or blend, the best of both worlds (the light and dark side of the camera’s not quite all seeing eye). To make the post-production easier the photographer needs to take a little care in the pre-production, i.e. mount the camera securely on a sturdy tripod. Take four exposures - two overexposing from the auto reading, and the other two underexposing from the auto reading. One or two stops either side of the meter-indicated exposure should cover most high-contrast situations.
Note > It is recommended that you use the shutter speed to bracket the exposures. This will ensure the depth of field is consistent between the different exposures.
Setting your camera to ‘auto bracket exposure mode’ means that you don’t have to touch the camera between the two exposures, thereby ensuring the first and second exposures can be exactly aligned with the minimum of fuss (the Auto-Align Layers feature in the full version of Photoshop does not work when your layers are Smart Objects). Use a remote release or the camera’s timer to allow any camera vibration to settle. The only other movement to be aware of is something beyond your control. If there is a gale blowing (or even a moderate gust) you are not going to get the leaves on the trees to align perfectly in post-production. This also goes for fast-moving clouds and anything else that is likely to be zooming around in the fraction of a second between the first and second exposures.
Merge to HDR is a semi-automated feature in the full version of Photoshop for combining detail from a range of differnt exposures. A series of bracketed exposures can be selected and the Merge to HDR feature then aligns the images automatically. The Merge to HDR dialog box then opens and the user is invited to select a bit depth and a white point. It is recommended to save the file as a 32-bit image. This allows the exposure and gamma to be fine-tuned after the image is opened into Photoshop by going to Image > Adjustments > Exposure. As editing in 32 Bits/Channel is exceptionally limited the user will inevitably want to drop the bit depth to 16 or 8 Bits/Channel at some stage to make use of the full range of adjustment features.
When the Photoshop user converts an HDR 32-bit image to 16 or 8 Bits/Channel the user can choose a conversion method that allows the best tonal conversion for the job in hand. With very precise working methods HDR images can provide the professional photographer with a useful workflow to combat extreme contrast working environments. For situations where HDR is required but people or animals are likely to move between exposures a manual approach to merging the exposures is highly recommended.


Orien Harvey

the zone system


Mark Galer


essential skills
~ Control the resulting tonal range of a black and white image using black and white fi lm. ~ Learn to previsualize the printed image when viewing a scene. ~ Test the exposure index of the fi lm you are using. ~ Test the accuracy of the development you are using. ~ Create images exposing for the shadows and processing for the highlights.