1. buddy rhodes concrete colorant- super blue dyed buddy rhodes gfrc blend mix.
2. buddy rhodes gfrc blend mix, glazed in buddy rhodes concrete blue glaze after the gfrc body is cured.
*
a. concrete floor, part 3 of the one of the two six part mold made in gfrc blend mix.
1. part 1 of the mold for casting concrete floor tile. material BBDINO silicone, 30A.
2. part 2 of the mold for casting concrete floor tile. material BBDINO silicone, 30A.
3. part 3 of the mold for casting concrete floor tile. material BBDINO silicone, 30A.
4. part 4 of the mold for casting concrete floor tile. material: 1/2” thick mdf board.
5. part 5 of the mold for casting concrete floor tile material: 1/2” thick mdf board.
* * * *
ad-1. push the key of part 3 into the hole of part 2.
ad-2. insert the result of ad-1 into part 1.
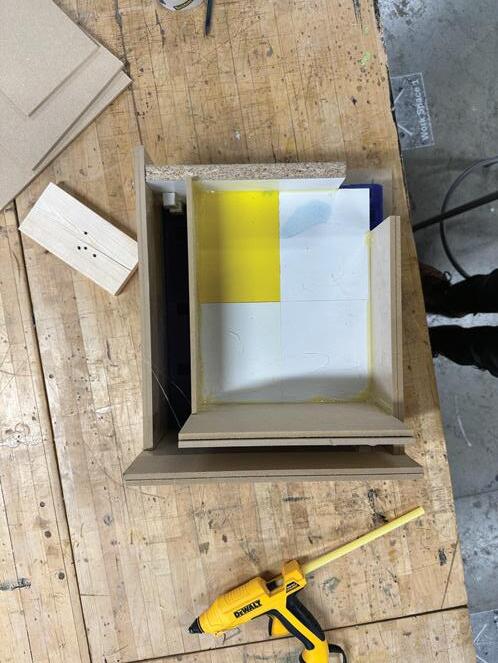
ad-3. drop part 4 into the left side of the result of ad-2, as straight as one can do it.
* * * *
1. mold for the first cast of concrete floor tile.
2. a bucket of casting material- buddy rhodes gfrc blend mix mixed with chilled water that is dyed in buddy rhodes concrete colorant- super blue.
3. casting result. *
ad-1. gentally and strongly move part 4 away from the first cast of super blue dyed gfrc and silicone mold.
ad-2. gentally and strongly move part 4 away from the first cast of super blue dyed gfrc and silicone mold.
1. mold for the first cast of concrete floor tile.
2. a bucket of casting material- buddy rhodes gfrc blend mix mixed with chilled water.
*
3. first casting result.
ad-1. rotate the mold and the concrete 180 degrees along the long right bottom long edge. be careful, this is heavy, do it with another person and do it carefully and do it safely.
* ad-4. position your chest perpendicular in relation to the ad-5, and open your two arms till both of your hands can grab both ad-4 comfortably, one hand for on ad-4. hereafter, pull the edges in the direction towards to your body
ad-2. pull the part 1 out from the total of part 2 and part3 and the concrete cast.
ad-3. move aside part 1, keep it in a nice surface.
part 2
ad-5. pull out part 3 along the ad-5’s dashed line and the arrow direction.
ad-6. position your chest perpendicular in relation to the ad-7, and open your two arms till both of your hands can grab both ad-6 comfortably, one hand for on ad-6. hereafter, pull the edges in the direction towards to your body
ad-7. pull out part 2 along the ad-7’s dashed line and the arrow direction.
part 2 part 2 concrete cast
part 1
part 2
part3
!!!. concrete floor tile without mold, it has been demolded nicely. * part1 part 3 part 3 part 3 part 1


