1 minute read
CONCEALED SHOWER VALVES
DON’T DO:
Do not use silicone around the outside of the finish set faceplate cover, only use silicone to seal the iBox to the tiles or finished surface.
TOP TIPS
Before fitting your finish set valve and shower outlets, do not forget to flush through the pipework. Debris will block the filters, cause performance issues and damage the thermostat if this stage is not done properly.
TIPS AND HINTS
When fitting a shower room using a concealed valve there are lots of factors to consider, so we asked Hansgrohe to give you some handy hints.
Always start by checking the existing water system and function of the space. Ask these questions:
1Will the system be sufficient for the shower to function properly?
2Is there a combi boiler, vented low pressure or mains fed unvented hot water system in place?
3Is a tank or pump needed to deliver the right pressure and flow?
4Will the products selected be fit for the room’s purpose?
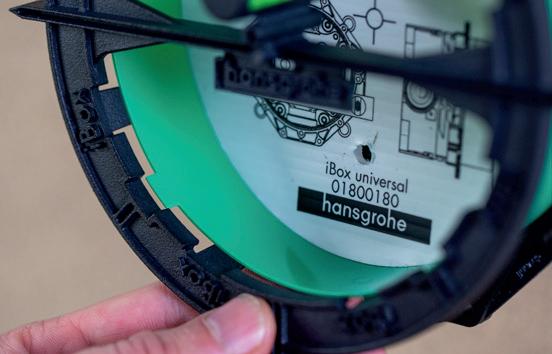
HANSGROHE IBOX
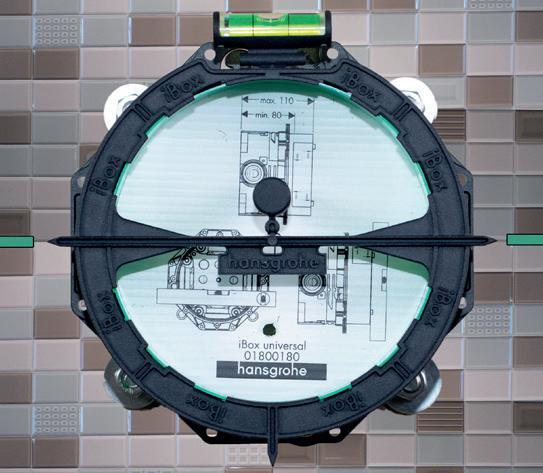
Decide the best location for the shower valve and shower outlets. Remember, the hansgrohe iBox has a minimum 80mm to a maximum depth of 108mm to the front face of the tile or finished surface.
RECOMMENDATIONS:
■ Planning pipe runs and the use of isolation valves - use full flow versions to allow maximum flow capacity
■ Pipe sizing - where possible use 22mm supply pipes on unvented hot water systems and shower pump systems
■ Combination boiler systems - use 15mm supply pipes.
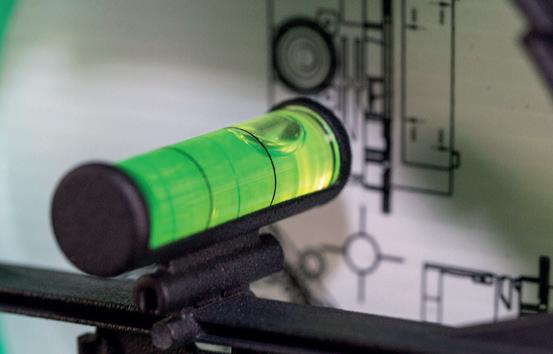
■ Before installing – find out the size of the tiles being fitted, so that you can position the iBox on the centre of a tile or on the centre of a grout line for symmetry purposes.
For more information visit: www.hansgrohe.co.uk
